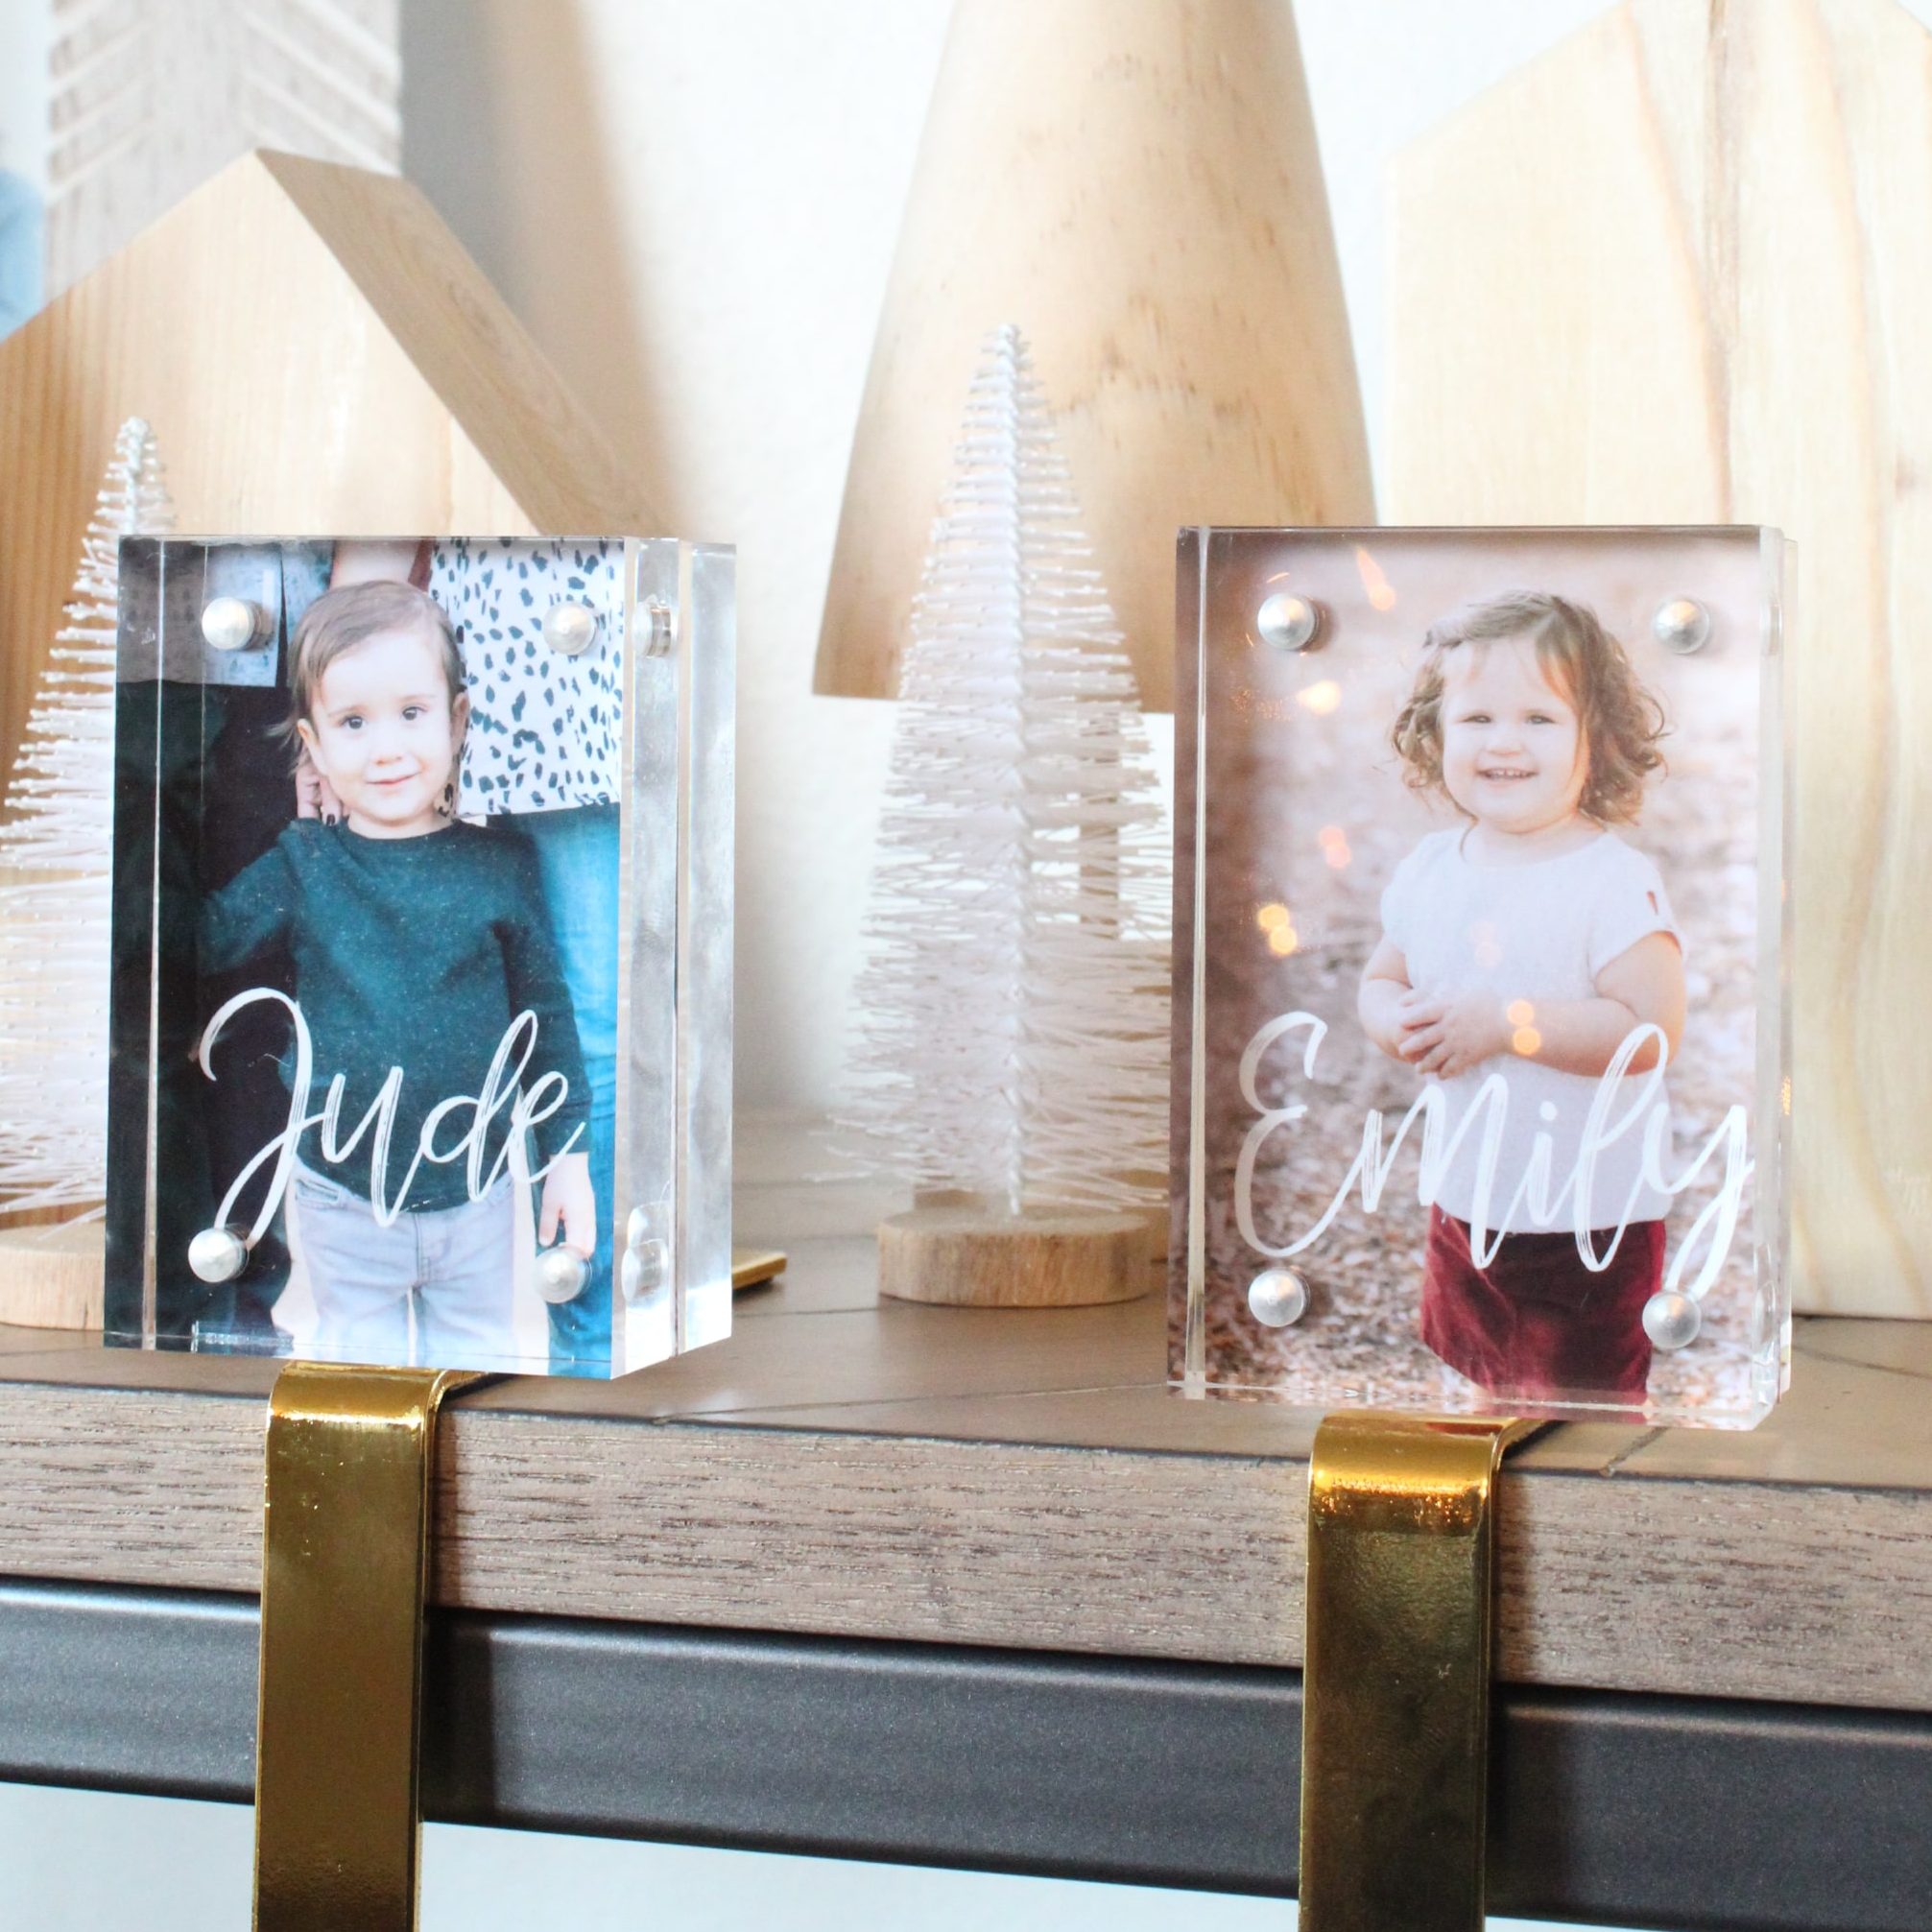

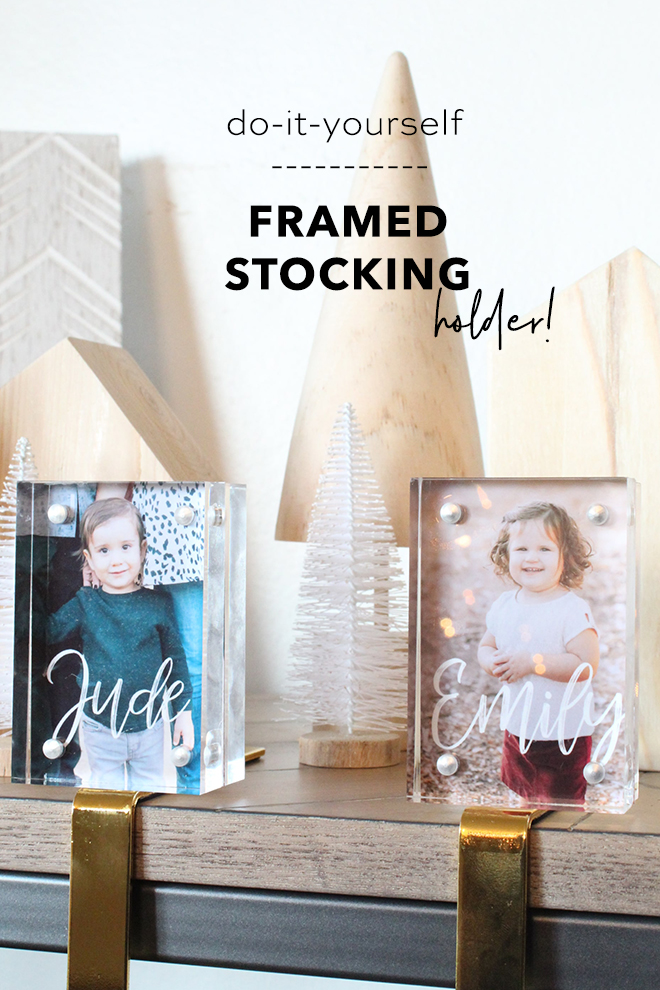
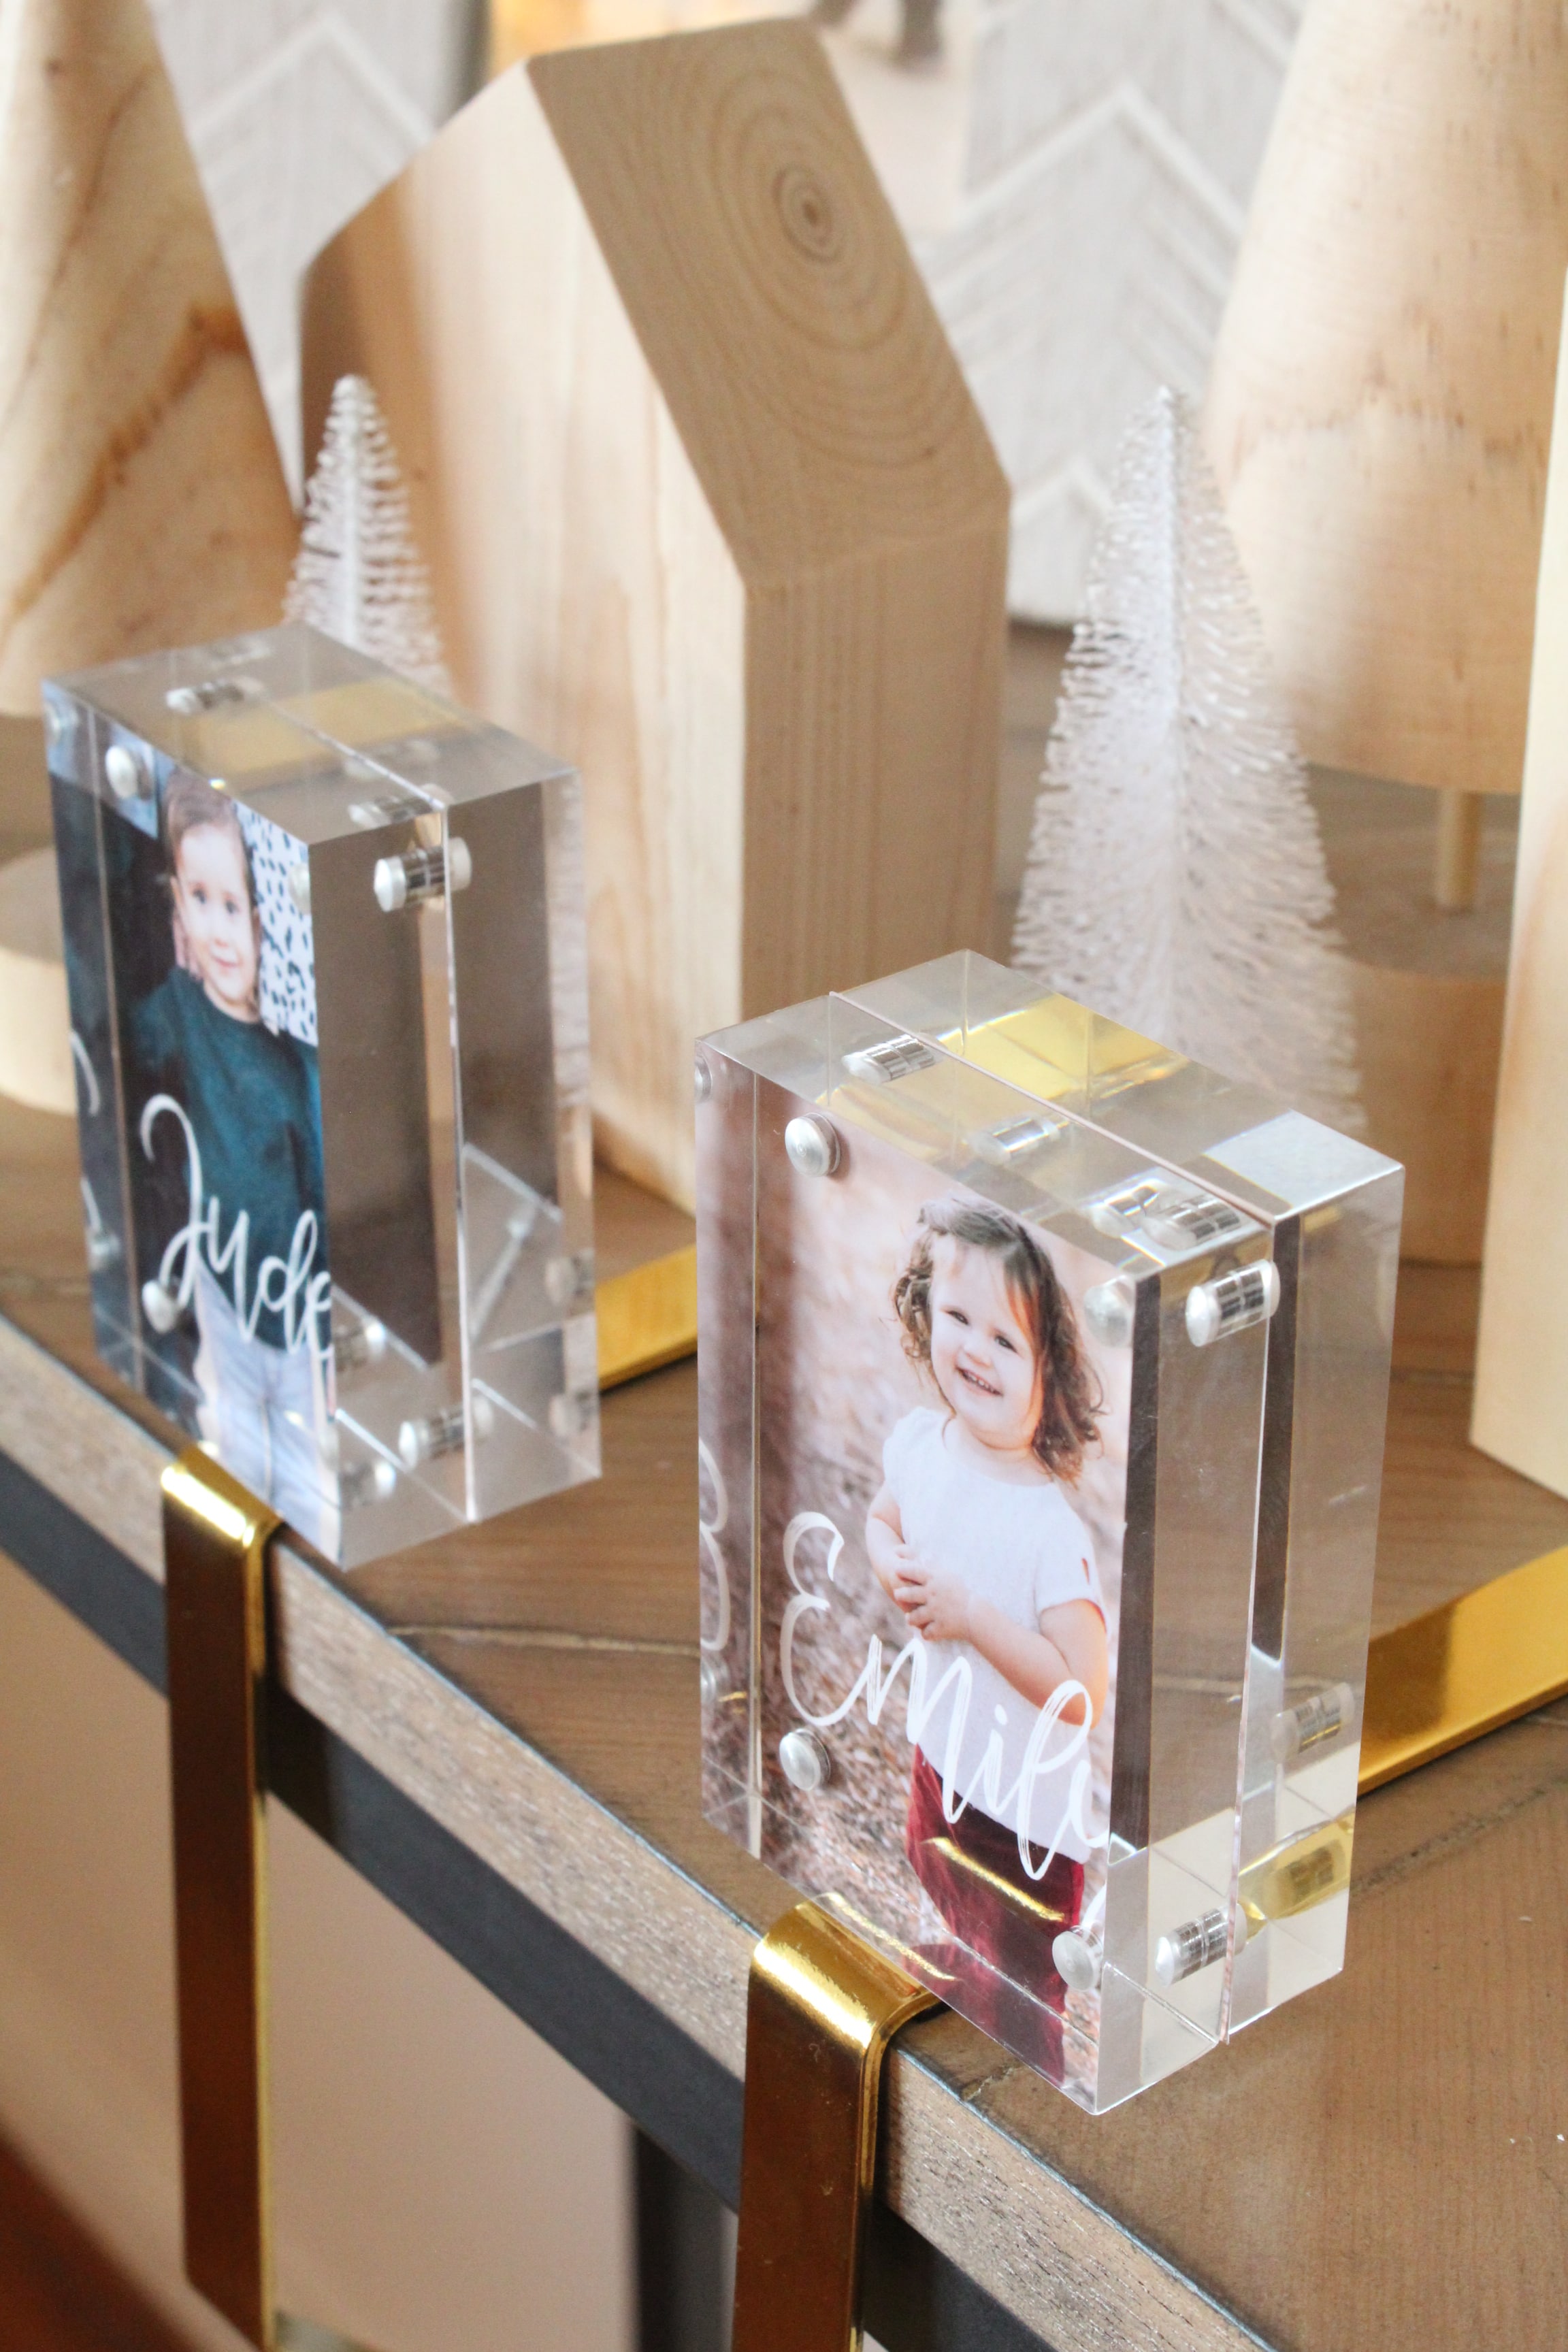
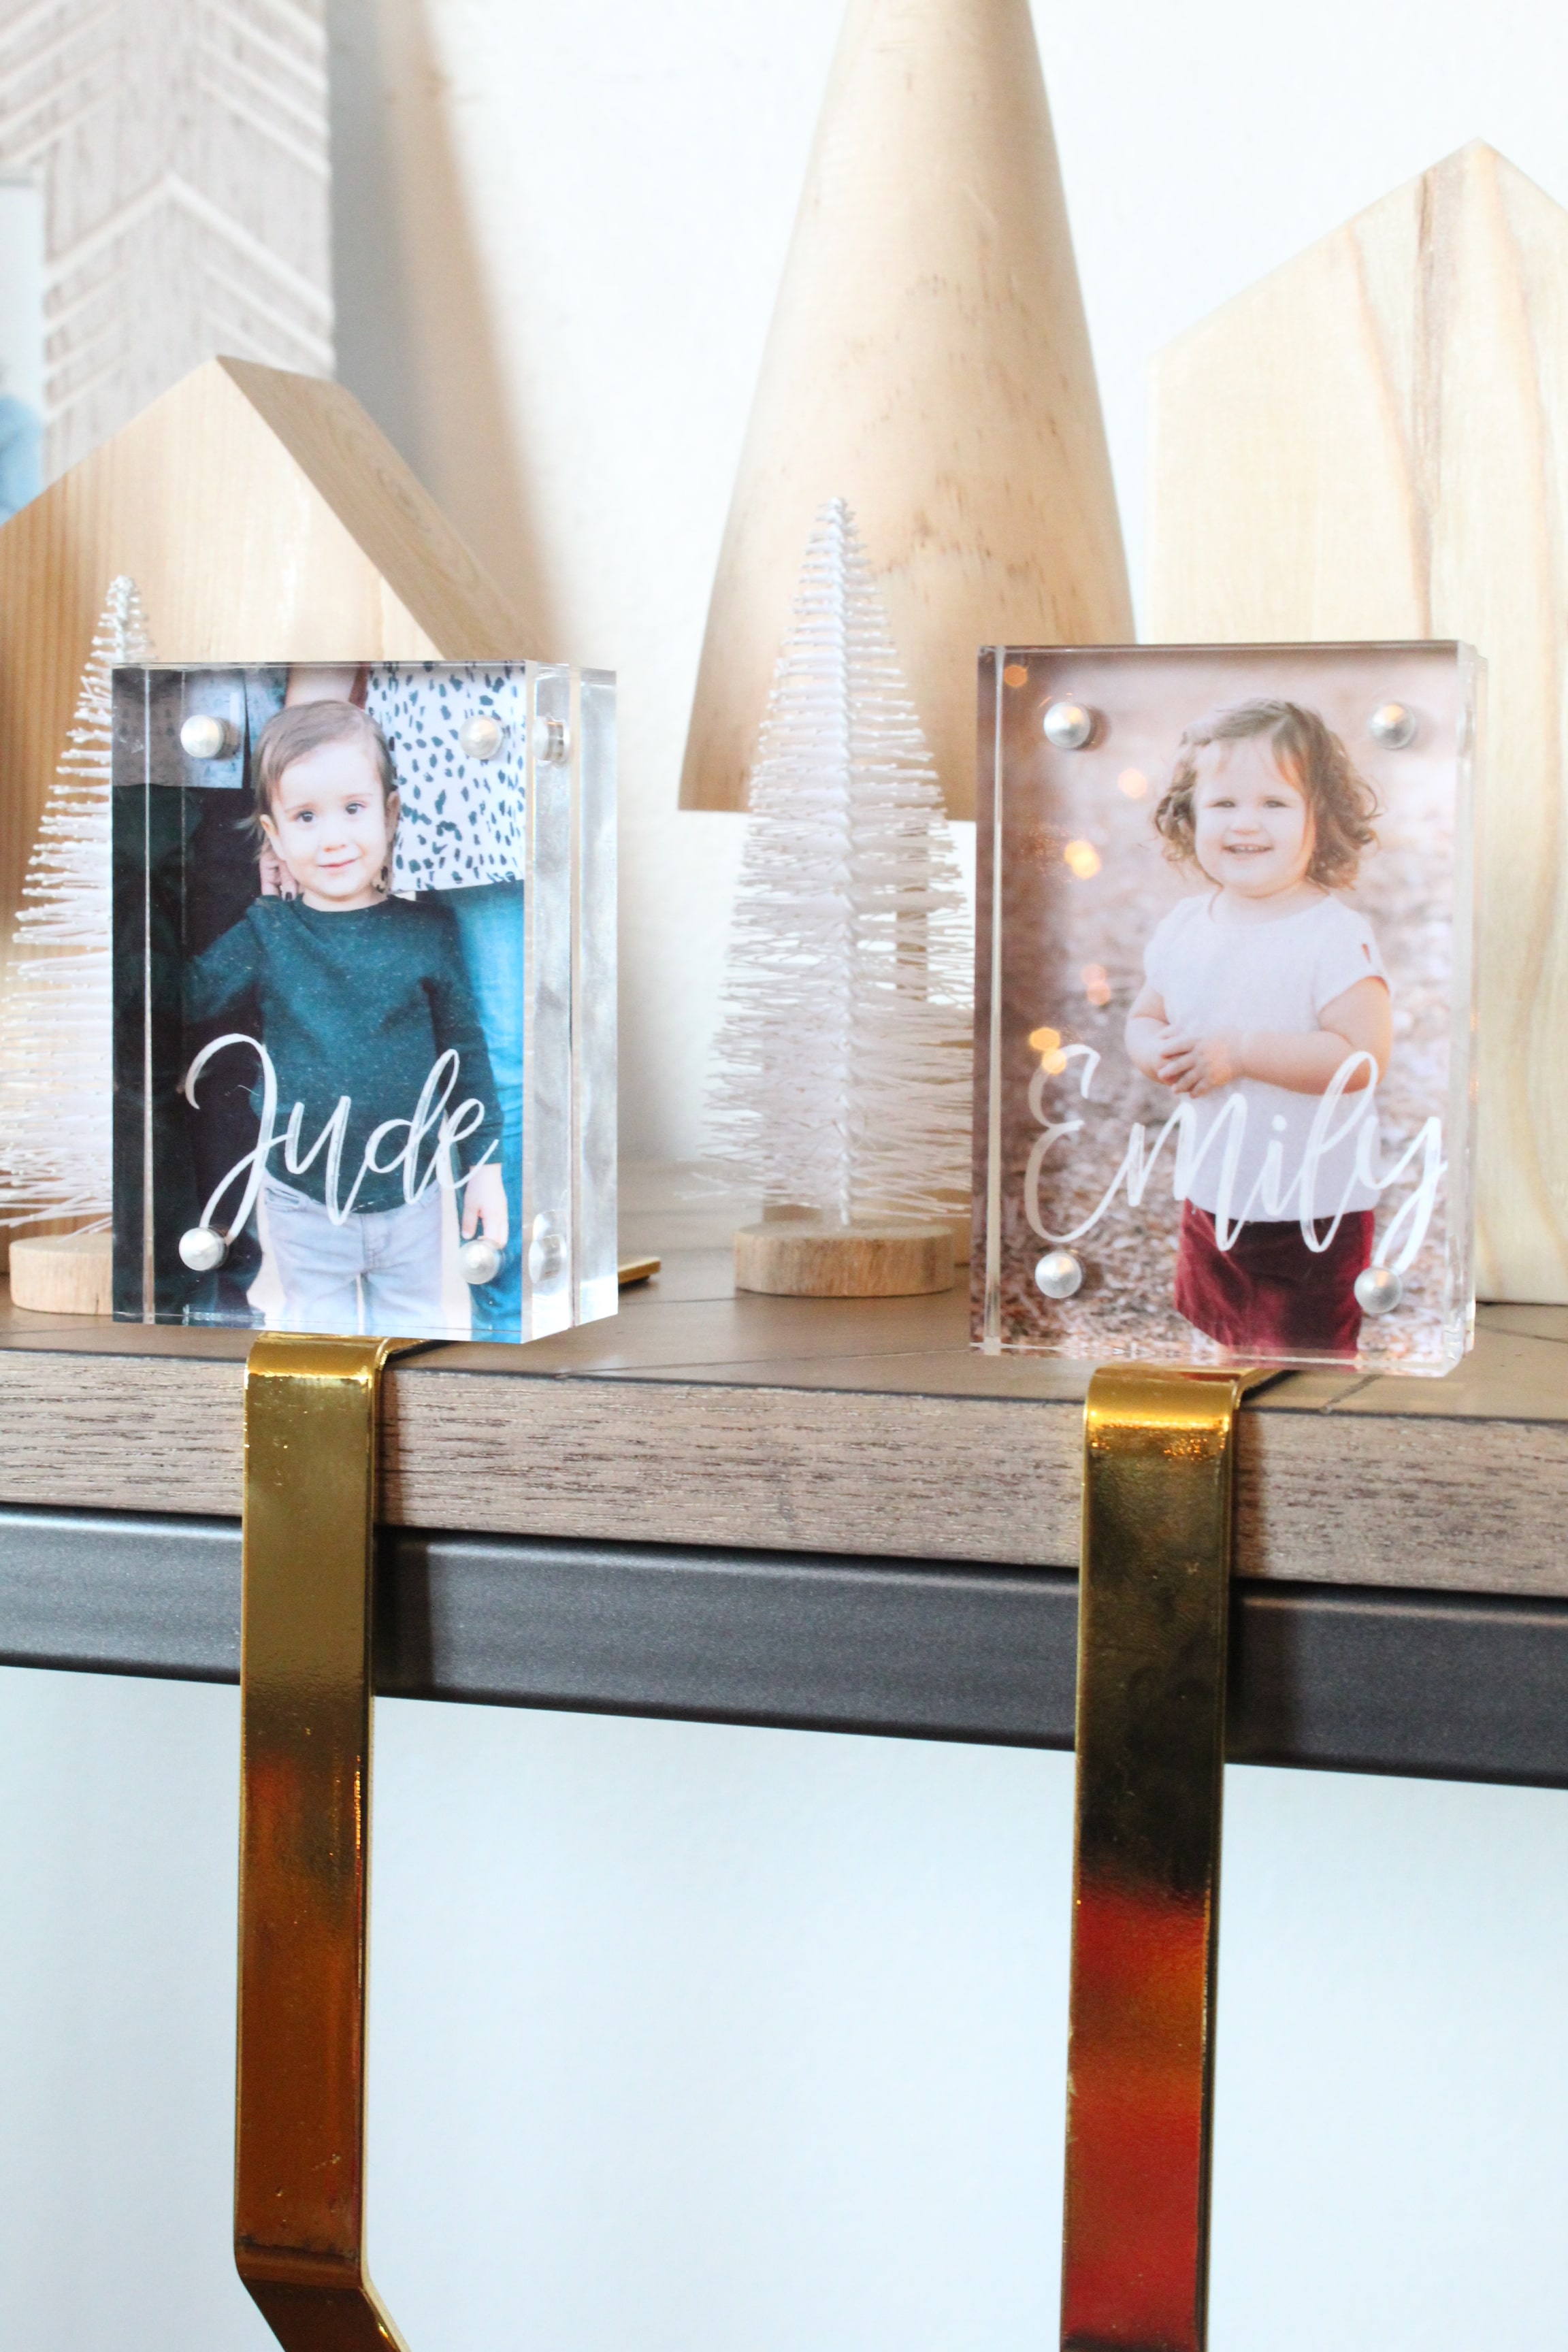
DIY Framed Stocking Holder
Happy Holidays friends! Shea here to help you put a little craft in your Christmas! I’ve been on the hunt for new stocking holders for YEARS but I’m pretty picky about my holiday decor because I want it to last at least several years. Then the other day I found some from West Elm that I loved, but I didn’t love the $45 price tag. So I did what any DIY-er would do and said “I could make that!” and I did (for only about ten dollars a piece)! And now I’m going to show you how!
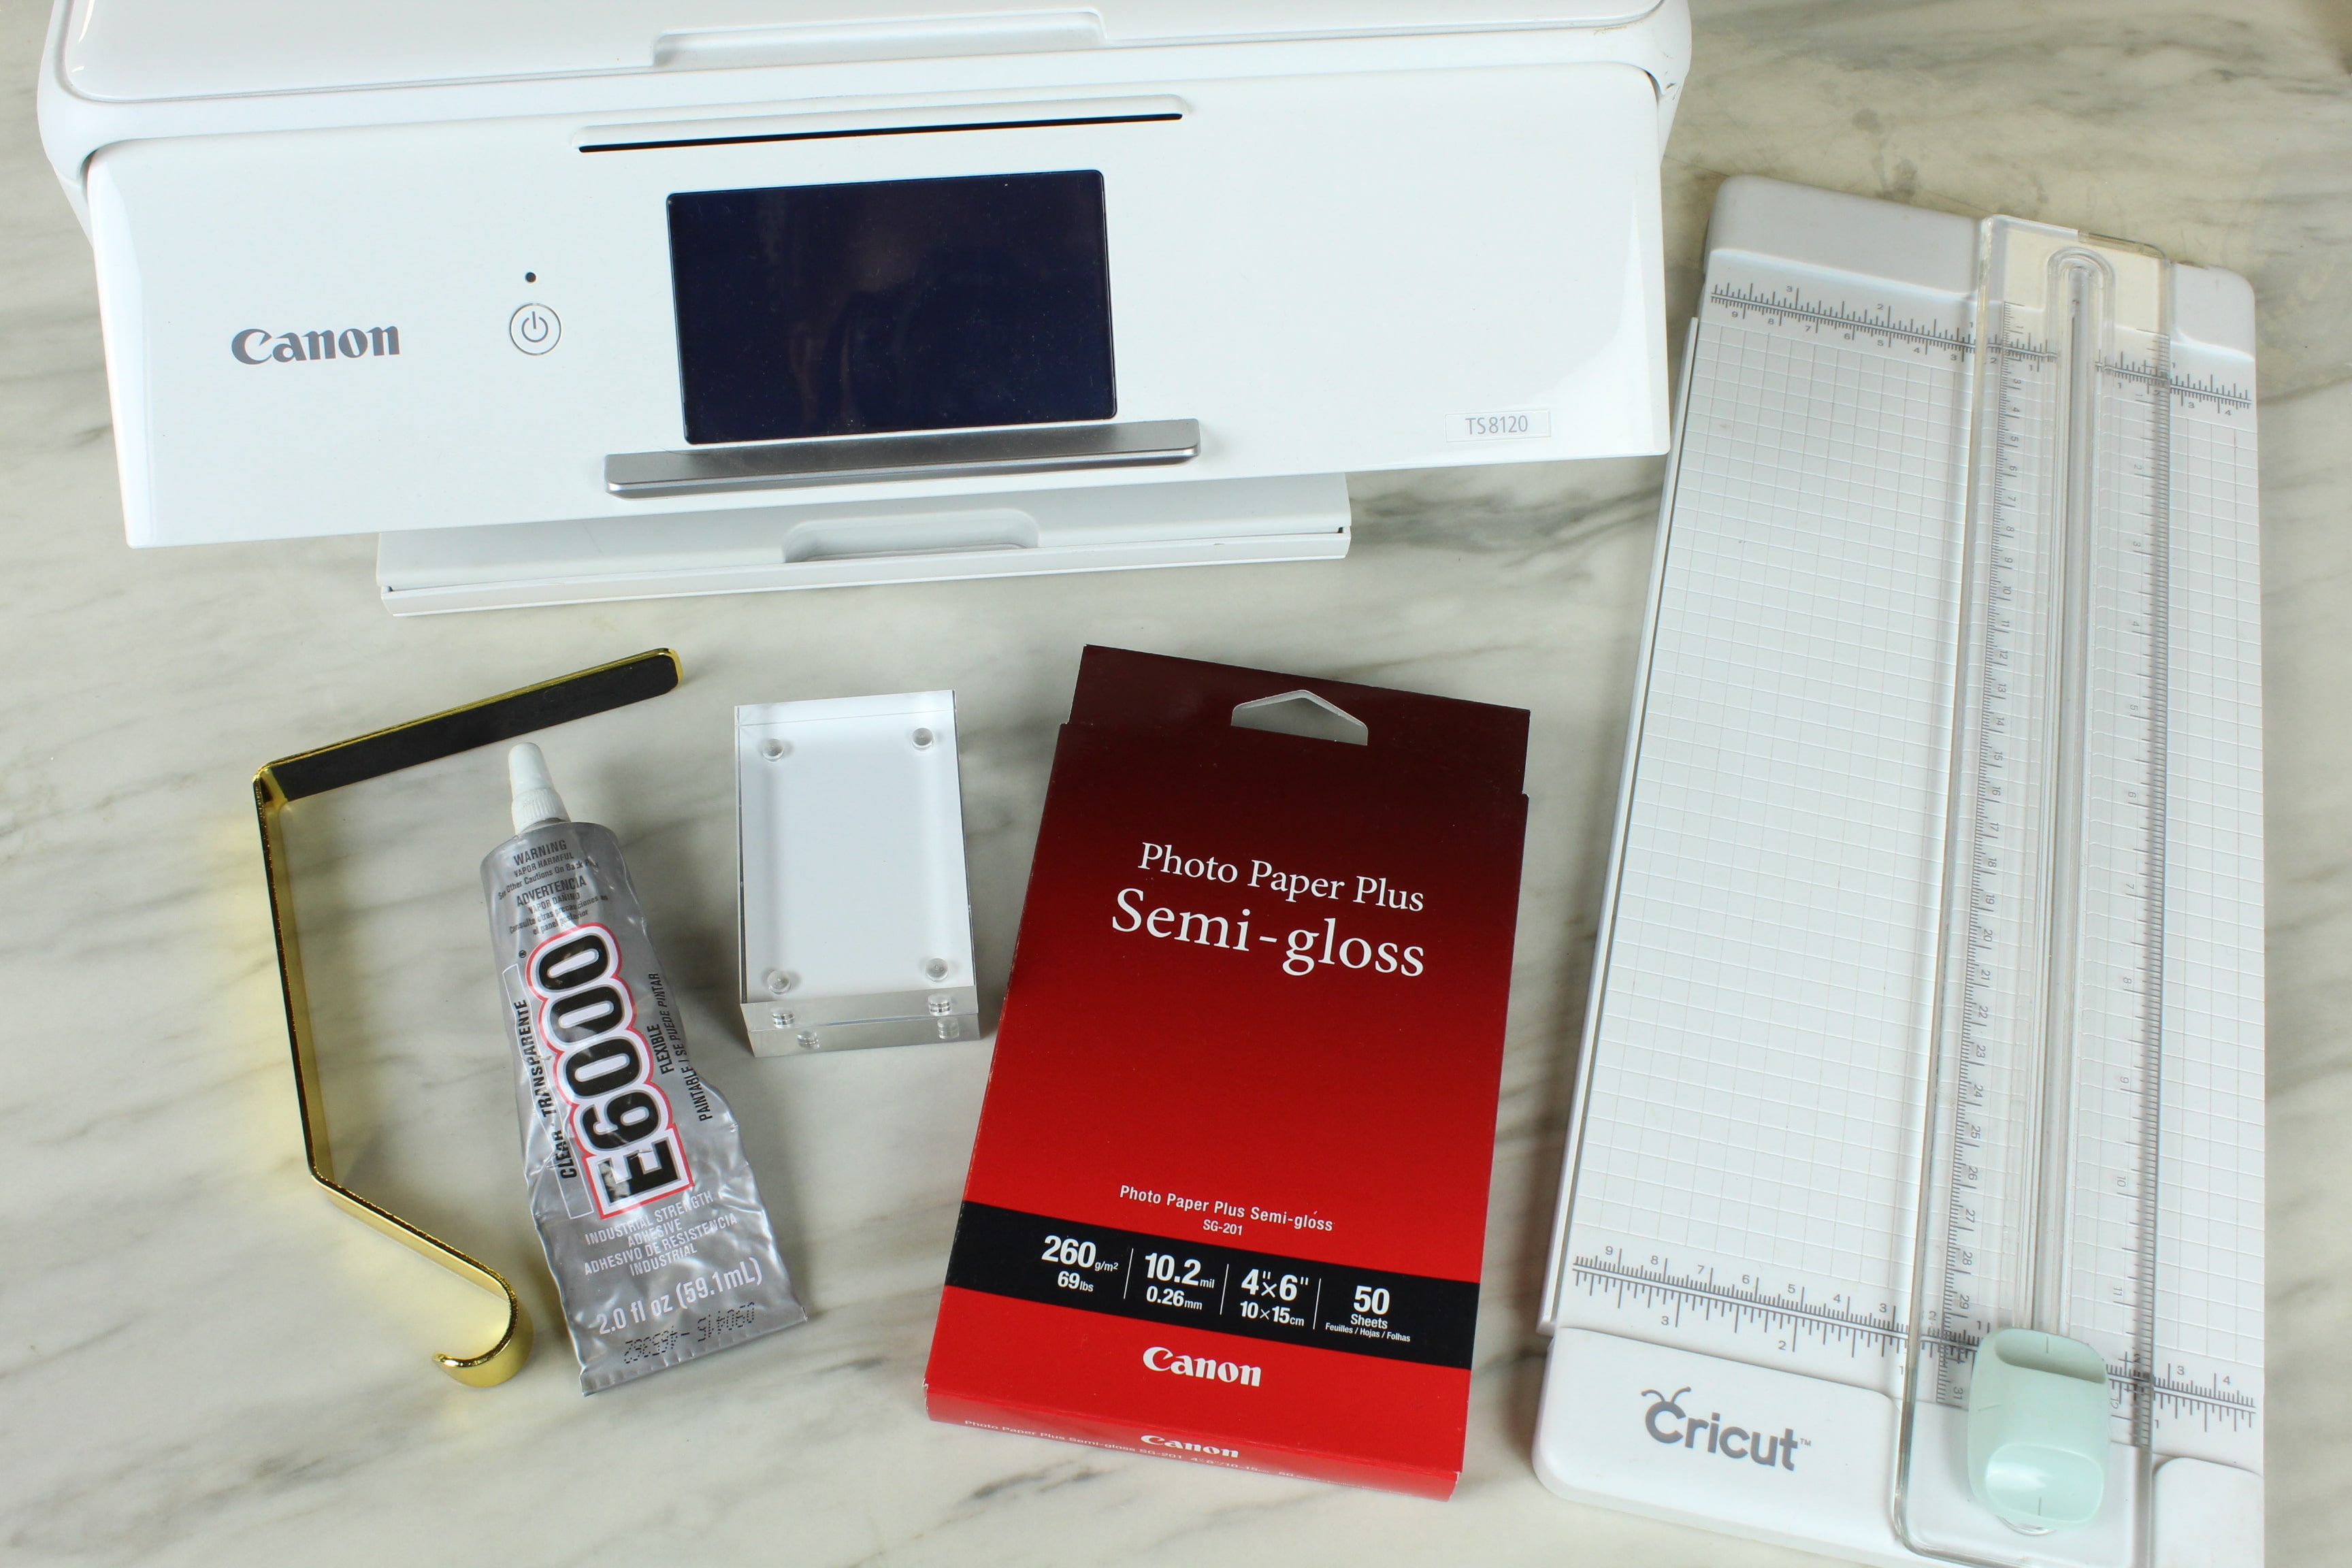
Supplies:
- Printer
- Photo Paper
- Stocking Hook
- Magnetic Frame
- Paper Trimmer
- Industrial Strength Adhesive
Design Your Photos
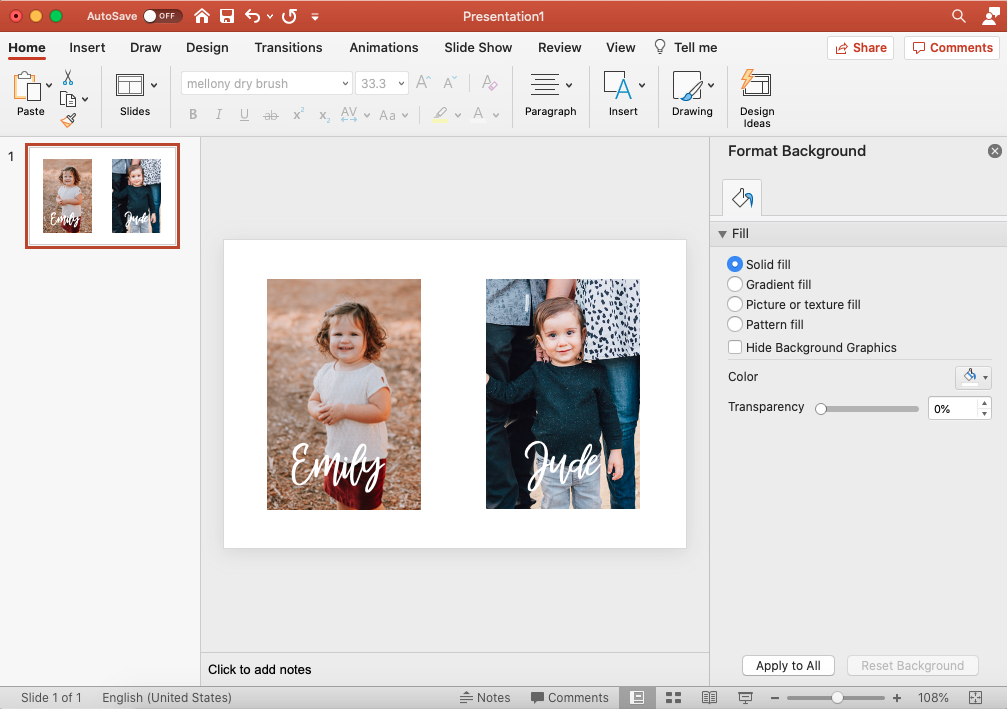
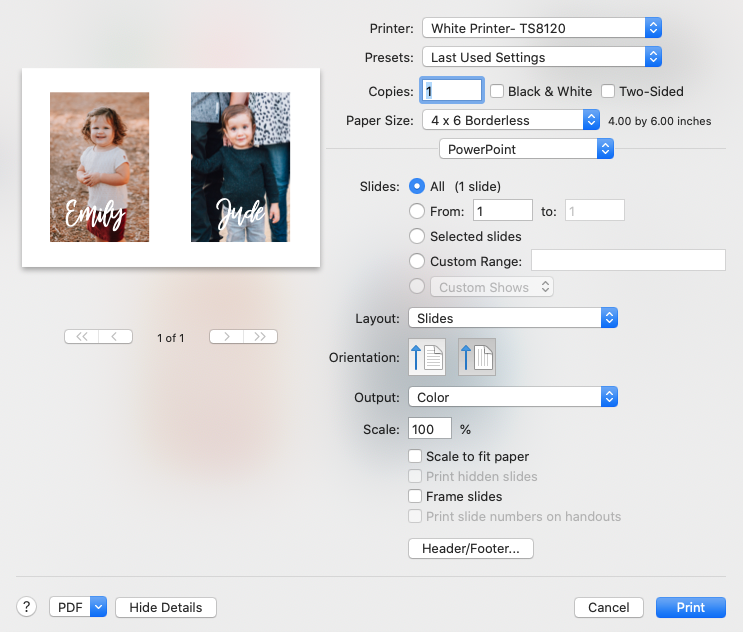
It’s no secret that one of my favorite “design software” is PowerPoint (yes, you read that right). So I used my trusty PowerPoint to upload the photos I wanted to use onto a 4 inch by 6 inch slide.
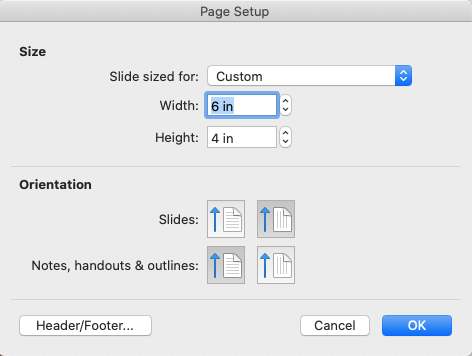
I sized the photos down to 2 inches by 3 inches (you can crop within PowerPoint if you need to). And then I added the names on top. This isn’t really neccessary, as the photo tells you whose is whose, I just like the look of it. Totally your call.
Print Your Photos
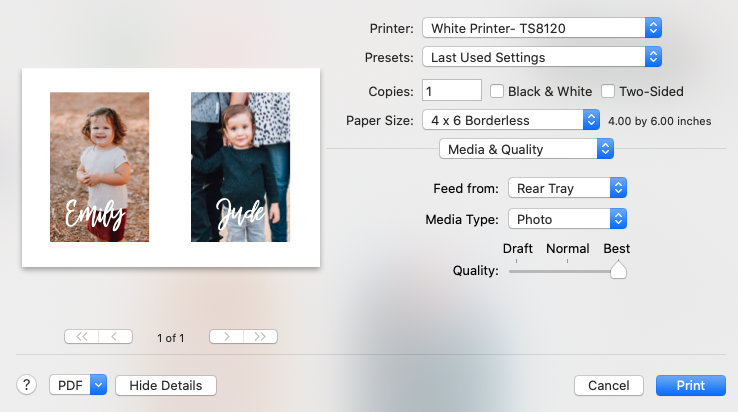
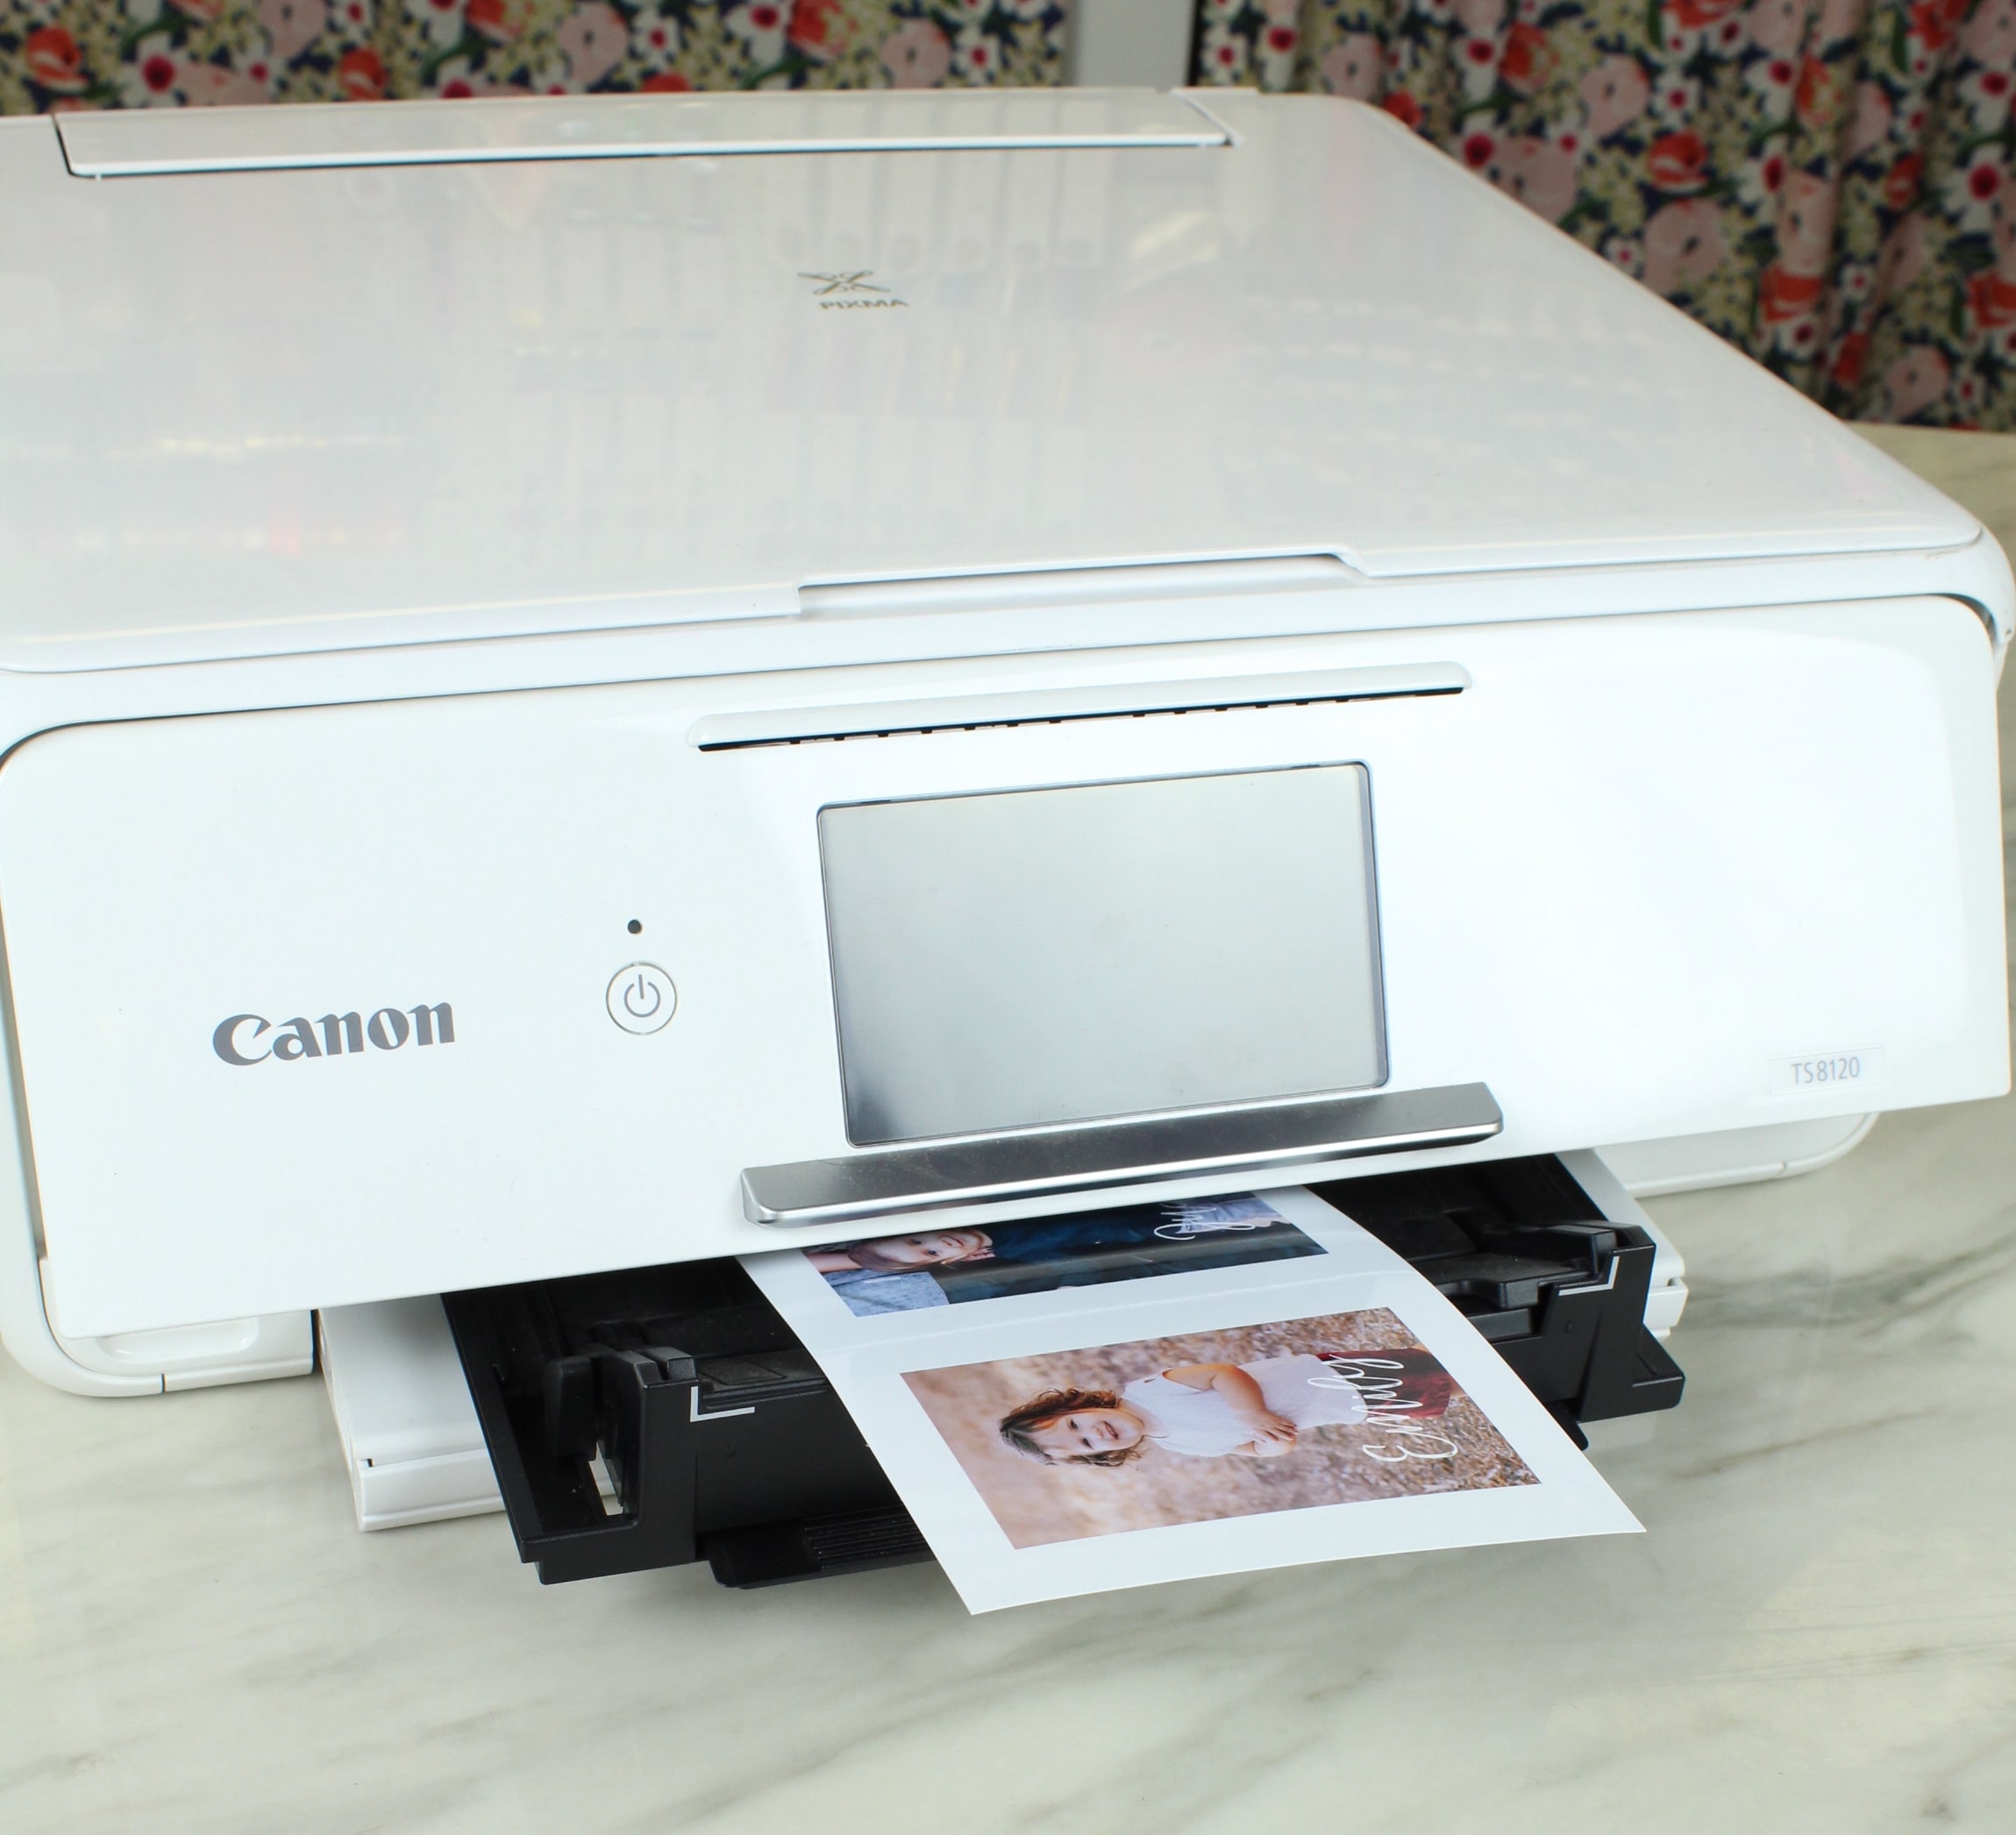
Then print the photo, being sure to adjust your printer settings so that it prints properly.
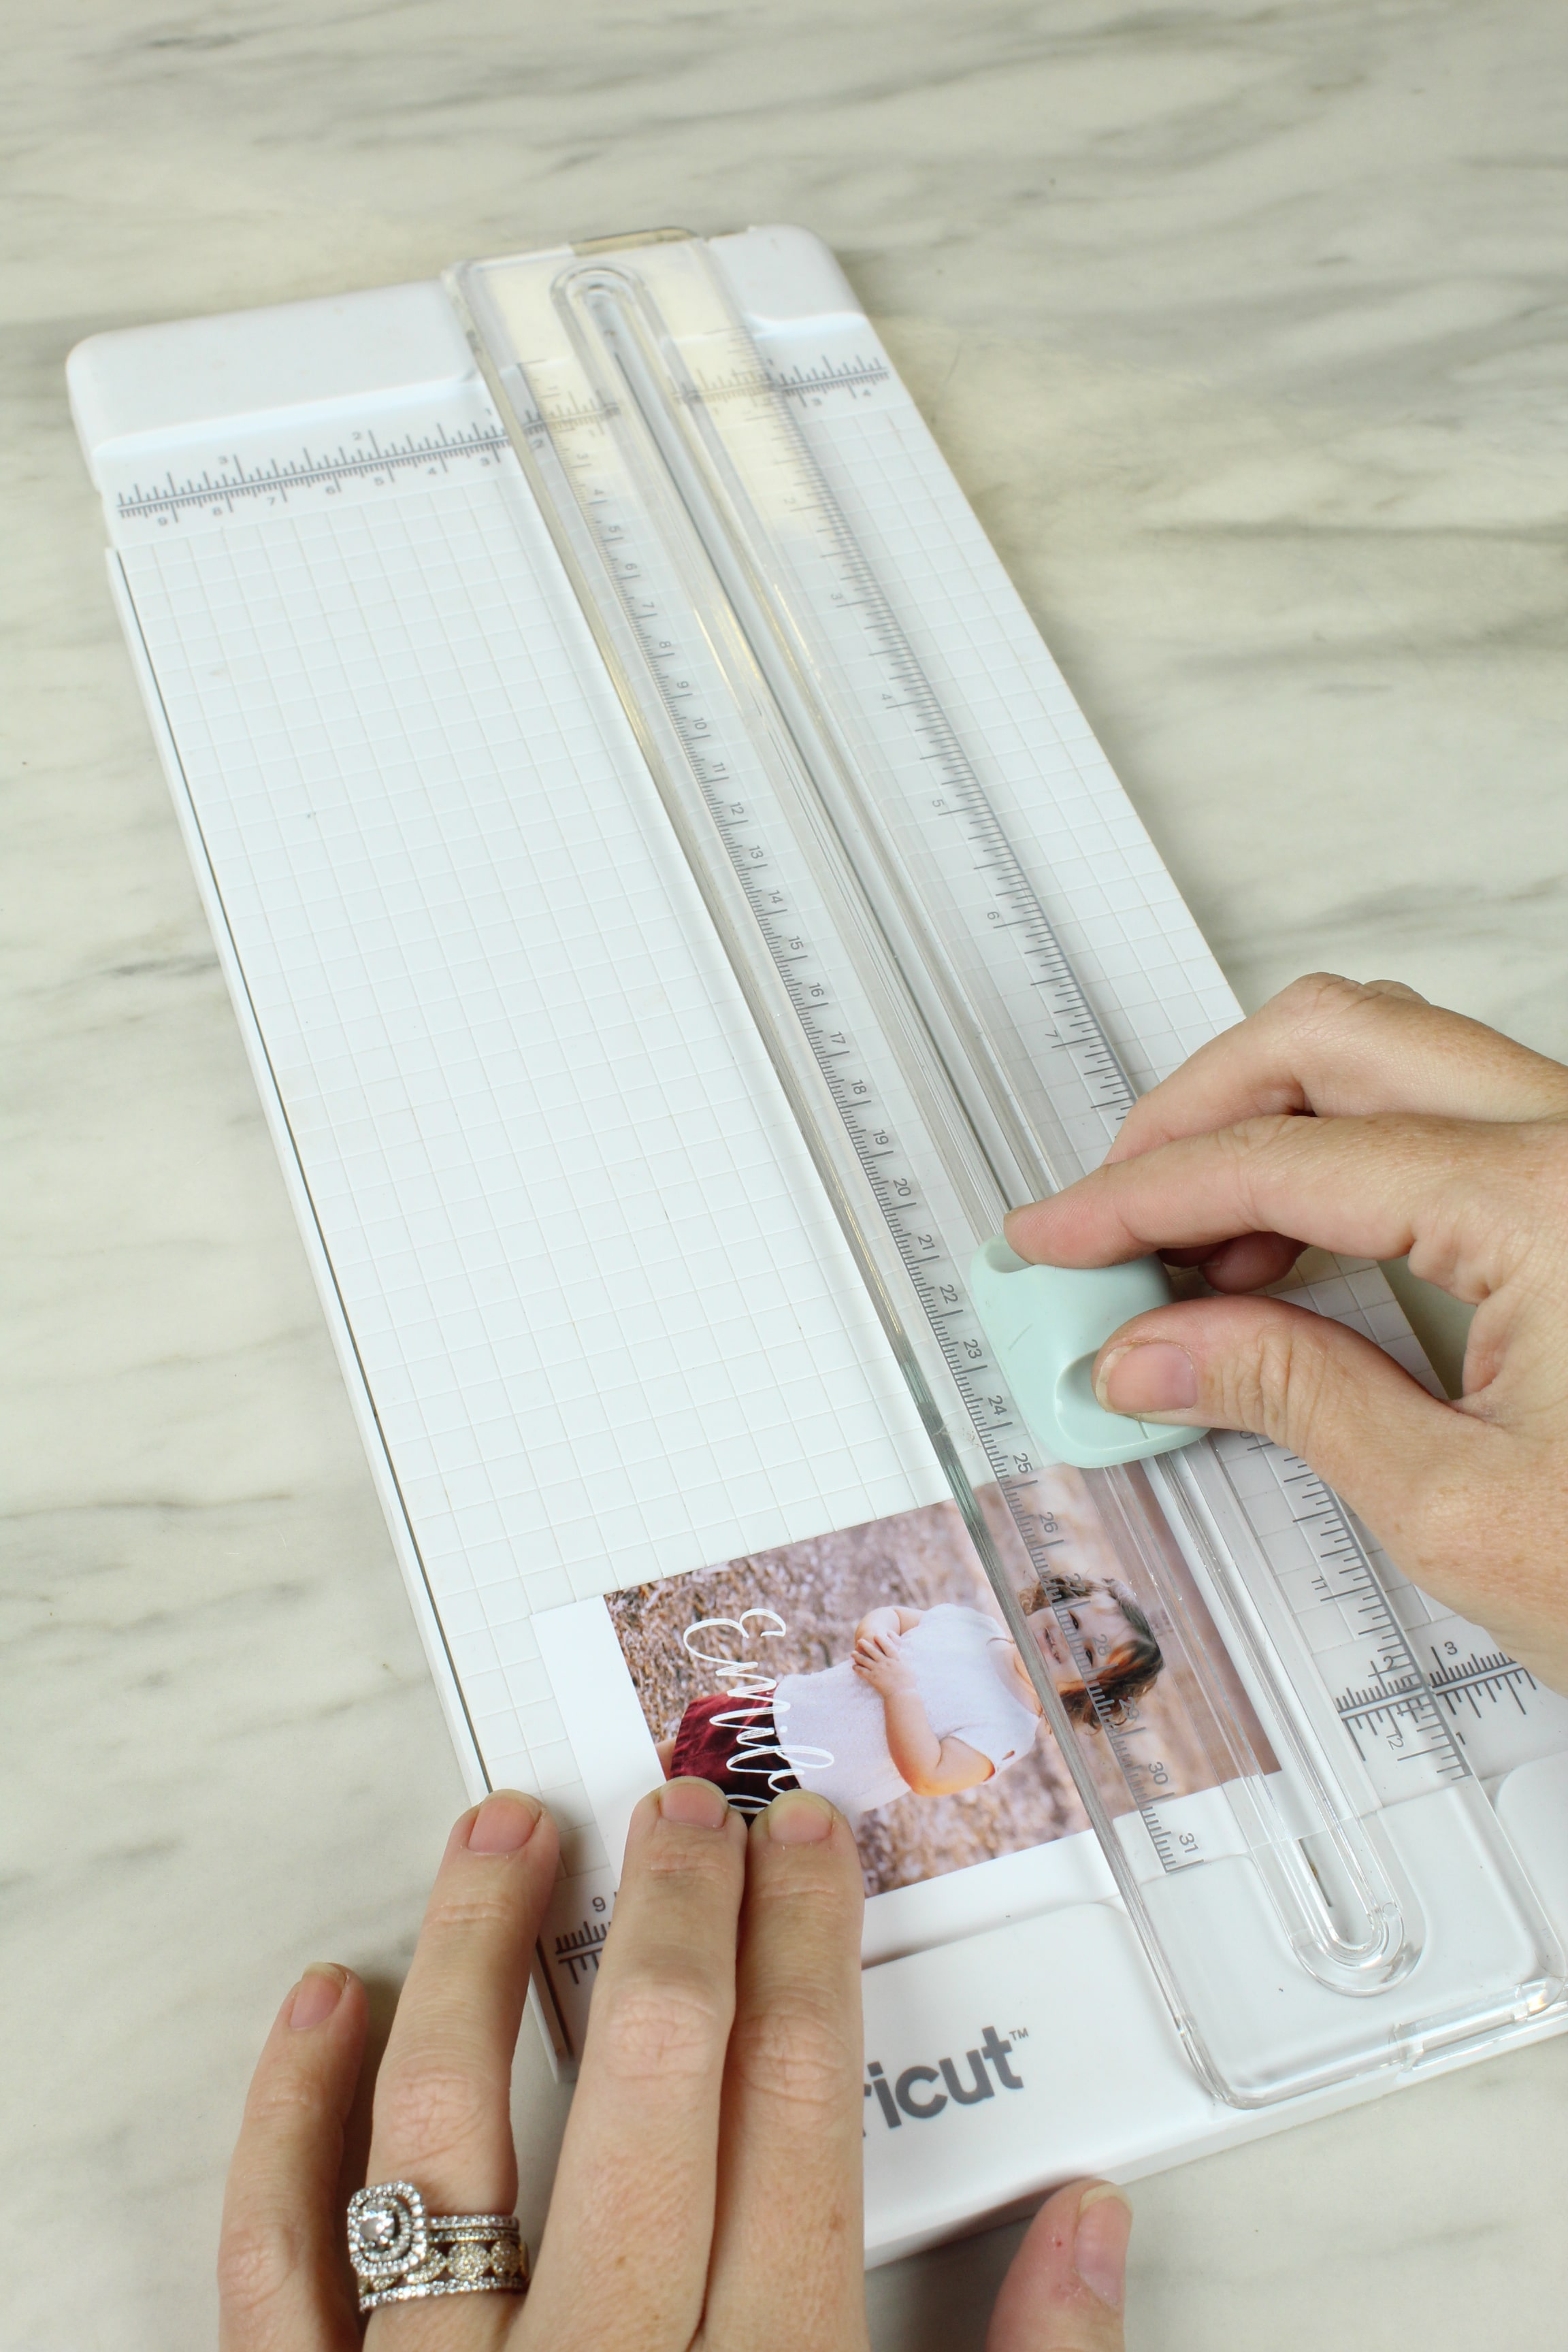
Trim Your Photos
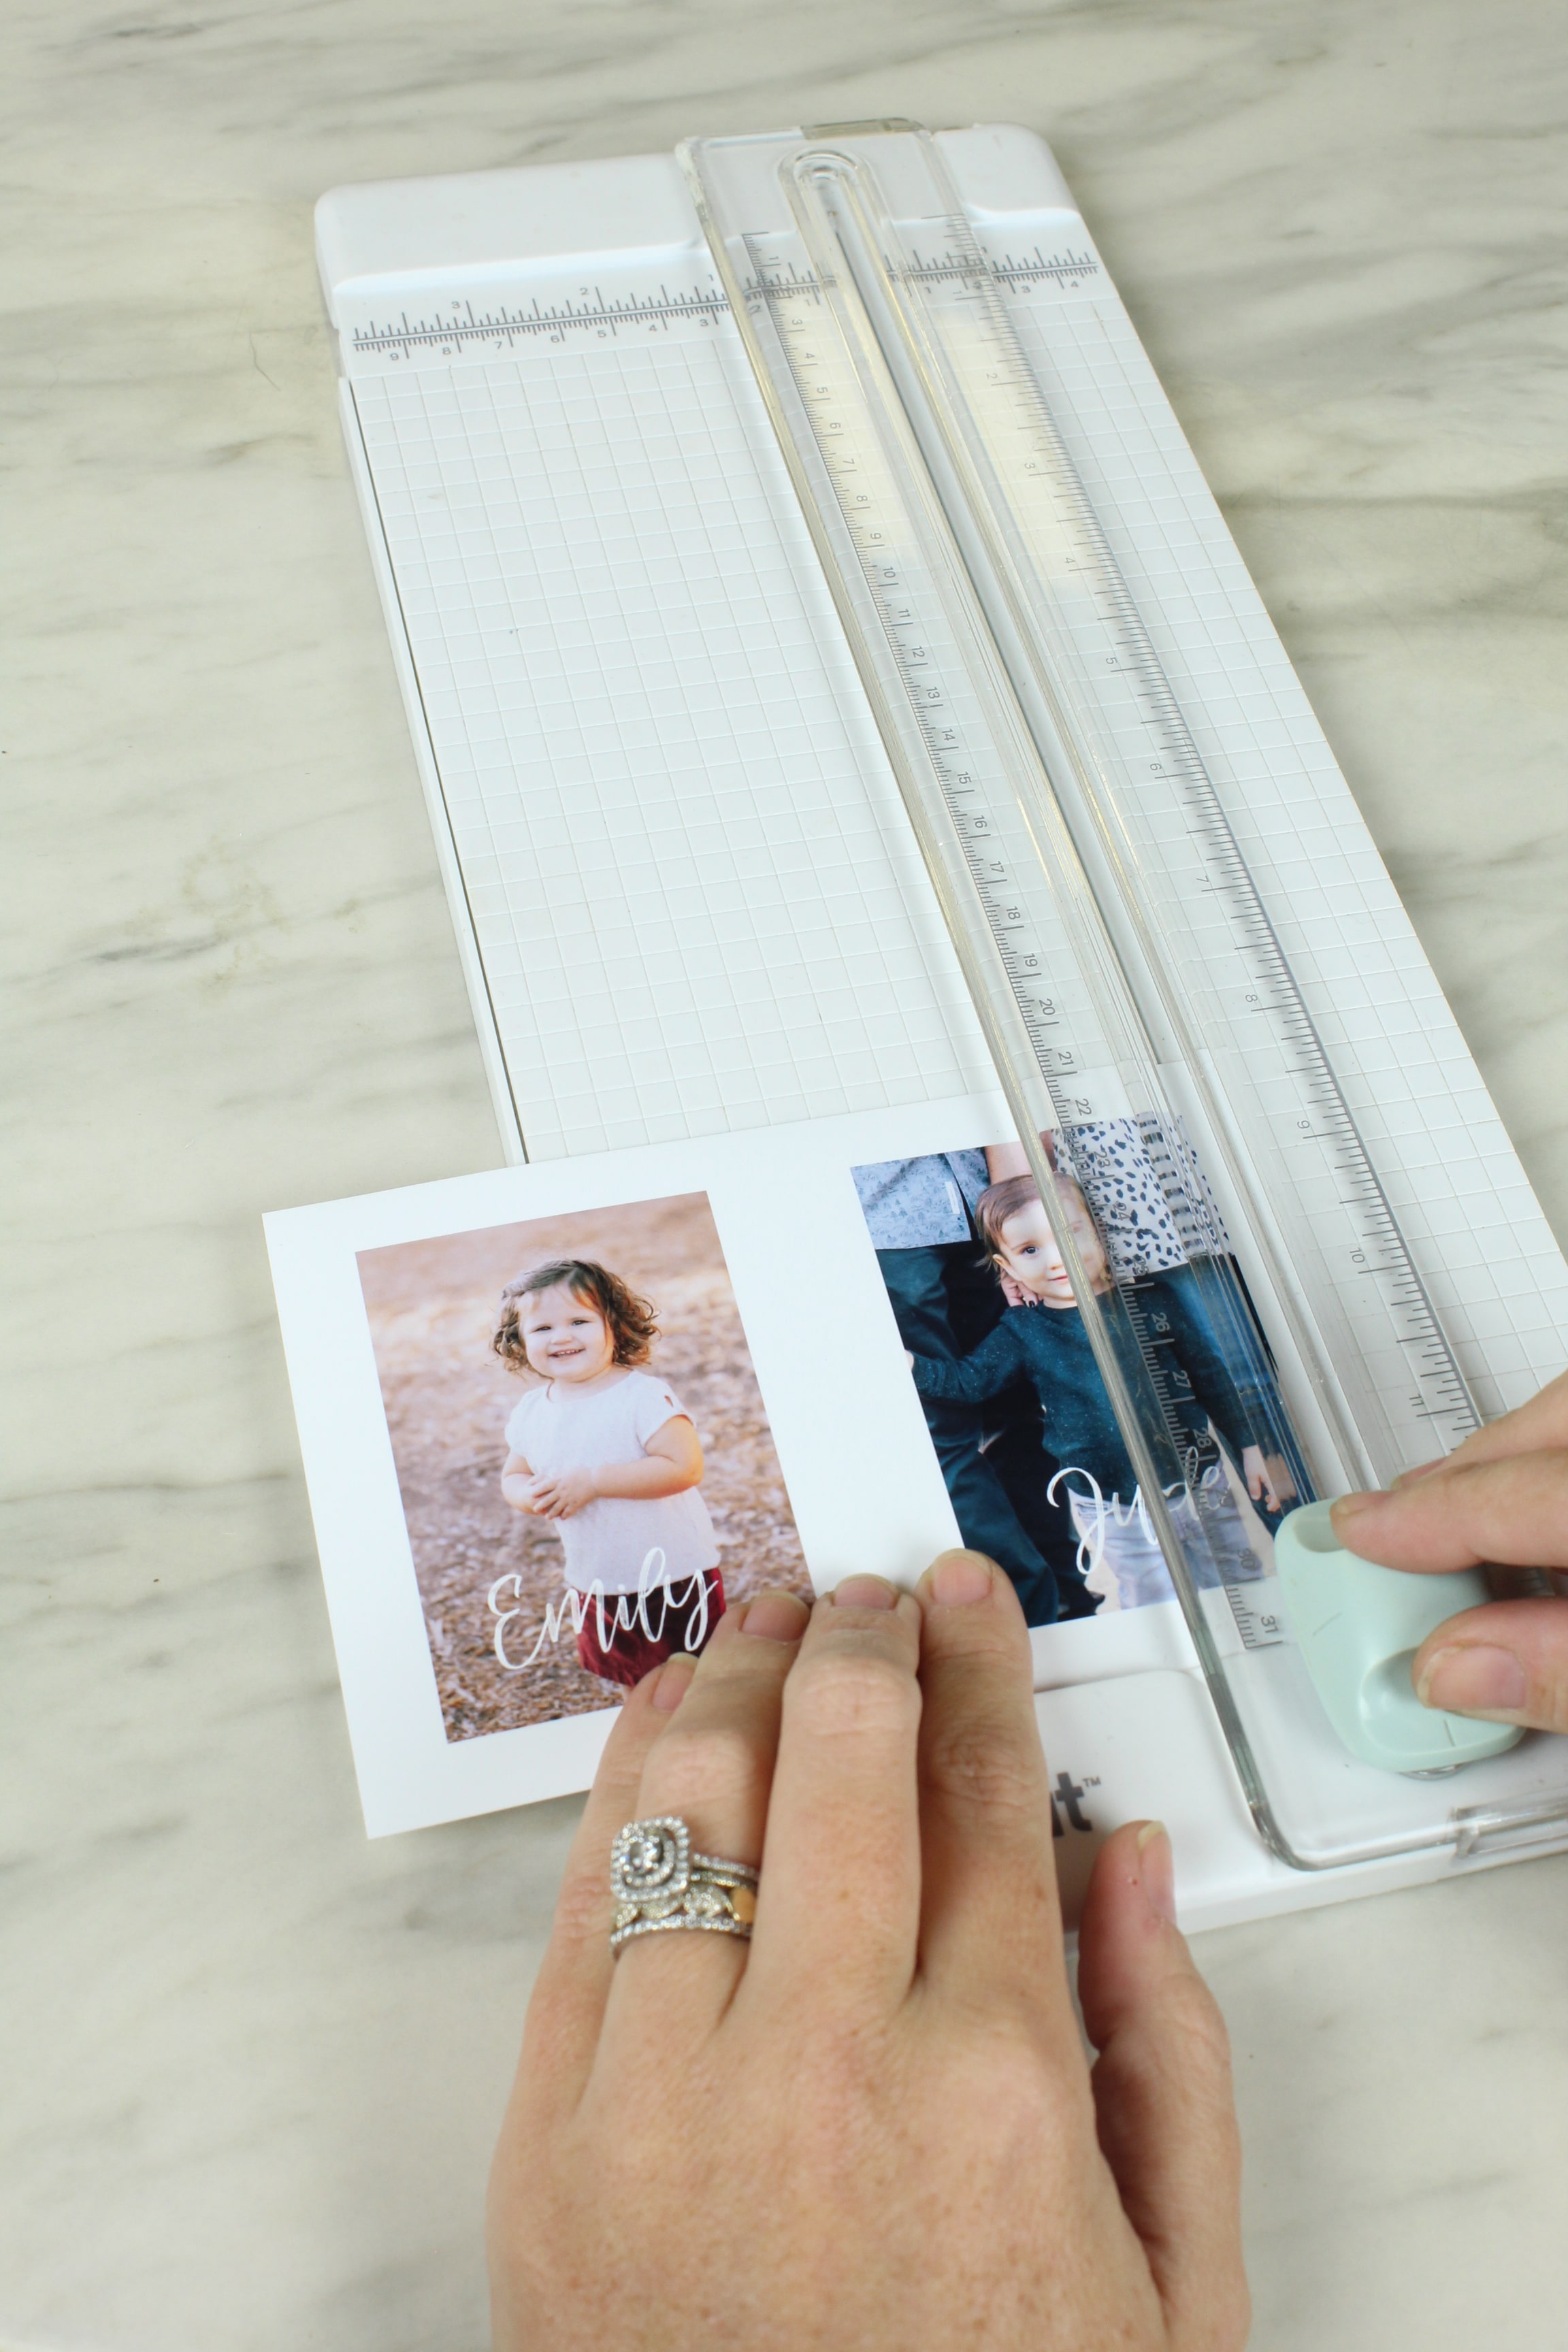
Using your paper trimmer (or scissors if you don’t have one) trim your photos down. If they didn’t print exactly 2 inches by 3 inches, cut them down to be sure they are so that they fit properly in the frame.

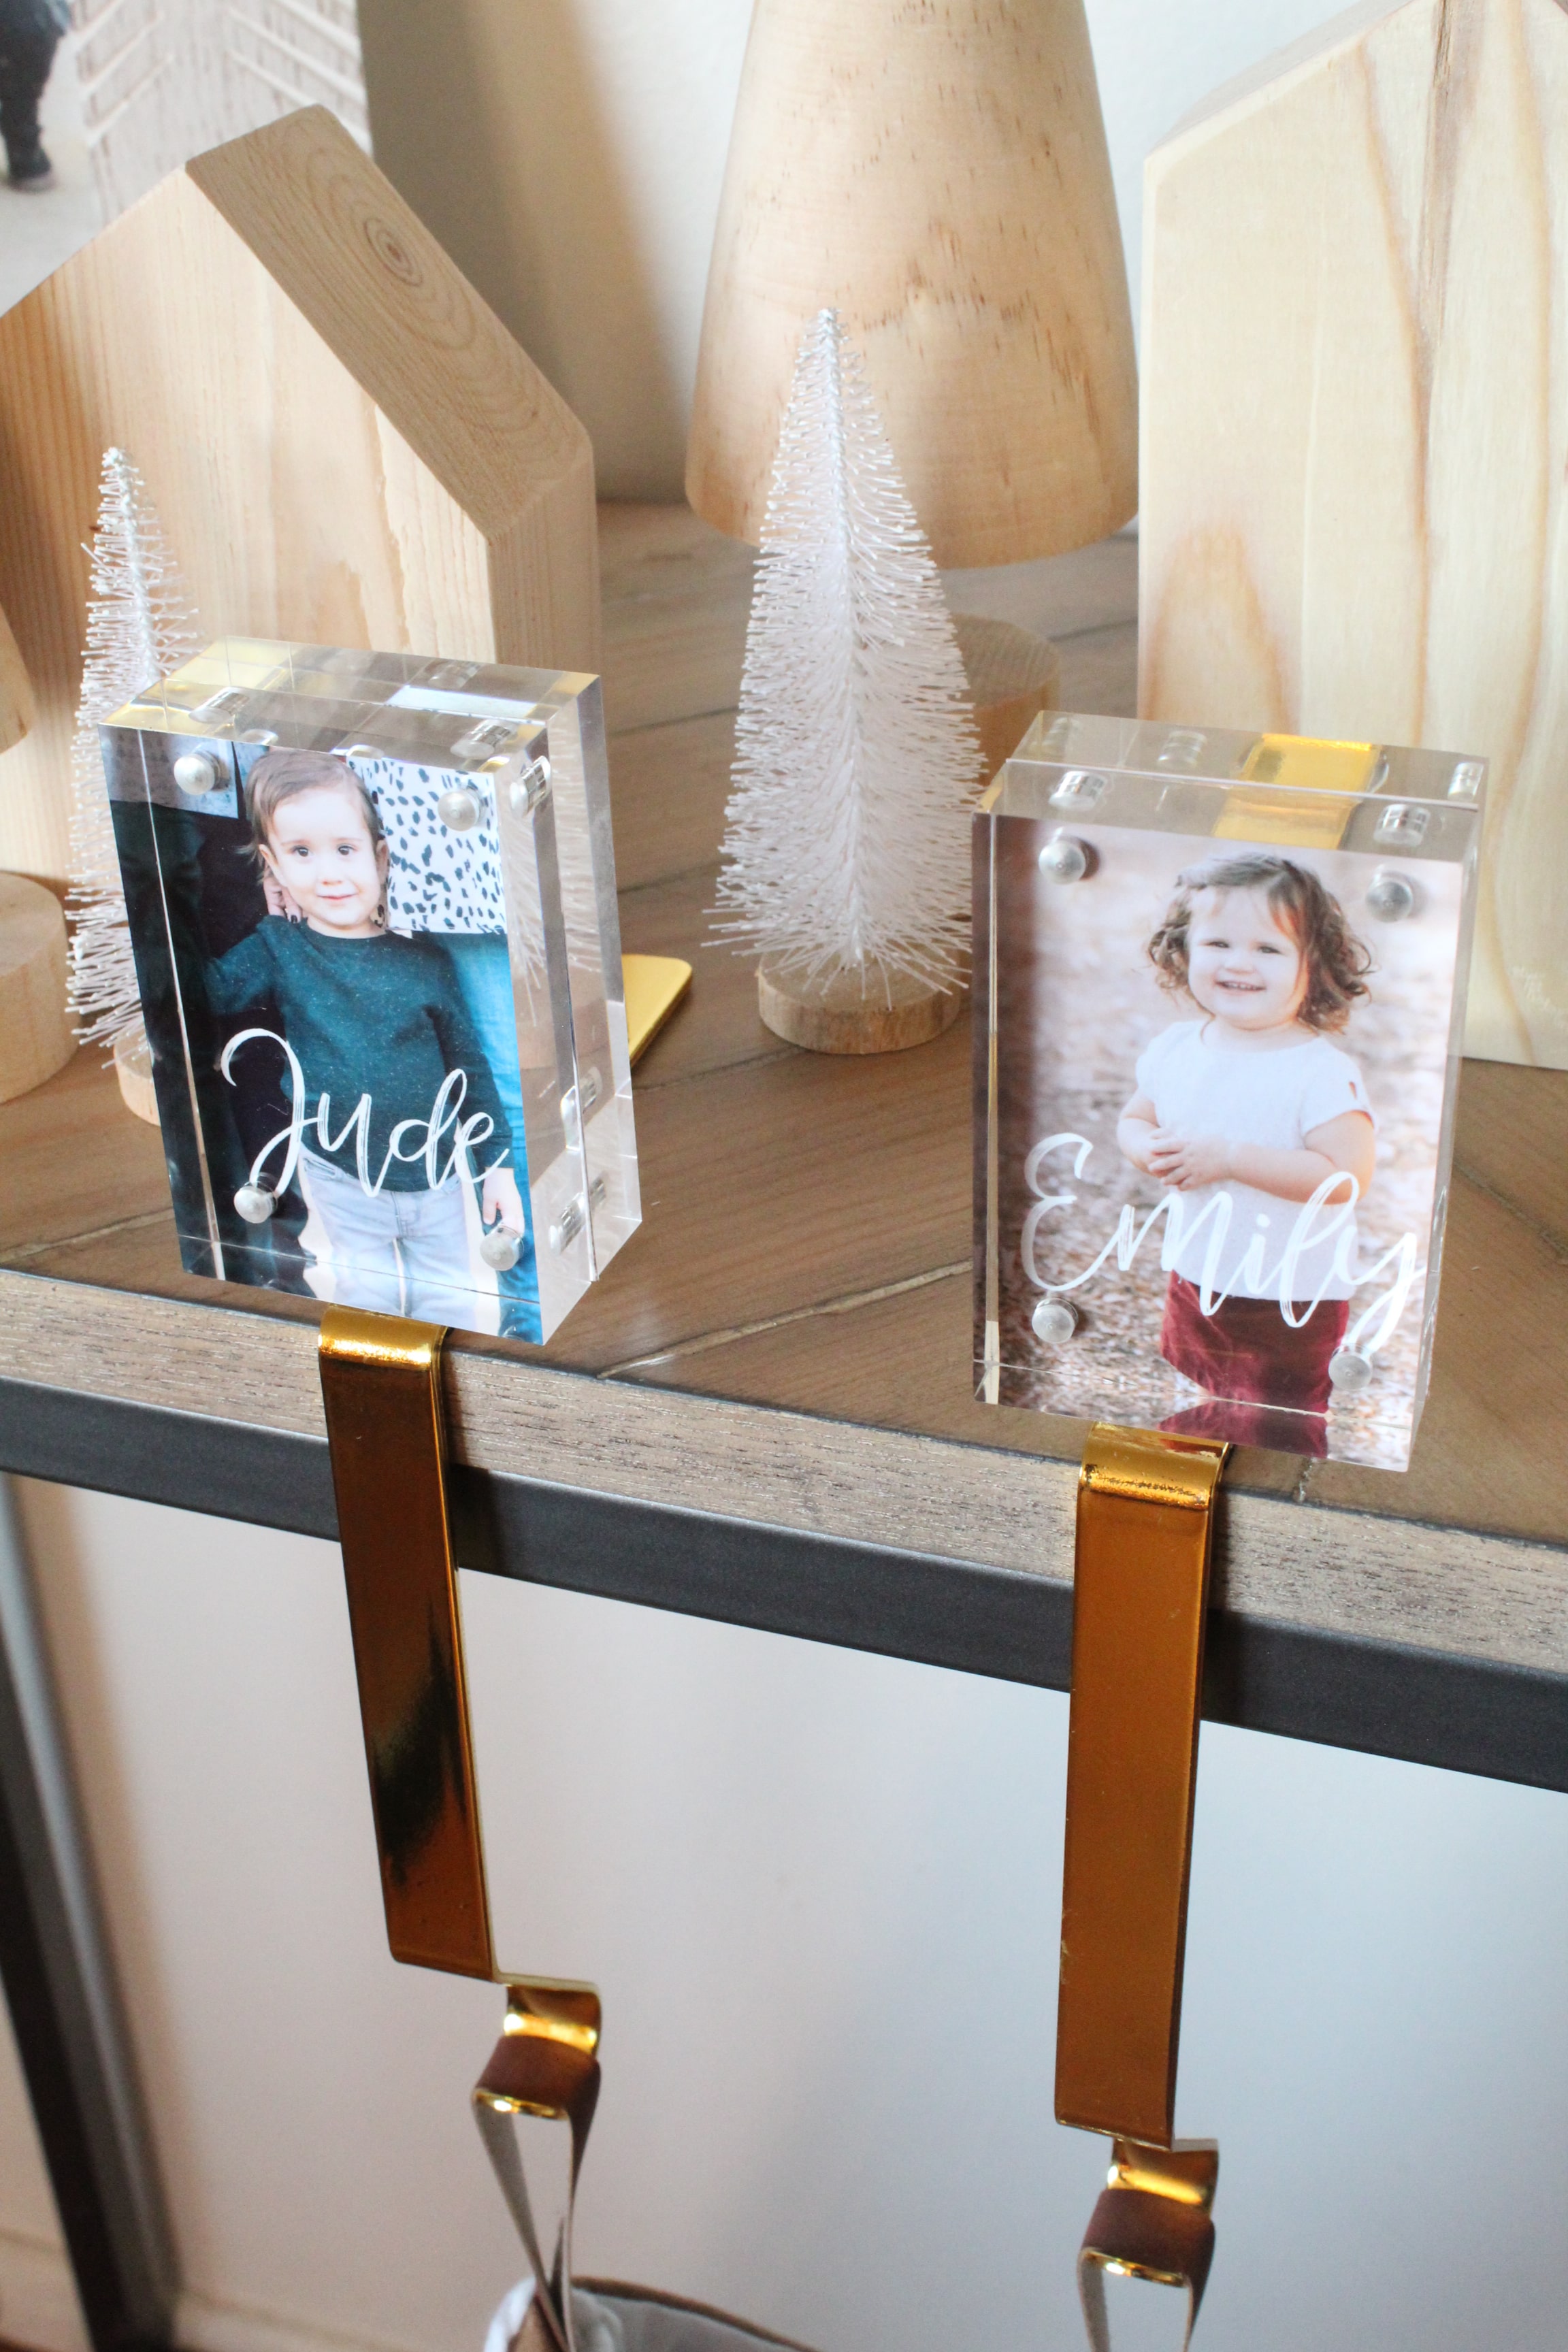
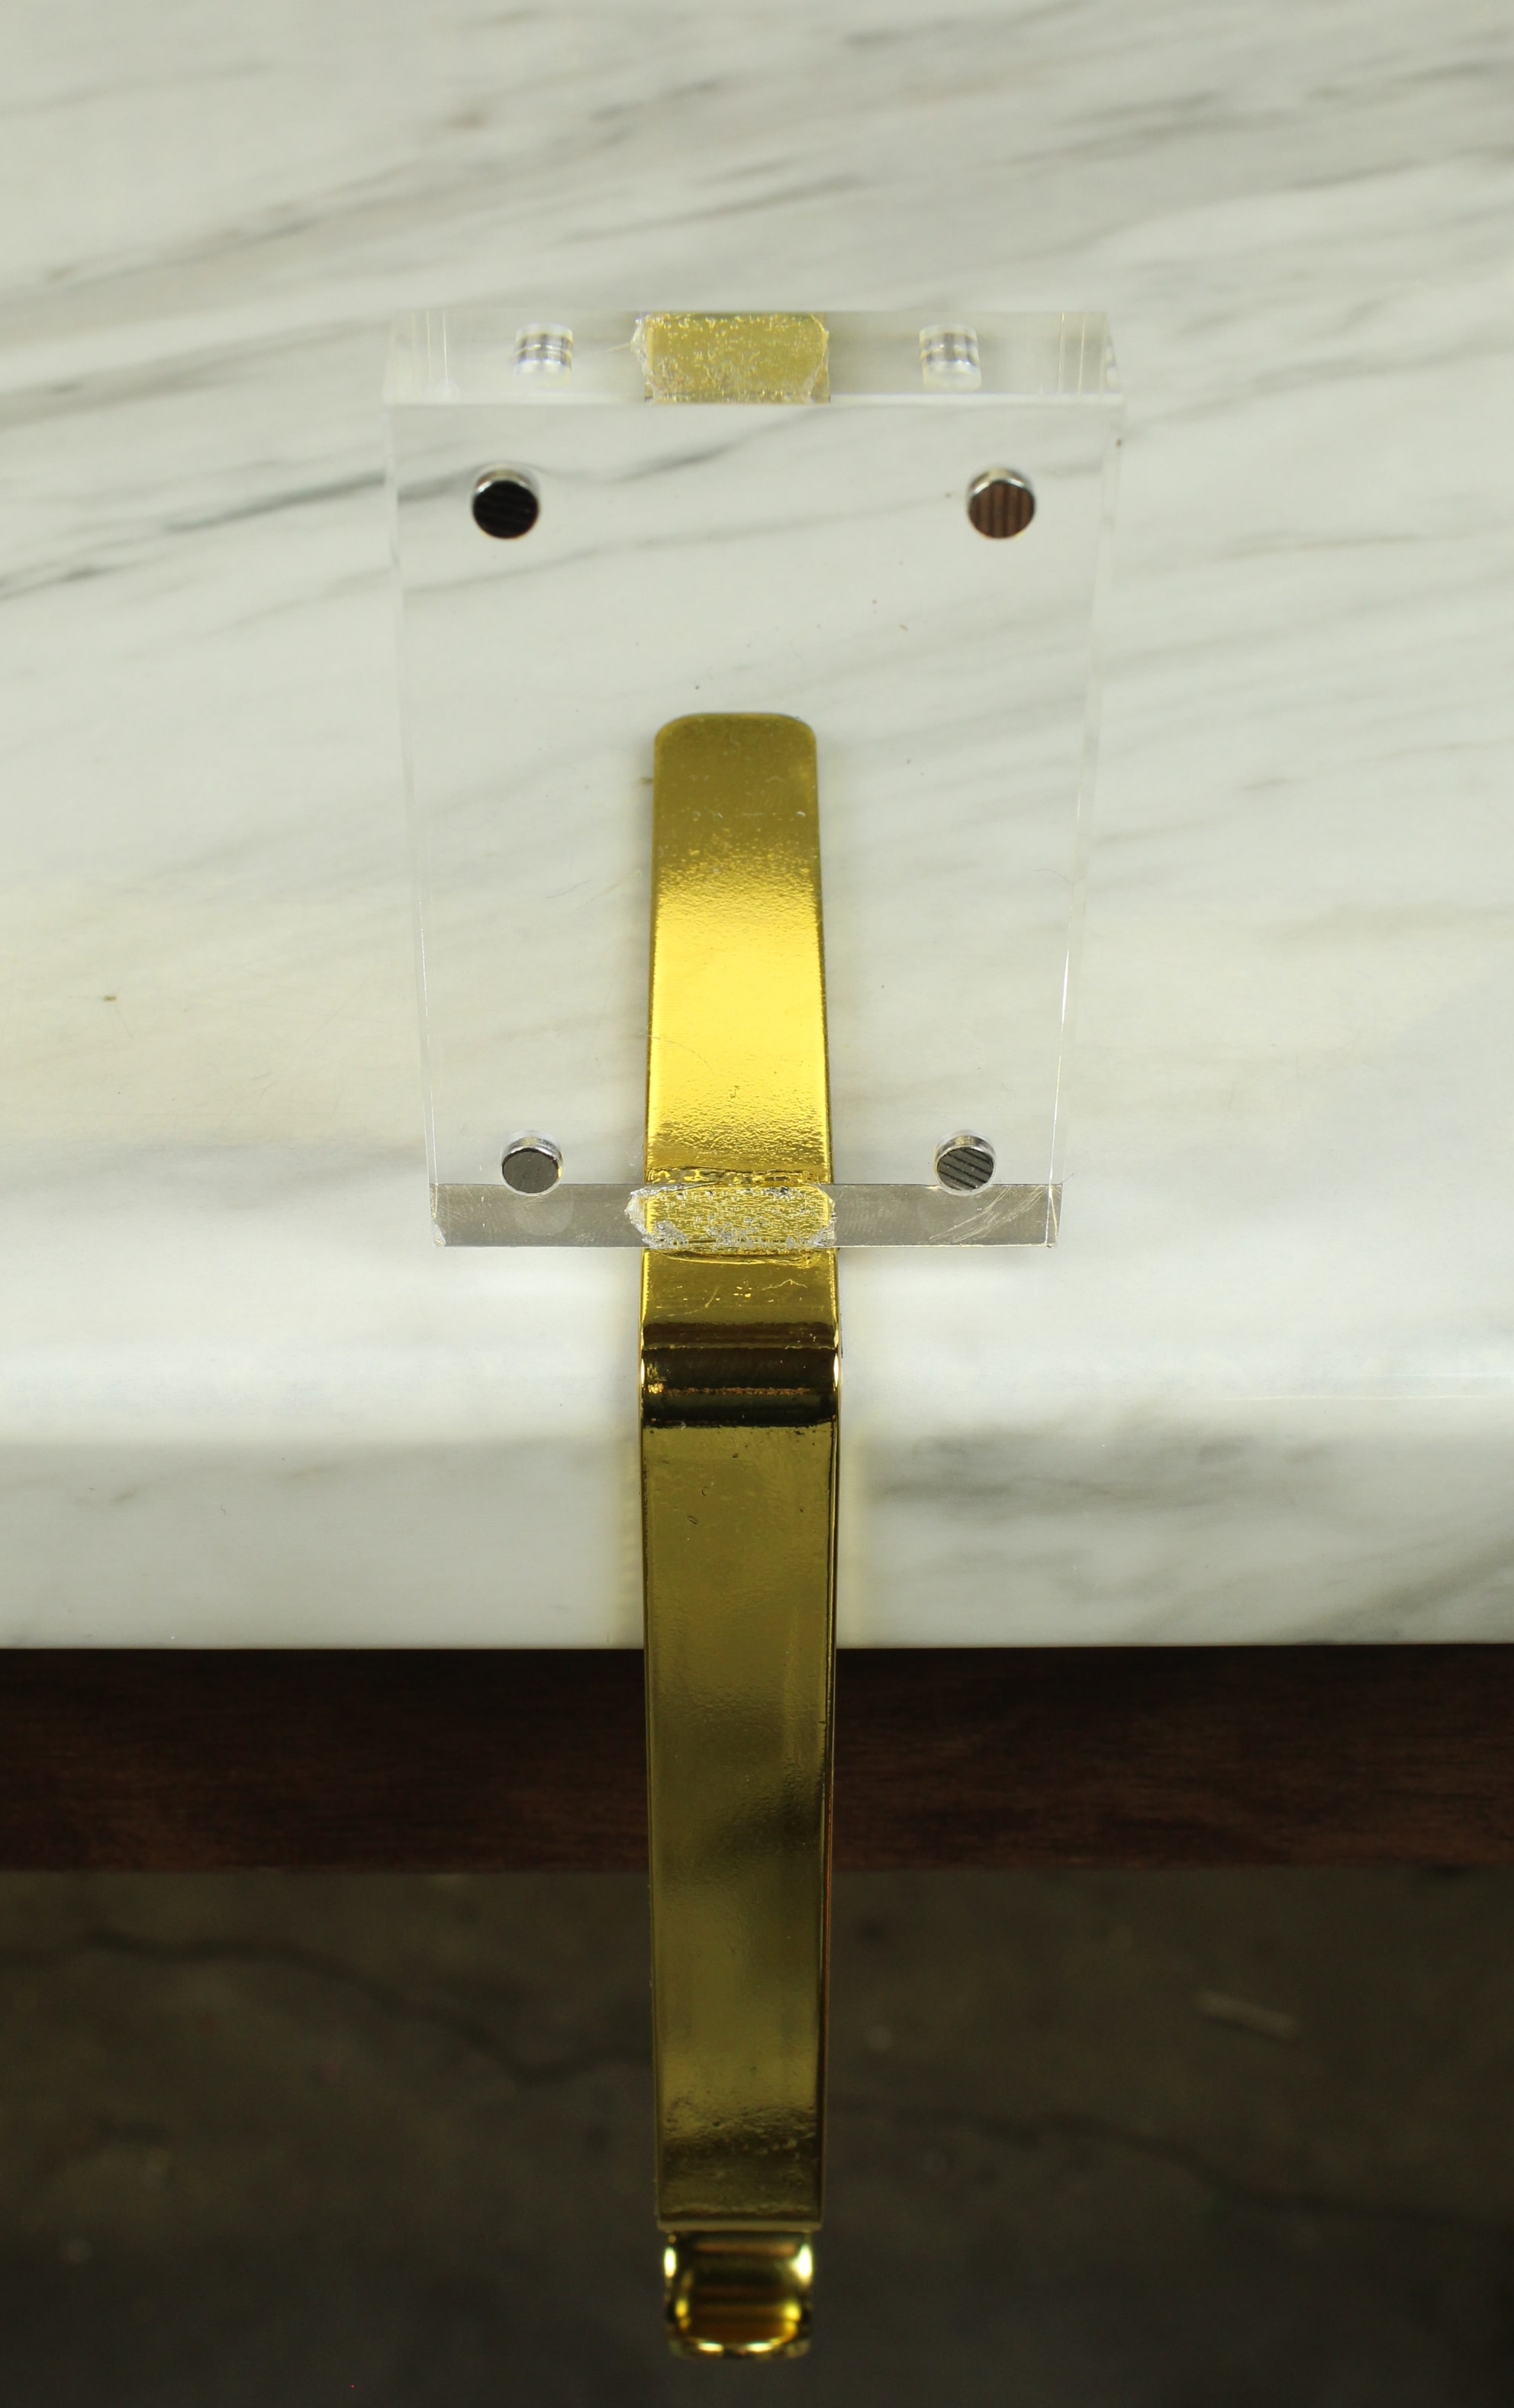
Glue Your Frame
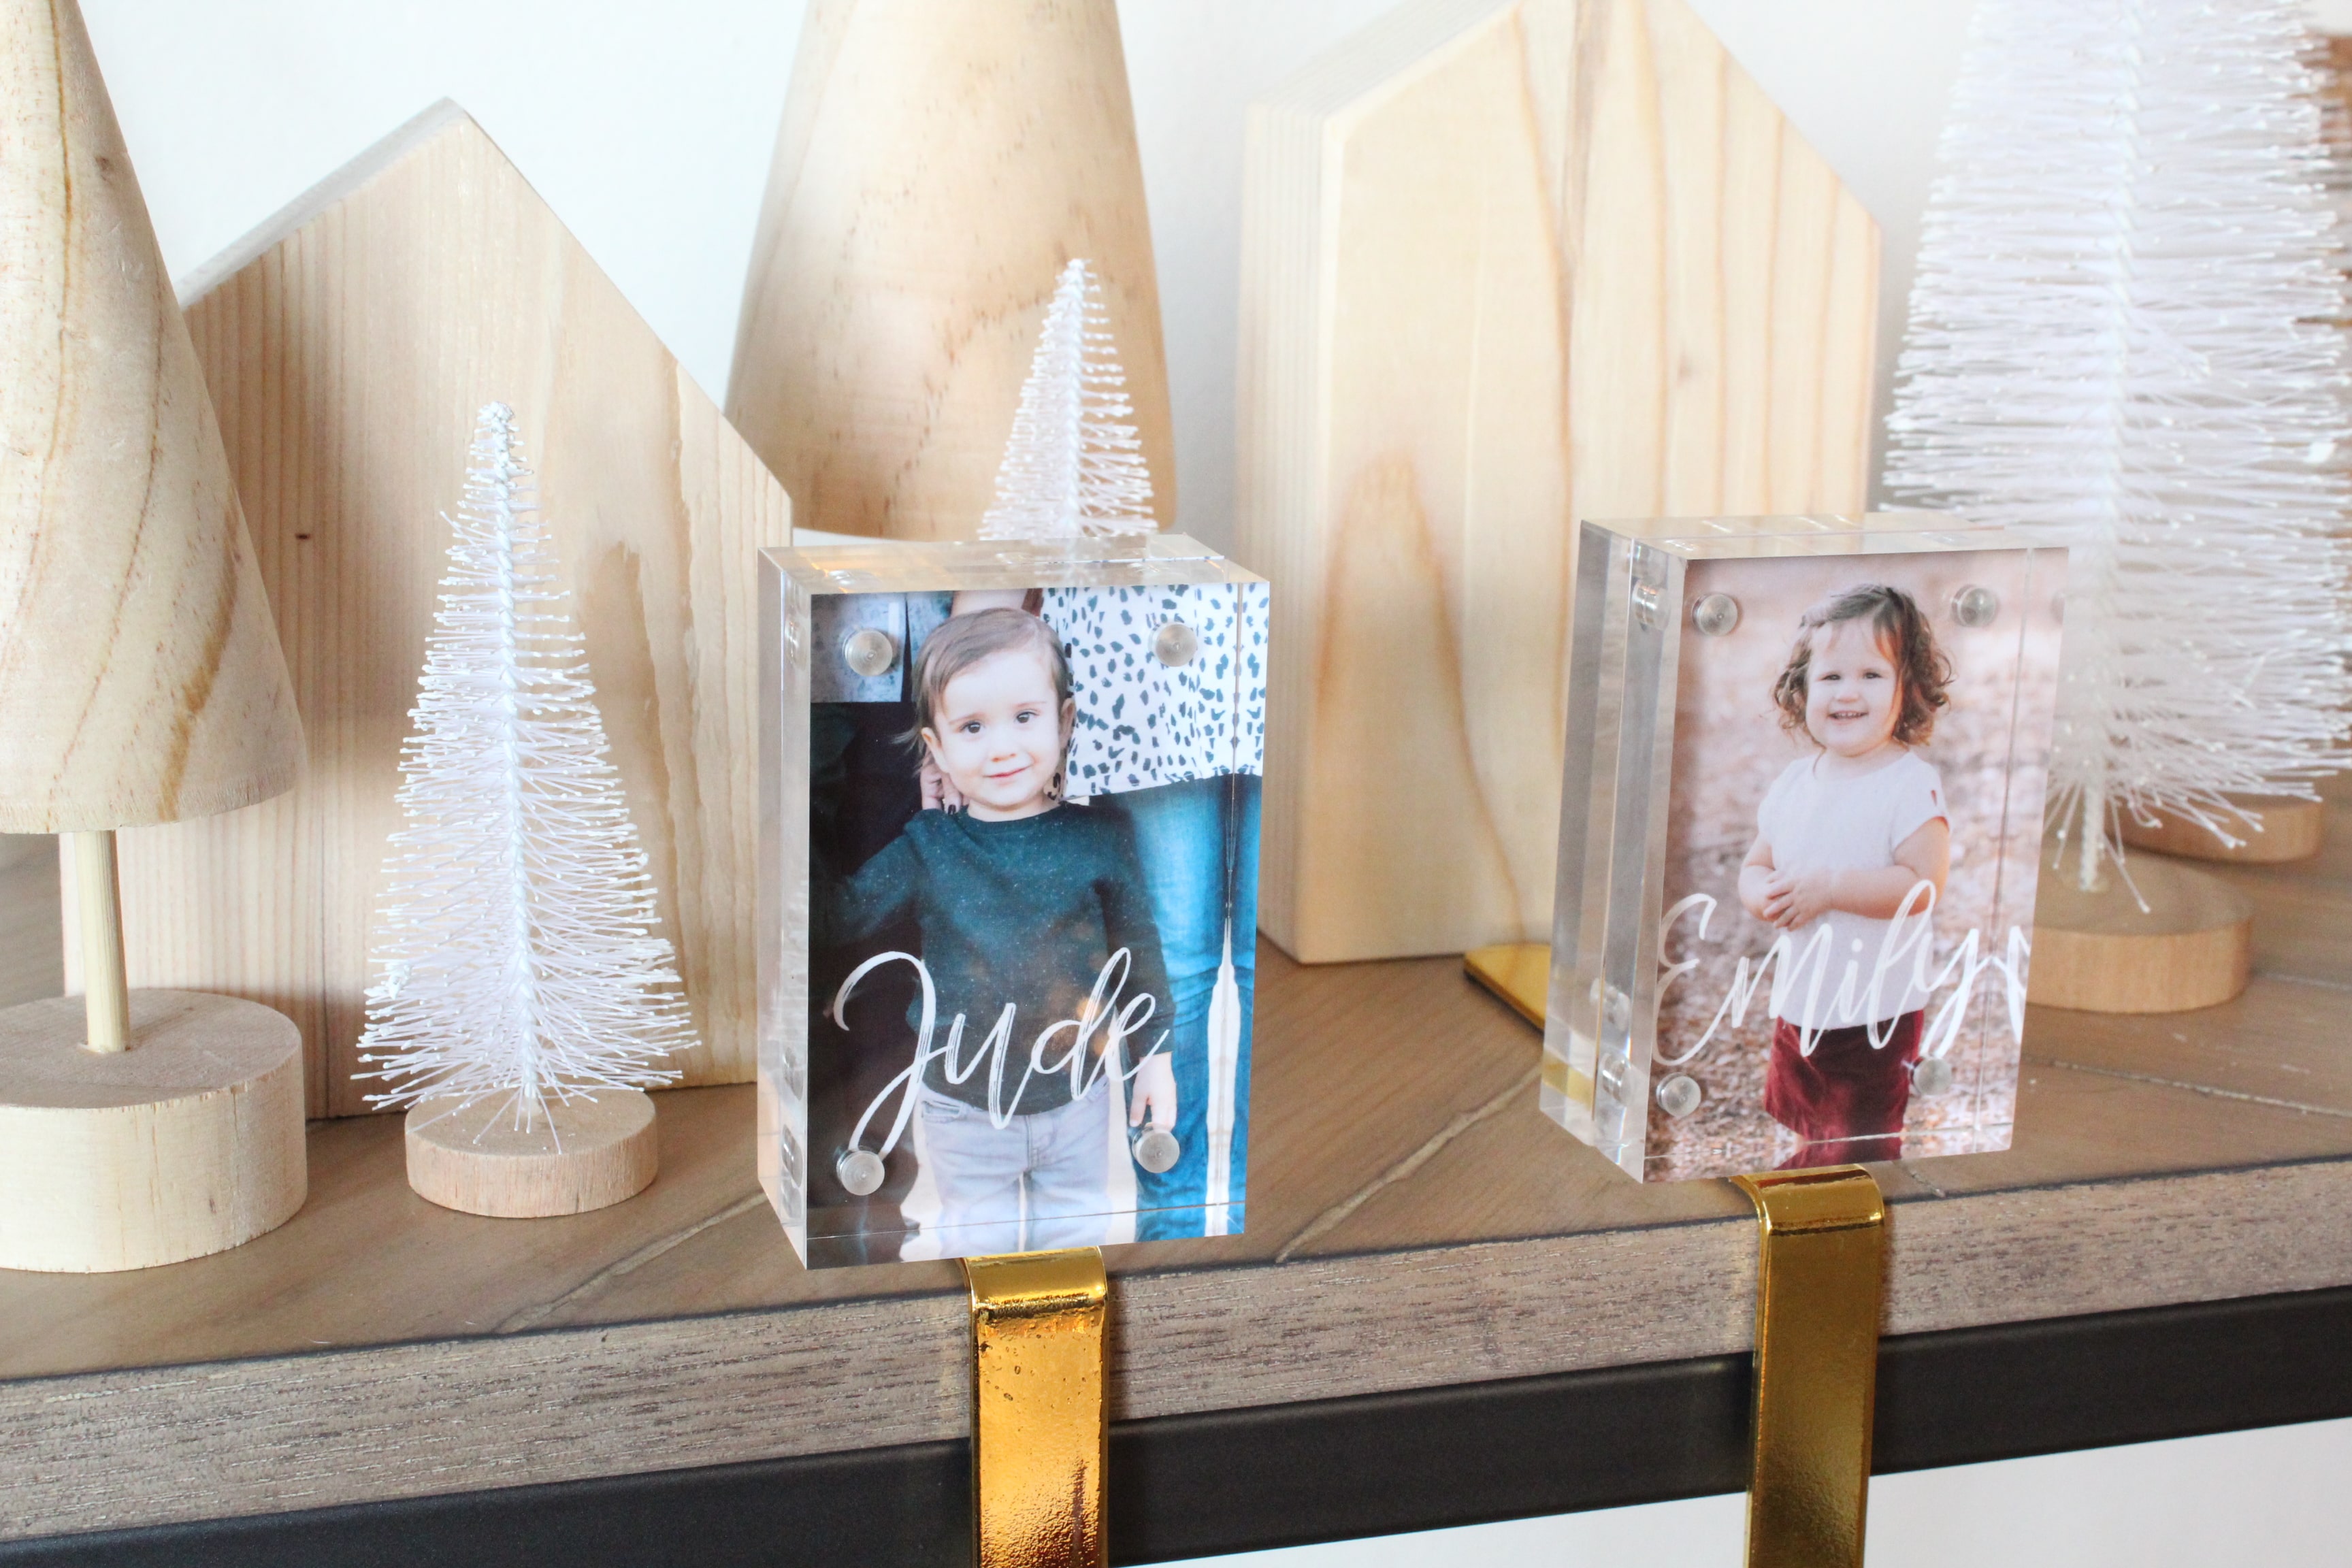
You’ll want to start by placing the frame on the stocking hook to see where you want to place it. I liked for the front of the frame to be flush with the front of the stocking.
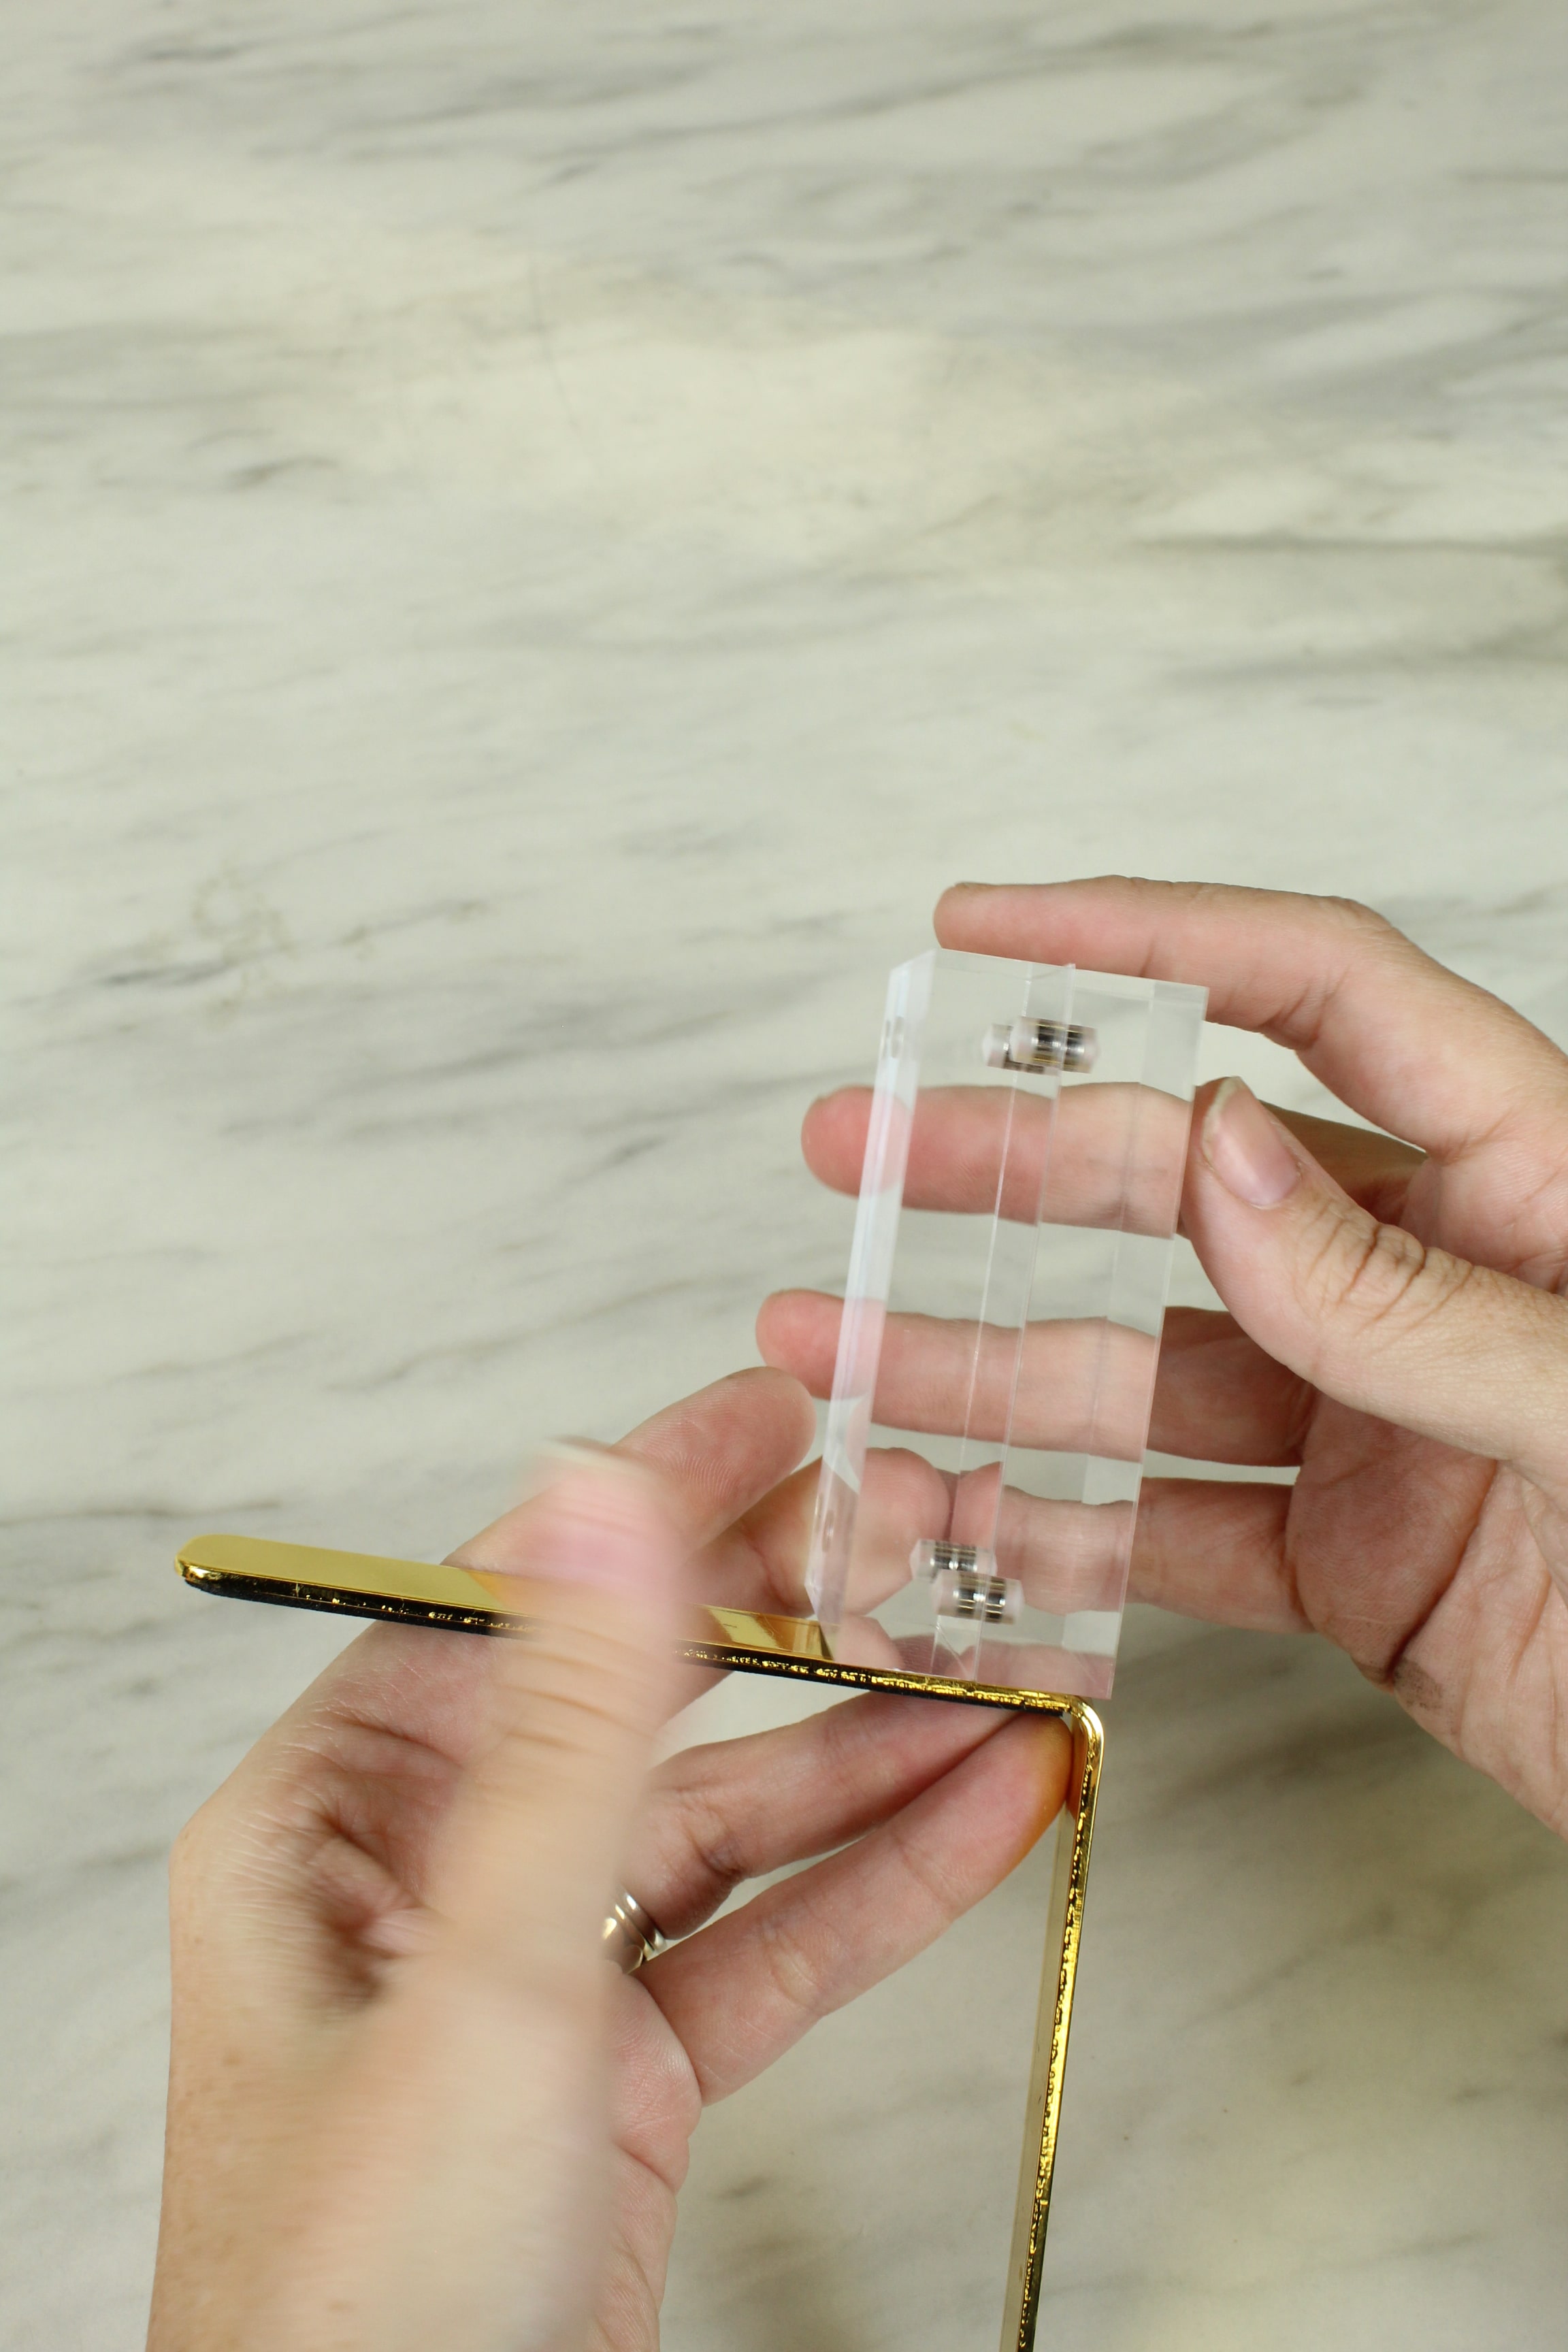
Add a small amount of adhesive to the center of the back half of your frame. A little glue goes a long way so try not to overdo it. Use the tip of the glue to move it around and thin it out if you need to.

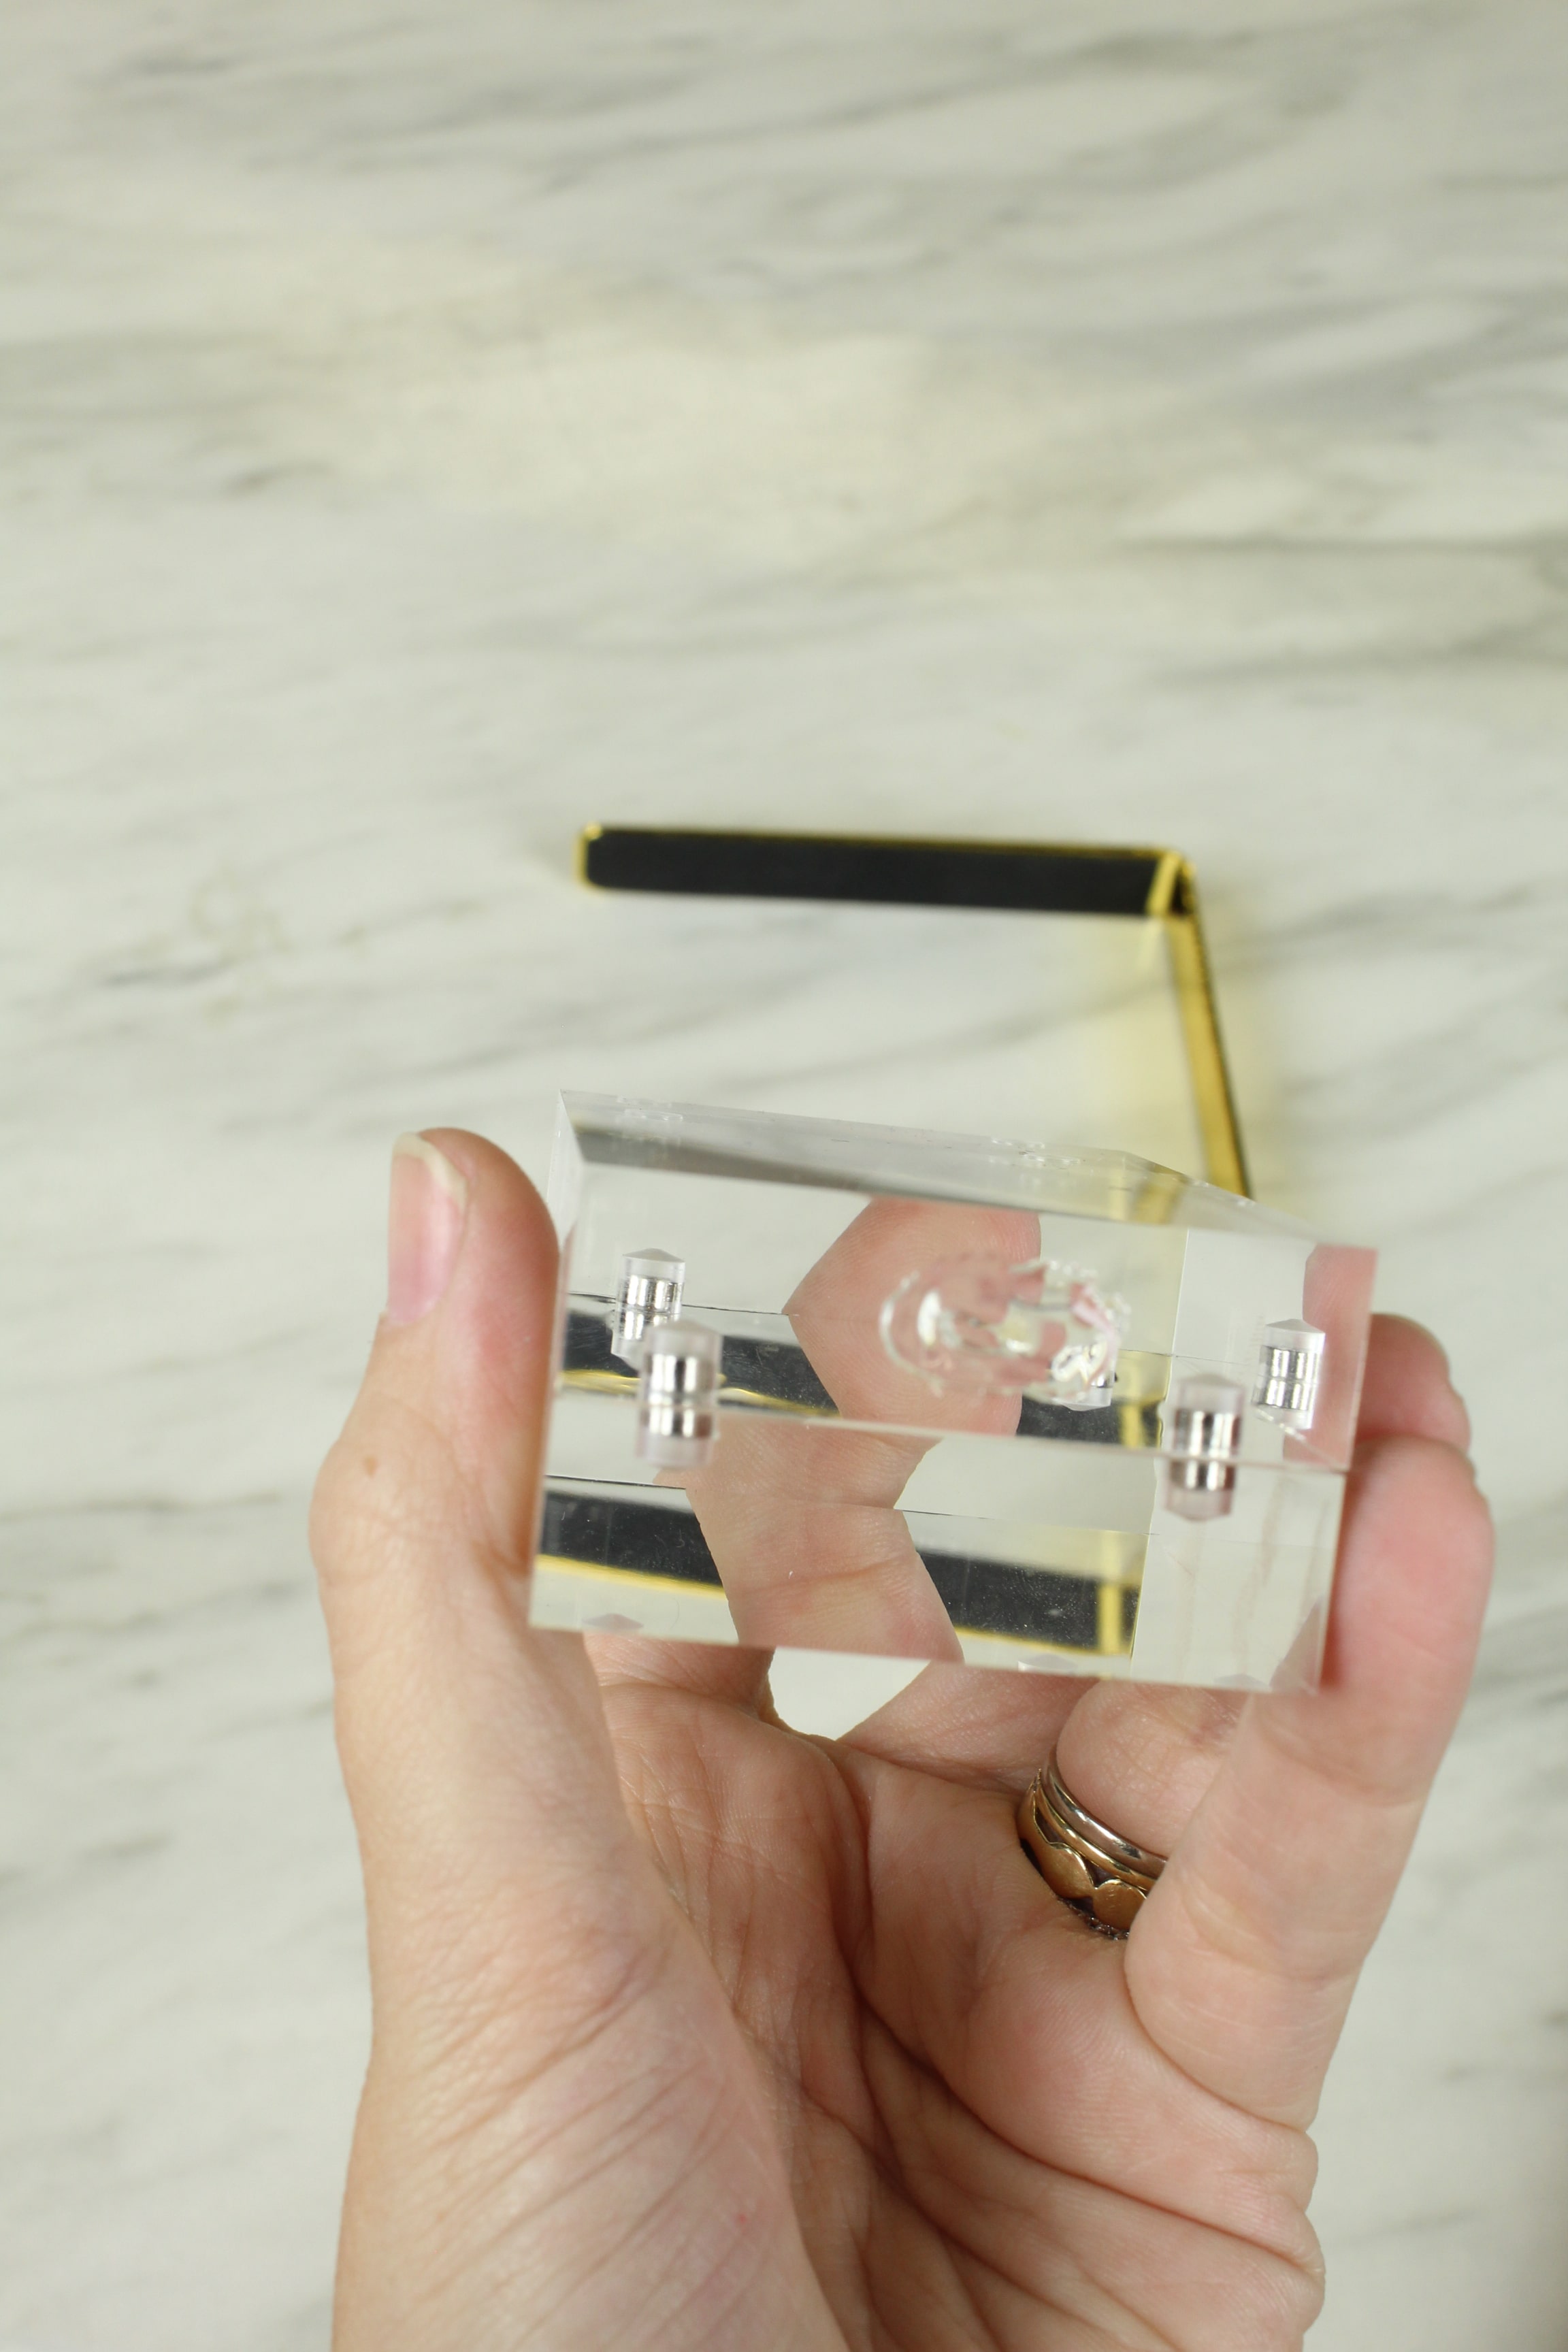
Place the frame onto your stocking holder where you’d like it to go.
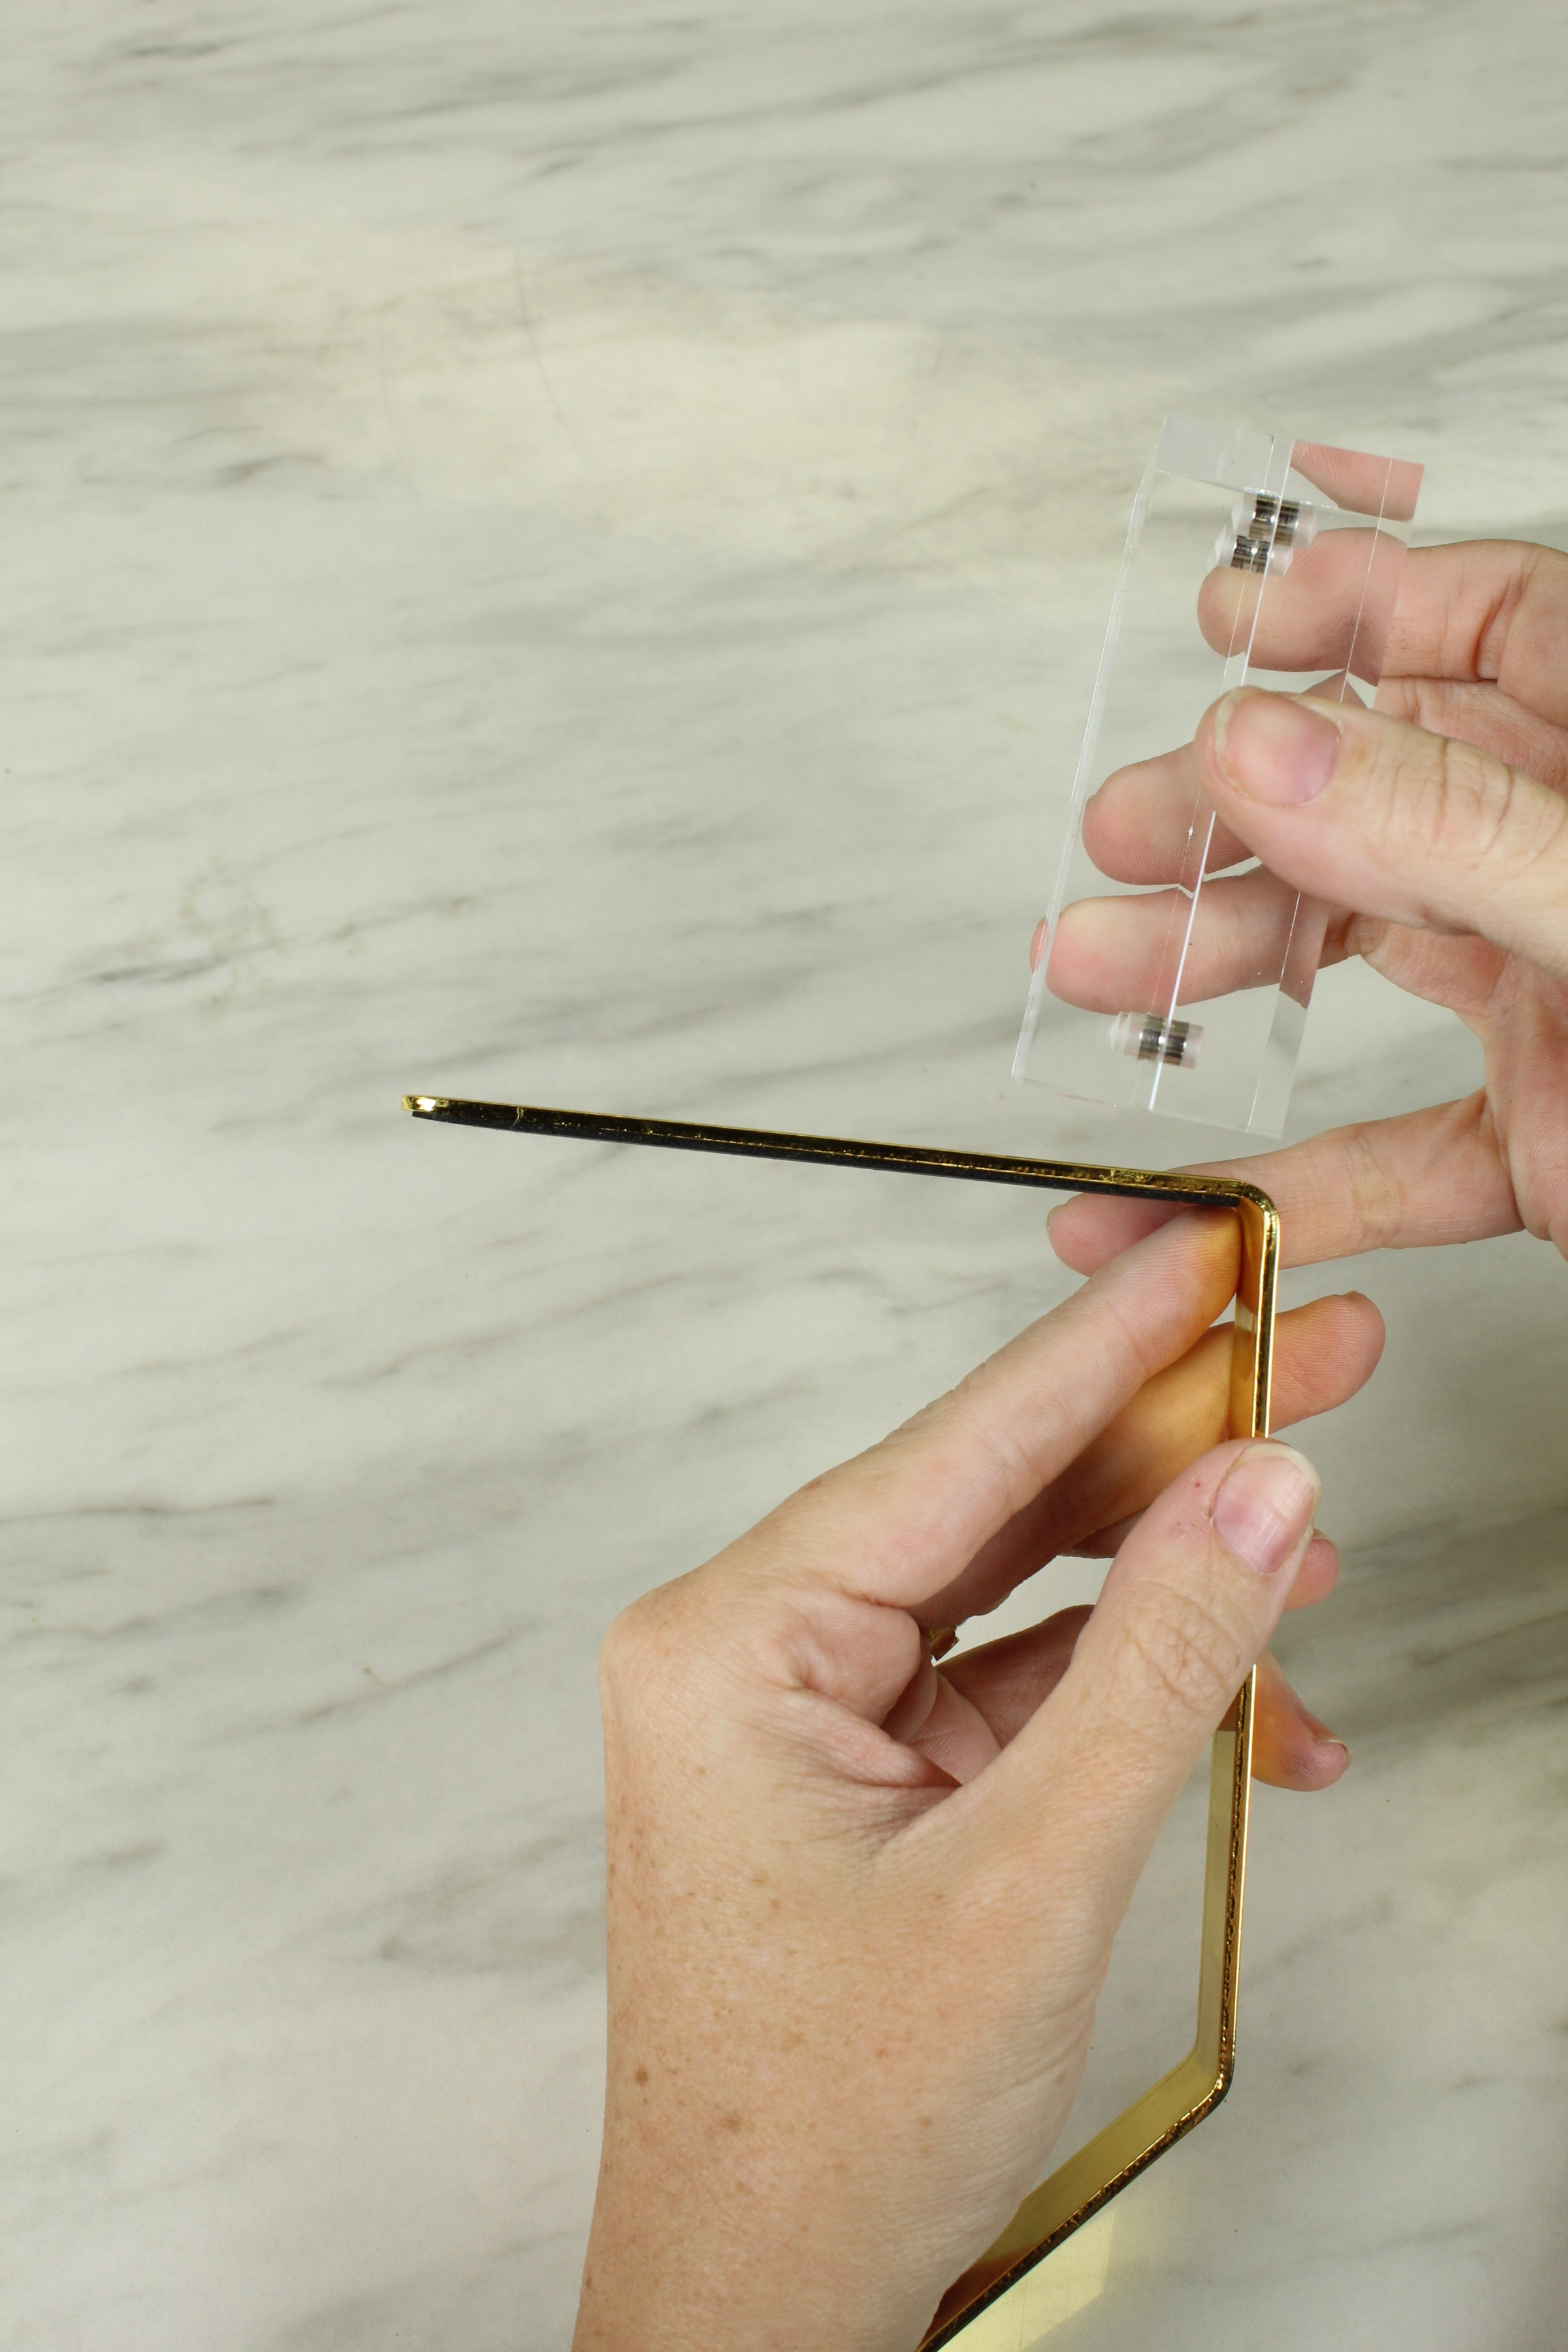
Remove the front half of the magnetic frame. This is in case a little glue gets out, you don’t want your frame to be glued together or you won’t be able to put a photo in it.
Set your stocking holder on the edge of a desk or table and allow the adhesive to cure for at least 24 hours. For best results wait 72 hours.
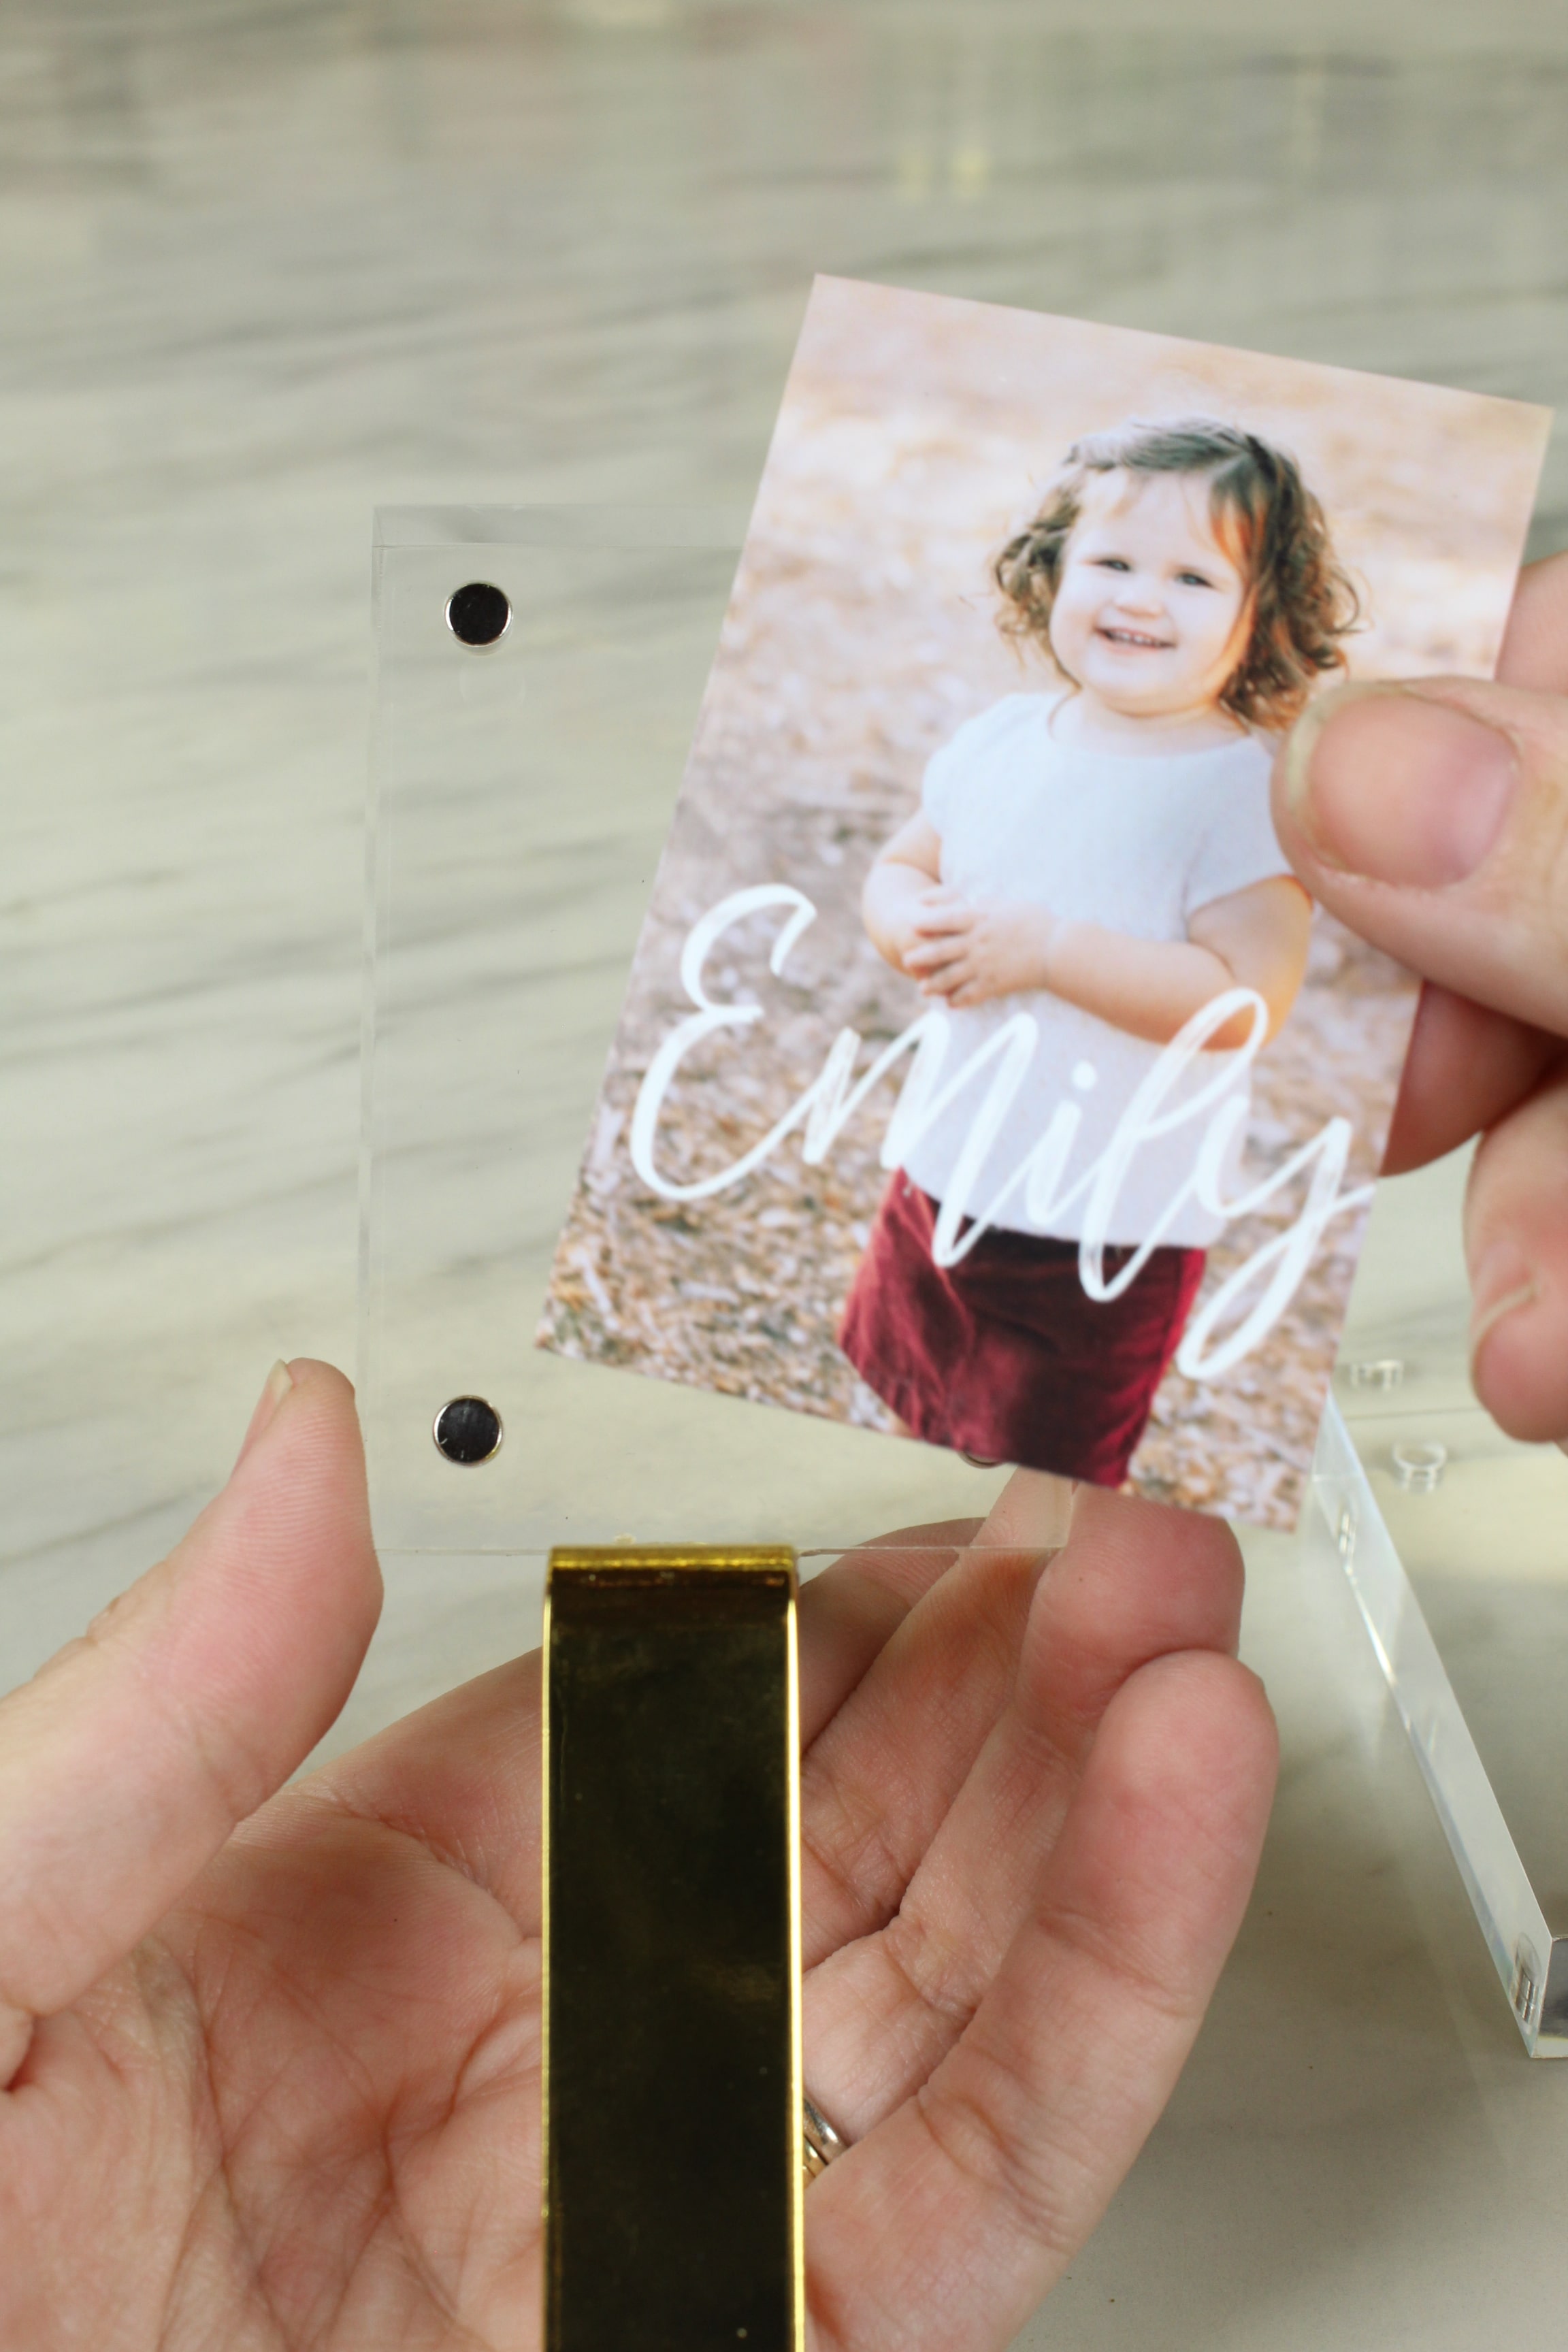
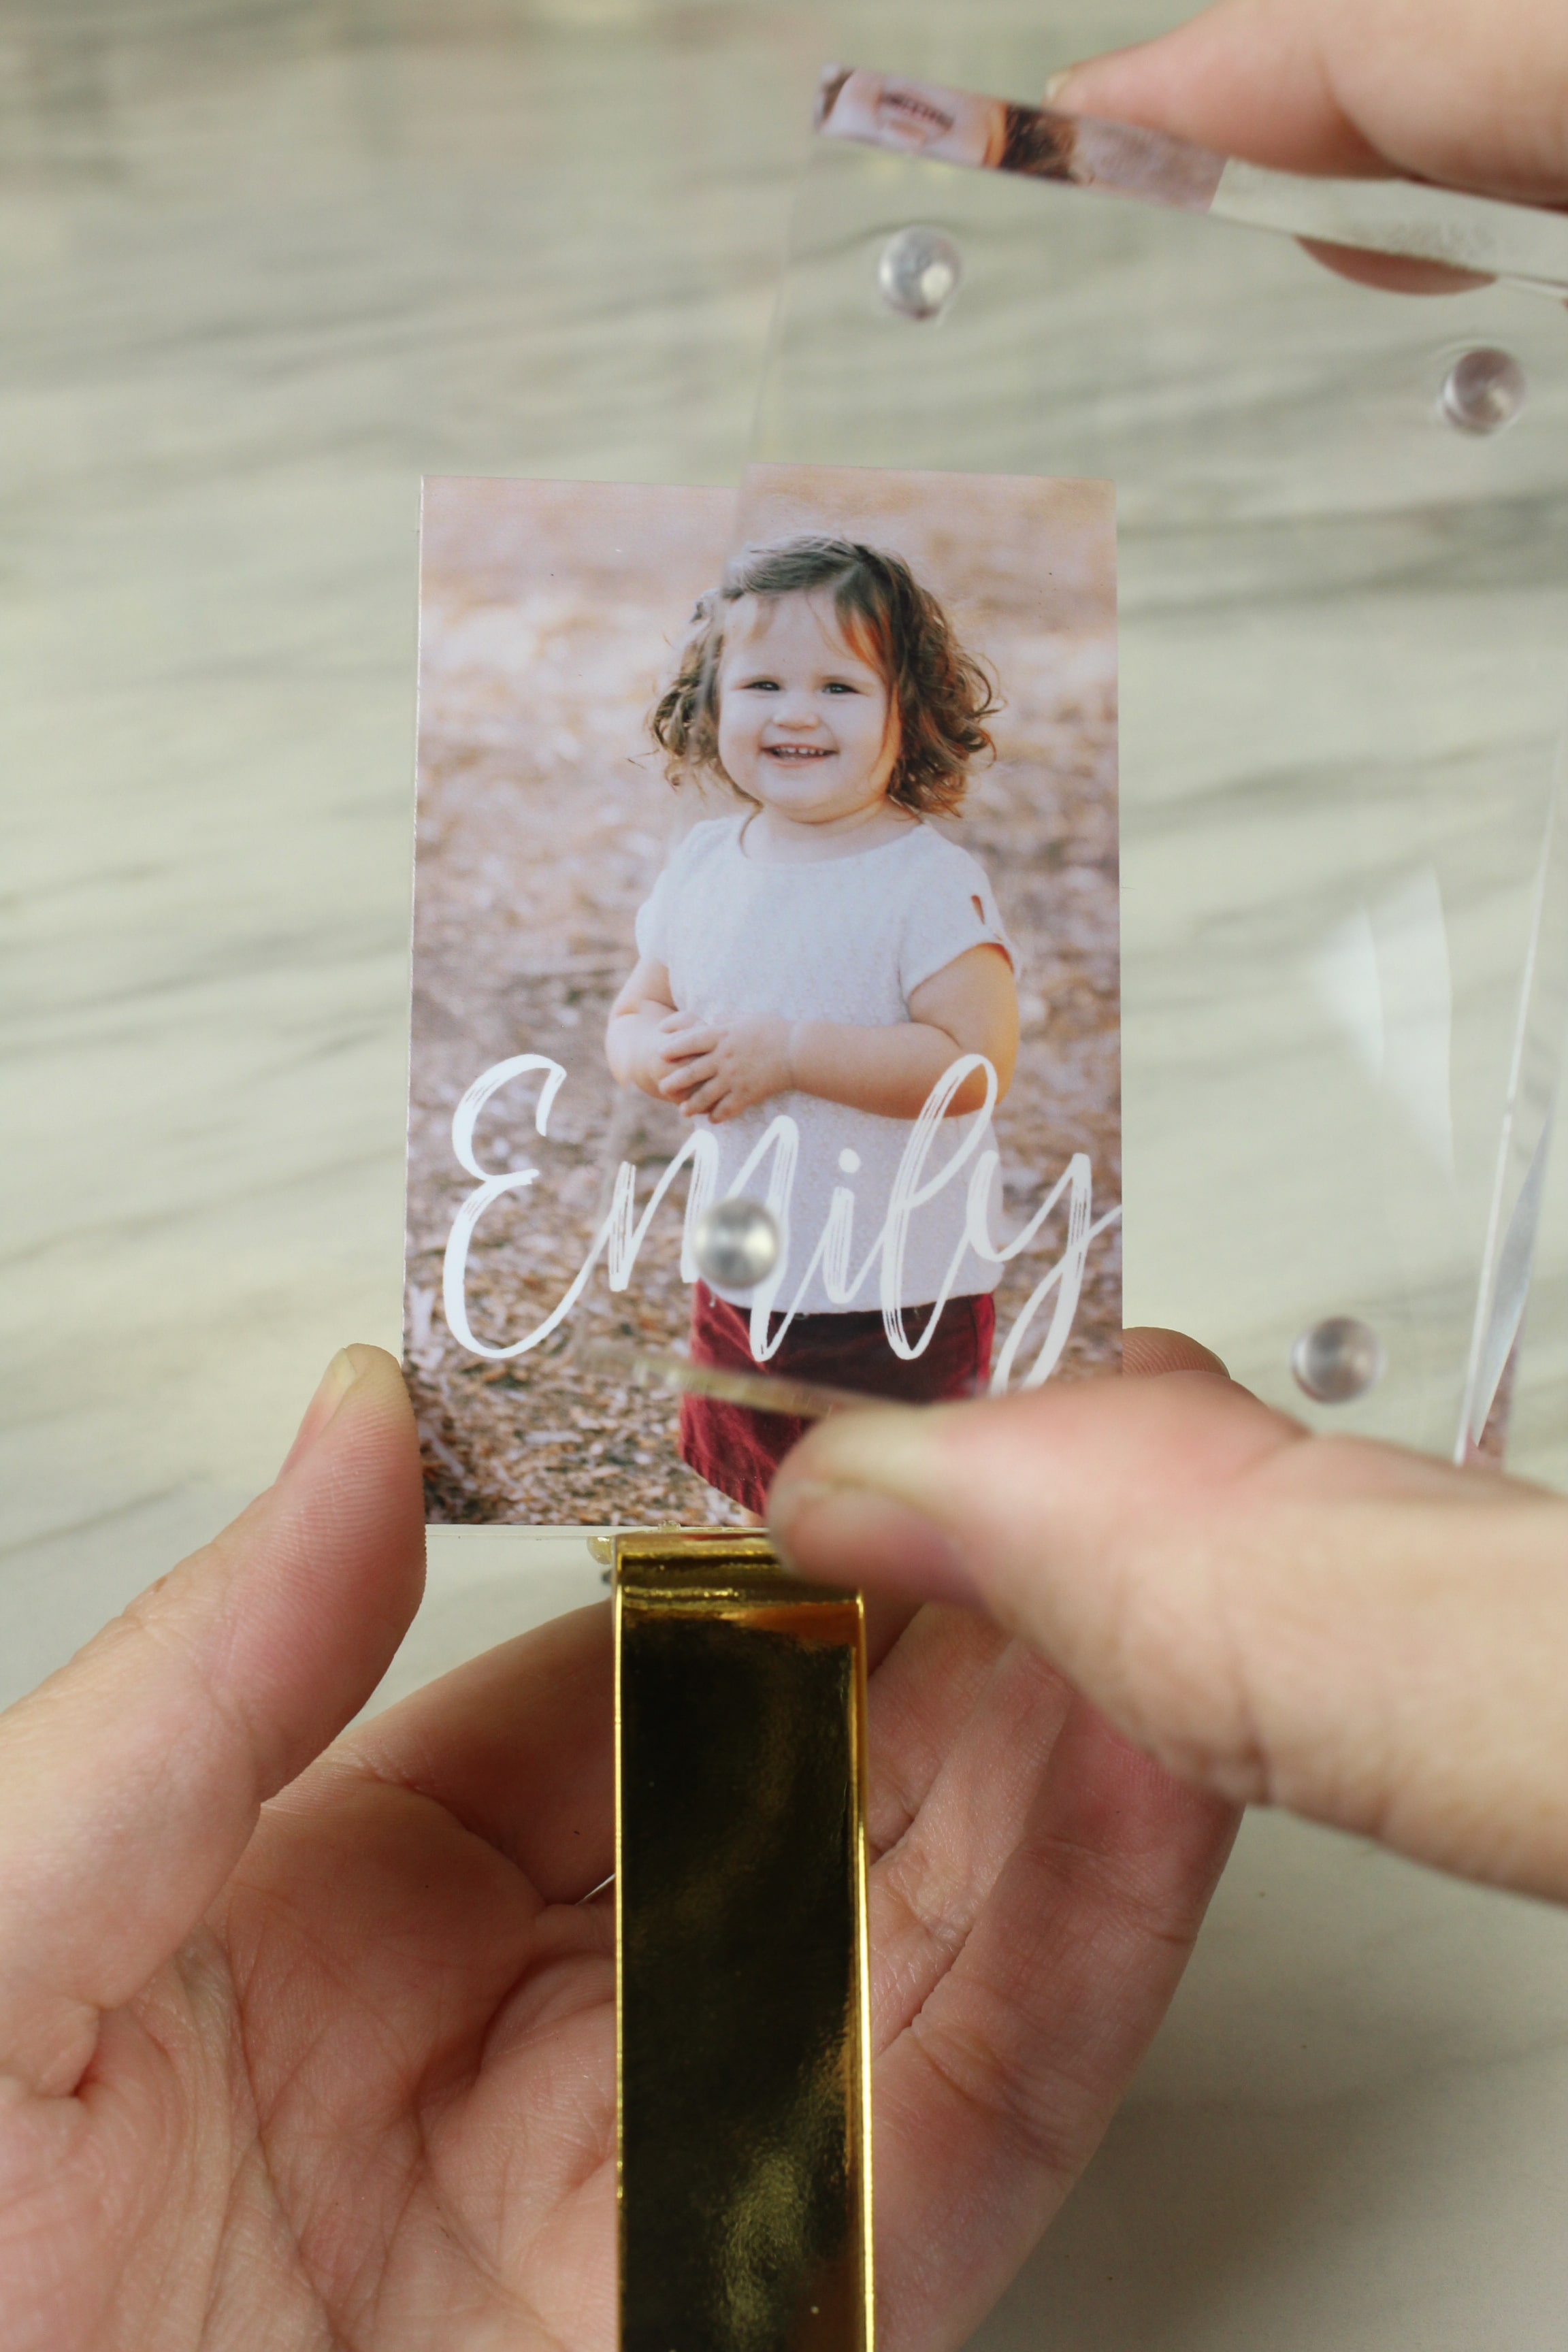
Add Your Photo
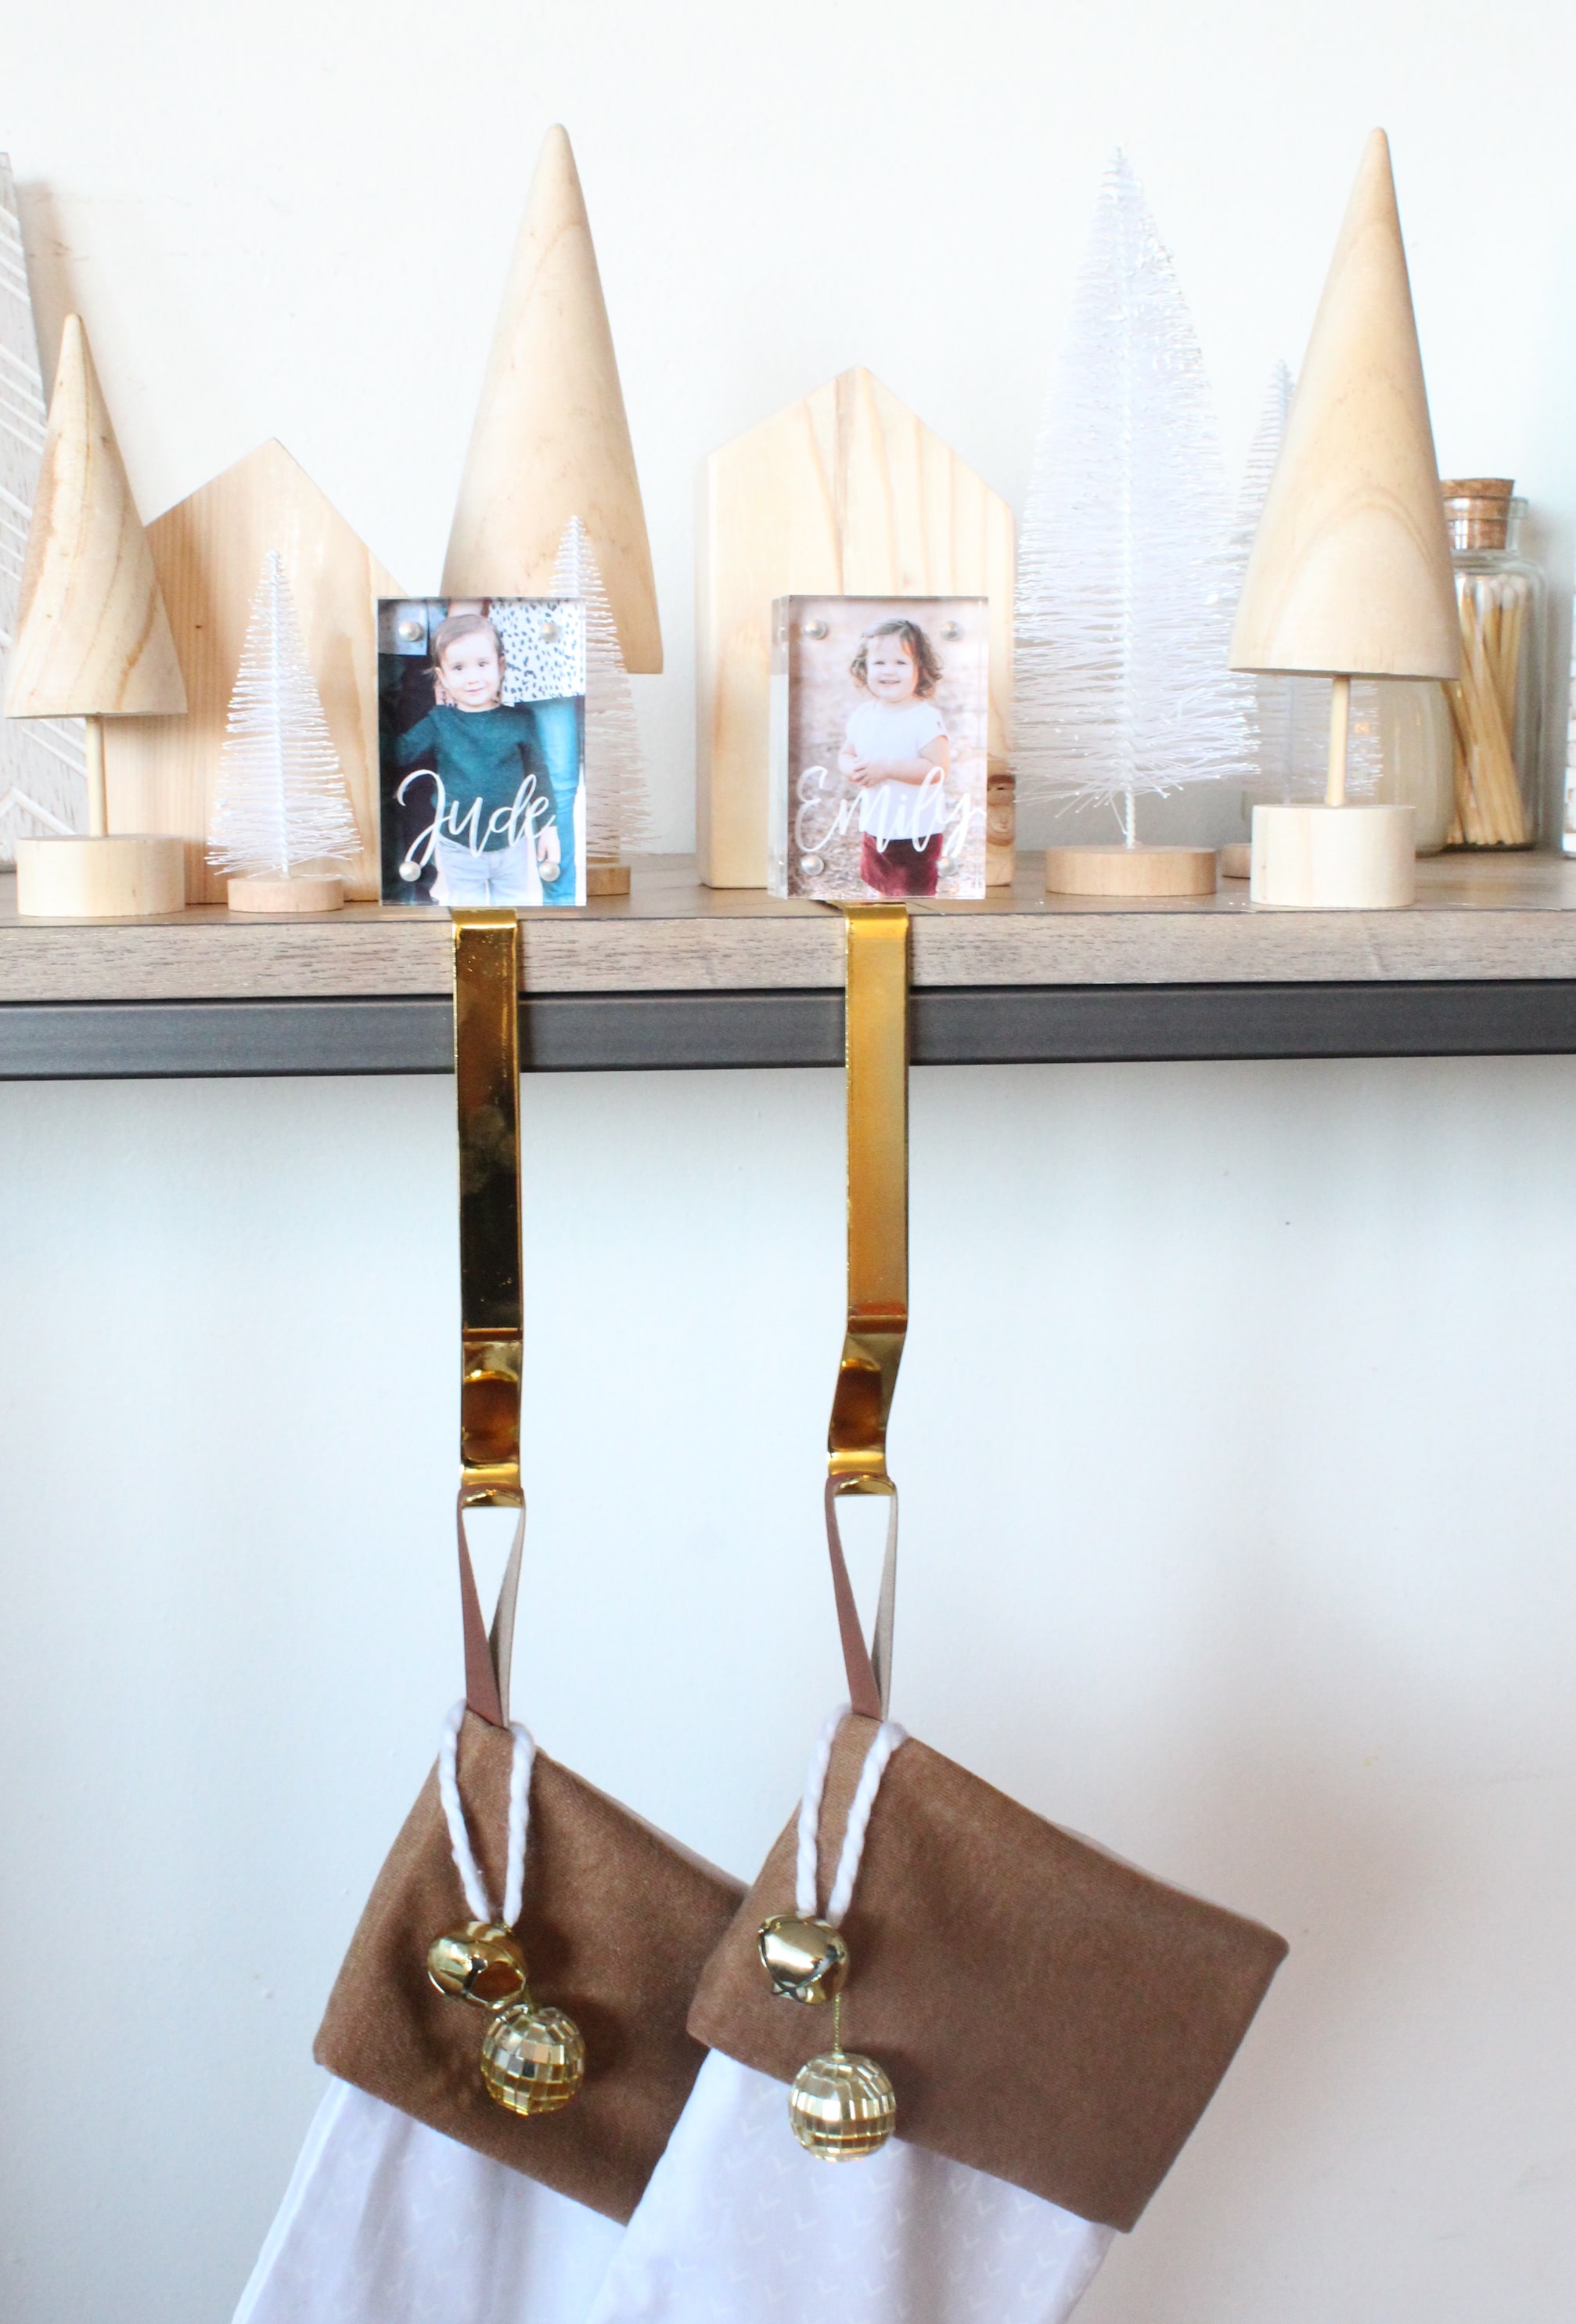
Now you just need to add your photo and you’re done! That was pretty painless right?
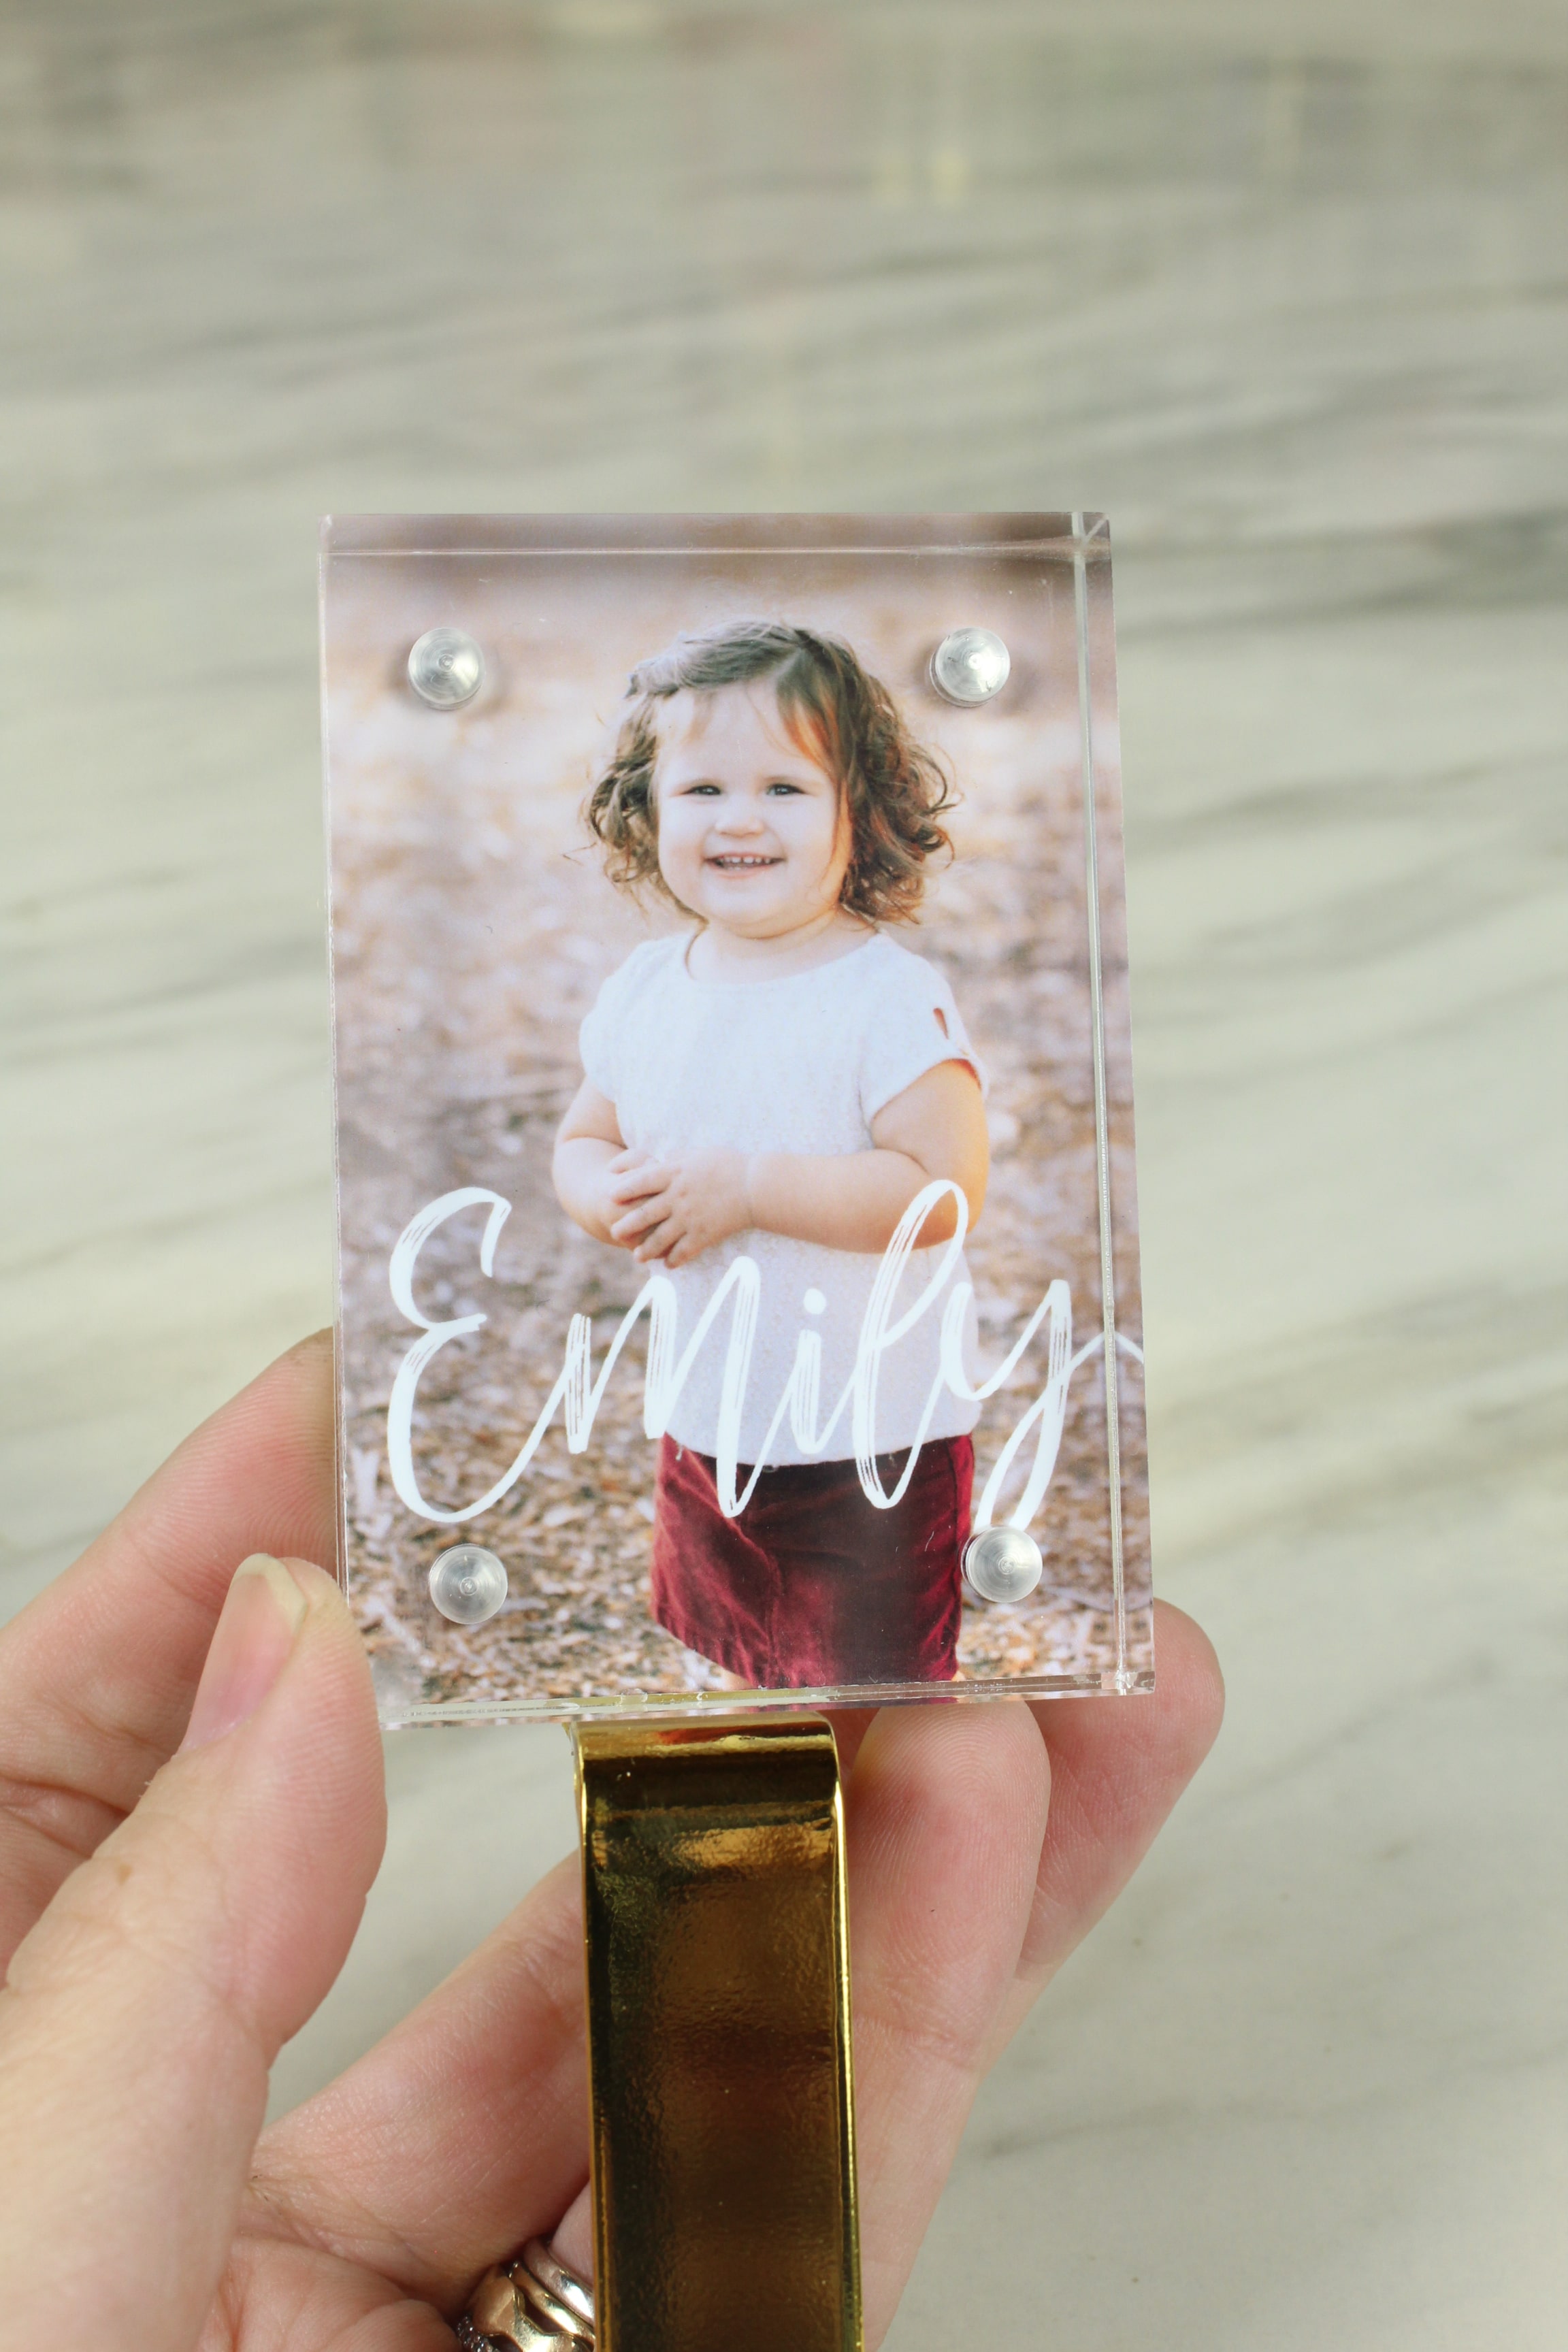
I love the way these turned out! Admittedly, the hooks are a little long for my house, I think they are really meant for a grand mantle but I’m hoping one day to have one so maybe this is my way of manifesting it.

If you create one of our projects, please share a picture with us on Instagram or Twitter using the hashtag #somethingturquoisediy, we regularly reshare our favorites! Your profile will need to be public for us to see it otherwise, you can always DM us!
Photography + DIY Tutorial: Shea O’Quinn of [Not So Cli-Shea](notsoclishea.com) // Printer & Photo Paper: Courtesy of Canon // Stocking Hook: Amazon // Magnetic Frame: Amazon // Paper Trimmer: Courtesy of Cricut // Industrial Strength Adhesive: Amazon
Shop The Supplies:
Find the supplies you’ll need for this project from our affiliate links below:


Comments