
DISTRESSED DIY VINTAGE TERRACOTTA LAMP
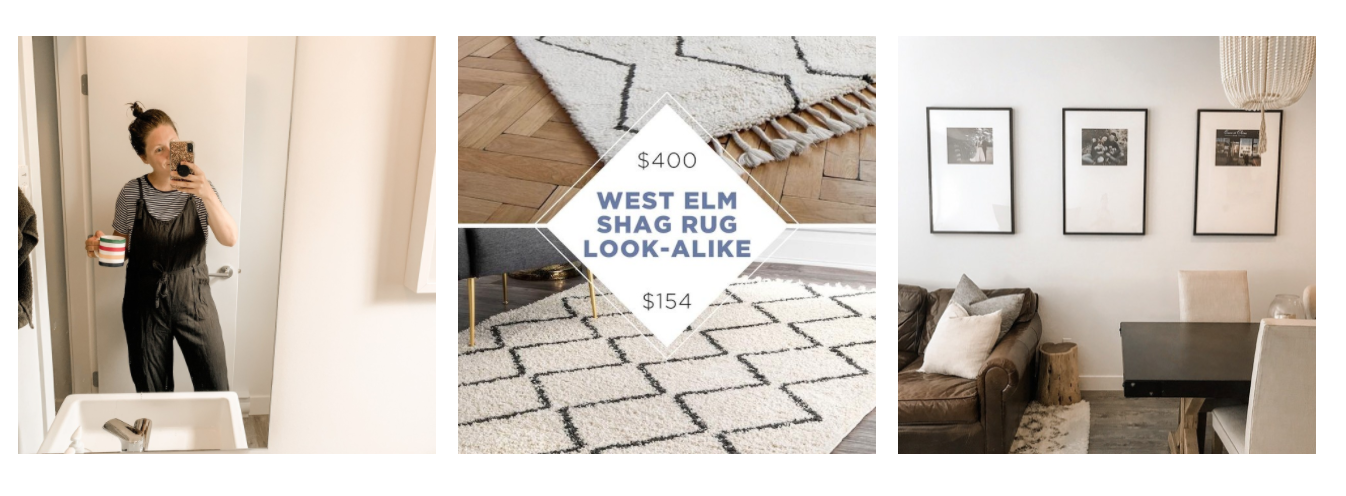
If you follow me on Instagram or are familiar with my site, Kendra Found It, you may know that finding copycat decor is one of the things I enjoy most. Basically, I find gorgeous, expensive decor and then find something similar that will give you the look for less. Sounds awesome right?! You can find all my copycat decor here if you want to see some examples.
Recently, I’ve fallen in love with oversized distressed lamps; I adore the rough texture, chalky finish, vintage vibe, and weathered look. The problem? They can be really, really pricey. We’re talking anywhere from $250-$855. Trust me, I did the research.
So what does a budget babe do when she can’t find a dupe? She makes it herself, of course! No, wait – hear me out. I’m not actually making the lamp, but I’m going to recreate the look. The best part about this DIY is that you need very minimal materials and it comes together super fast. I’m not a patient person (which is why I don’t normally do DIYs on Something Turquoise), but trust me on this one: this is a very simple project that you honestly can’t mess up. Here’s how it all went down:
SUPPLIES
- Matte spray paint
- Painters tape
- Dirt (yes, dirt!)
- Lamp harp (optional)
- Lamp shade (optional)
- Spray glue (optional)
1. Hunt For the Perfect Lamp
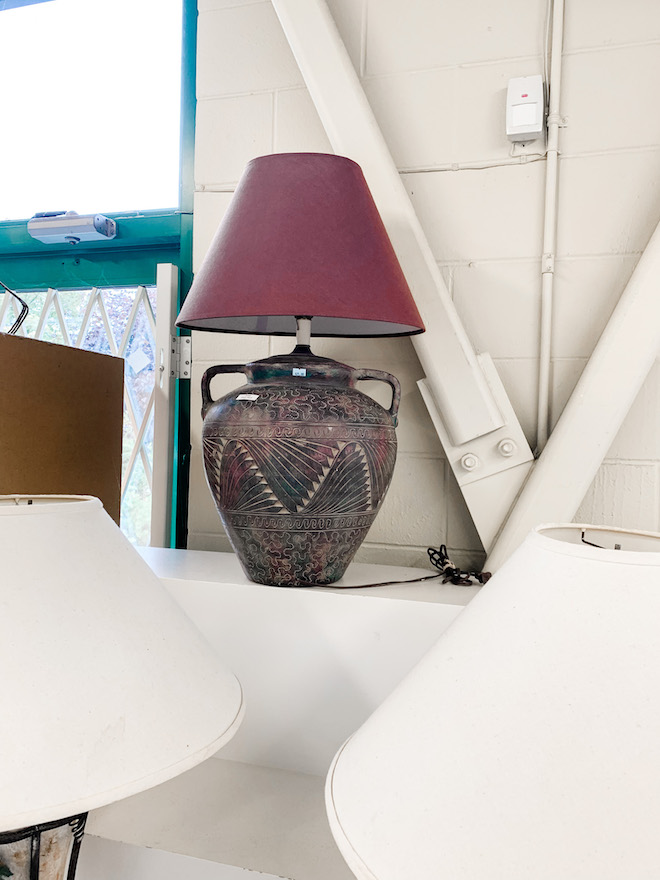
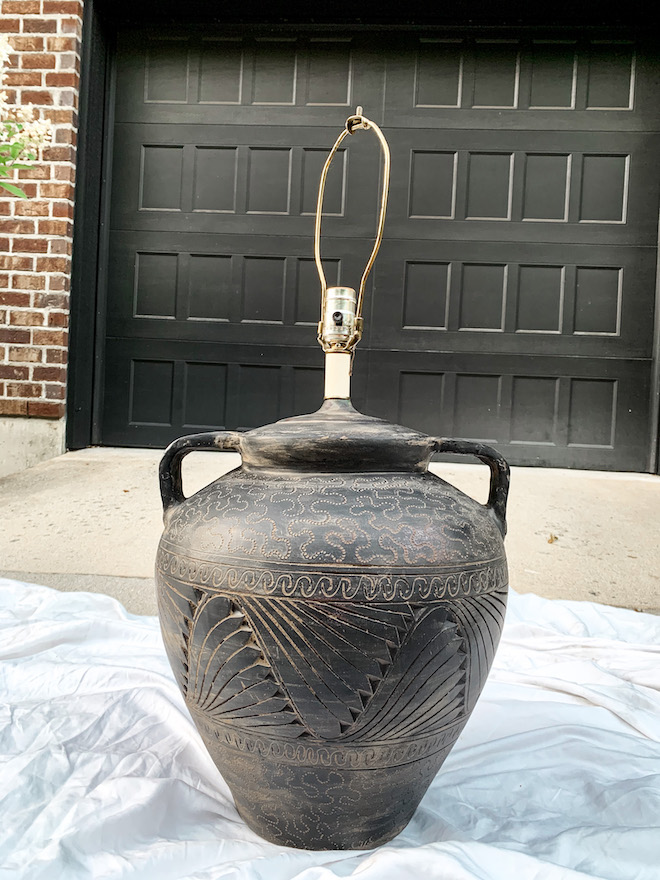
First things first, find yourself a vintage lamp. You know, the ones that you see at the thrift stores for around $30 or less that are super ugly, but have potential. I couldn’t believe my luck when I found this diamond in the rough for just $25 (I’m located in Canada, where thrift stores seem to be more expensive compared to other places, so this is a steal).
Pro tips: be sure to test the lamp before you buy it and if possible, choose a lamp with a shade that’s in good condition. You can always purchase a new lamp shade if you find one that you love that doesn’t have a shade or it’s in poor condition. Here’s a photo of my lamp sitting patiently in the thrift store for me to find her.
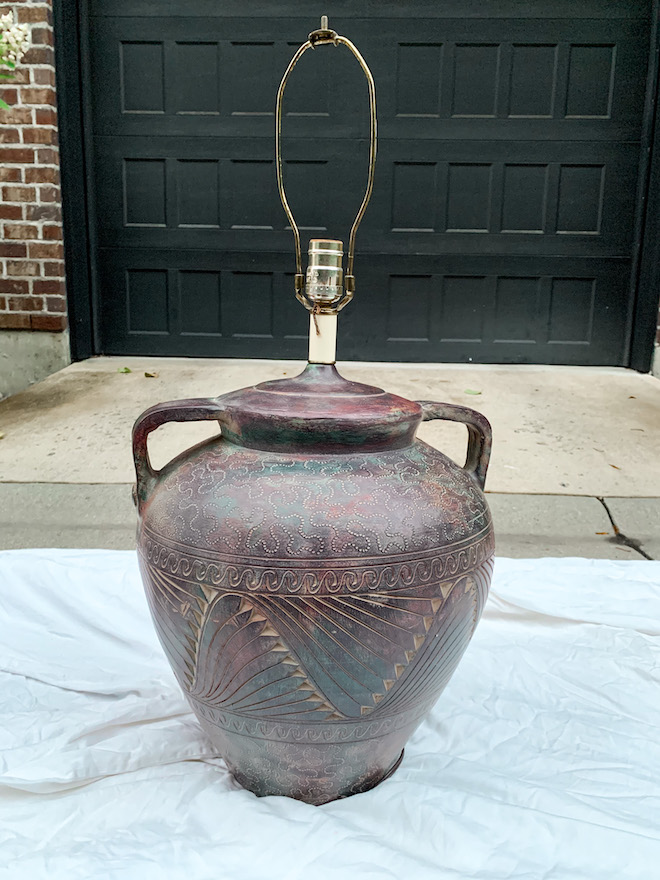
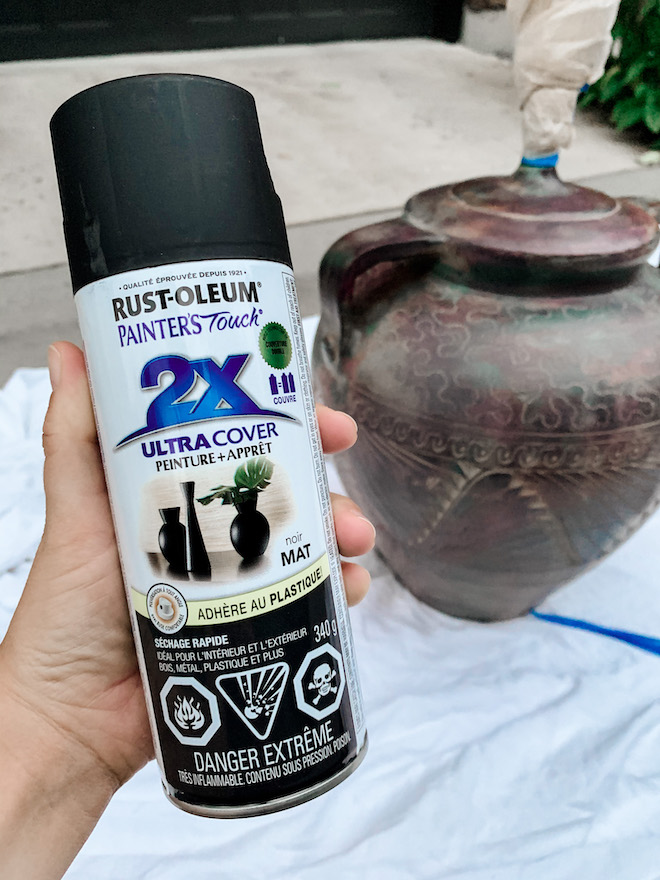
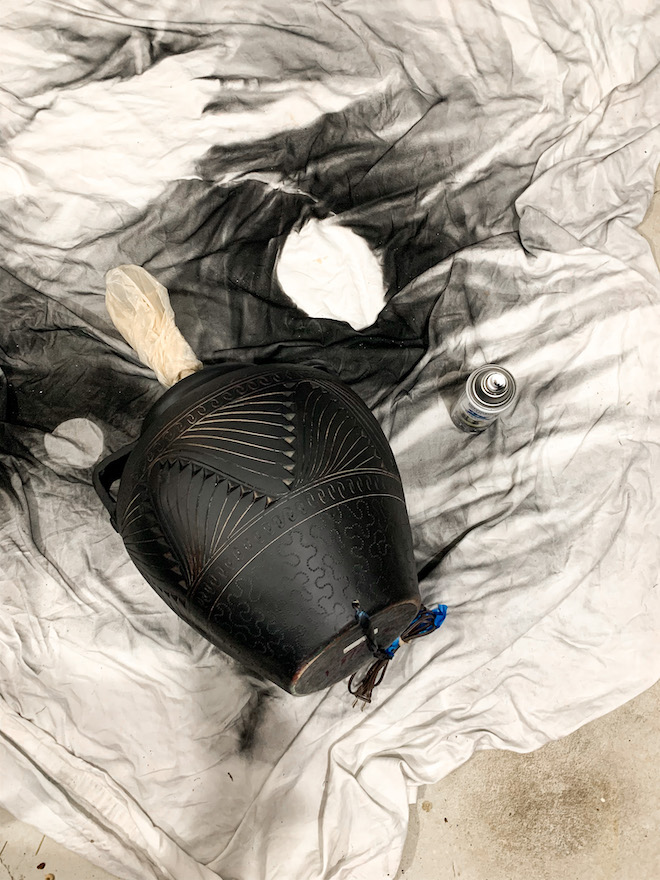
2. Spray Paint it Matte Black
You can actually spray paint it any color, but you want it to be matte so it has a vintage feel to it. I used Rust-Oleum Painters Touch Paint and Primer in flat black and covered the harp and cord with a plastic bag and some painter’s tape so it didn’t get paint on it. I then let it dry overnight.
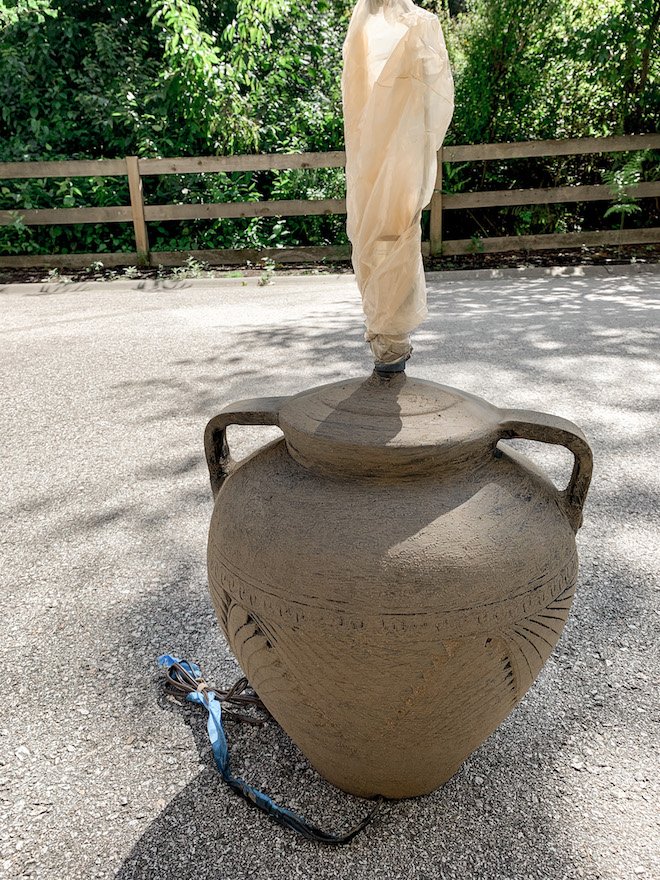
3. Get Dirty
Okay, here’s where it gets weird. Go outside, grab about a cup of dirt (any dirt will do), and mix it with water until it’s the consistency of oatmeal cooking on the stove (weird comparison, but it works). Then, trust me here, rub it all over the base of the lamp. It’s going to feel a little scary because you’re dirtying up the lamp that you just made way prettier than it was when you found it, but we’re going to fix that in the next step. Let it dry fully – this is very important; you can see in the image below that my lamp is covered in a thick layer of dried dirt. Do not proceed to the next step until it’s fully dry.
Note: I was totally inspired by @DesertDecor and jaci.daily, so I can’t take credit for the genius that is “distressing with dirt”. I was totally inspired by them, so go give ’em a follow if you want some great home decor inspo.
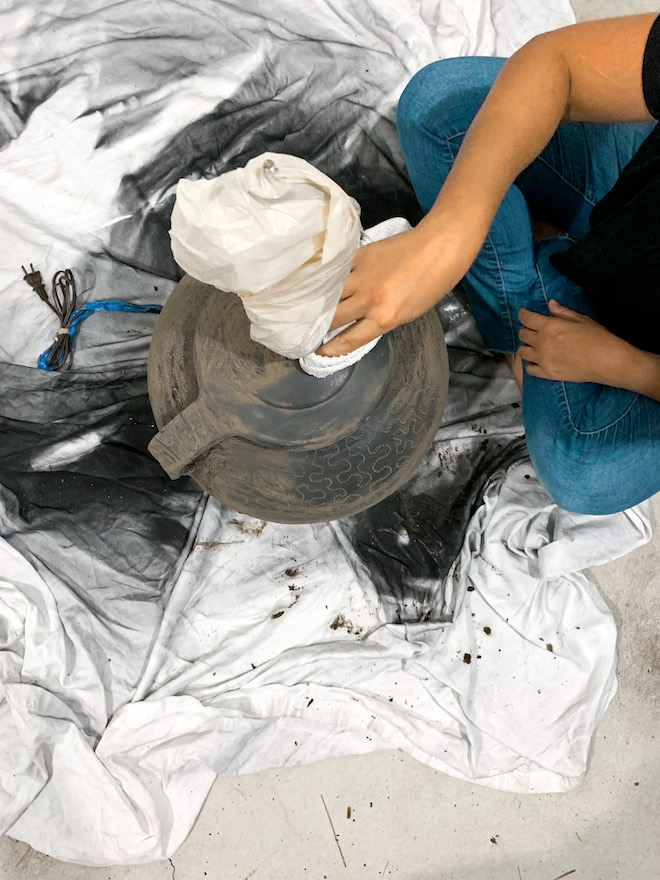
4. Wipe it Down
Now, grab an old rag, paper towels, or even a kitchen towel and start wiping it off. There’s no right or wrong here, but I found that I had to wet the cloth a number of times as I was wiping and I used lateral strokes to get the look I was going for. You honestly can’t mess this up! You may need to really rub hard or use quite a bit of water depending on your lamp/mud mixture, but if you take too much off, you can always add more dirt back on and go through the previous step again. I found it helpful to have a few photos of the look I was trying to achieve; if you want some inspiration, search “found lamp”, “vintage lamp”, or “distressed lamp” on Pinterest.
Once you’ve achieved the look you’re going for, you’re done! Can you believe it?! You may be wondering if the lamp feels dirty or gross and the answer is no. I know – I was as surprised as you. If you really rub at the dirt, it will come off on your finger; I don’t plan on doing this, so I’m good.
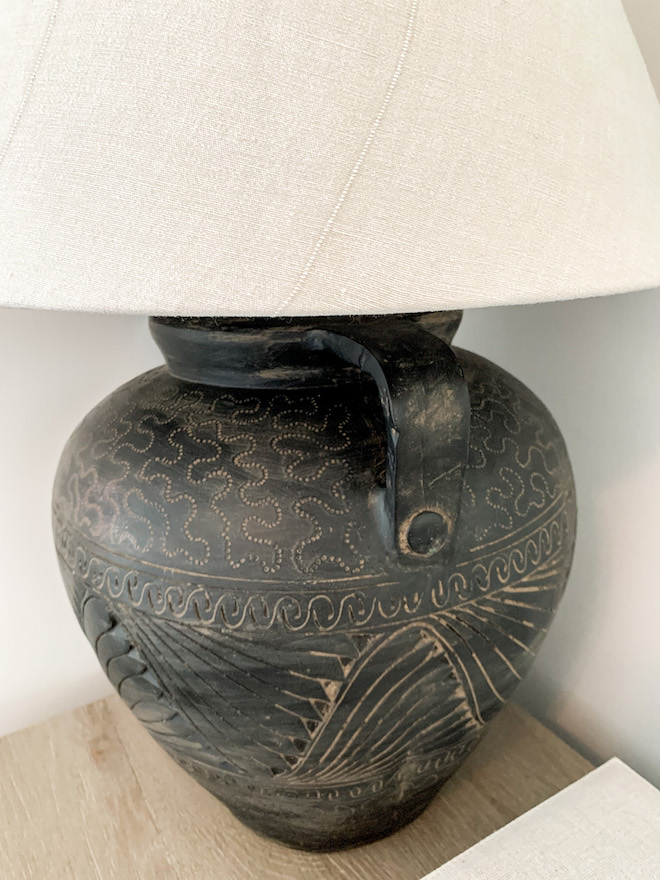
I then got really picky and wanted the shade a little lower on the base, so I purchased a new lamp harp that was two inches shorter than the one it came with. In terms of measurements, harps are all made equal, so any replacement that you purchase should fit your base as long as it’s the same design. I got mine from Home Depot for $3, but you can also get them off Amazon.
You also may be wondering about the lamp shade: this could be an entire DIY on its own, but it won’t be because I won’t be doing it again. I purchased a linen curtain from a thrift store for $8 and used Gorilla spray adhesive to cover it up. This was by far the hardest part of this DIY for me and next time, I would likely purchase a new shade from Target because it really tested my patience (or lack of). If you have more skill and patience than me, covering an old lampshade is a great way to save money and give life to an old piece. It came out beautifully, but it took some time.
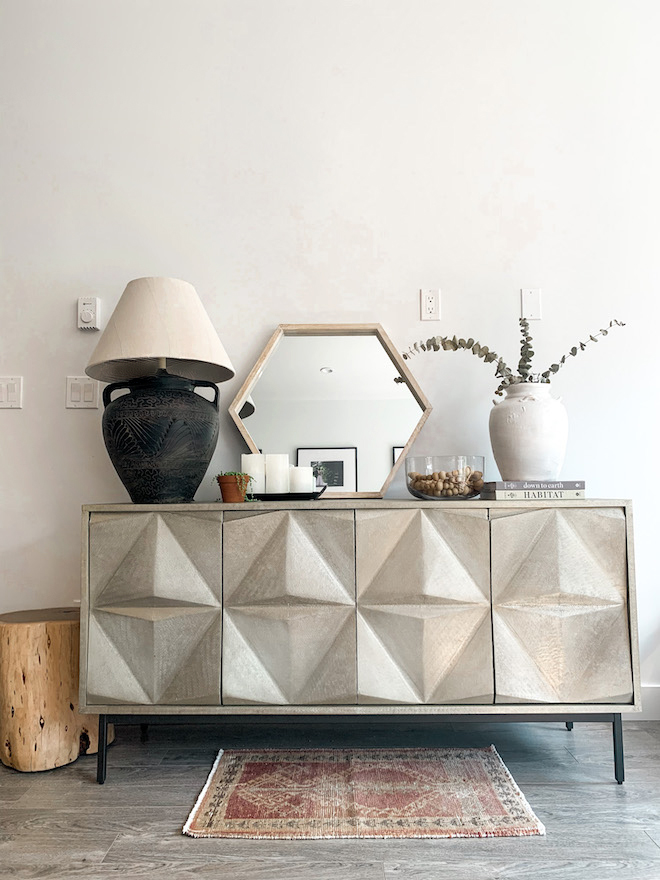

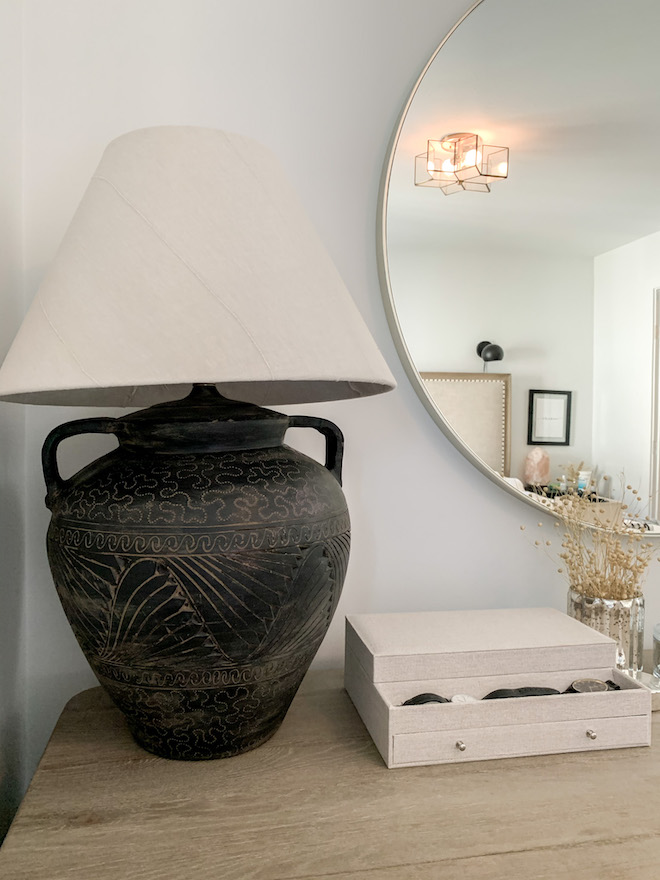
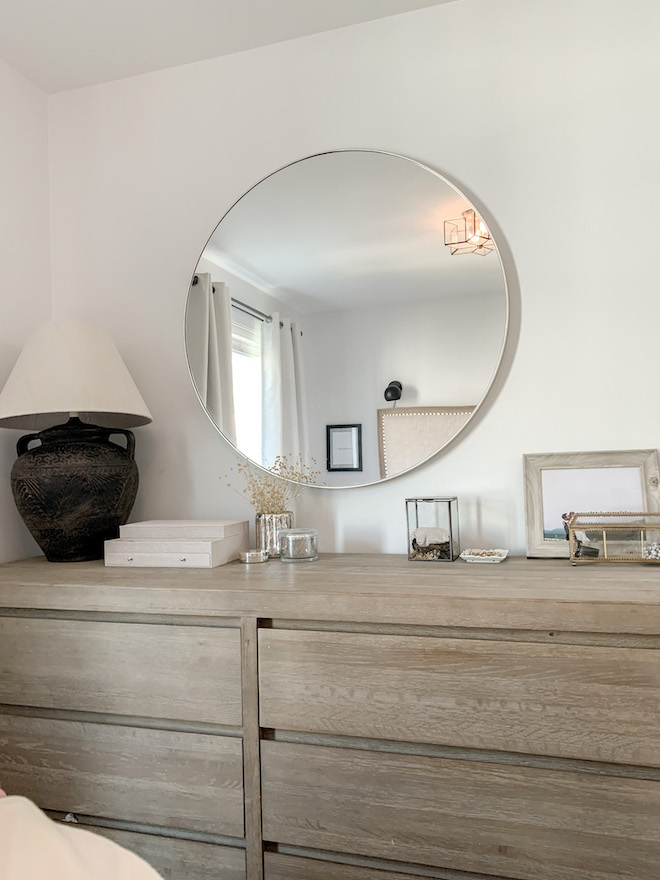
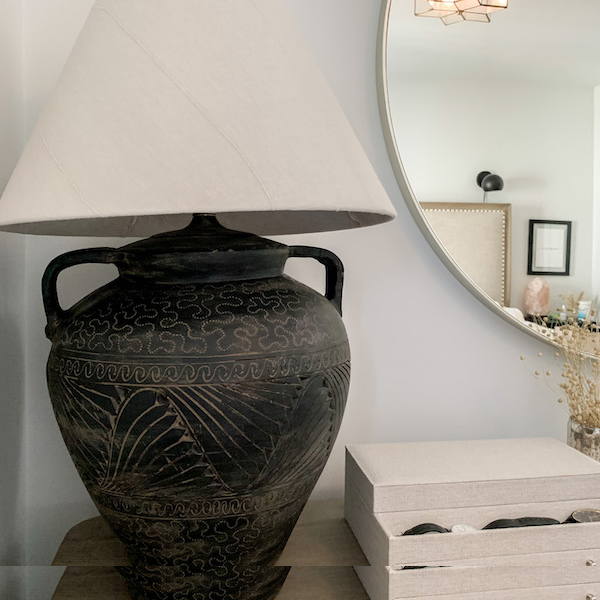
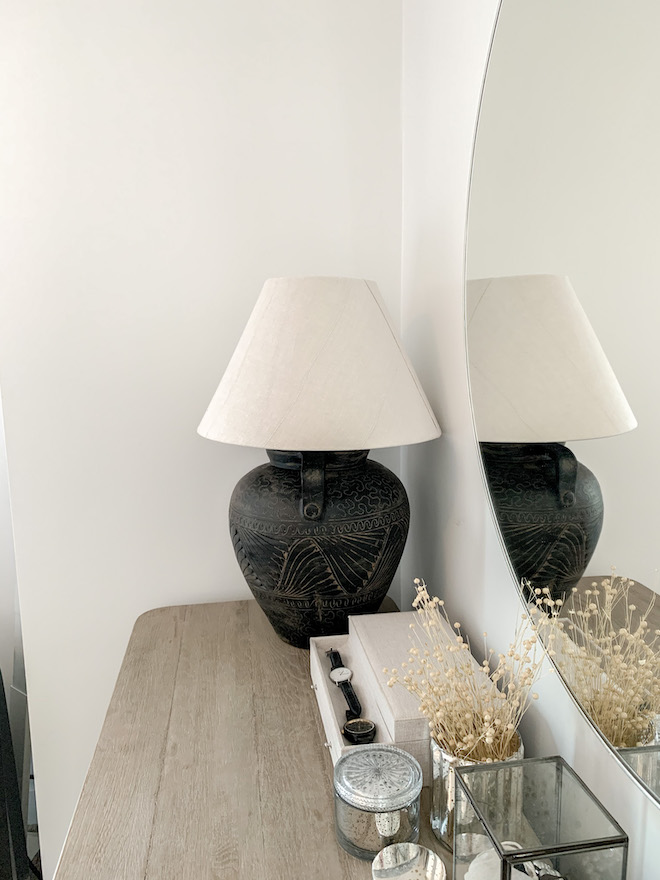
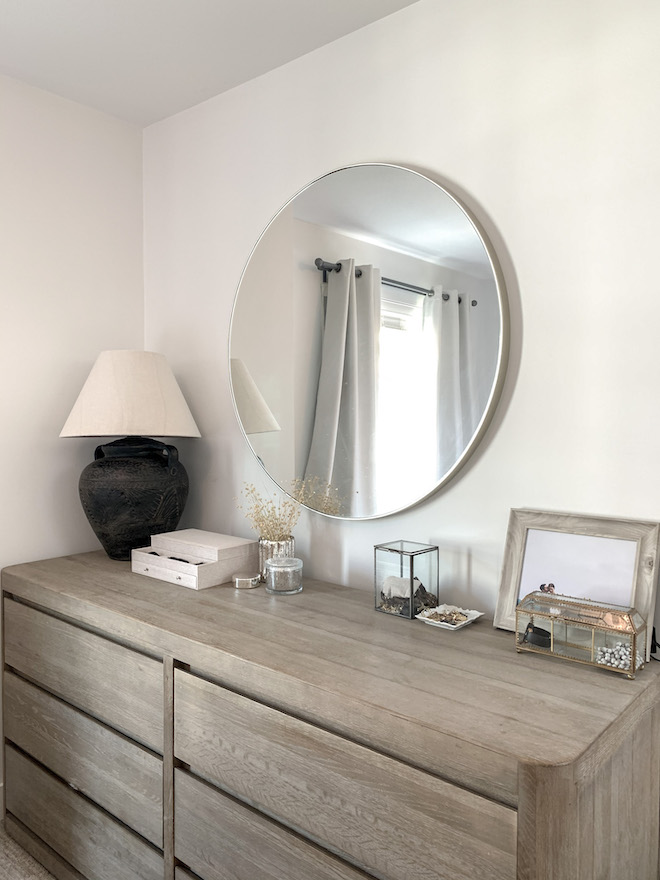
I honestly couldn’t be happier with the outcome and am incredibly proud of this DIY. I styled it in two places in my home and think I’m going to keep it in our bedroom so I can see it everyday. This impatient budget babe/DIY-er gives it five stars because it came together in 24 hours and I got the Pinterest-worthy look for under $50.
Materials
Find the supplies you’ll need for this project from our affiliate links below:
Still want more? To see more of my decor copycats, sales, and deals, click here or follow me on Instagram.


Comments