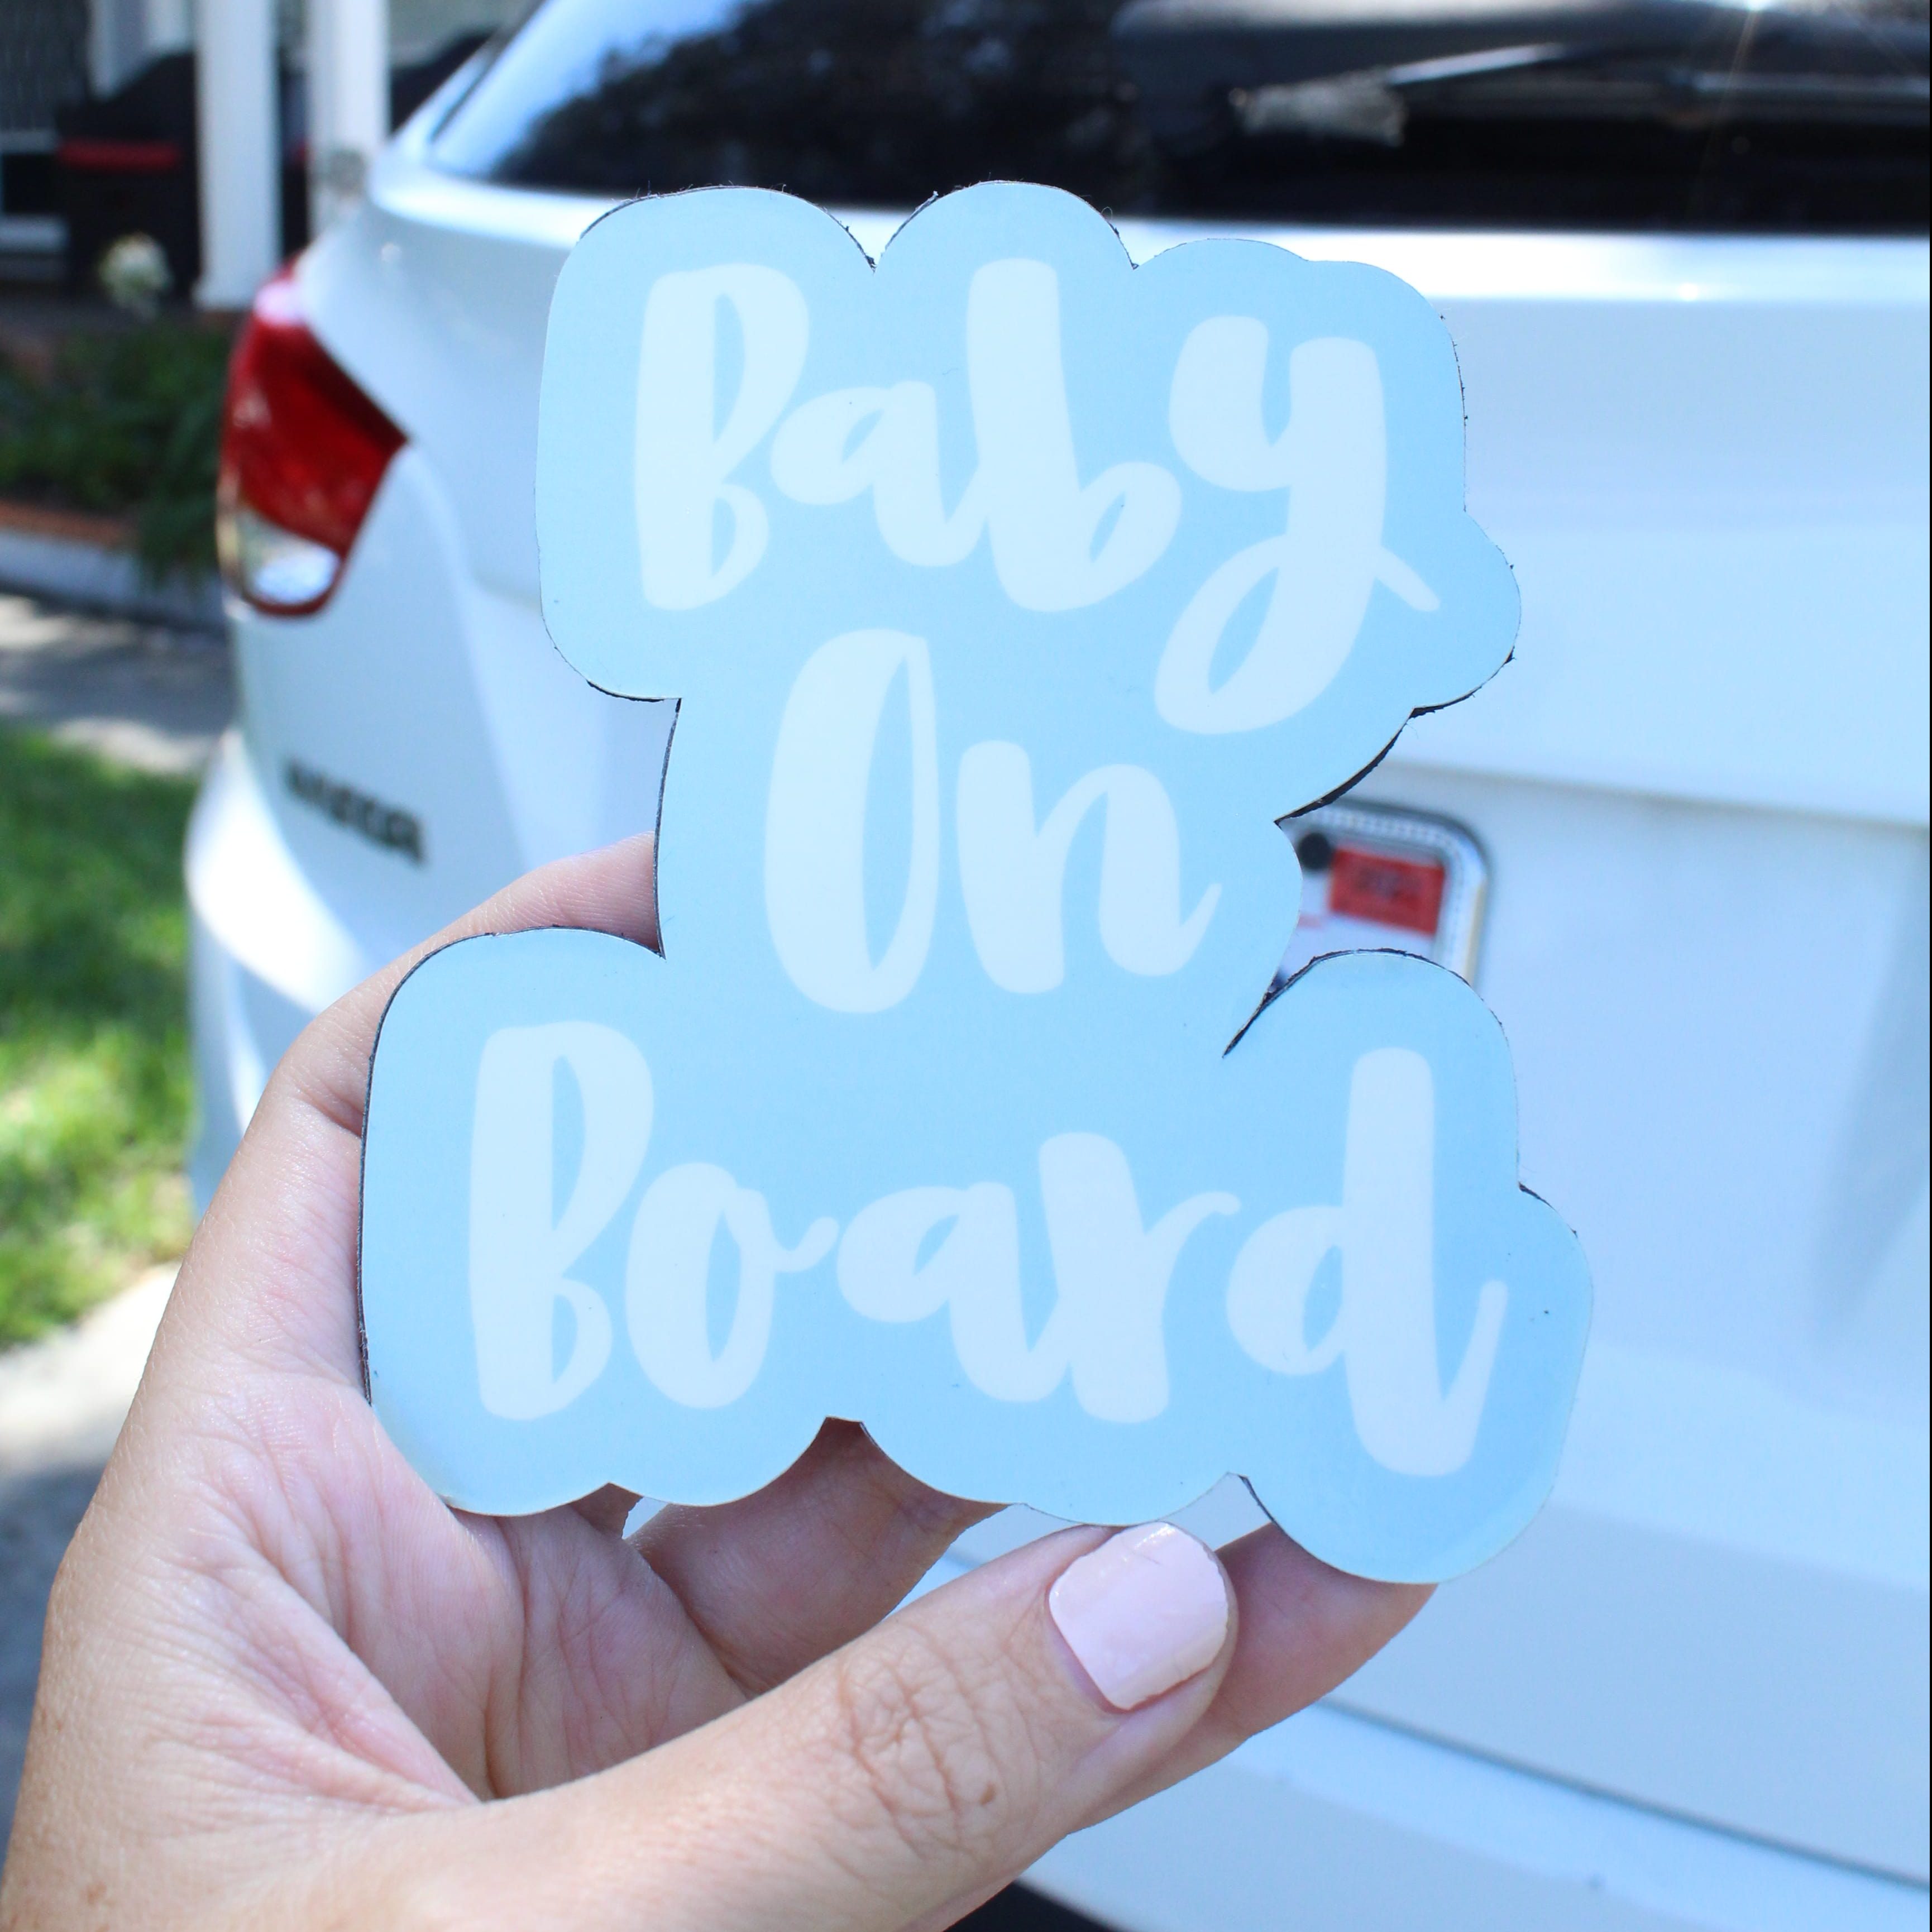

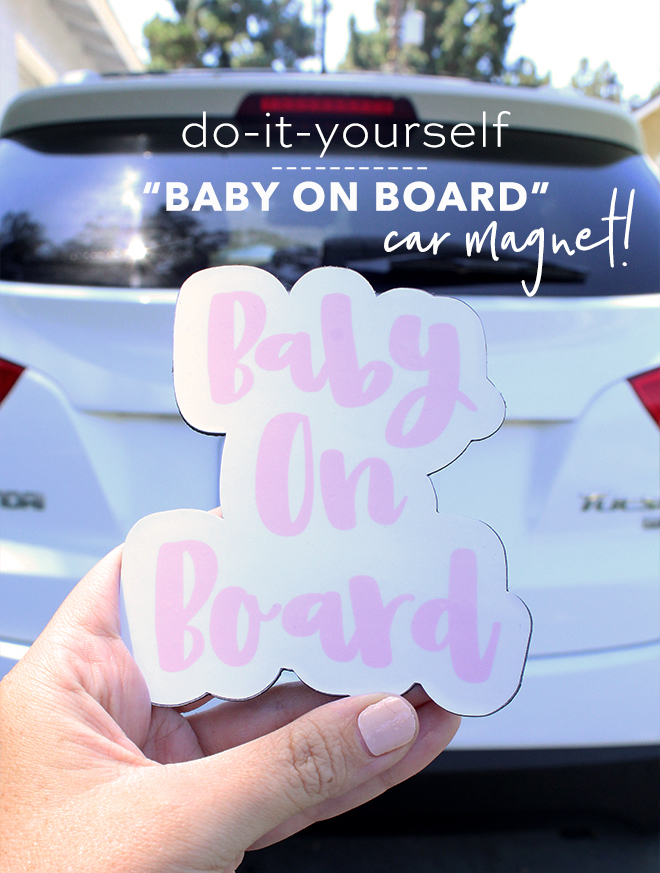
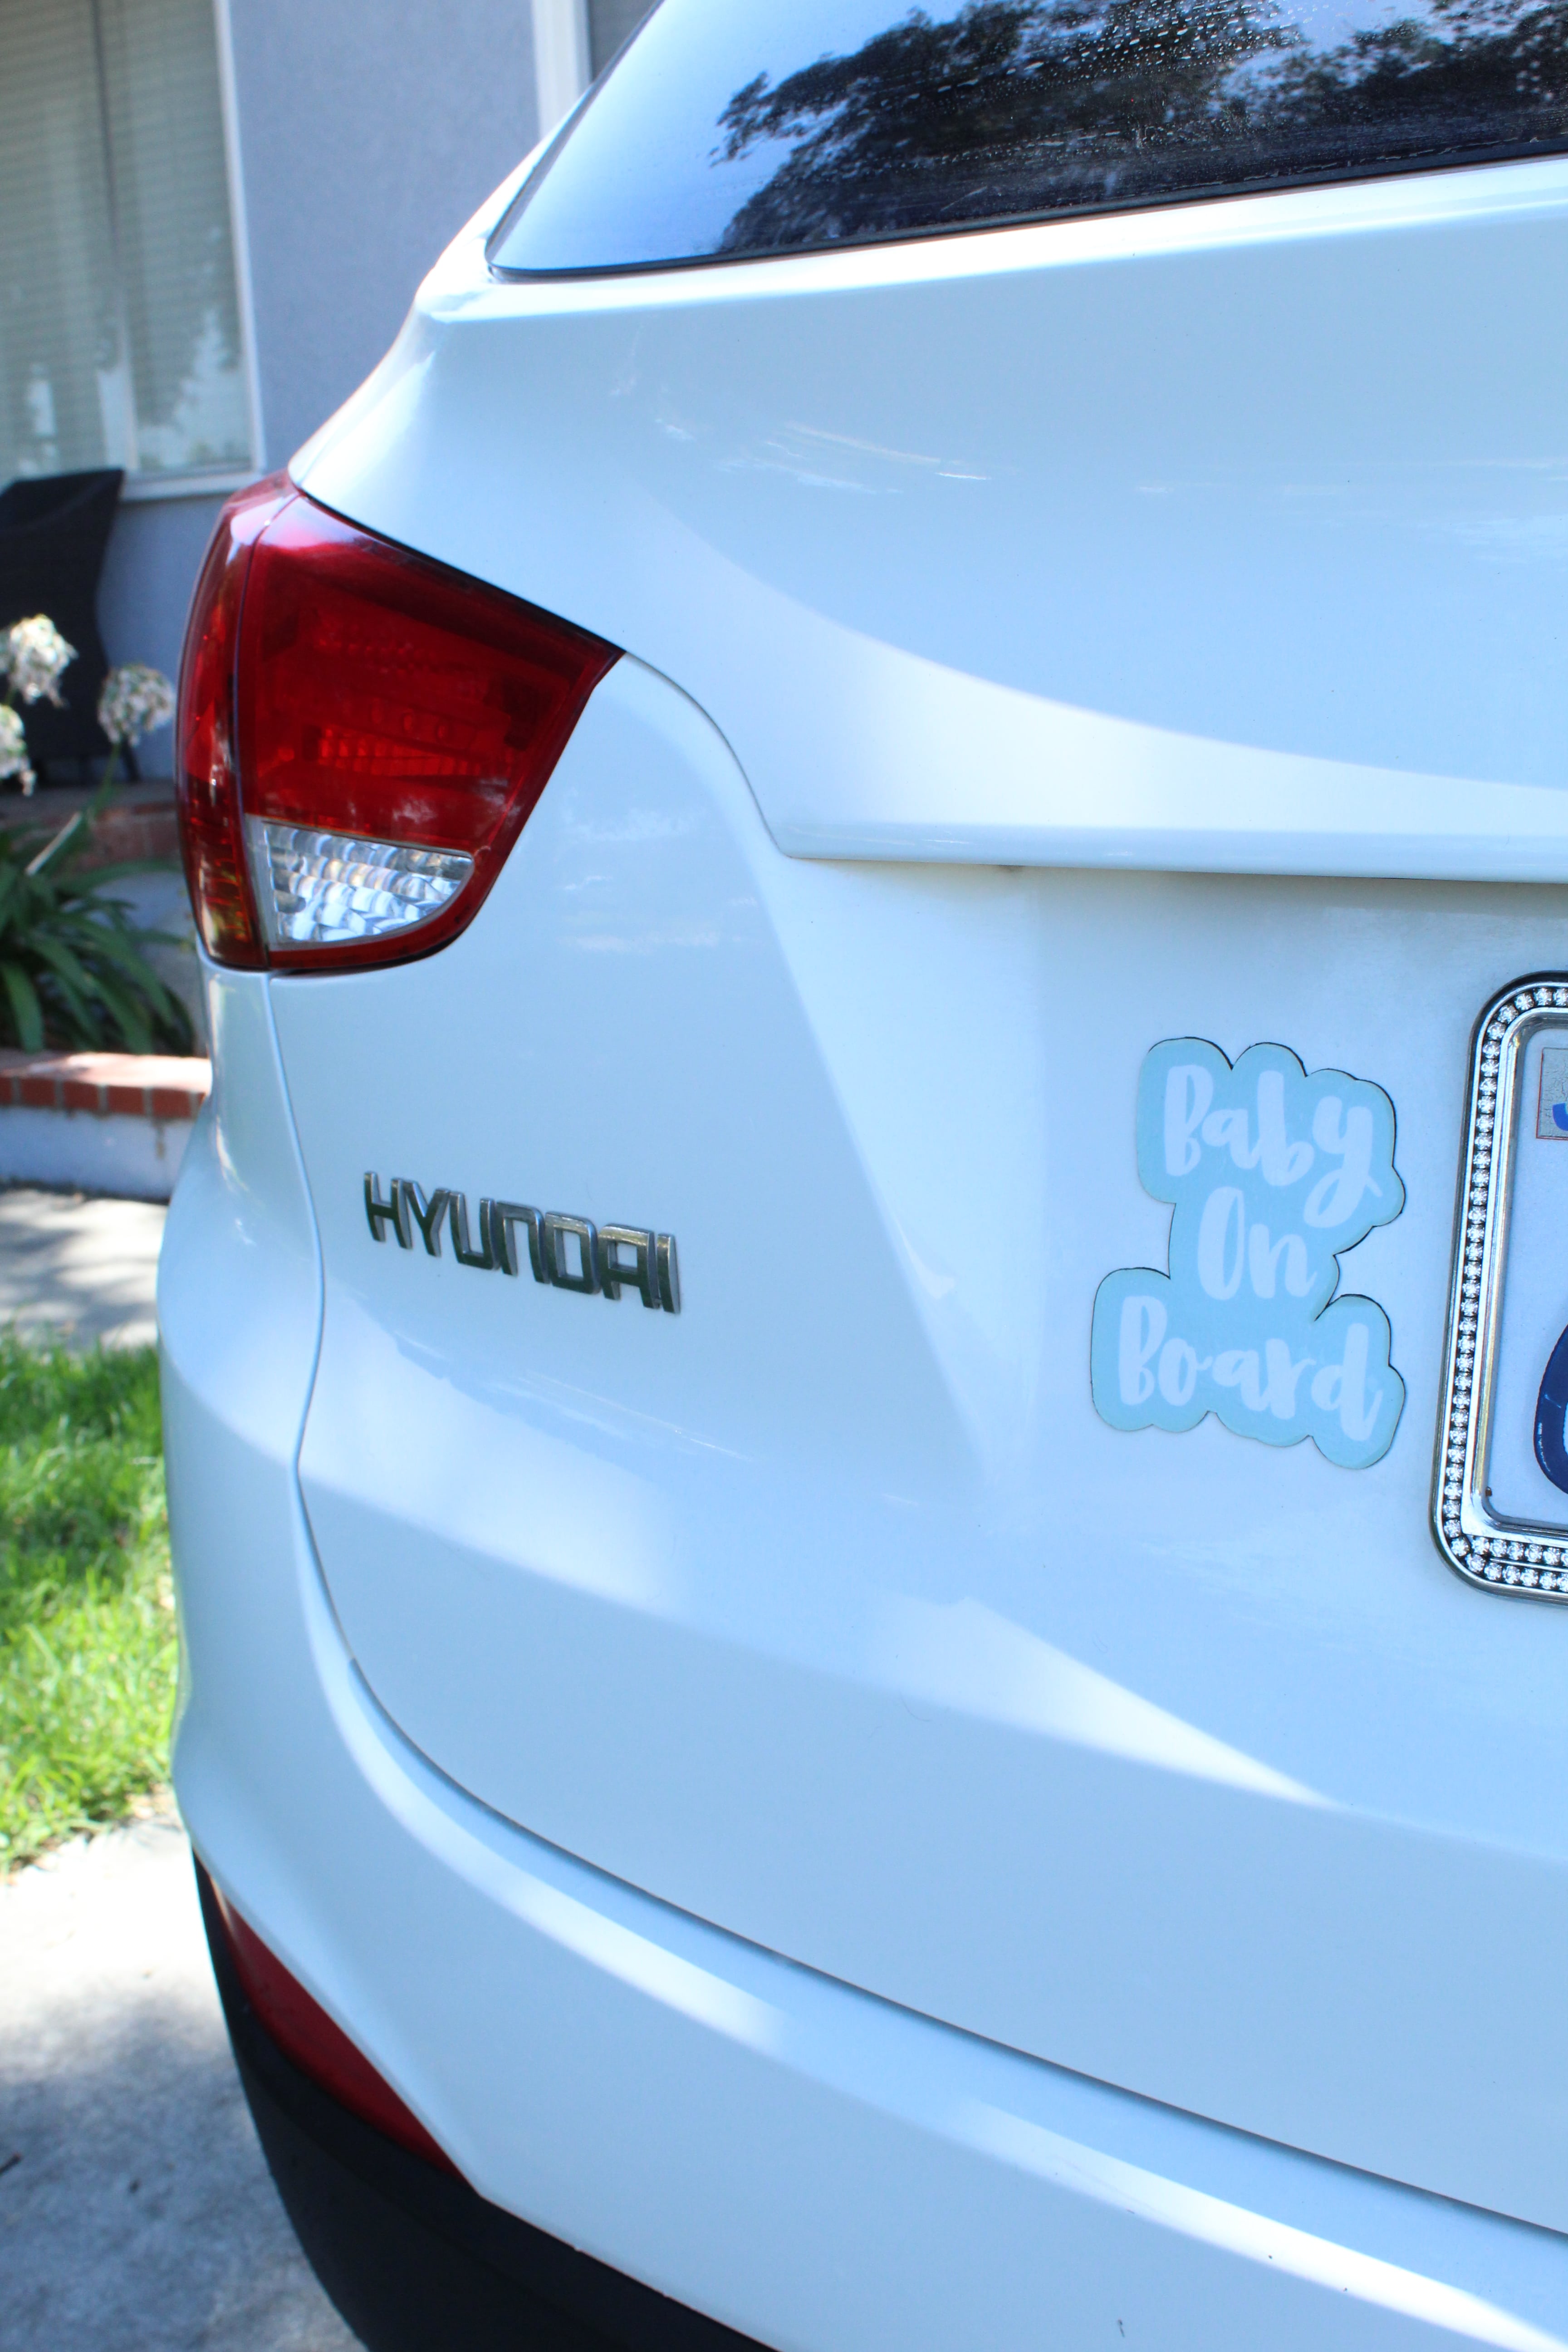
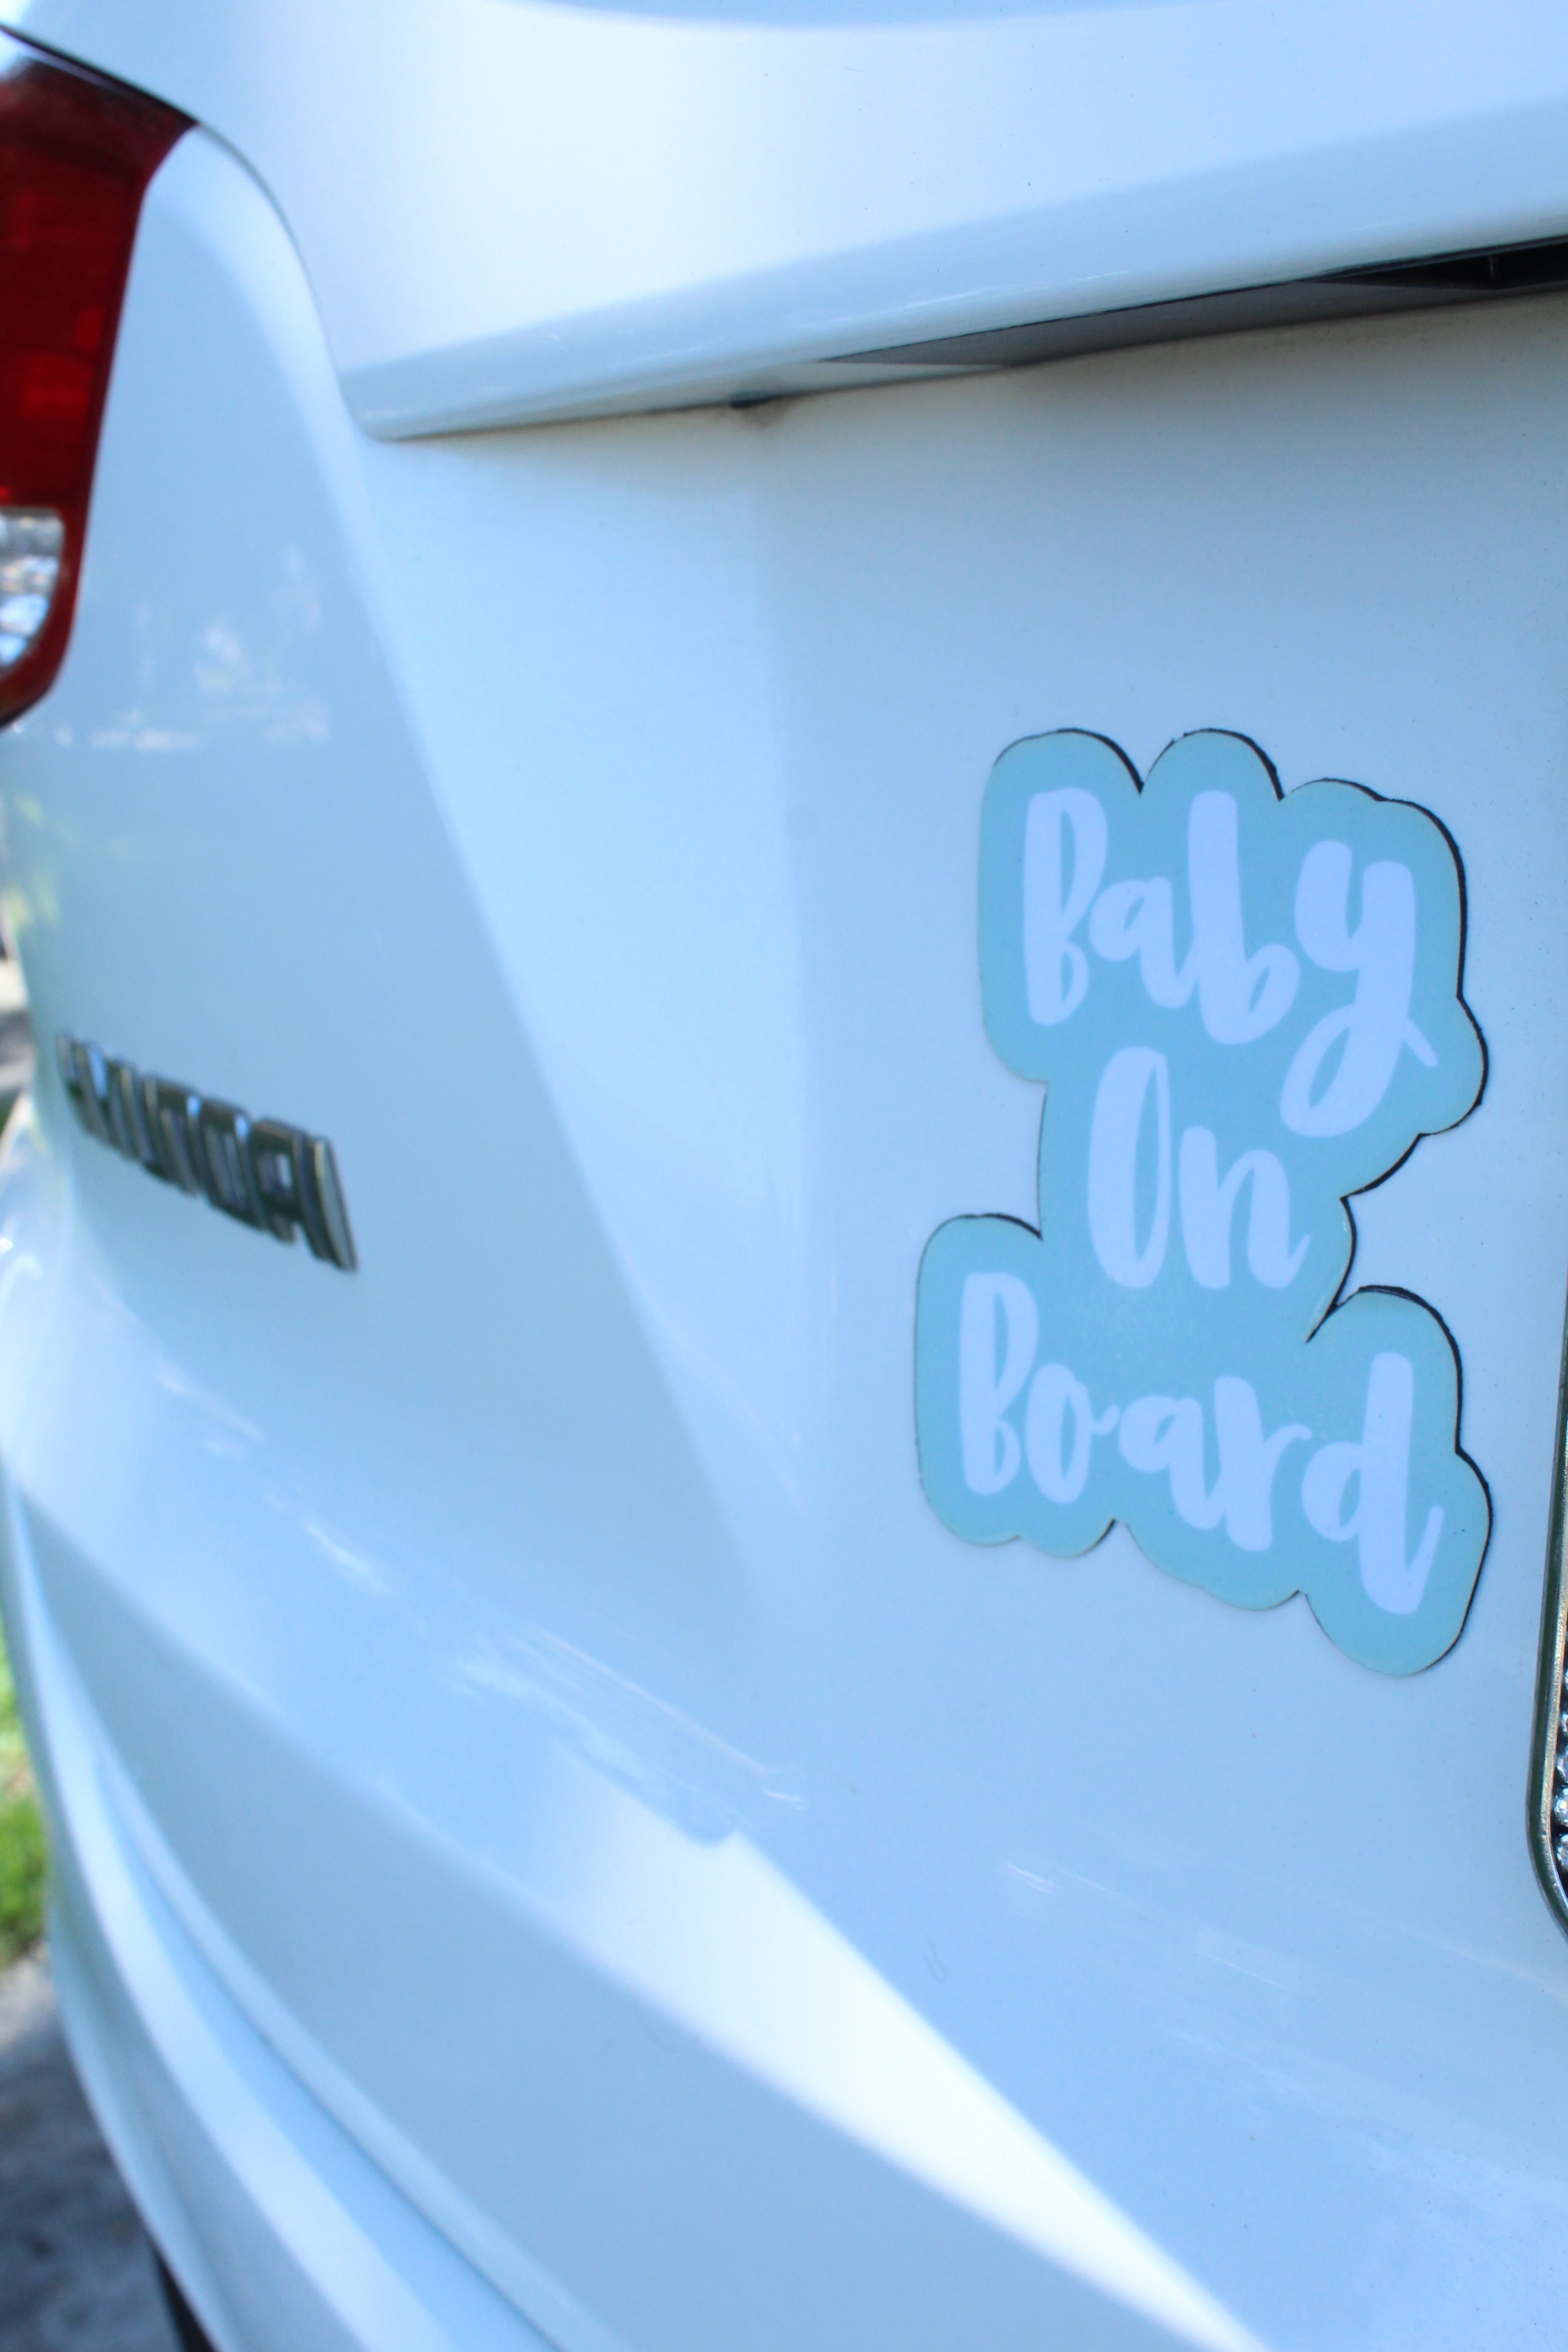
DIY “Baby on Board” Car Magnet
Hi friends! Shea back with another simple DIY for all you mamas that want everyone to know that you have a “Baby on Board”. So, the idea for this DIY came from the fact that I’m not a fan of car stickers. It’s something my mom instilled in me at a young age. She was never the type to put a bumper sticker on her car or really put any sticker anywhere. I still remember one day I put stickers on my dresser and headboard as a kid. I think it goes without saying, she wasn’t thrilled about it. I guess it’s because of her that I really have no desire to put any kind of sticker on my car, even one for my kid. That’s when I got the idea to do a MAGNET instead! We’ve all seen the cheesy generic “Baby on Board” stickers and signs everywhere. Those really aren’t my style. So… I did what any crafty mama would do, I designed my own! And I’m sharing the free file with you! (I even created a “Babies on Board” version for all you mamas with more than one little.) These are great to make for yourself, or a friend who is expecting. I remember those first few drives with my new little one, especially the one home from the hospital, I wanted EVERYONE to know there was a baby in my car. So, let’s get started!
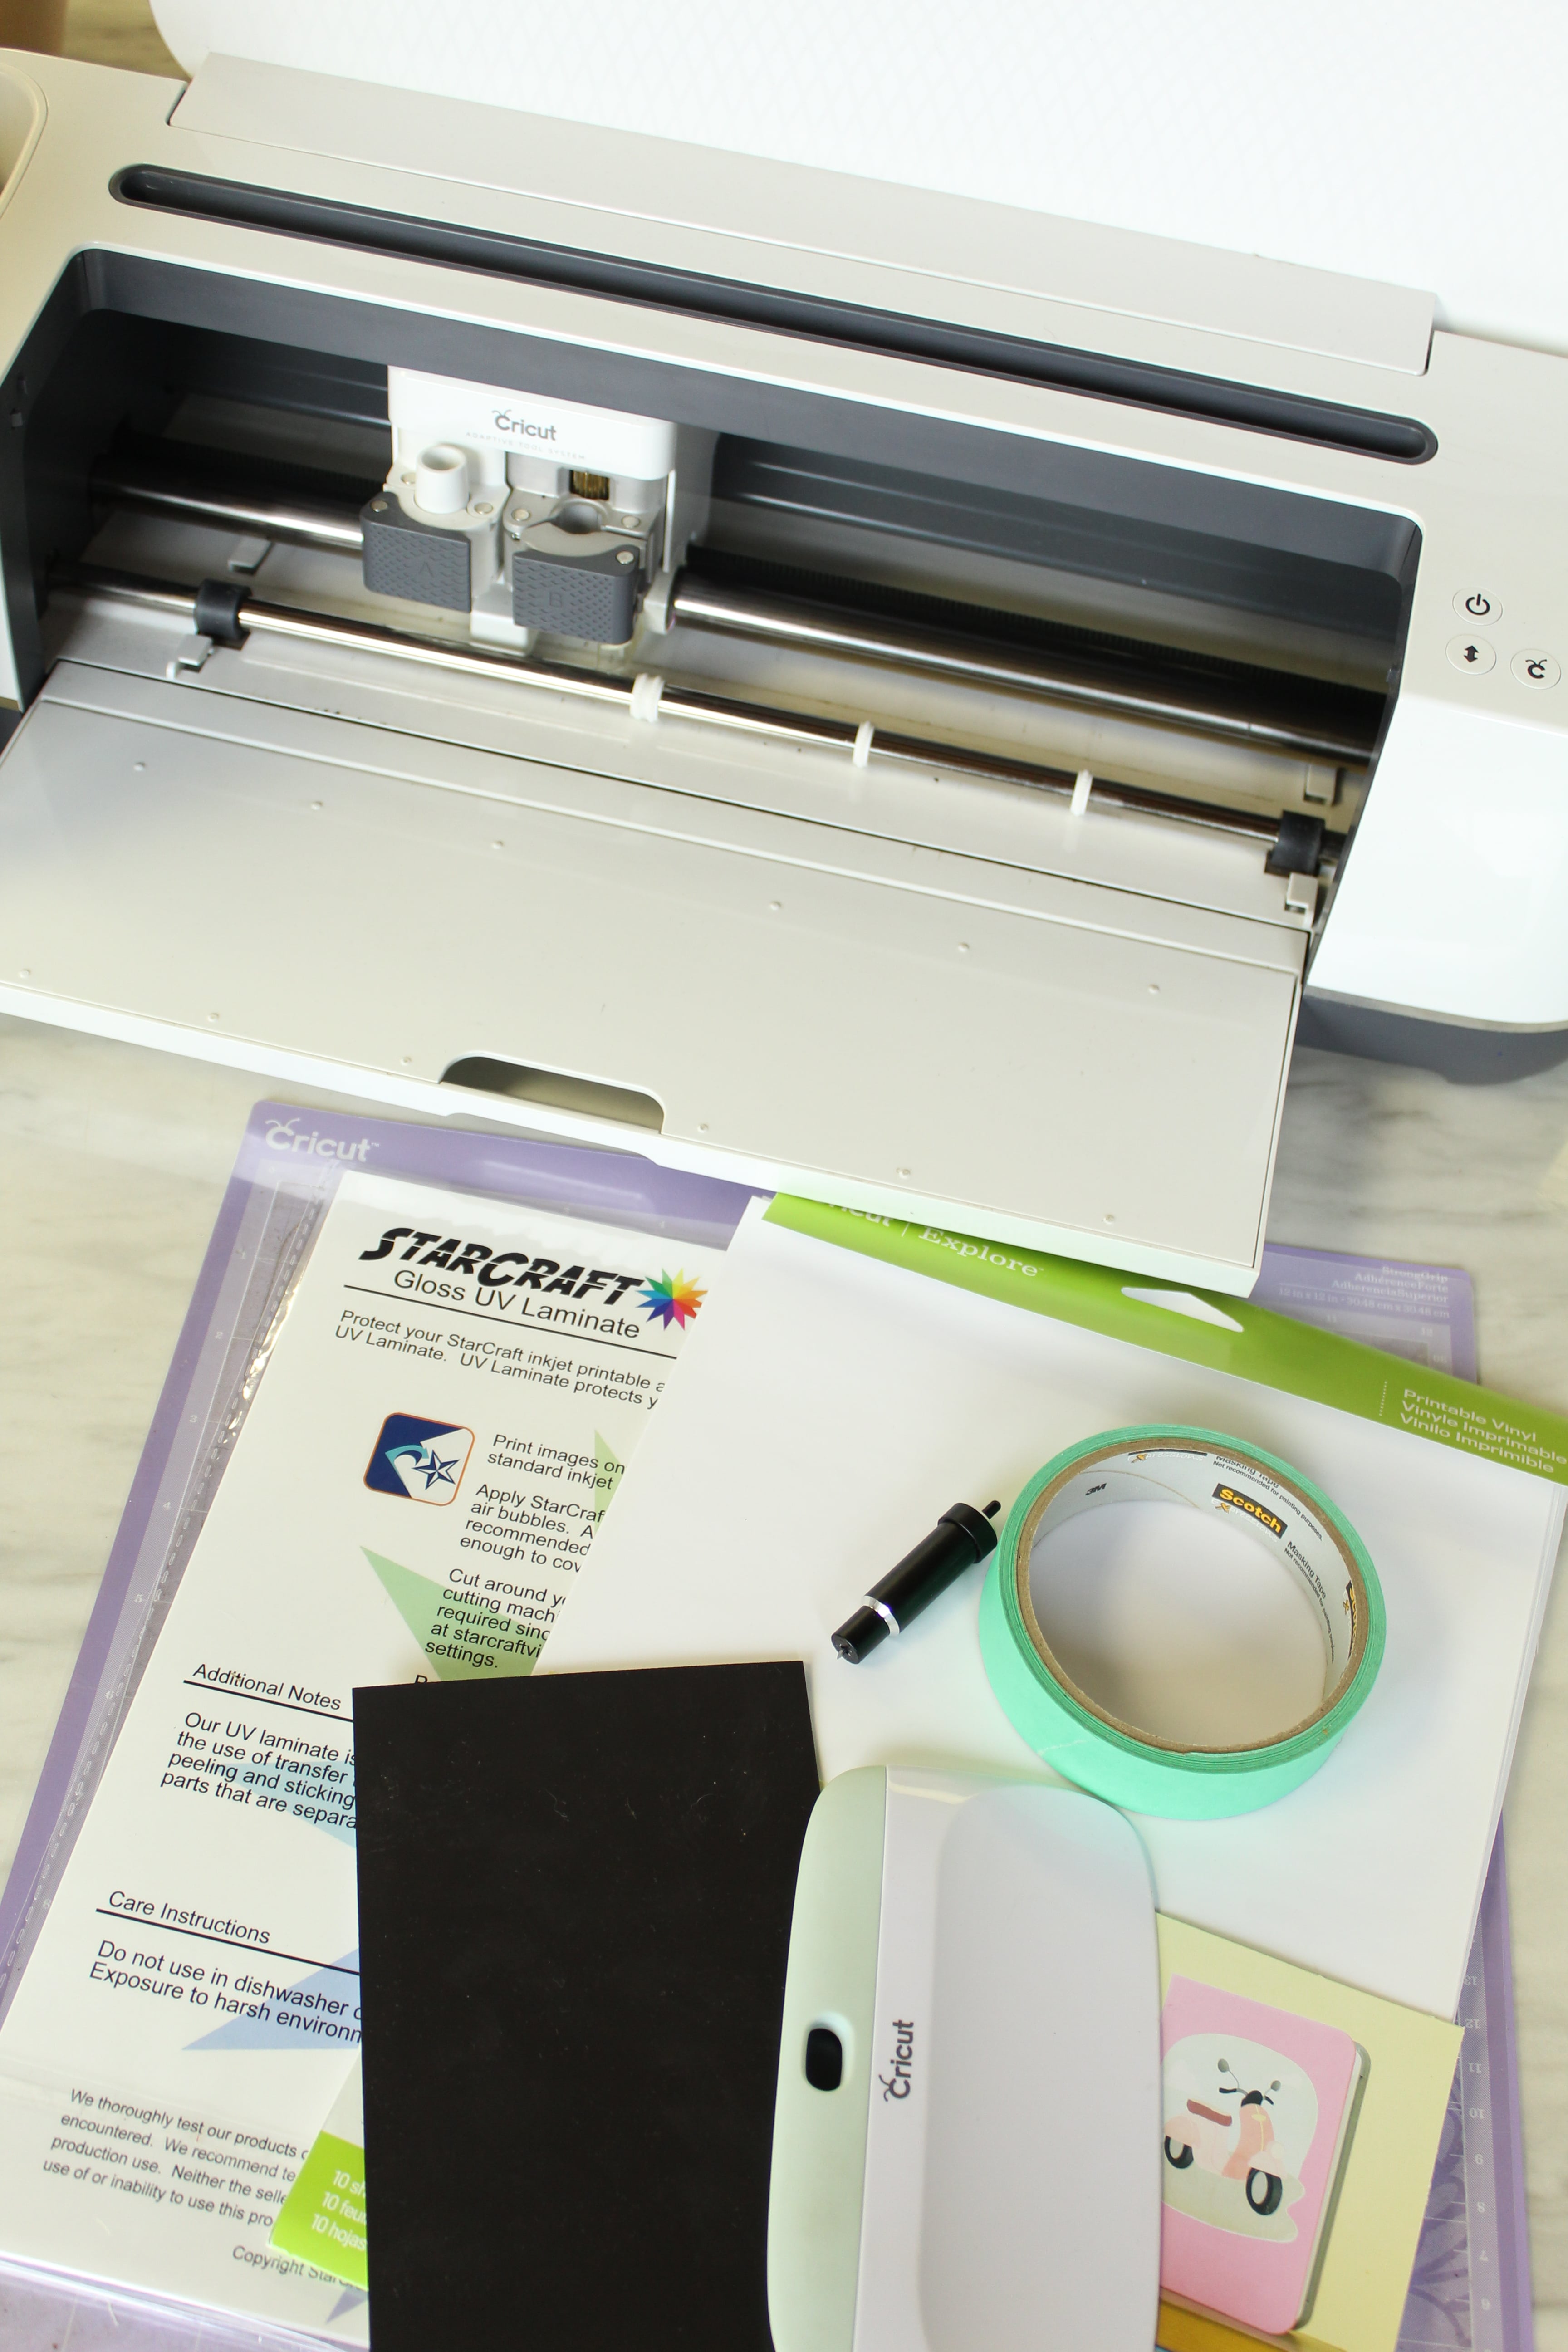
Supplies:
- Cricut Maker (or Explore machine)
- Cricut Strong Grip Mat
- Cricut Deep Point Blade
- Masking Tape
- 4×6 Magnet Sheet
- Cricut Printable Vinyl
- Printer
- UV Laminate (Optional)
- Cricut XL Scraper (Optional)
- Our FREE file (You can find this at the bottom of this post)
Open Design Space
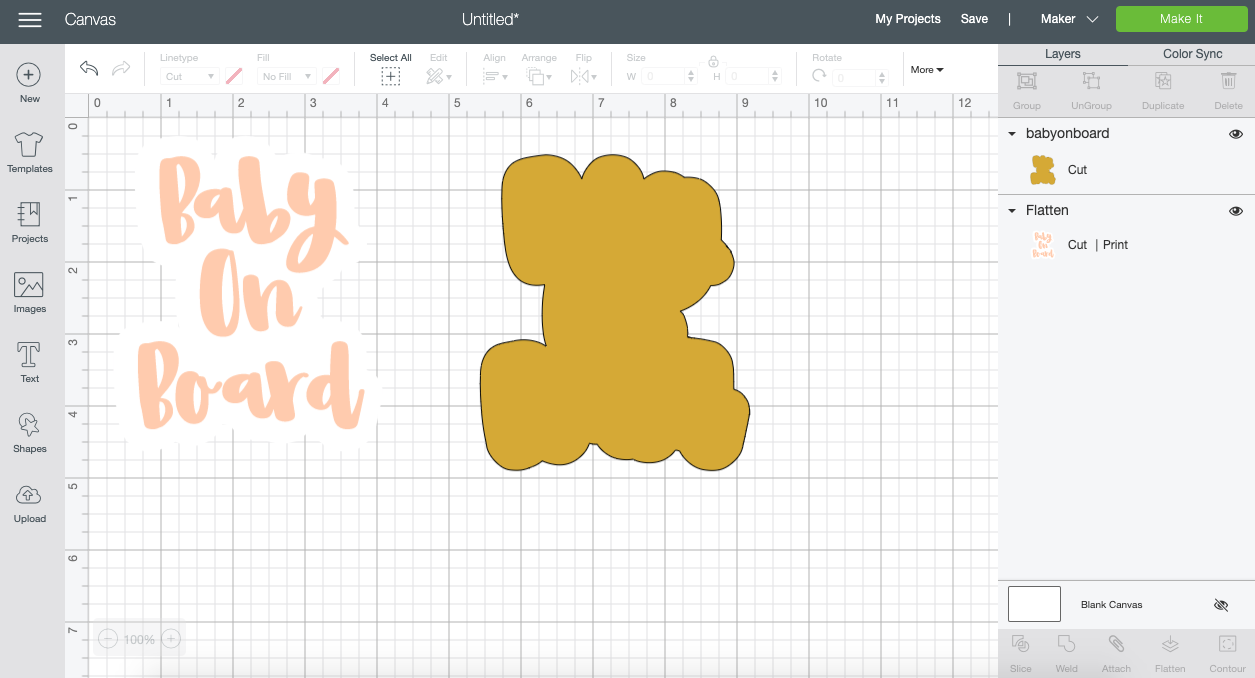
Start by opening Cricut Design Space and starting a new project. From the canvas screen, click the “upload” button in the bottom left hand corner. Then click “upload image” and select our free files (found at the end of this post). And then “insert image” onto your canvas.
Customize
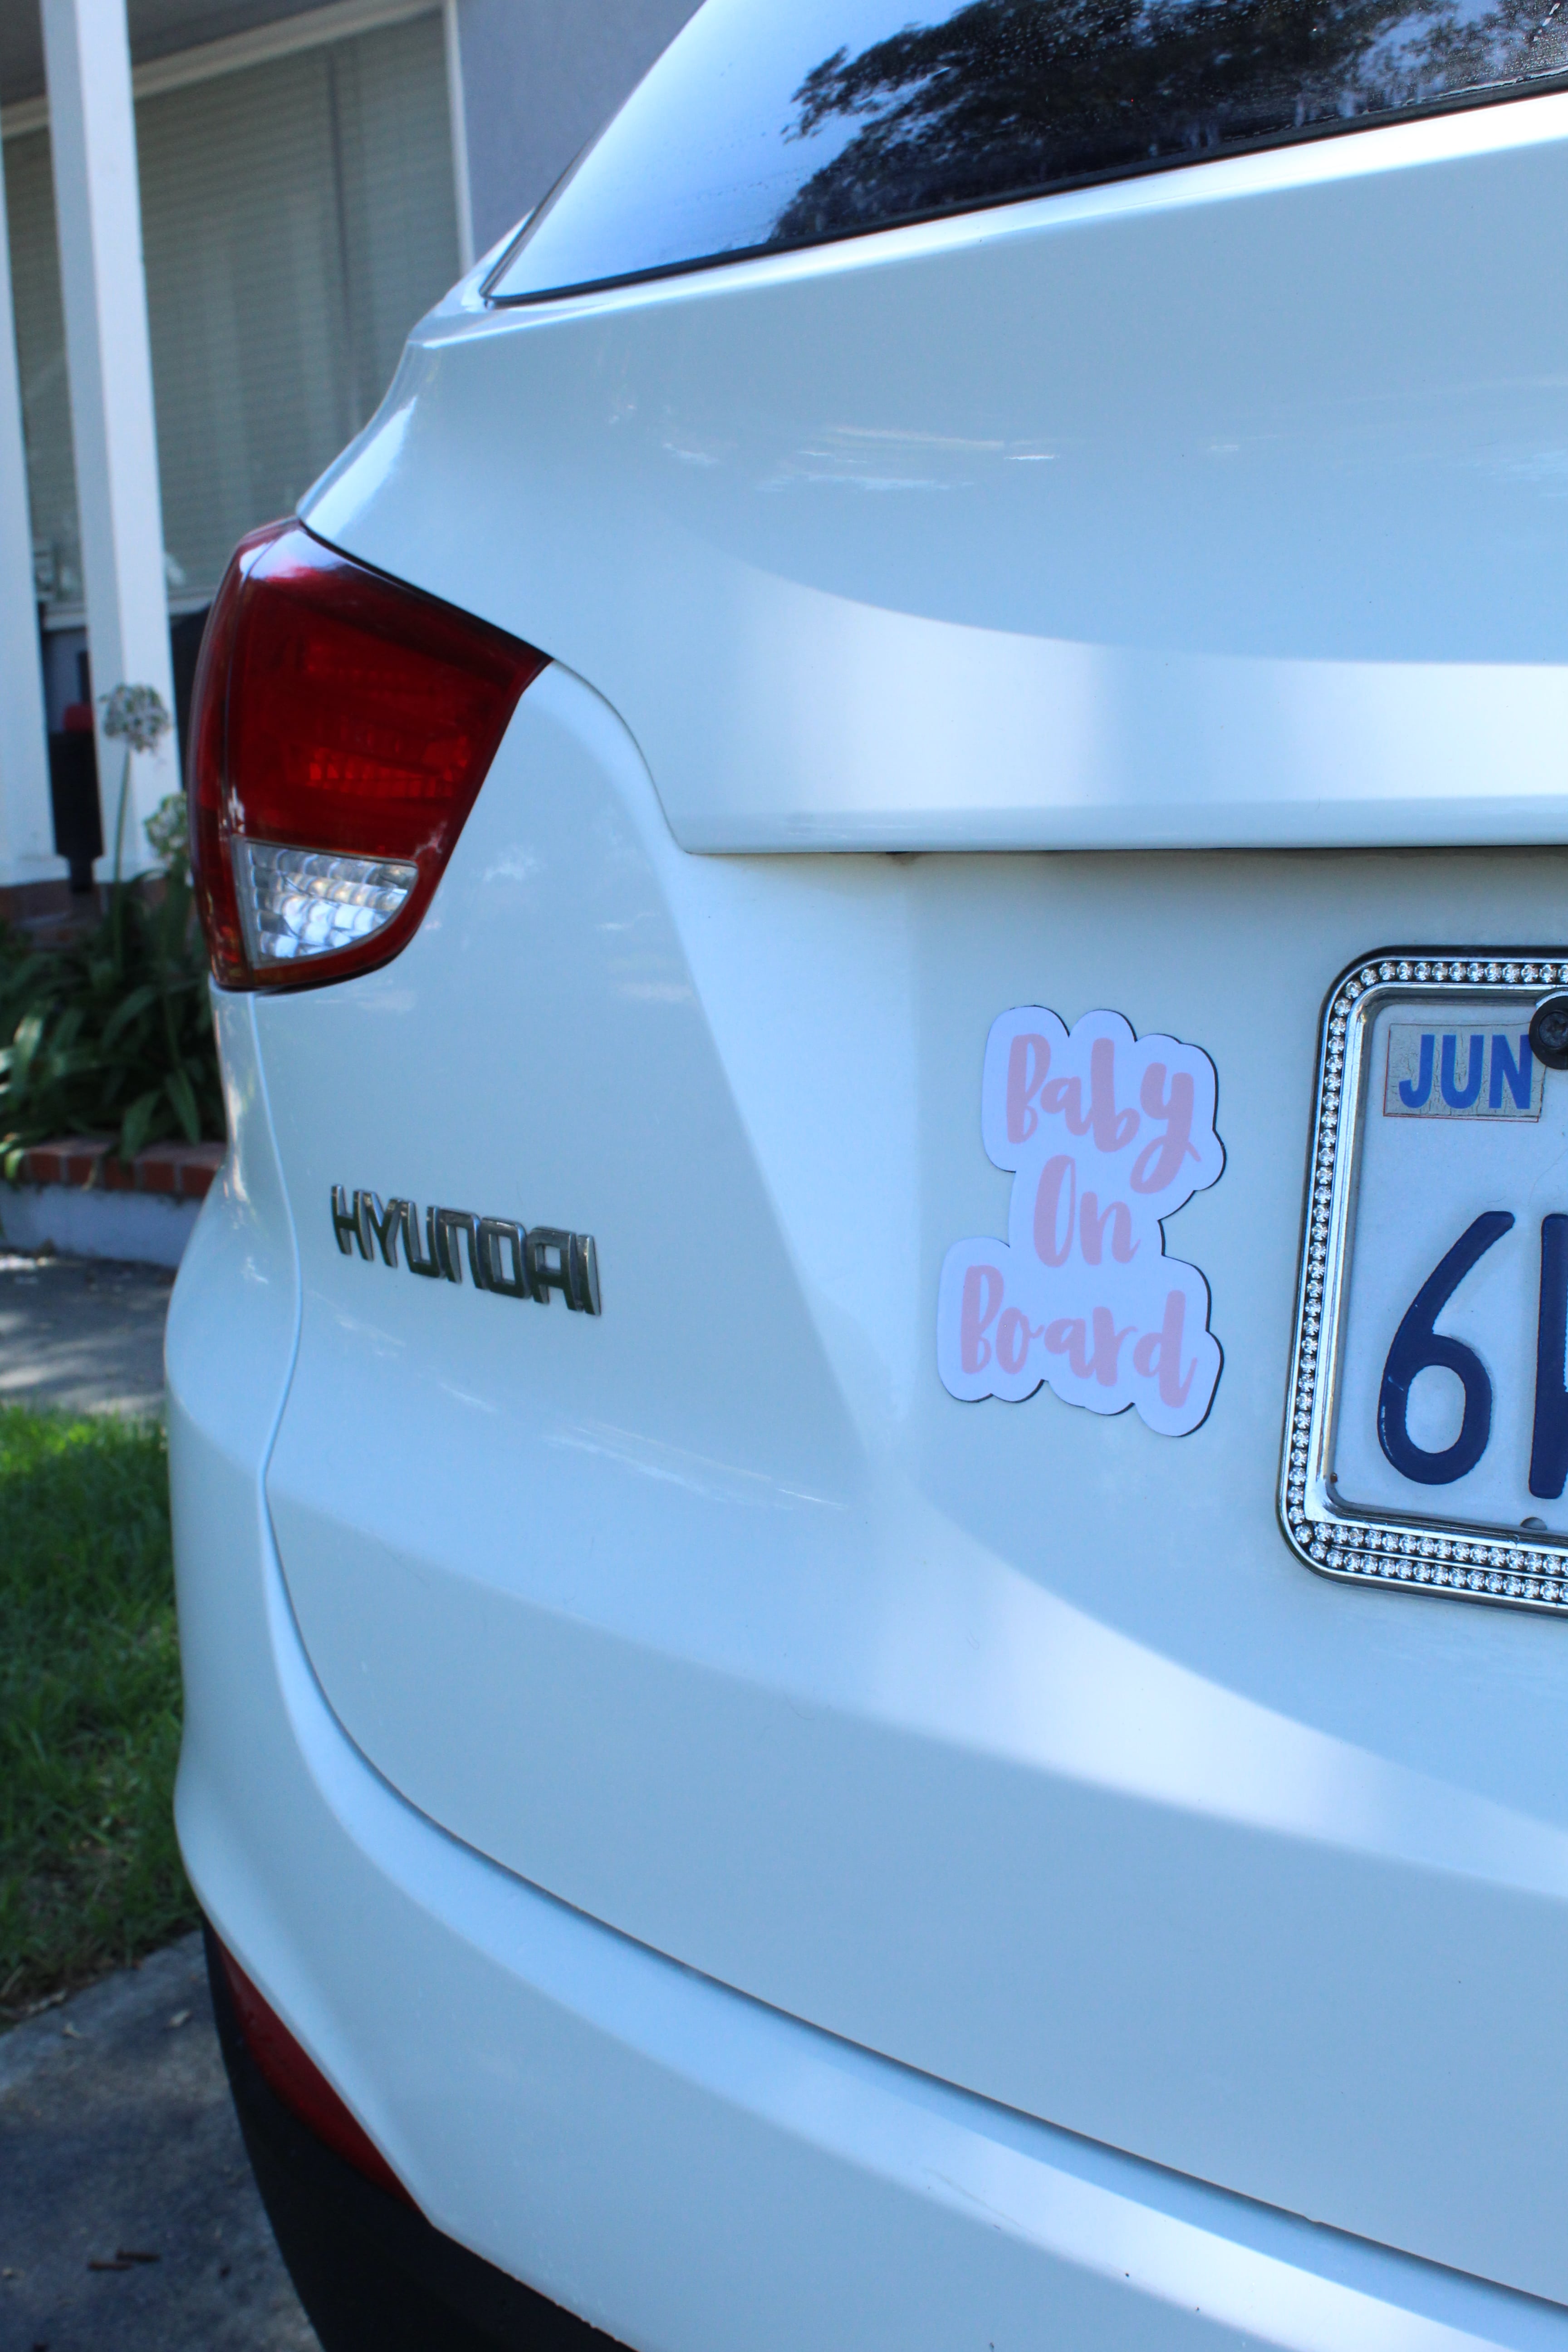
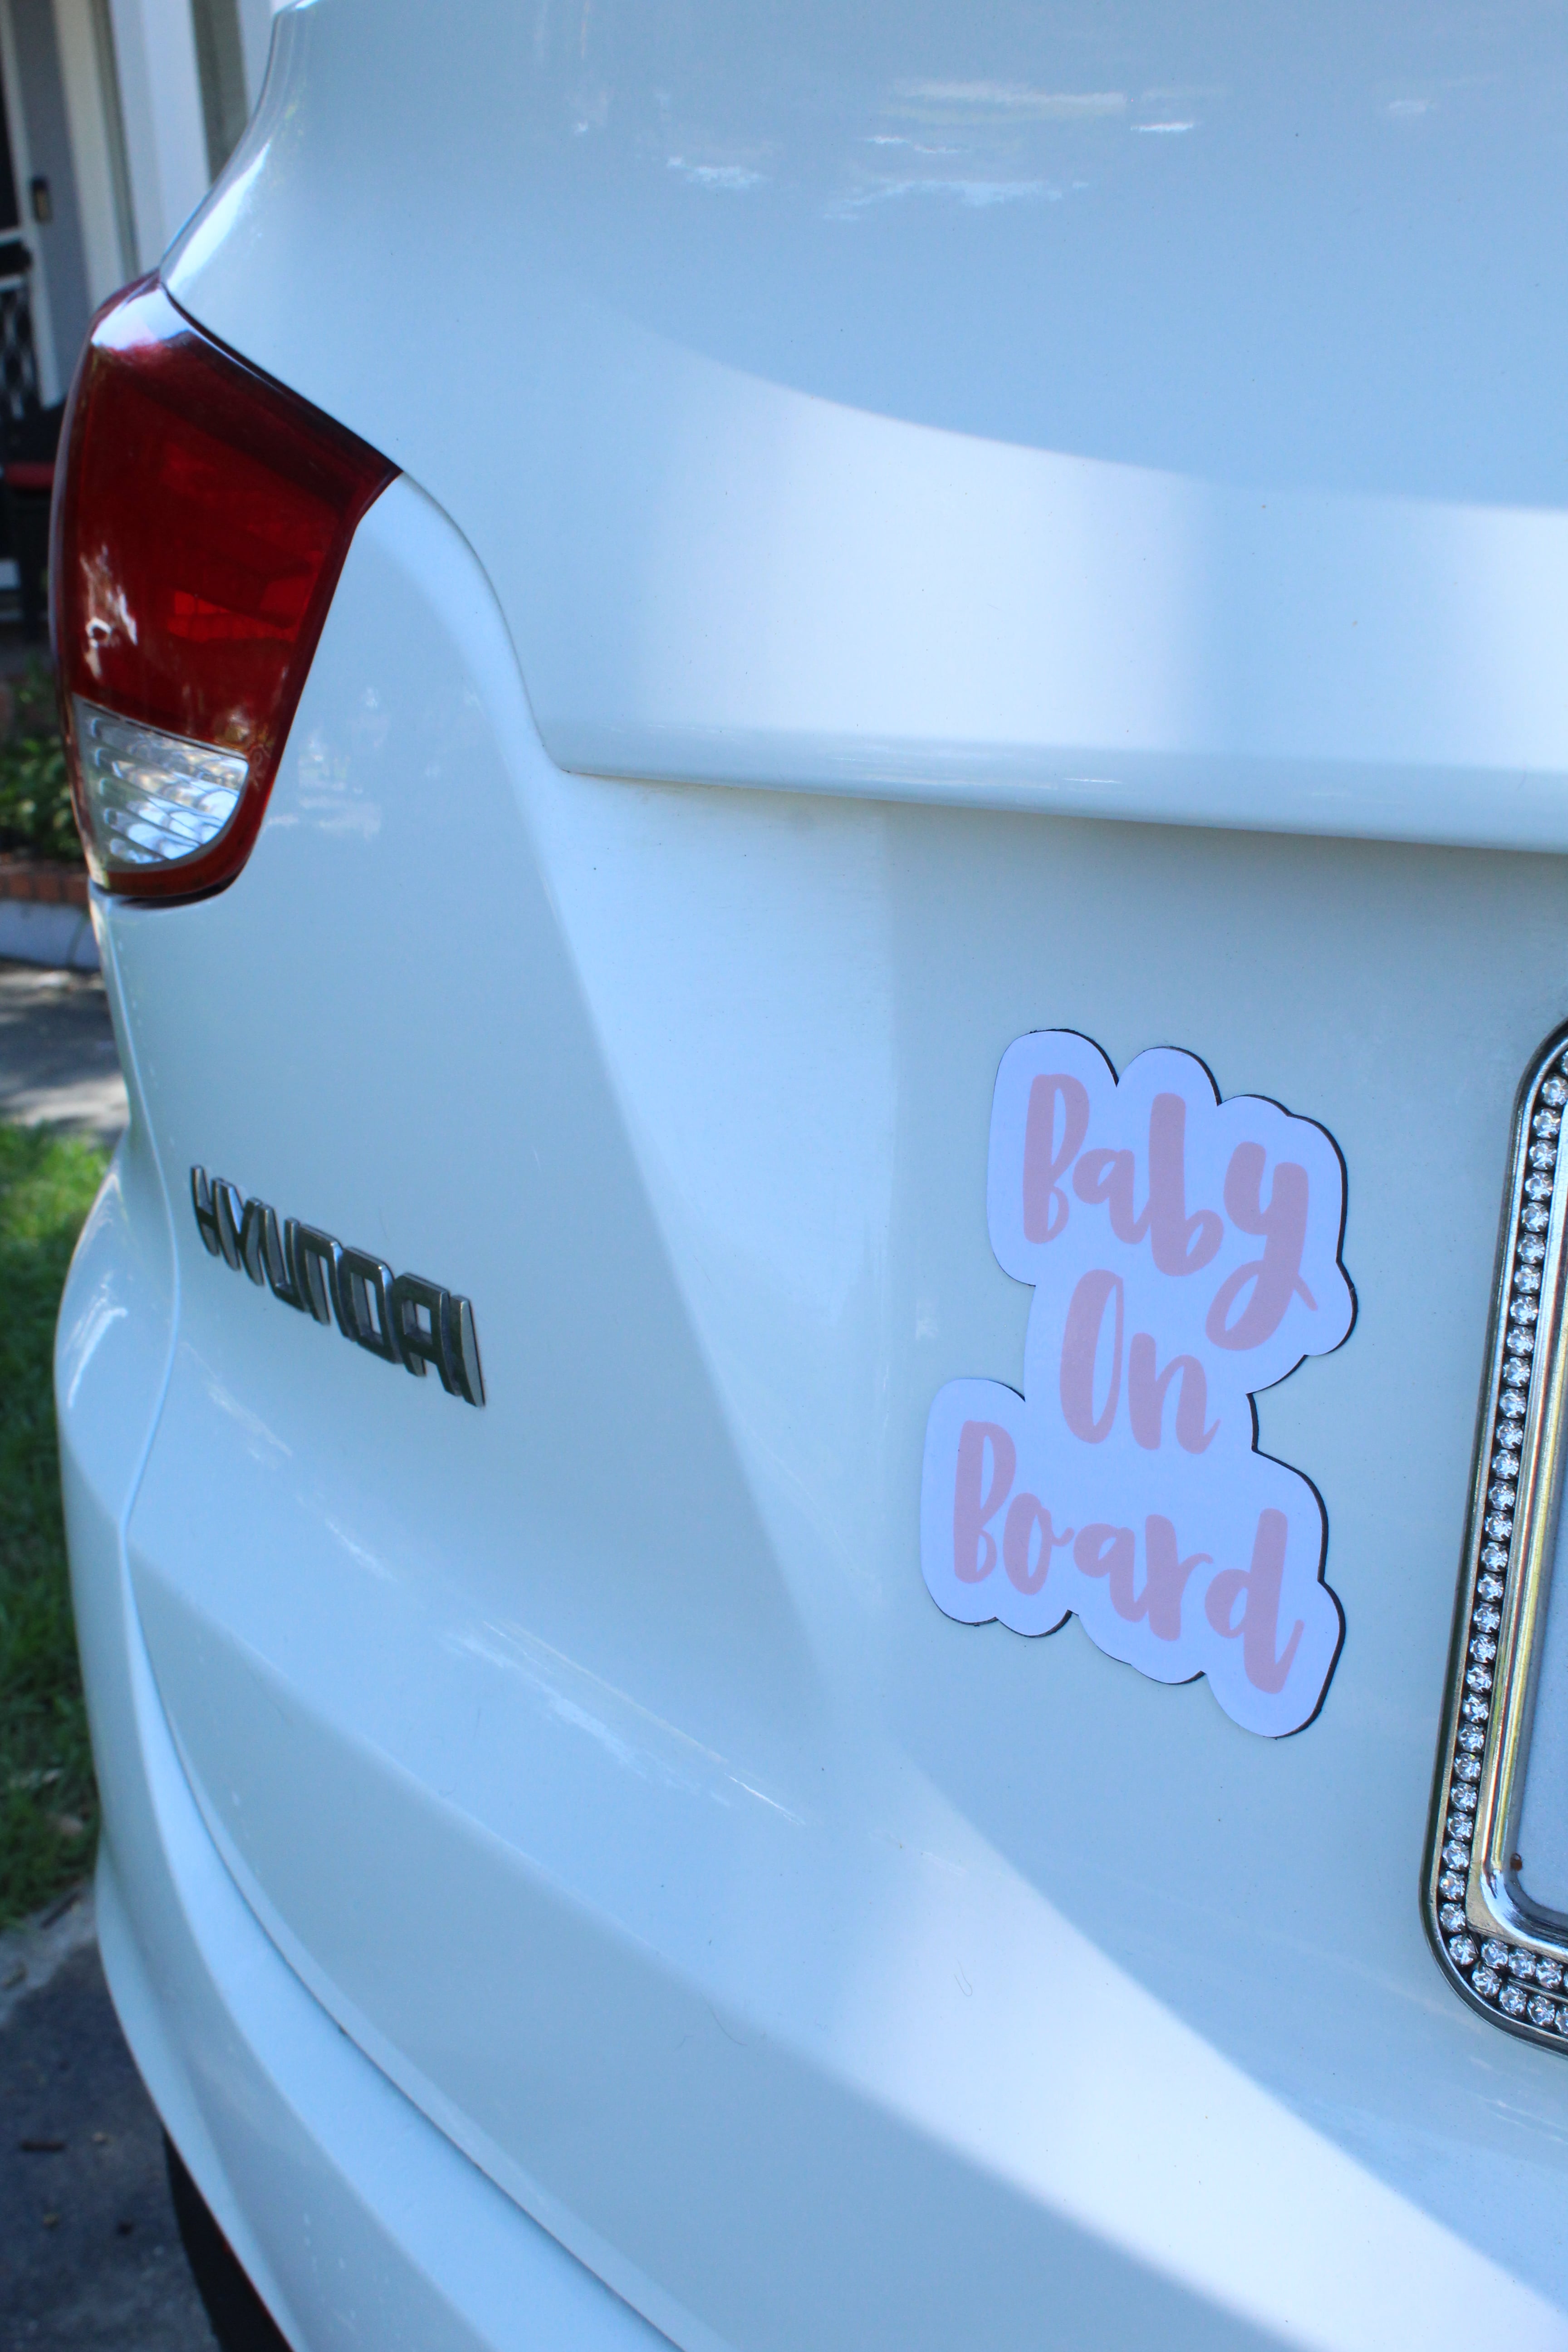
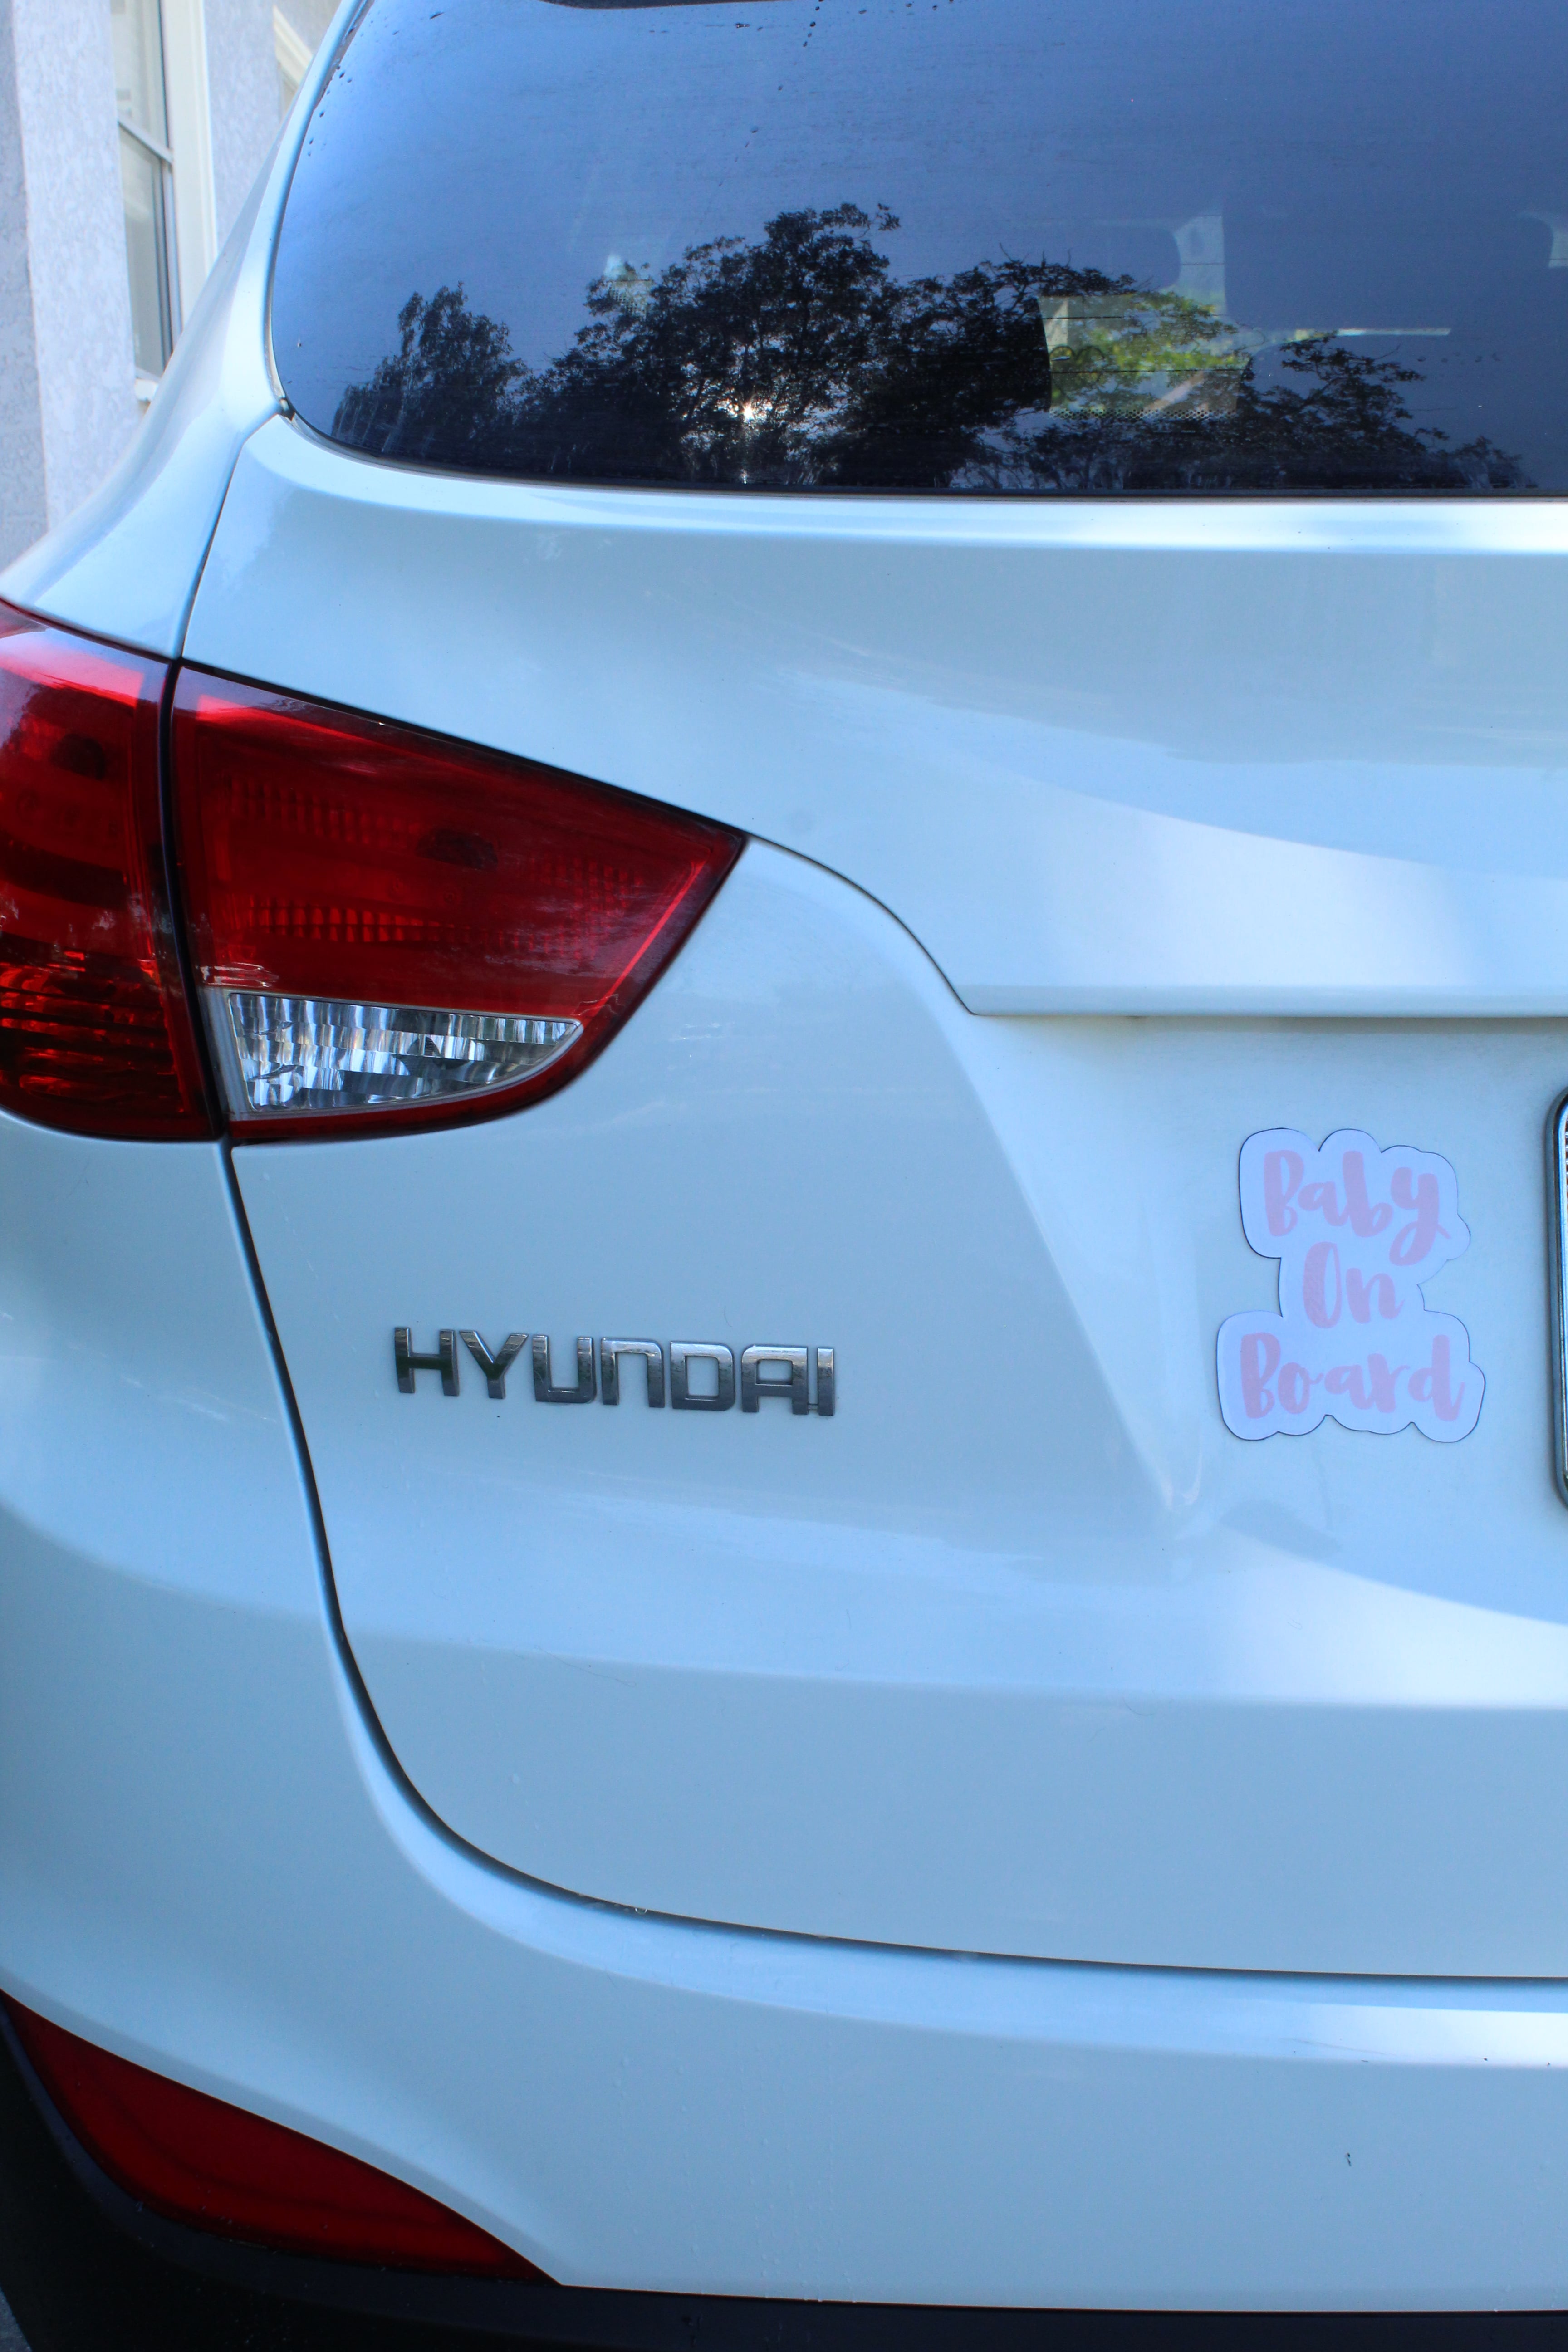
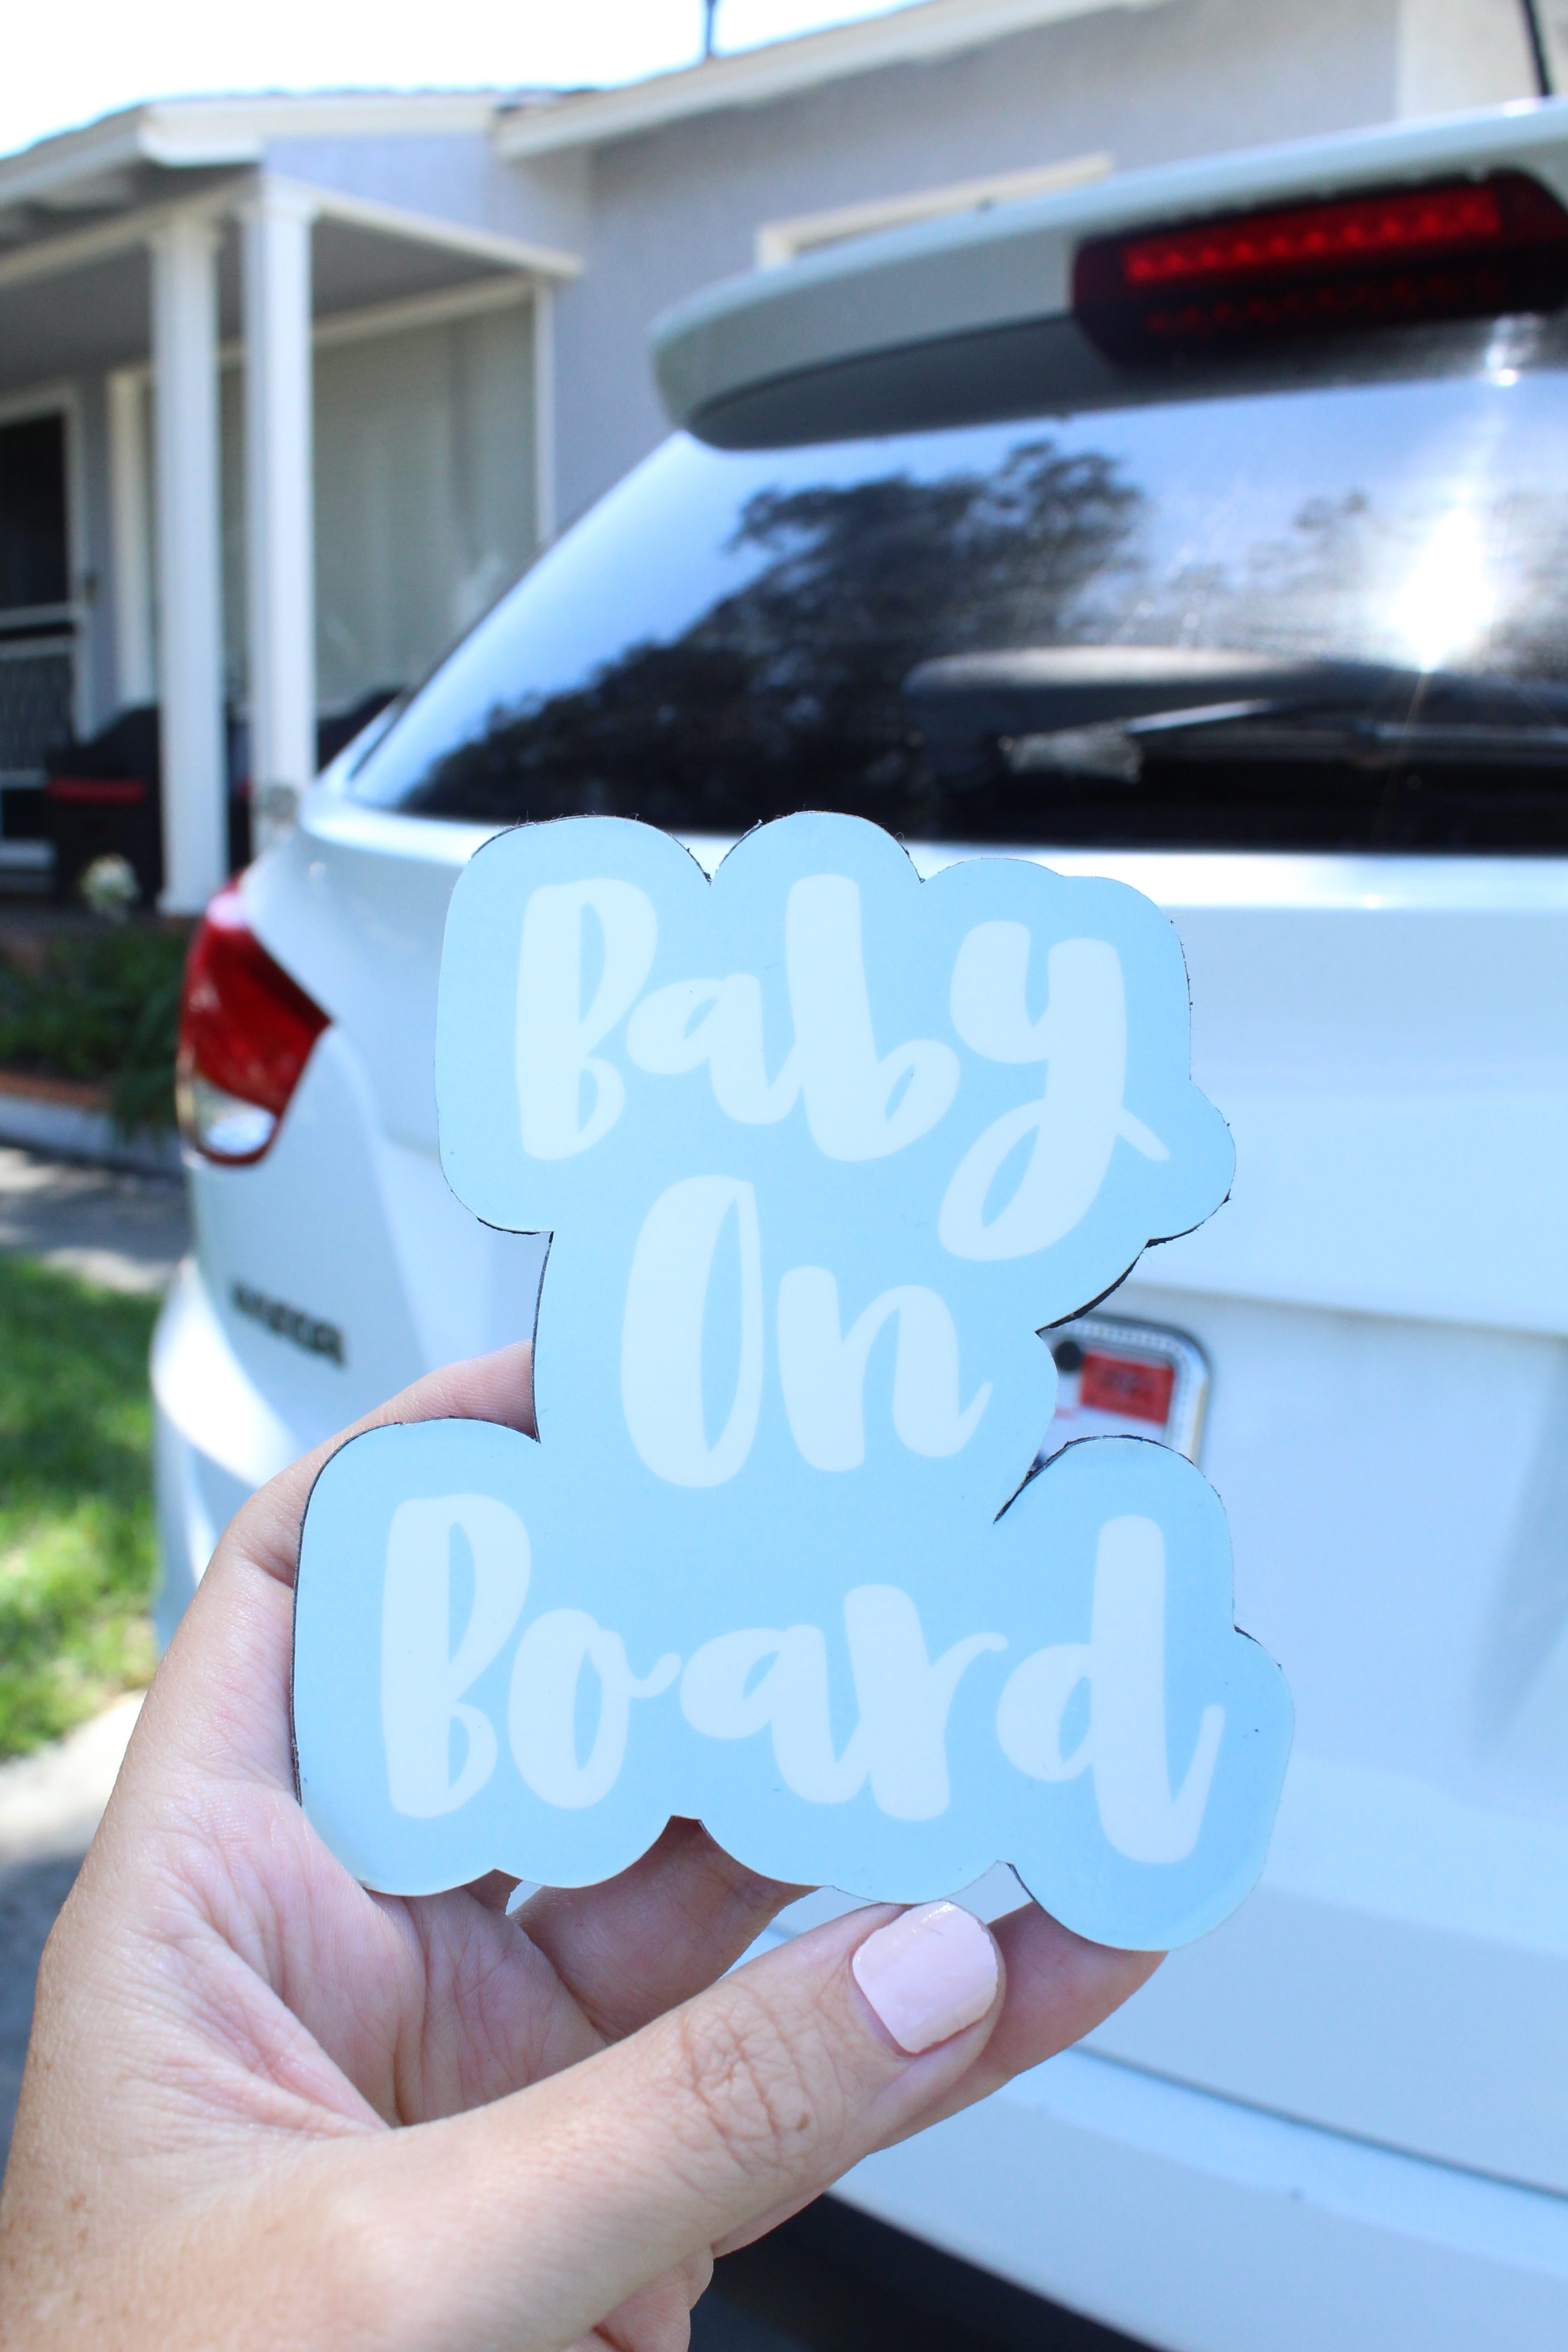
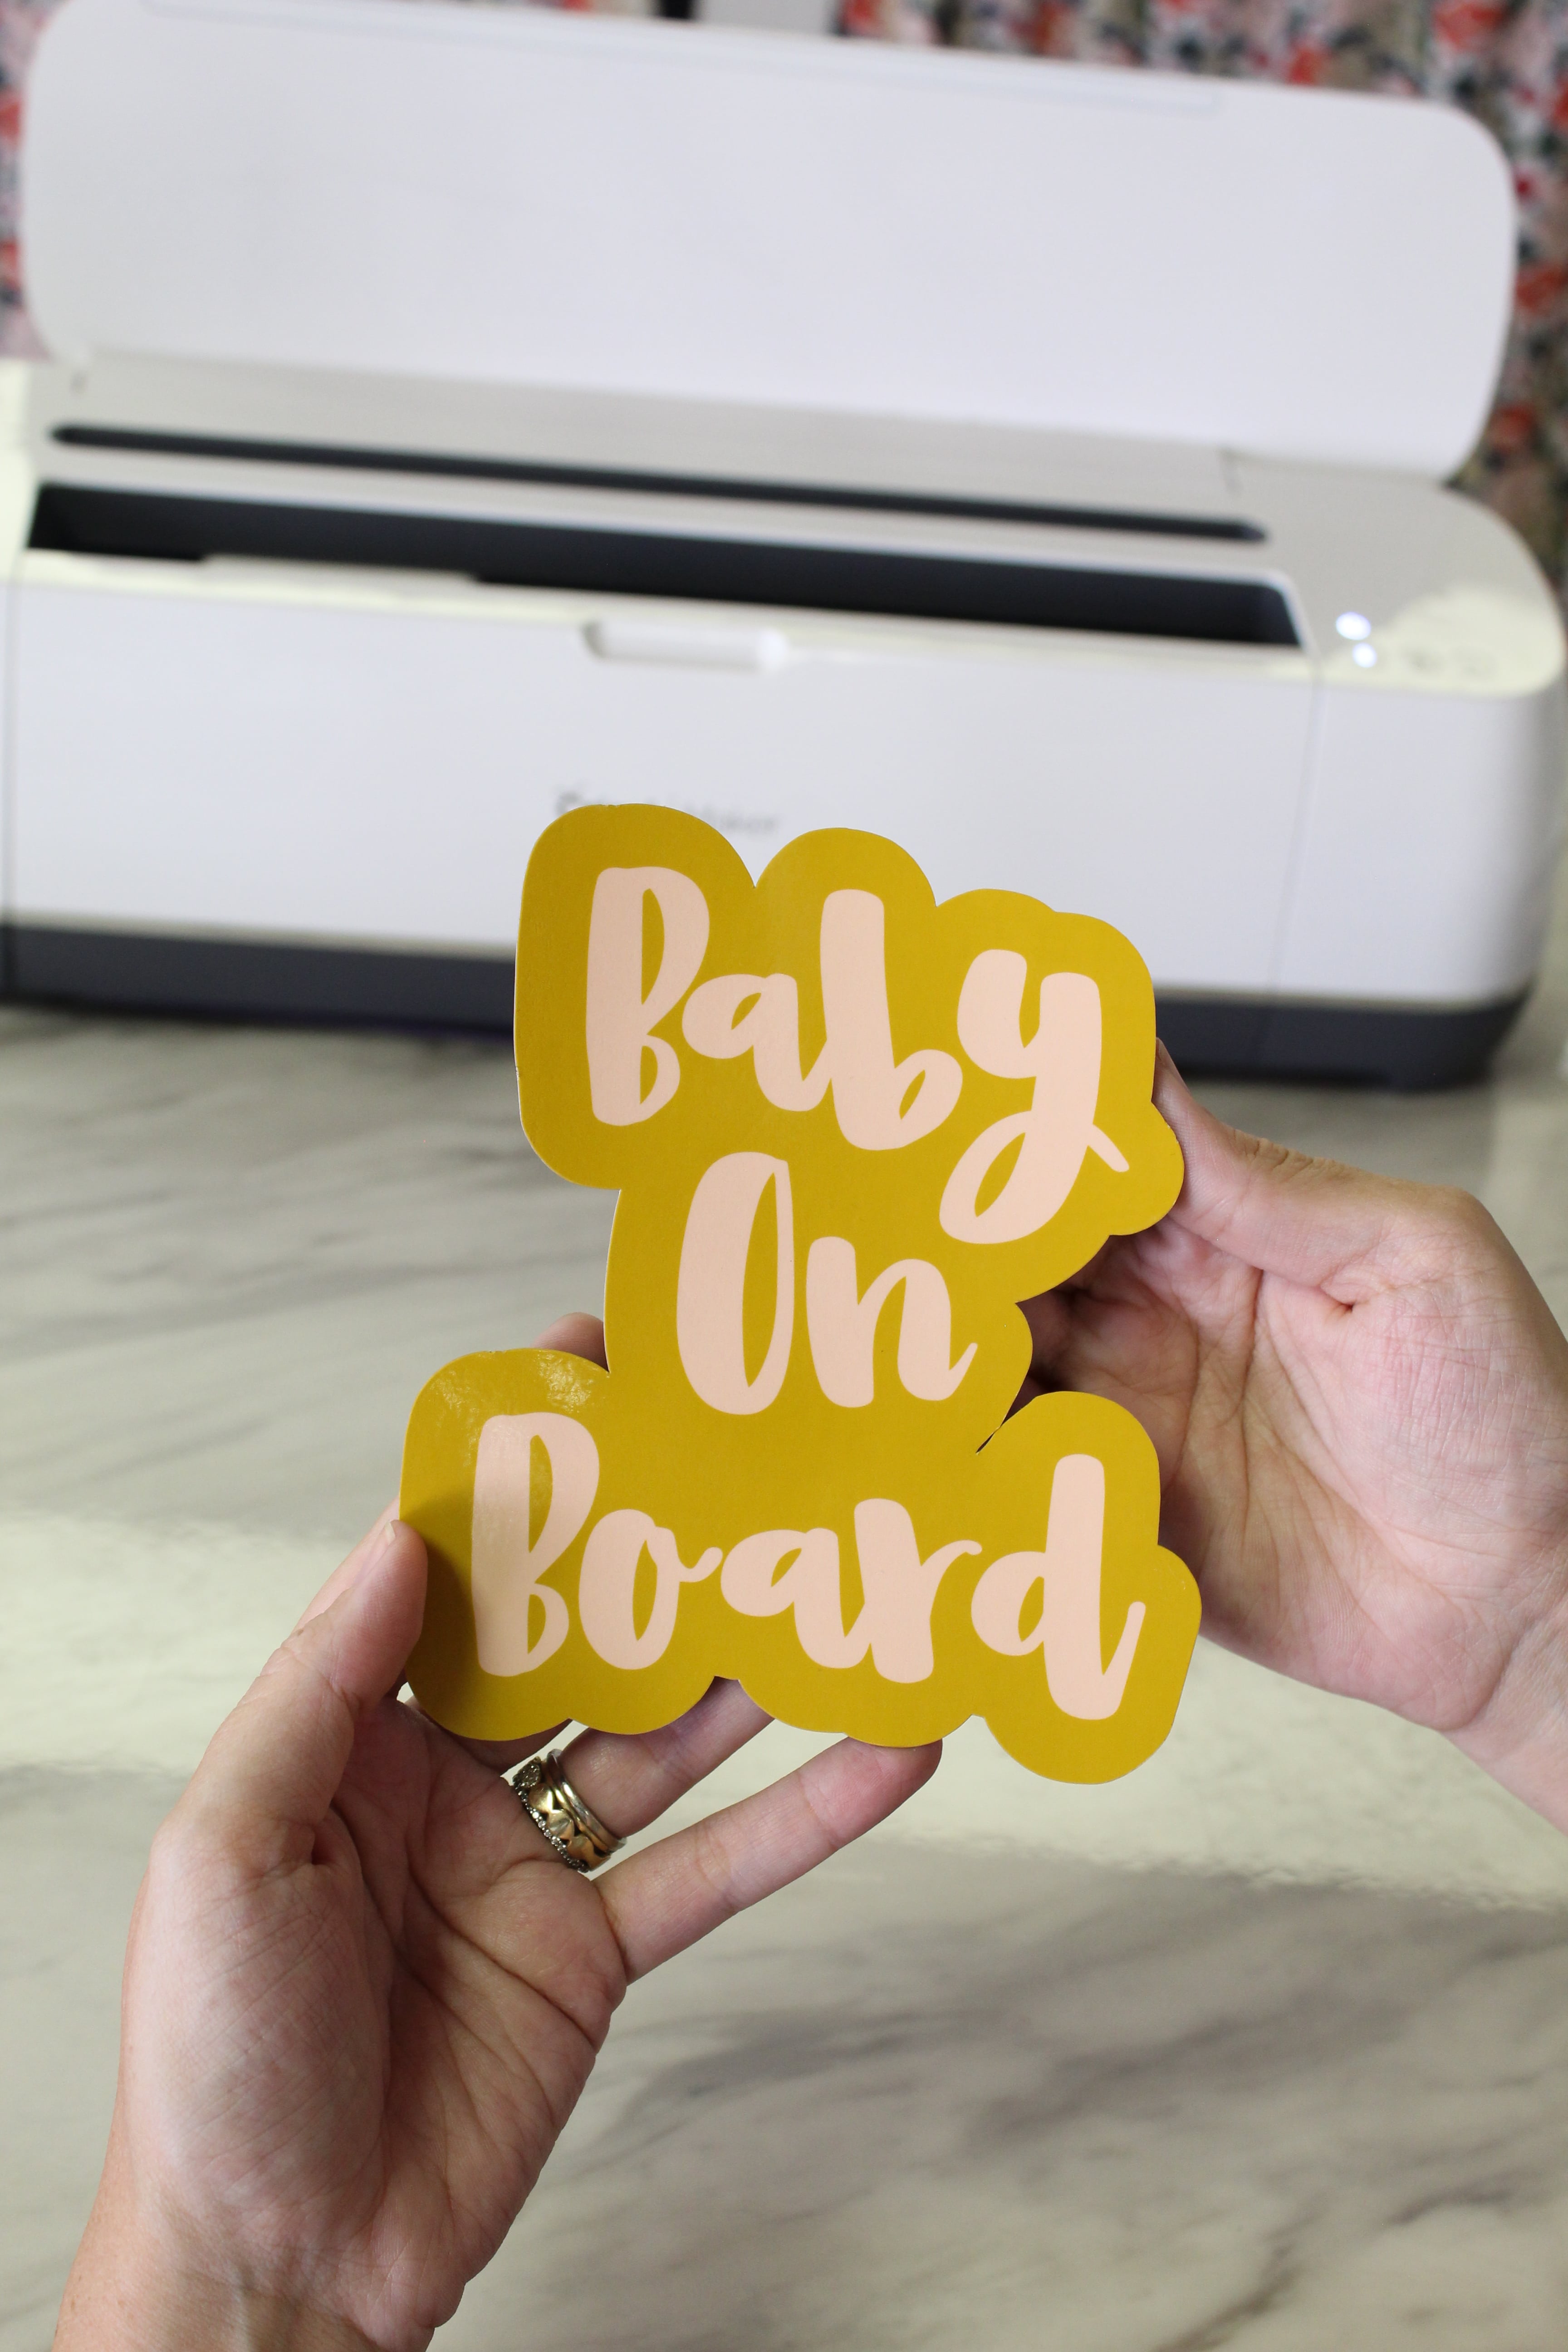
The image will upload in the colors that I created them in but, because they are .svg’s they can be switched to whatever colors you’d like! Simply select them from the layers panel on the right hand side and pick your favorite colors! I decided to go with white and a soft peach color for this project (I’m so predictable).
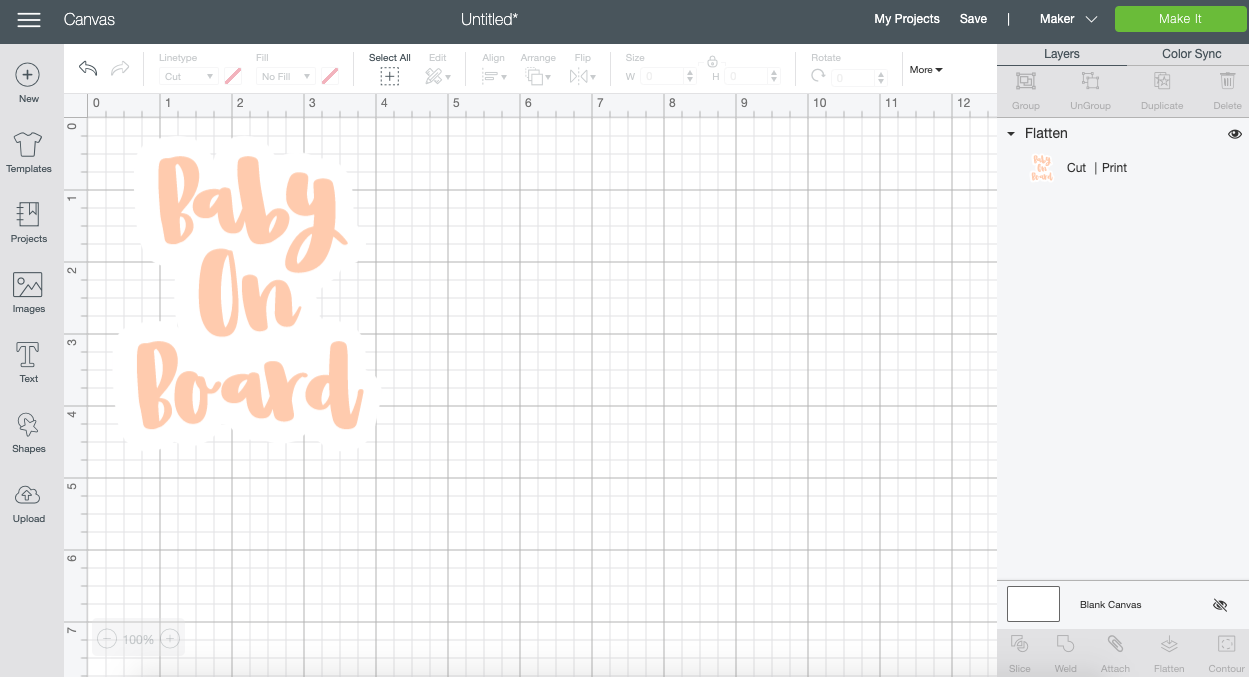
This is also when you’ll want to size your project. I found to have it properly fit on the 4×6 magnet sheet, you’ll want to make the width 3.75 inches.
Once you’re happy, flatten your image.
Create Magnet Layer
Because we are going to be putting the printable vinyl onto the magnet sheet, we will need to create a second layer of the image shape to be cut from the magnet sheet. To do this, select your image and click “duplicate” in the top right hand corner. This will be our magnet layer. Unflatten and ungroup it and remove the words, leaving only the outline of the design. Then switch the “fill” from “print” to “no fill”. This will turn it from a printed layer to a simple cut layer, perfect for our magnet sheet. Now you can click “Make It”.
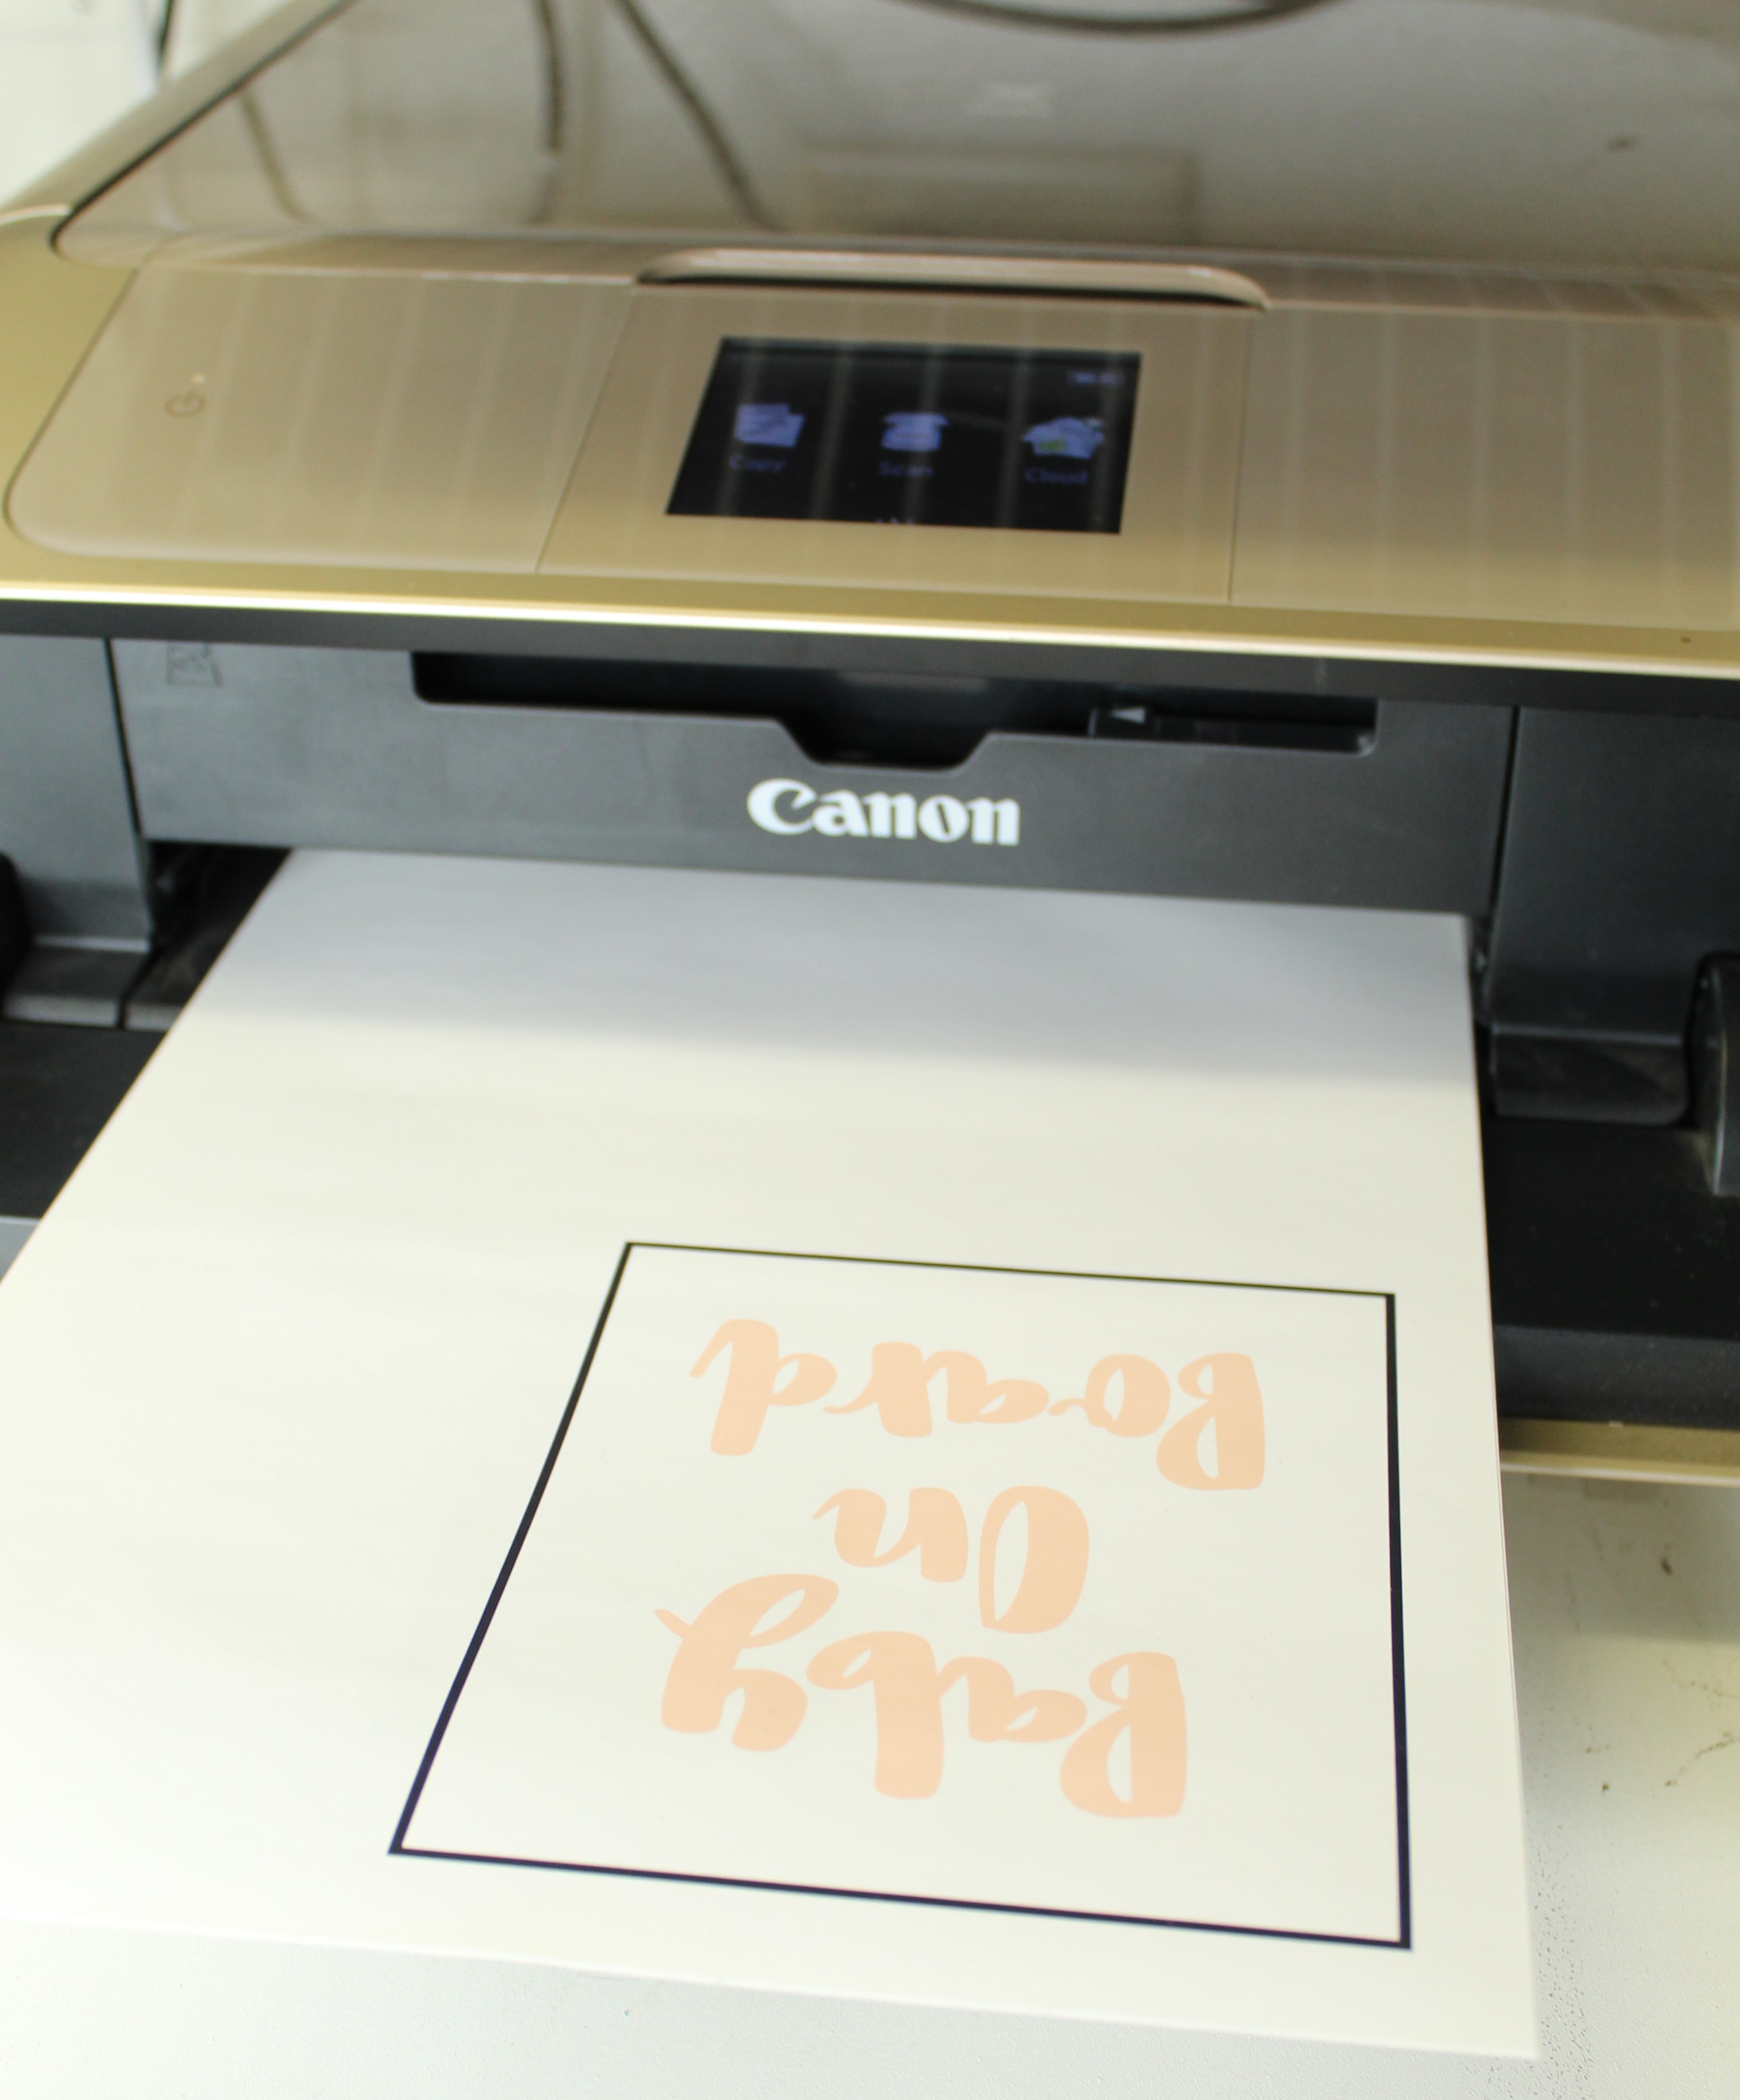
Print Your Image
Print the image onto your printable vinyl. Be sure to switch the toggle to “Use System Dialog” to ensure the best printing results. (After clicking Print, your print dialog box may appear behind your Design Space application. So be sure to check behind your Design Space Window if it seems like nothing is happening.) Make sure your “Media & Quality is set to “photo” and “best”.
UV Protect Image
This step is totally optional but, since your magnet will be on your car and subject to weather, it’s a good idea to add a UV laminate to it to protect it. I recommend cutting it down to size to fit inside the Cricut print sensor border (for me that was about 4.25 inches by 4.5 inches). I applied mine using the hinge method and my XL Scraper tool.
Cut Your Project
First you’ll be prompted to cut the printable vinyl. Be sure to choose it from the menu. 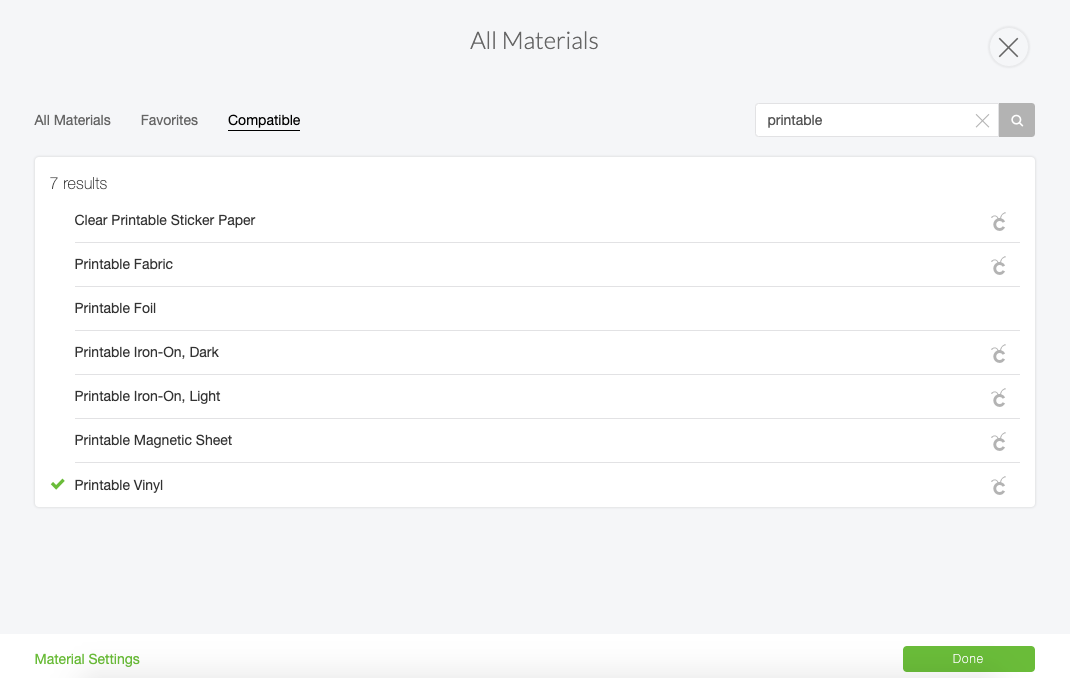
I also selected “more” pressure when I cut the printable vinyl to make sure it was able to cut through that extra UV layer, and for good measure, I ran the project through twice before removing my mat from the machine. (To do this, once the project is done cutting once, don’t remove it from the machine, simply hit the Cricut “C” button one more time.)

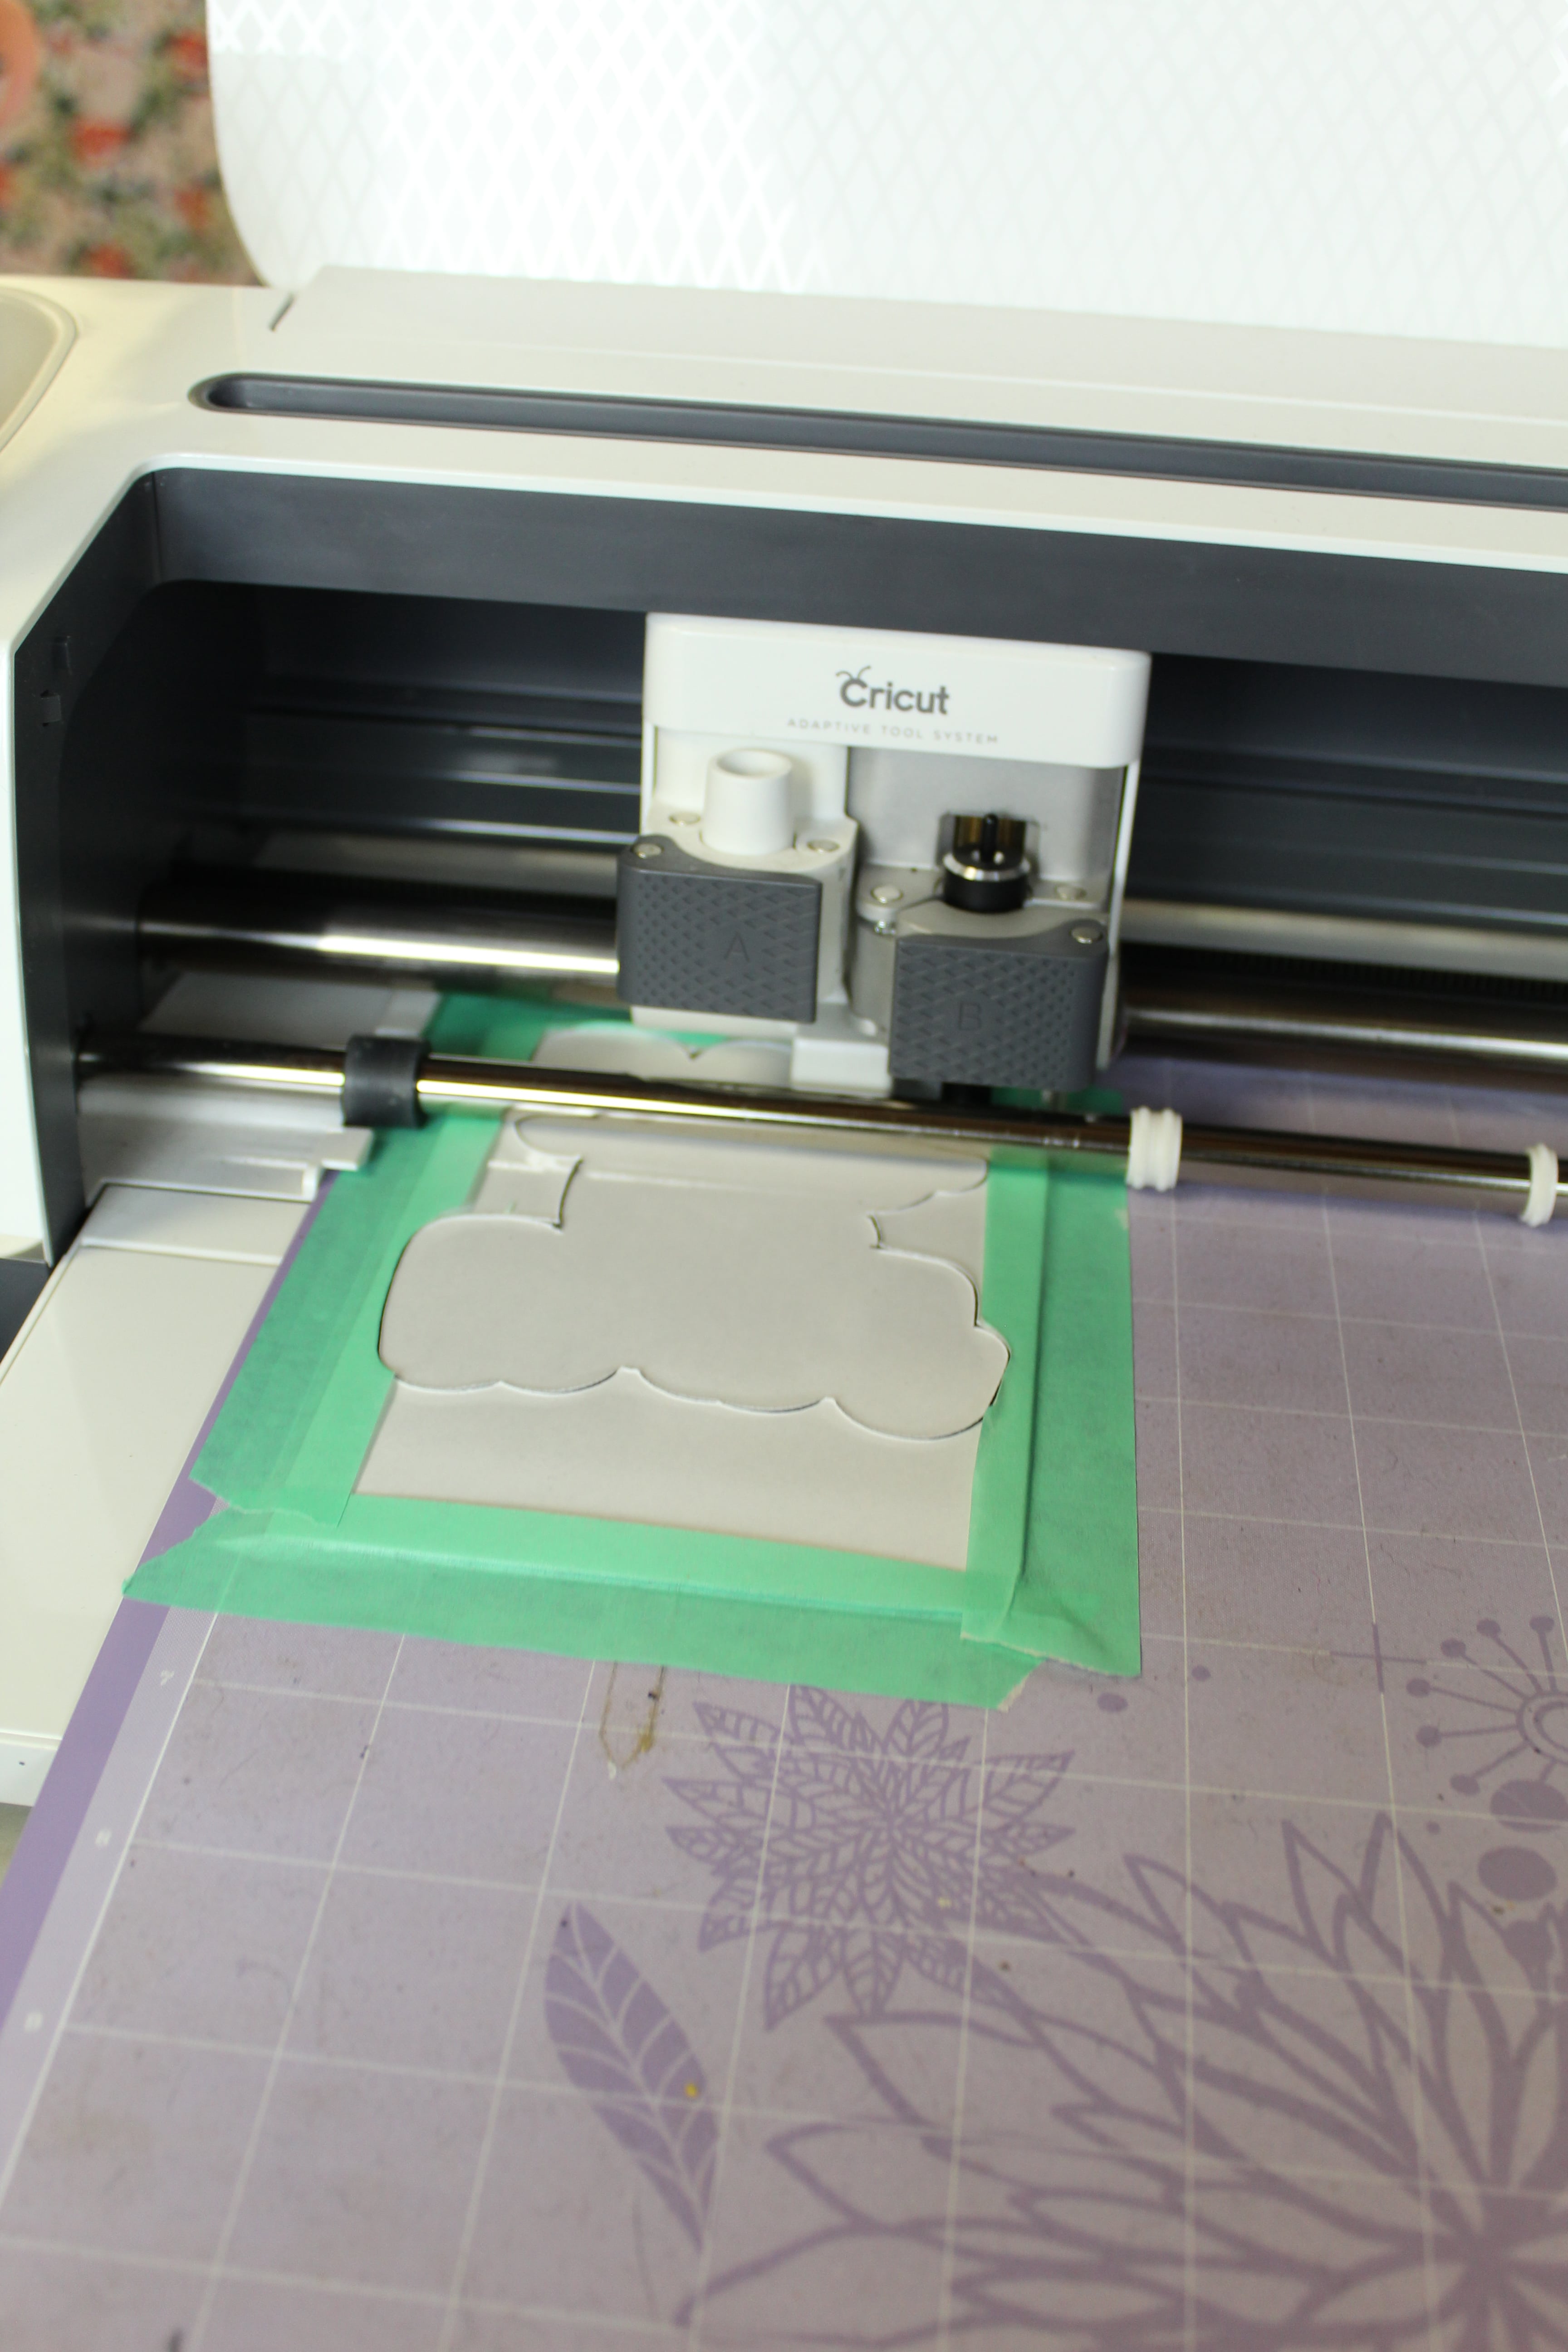
Then it’s time to cut your magnet sheet. I placed mine just slightly right of the left edge and then using masking tape, I taped it around all 4 sides to be sure it wouldn’t move while cutting.
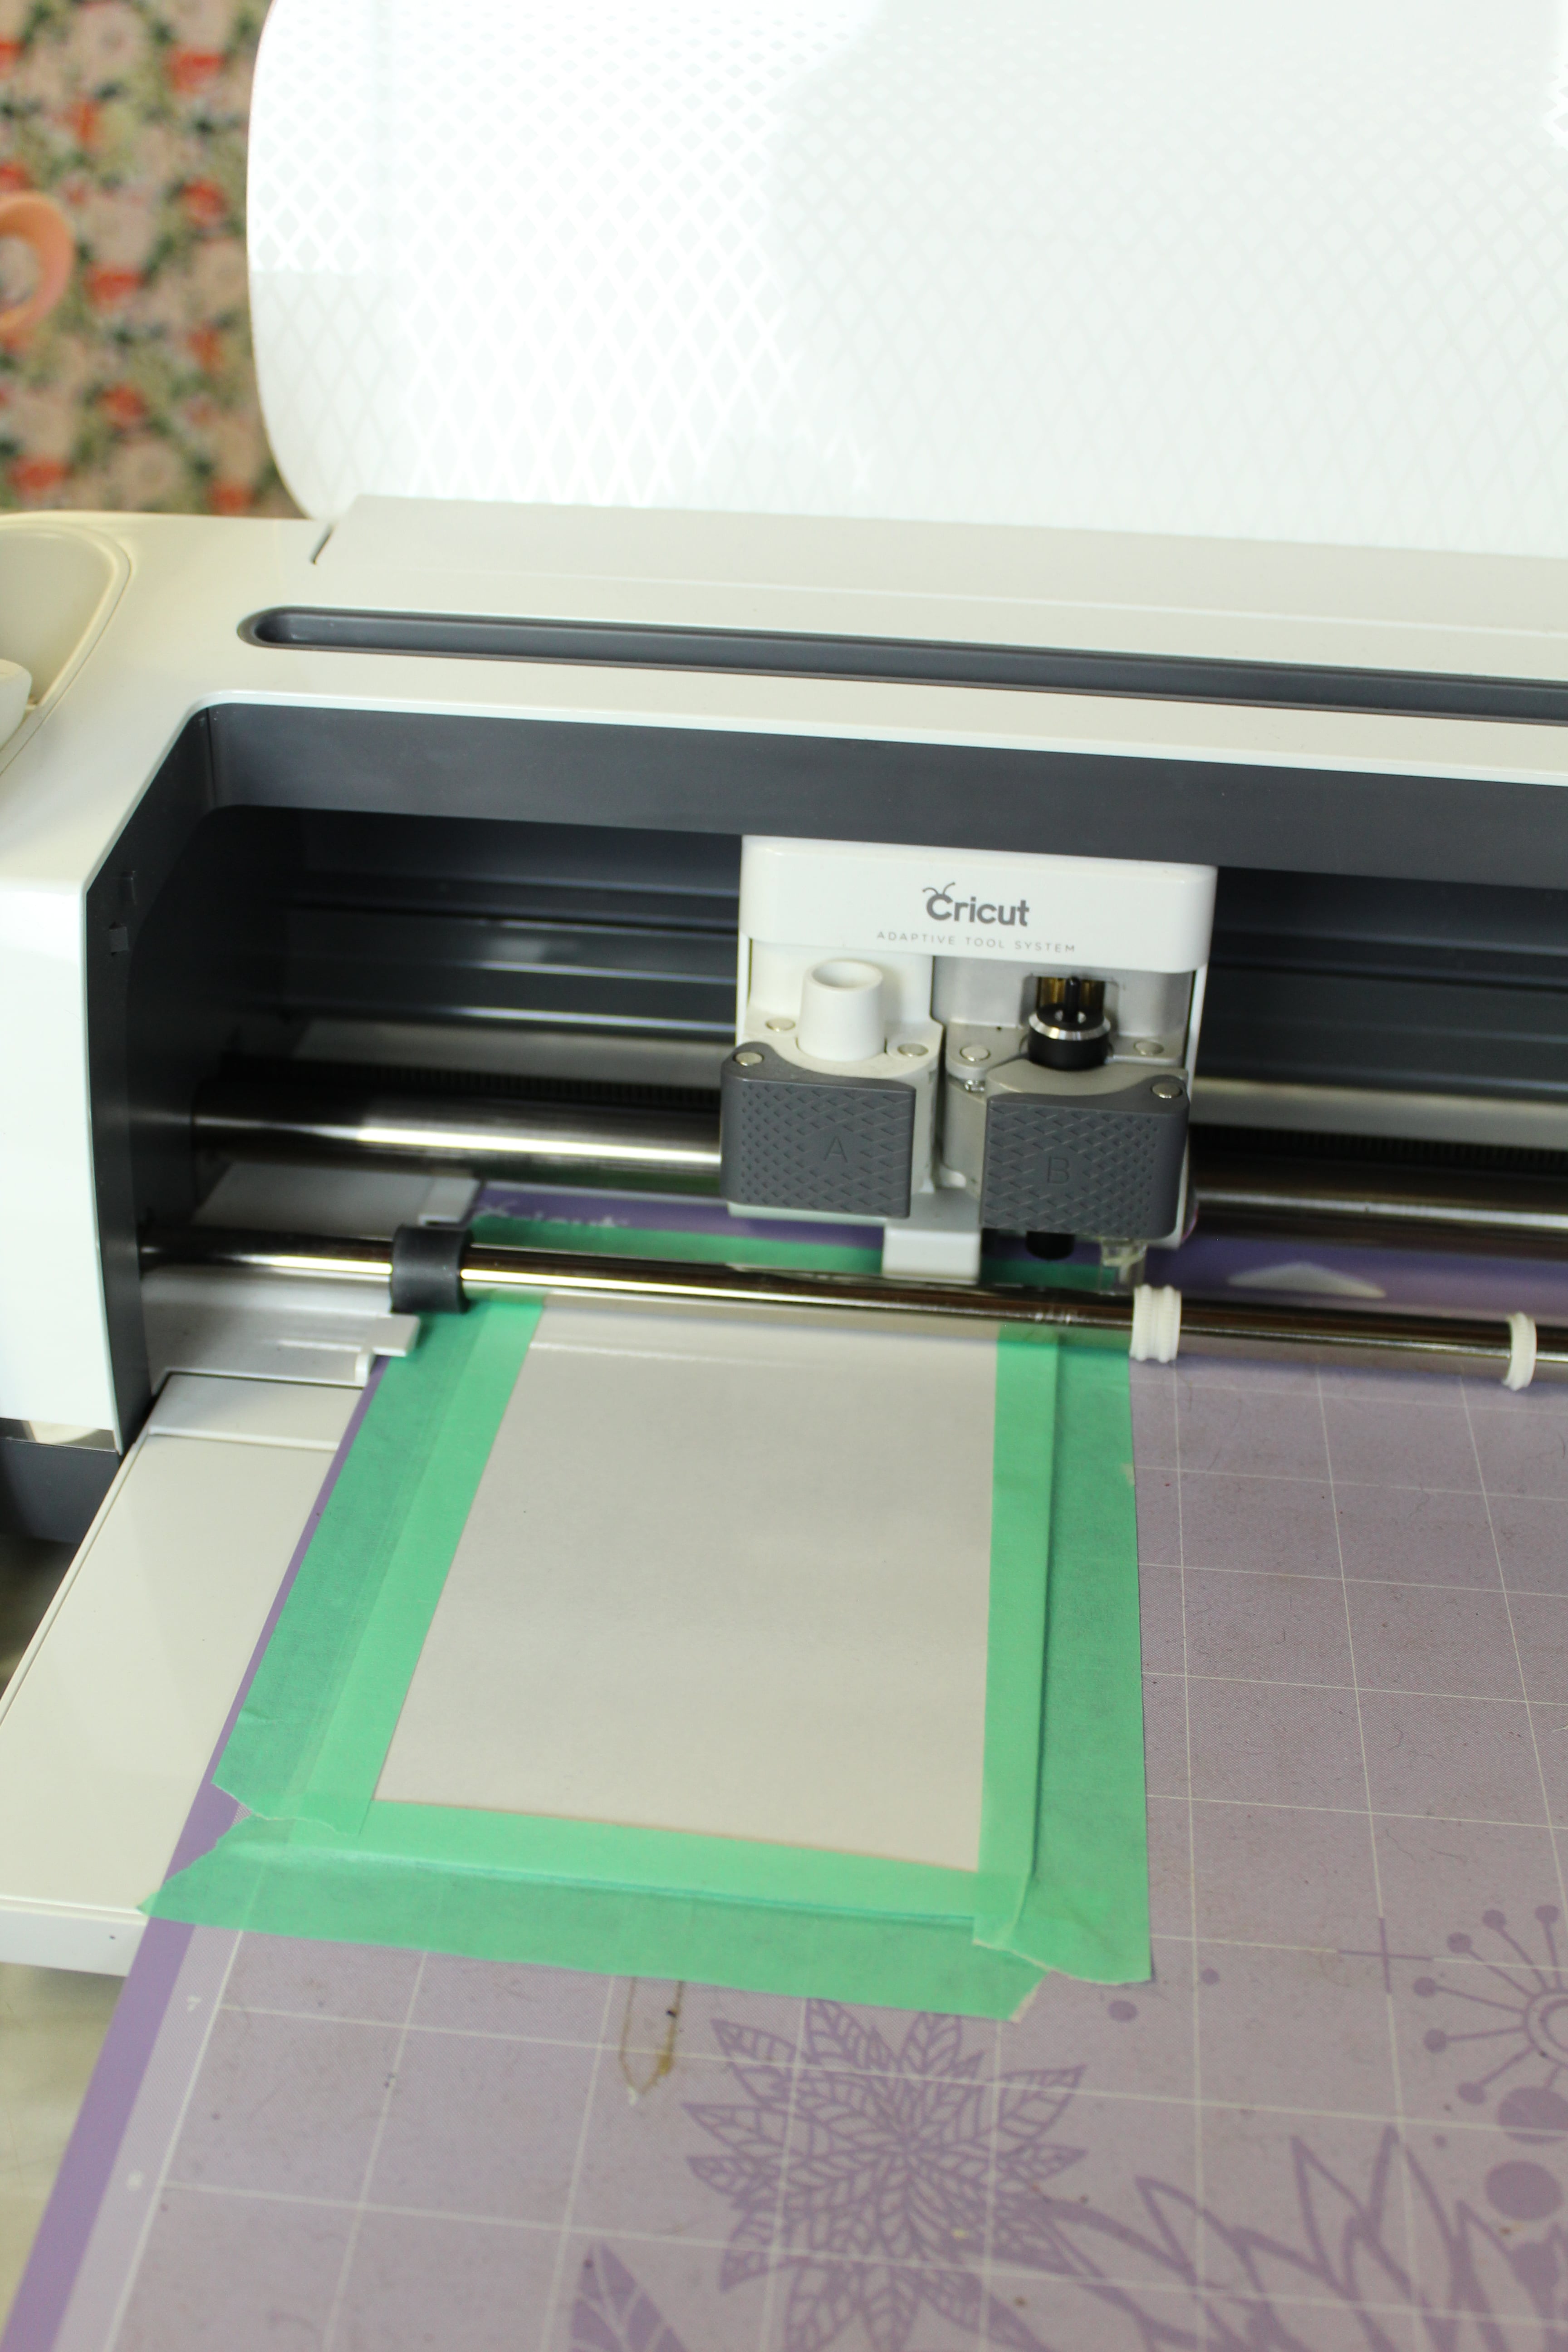
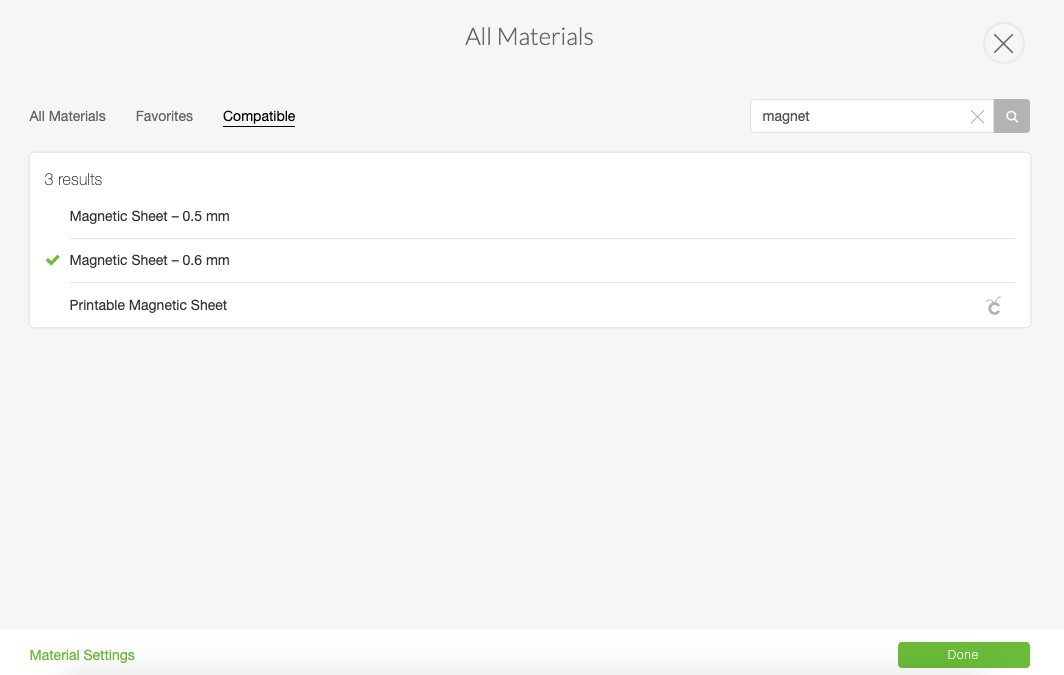
Chose “Magnetic Sheet – 0.6 mm” from the materials list.
You will be prompted to use the deep point blade. Again, I selected “more” pressure (to be honest, I do this with most of my projects) and I decided to be extra safe, I ran the magnet sheet through three times. (Again, in order to do this, once the project is done cutting once, don’t remove it from the machine, simply hit the Cricut “C” button one more time.)
Add Vinyl to Magnet Sheet
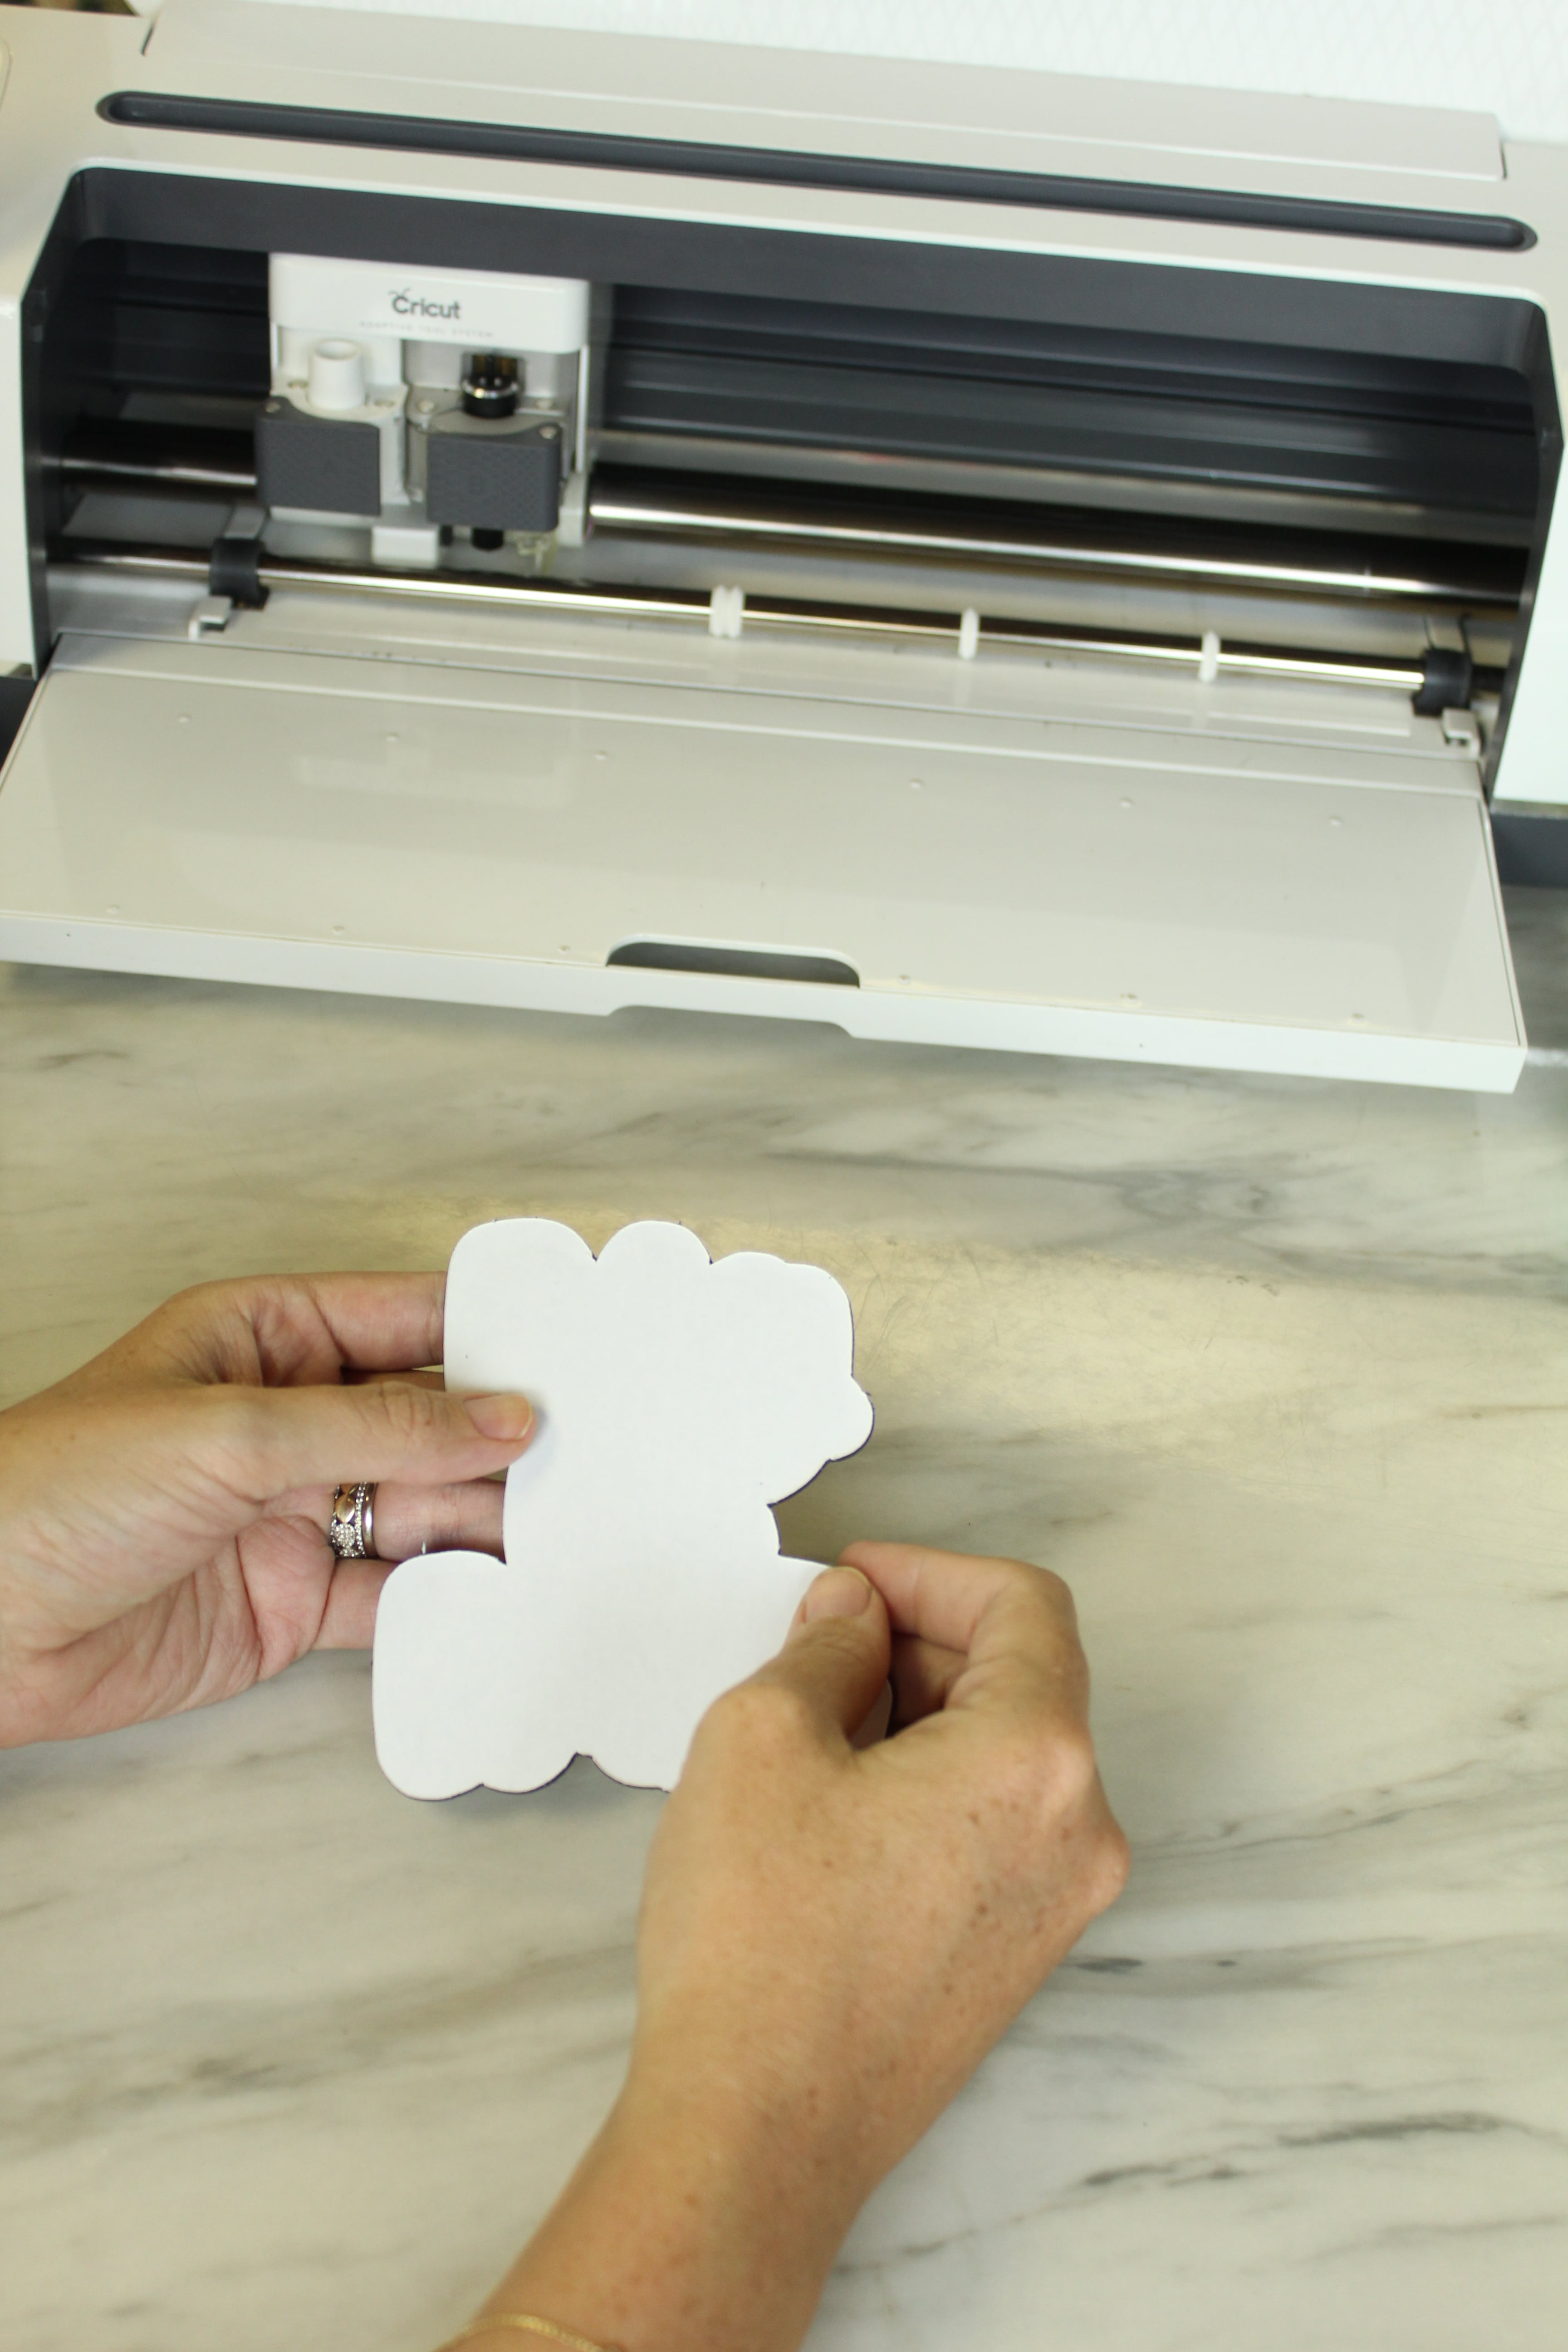
The rest is pretty self explanitory. Remove the protective sheet from the sticky side of the magnet and replace it with your printable vinyl.
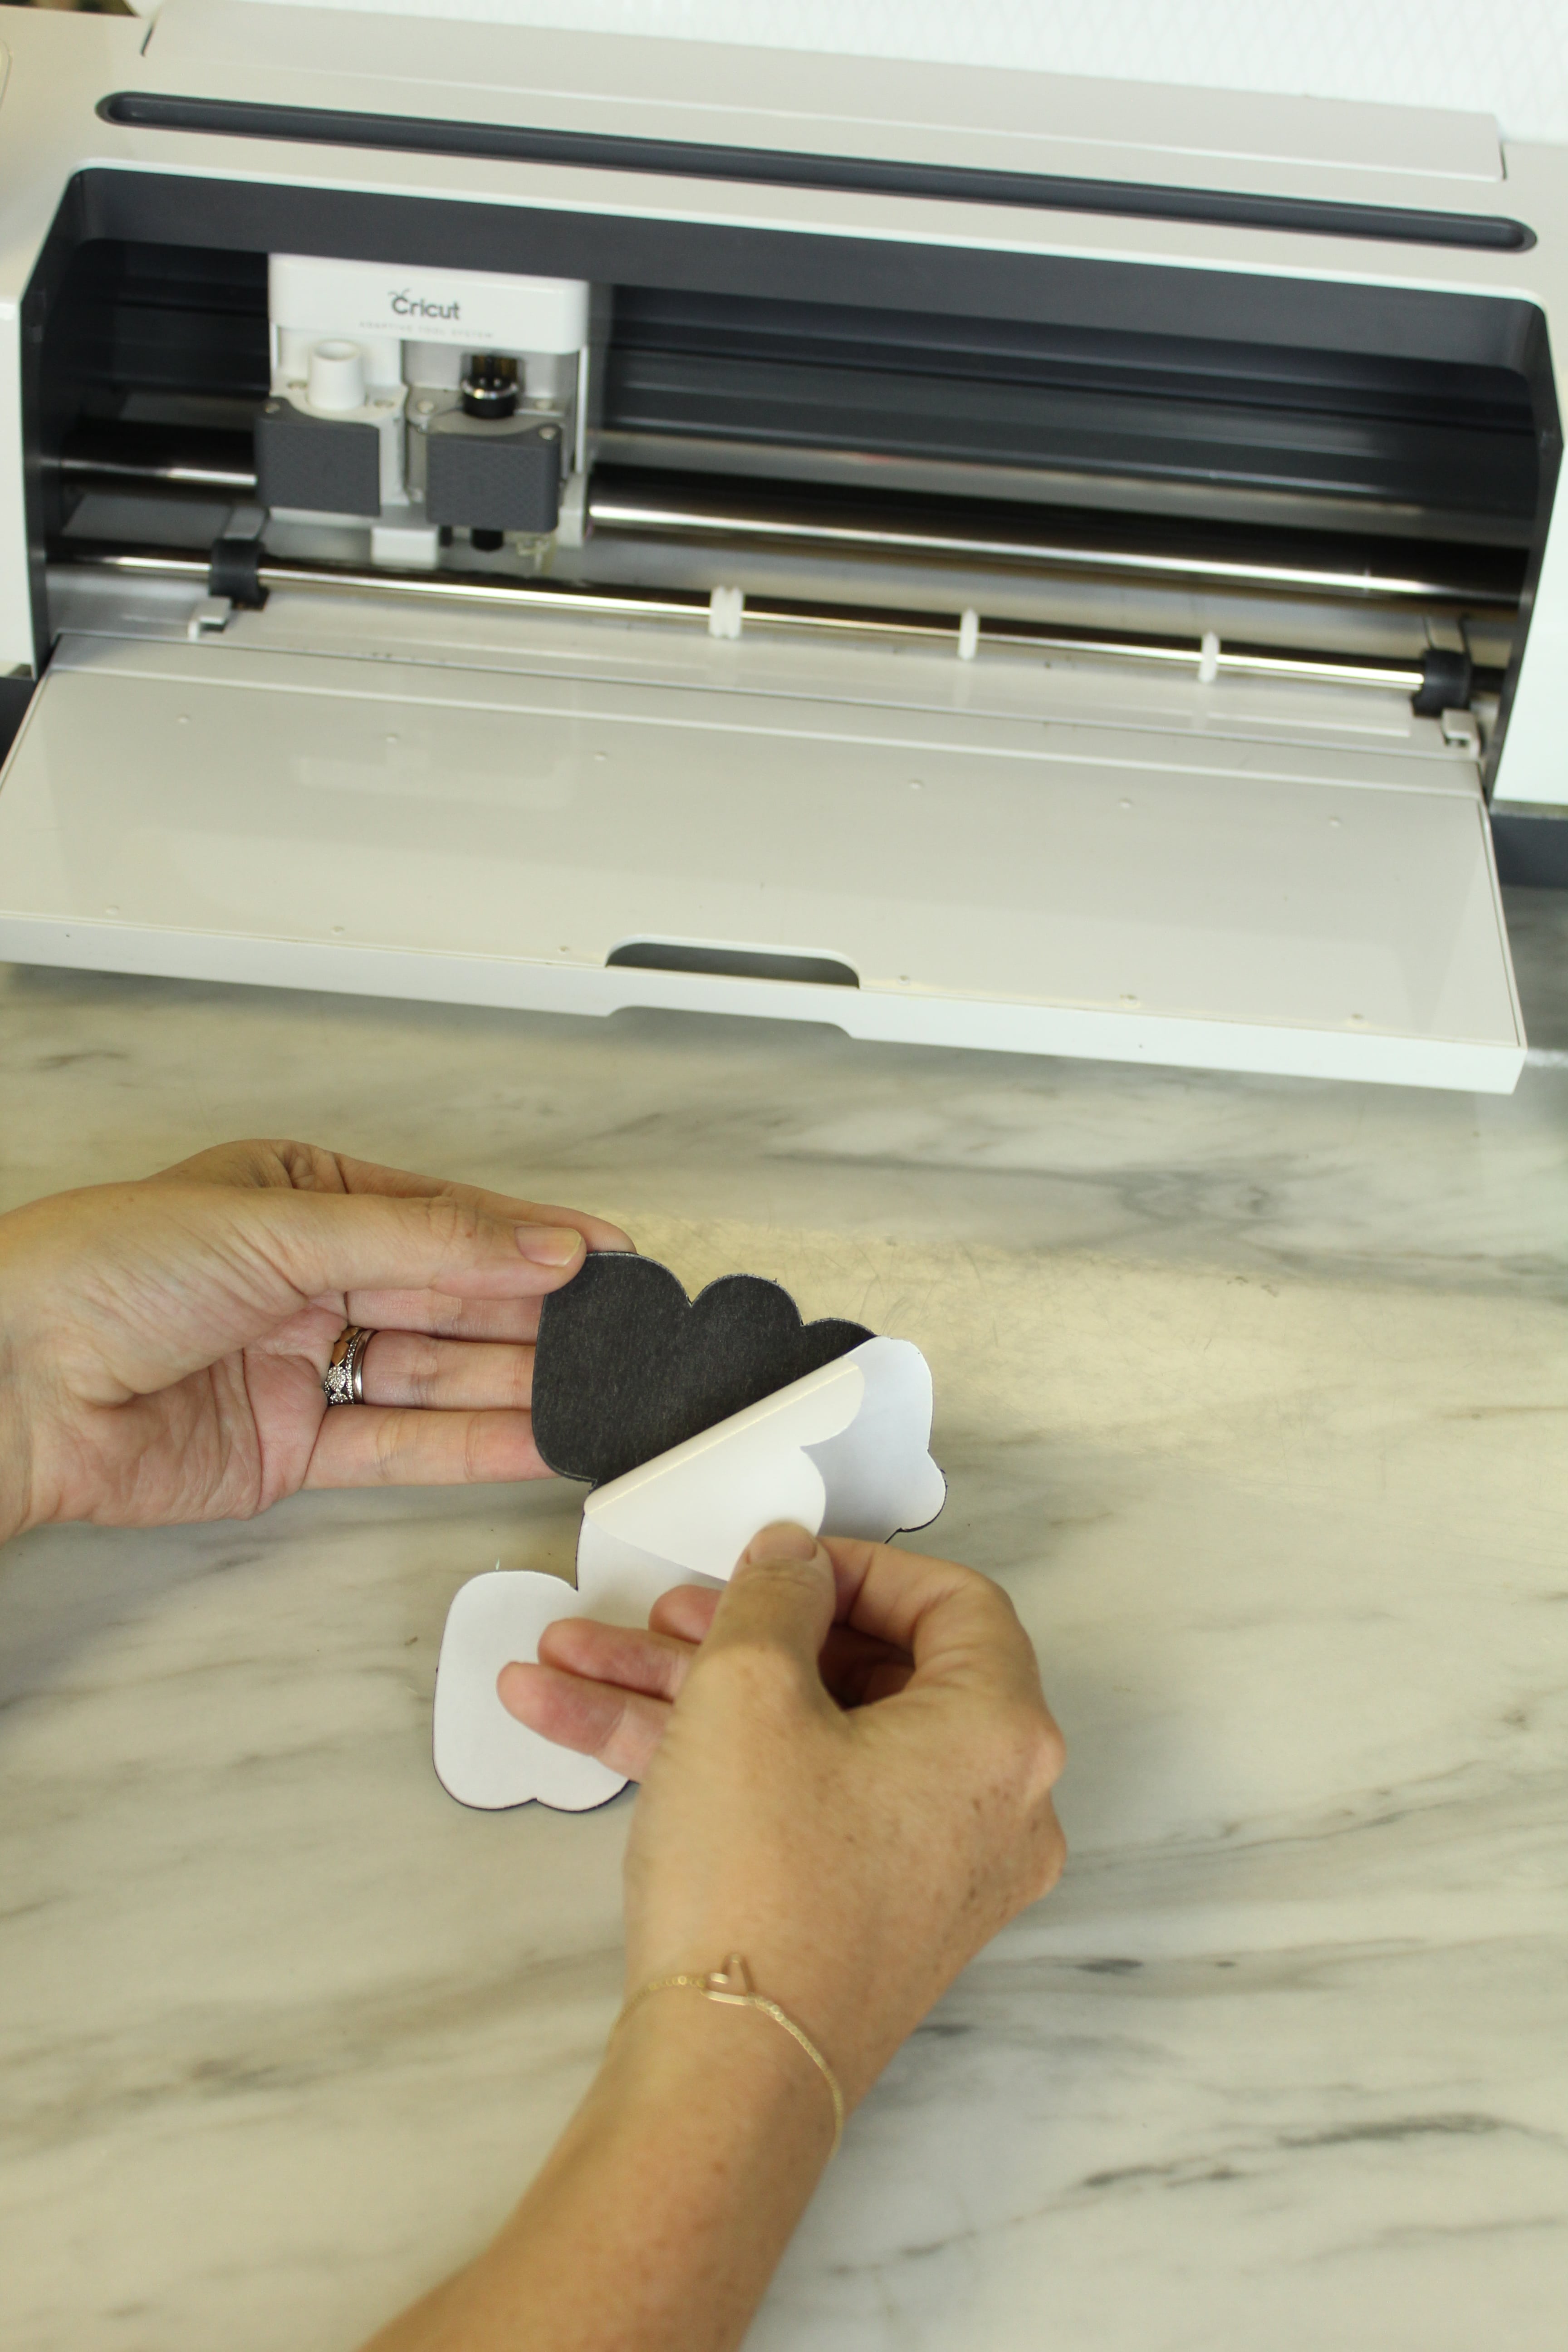
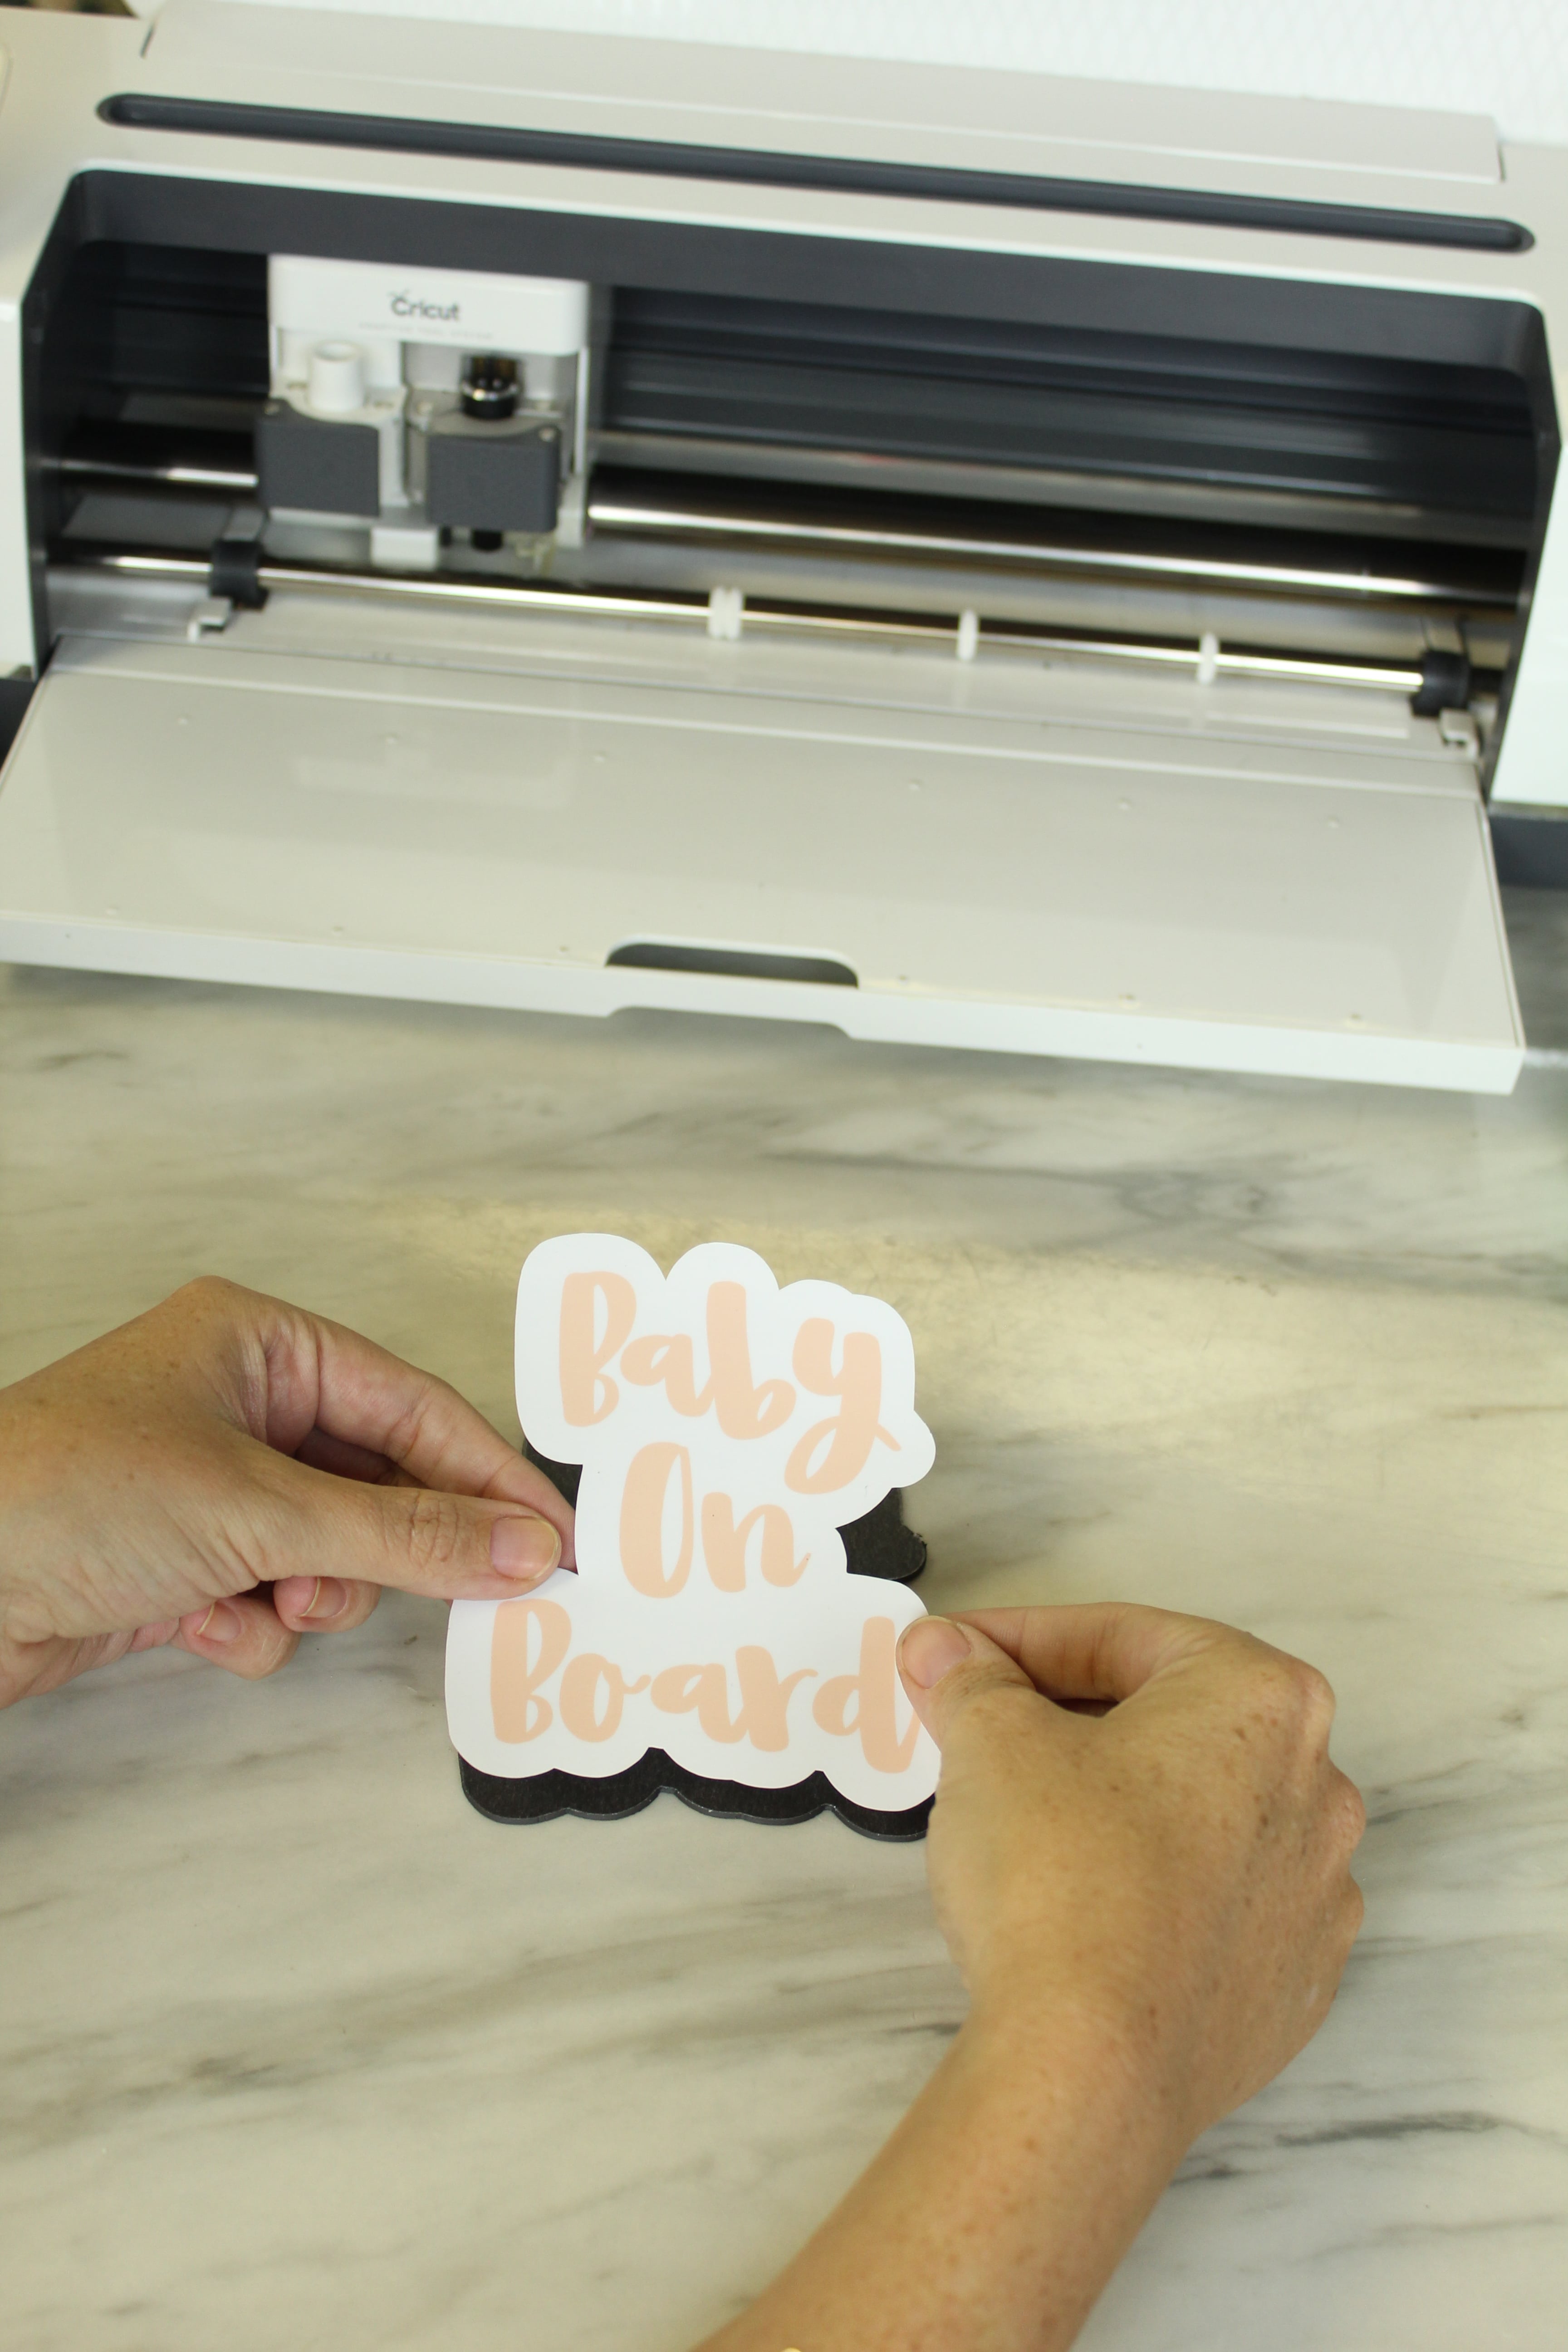
Using the XL Scraper tool burnish your vinyl onto the magnet. I found working from the middle, outward was the best, so that you don’t risk catching one of the corners of the vinyl and accidentally pulling it up.

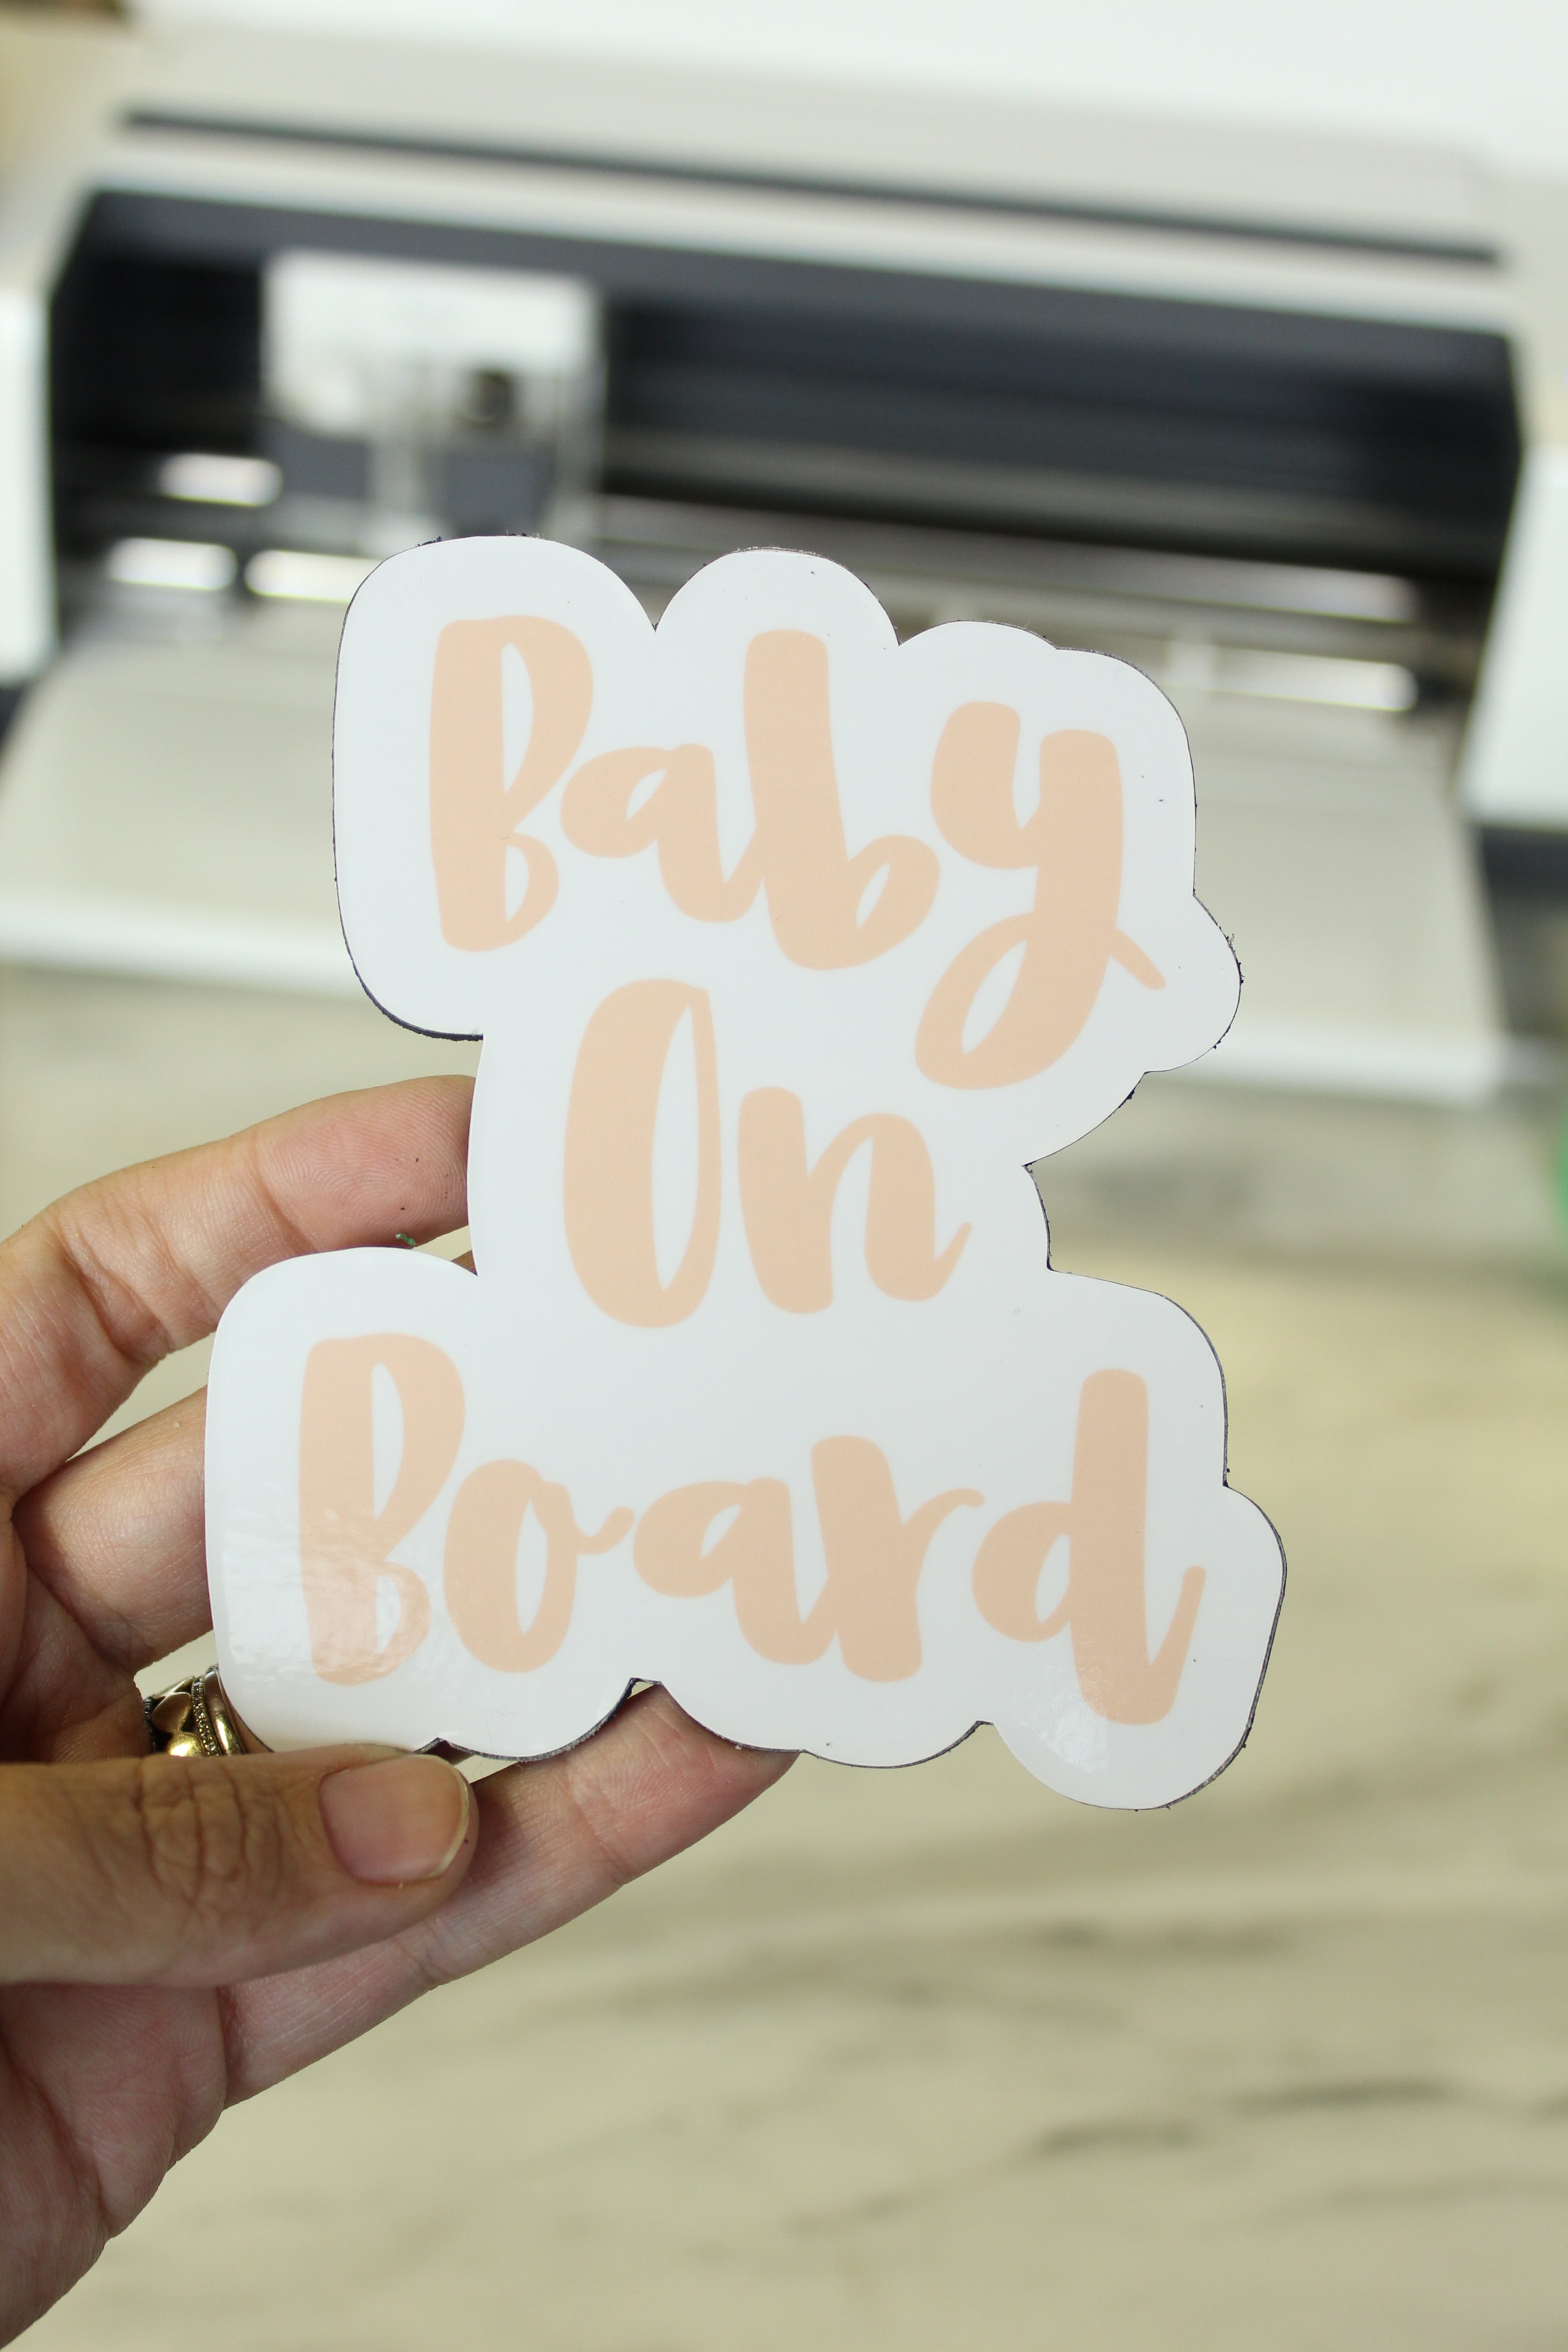
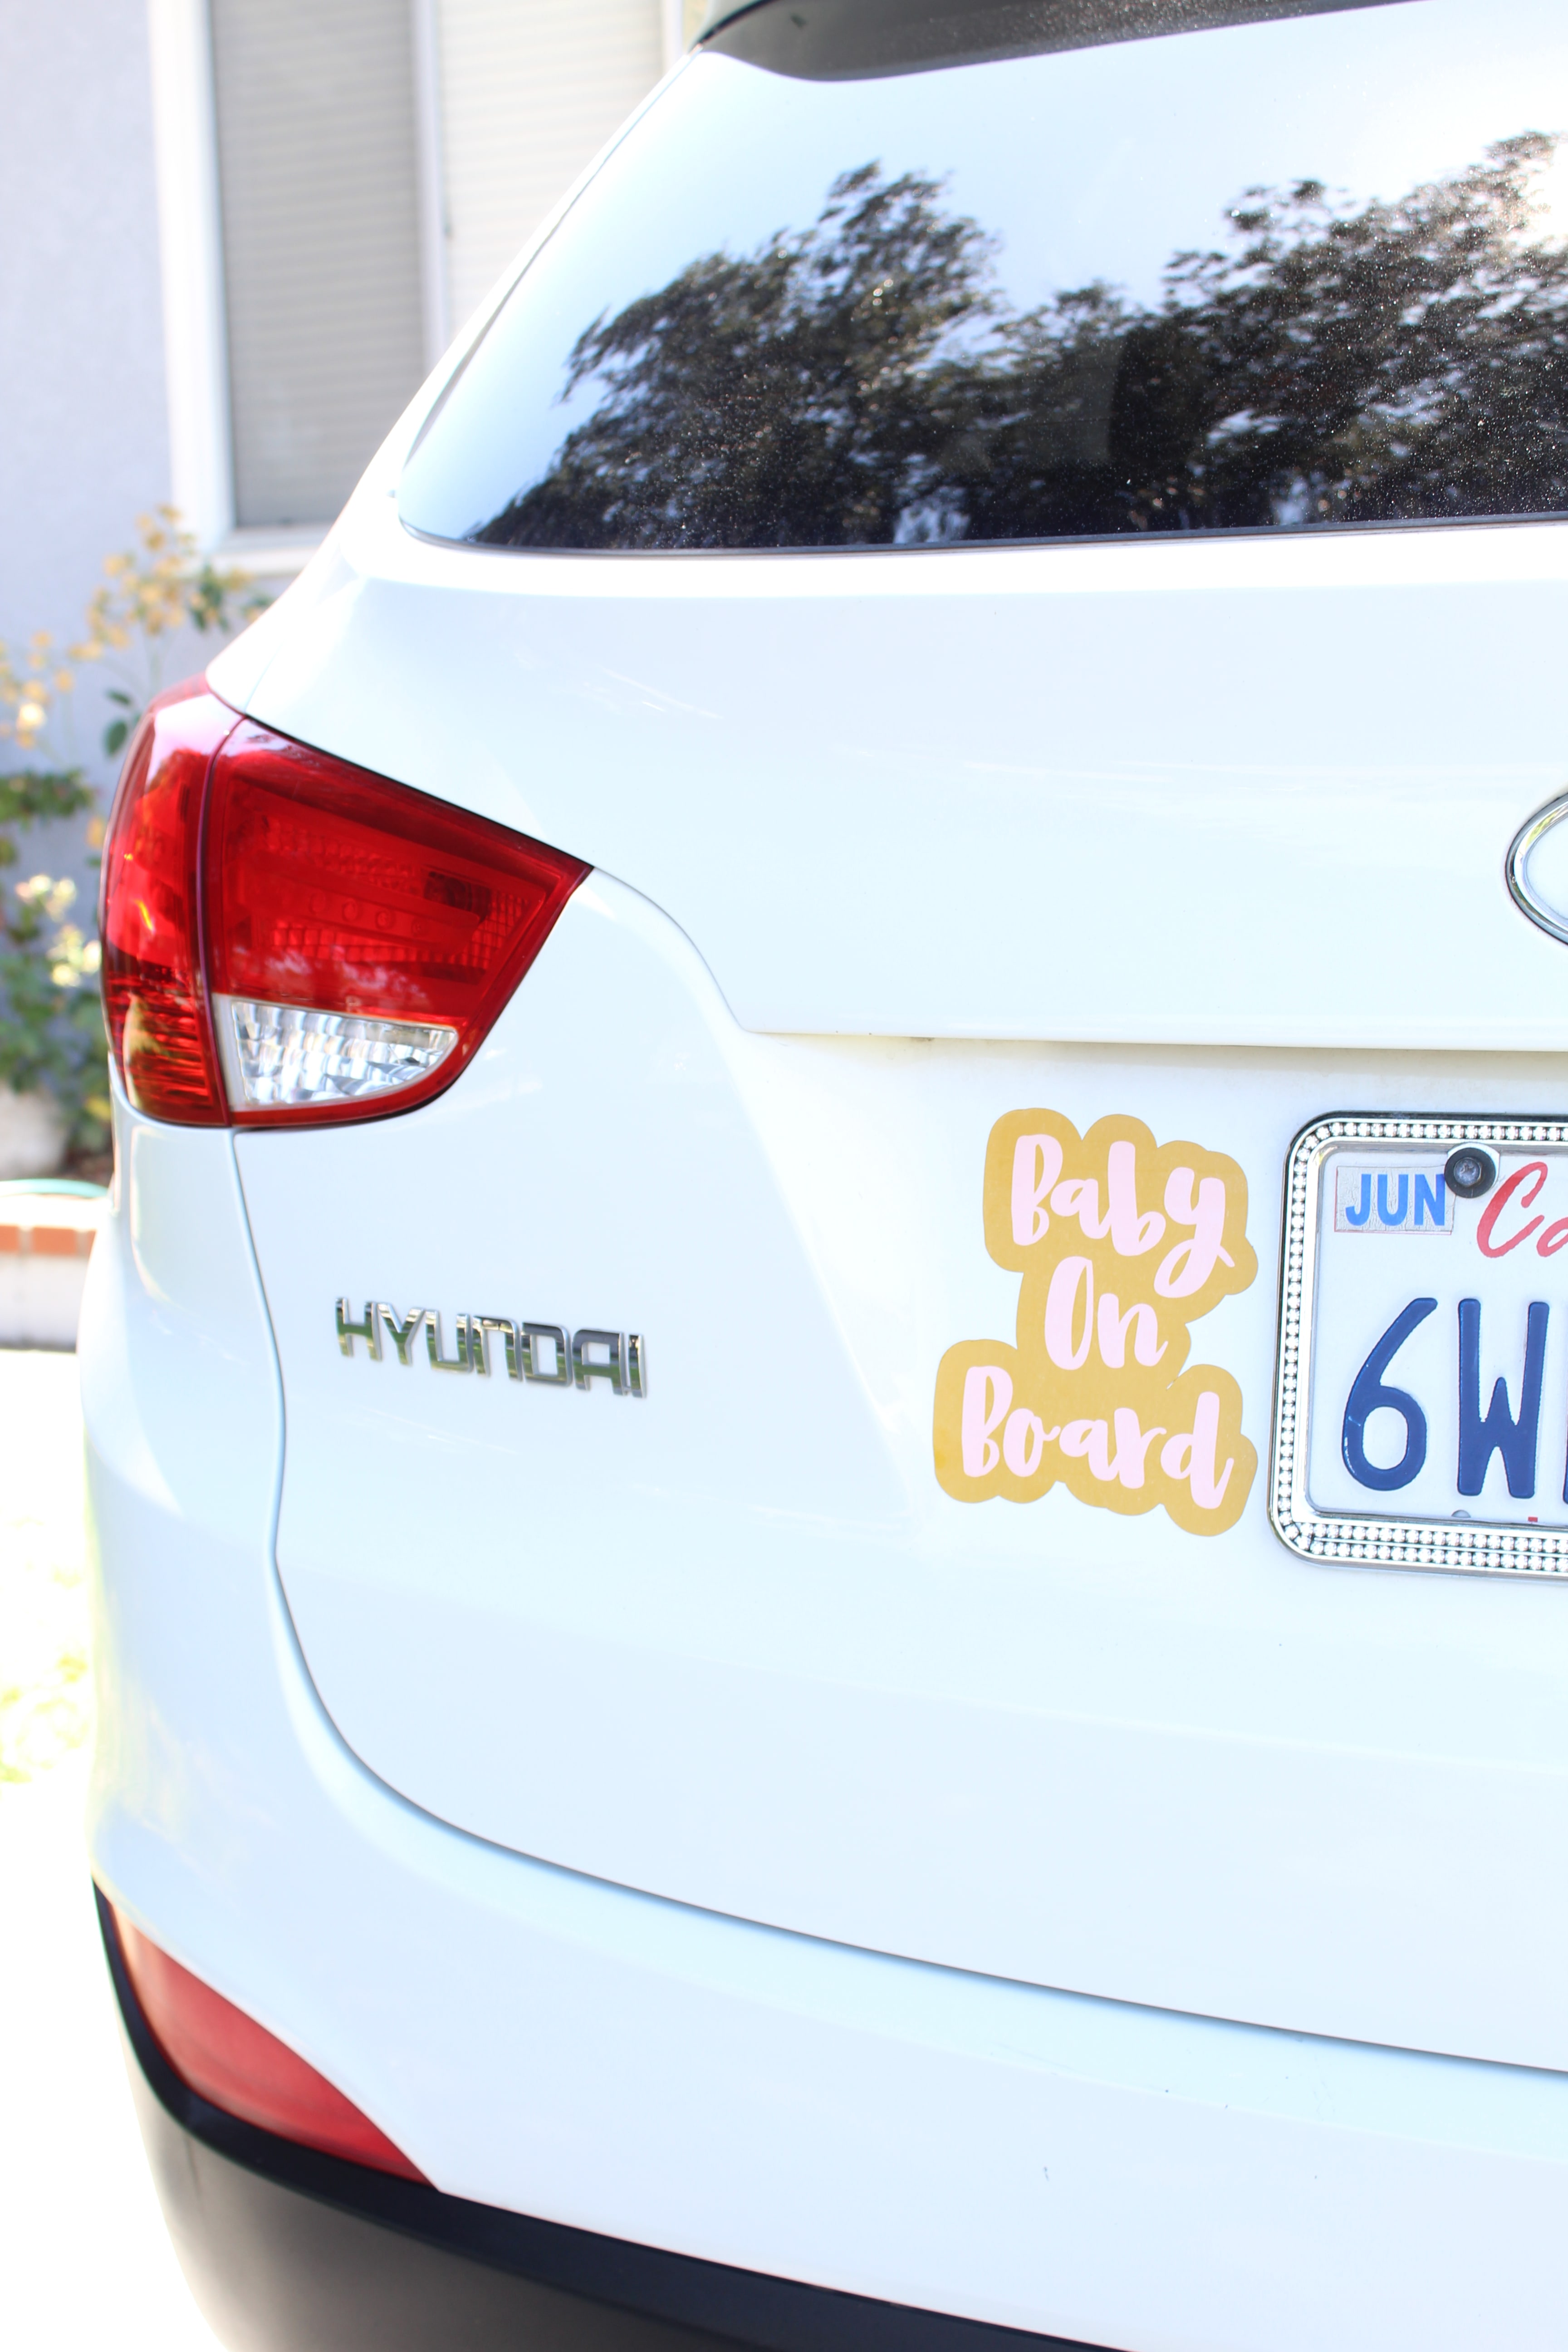
And that’s it! You’re ready to let everyone know you’ve got a baby on board!
For the “Baby On Board” file click HERE
For the “Babies On Board” file click HERE
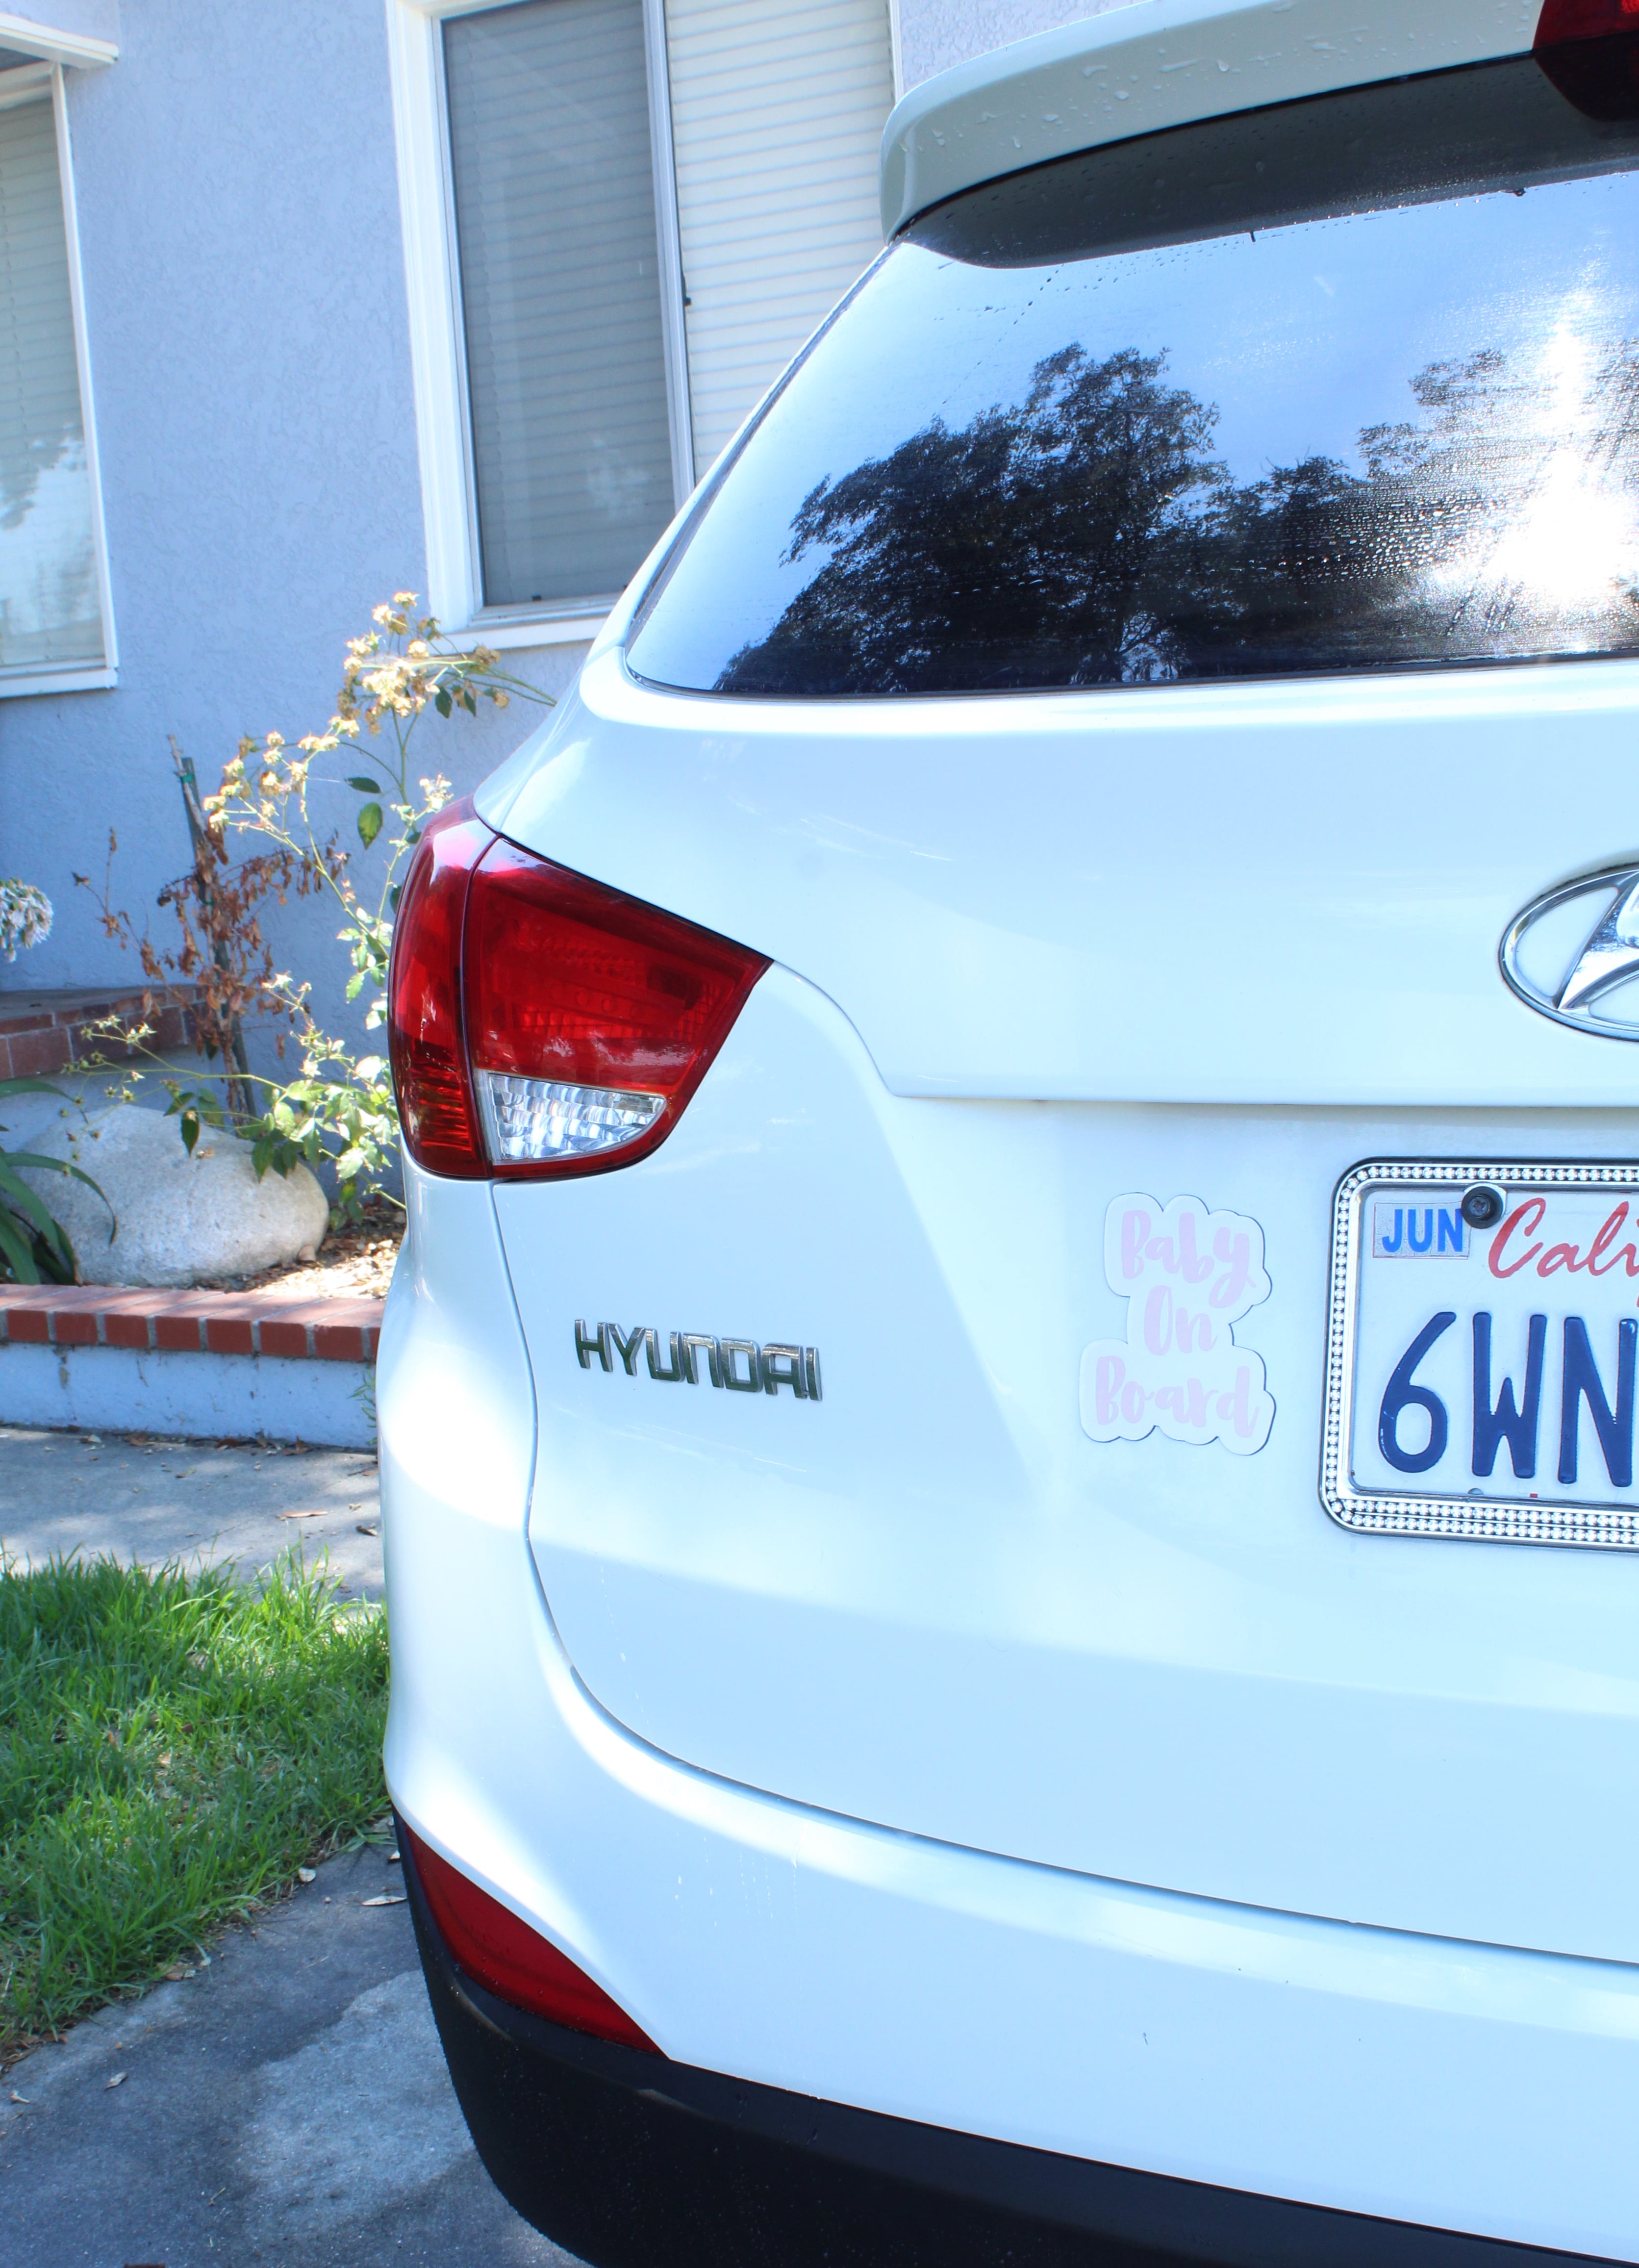
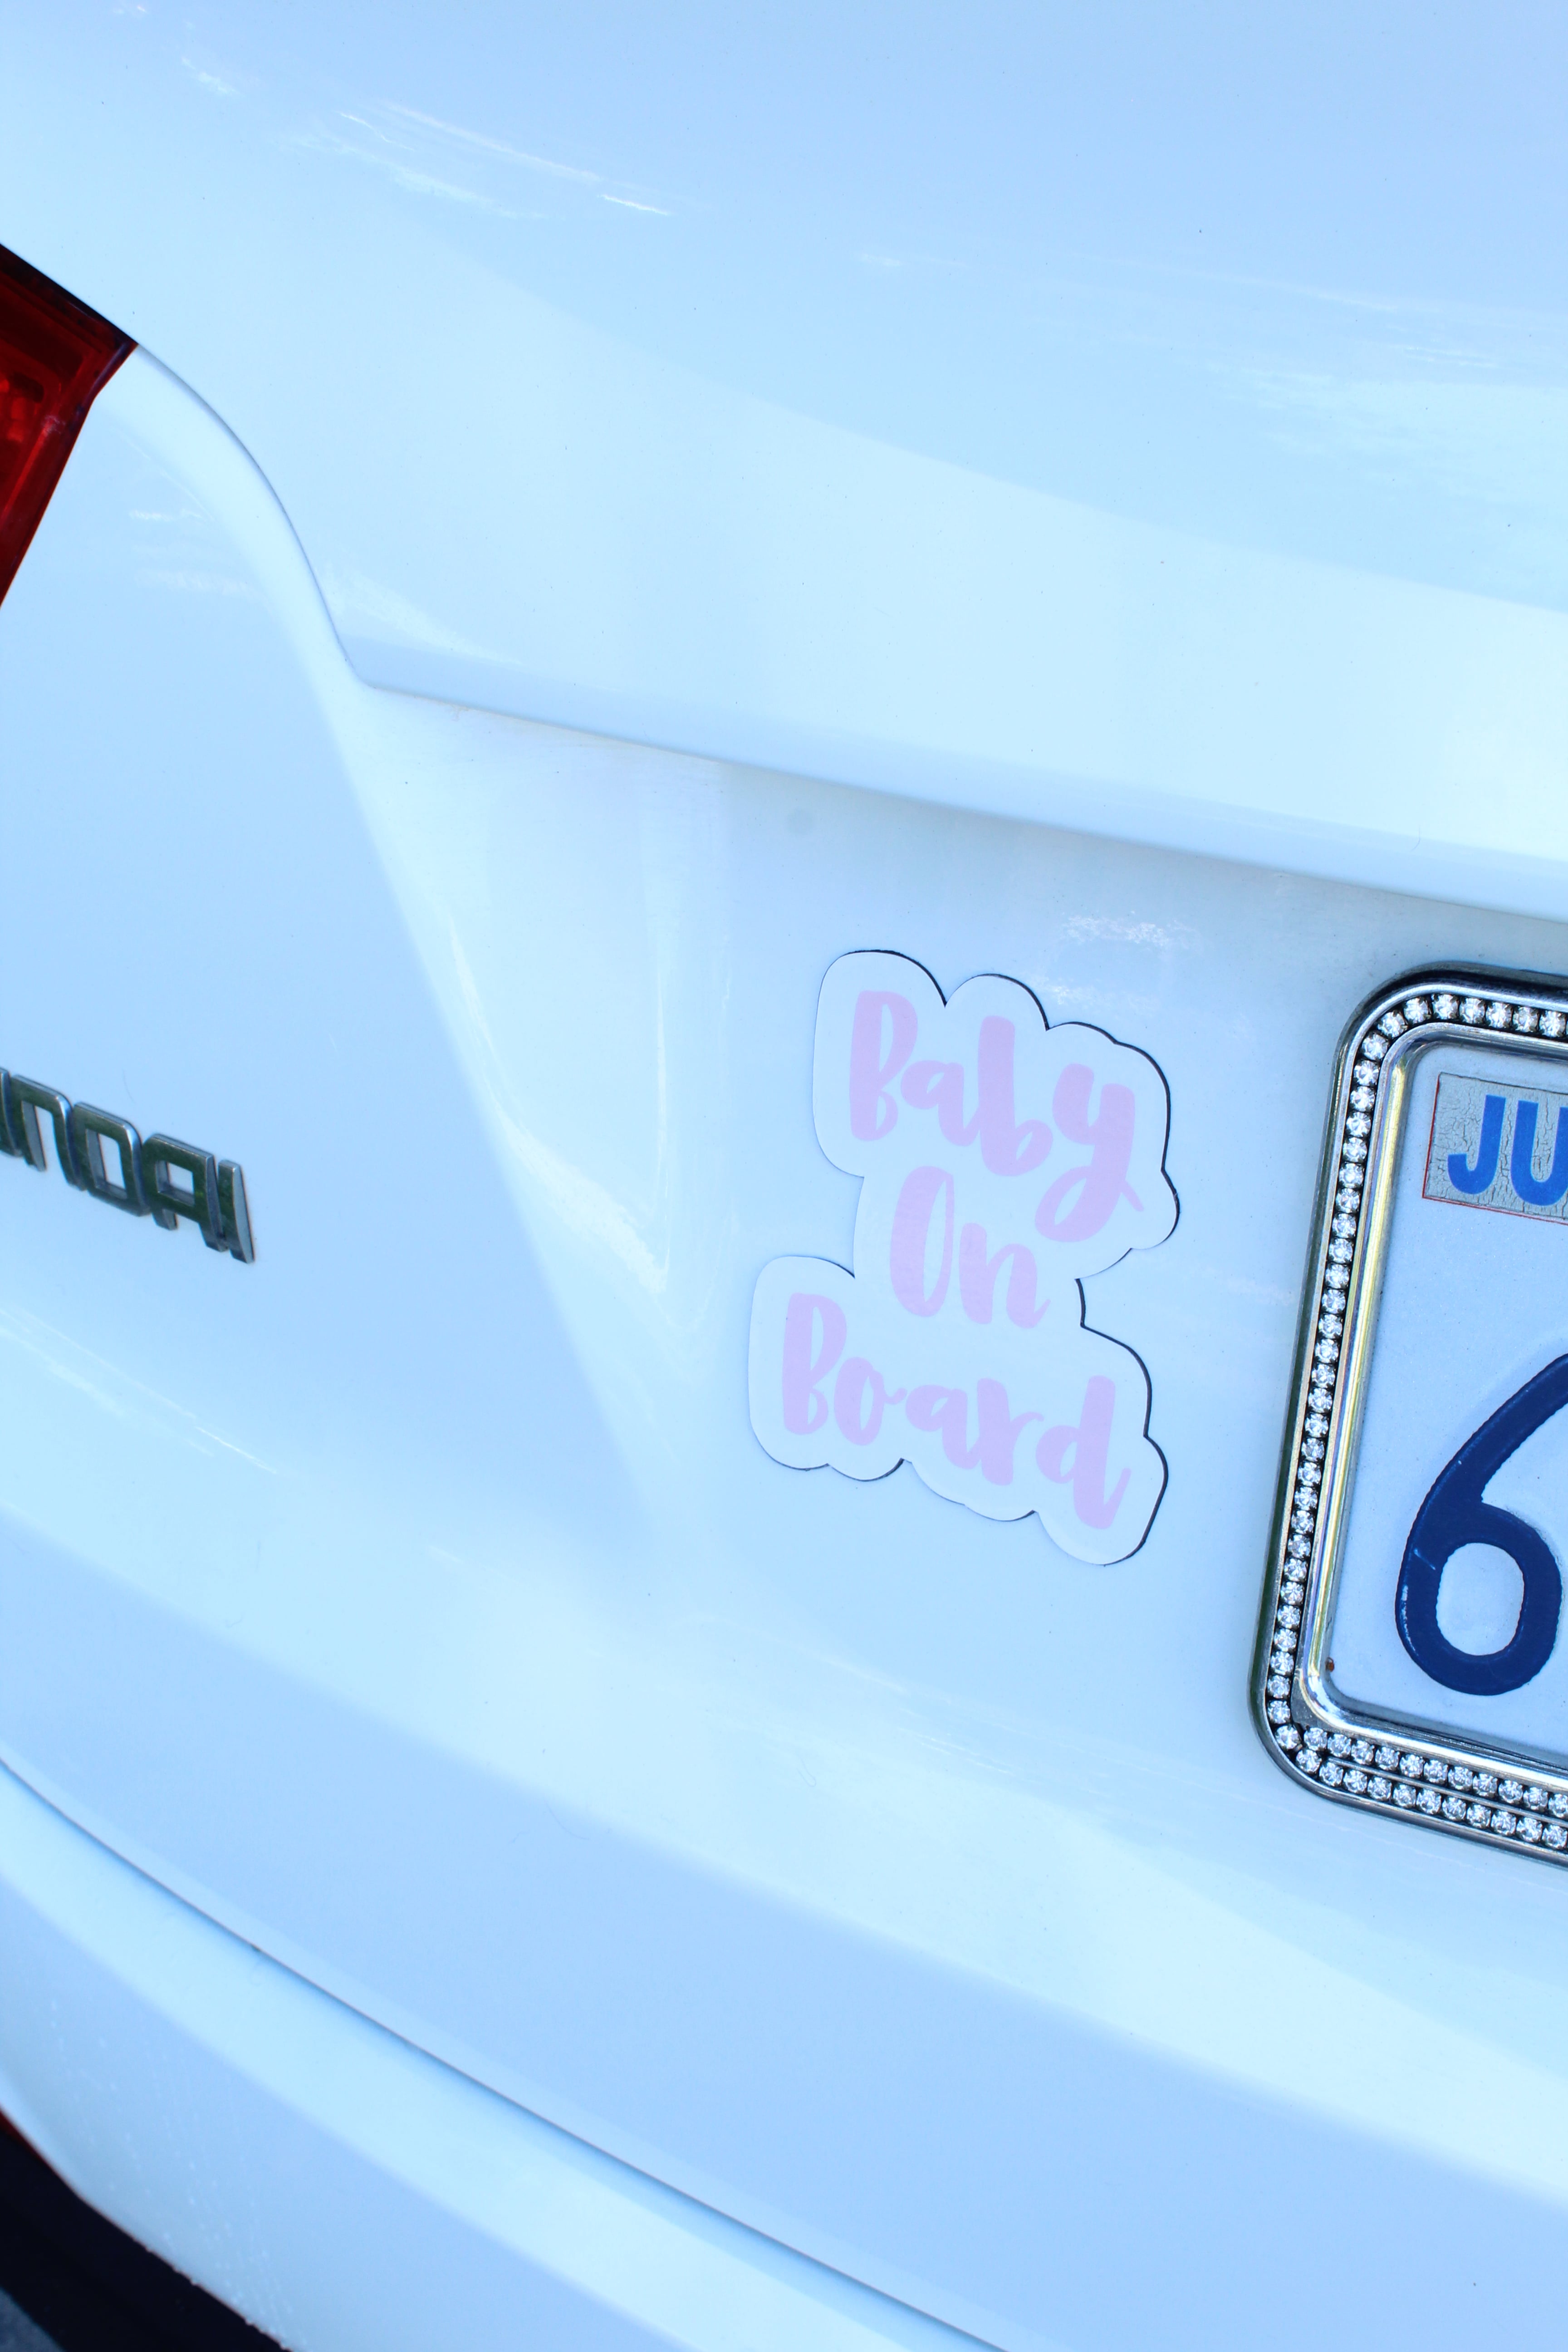
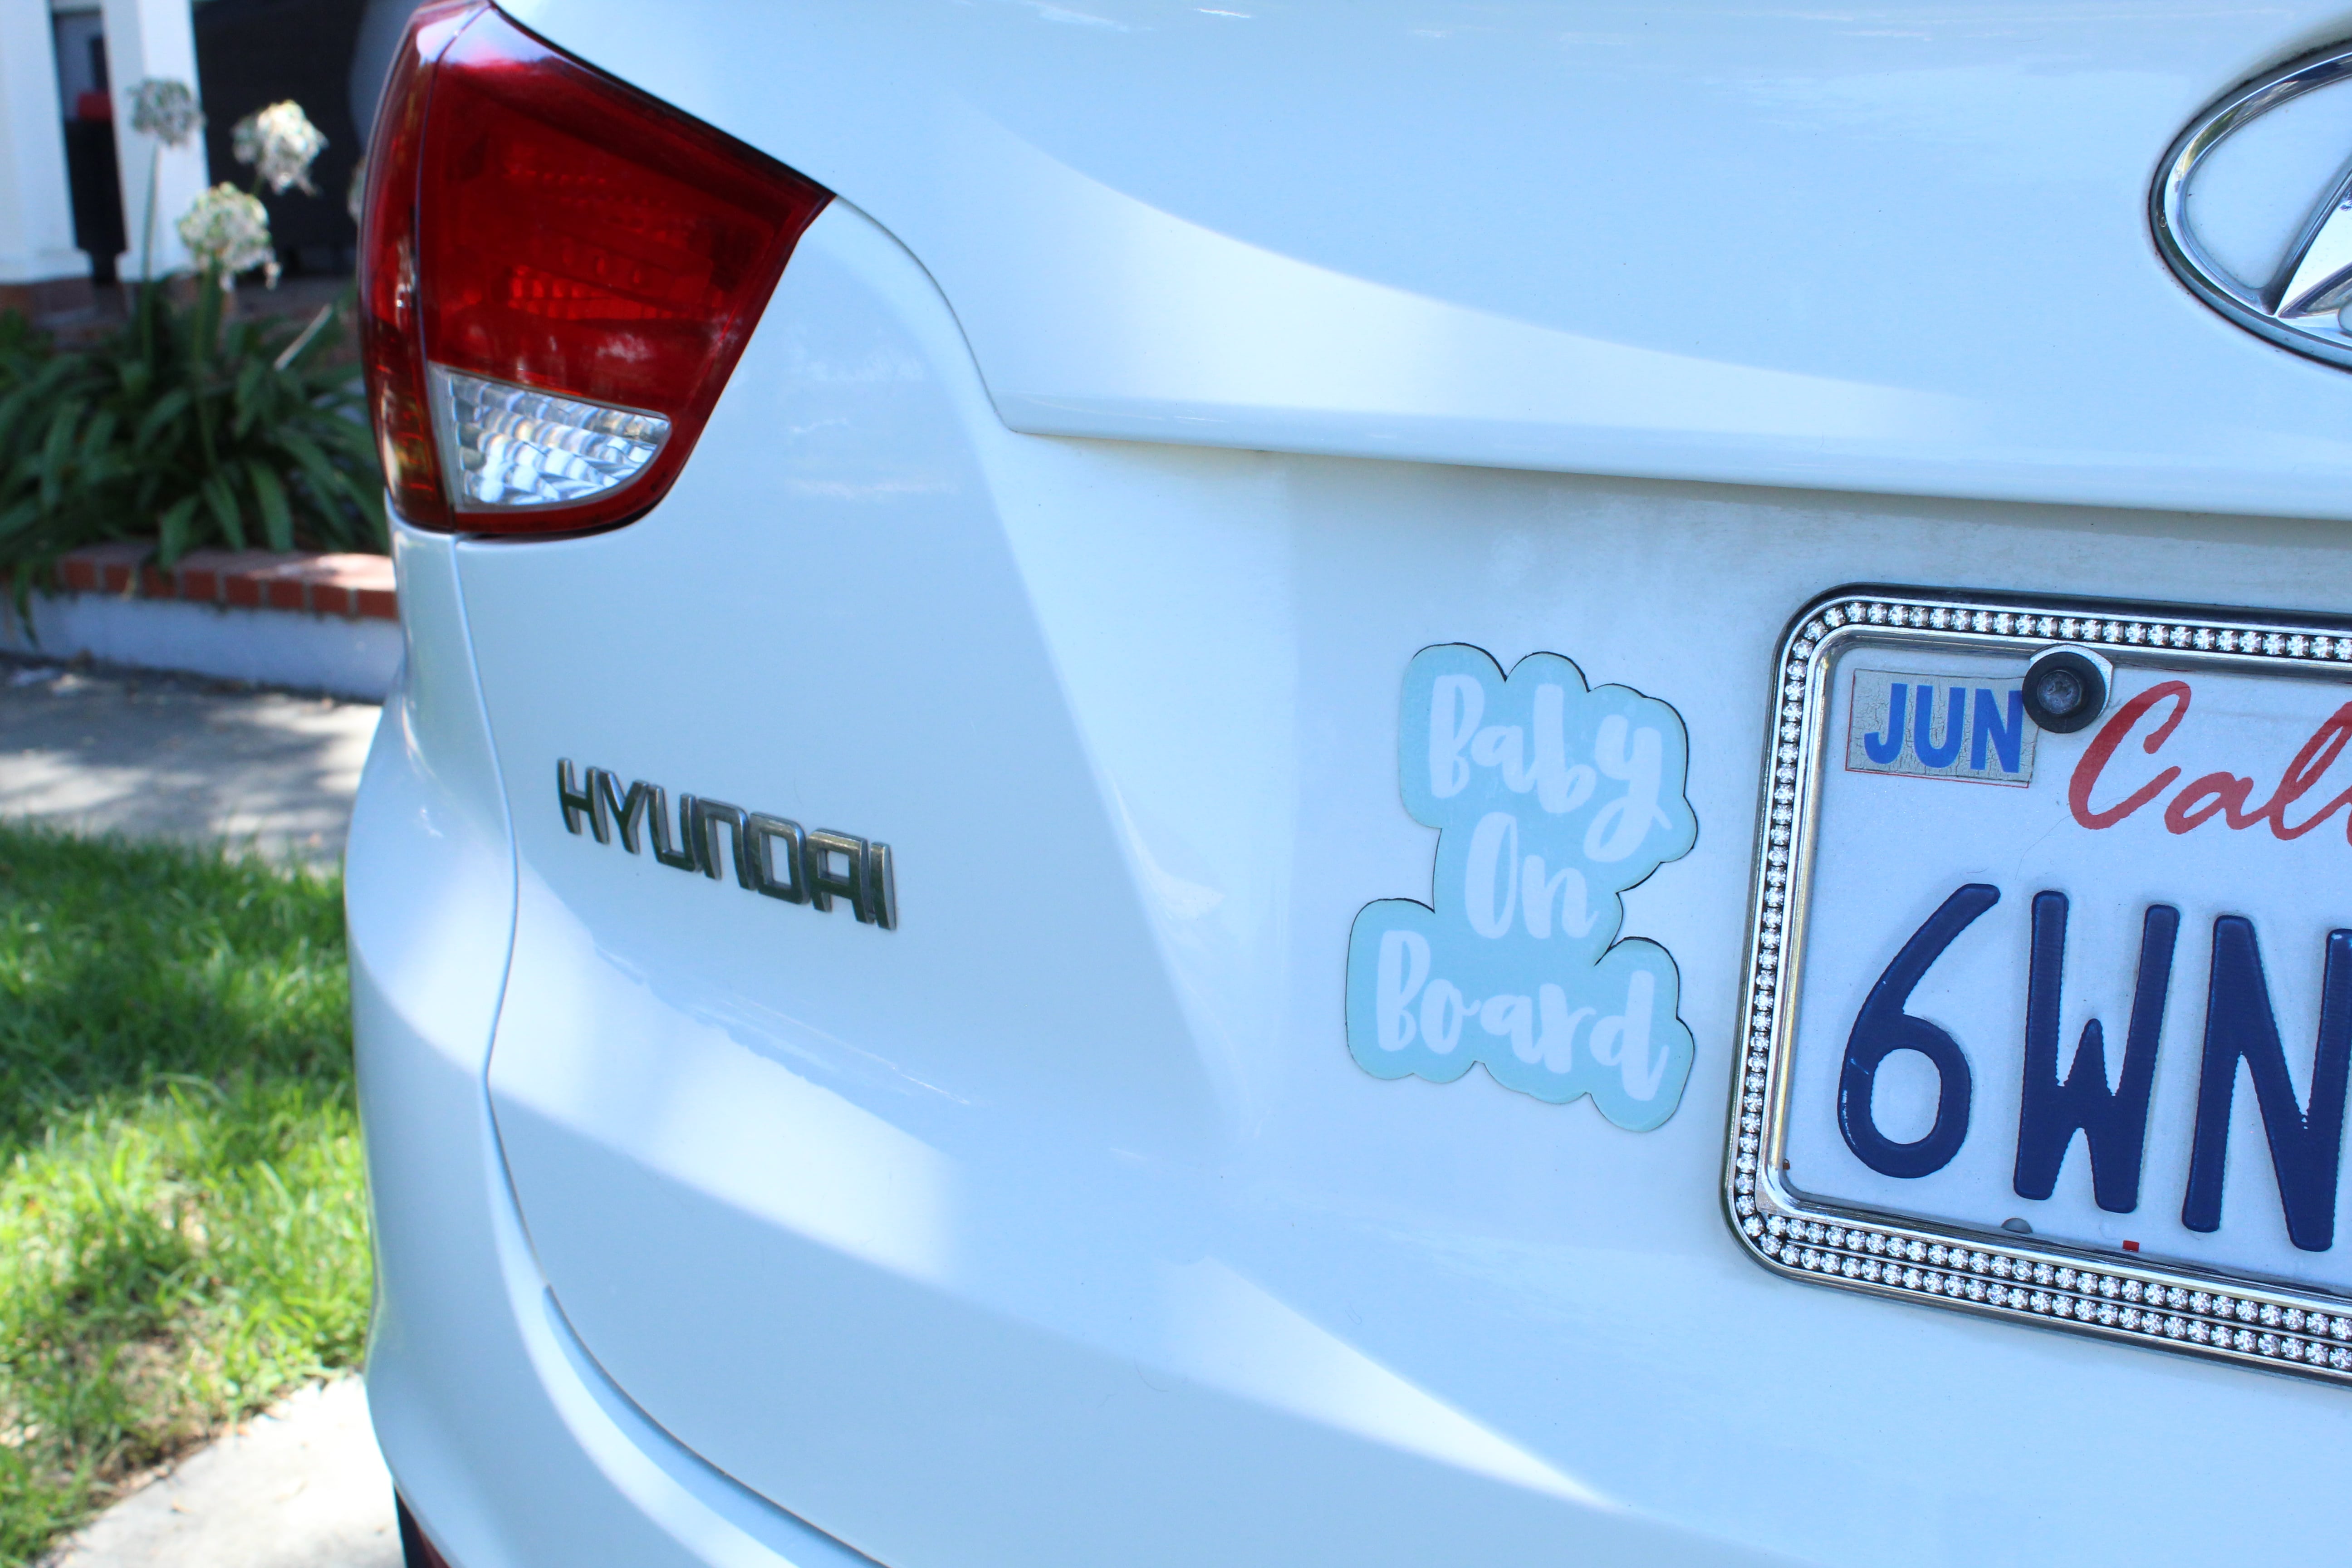
And because this file is totally customizable, you can make it in whatever colors you want! So I of course had to make one in my signature mint color too! I had so much fun creating this project and can’t wait to see how you make it your own!
EDITORS NOTE: If you’re a hardcore Cricut-er like me, you’re probably aware that Cricut makes their own printable magnet sheets. And if you know this, I’m sure you’re thinking, “Hey, Shea, why didn’t you just use that for this project?” And that’s a great question… And the answer is, that I actually did. For the first go around. And it worked beautifully (and much easier) HOWEVER I didn’t see them lasting in the long run. The magnet sheets themselves, probably in order to be printable are super thin which means their magnetic “stick” just isn’t very strong. Also, here in sunny Southern California, the sides started lifting a bit I’m assuming from the sun beating down on it. The Cricut brand sheets are amazing otherwise though. But maybe more for like a fridge magnet vs. something going on a moving vehicle. (Here are a couple of photos of that one, just because I want proof that it existed haha.)
If you create one of our projects, please share a picture with us on Instagram or Twitter using the hashtag #somethingturquoisediy, we regularly reshare our favorites! Your profile will need to be public for us to see it otherwise, you can always DM us!
DIY Tutorial Credits
Photography + DIY Tutorial: Shea O’Quinn of Not So Cli-Shea // Cricut Maker and accessories courtesy of Cricut // Masking Tape: Target //Printer: Courtesy of Canon // Magnet Sheet: Walmart // UV Laminate: 651 Vinyl
Shop The Supplies:
Find the supplies you’ll need for this project from our affiliate links below:


Comments