

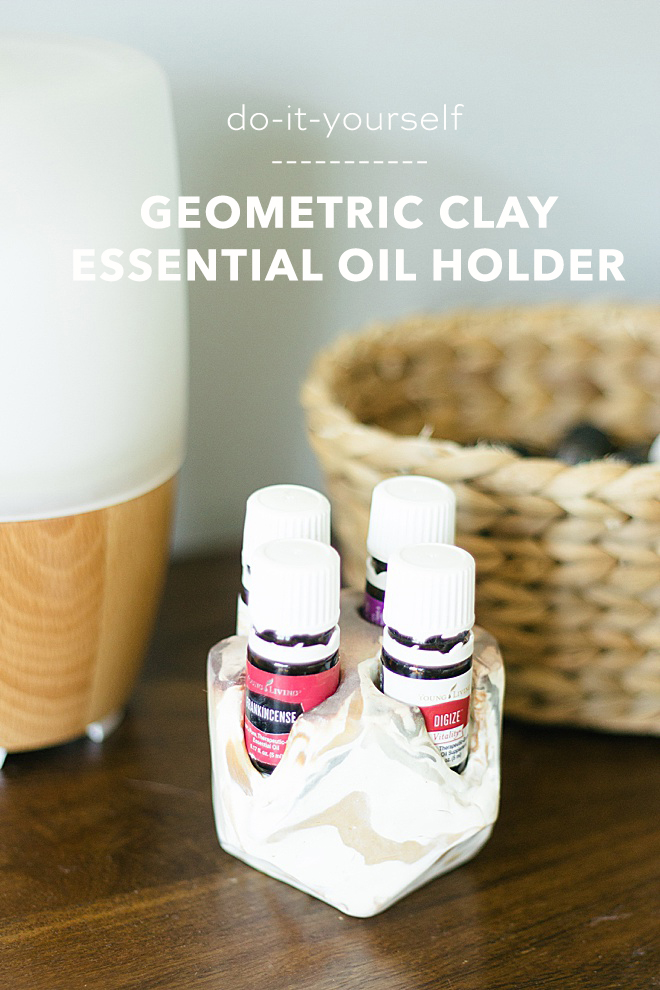
DIY Clay Geometric Essential Oil Holder
I know we all have been spending a lot of time at home this season. Maybe you have been working on DIY projects and self-care, I know I have been trying my hardest to! This do-it-yourself project has been inspired by organization and trying to make my home pretty! I have probably too many essential oils in my house and they are all scattered everywhere. There are many great essential oil brands but the two that I like to use are Doterra and Young Living. I don’t sell either of them or have a preference on which one is better, I think they are both great high-quality products! One of my favorite ways to use essential oils is to diffuse them in a diffuser. I usually mix a few different oils together to create nummy scents that are also good for me. This DIY is going to teach you how to make a geometric display that will hold 4 essential oils to display for you to see!

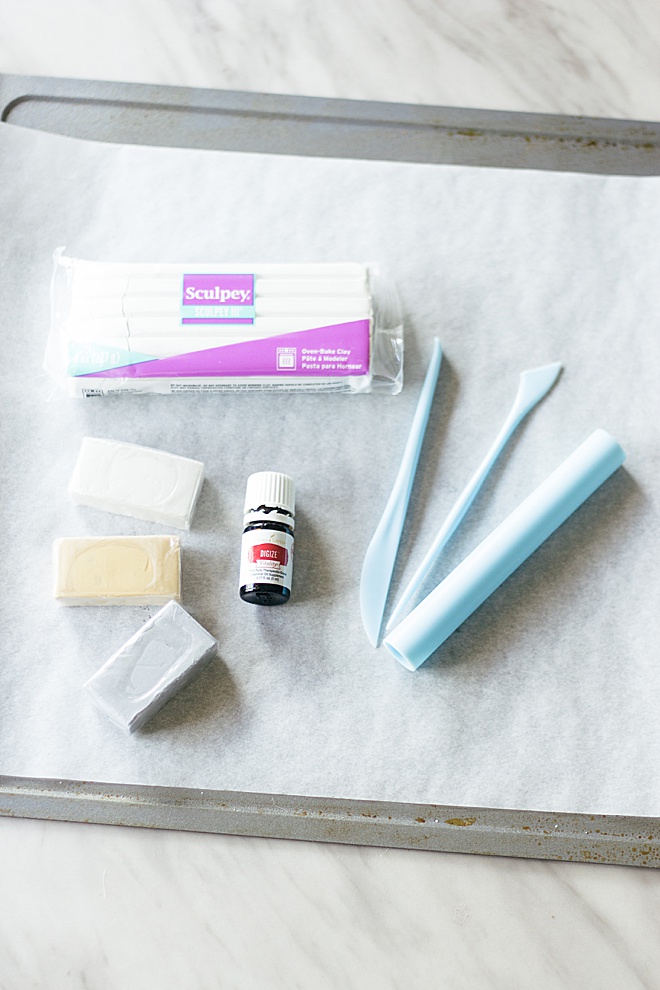
SUPPLIES:
- Clay
- Baking Sheet
- Parchment Paper
- Knife or Clay Cutter
- Essential Oils
Roll
Heat the clay in your hands and start rolling into a snake. Place the clay down on the table or hard surface and use your fingers or palms to spread the clay out into a snake like noodle.
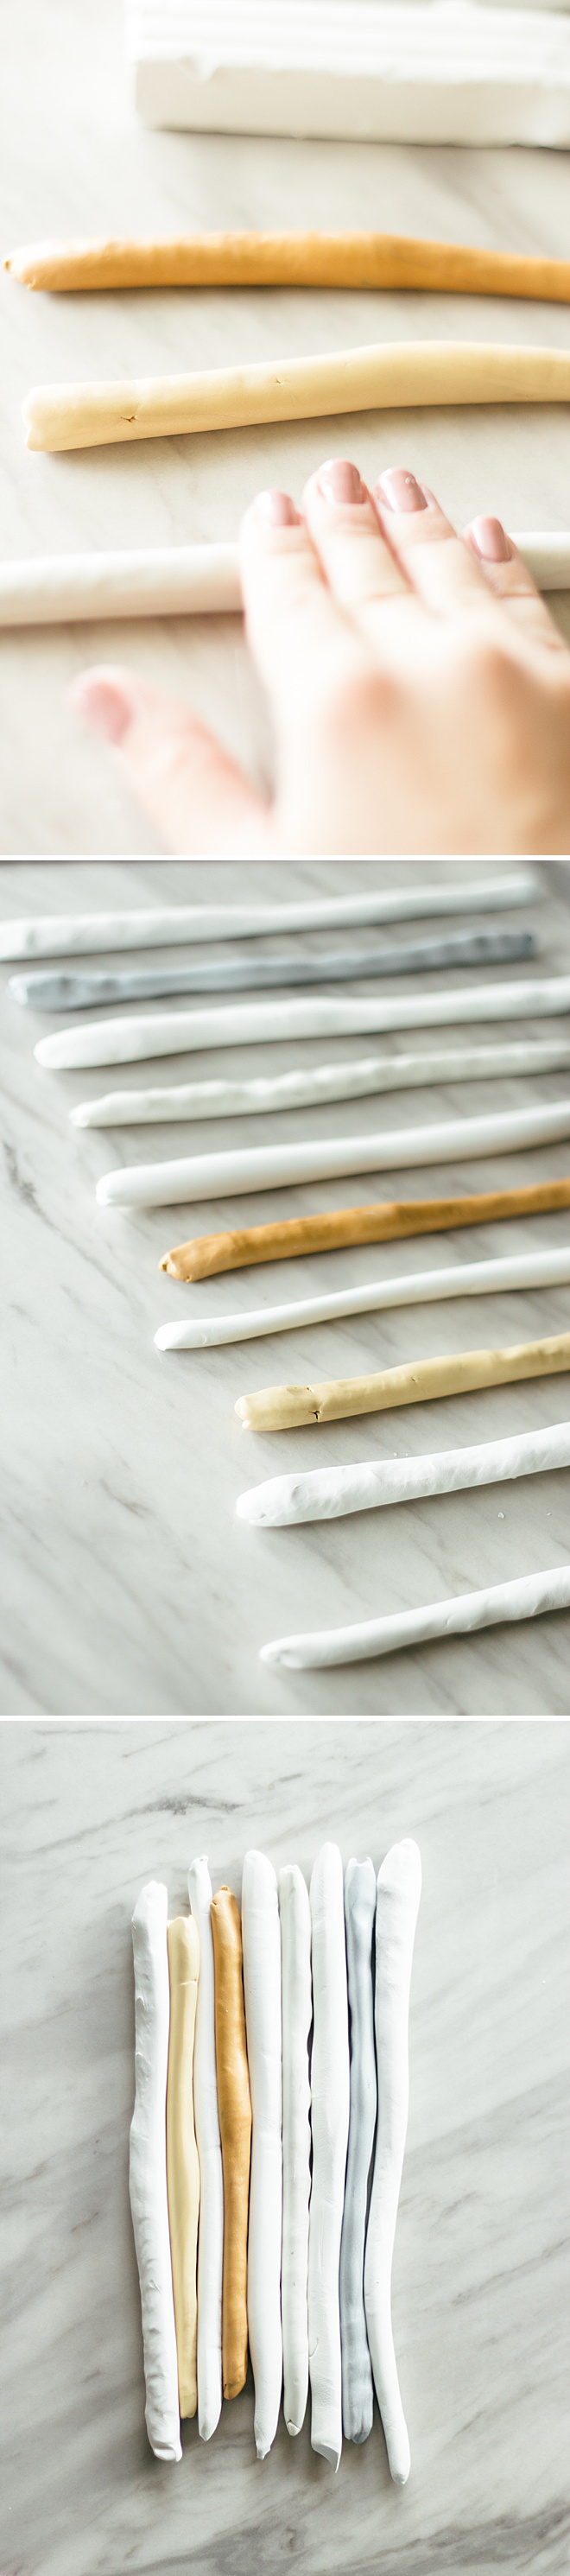
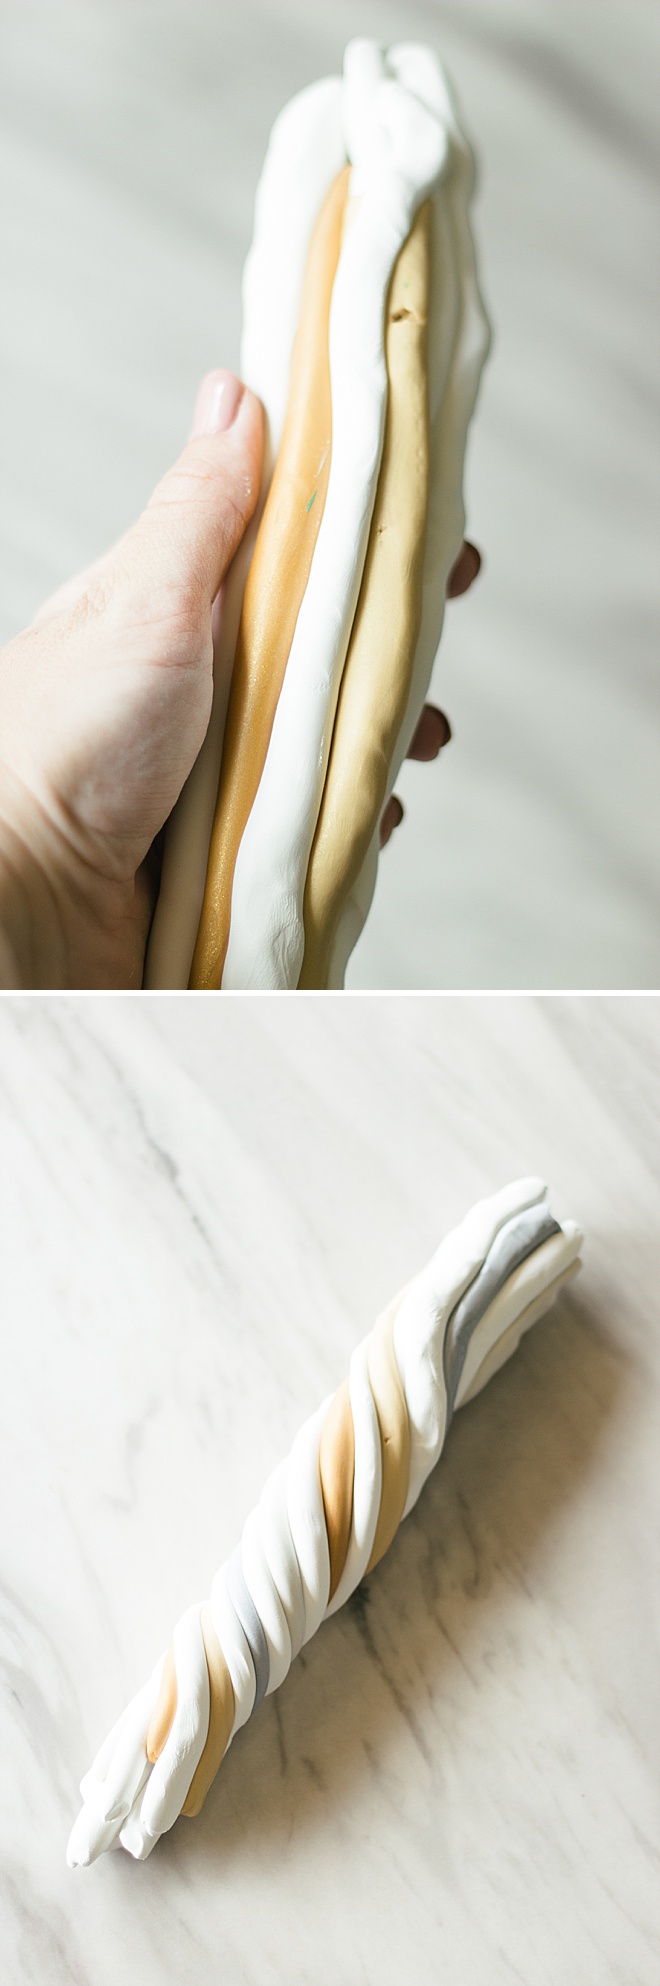
MARBLING
Put all your snakes together to star marbling process. I used white, grey, and gold as my base. Twist the colors together then start stretching and folding until you reach a marbling pattern you like. I wanted my marble to have bigger chunks of color so I made the mixture simple. Make sure you don’t mix too much because then it will just turn into one solid color.
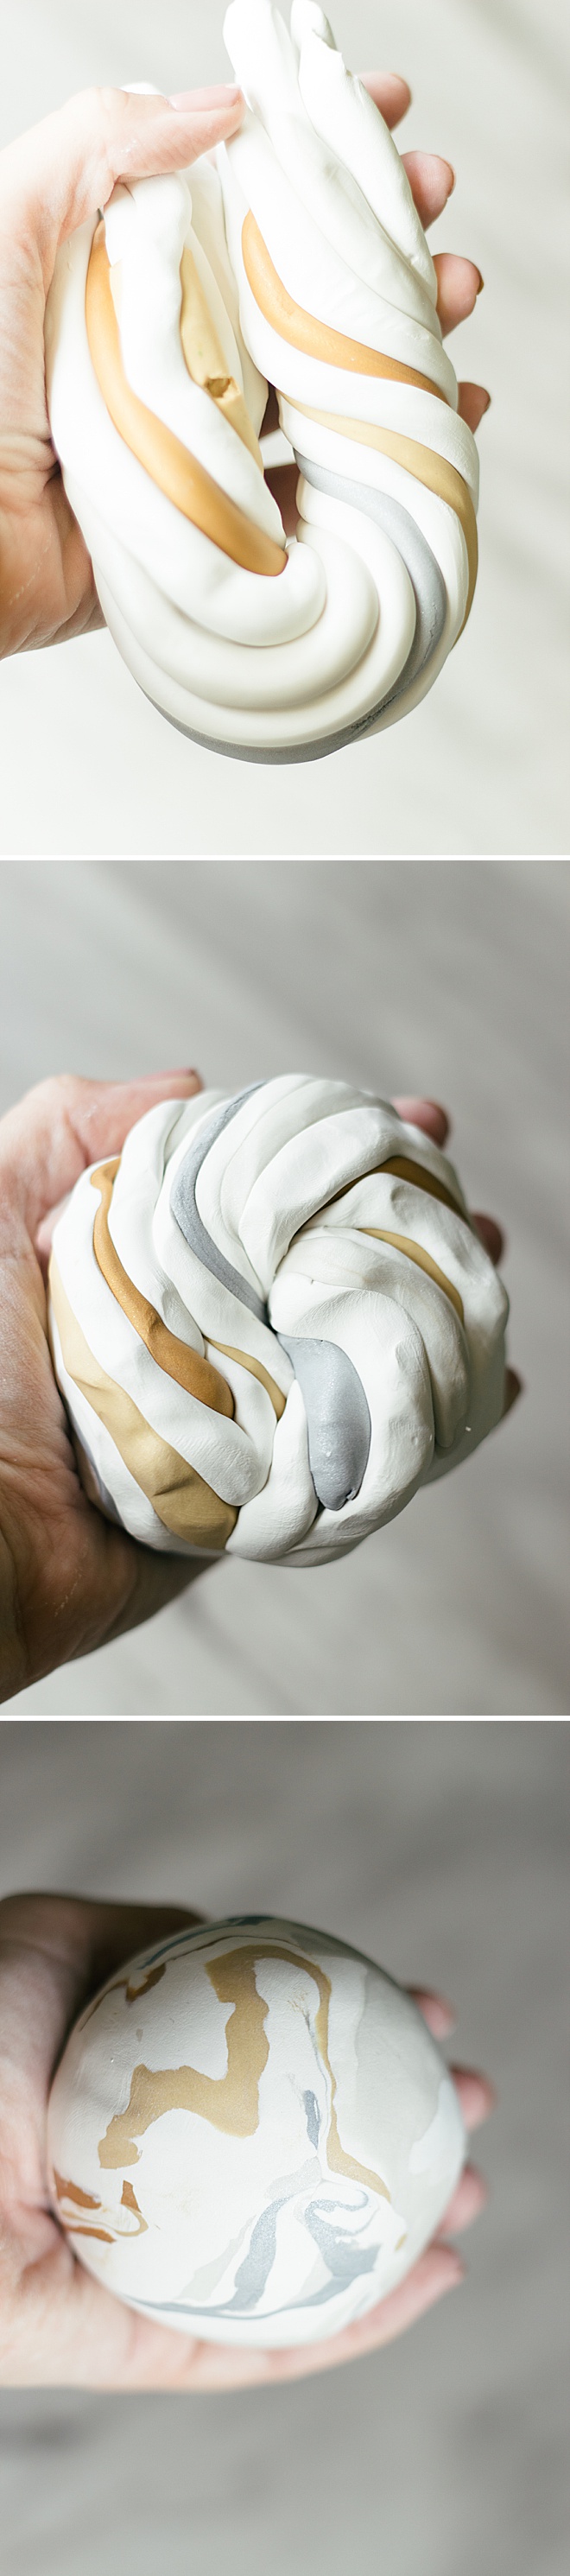
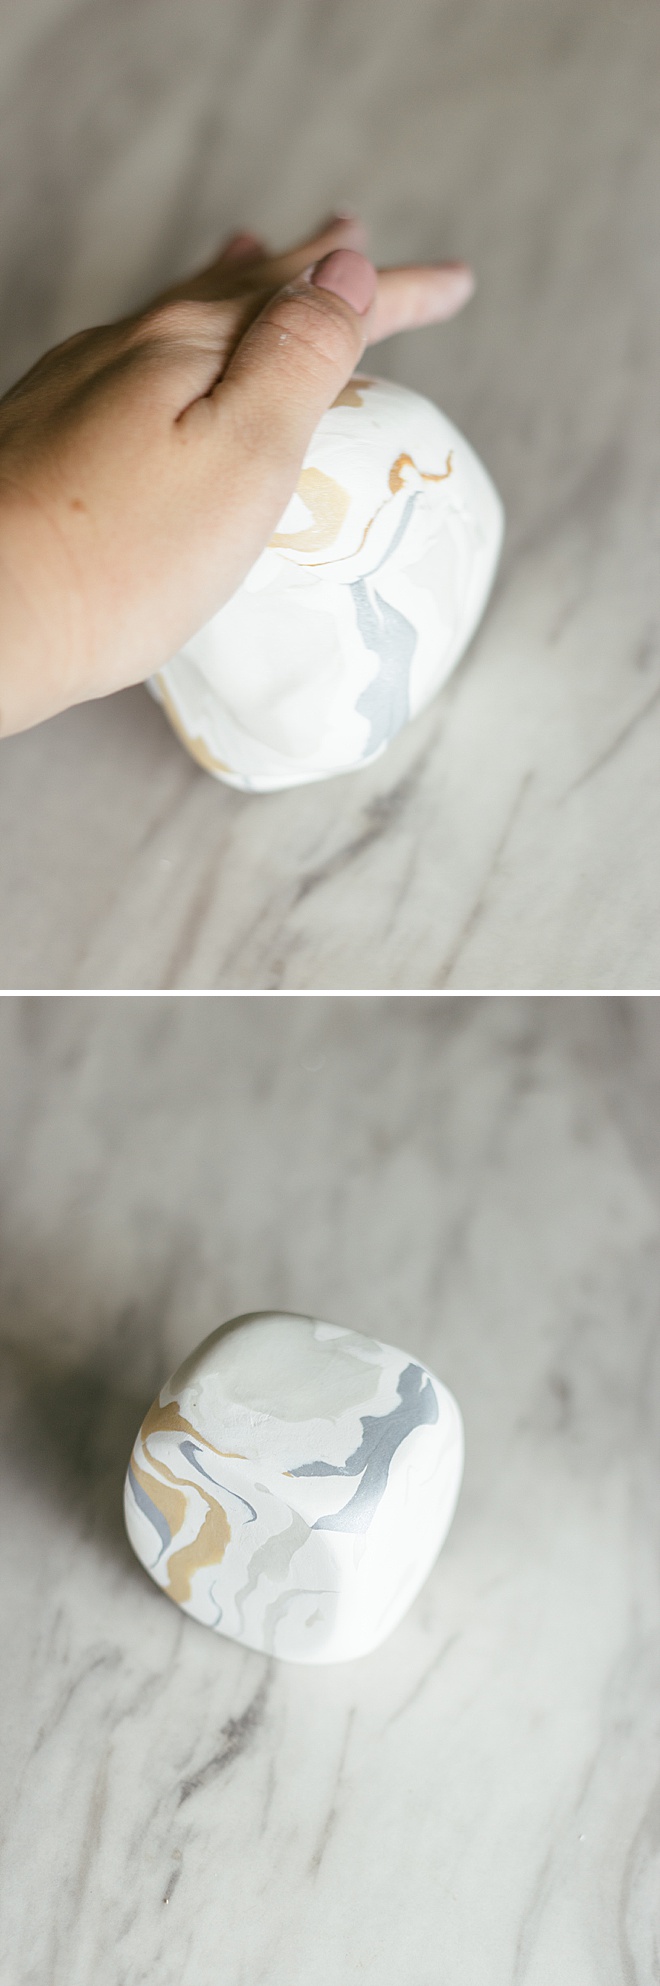
The Big Picture
Roll your clay into one giant ball with just enough marbling. Once you have ball, push down on all sides on a flat surface to turn it to a giant cube.
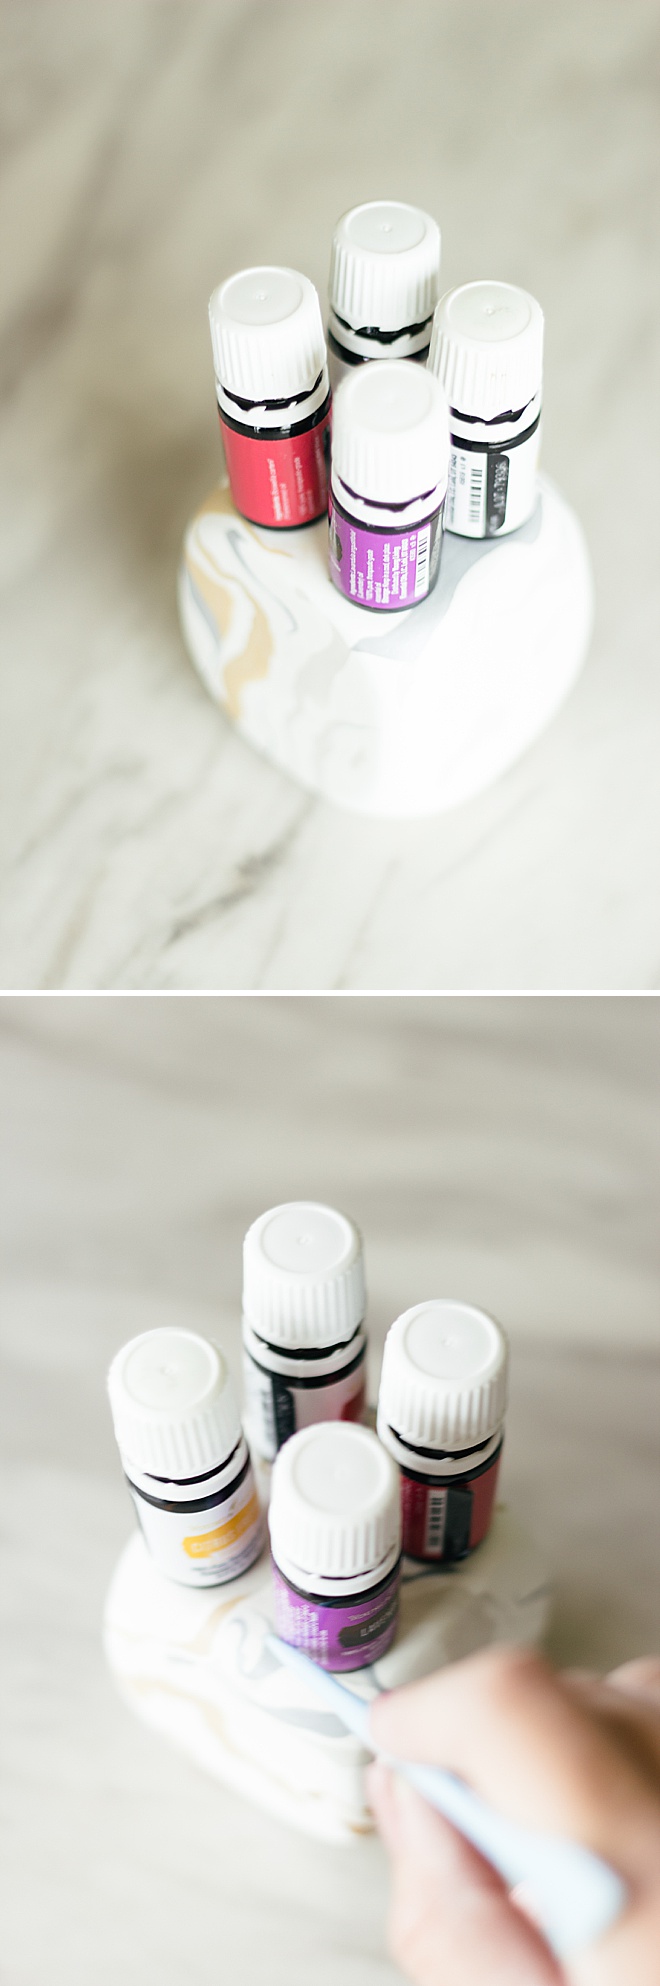
Holder holes
Place your oils on top of the cube to make sure that all four fit on top. The cube will be about 2 inches on each side!
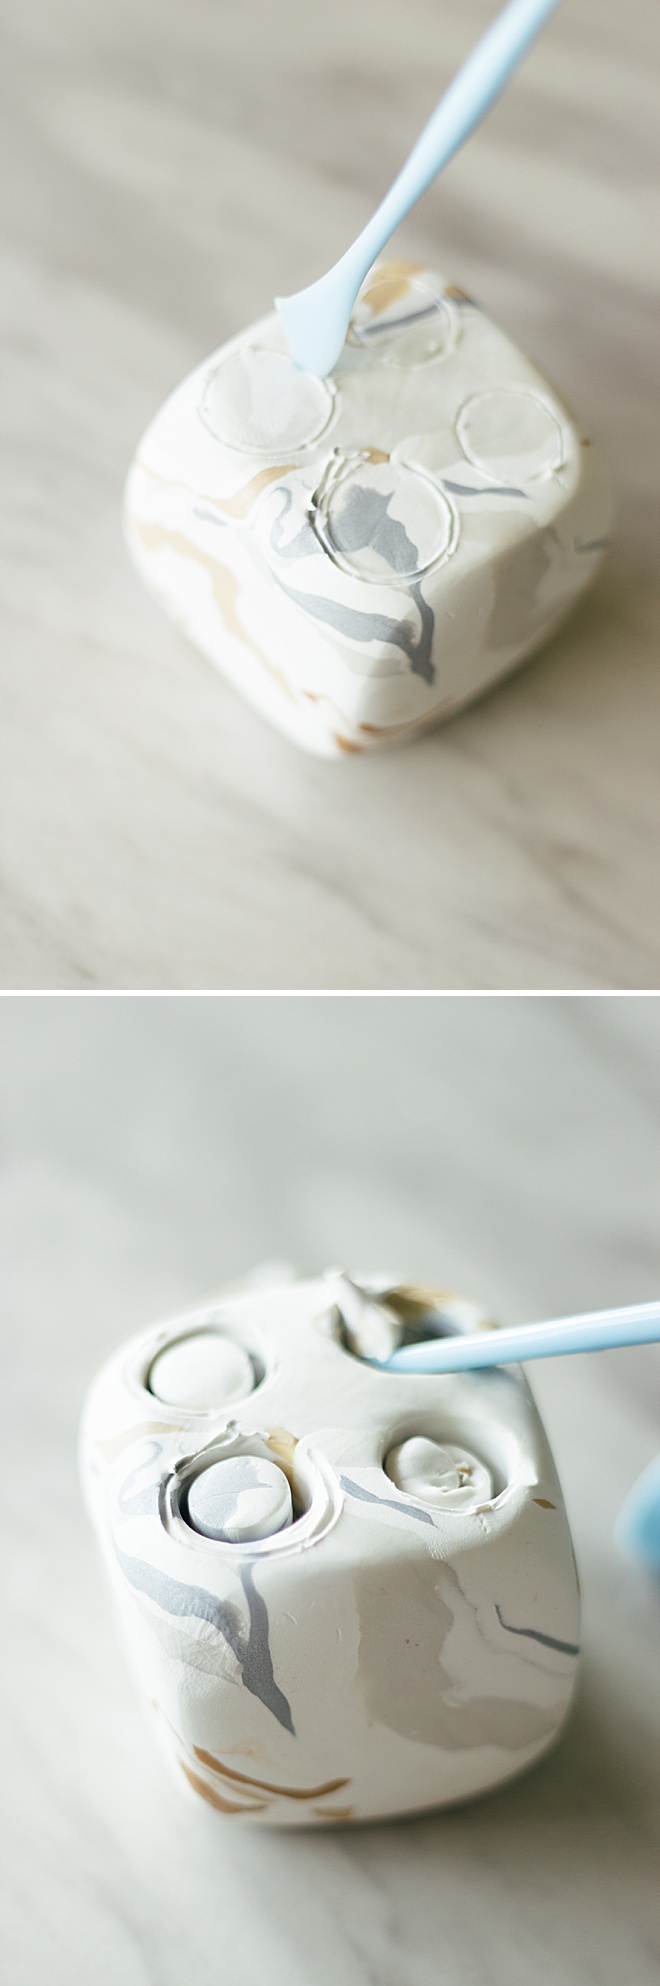
Use the knife to outline the bottoms of the oils and start digging out each hole.
Cut it out
Lightly cut a square on the top of the cube so the lines go through the circles diagonally.
Cut down on the diagonal to the middle of the cube. You will make four of these diagonal cuts then flip over the cube and do the exact same thing from the bottom.
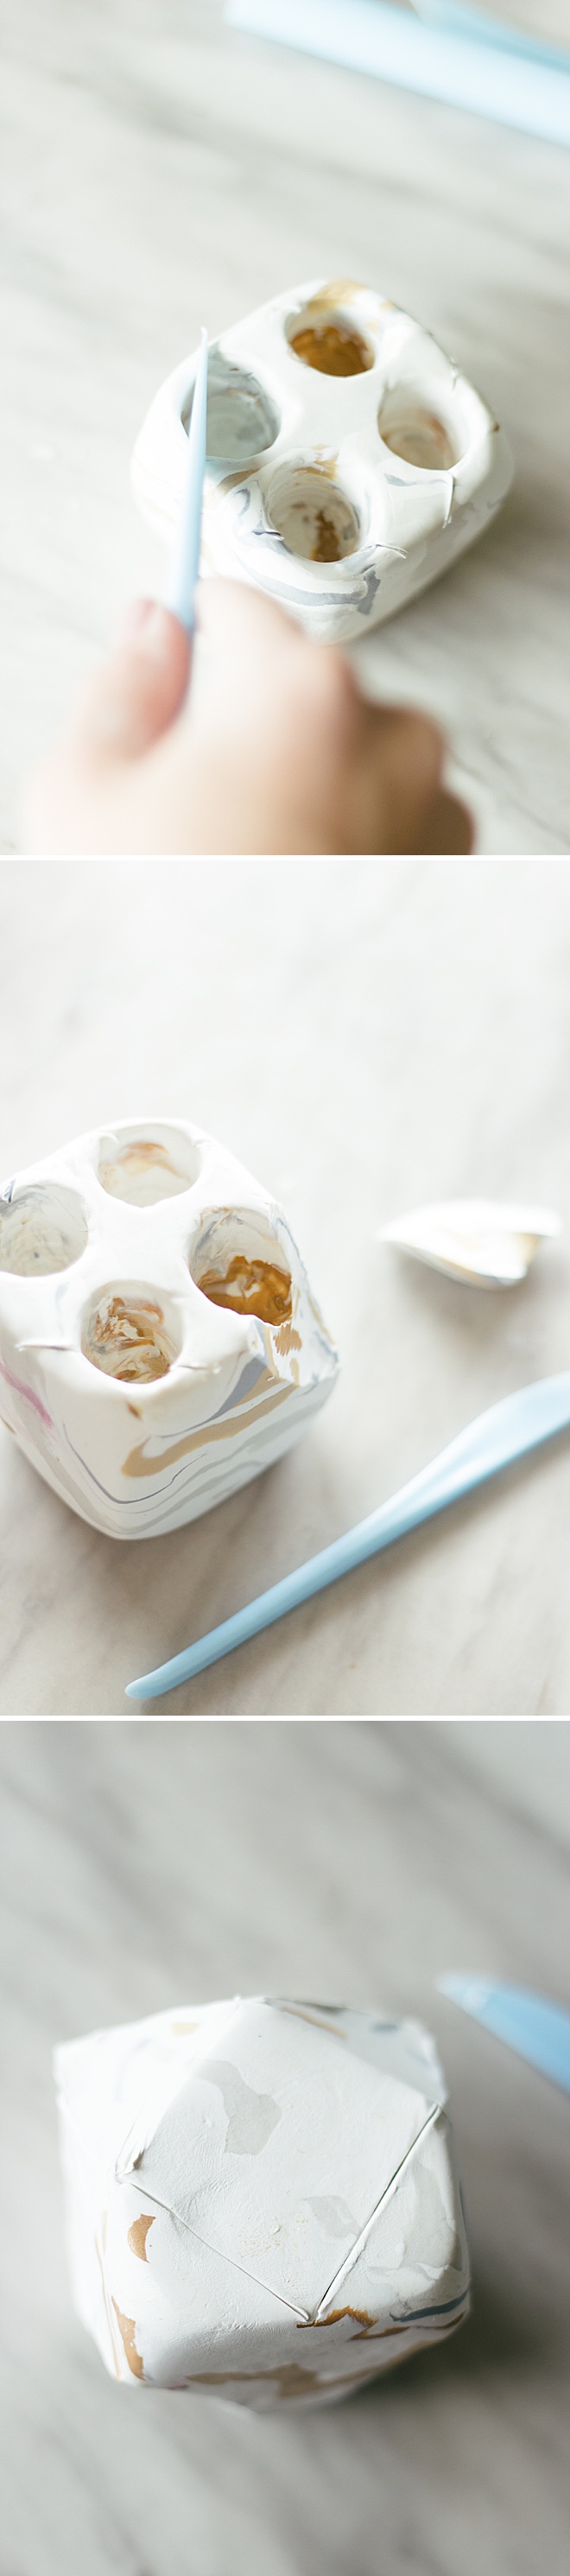
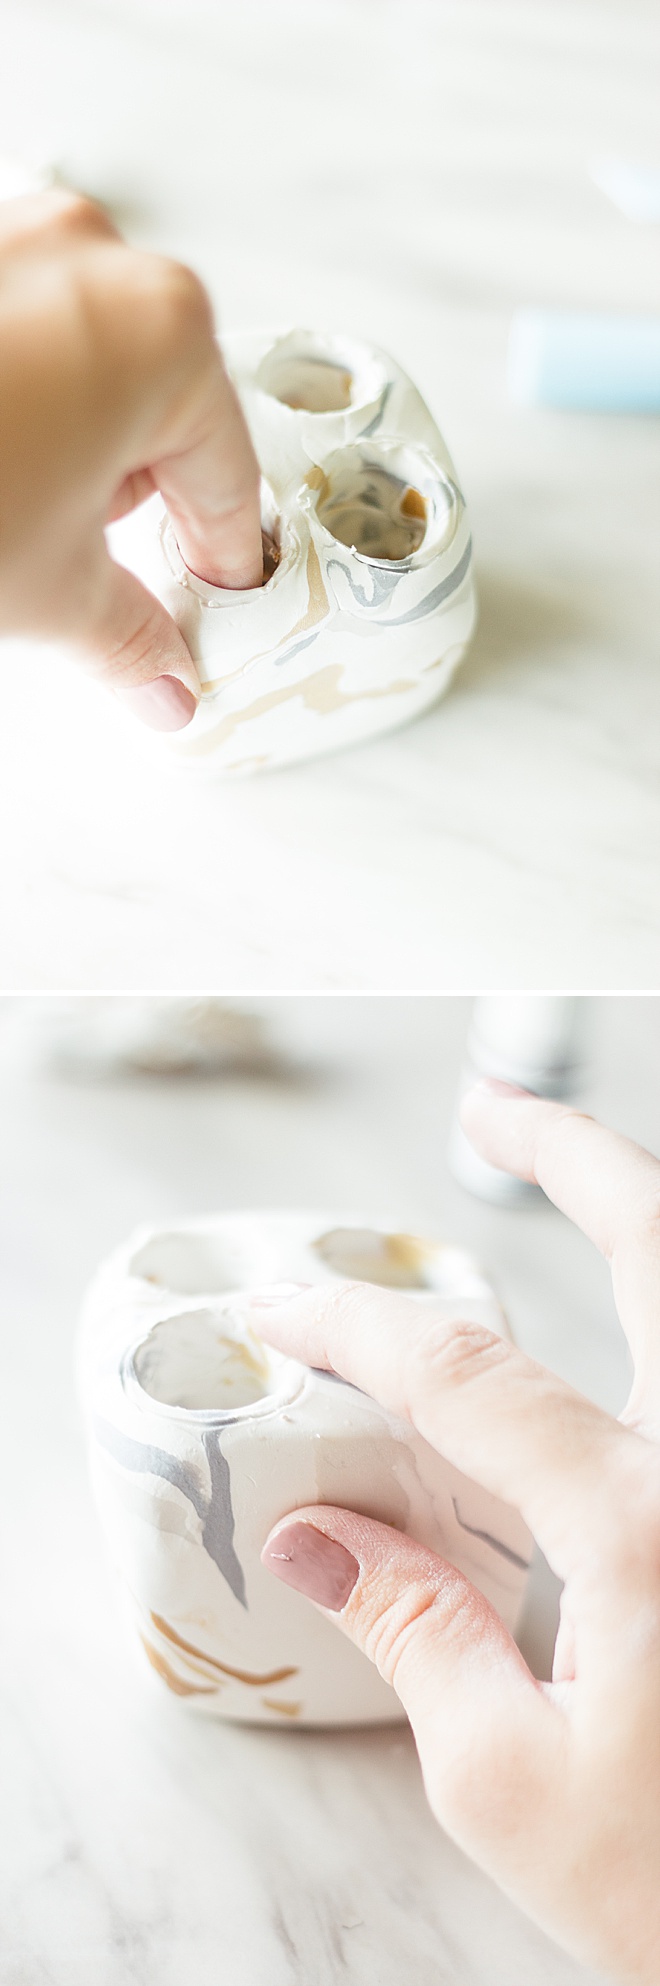
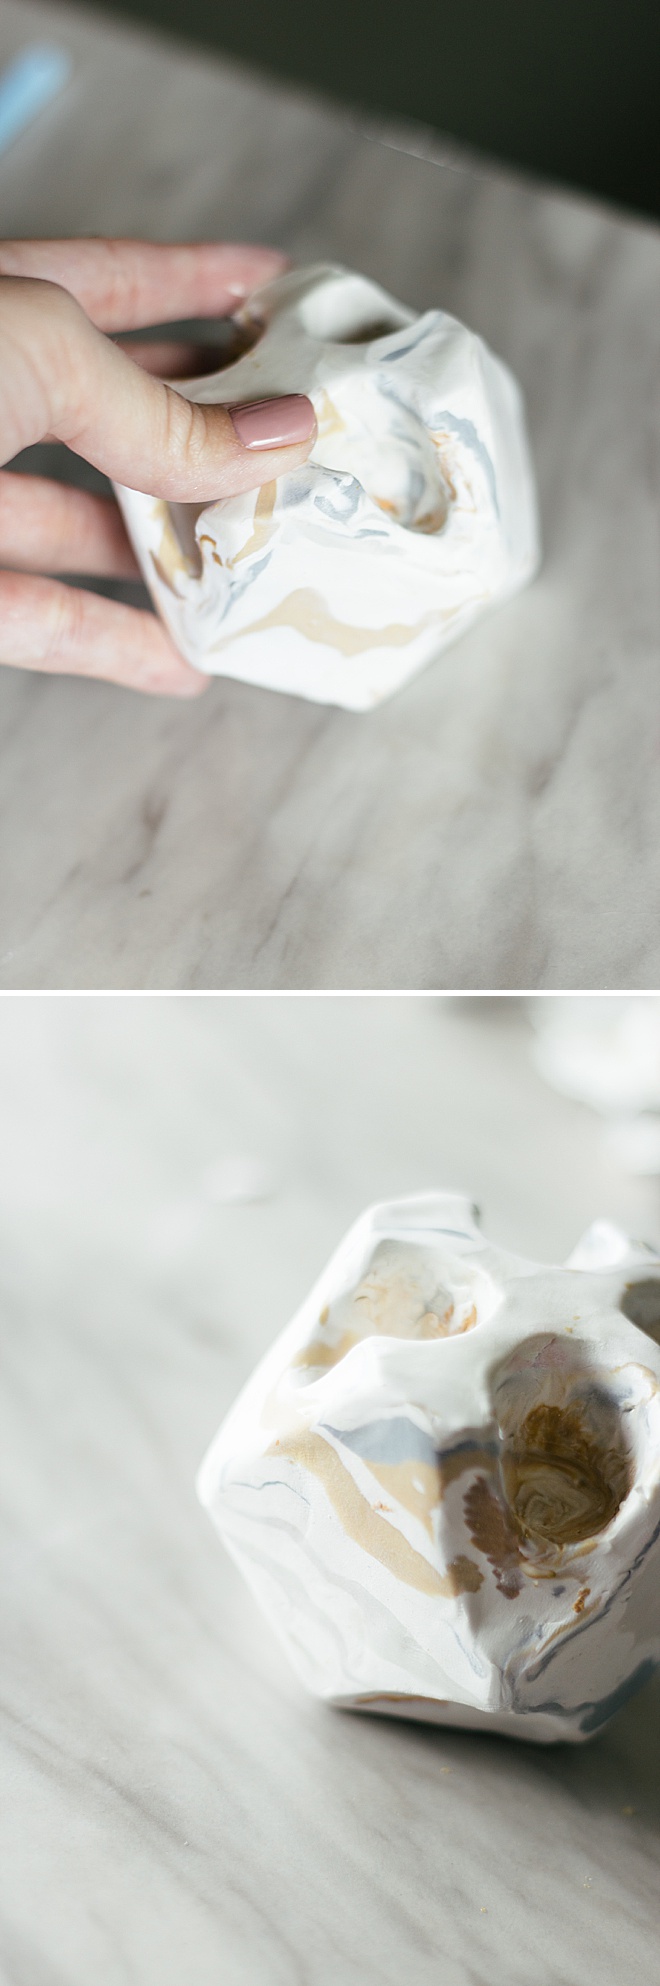
Smooth it out
Dip your finger in a little bit of water and smooth out any scratches or parts that could be sharp when baked.
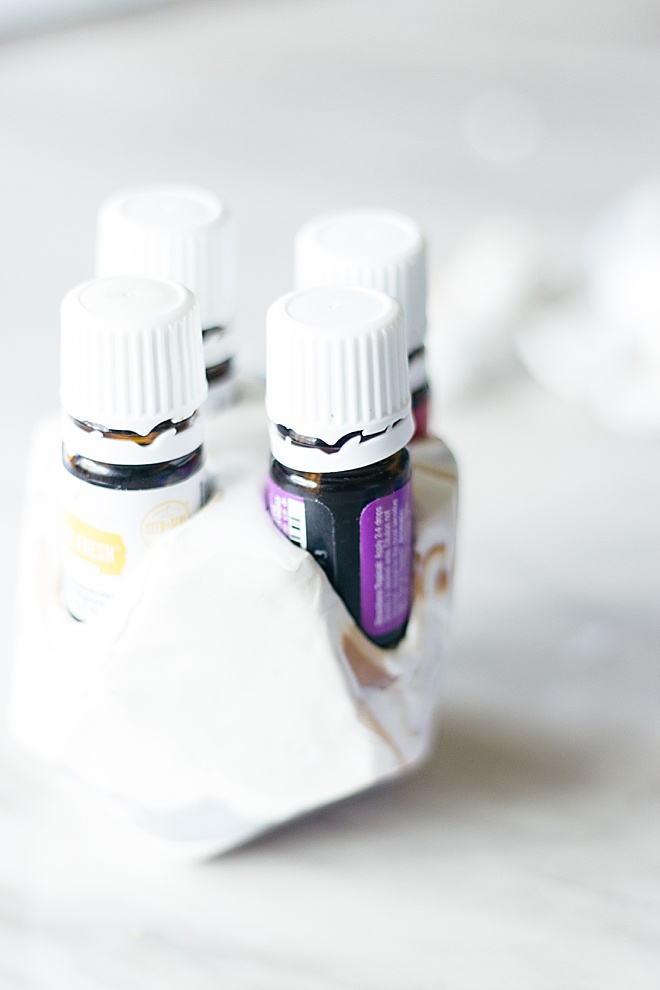
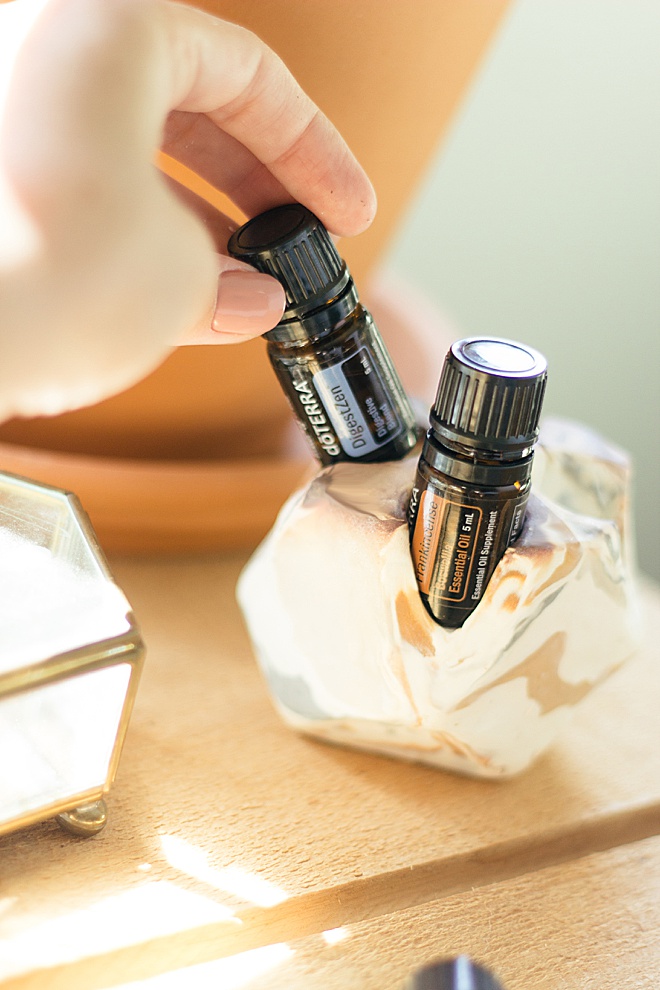
It fits!
Before you put the clay in the oven, make sure that the oils still fit! The clay does not shrink in the oven but you’ll still want a little room so the oils come in and out easily.
Bake it
Heat your oven to 250º and line a baking sheet with parchment paper. Place all your pieces on a baking sheet and bake for about an hour and half. The instructions say to bake fifteen minutes for every 1/4 inch of clay and this ends up being around 2 inches thick each way.
Make sure to check on your clay so it does not burn! Take it out of the oven with a hot pad and let it cool off before putting your essential oils inside.
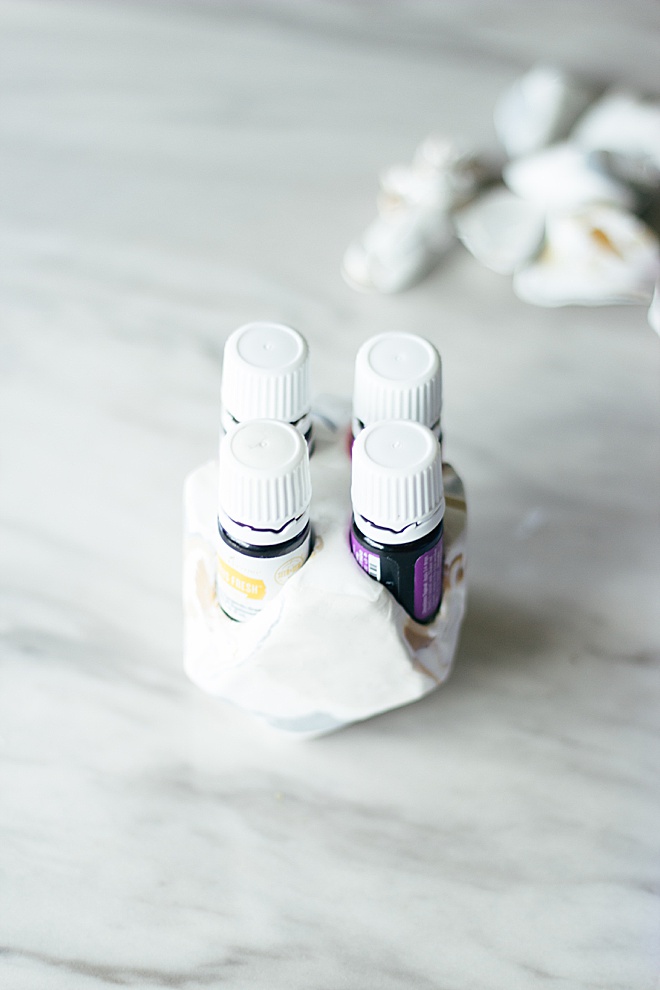
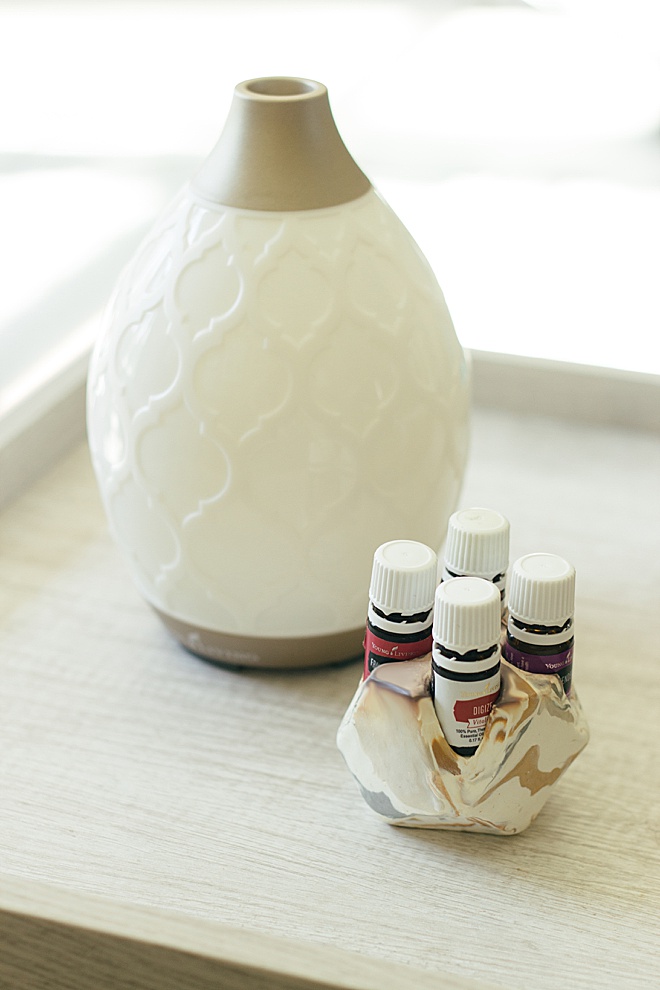
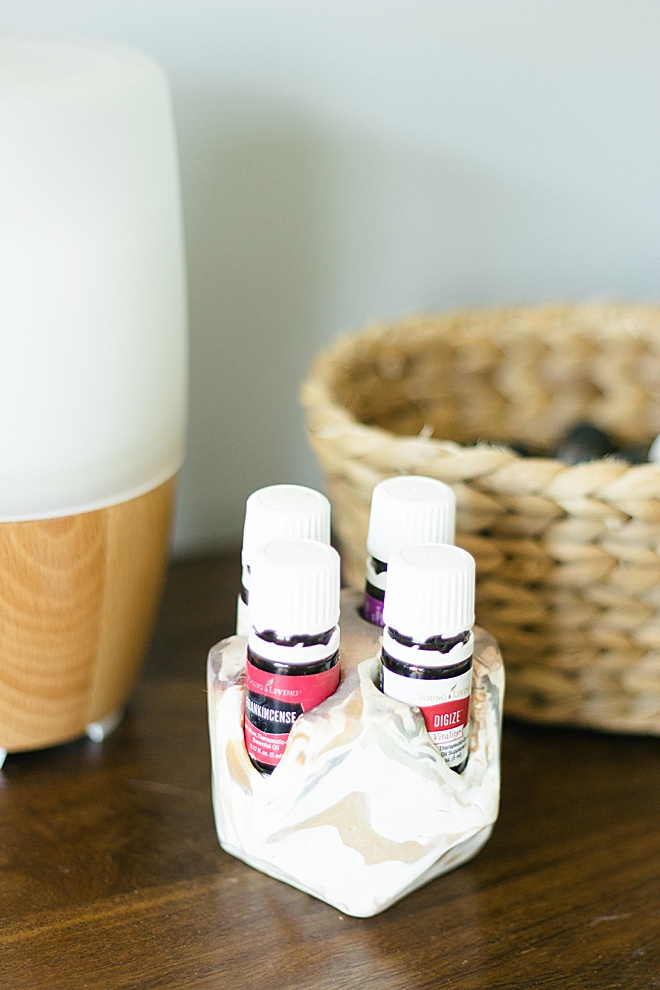
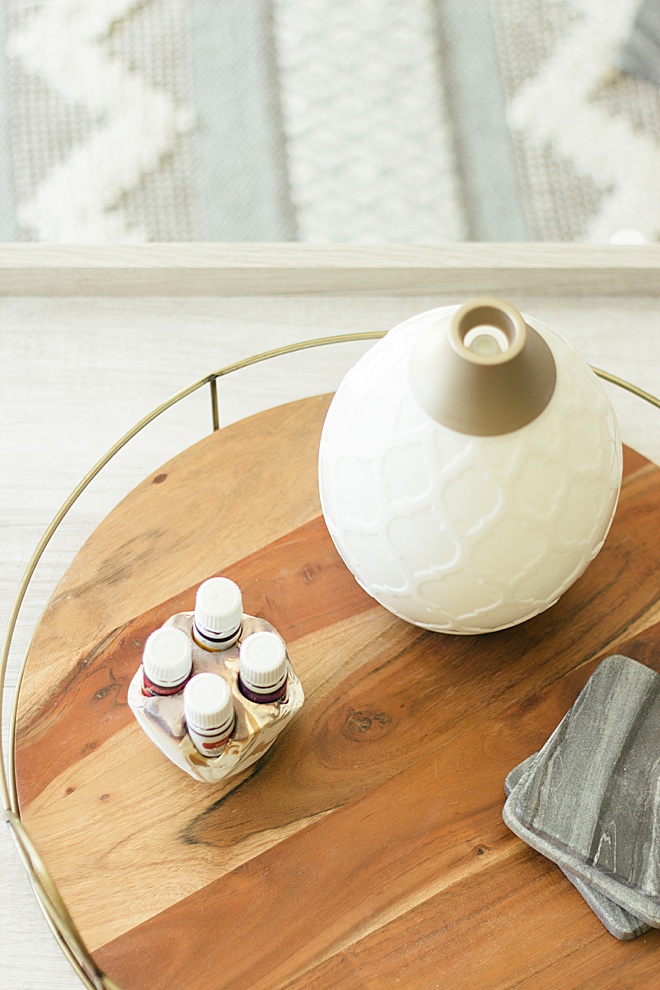
Display
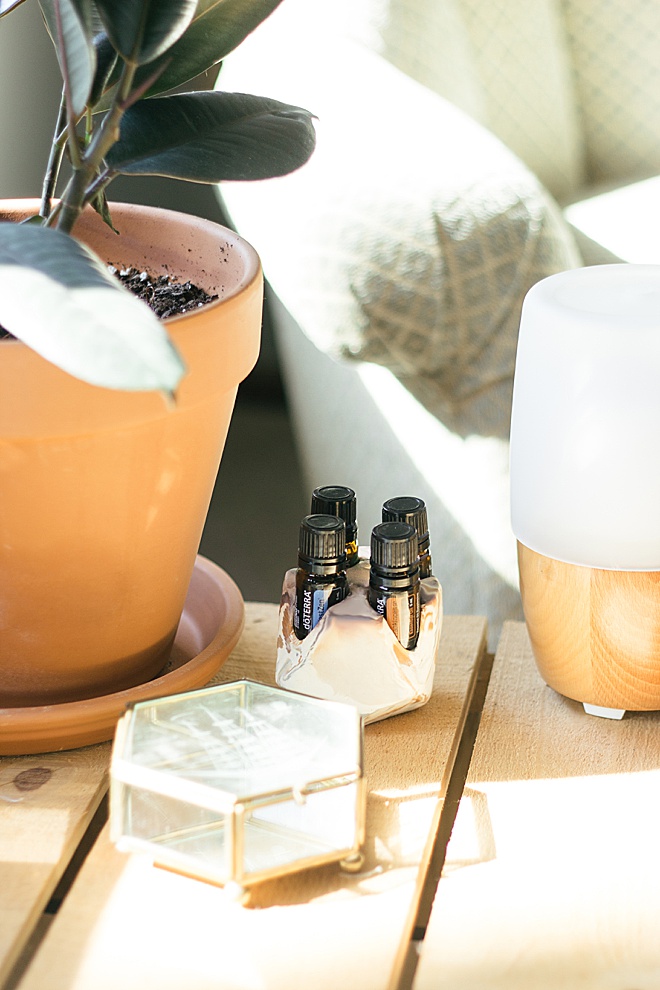
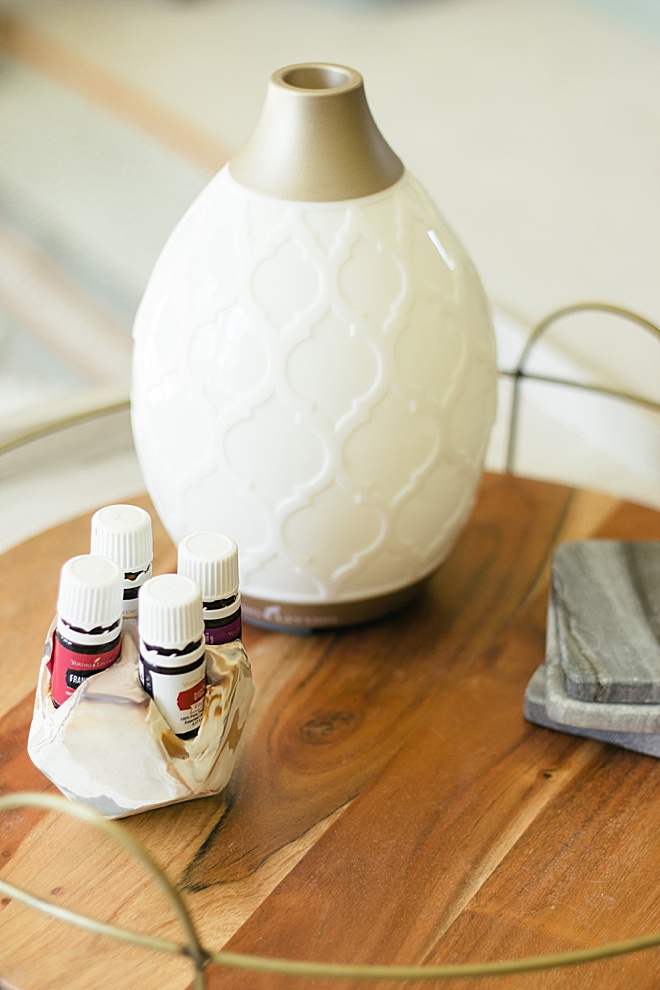
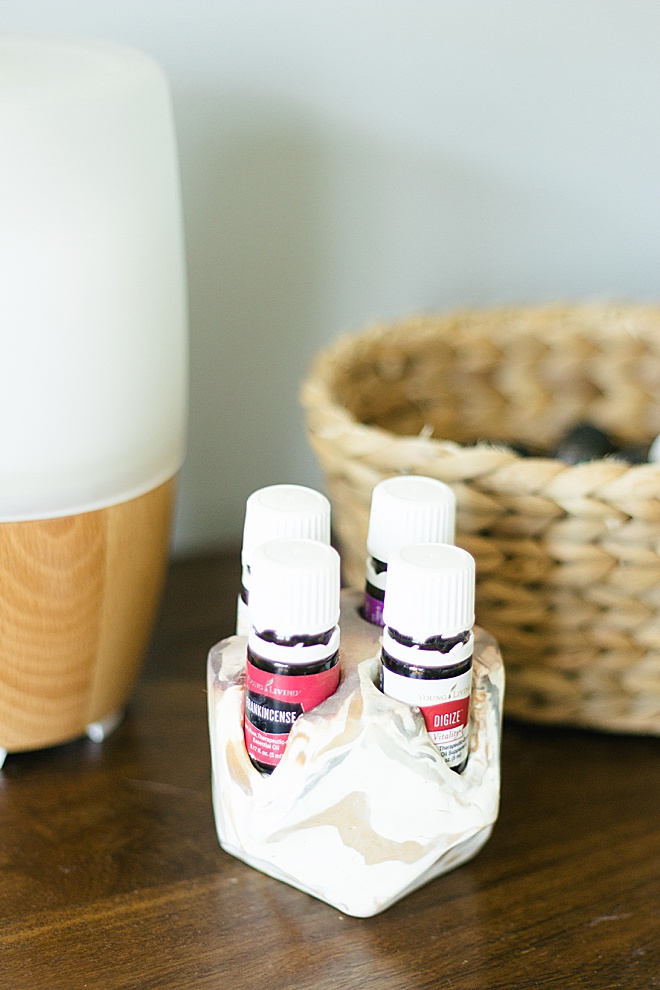
I use this holder to display the essential oils that I use the most or am diffusing at the time. Place it next to your diffuser for a beautiful display and for easy access to your fave oils!
Hein & Dandy is a blog founded on crafts and creative writing, inspired by adventure and wellness. Make sure to check out our website for new projects and inspiration!
As with all our DIY tutorials, if you create one of our projects please send us a picture – We Love Seeing Your Creativity! If you use Instagram or Twitter please use the hashtag #SomethingTurquoiseDIY and it will show up on our Get Social page. Happy Crafting!
DIY Tutorial Credits
Photography + DIY Tutorial: Carli Hein of Hein & Dandy // Clay: Amazon // Baking Sheet: Amazon // Parchment Paper: Amazon : Clay Tools: Amazon
Shop The Supplies:
Find the supplies you’ll need for this project from our affiliate links below:


Comments