
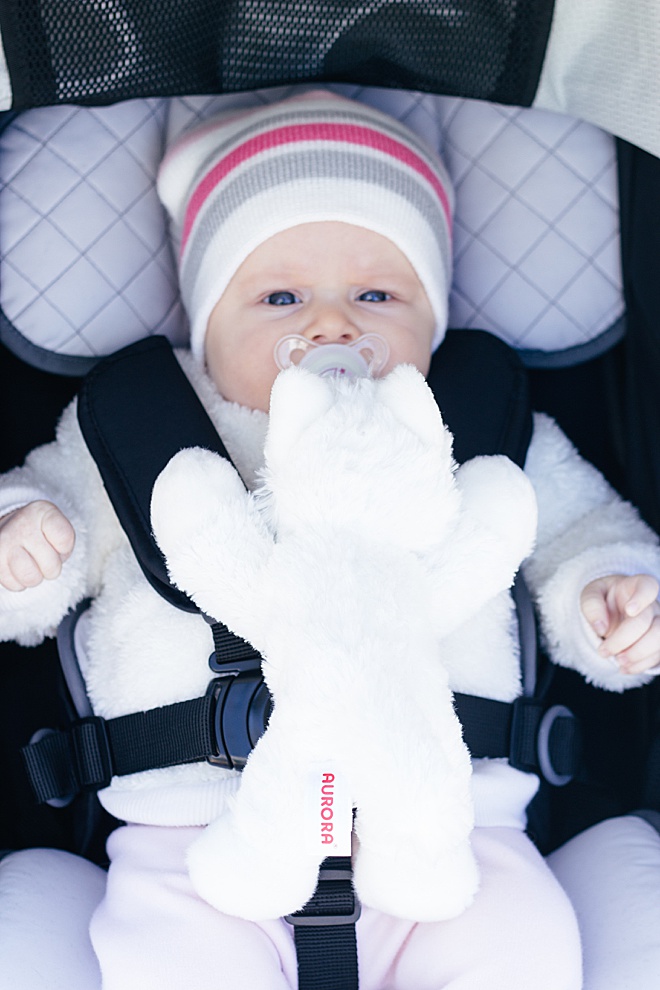
DIY Stuffed Animal Pacifier Holder
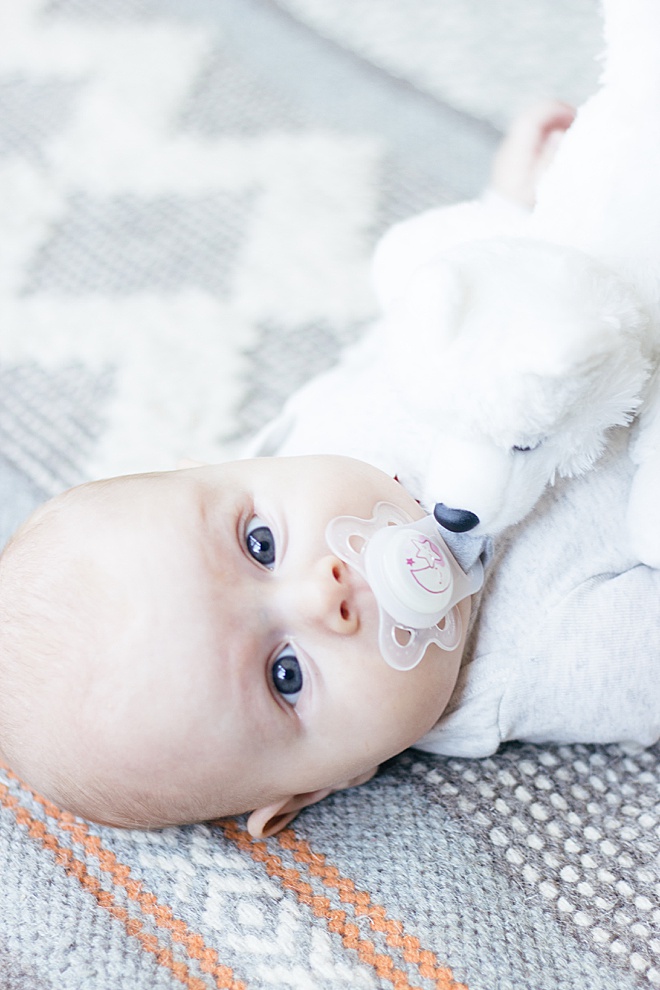
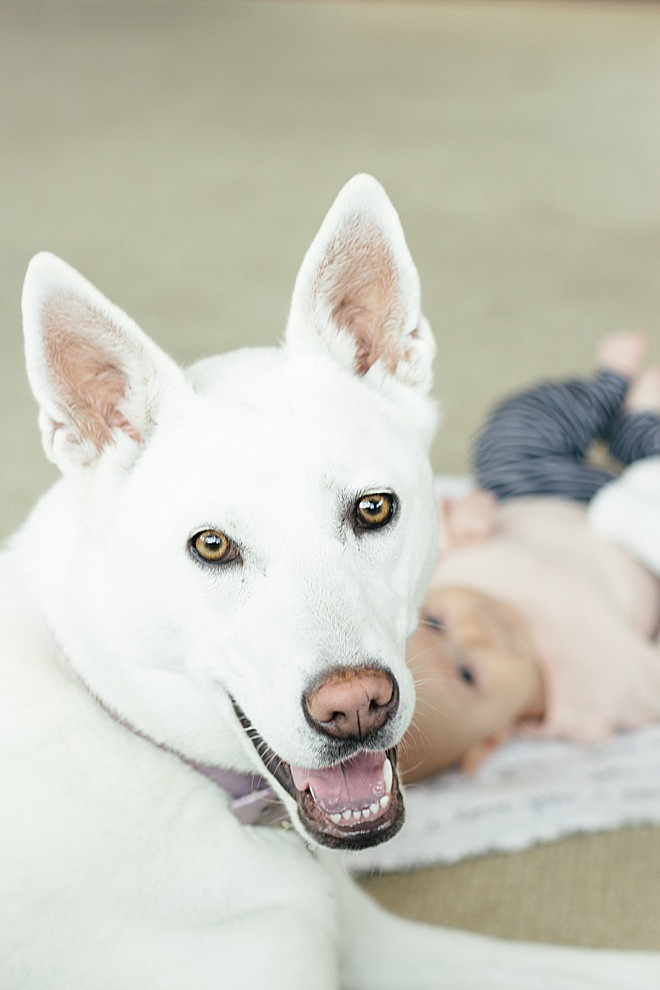
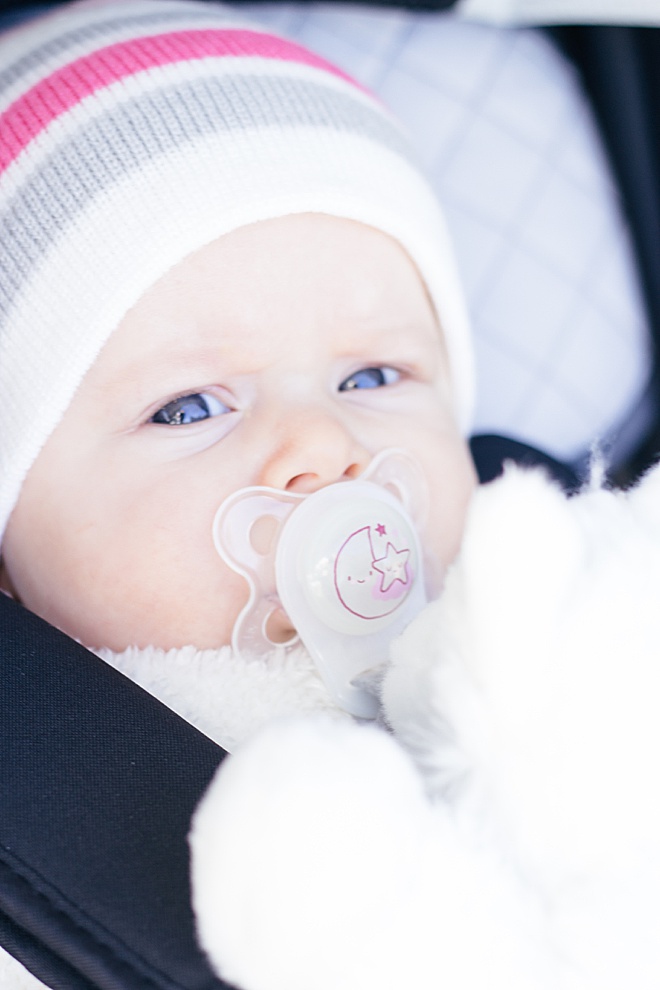
I am Carli Hein from Hein & Dandy! If you’ve been following along with all my DIY posts, you’ll know that last year I got a dog named Kappa and this year we had a baby named Bria. These two are in love with each other. Kappa is a white husky-shepherd mix and thinks that Bria is her puppy. I am so excited to see these two grow up together! Today’s DIY mixes their relationship together, a stuffed animal pacifier holder. I know you’ve seen WubbaNubs and how cute they are. The only thing is that my baby only wants MAM pacifiers. So I decided to buy a small white wolf stuffed animal and create my own, let me walk you through how I made it!
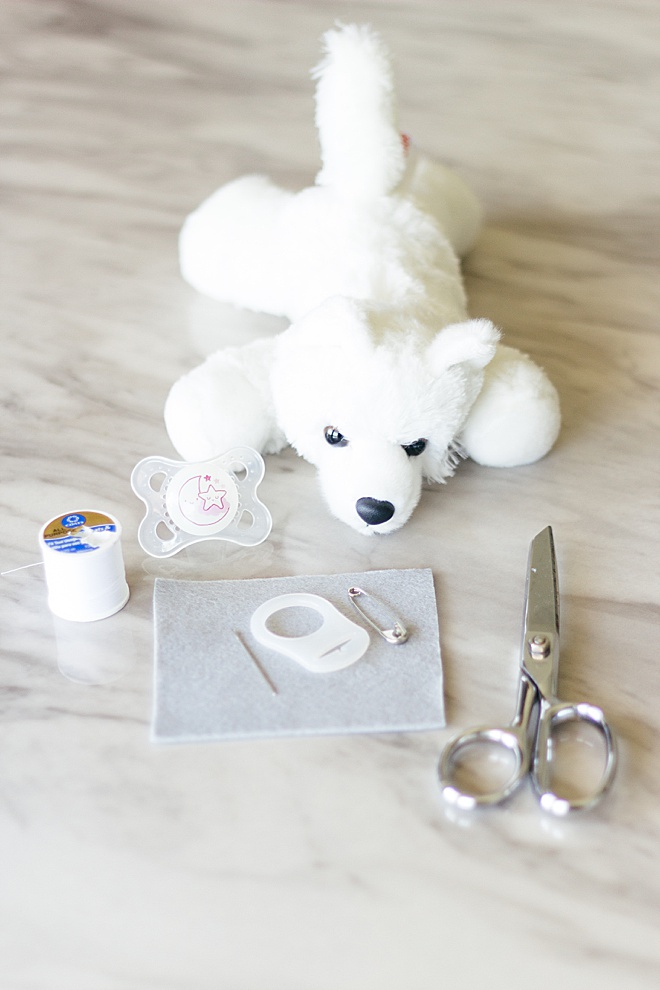
SUPPLIES:
- Mam Pacifier
- Small Stuffed Animal
- Needle and Thread
- Mam Pacifier Adapter
- Felt
- Scissors
Cut
Cut the felt 3/4 of an inch wide and 1 1/2 inches long to be able to fit through the holder and fold back around.
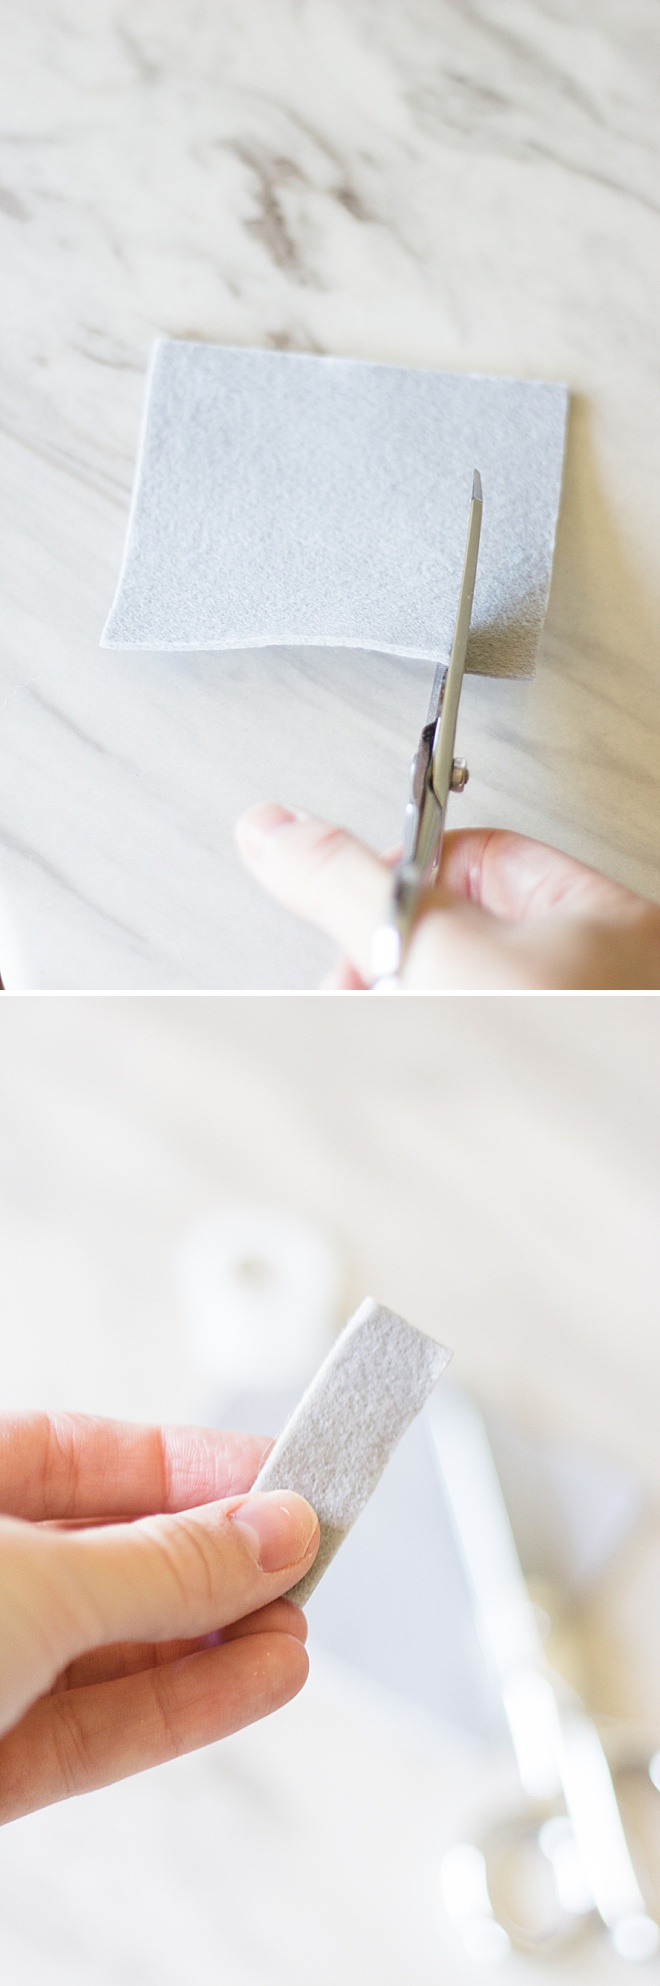
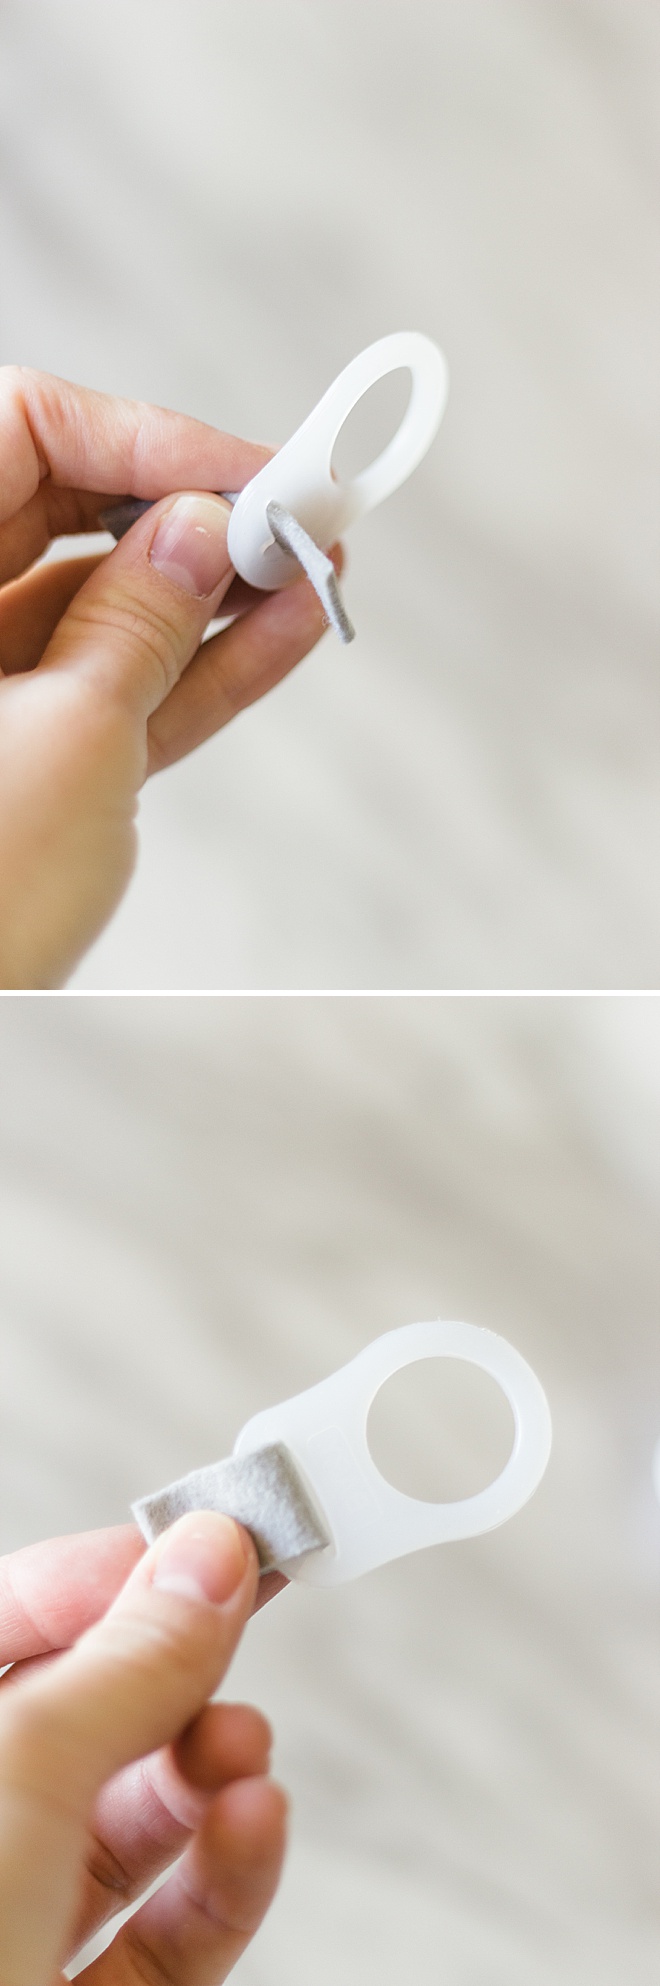
Holder
Slide the felt through the long slit of the holder and fold in half, making sure that it fits through.
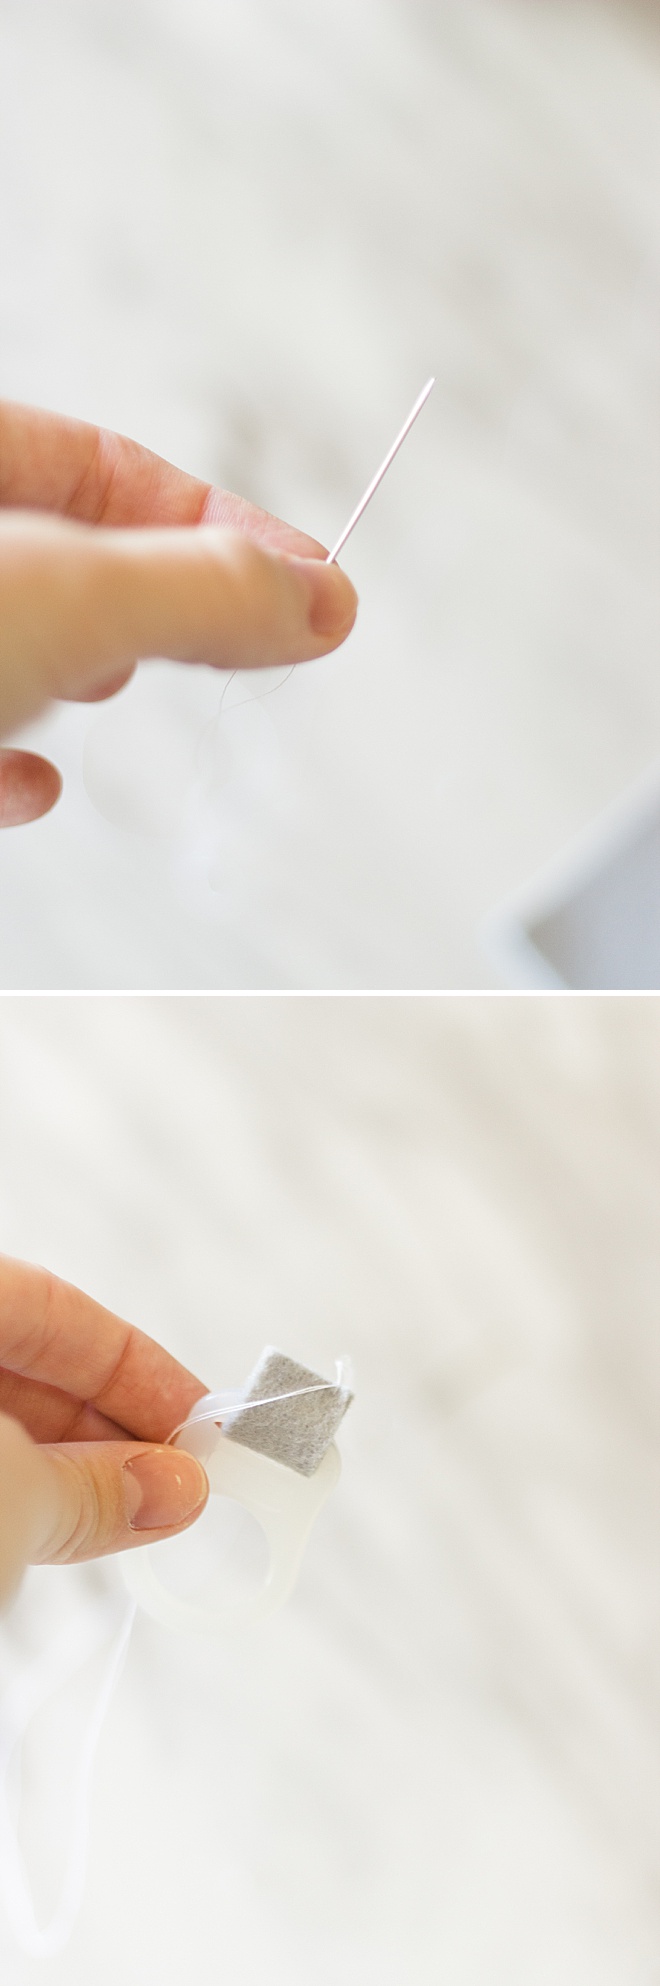
Thread
Thread the needle and make a knot at the end so the thread doesn’t slip through. Make a knot closing the two pieces of felt together.
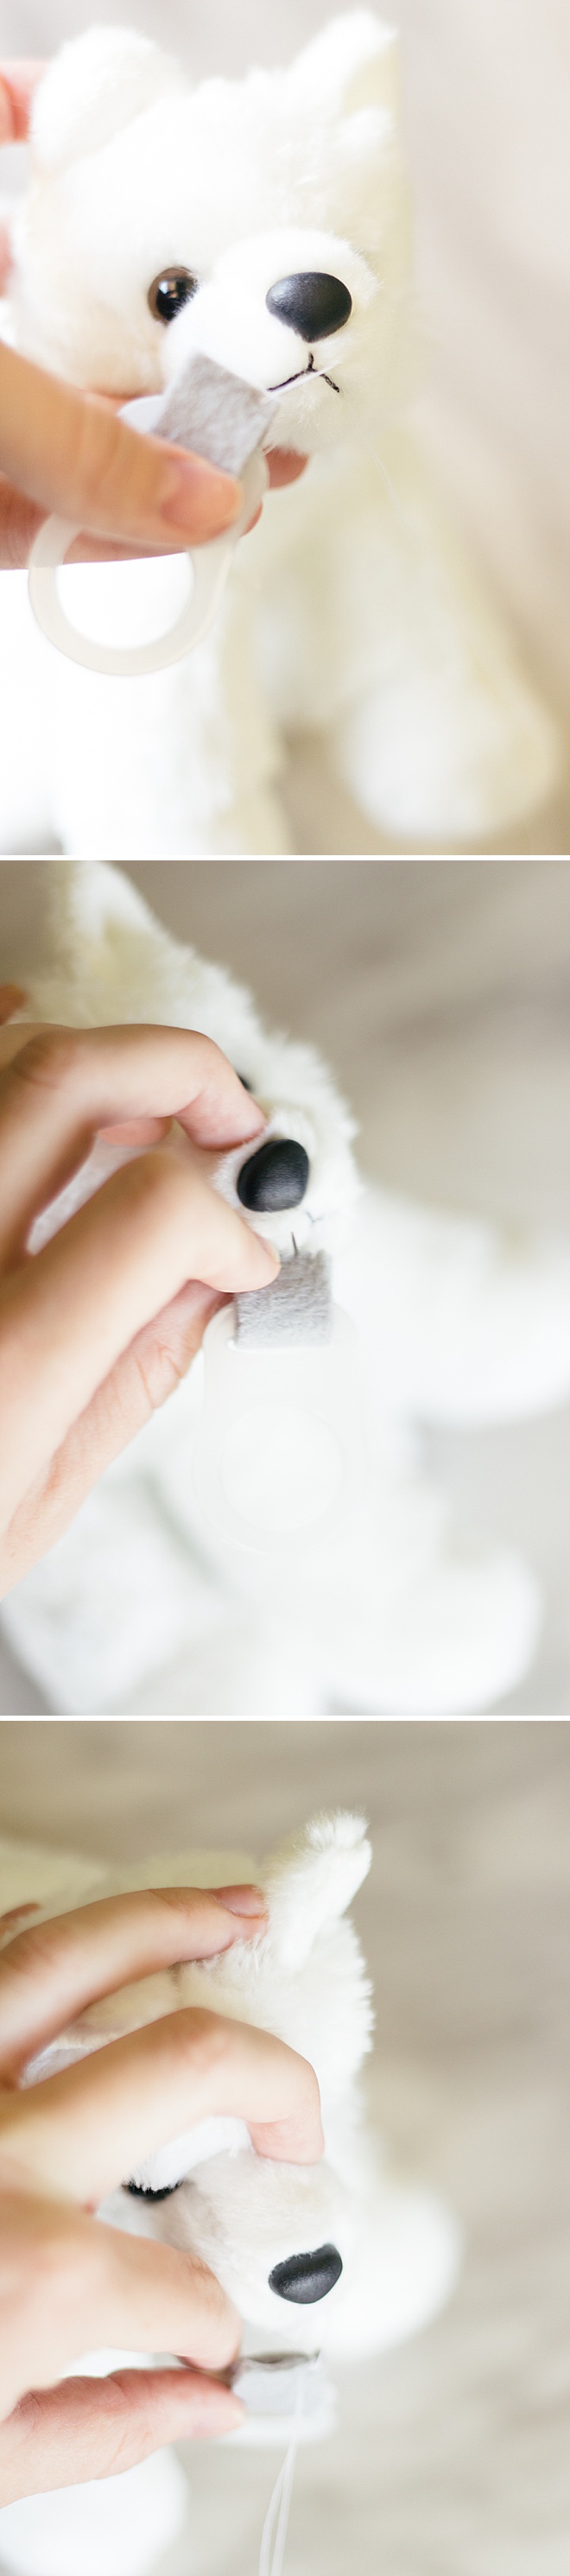
Sew
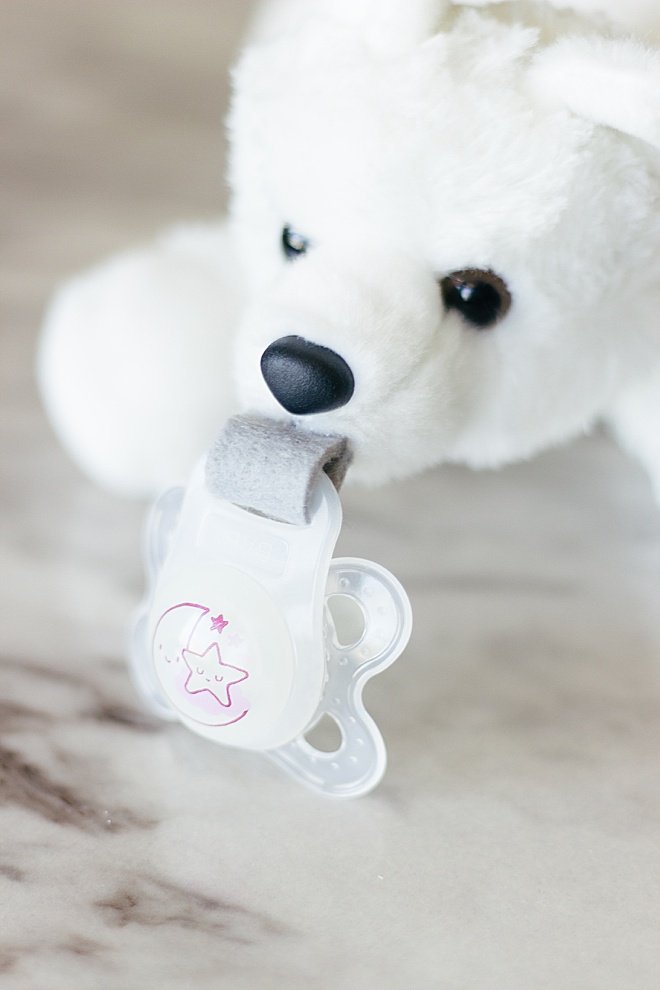
Hand sew the felt onto the mouth of the stuffed animal. With each thread, put the needle through the felt and then the mouth of the stuffed animal. What I love about the felt is that it is not floppy so it stays flush with the mouth of the animal.
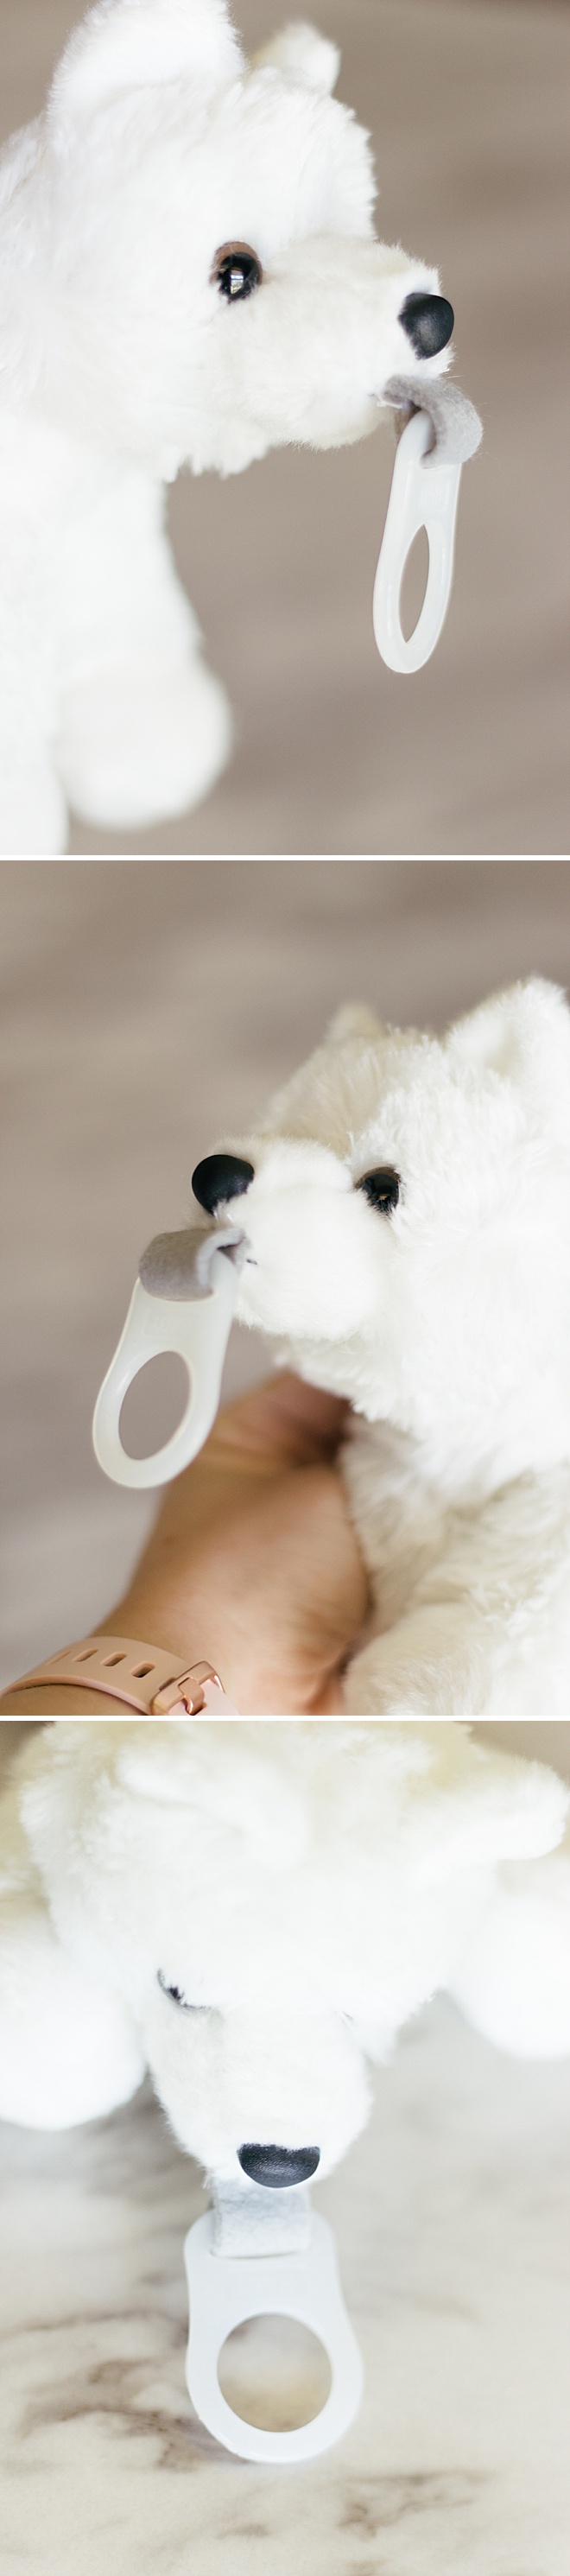
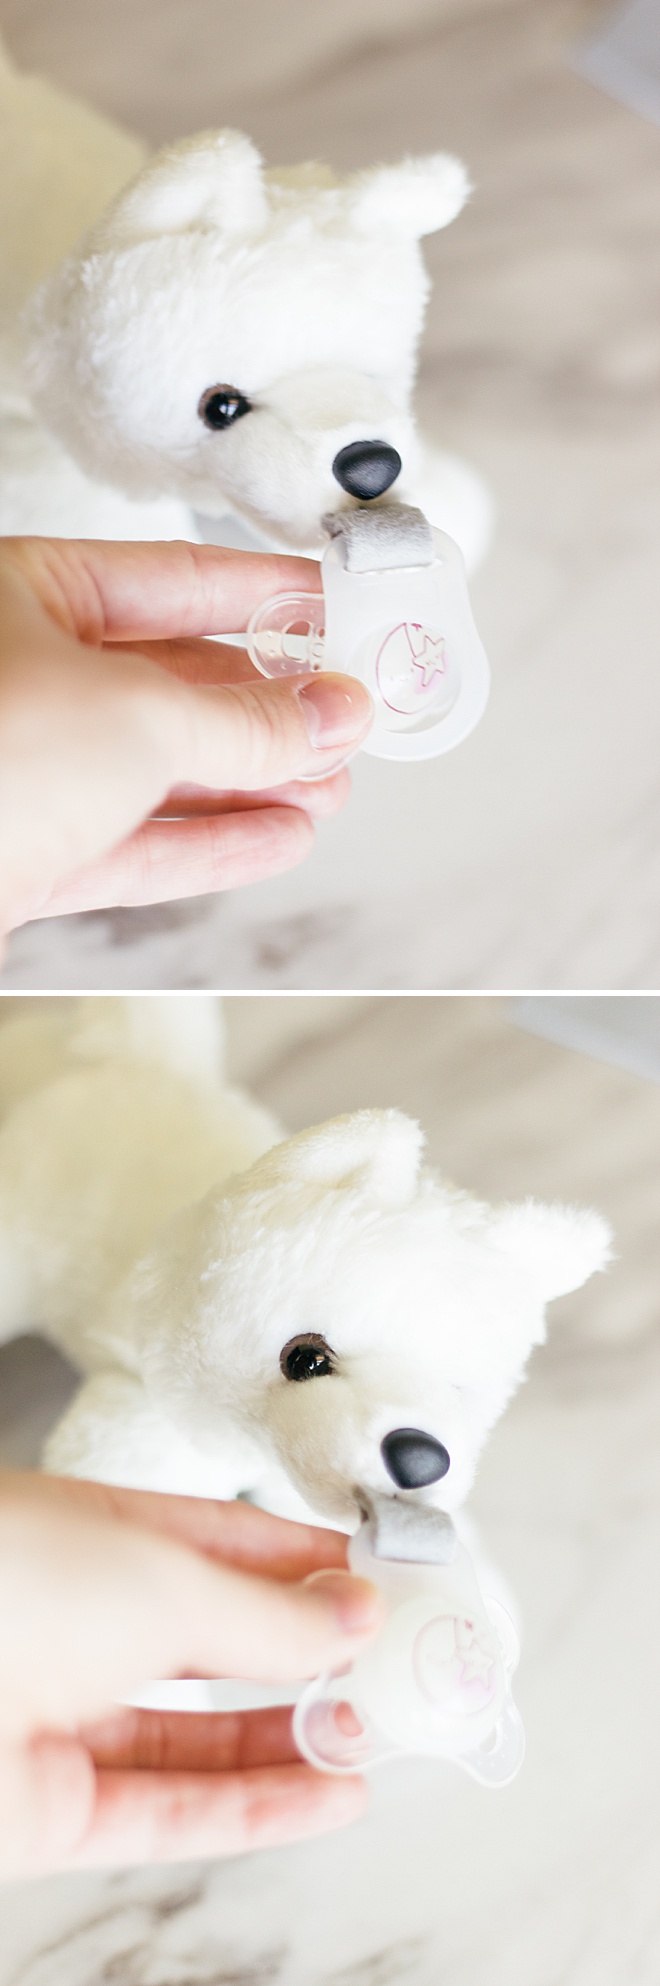
Pacifier
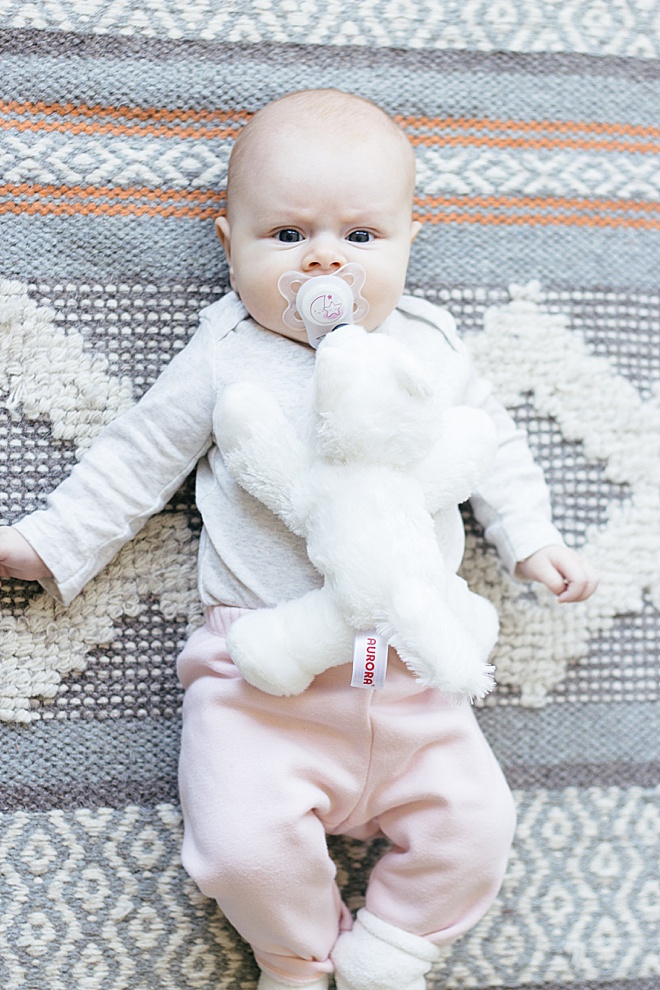
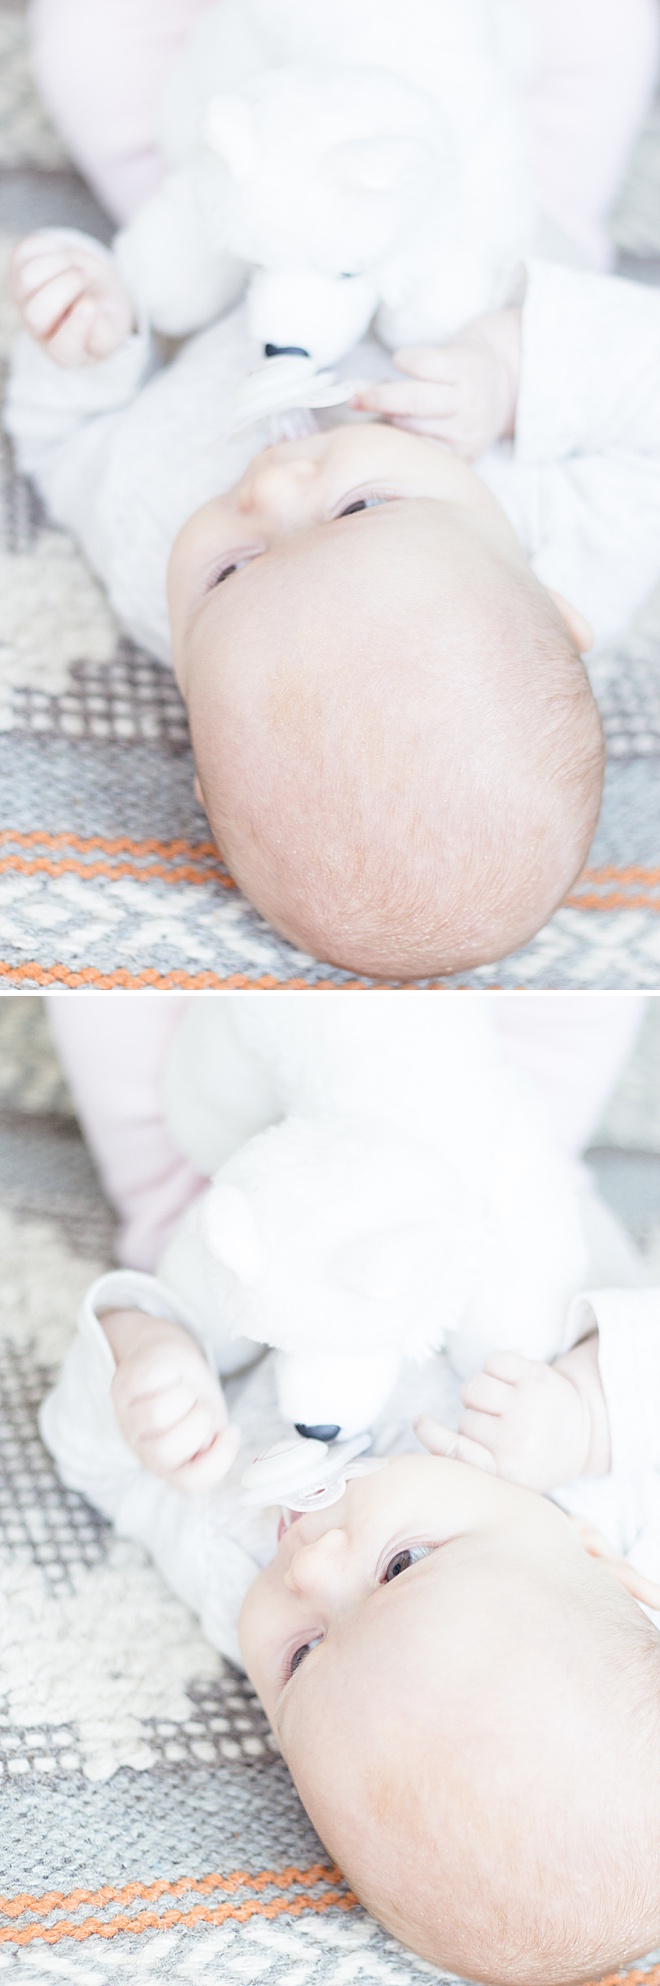
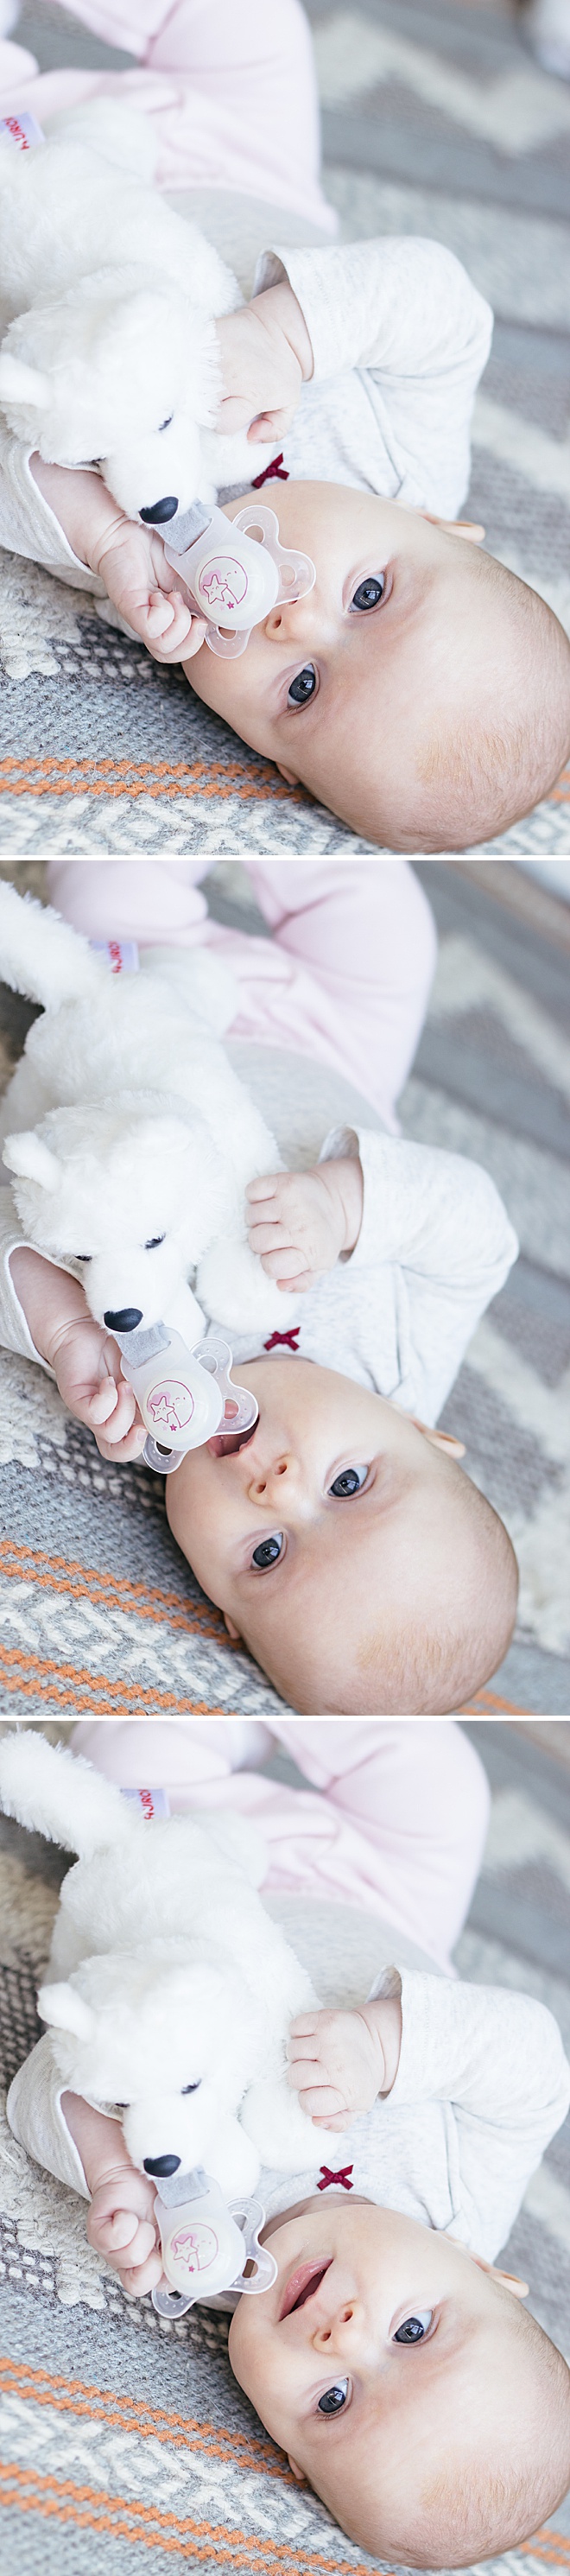
Now that the felt is secure you can add your babies favorite pacifier into the adapter! This is perfect to be able to take the pacifier in and out of the toy. Now you can wash the stuffed animal or the pacifier separately. When your baby outgrows the pacifier you can put the next size up in the holder too. Now they get to keep their favorite stuffed toy forever!
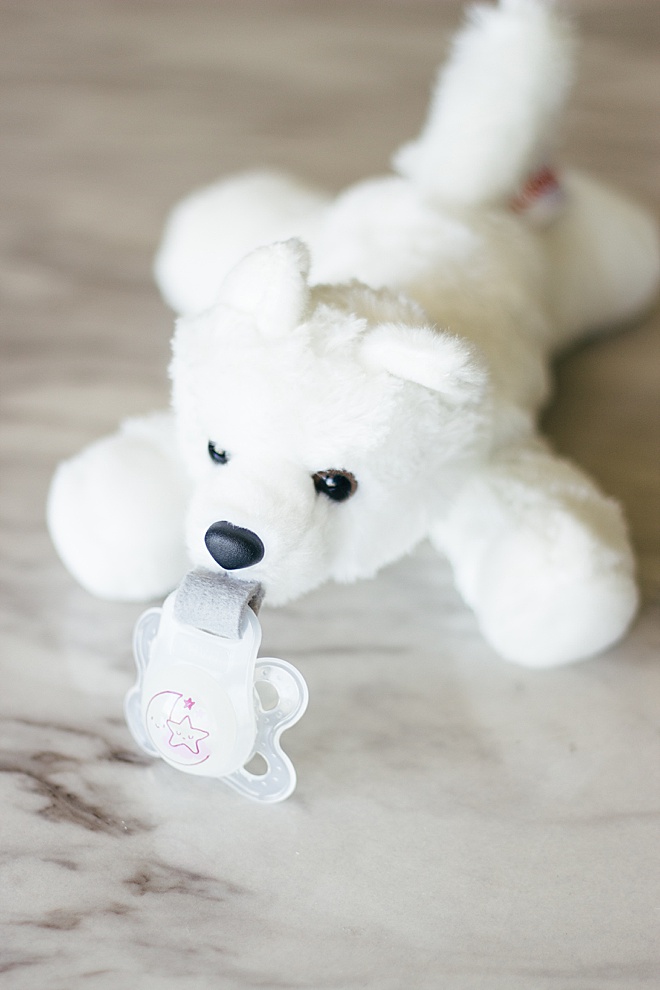
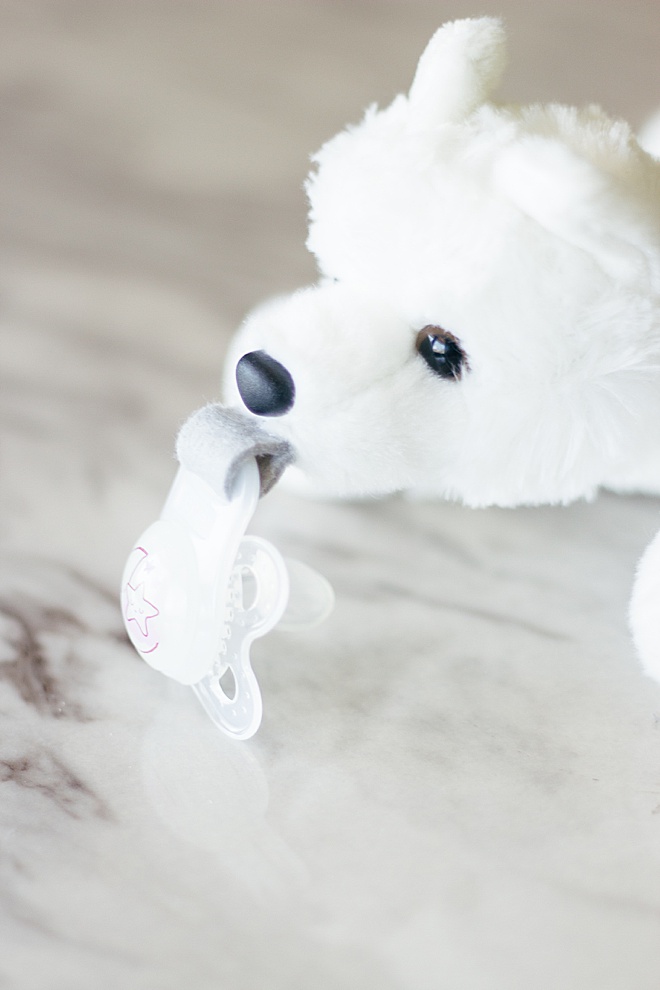

Great on the Go

Hein & Dandy is a blog founded on crafts and creative writing, inspired by adventure and wellness. Make sure to check out our website for new projects and inspiration!
As with all our DIY tutorials, if you create one of our projects please send us a picture – We Love Seeing Your Creativity! If you use Instagram or Twitter please use the hashtag #SomethingTurquoiseDIY and it will show up on our Get Social page. Happy Crafting!
DIY Tutorial Credits
Photography + DIY Tutorial: Carli Hein of Hein & Dandy // Stuffed Animal: Amazon // Mam Pacifier: Amazon // Mam Pacifier Adaptor: Amazon // Felt: Amazon
Shop The Supplies:
Find the supplies you’ll need for this project from our affiliate links below:


Comments