
How To Make An Adorable Stamped Baby Muslin Blanket
I am Carli Hein from Hein & Dandy, and just a few months ago I had a baby girl named Bria! Now I have become completely obsessed with making everything for her. Whenever I see something online, I think, “I could make that”. Creating for your little can be so fun and rewarding! Especially when you can get it done in one nap time. Today I’m going to be showing you how to make a super trendy and cute rainbow stamped muslin blanket. This blanket is perfect for taking those monthly overhead photos, or any other everyday use. Let’s get started!
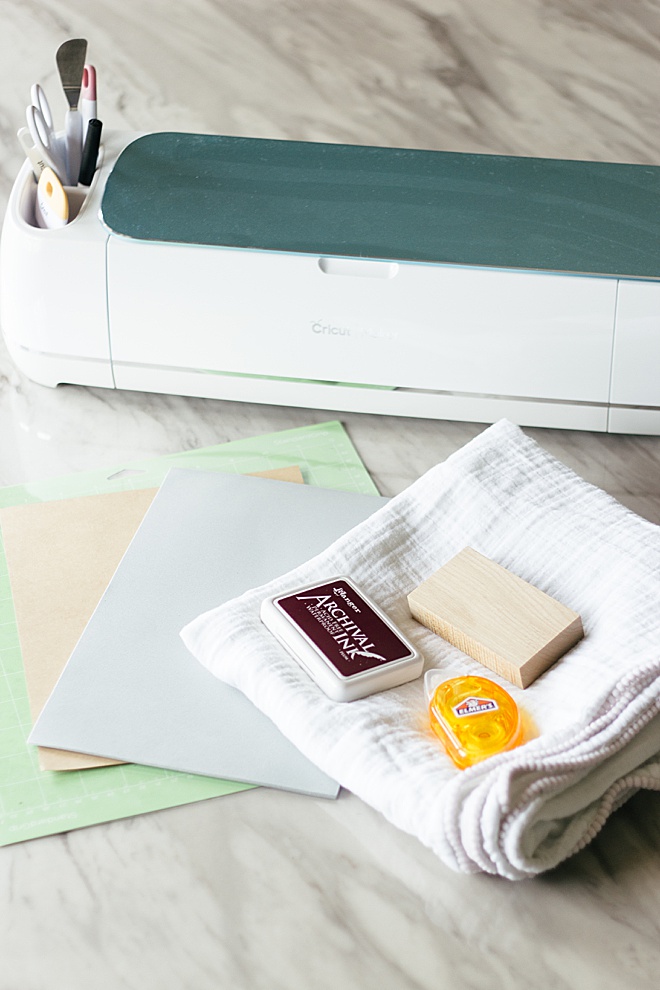
SUPPLIES:
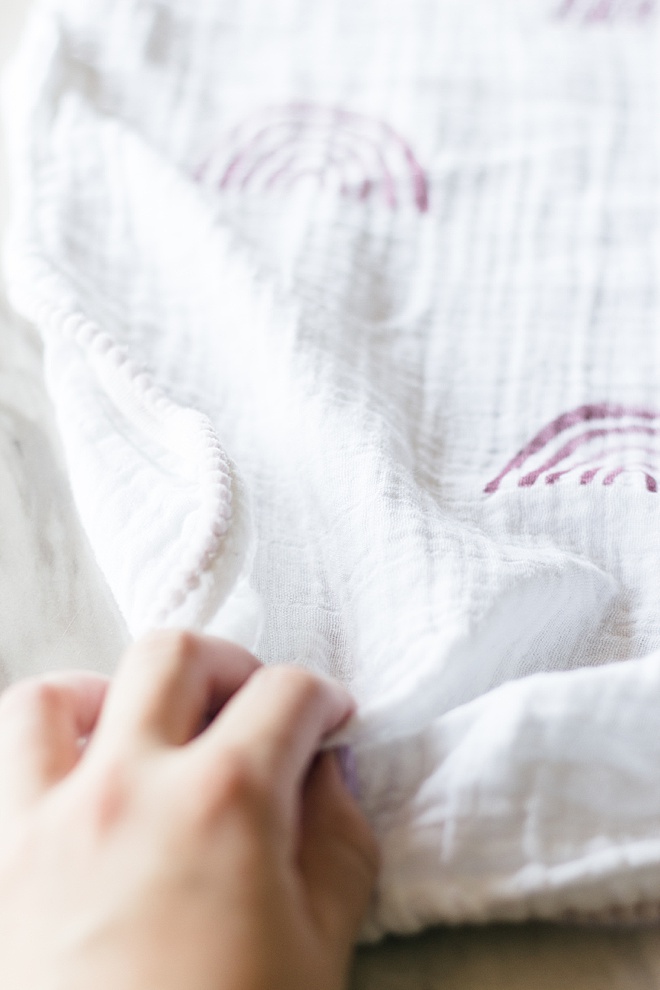
- Muslin Blanket
- Fabric Ink Pad
- Wood Block
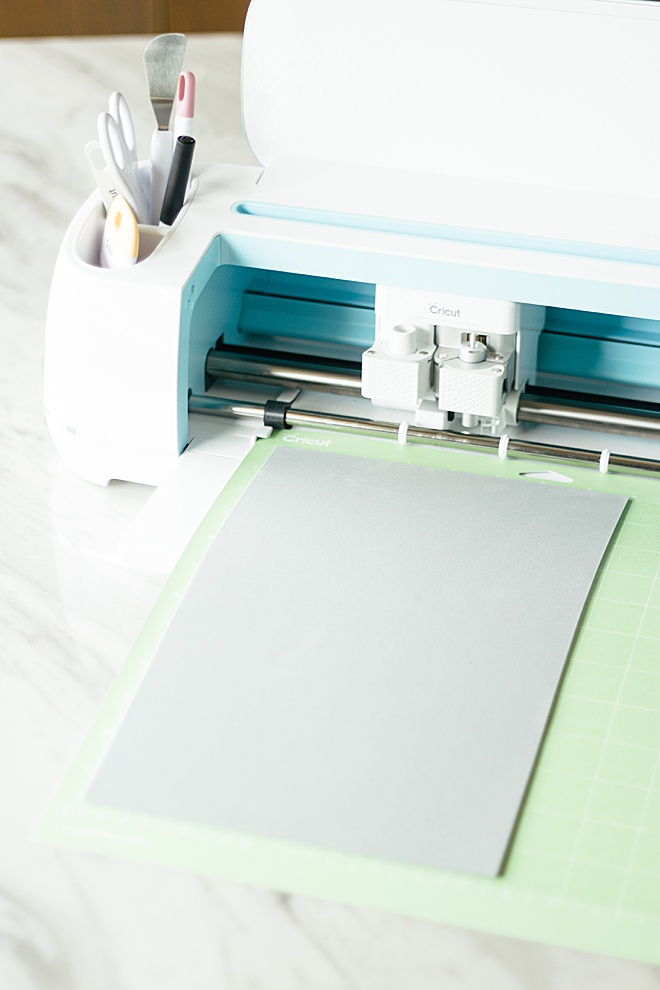
- Foam Paper
- Cricut
- Cricut Mat
- Glue Tape
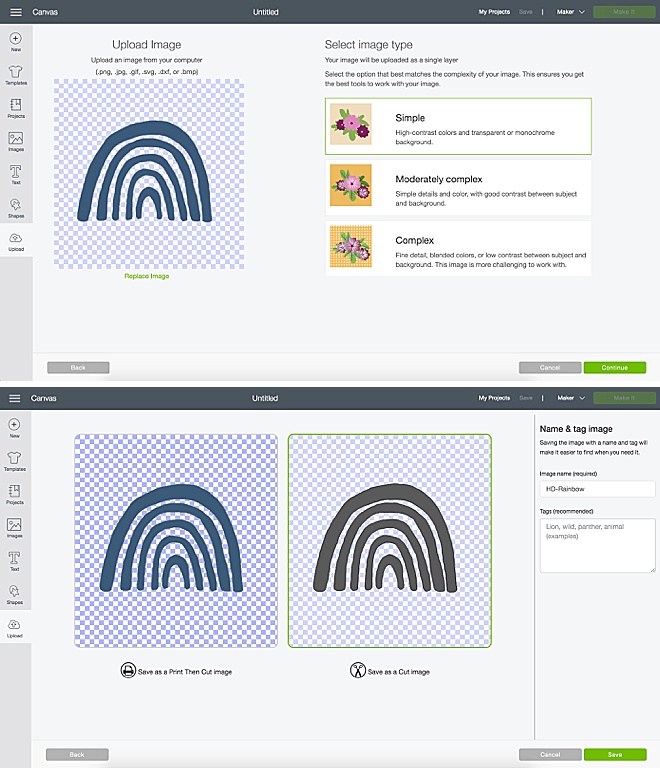
Upload
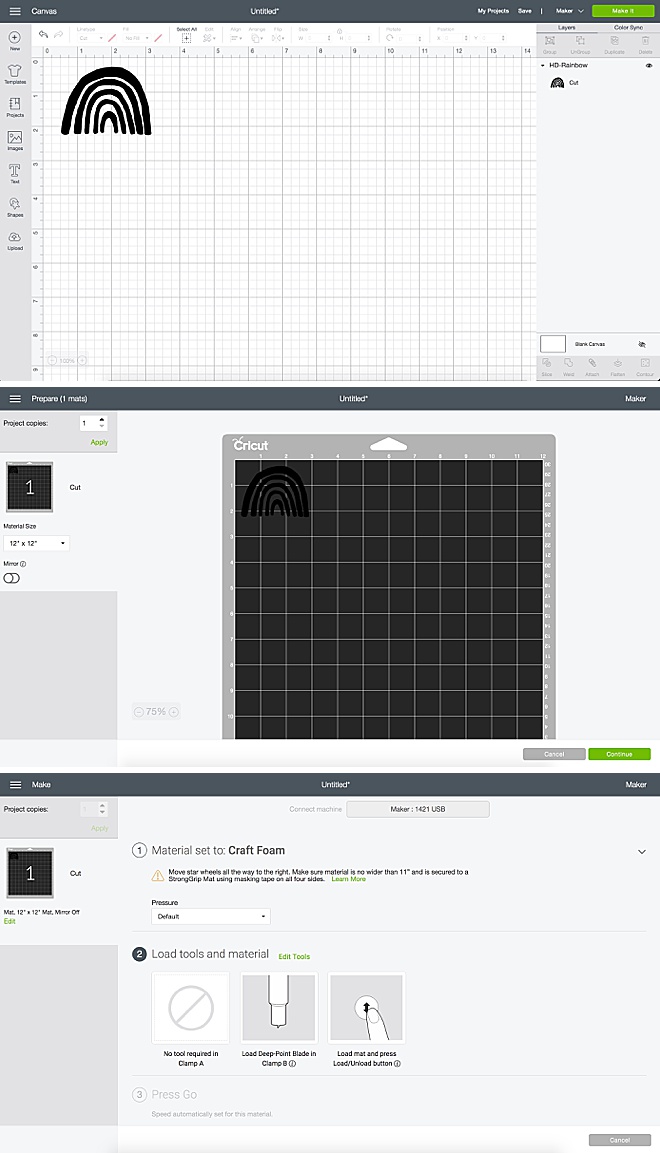
Using our Cricut cut files at the end of the post, download the files to your computer. Upload them to a new project on your Cricut Design Space.
Once uploaded, click the “simple” image type box. Then save as a cut image, putting any information you want to remember about this project in the tags section. Then click save.
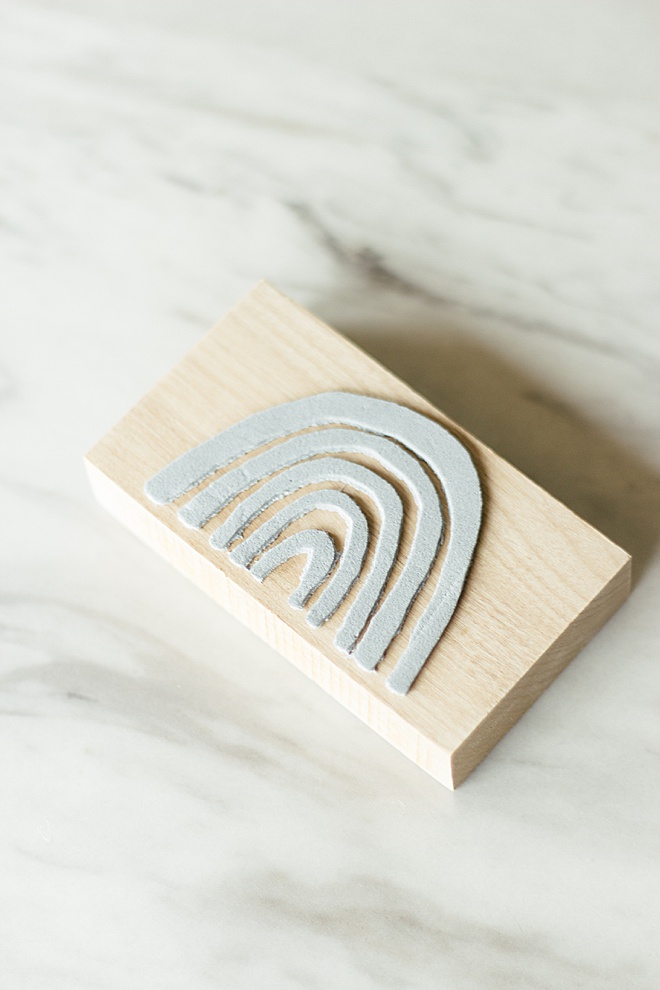
Cut
I made my rainbow about 3 inches by 2 inches to make it fit on the wood block. You can make yours smaller if you want a smaller pattern but I am going for a big pattern look.
Click “make it” and let your Cricut do all the hard work for you with a touch of a button!
Make sure that your material is set to “craft foam” to make sure that it cuts deep enough!
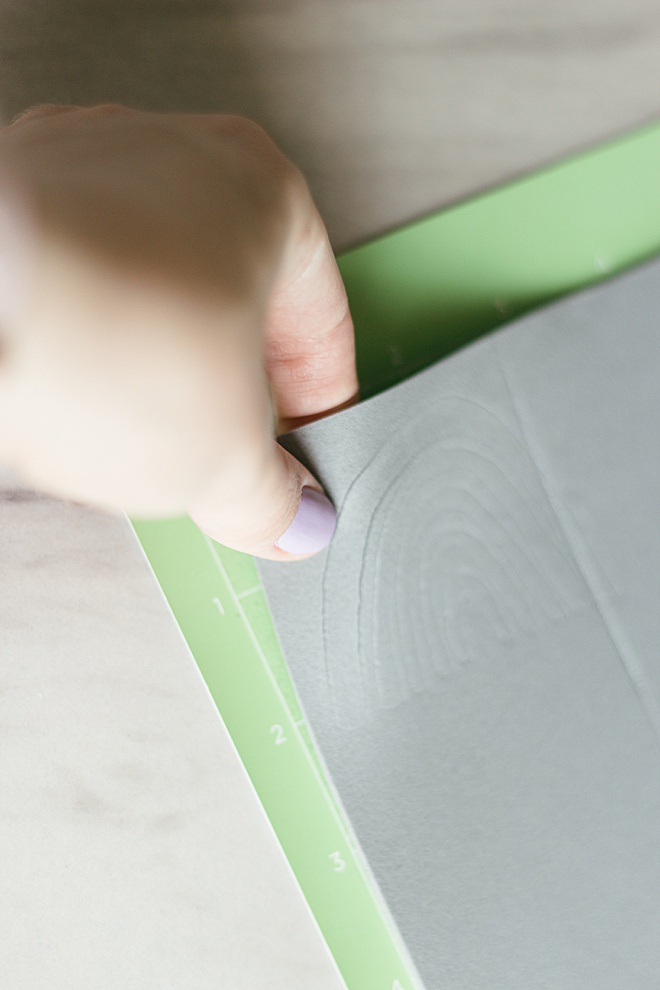
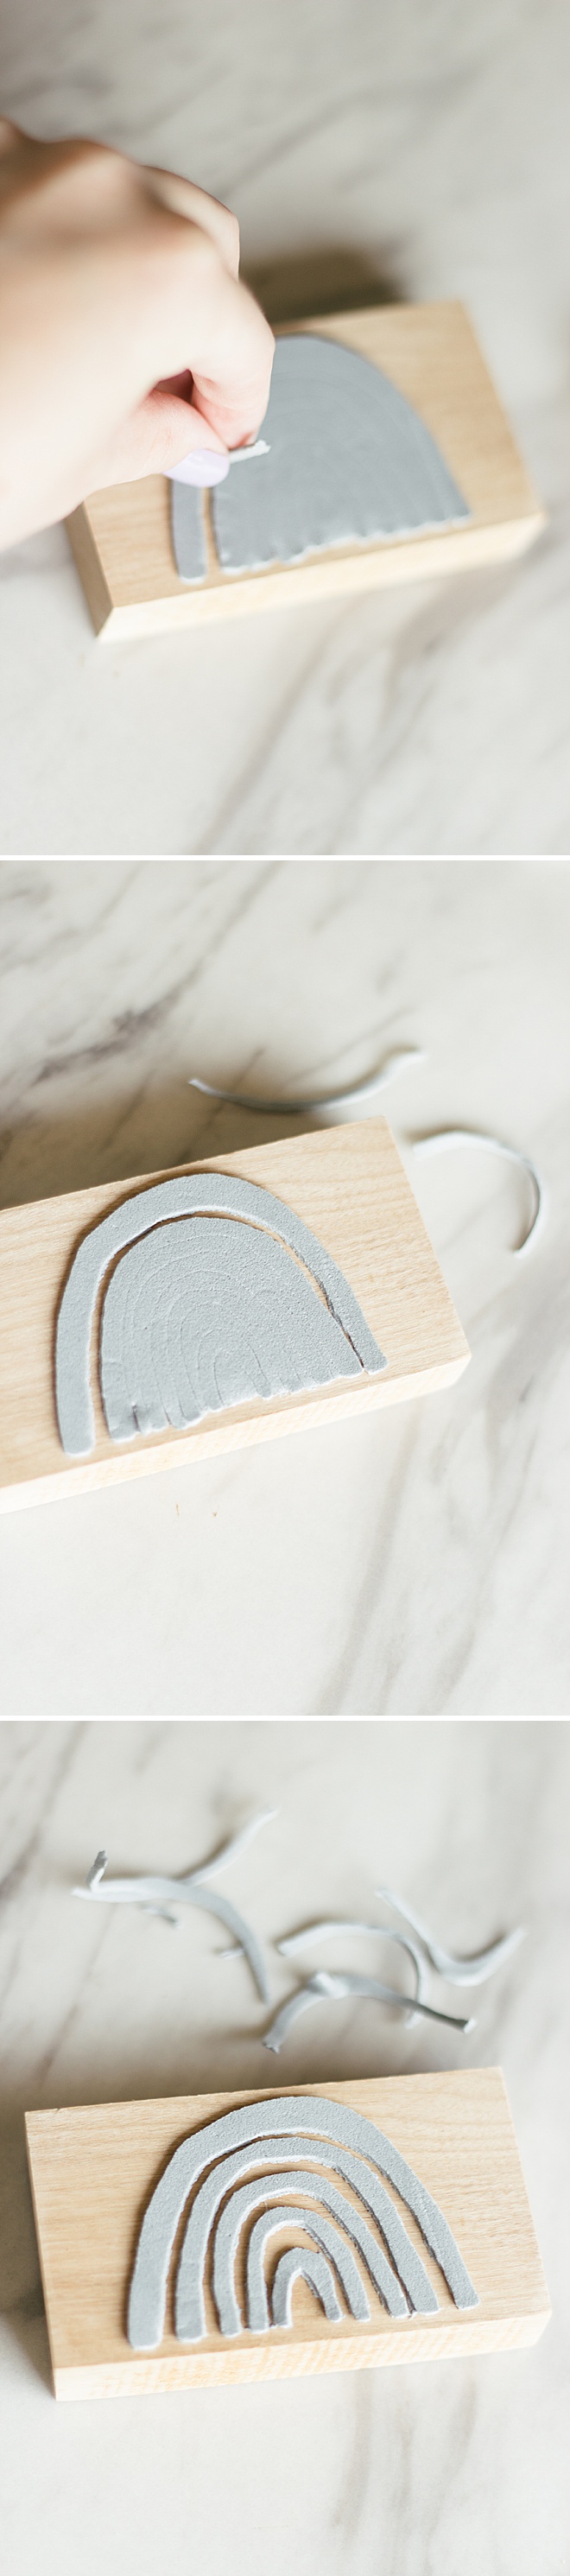
Peel
This part of the project was really soothing for me. Peel away outside of the rainbow first so you have half a circle.
Tape
While the half circle is still together, use your glue tape to adhere the rainbow to the wood block. This ensures that every part will stick and not fall off.
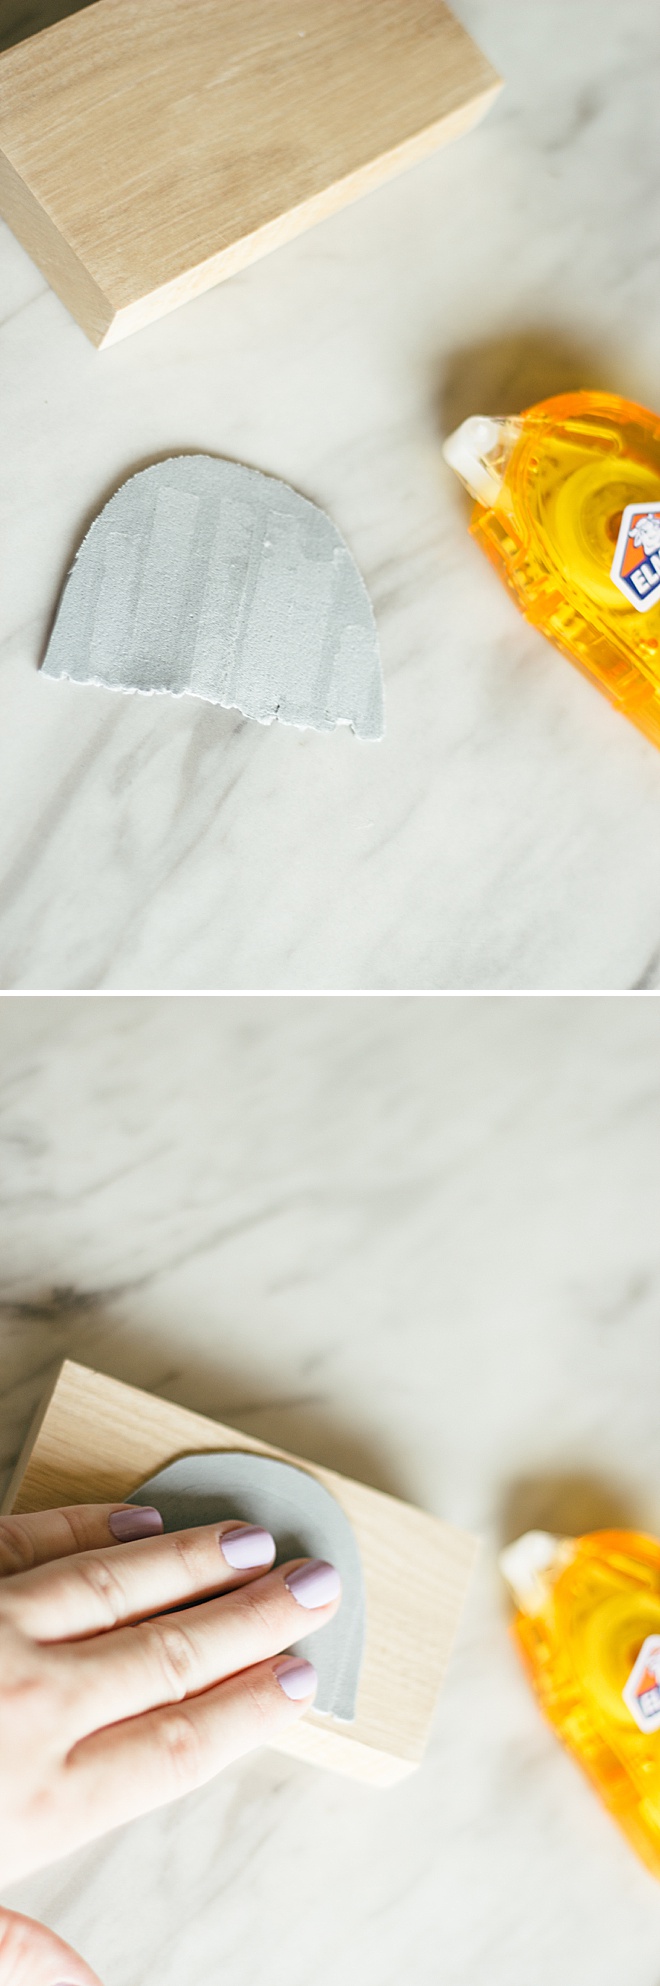
Keep Peeling
Now that your rainbow is stuck to the wood you are going to peel away the little strips between each bow. These should come off pretty easily but you can use a tweezers or a another utensil if it gives you trouble.
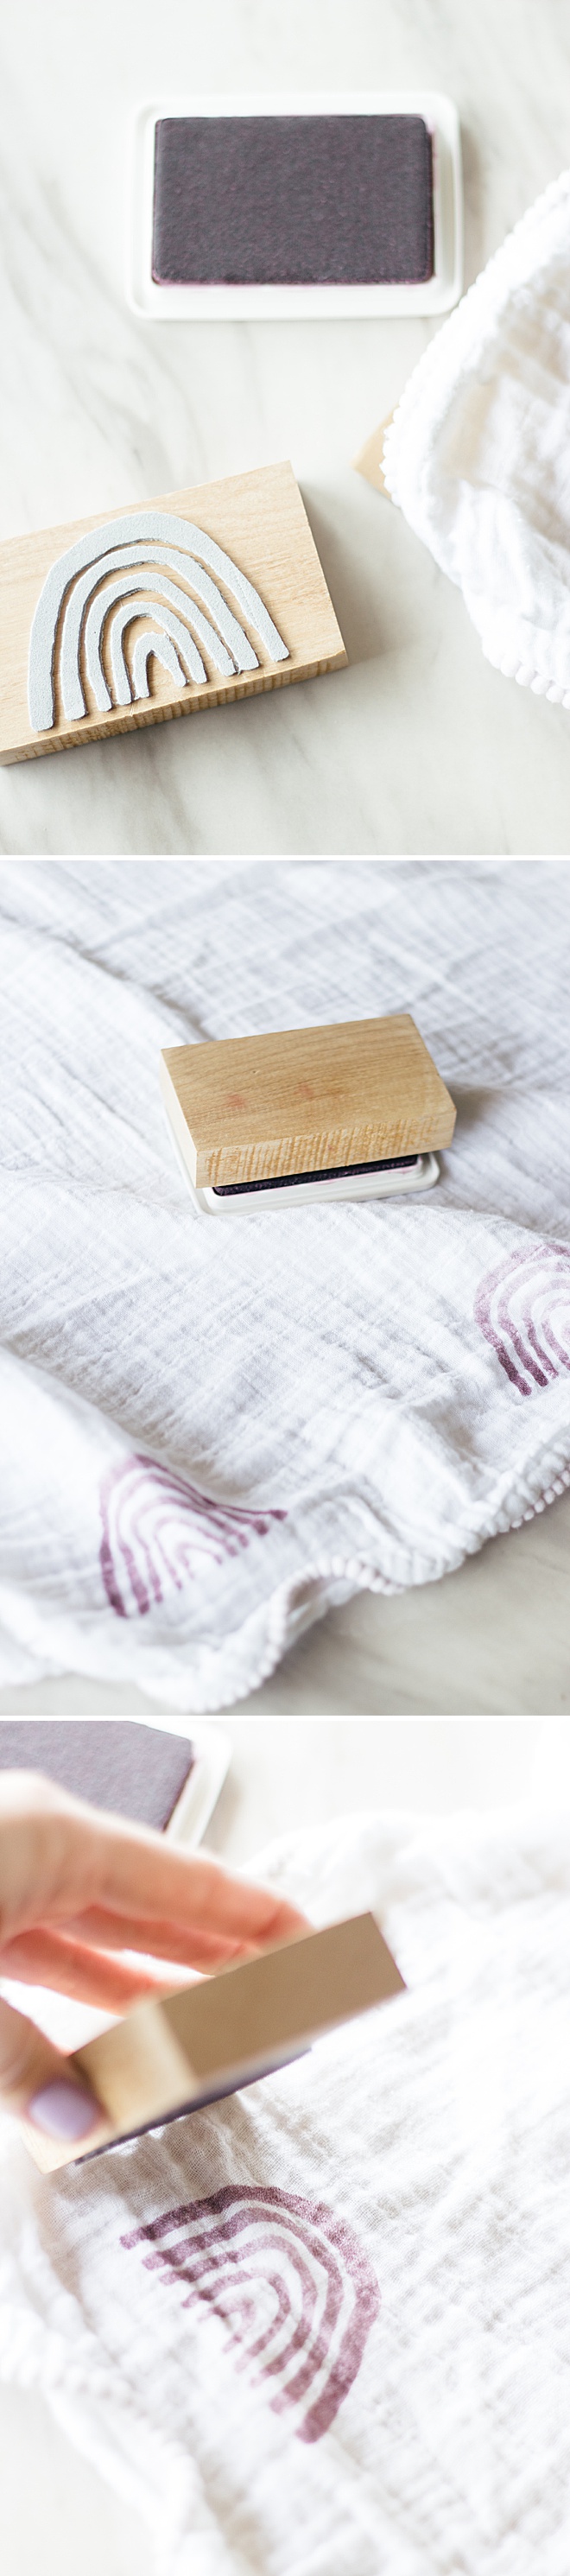
Ink
Place your stamp down on your ink pad and press down. Make sure that your stamp is evenly covered before placing it down on the blanket.
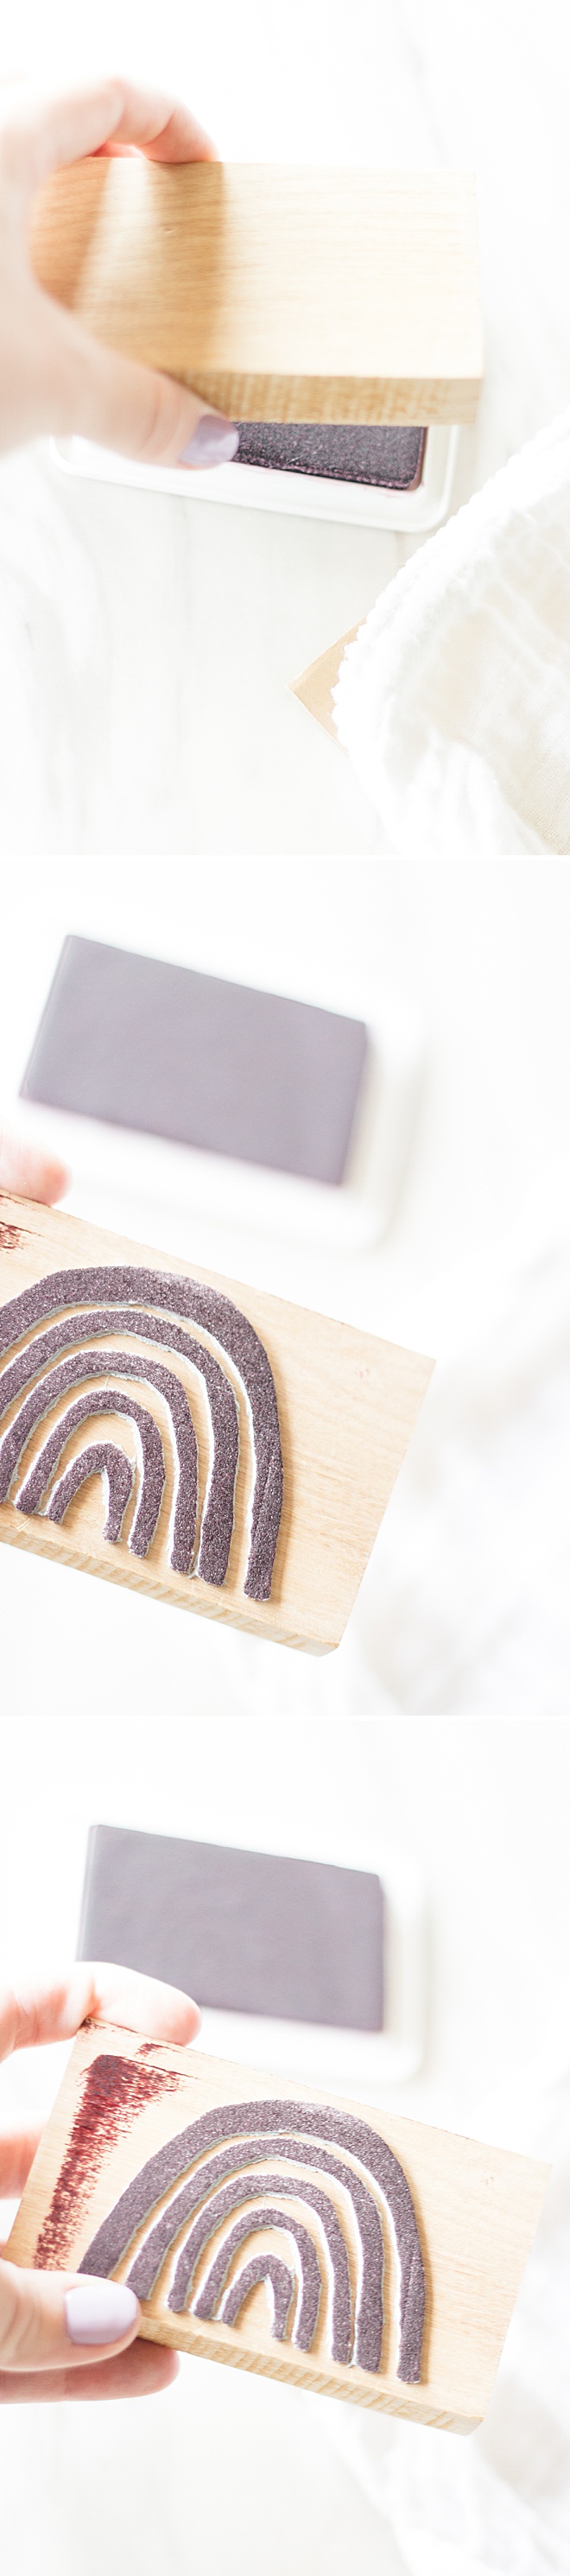
Mat
The stamp shouldn’t go through the fabric but just in case you can lay down a paper bag or some craft paper over your work area.

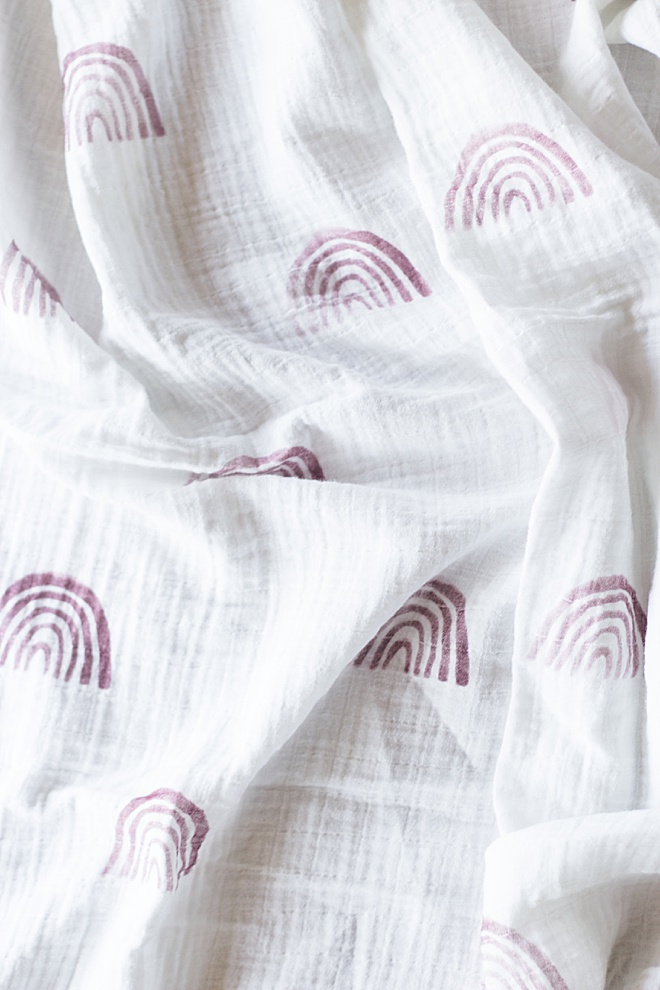
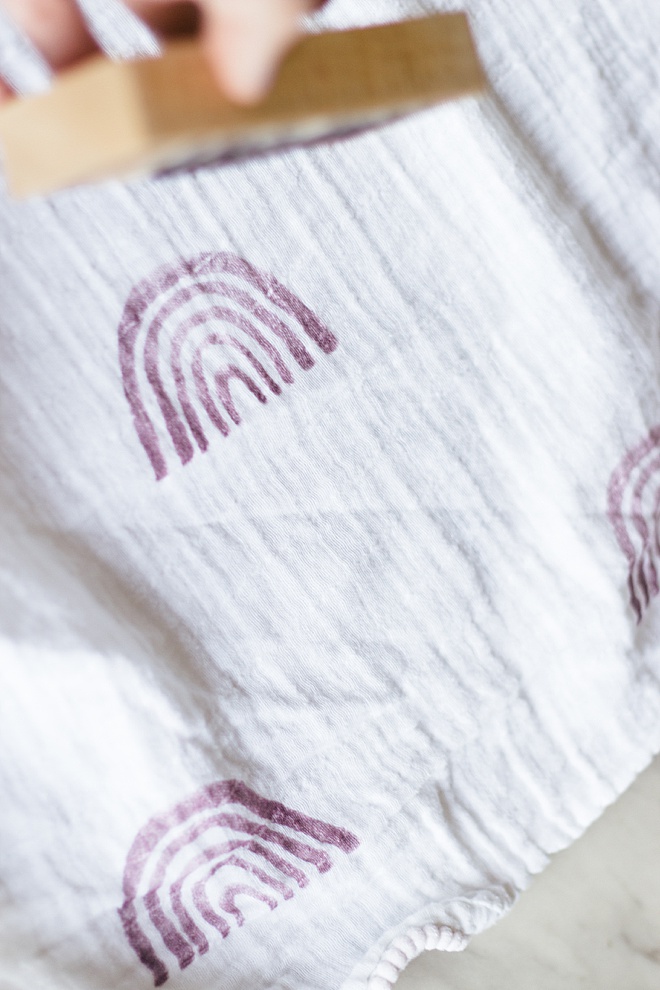
Stamp
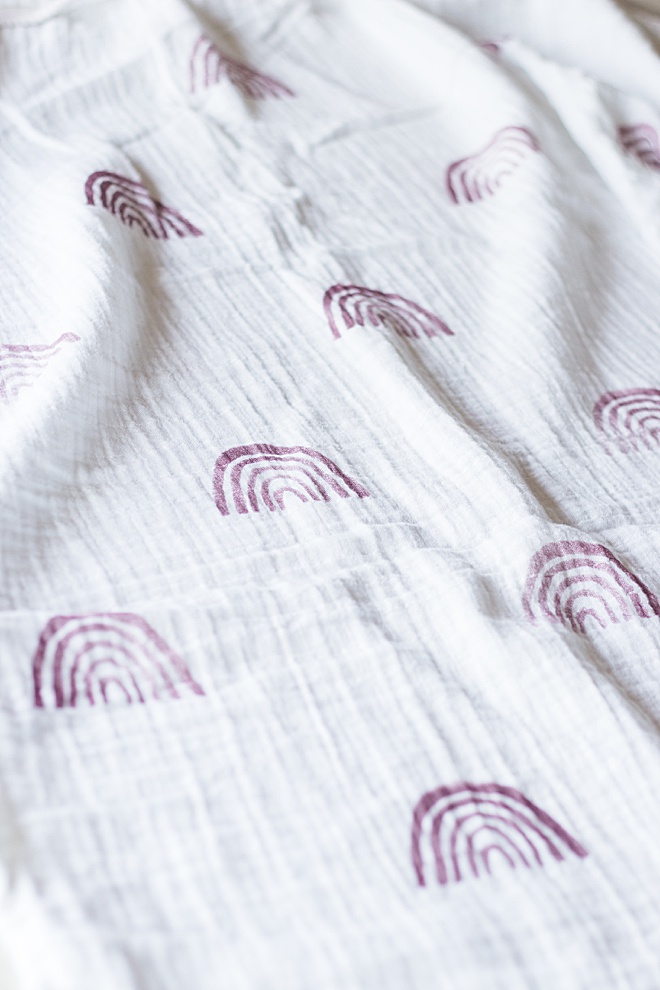
Start at a corner of your blanket and work your way to the right. I used the block as a reference point on distance. I placed my stamp around 4 inches in between each rainbow.
Once you have your first row done put your next rainbow stamp three inches above and about two inches over so the stamp lies between the two rainbows below.
This part can be done without exact measurements because the muslin blanket has lines across that you can use as a guide to place your stamp.
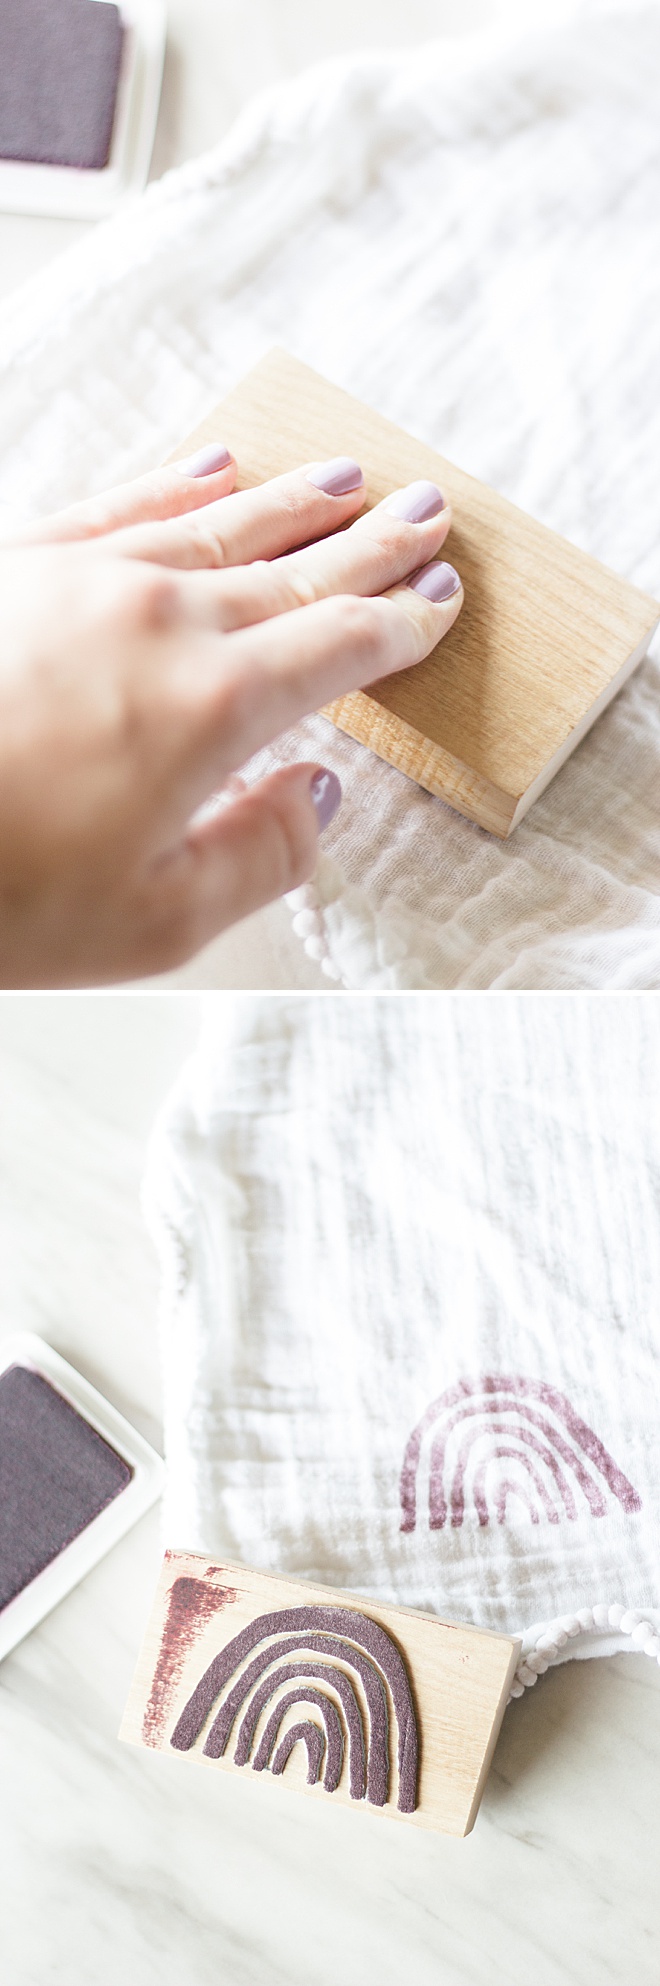
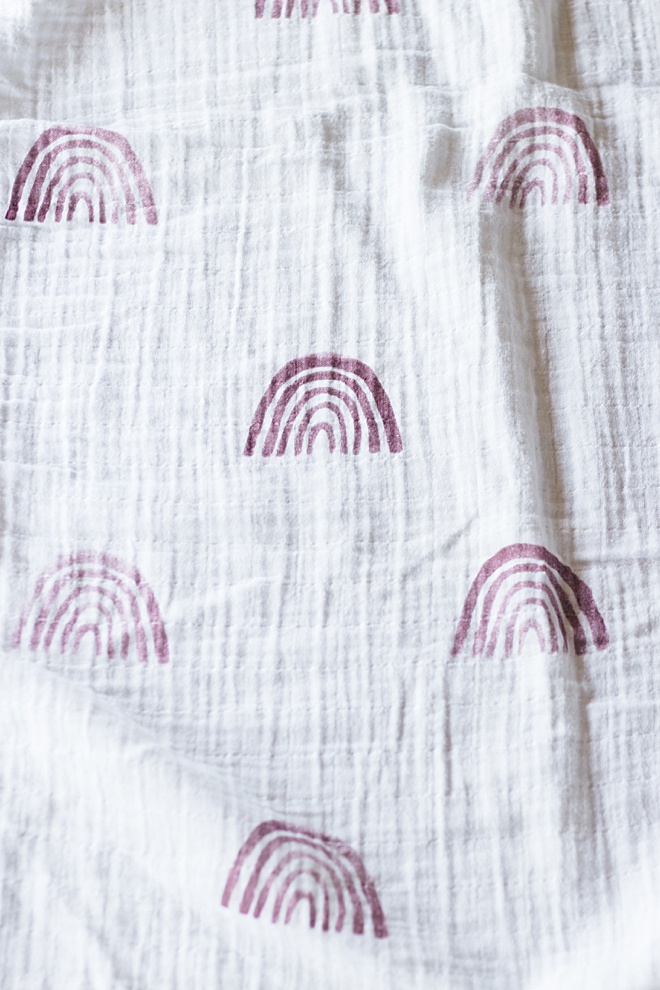
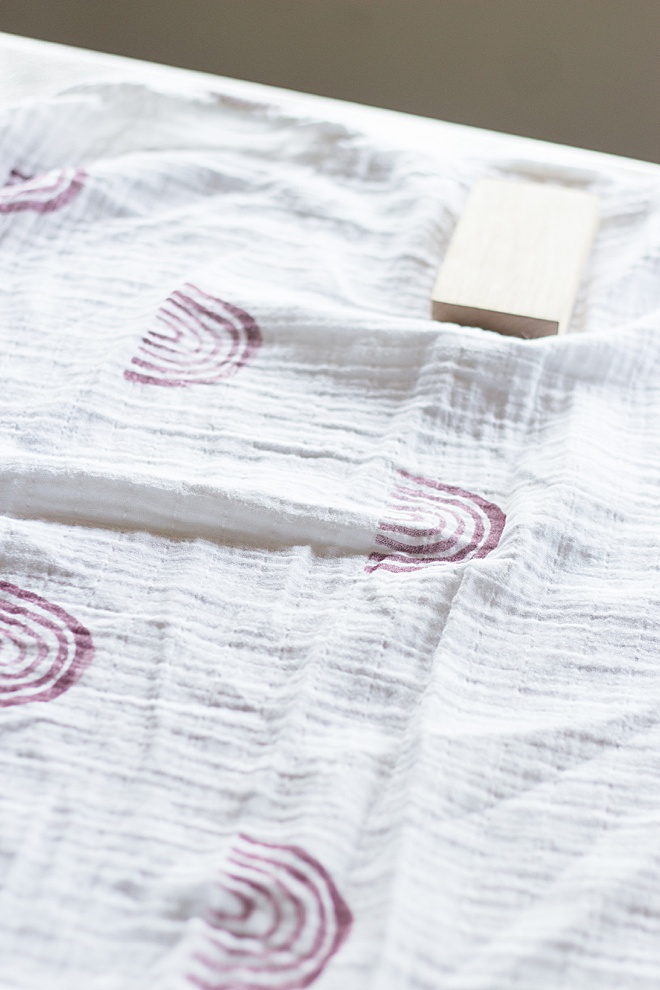
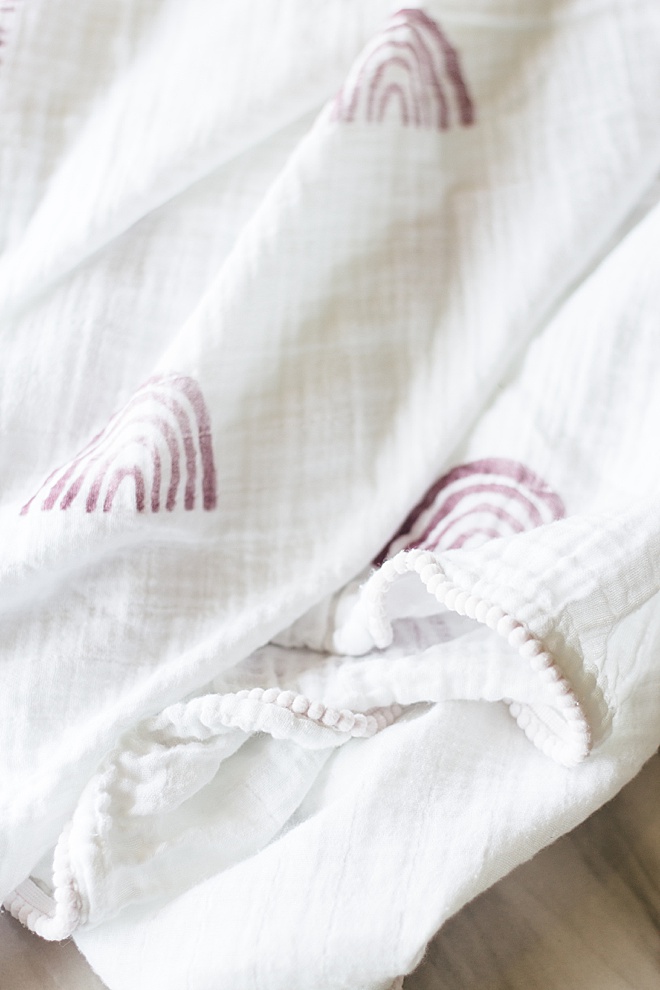
Repeat
Keep on stamping away! I love the way that the stamp creates a distressed look on the muslin blanket. Using ink instead of paint creates a oneness with the blanket that paint doesn’t. I wanted this blanket to be able to be soft on my babies skin!
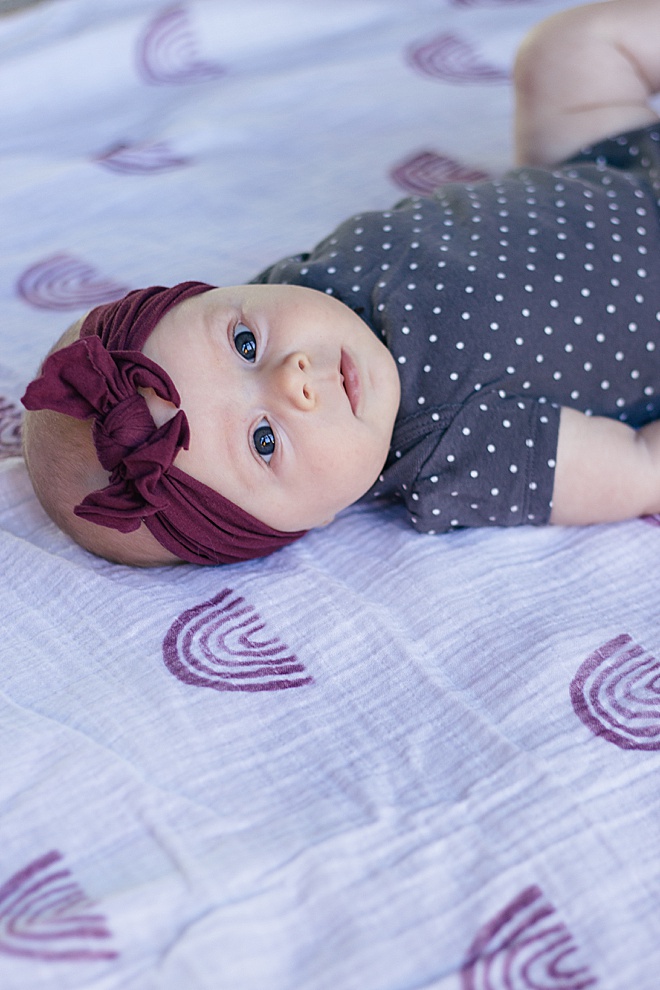
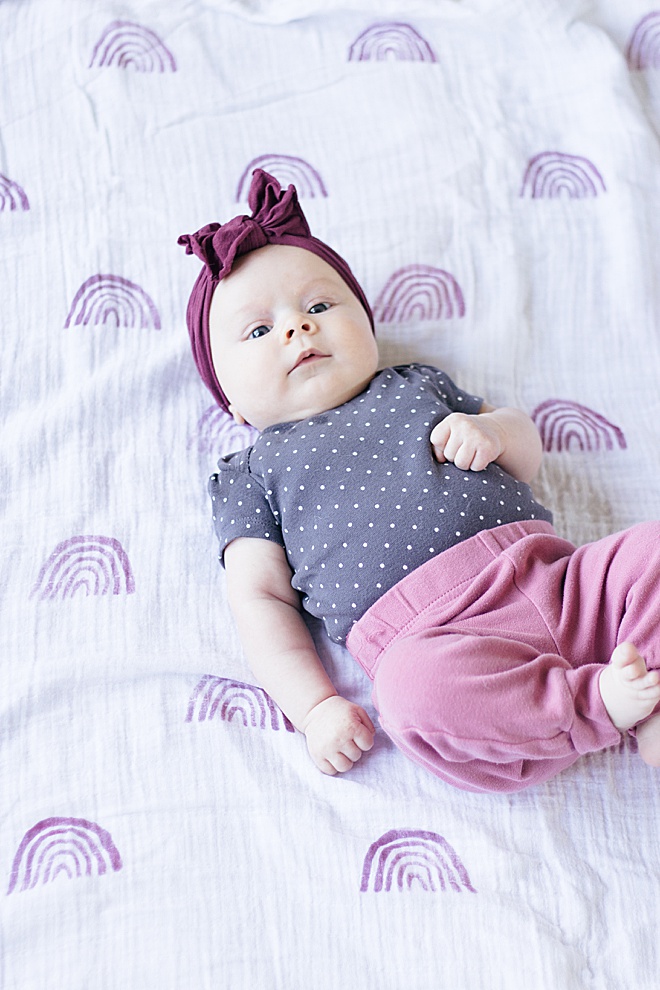
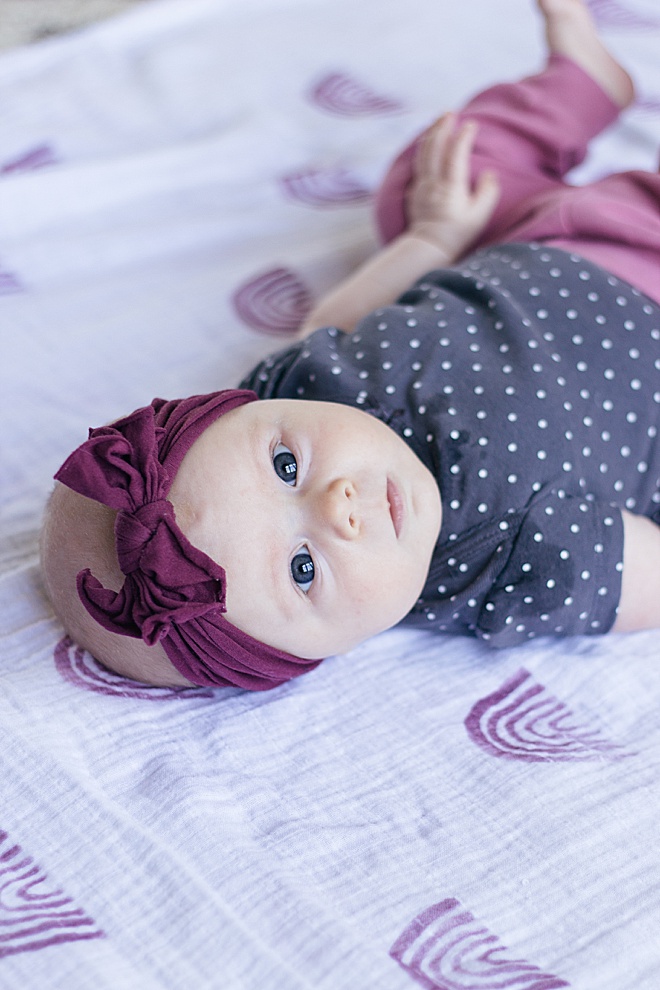
Style
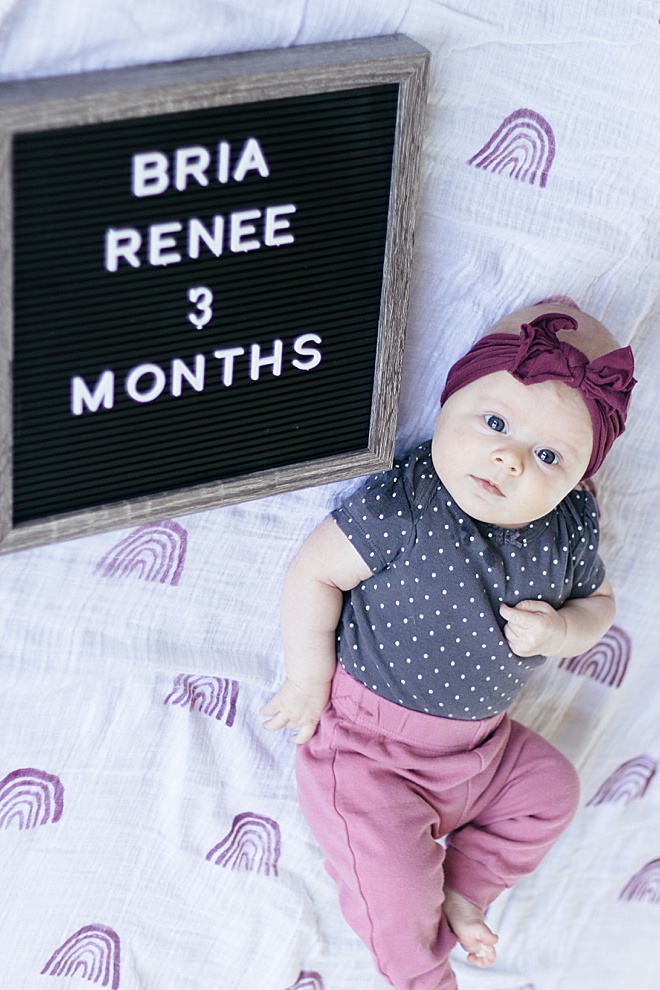
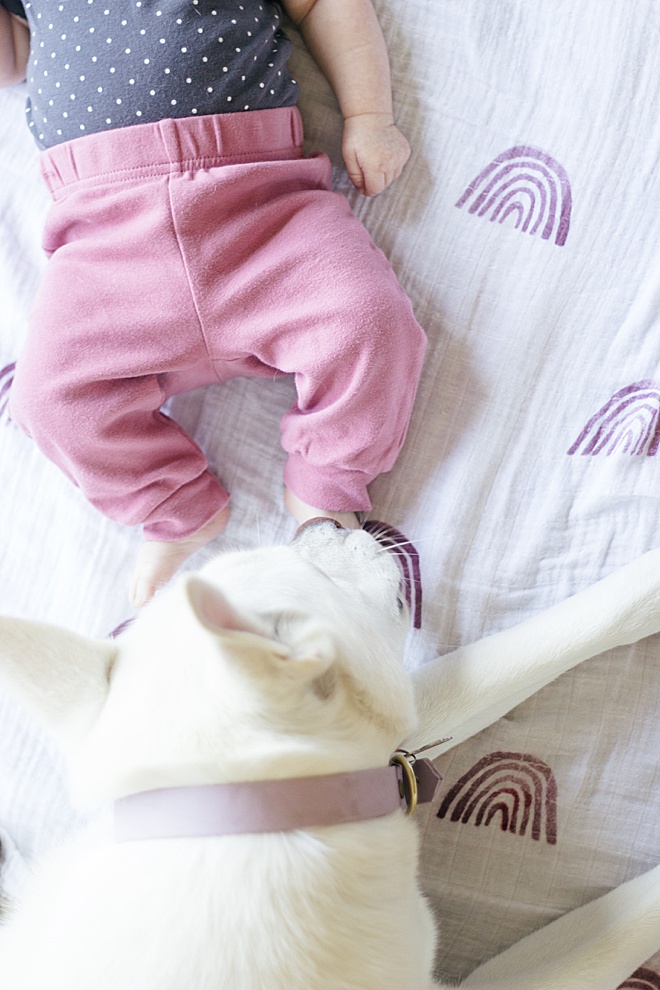
Now that your blanket is all dry you can start styling your baby! Lay the blanket on the floor and place your baby right in the center. Perfect for those monthly growth photos!


Hein & Dandy is a blog founded on crafts and creative writing, inspired by adventure and wellness. Make sure to check out our website for new projects and inspiration!
As with all our DIY tutorials, if you create one of our projects please send us a picture – We Love Seeing Your Creativity! If you use Instagram or Twitter please use the hashtag #SomethingTurquoiseDIY and it will show up on our Get Social page. Happy Crafting!
DIY Tutorial Credits
Photography + DIY Tutorial: Carli Hein of Hein & Dandy // Muslin Blanket: Amazon// Wood Block: Amazon // Foam Paper: Amazon // Fabric Stamp: Amazon // Cricut: Amazon // Glue Tape: Amazon // Cricut Mat: Amazon
Shop The Supplies:
Find the supplies you’ll need for this project from our affiliate links below:


Comments