
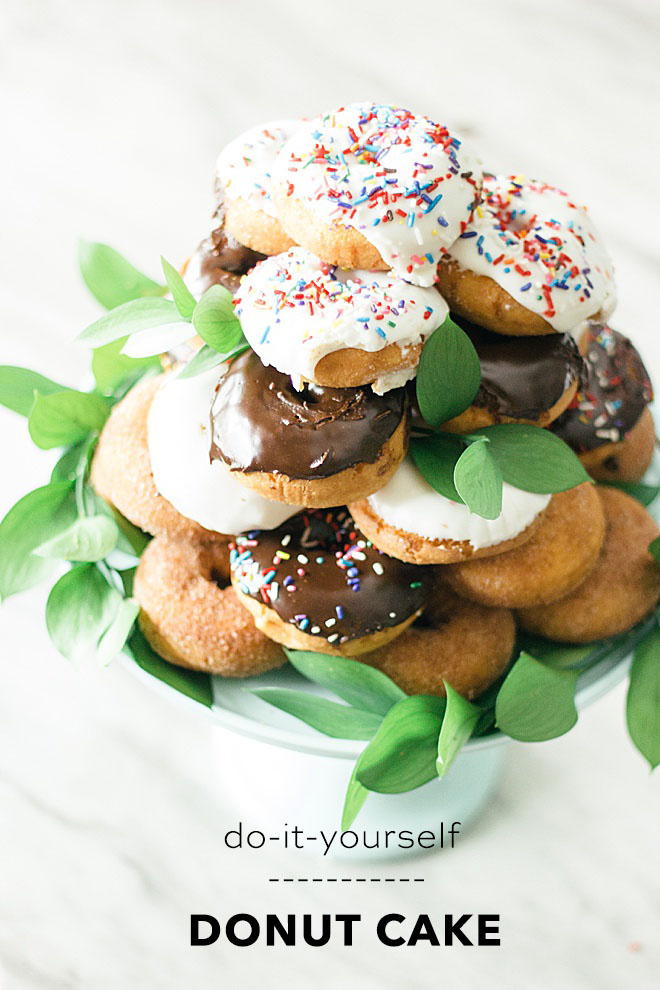
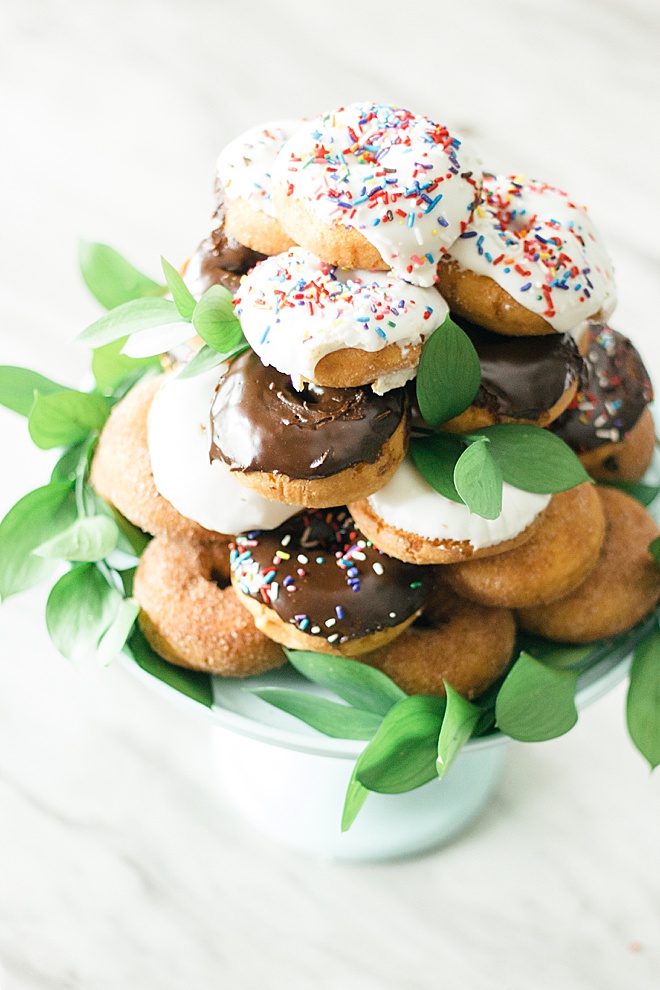
DIY Simple and Delicious Donut Wedding Cake
Are you ready to get hungry from all these nummy donut pictures you are about to see?! It’s Carli Hein from Hein & Dandy bringing you the most delicious and EASY donut wedding cake tutorial! The best part about this tutorial is that you can get creative with it! In the end, you will have a tasty and beautiful cake for all your guests at your wedding!
SUPPLIES:
- Donuts
- Cake Stand
- Flowers or Greenery

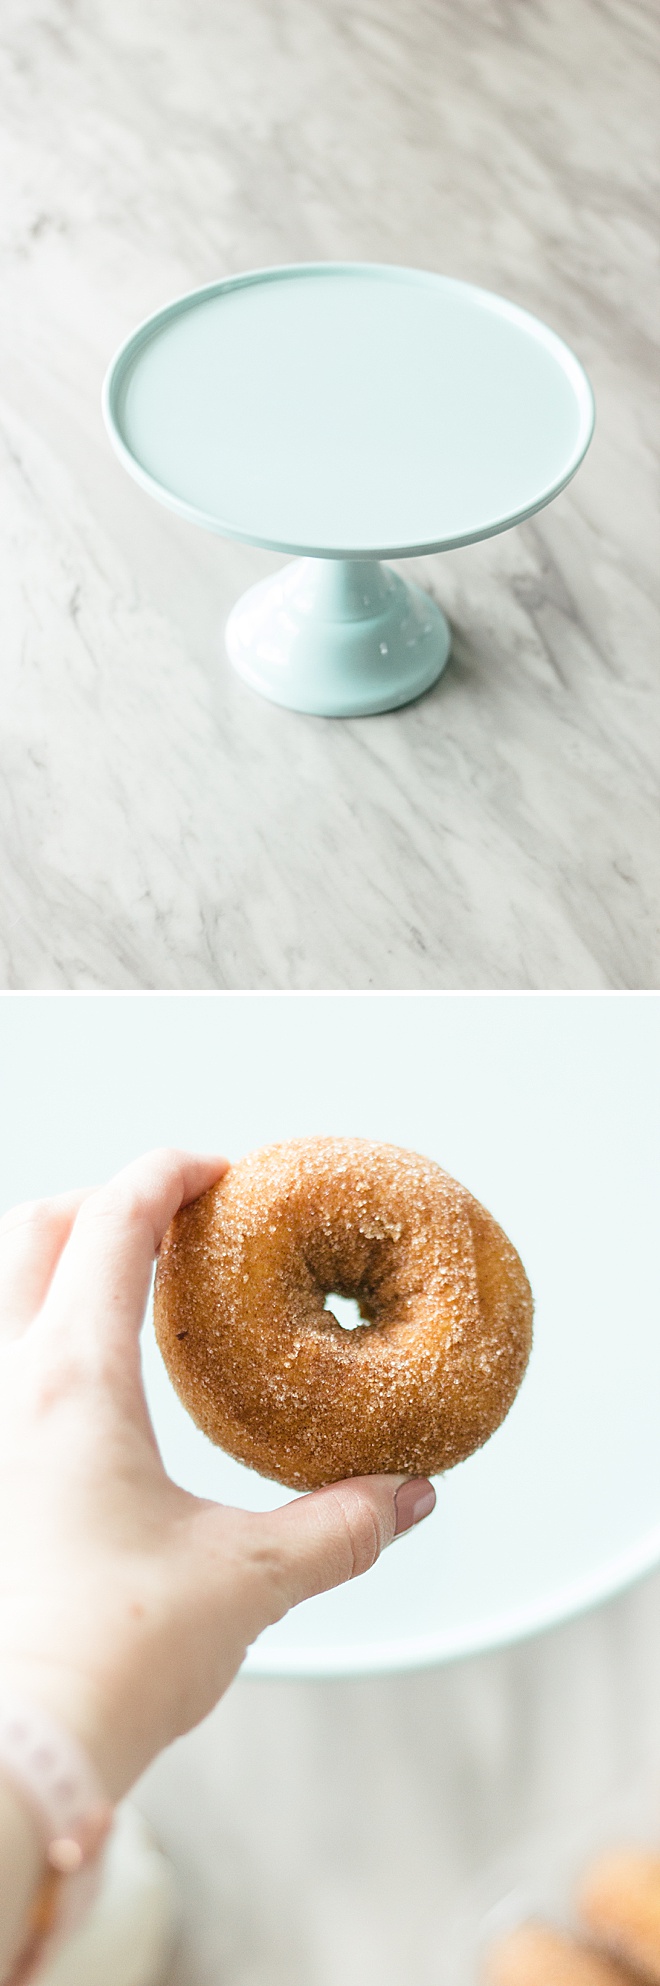
Sturdy Base
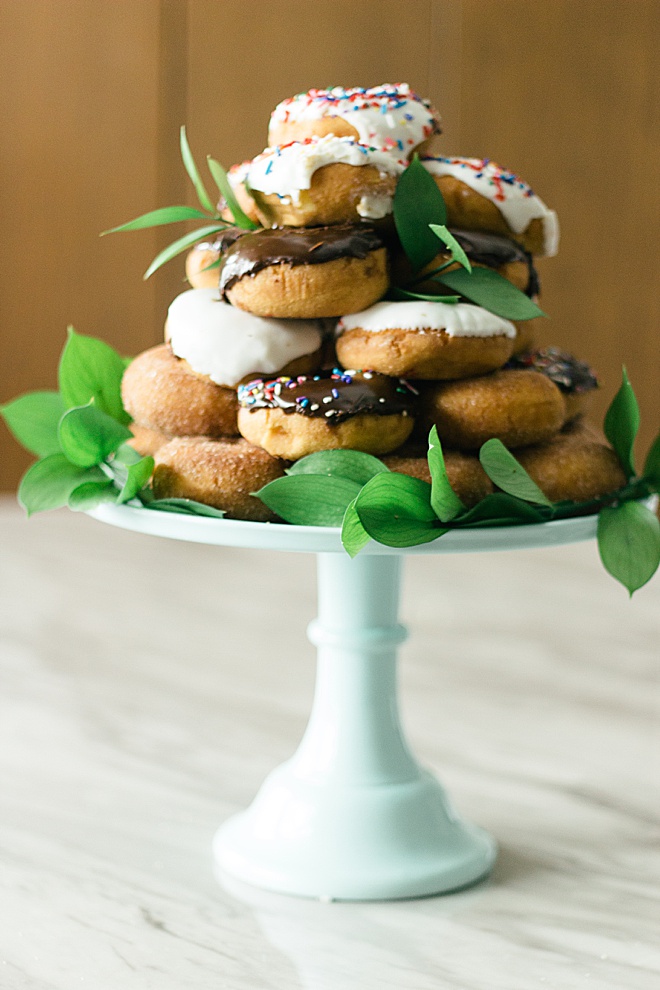
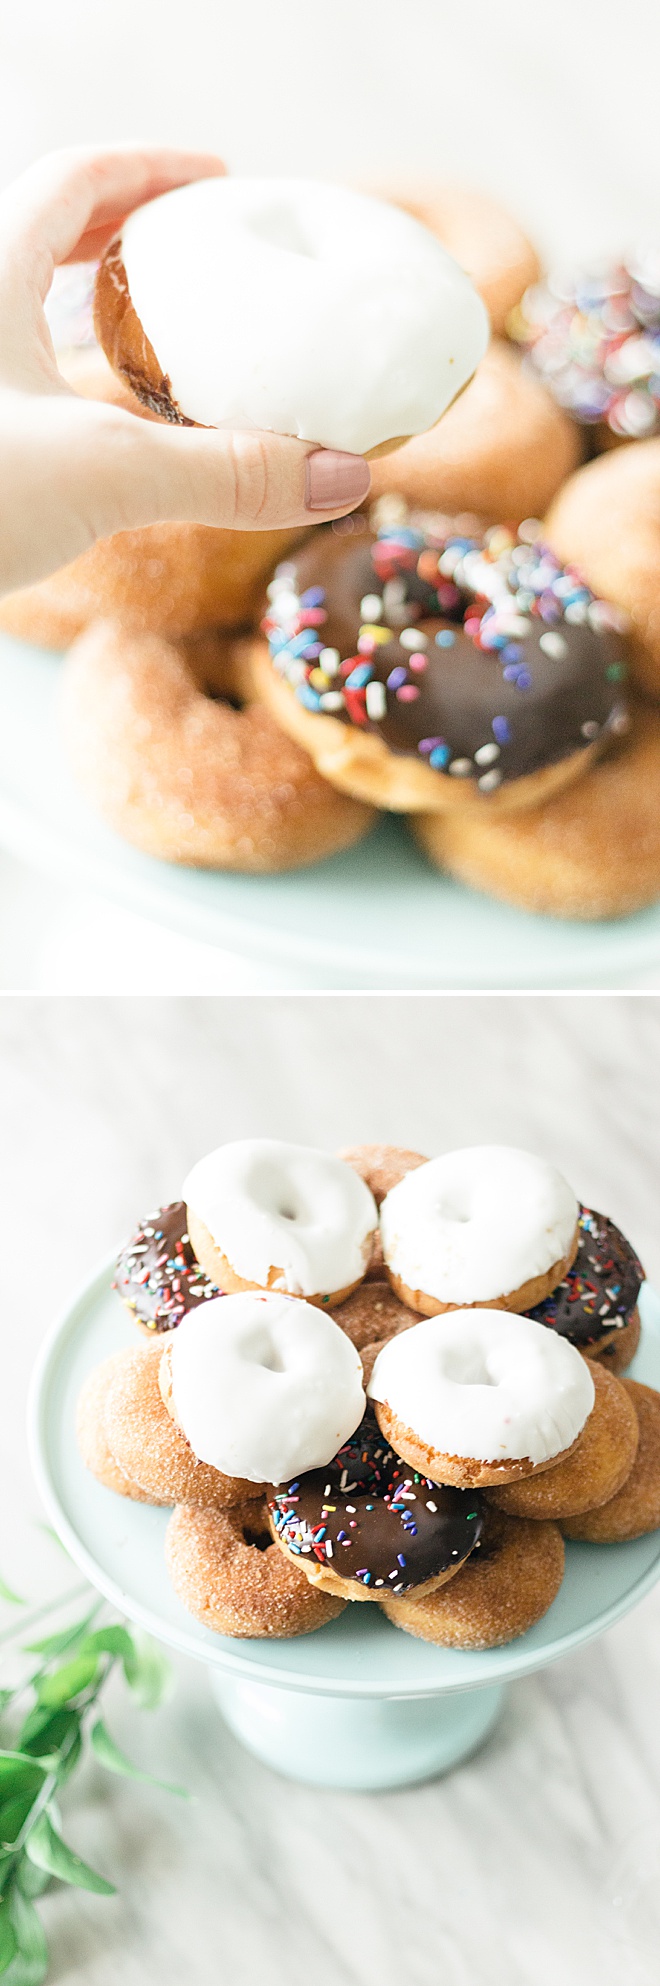
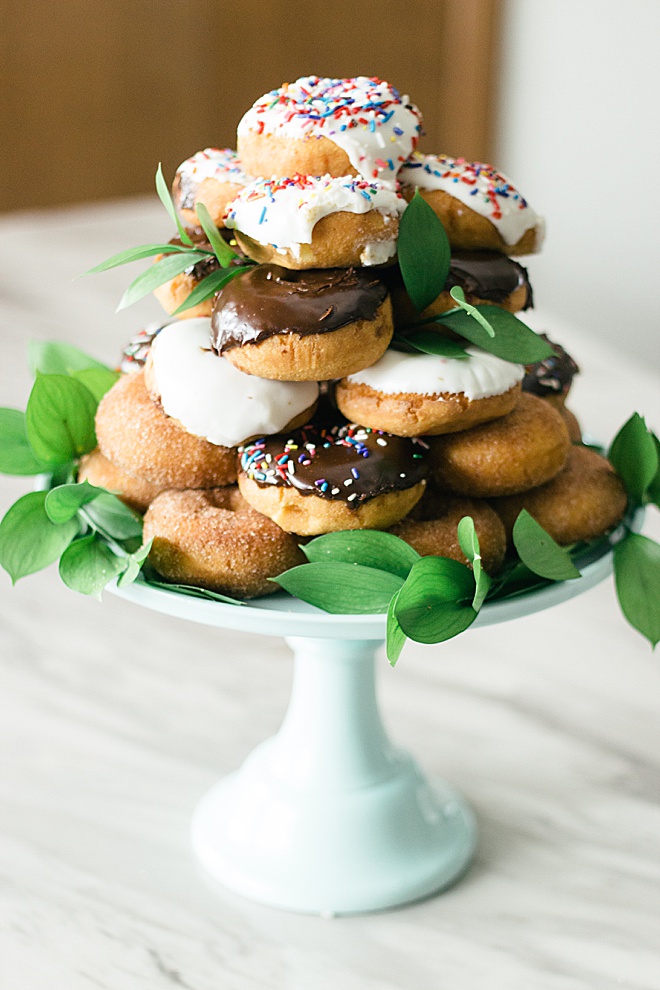
Start your cake off by creating a sturdy base, both with the cake stand and the donuts. I used this amazing mint stand from Amazon that is sturdy and beautiful. They also have this stand in multiple different colors so you can get one that matches your wedding colors!
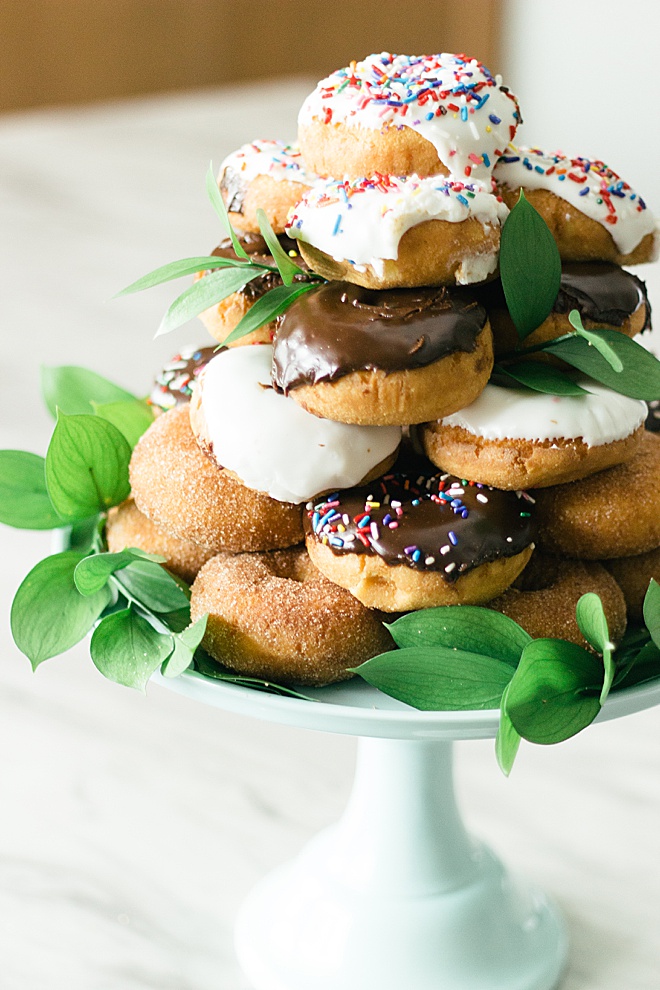
Now to make a sturdy base layer of donuts you will need to start with 7 donuts in a circle and 1 in the middle. I used cinnamon sugar for the base. Pretty sprinkle on the outside and glazed on the inside. Second layer is 9 donuts but place them in between each donut that is under to create a sturdier base.
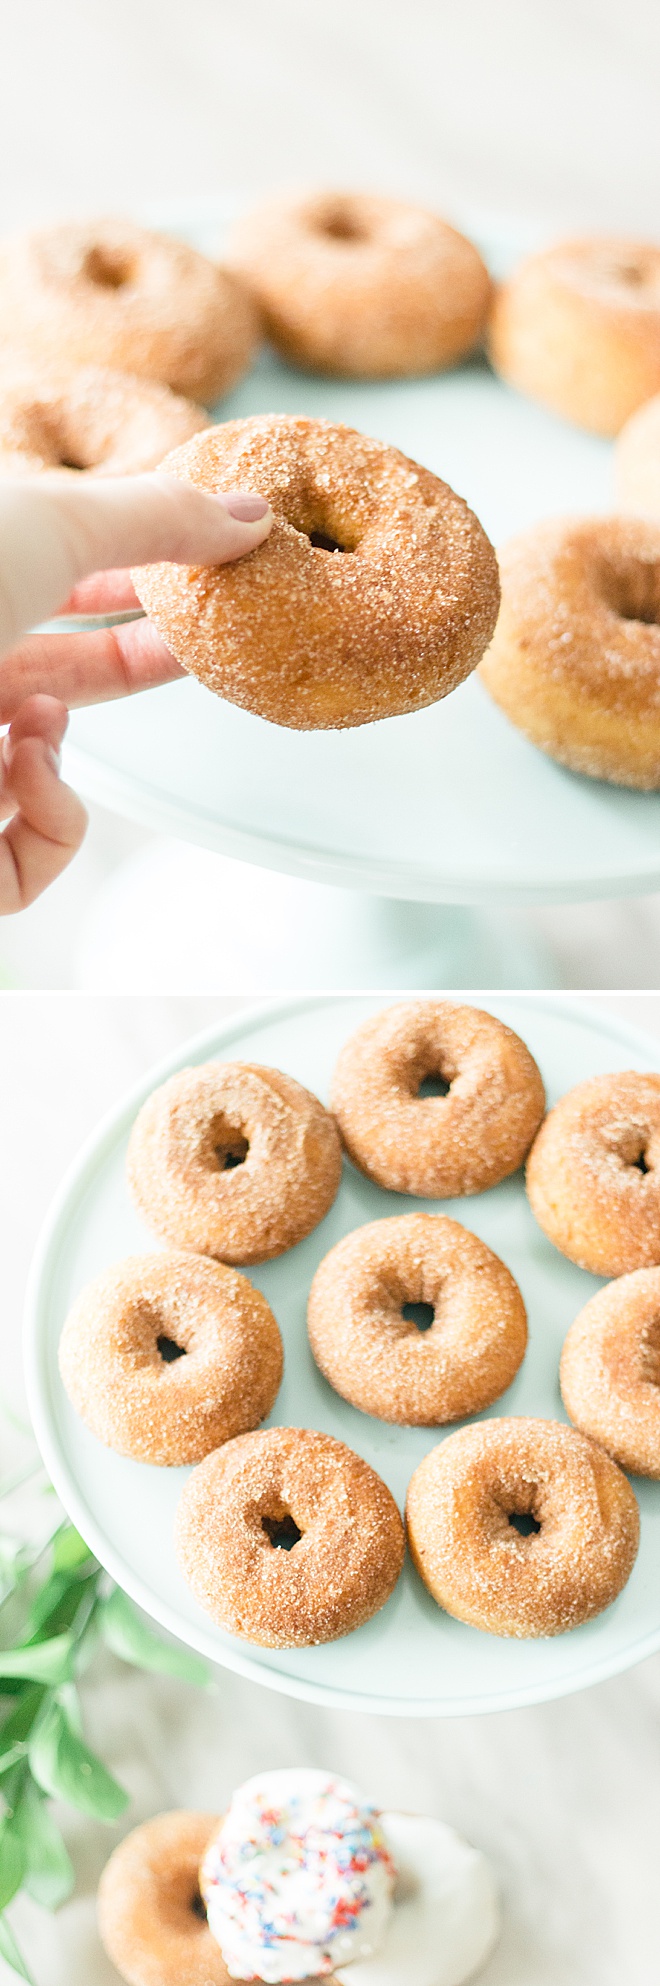
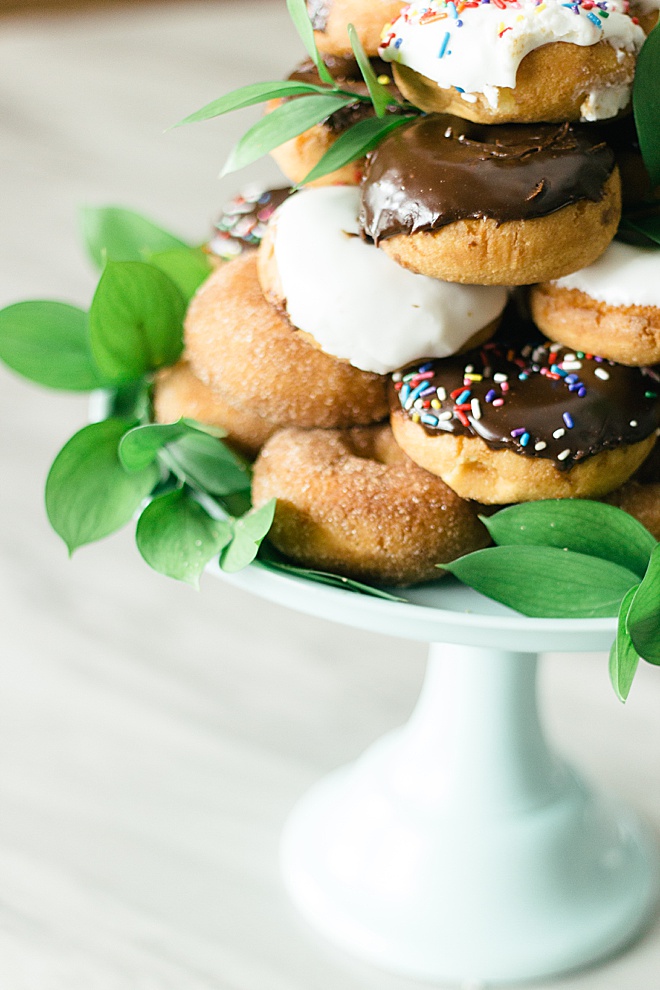
Second layer is where we start to incorporate the pretty sprinkle donuts, NUM! This layer has 6 donuts, alternating between sprinkle and sugar coated. Make sure that you stagger the donuts, this will help create a strong base. Last donut of this layer is one more sugar donut in the middle.
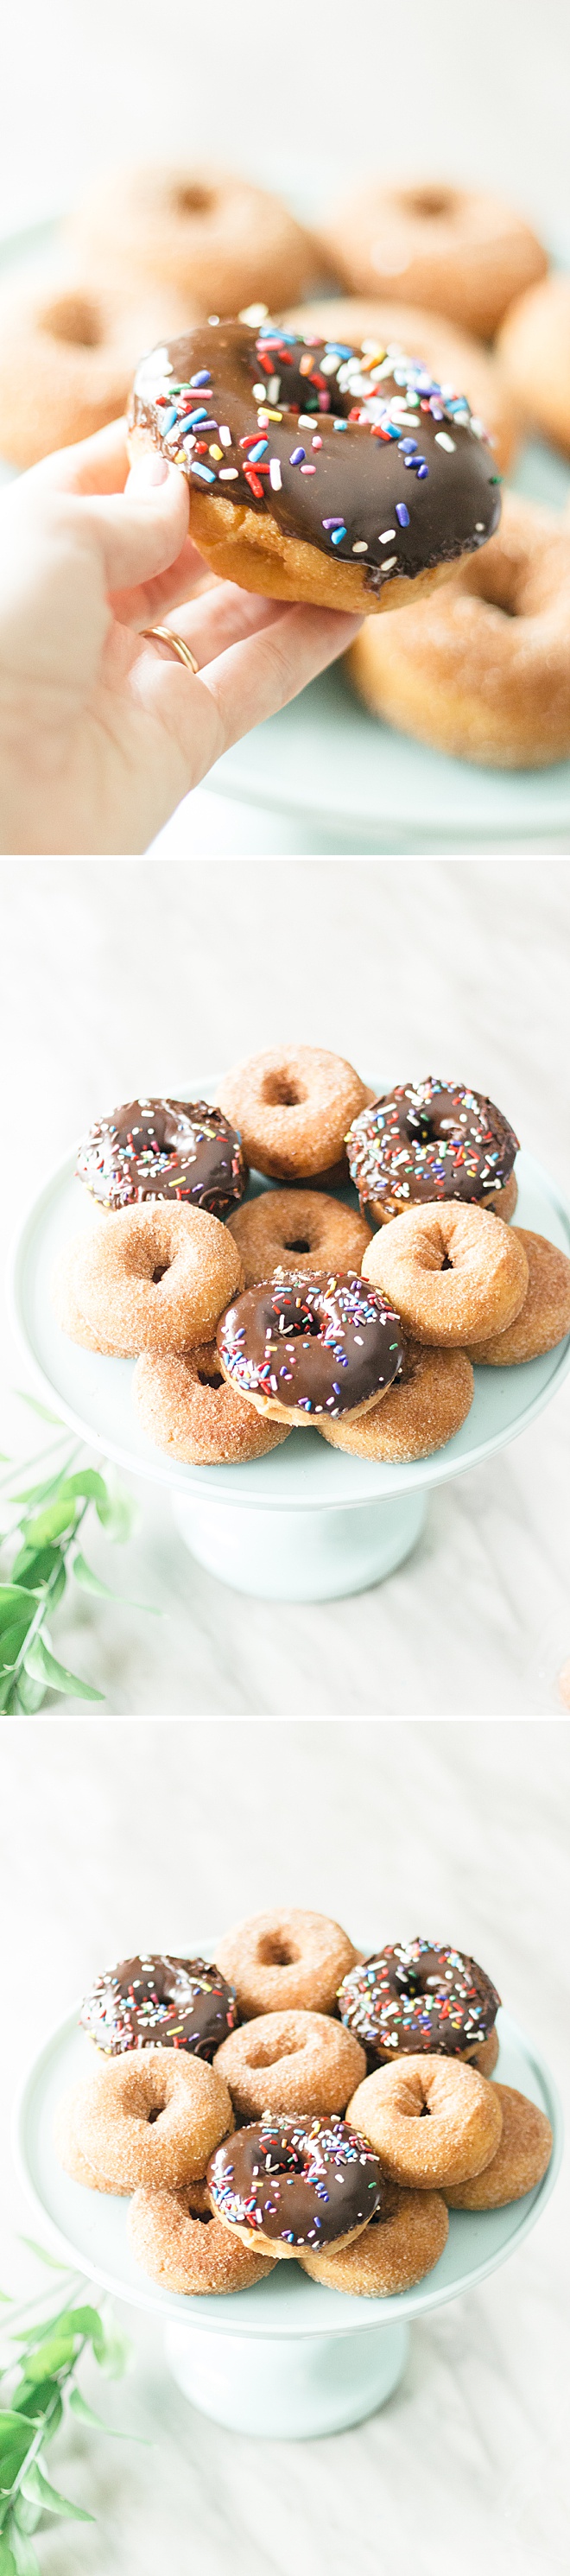
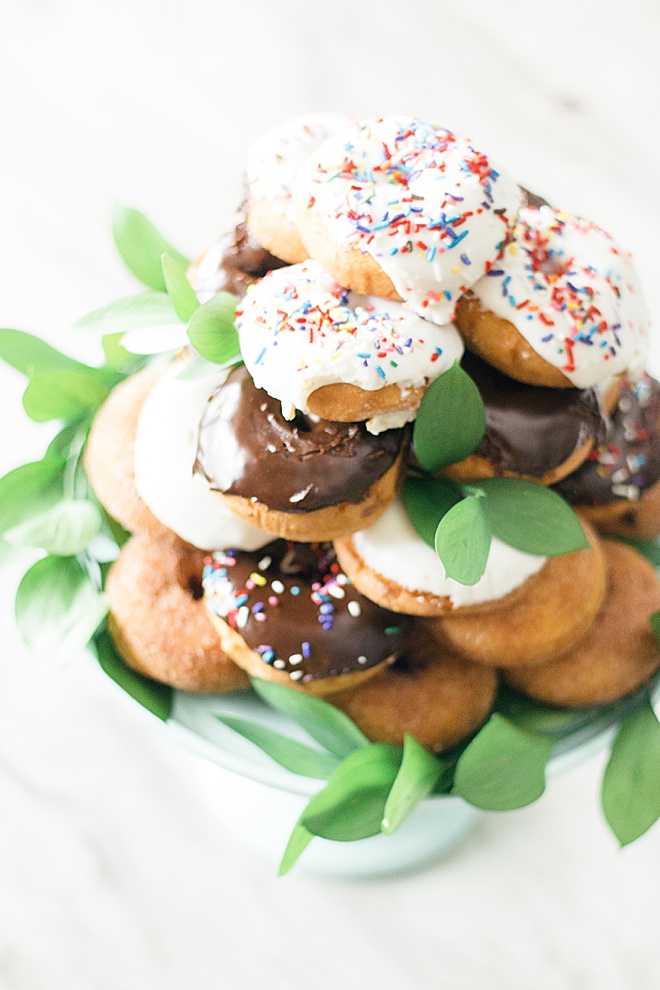
Get Pretty
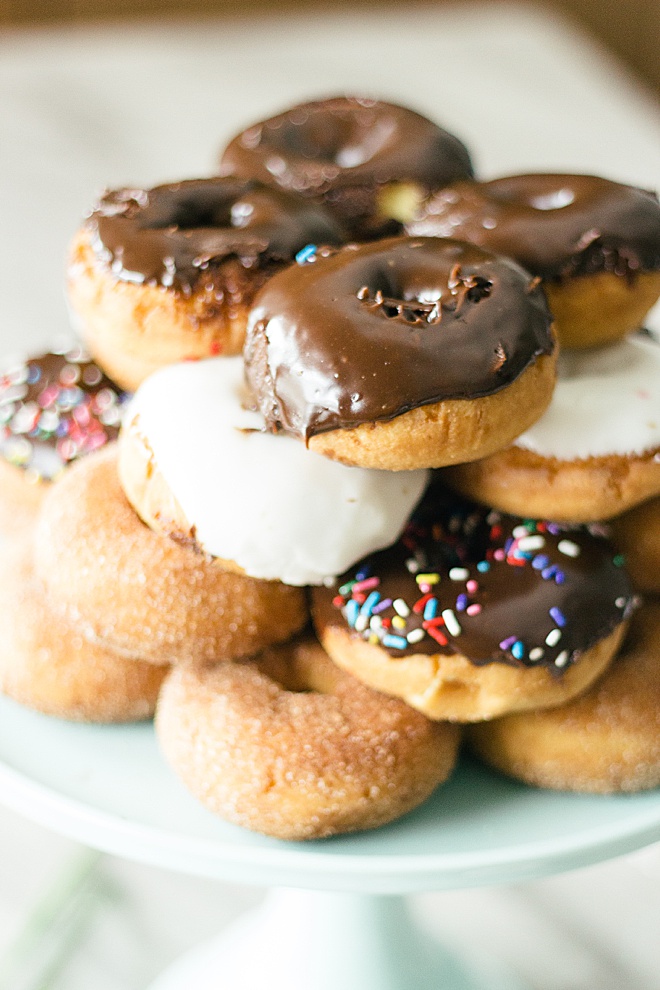
Going up from here is only pretty donuts! We make the third layer out of 4 vanilla frosted donuts that all touch in the middle.
I used my favorite donuts for my cake but this is where you can get the most creative! Do you have a local donut shop that is your absolute fave? Use them! You don’t have to follow the exact same color pattern as I do, but you can if it helps!
Keep stacking! The fourth layer is all chocolate covered donuts, 4 total.
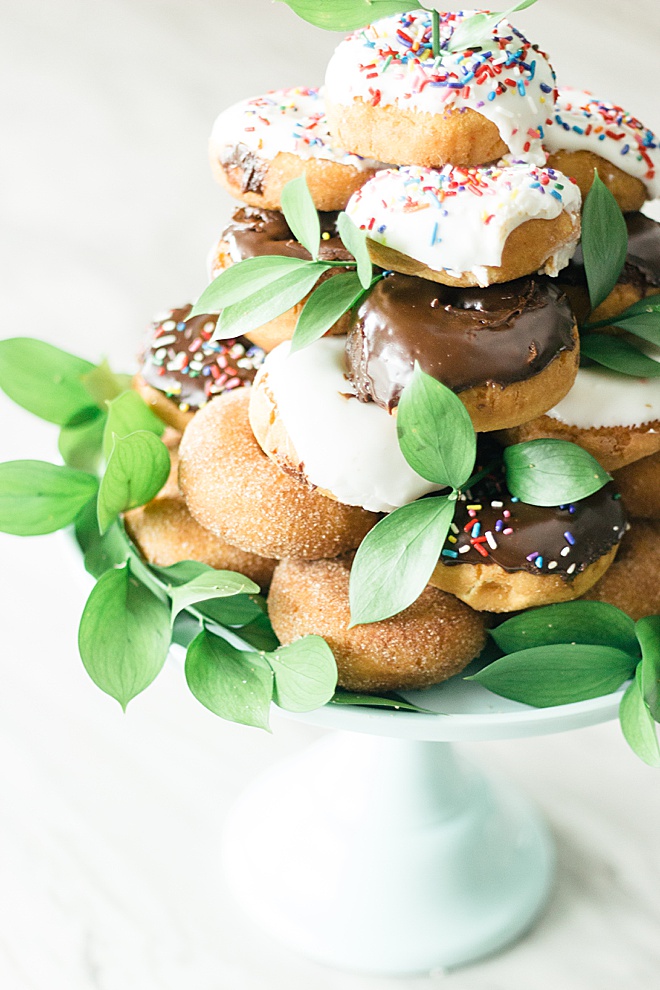
Final Layer
The last layer consists of 3 vanilla sprinkle donuts and is topped off with the final vanilla sprinkle!
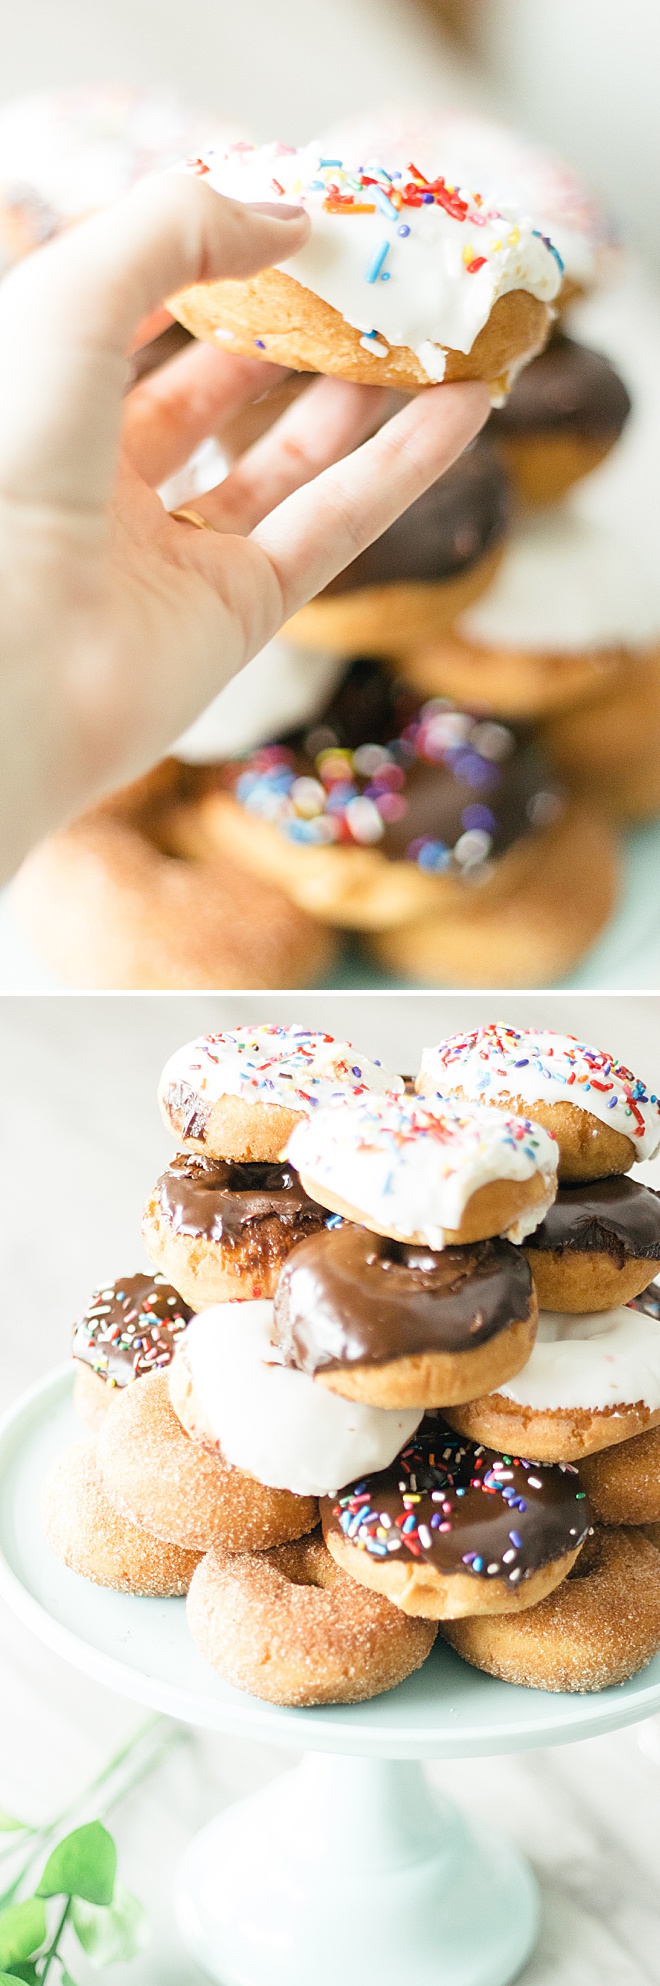
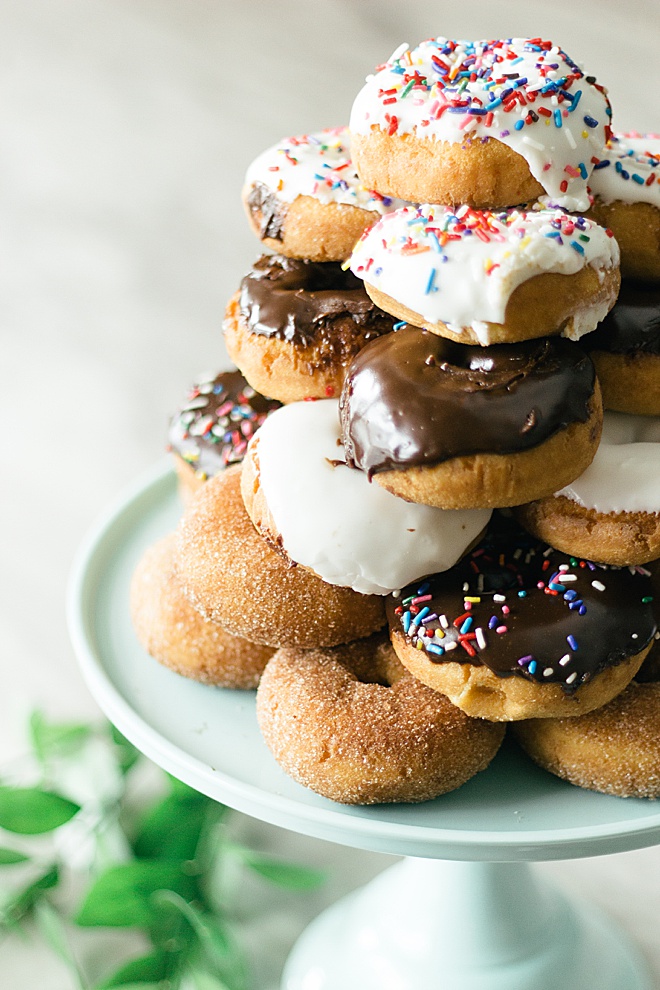
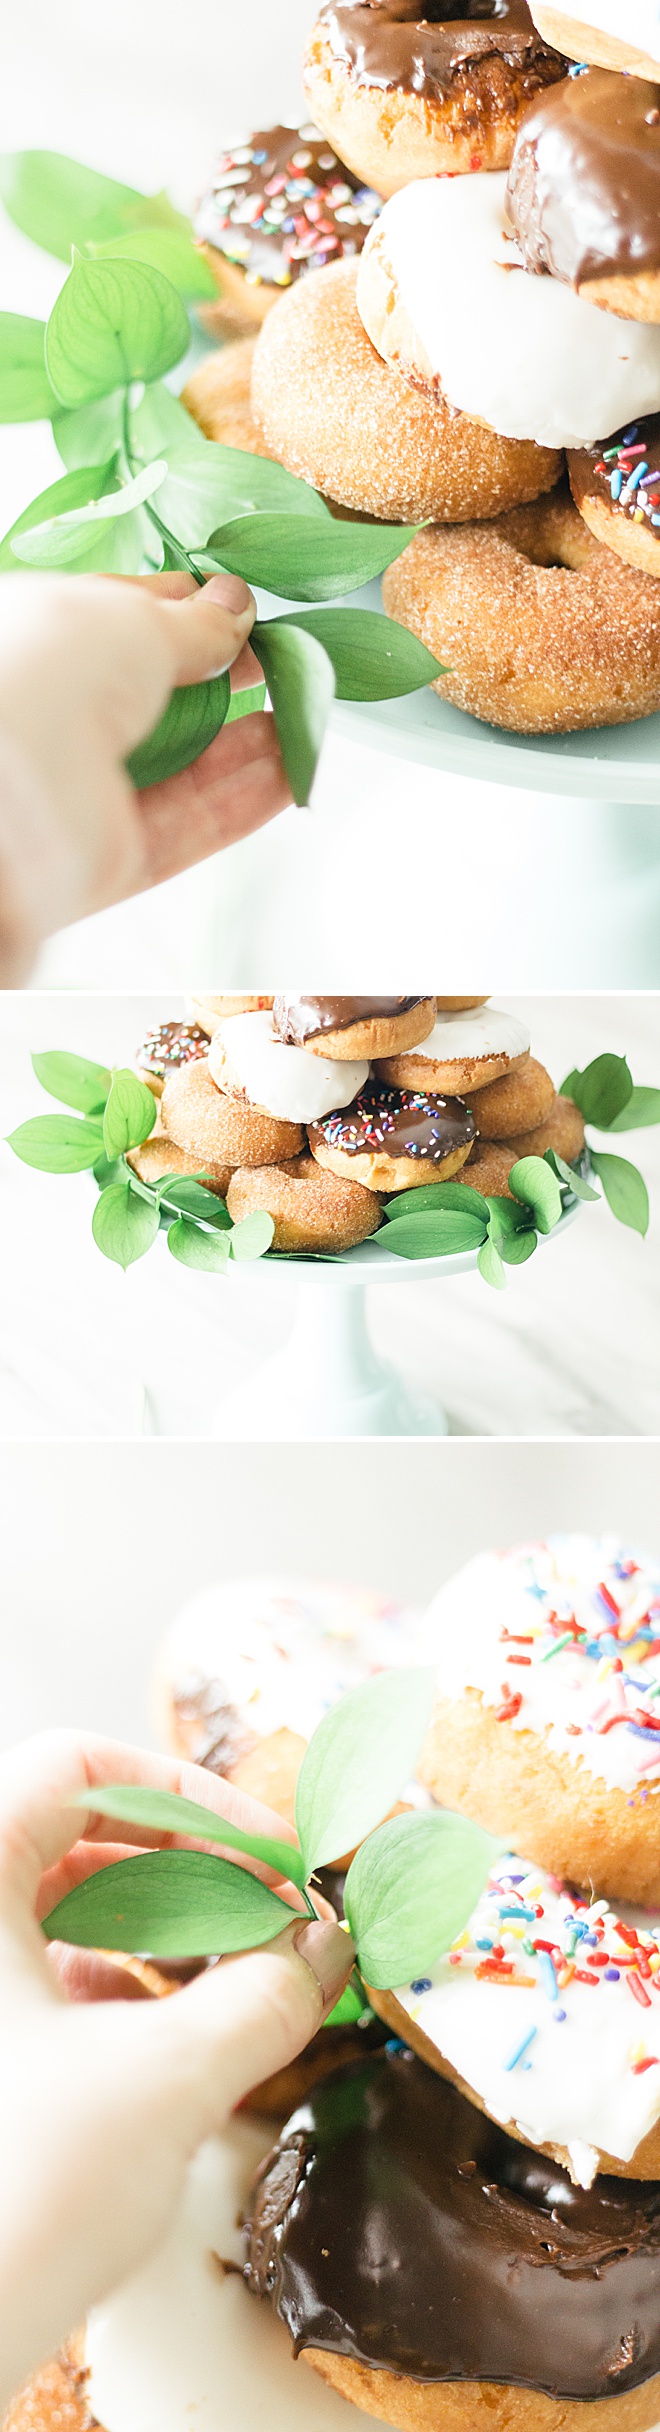
Garnish
Now for the most fun part! We add greenery or florals to bring the entire cake beautifully together.
I put two long leaf strands around the bottom of the cake and tucked the stem under the donuts to keep them in place.
You don’t need to be so specific here with the rest of the little leaves. I took around three and staggered them around the cake. Make sure you don’t overdo it, keep it simple!

Hein & Dandy is a blog founded on crafts and creative writing, inspired by adventure and wellness. Make sure to check out our website for new projects and inspiration!
As with all our DIY tutorials, if you create one of our projects please send us a picture – We Love Seeing Your Creativity! If you use Instagram or Twitter please use the hashtag #SomethingTurquoiseDIY and it will show up on our Get Social page. Happy Crafting!
DIY Tutorial Credits
Photography + DIY Tutorial: Carli Hein of Hein & Dandy // Cake Stand: Amazon
Shop The Supplies:
Find the supplies you’ll need for this project from our affiliate links below:


Comments