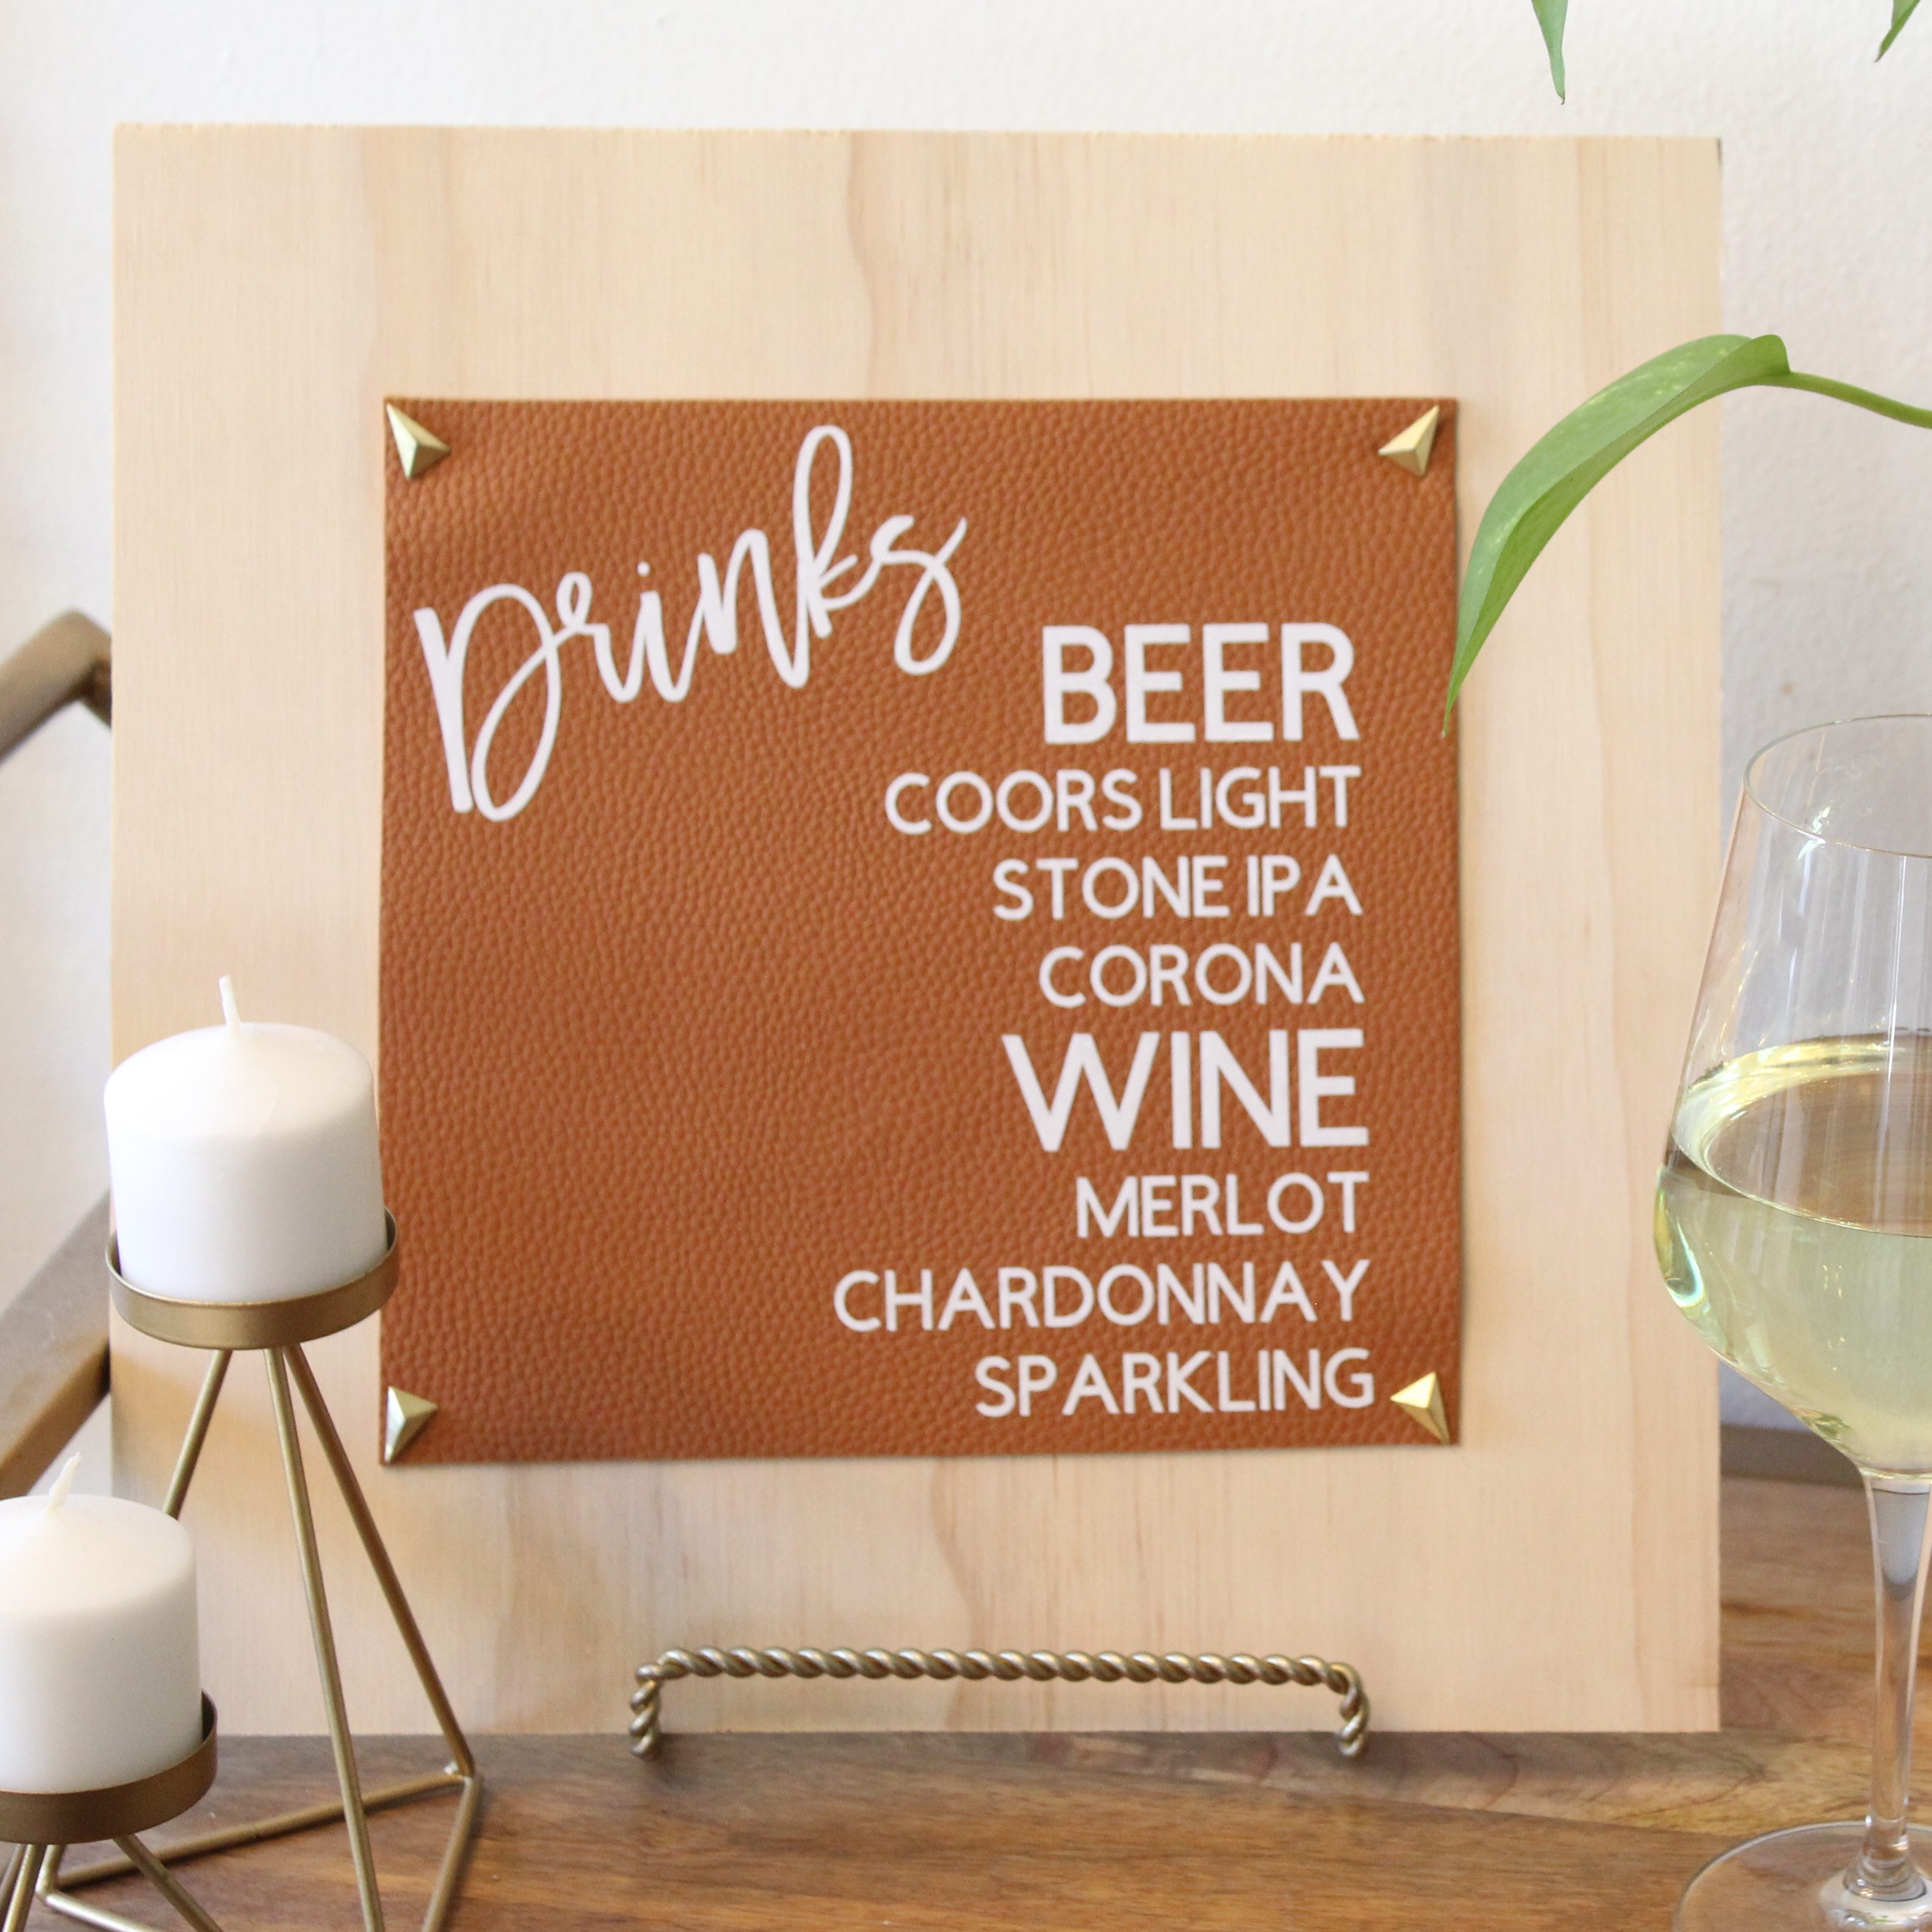

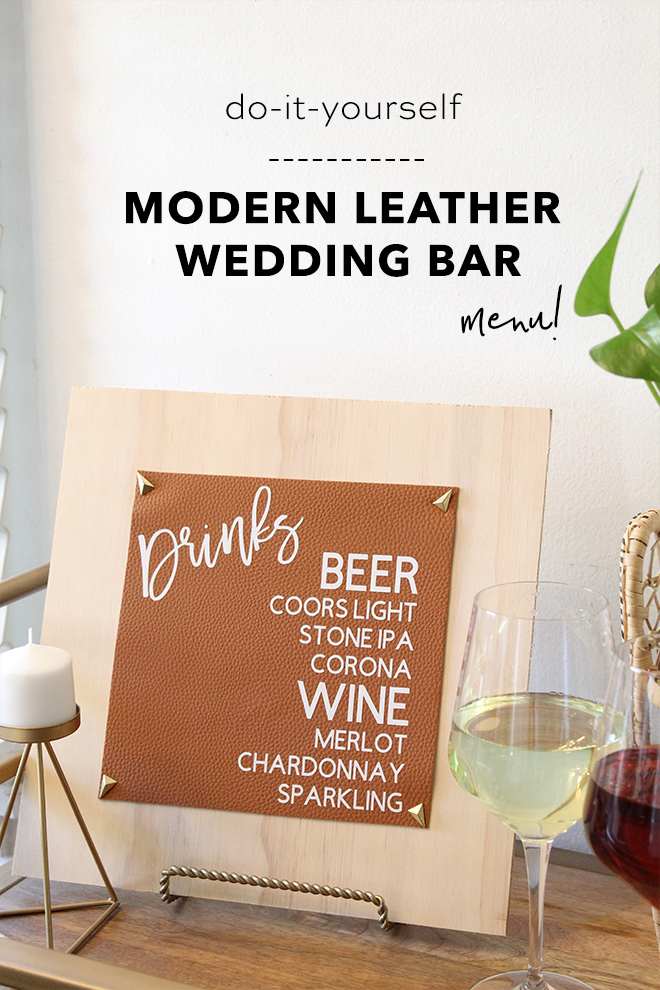
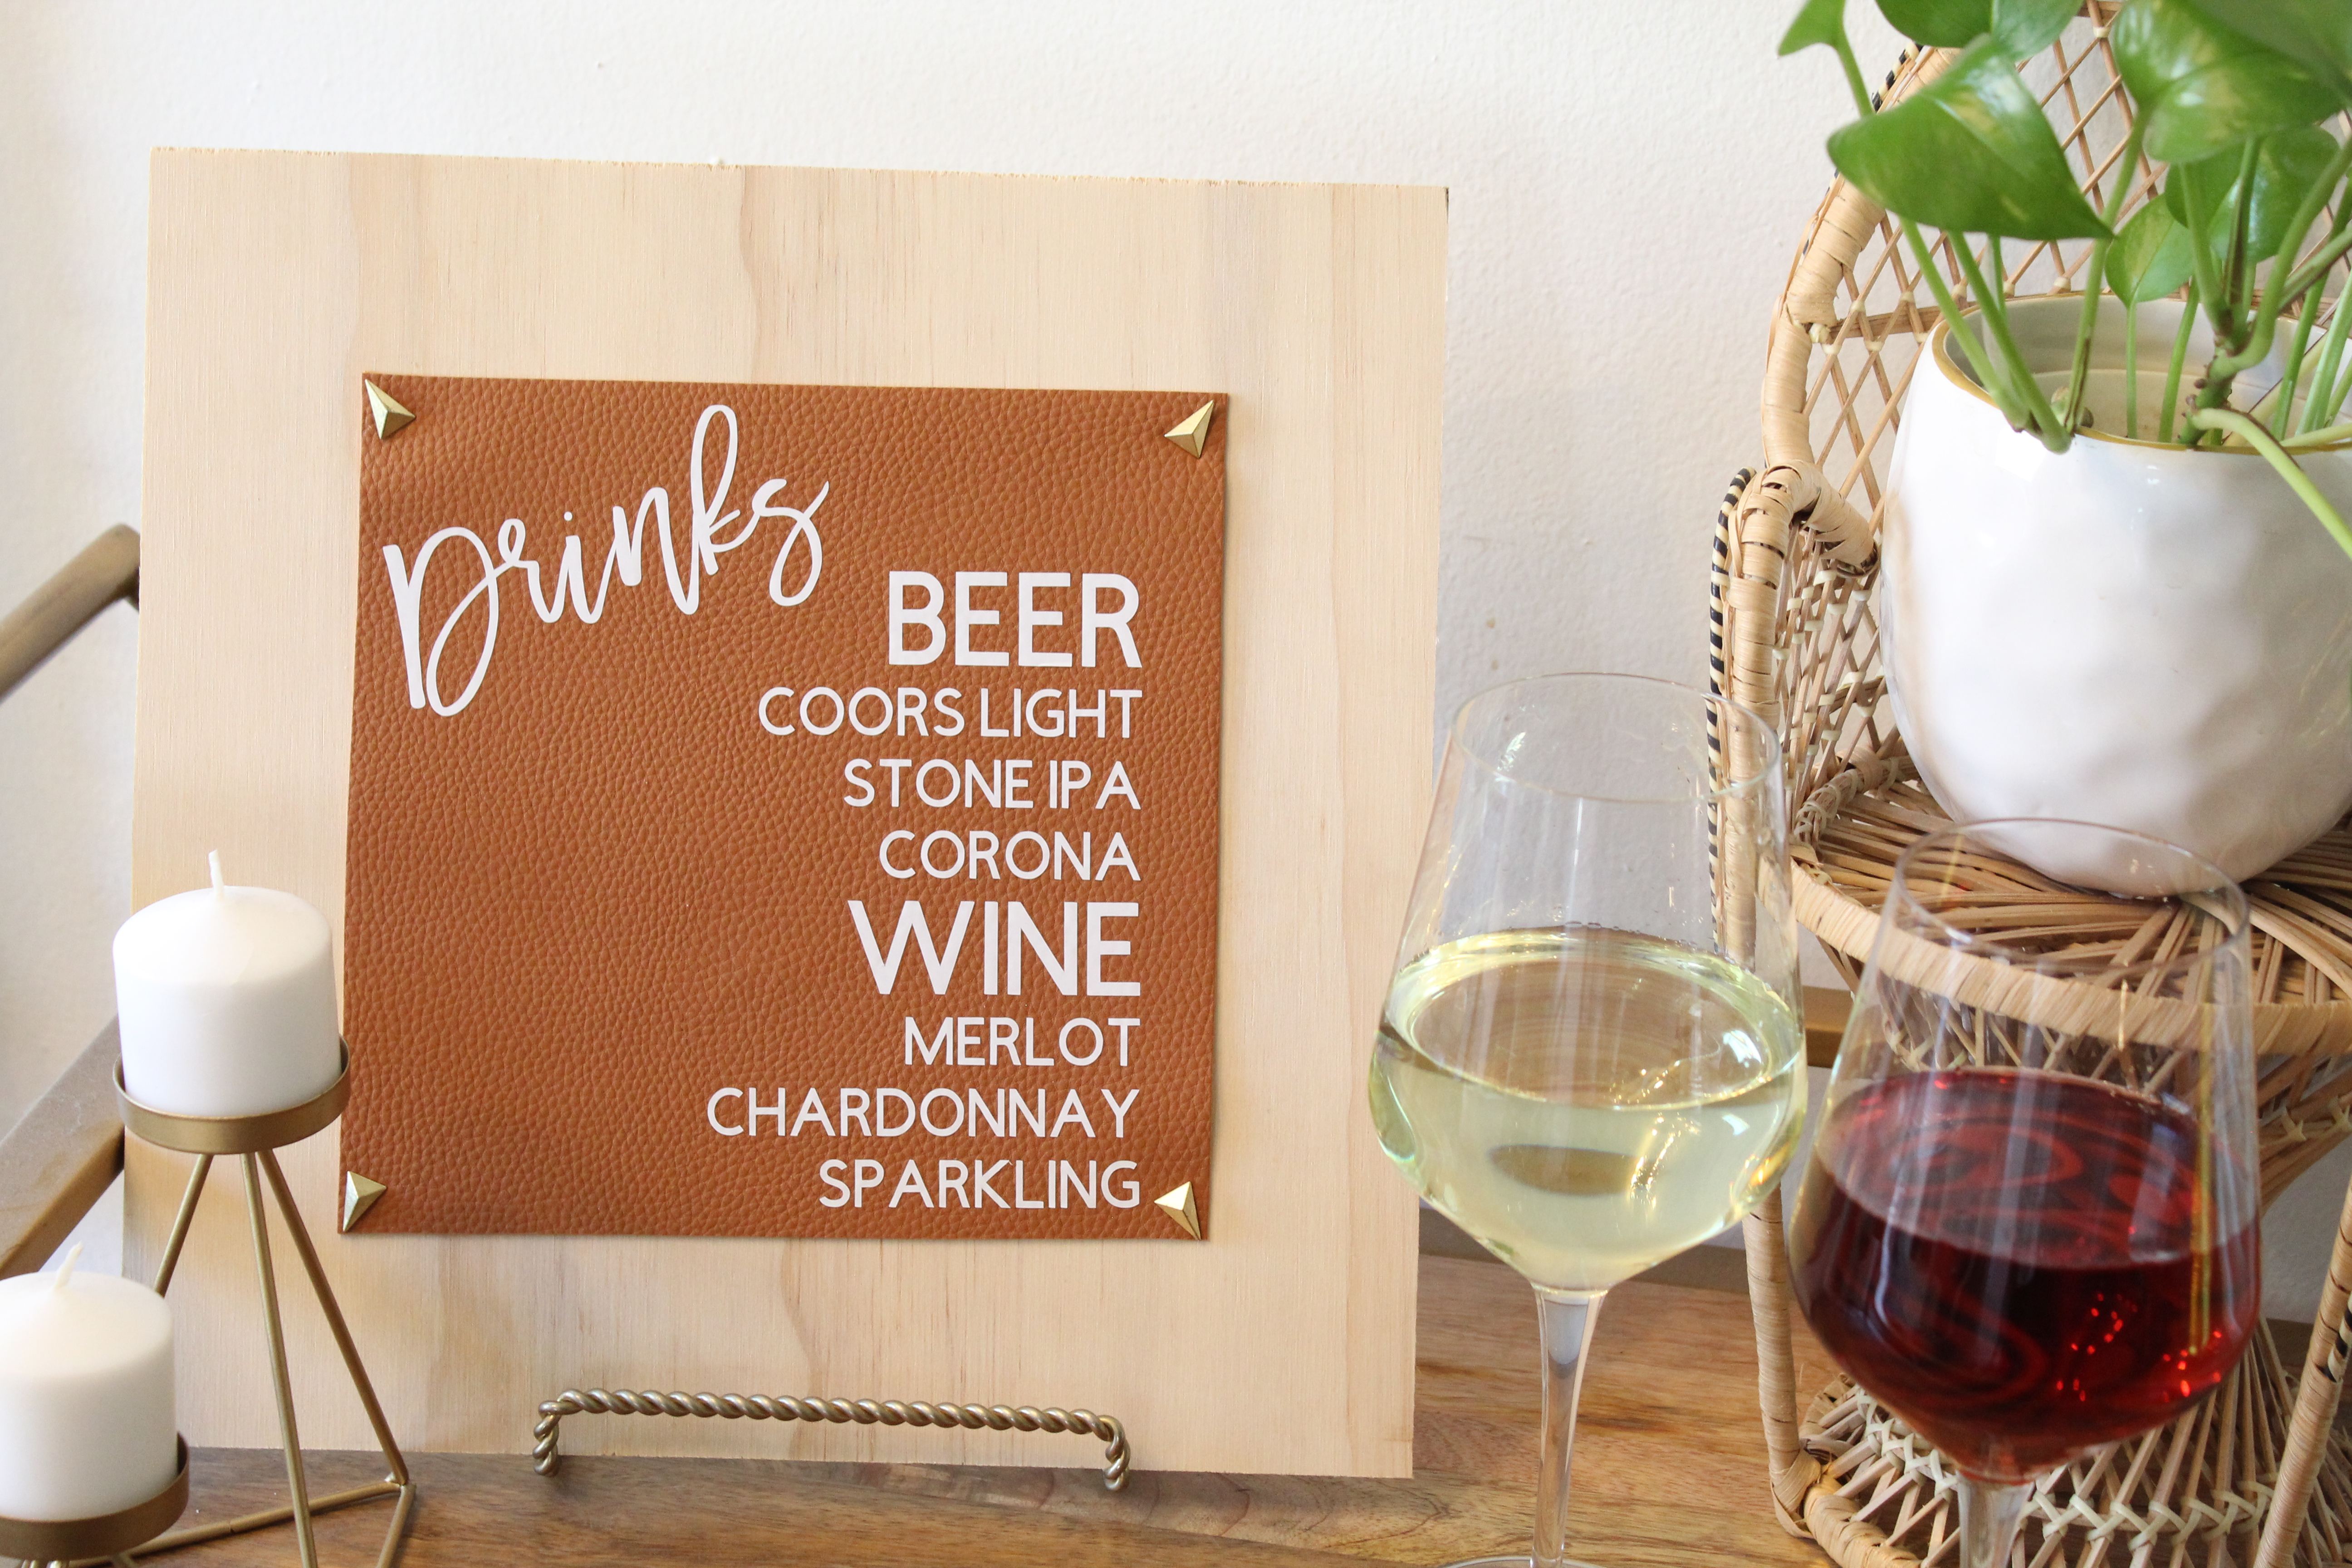
DIY Modern Leather Wedding Bar Menu
Hi friends! Its Shea back with another DIY, my first ever WEDDING DIY on ST! Its pretty cool how full circle it has come. I first found ST while searching for DIYs for my own wedding, and now here I am, creating one for the site! Anywho, enough about me, lets get to the DIY! I’ve been loving all things modern. Especially things using natural elements like wood and leather, in fact, most of the elements in my little one’s nursery are either wood or leather! That is where I drew the inspiration for today’s DIY, a modern leather wedding bar menu.
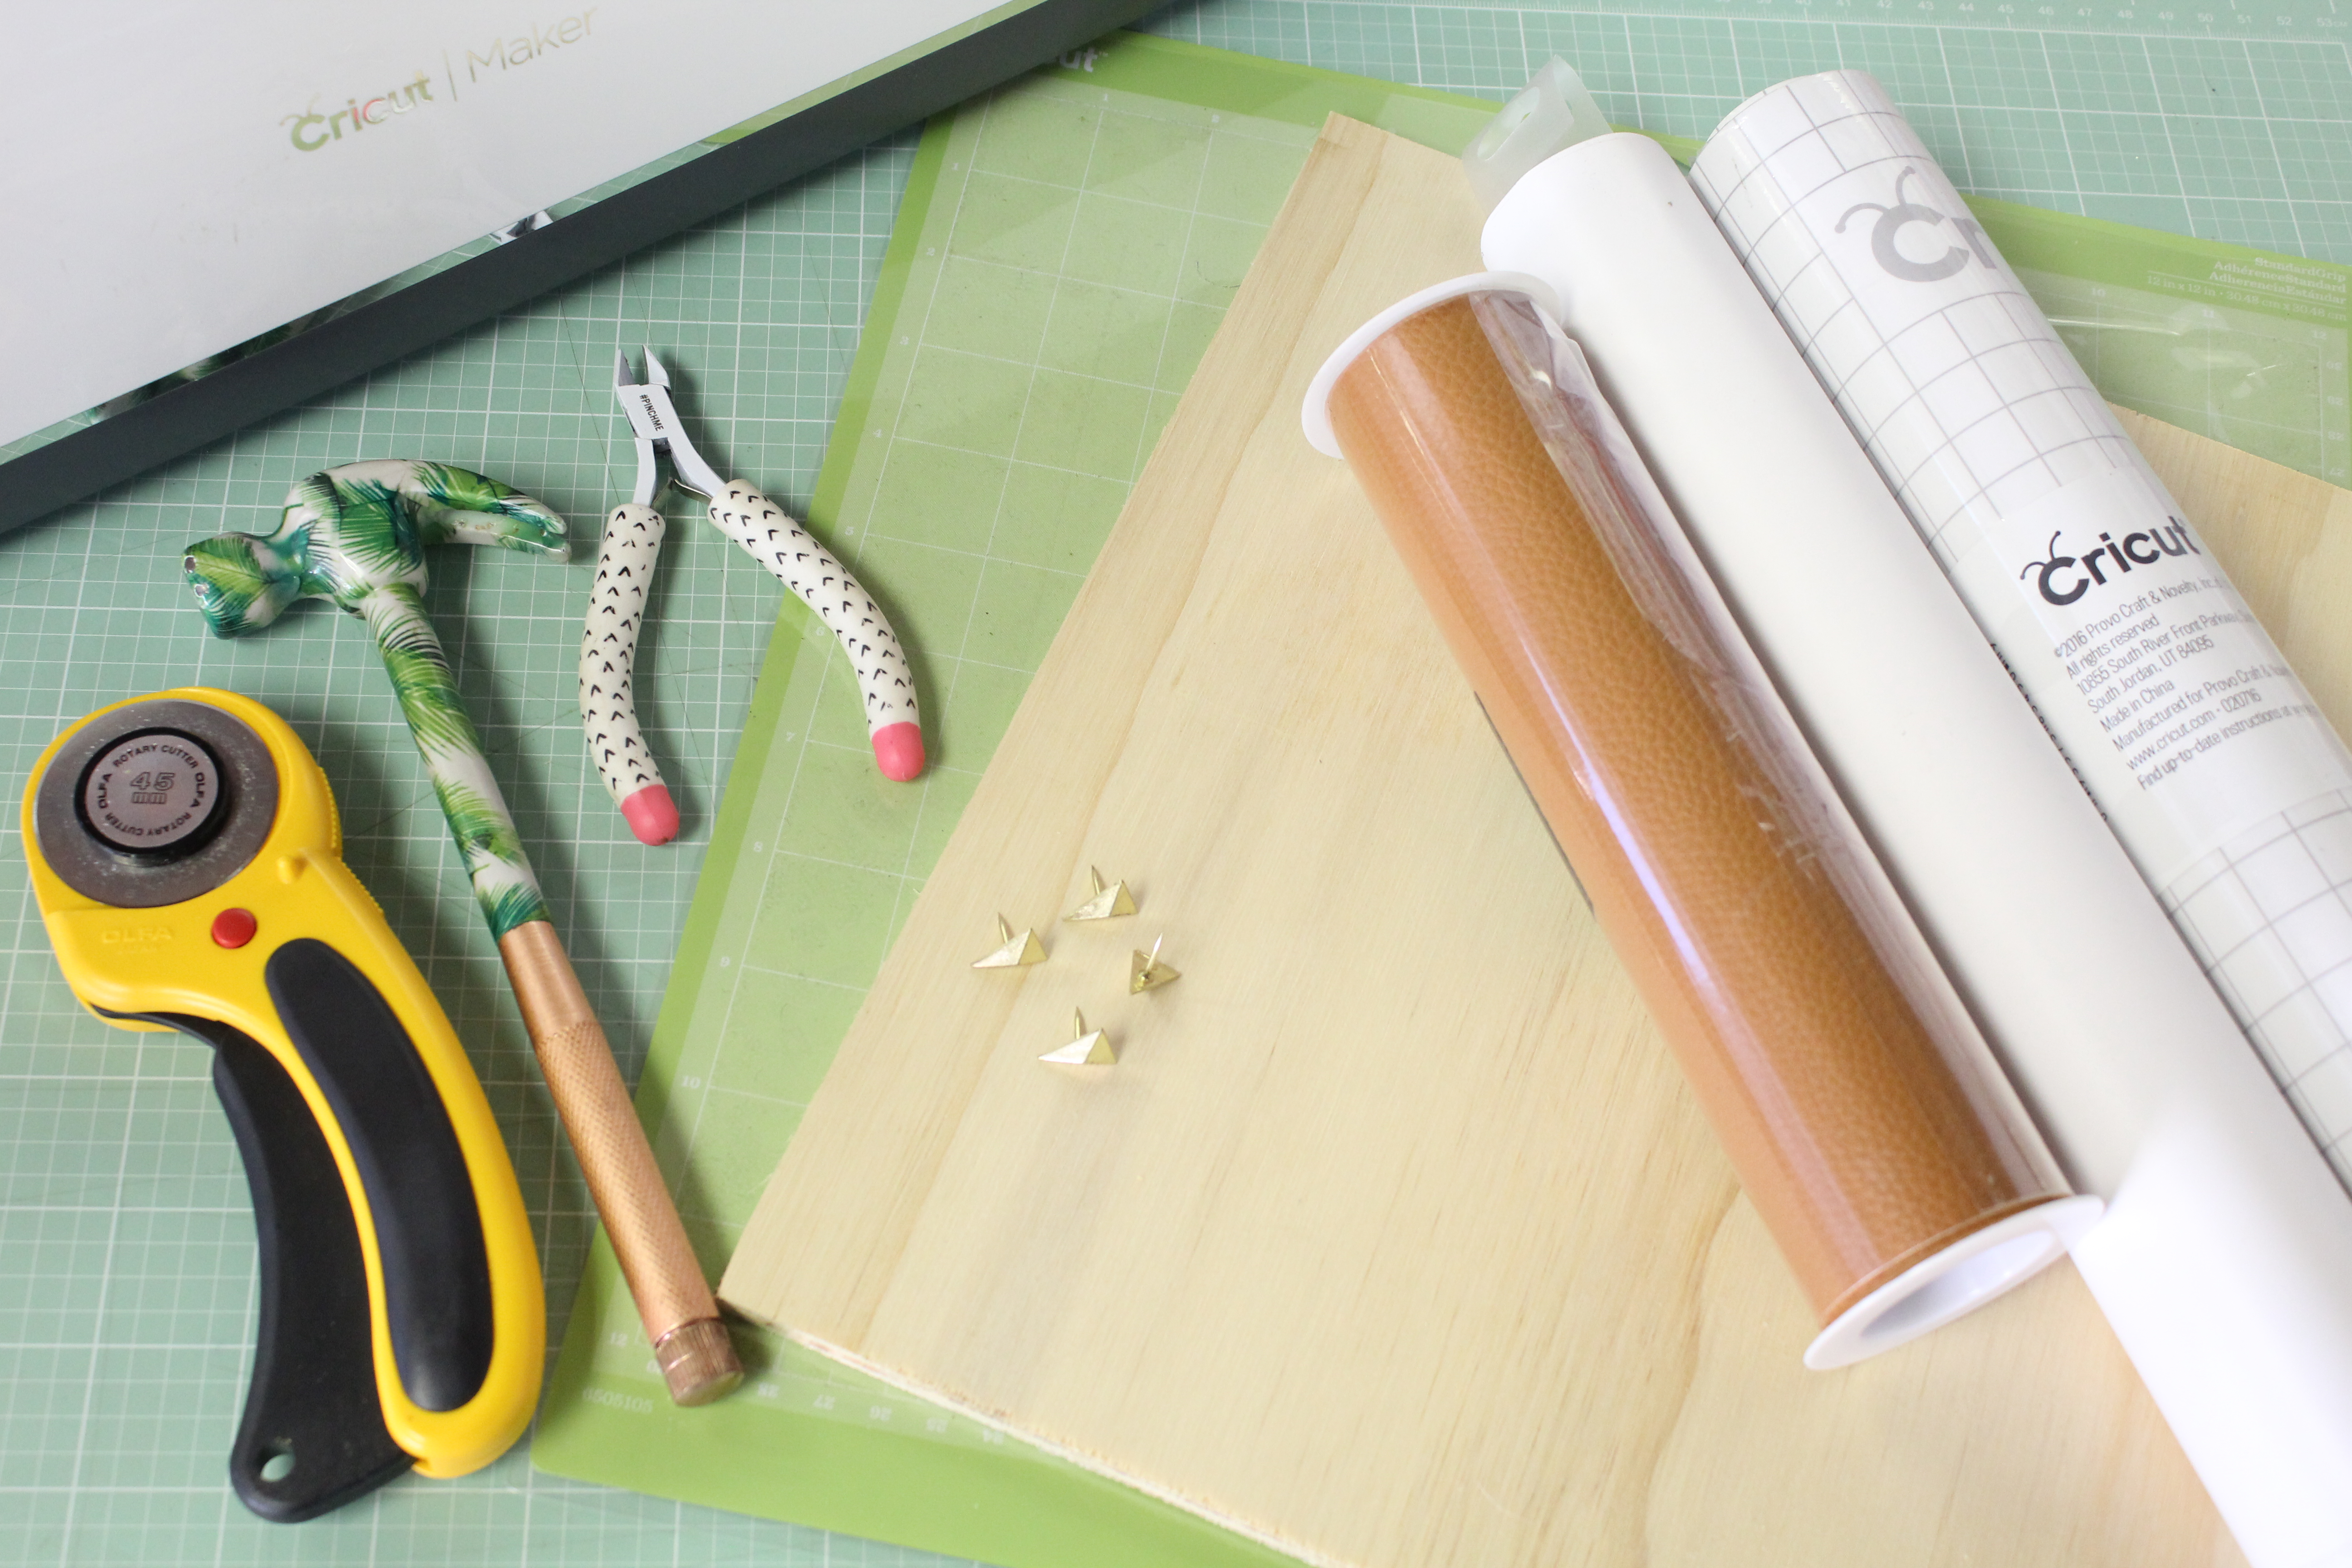
Supplies:
- Rotary Cutter
- Hammer
- Wire Cutting Pliers
- Push pins (preferably with a flat head
- Wood
- Cricut Machine (Explore or Maker)
- Cricut Standard Cutting Mat
- Faux Leather
- Cricut Vinyl (We used white)
- Cricut Transfer Tape
- Metal Edge or Acrylic Ruler (Not pictured)
- Cricut XL Scraper Tool (Not pictured)
- Cricut Weeding Tool (Not pictured)
- Glue gun (optional, not pictured)
- Our Design Space File
Purchasing Your Wood
This may be a little intimidating to some but, did you know your local big box home improvement store can cut down wood for you? That’s right! I’ve been loving making wood signs lately, so I bought a 4 foot by 8 foot piece of plywood that I got cut down to several smaller pieces (like the 12 inch by 12 inch piece I used for this project). If that’s not really your thing, you can also find plenty of wood options at your local craft store in varying sizes, totally up to you.
Trim Down Your Leather
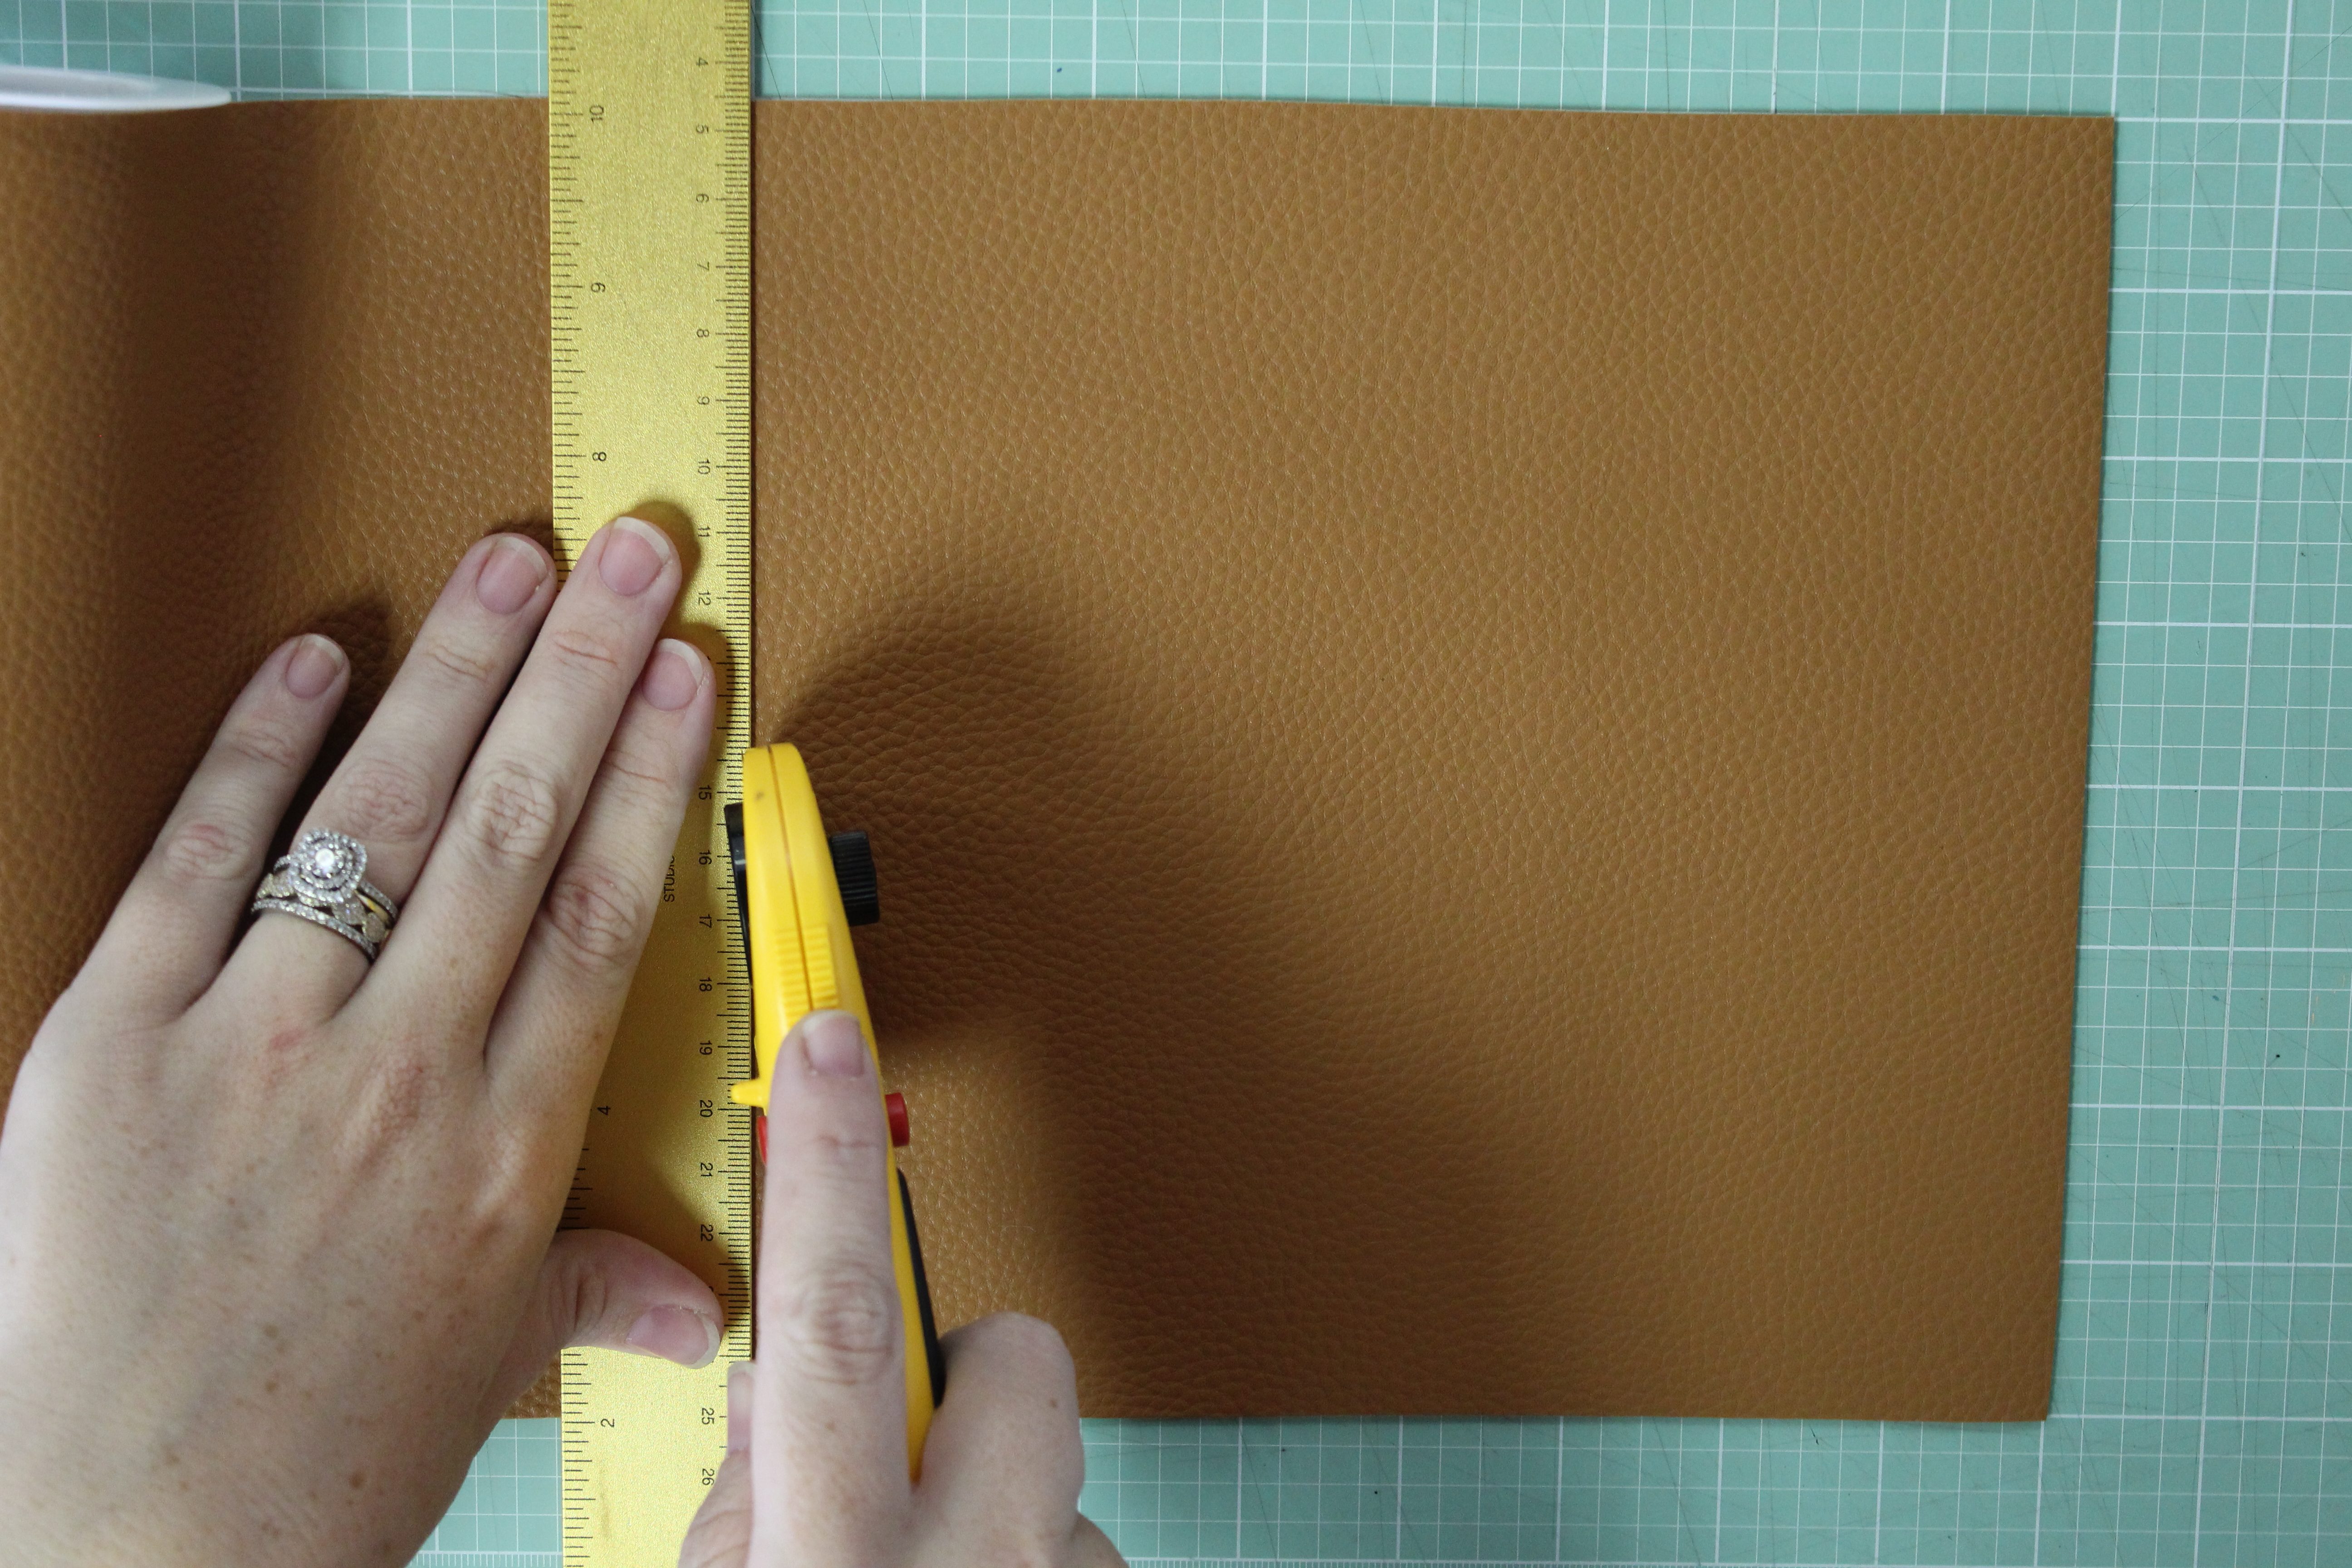
The leather I bought was 8 inches by 24 inches. Since my wood was a 12 inch by 12 inch square, I decided I wanted the leather to be an 8 inch by 8 inch square. Using a rotary cutter and a metal ruler, I trimmed it down to size.
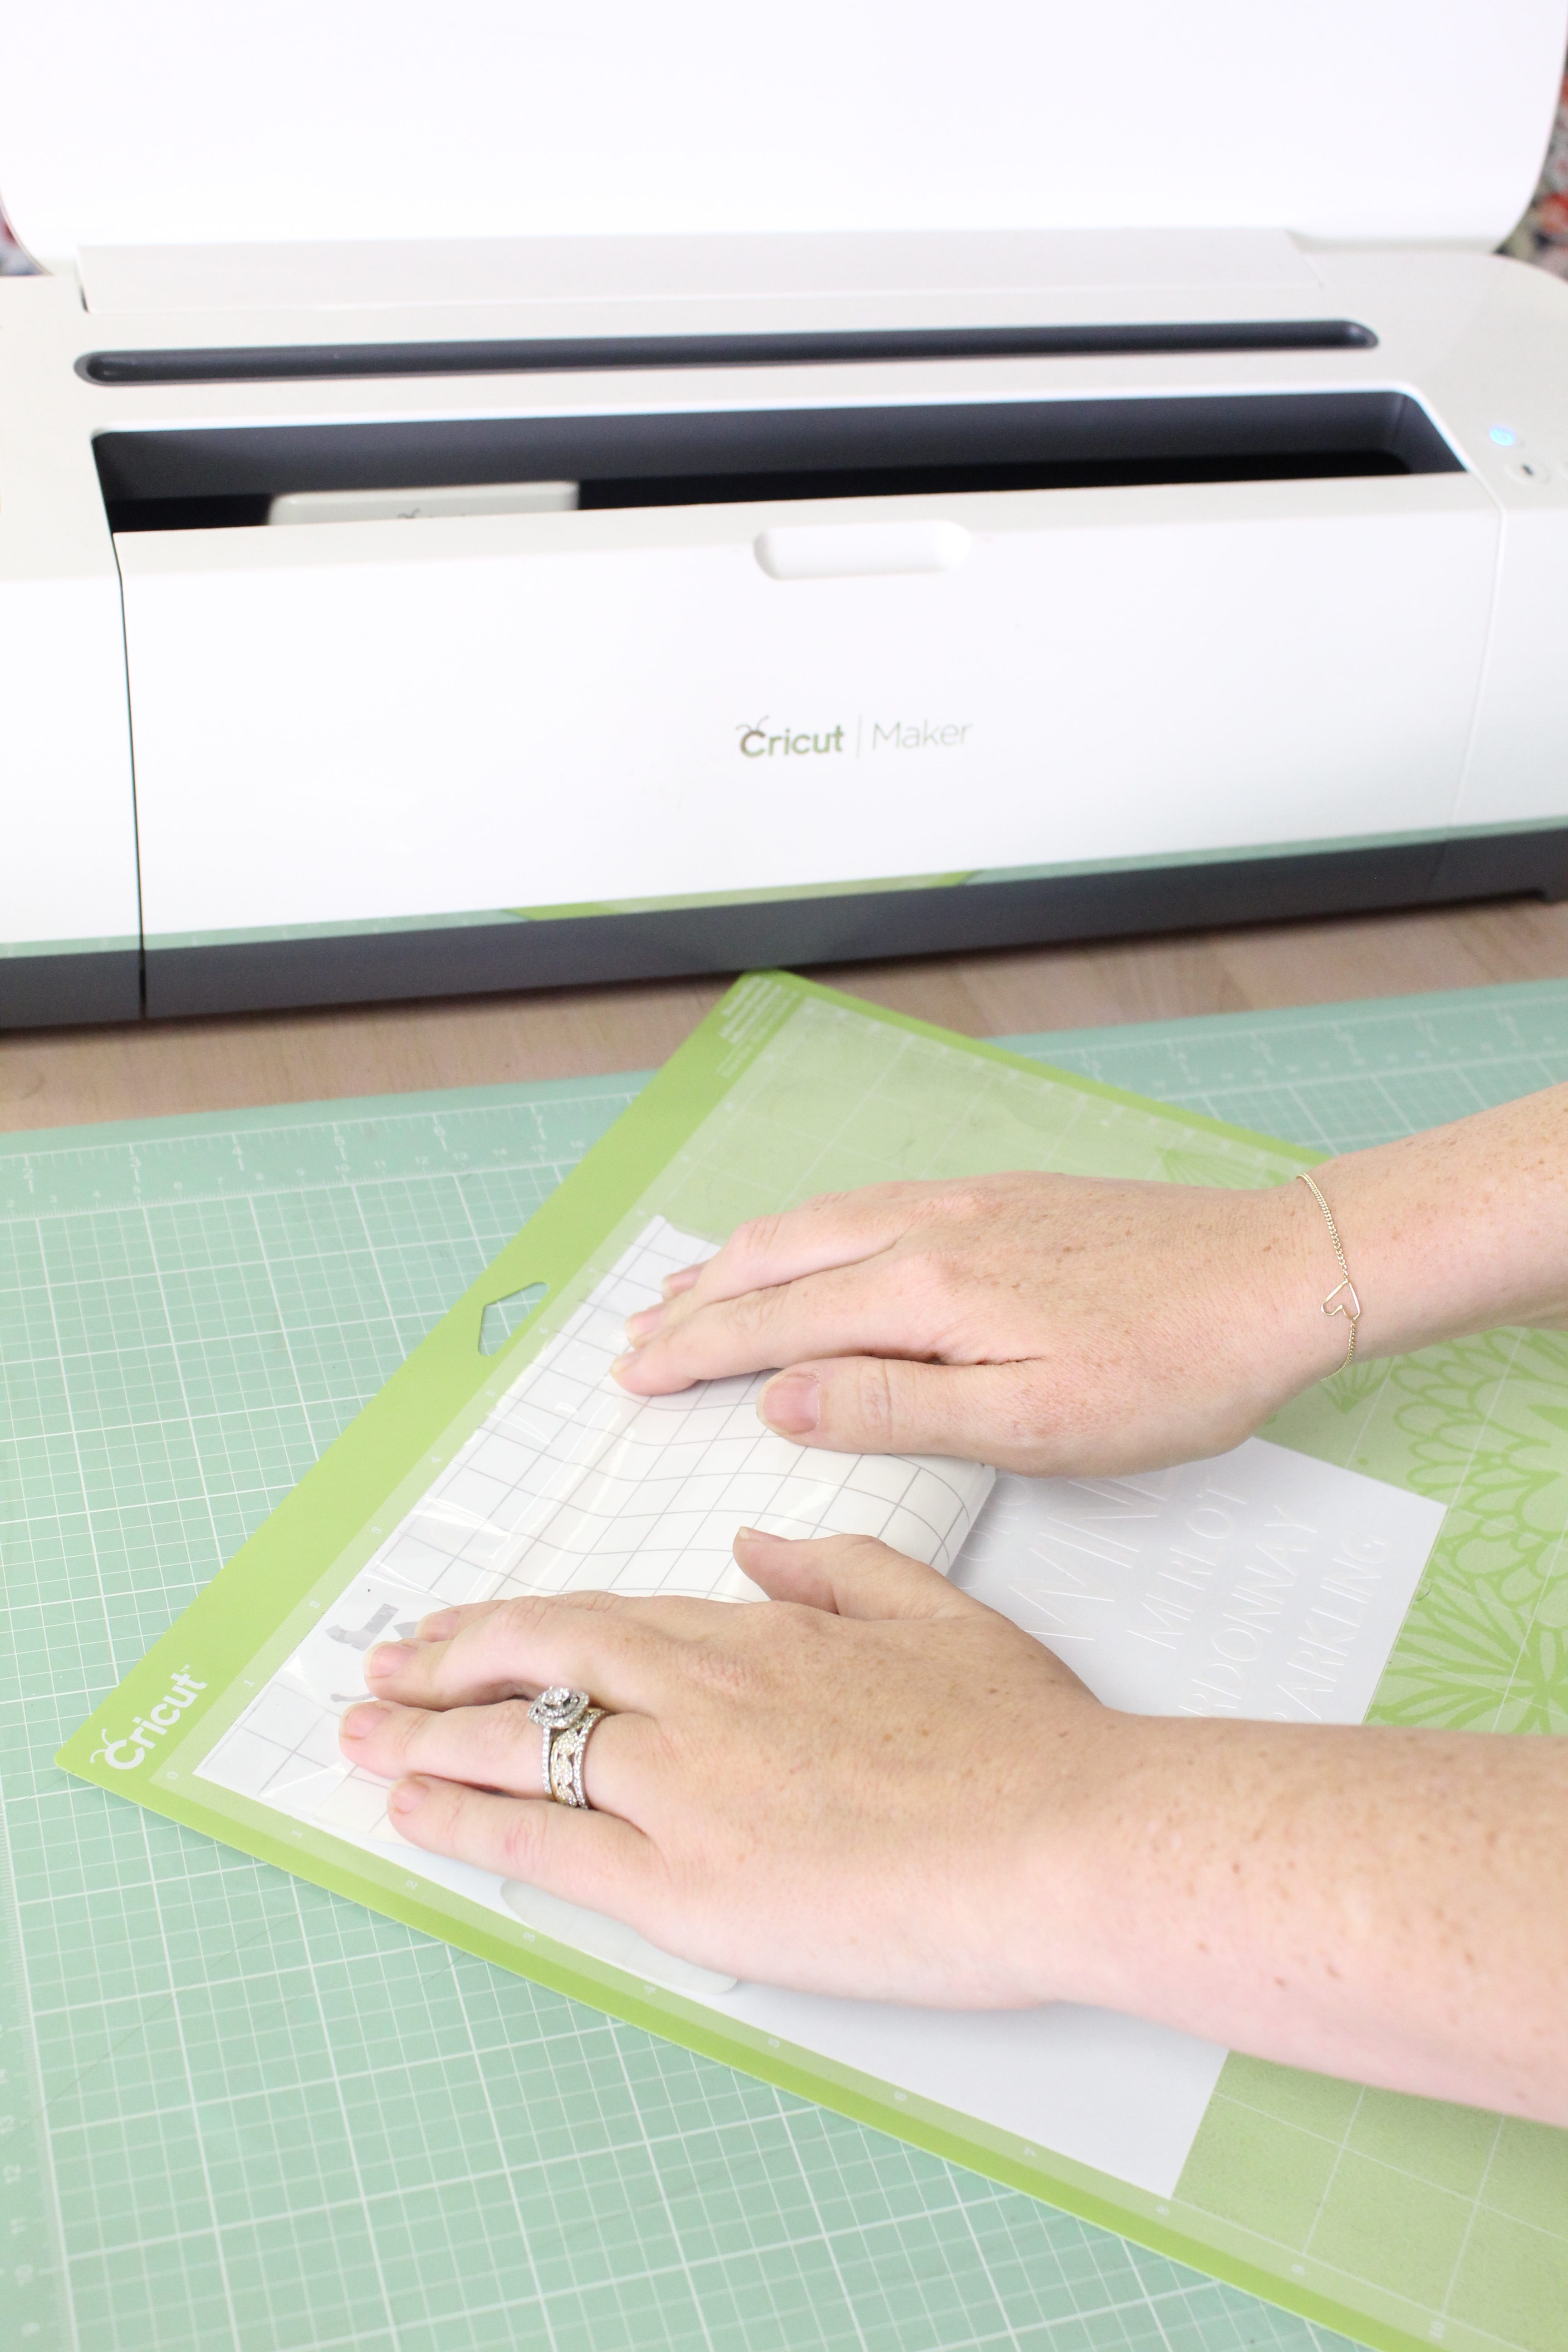
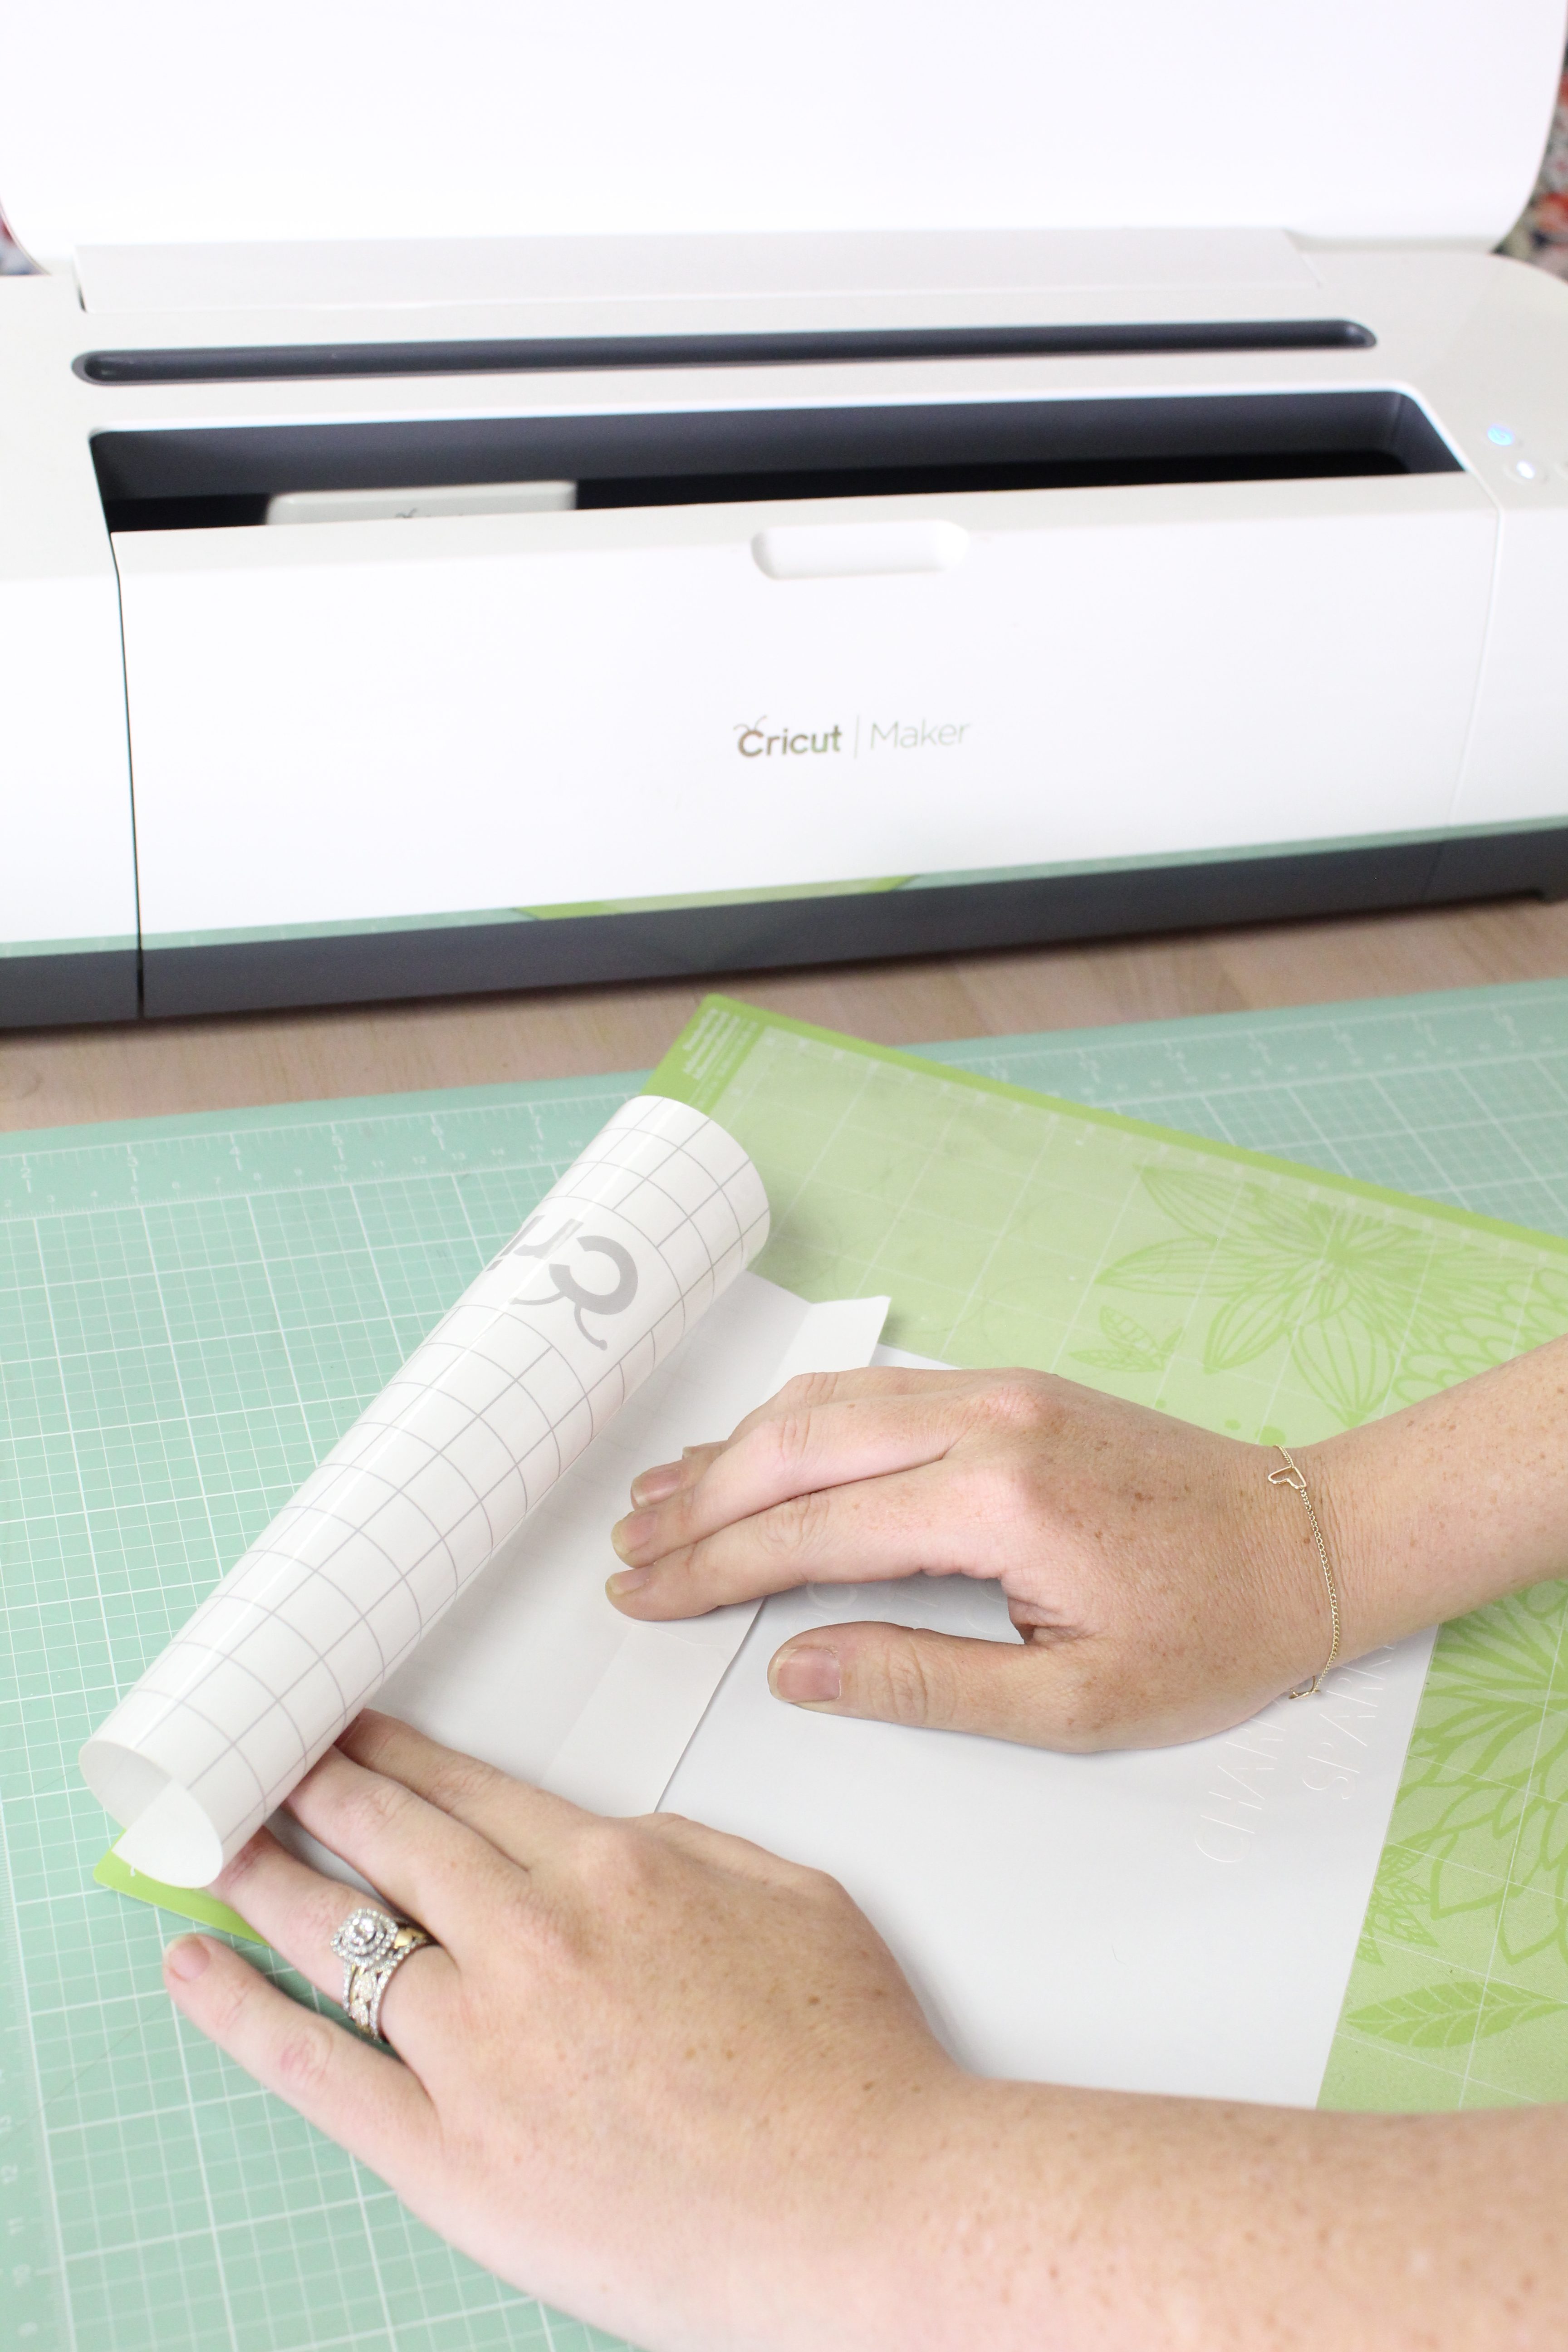
Prep Your Vinyl
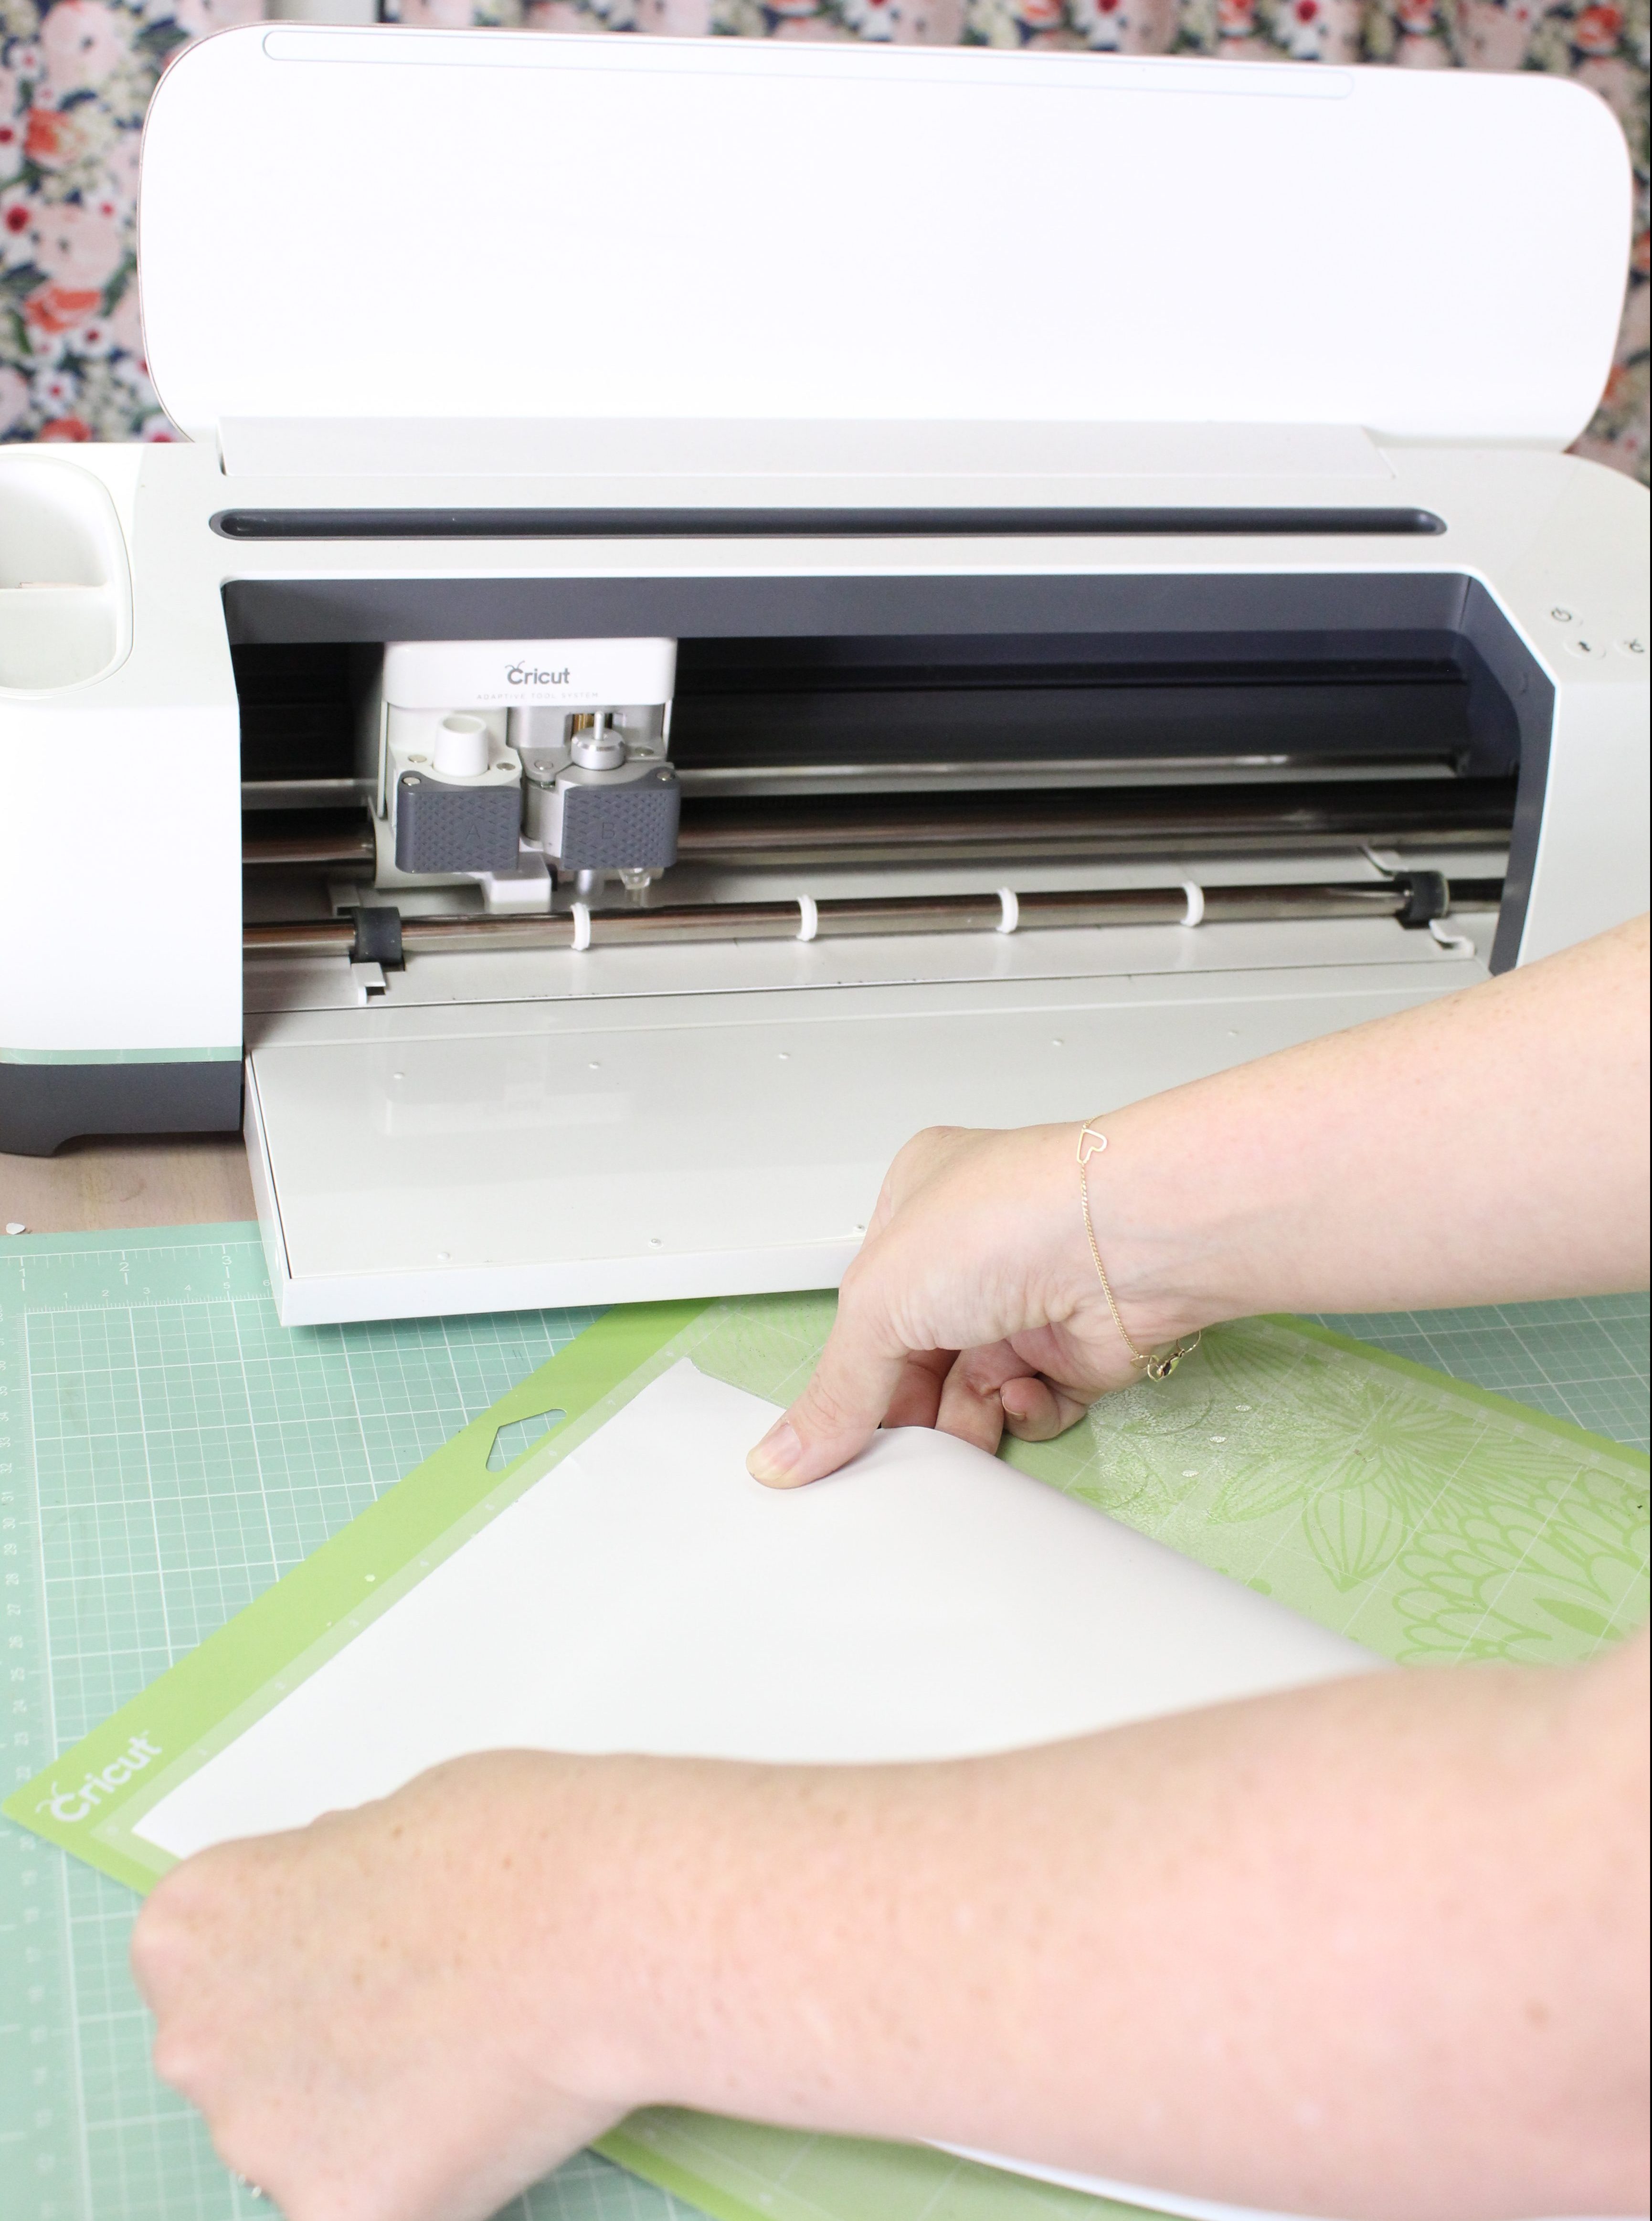
Place your vinyl on your mat, making sure to rub out any bubbles you may see.
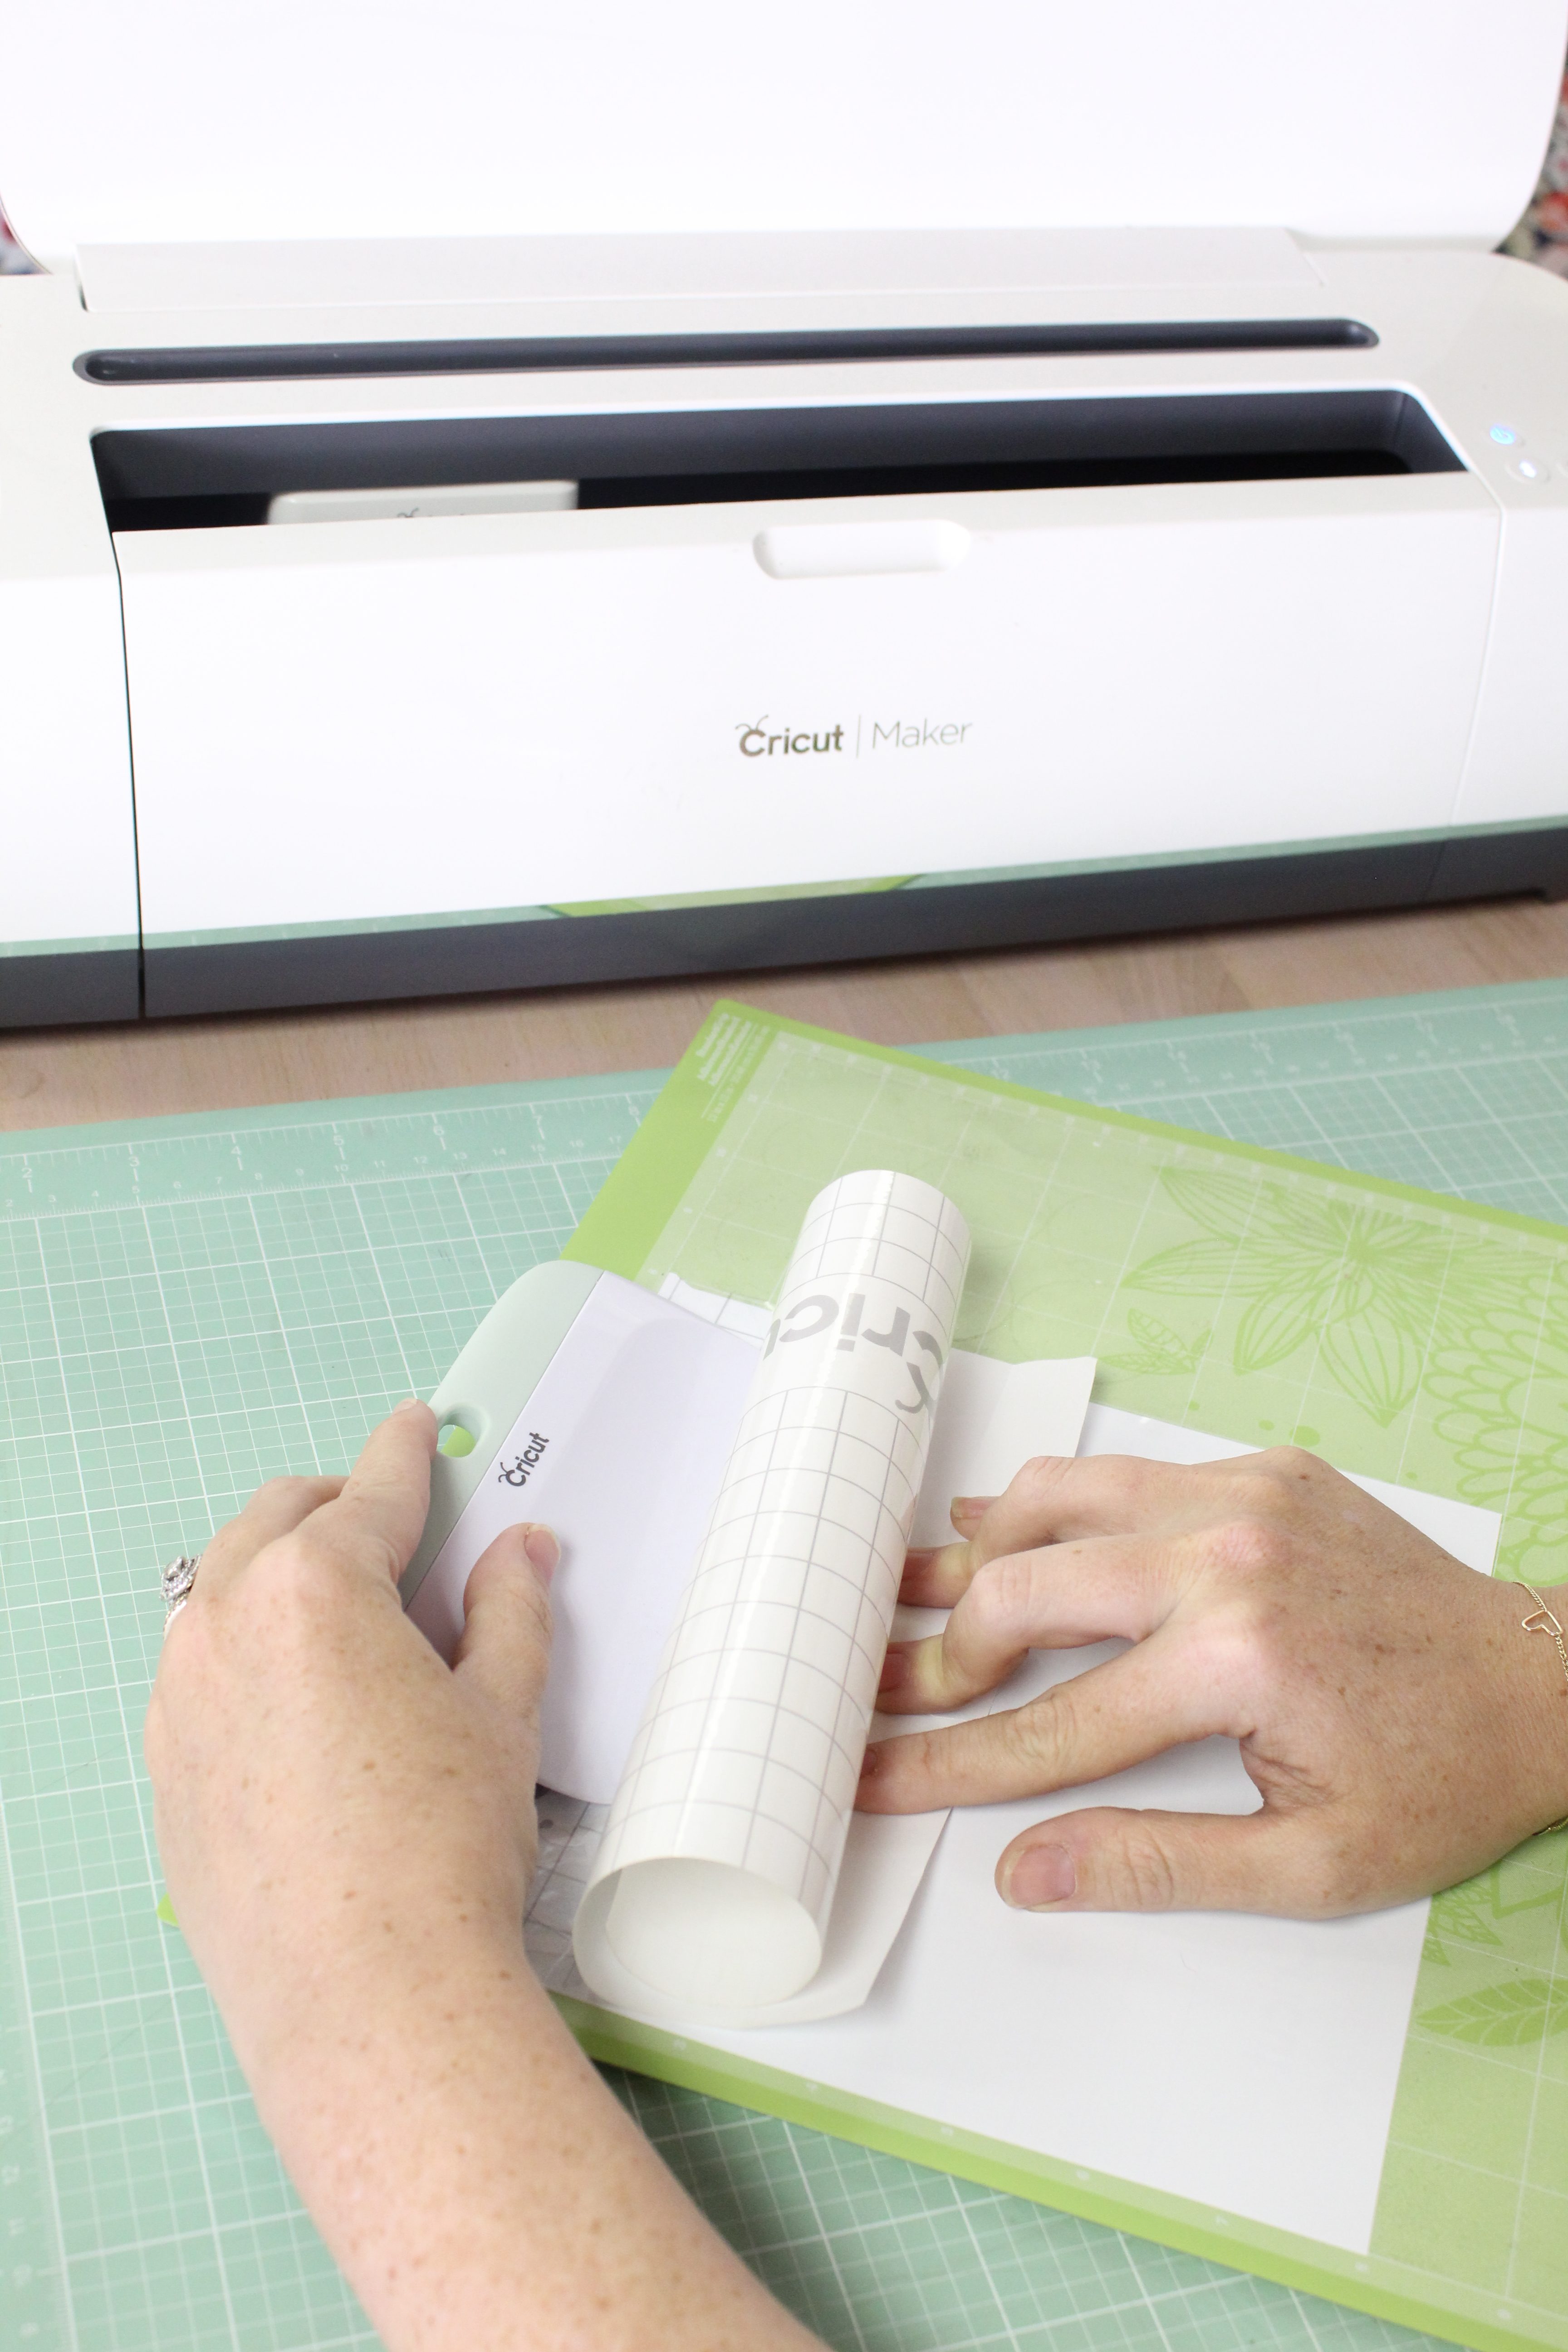
Load Your Vinyl
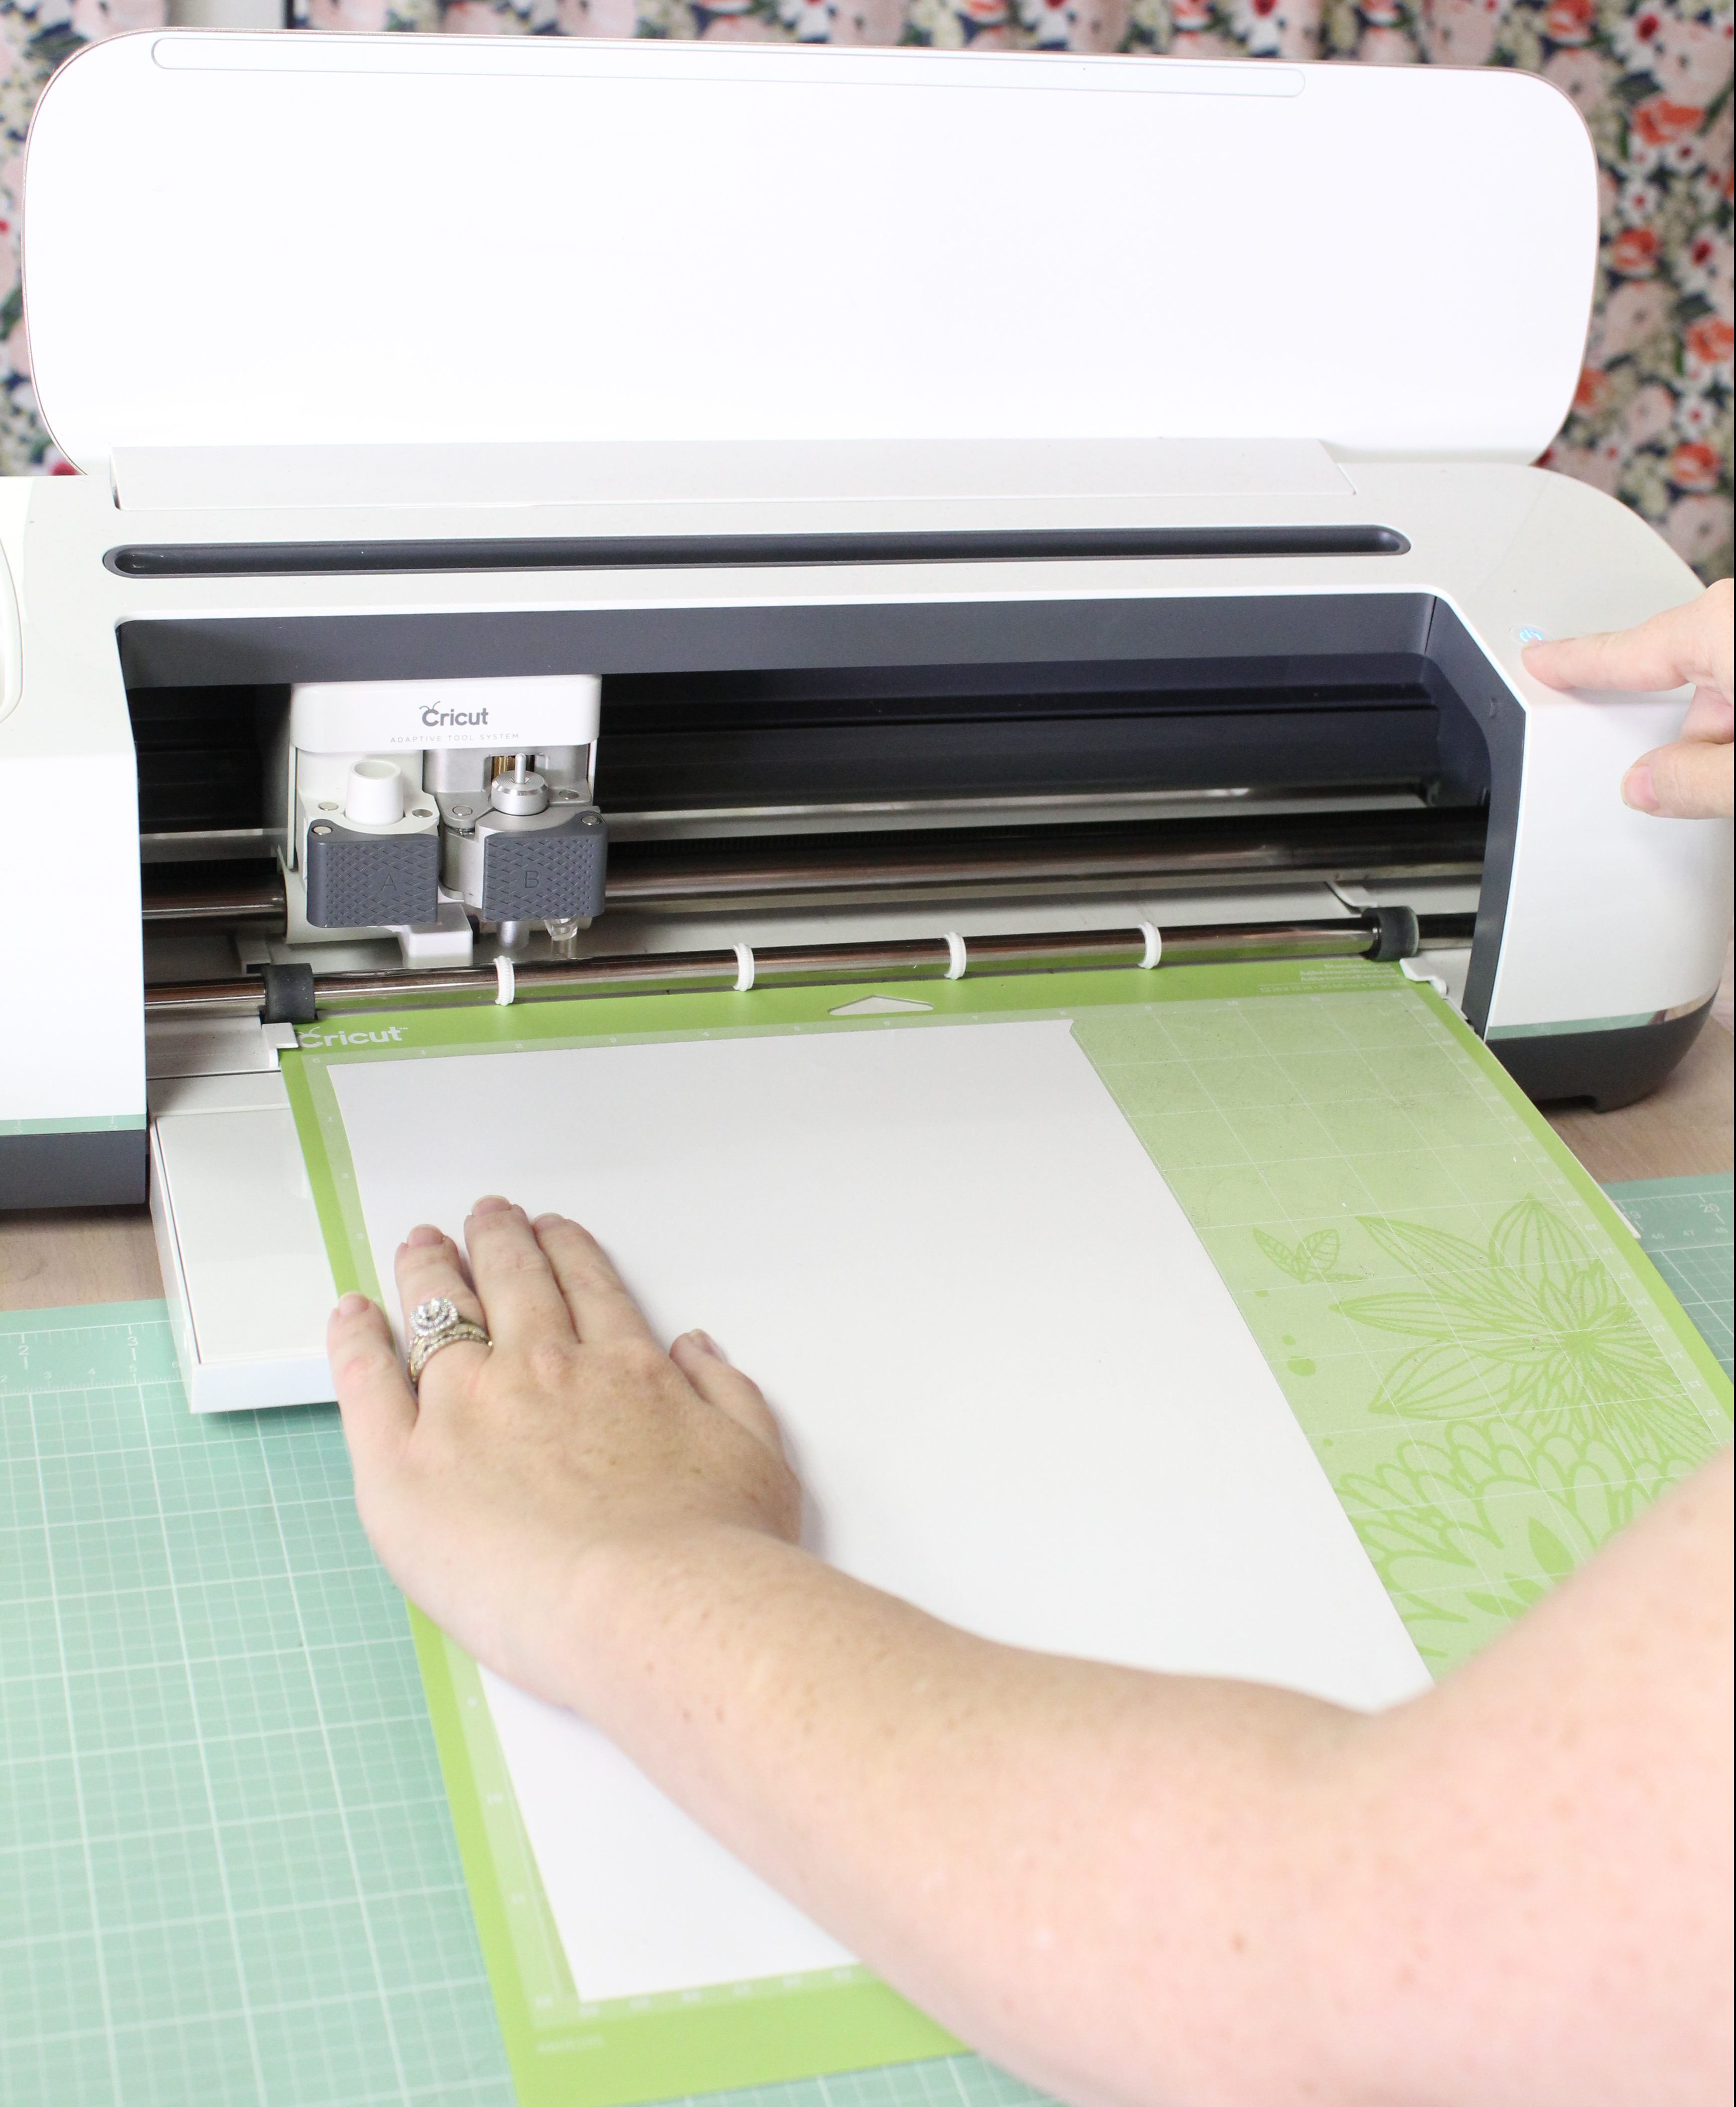
Once your vinyl is adhered to your mat, make sure that your machine is set to the vinyl setting and when prompted, load your mat into your machine
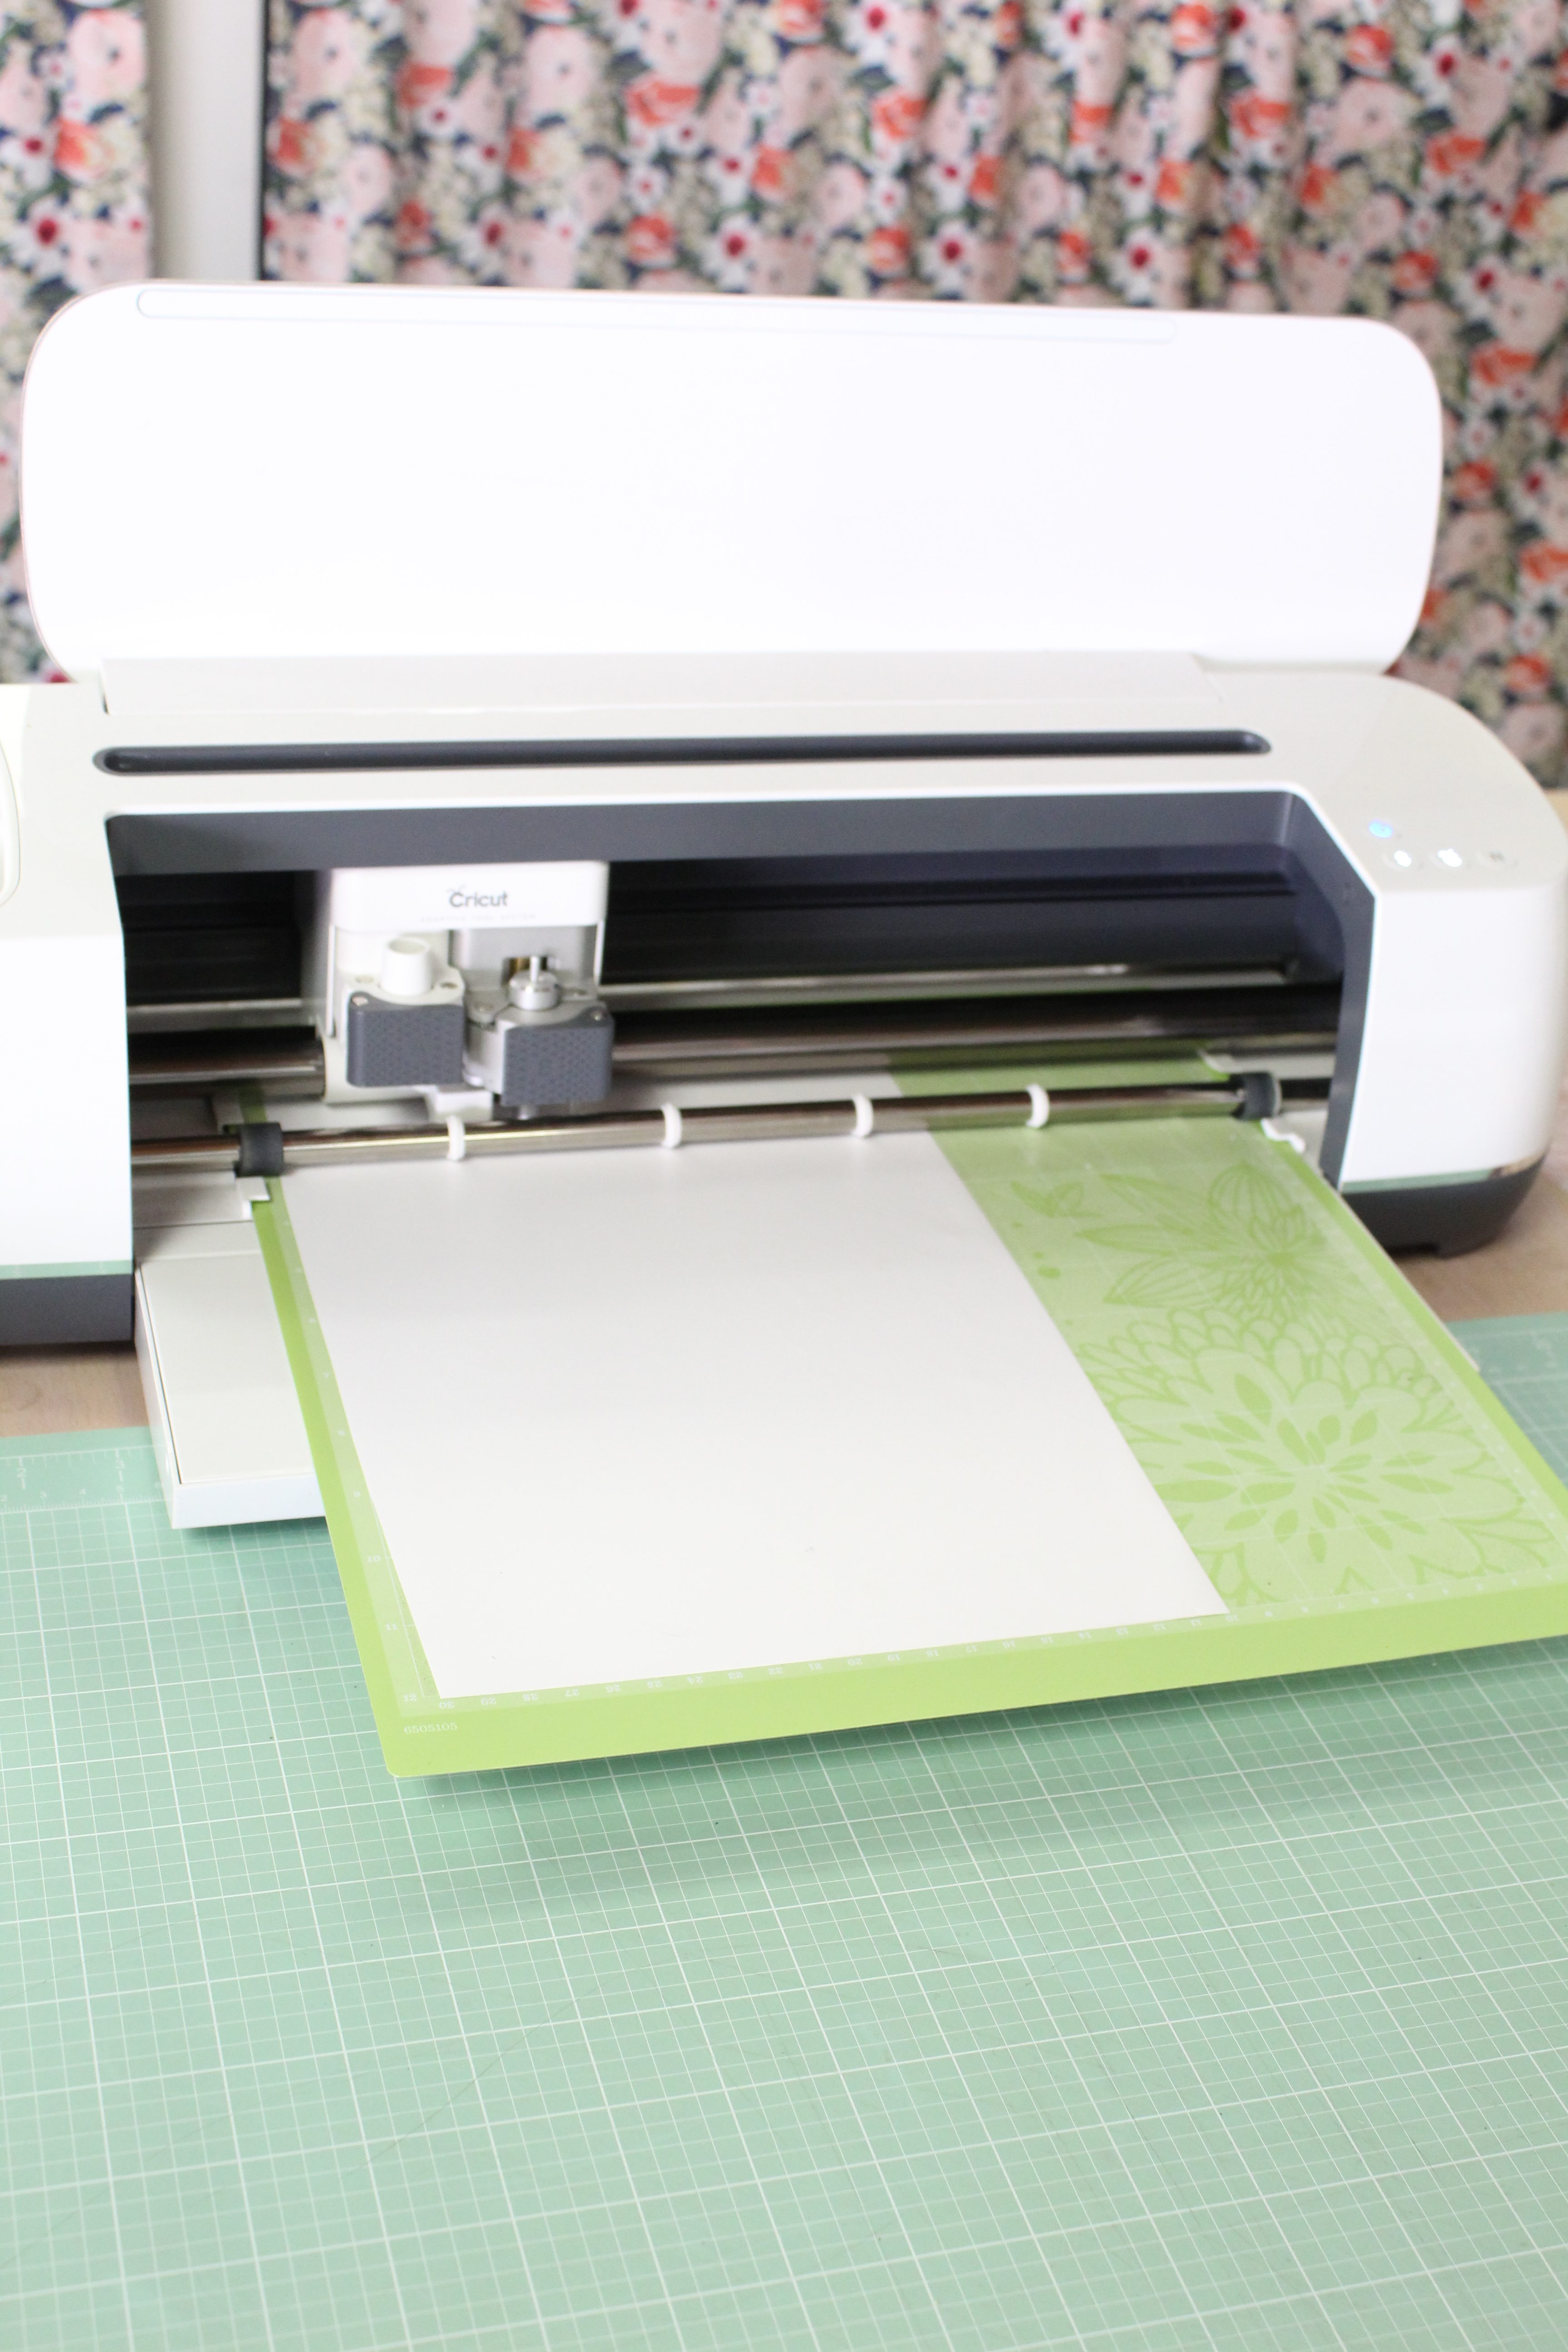
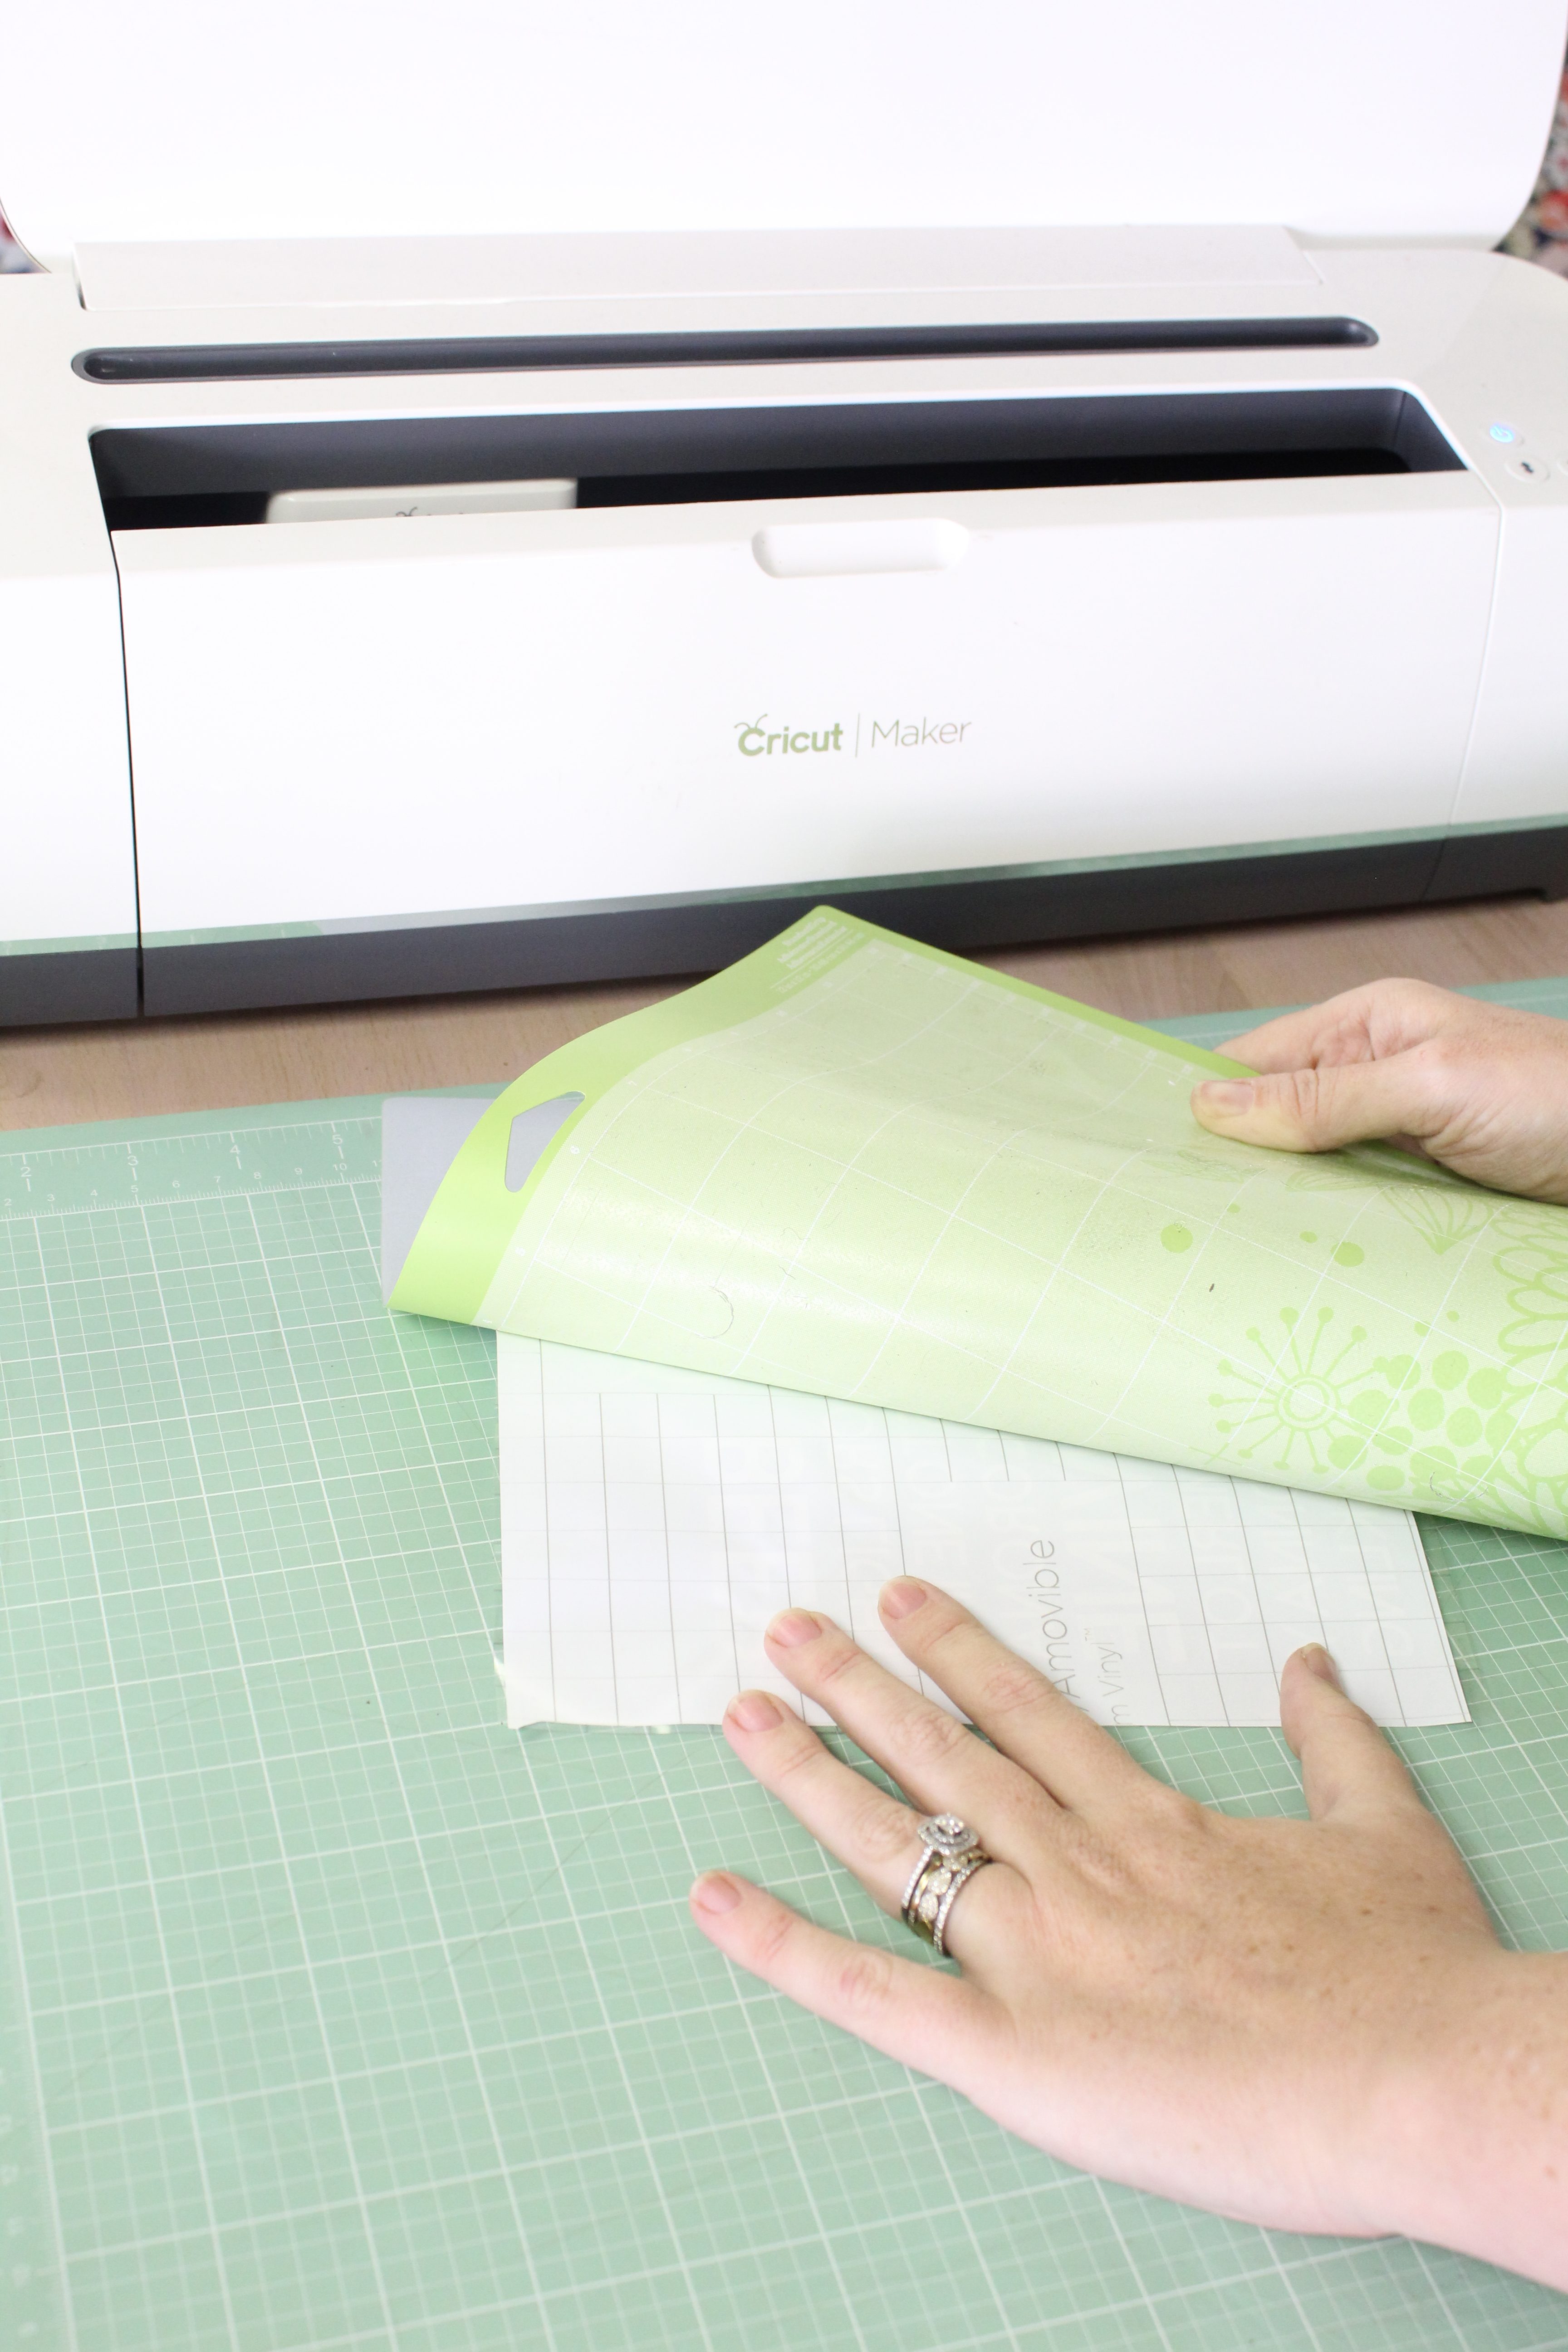
Let your machine do its magic!
Weed Your Design
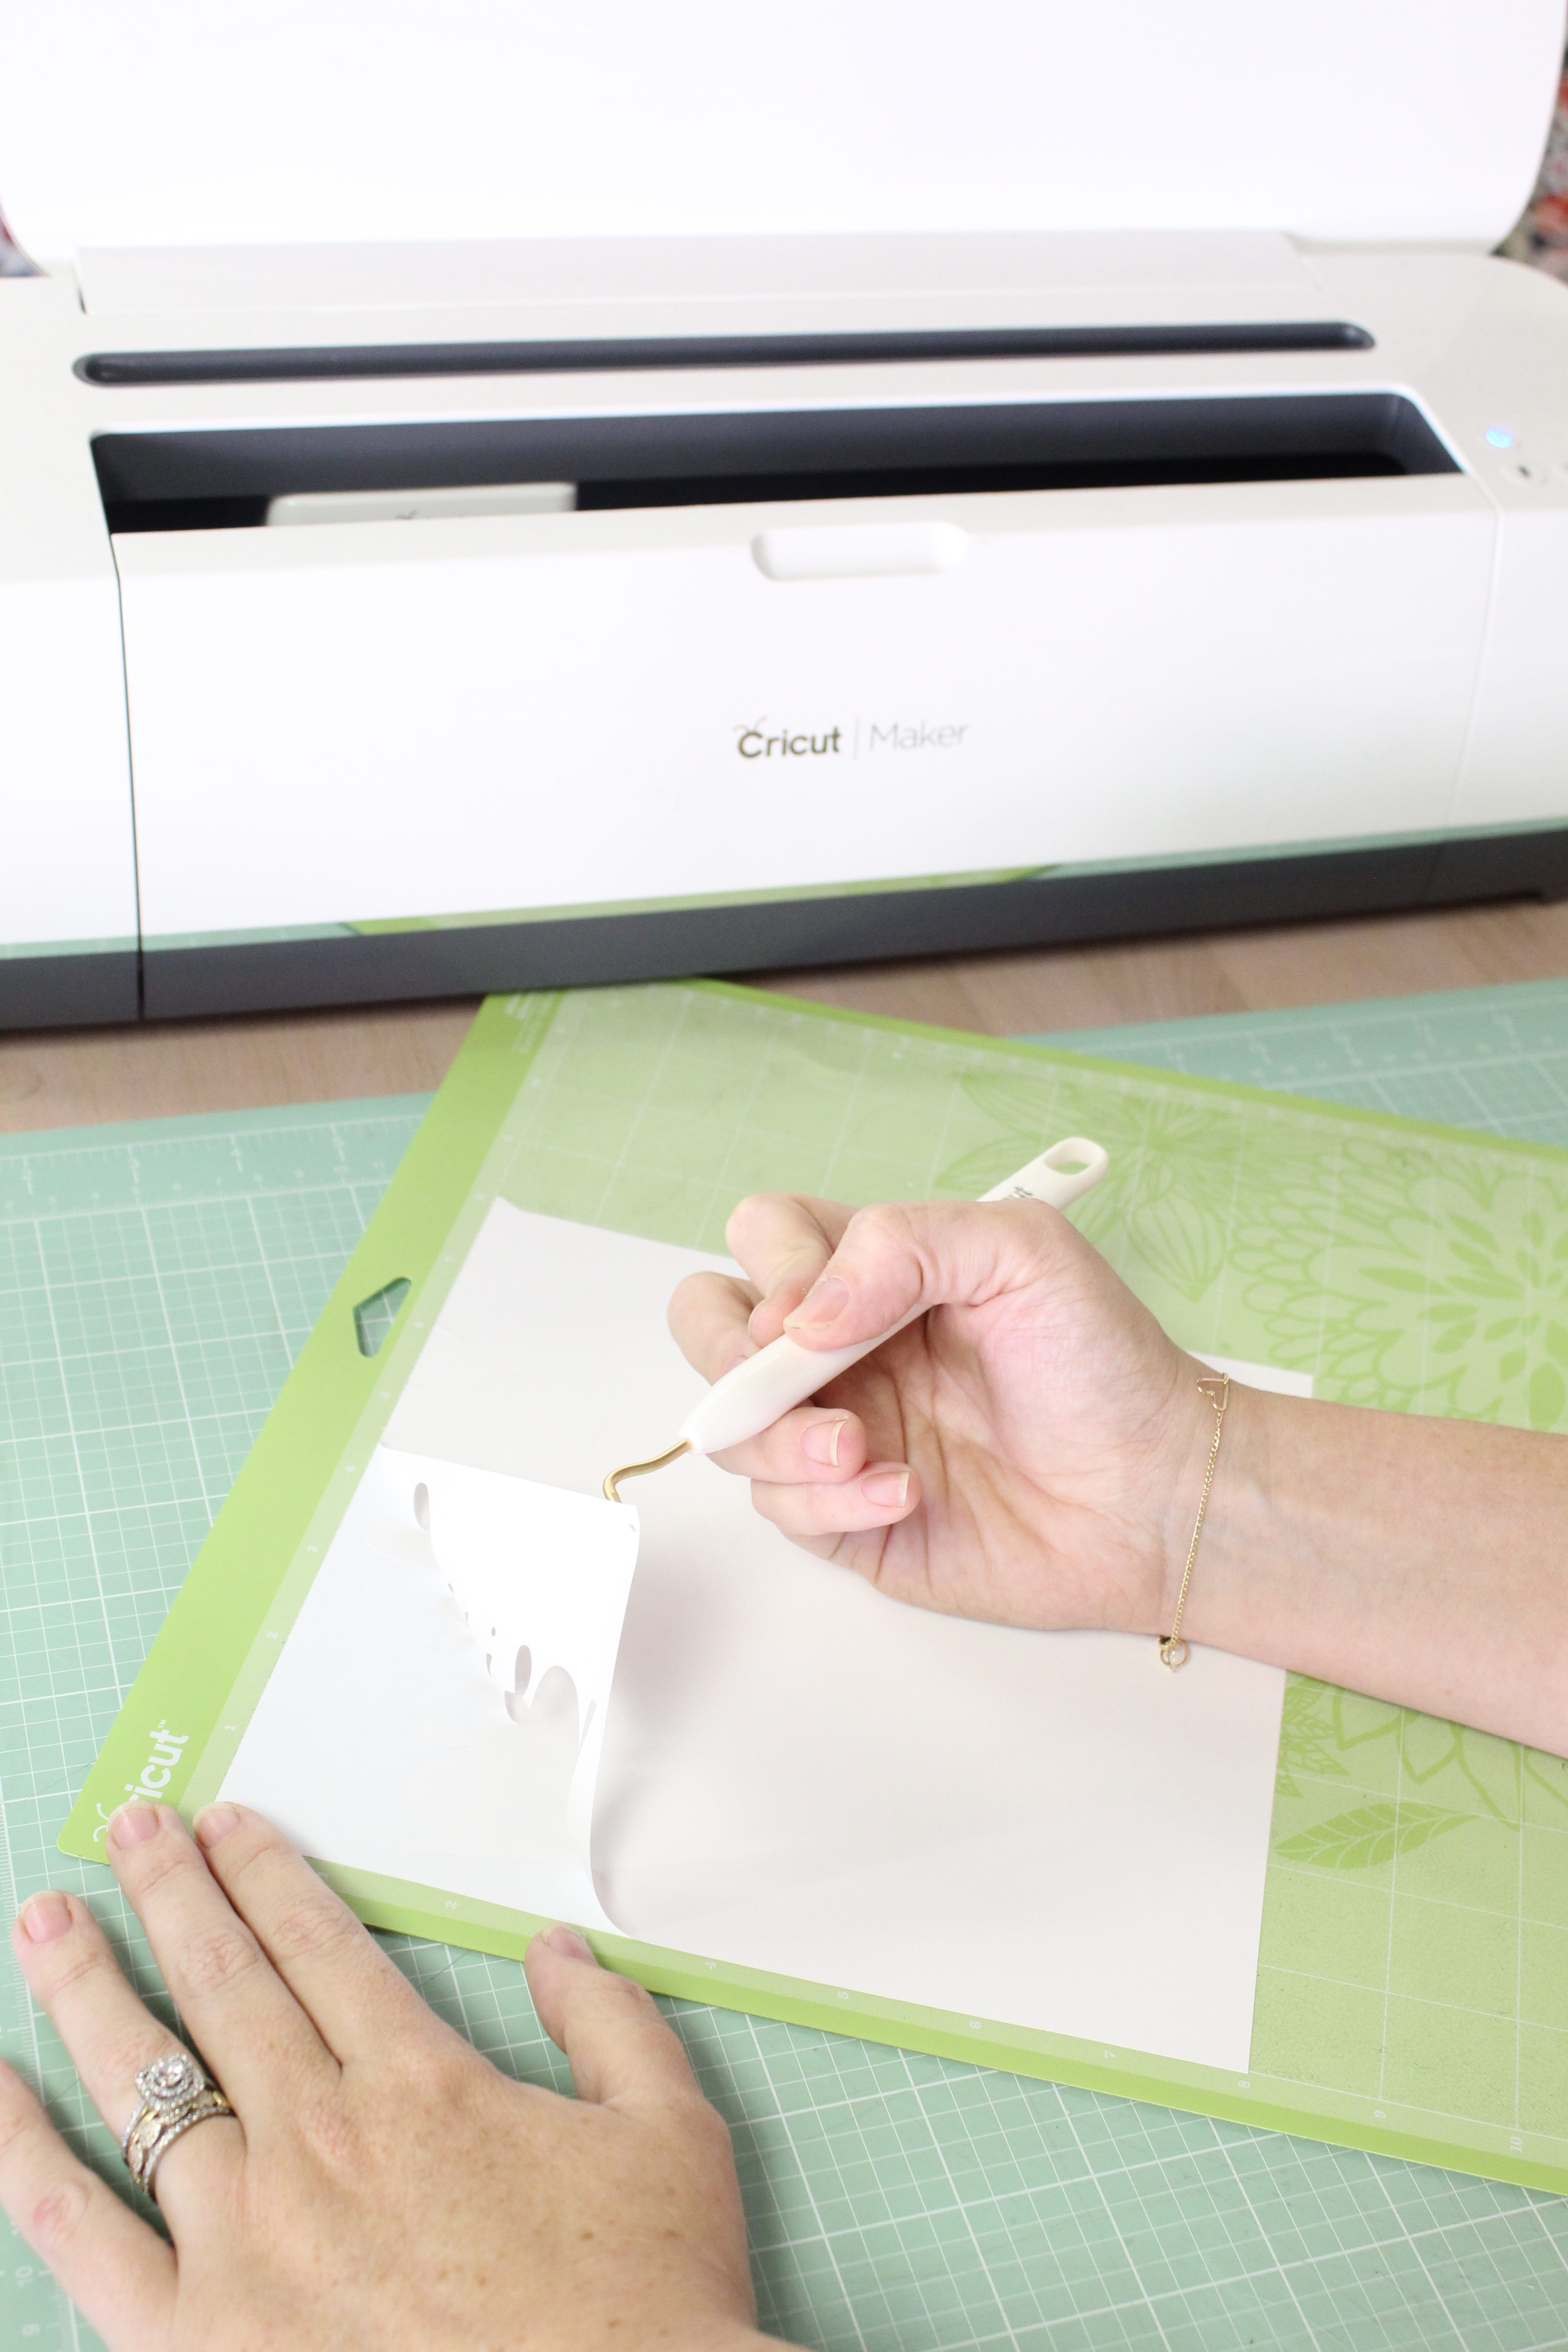
Unload the mat when prompted and weed your design by removing the areas of vinyl that you don’t want on your project.
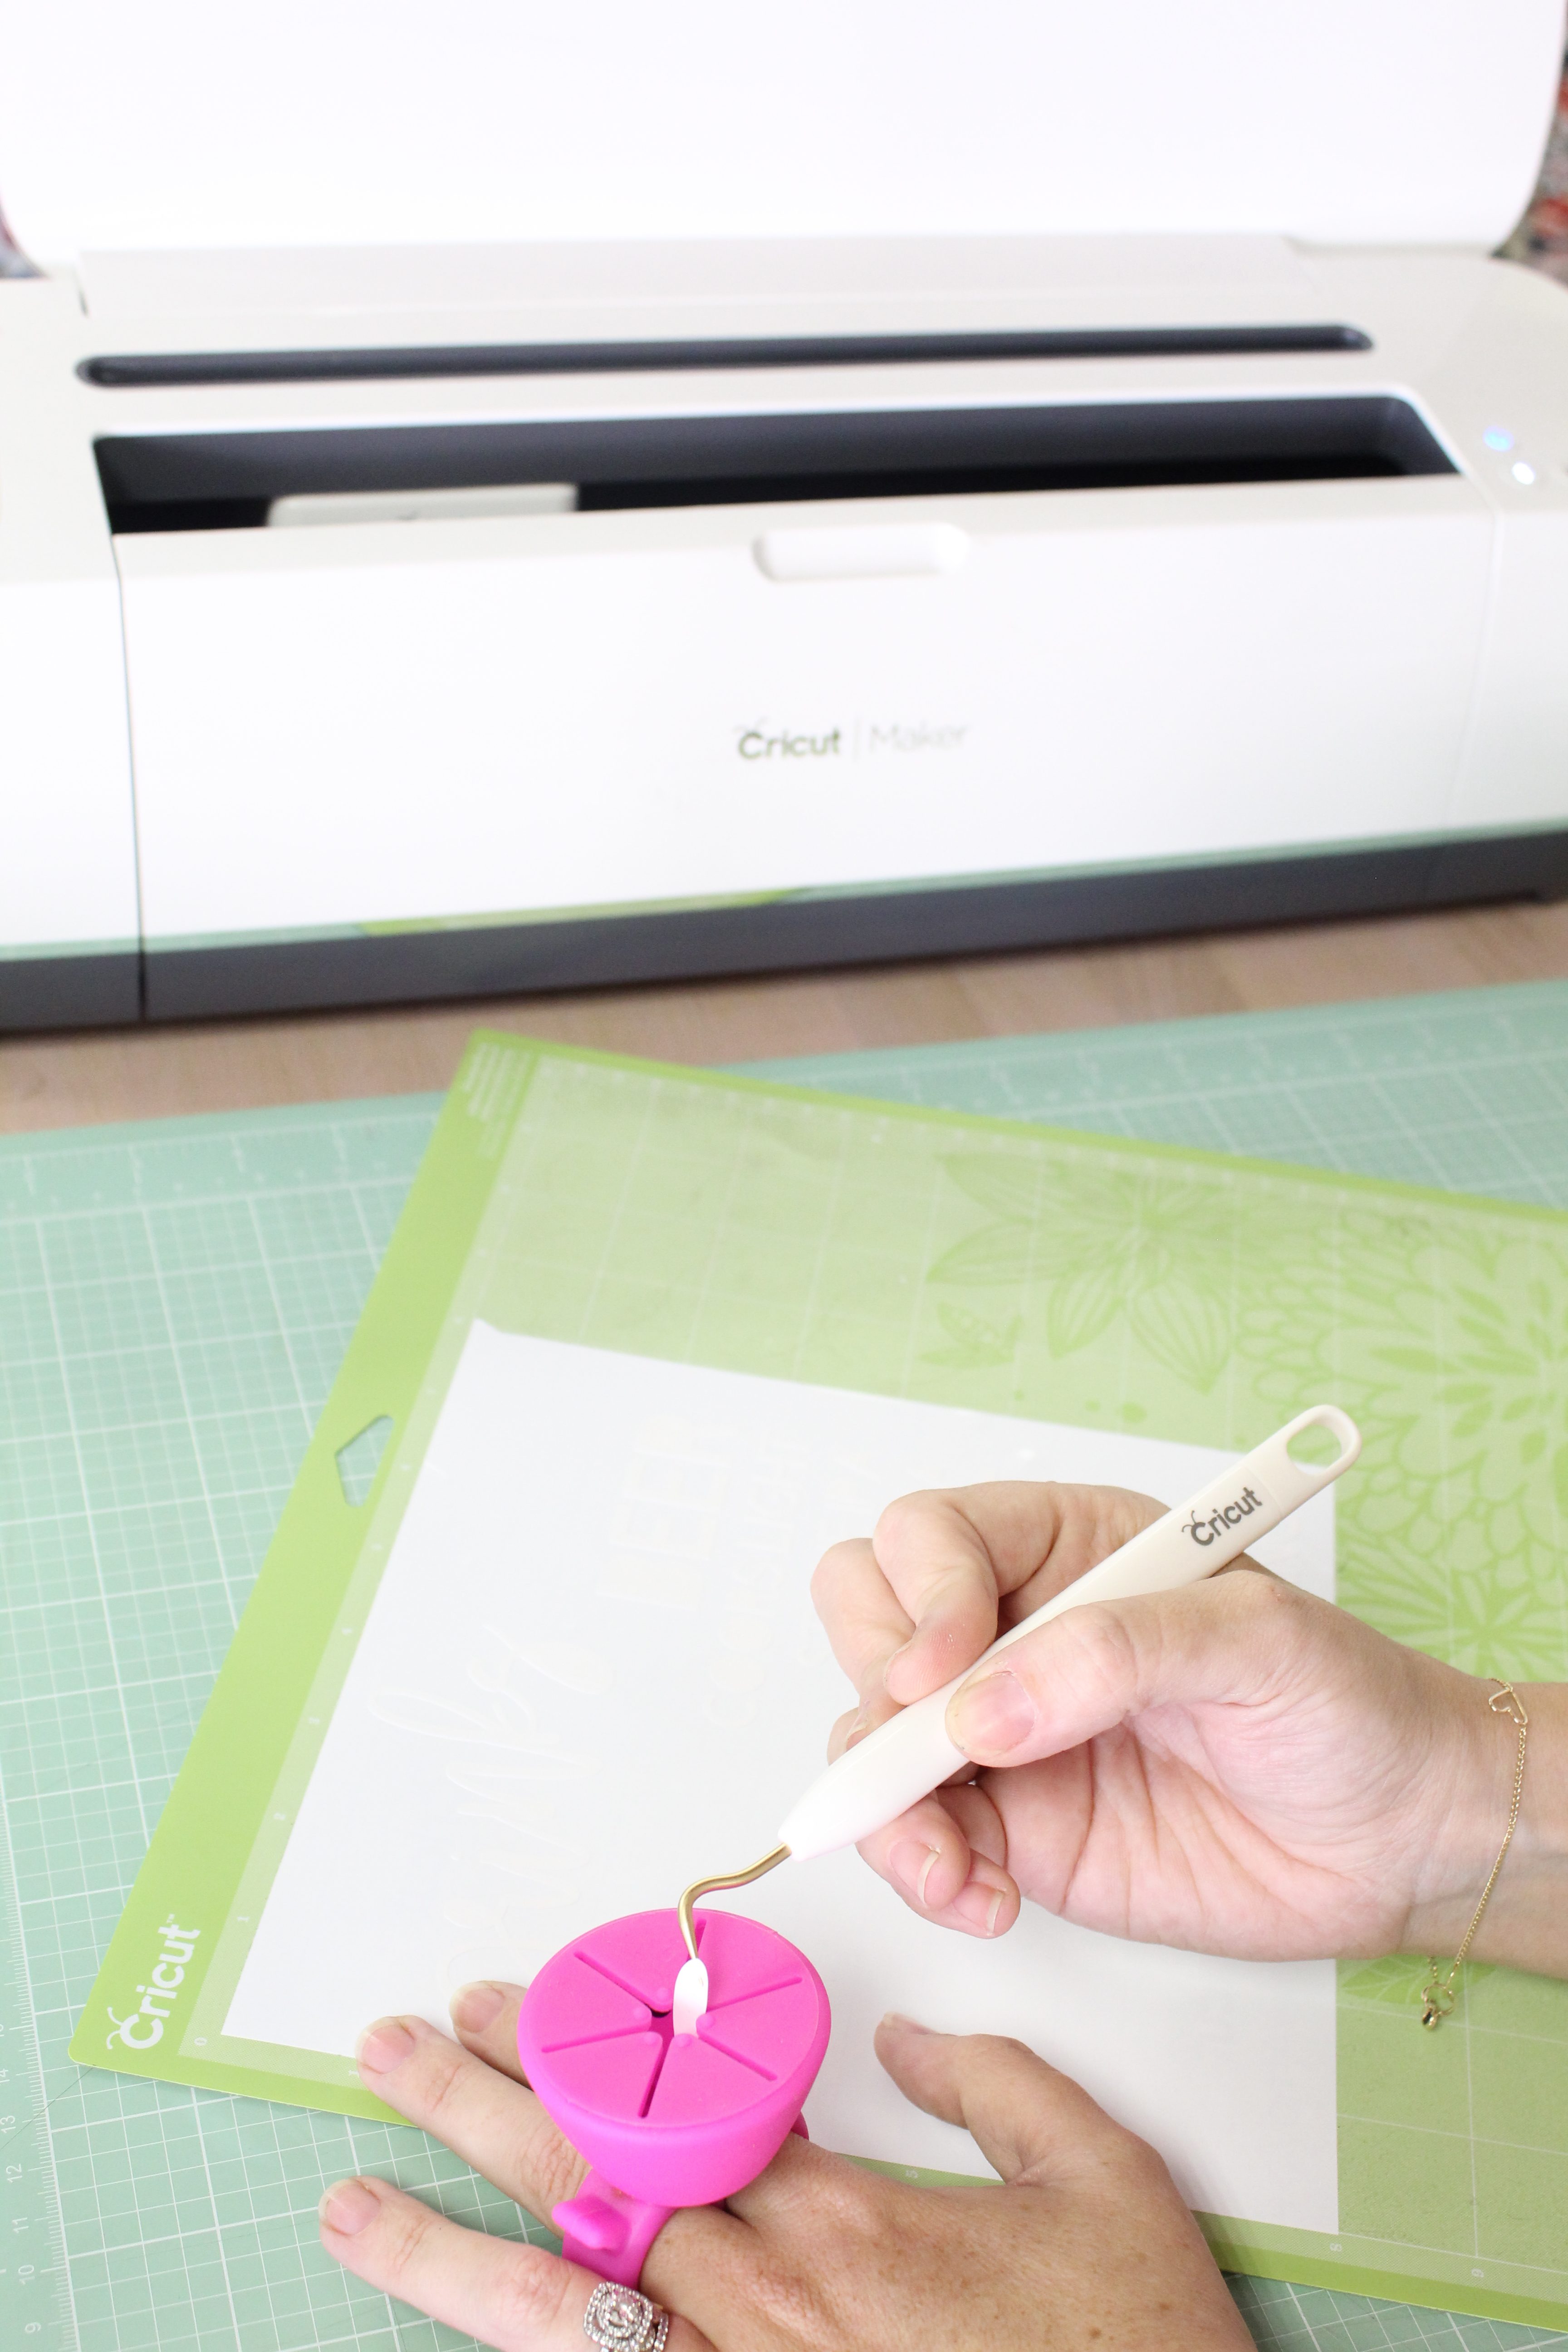
Insider Tip: If you don’t have one of these little guys, you need one in your life. They are actually used to hold nail polish while you paint your nails but I don’t like it for that purpose. It works much better as a vinyl catcher as you weed!
Apply Transfer Tape
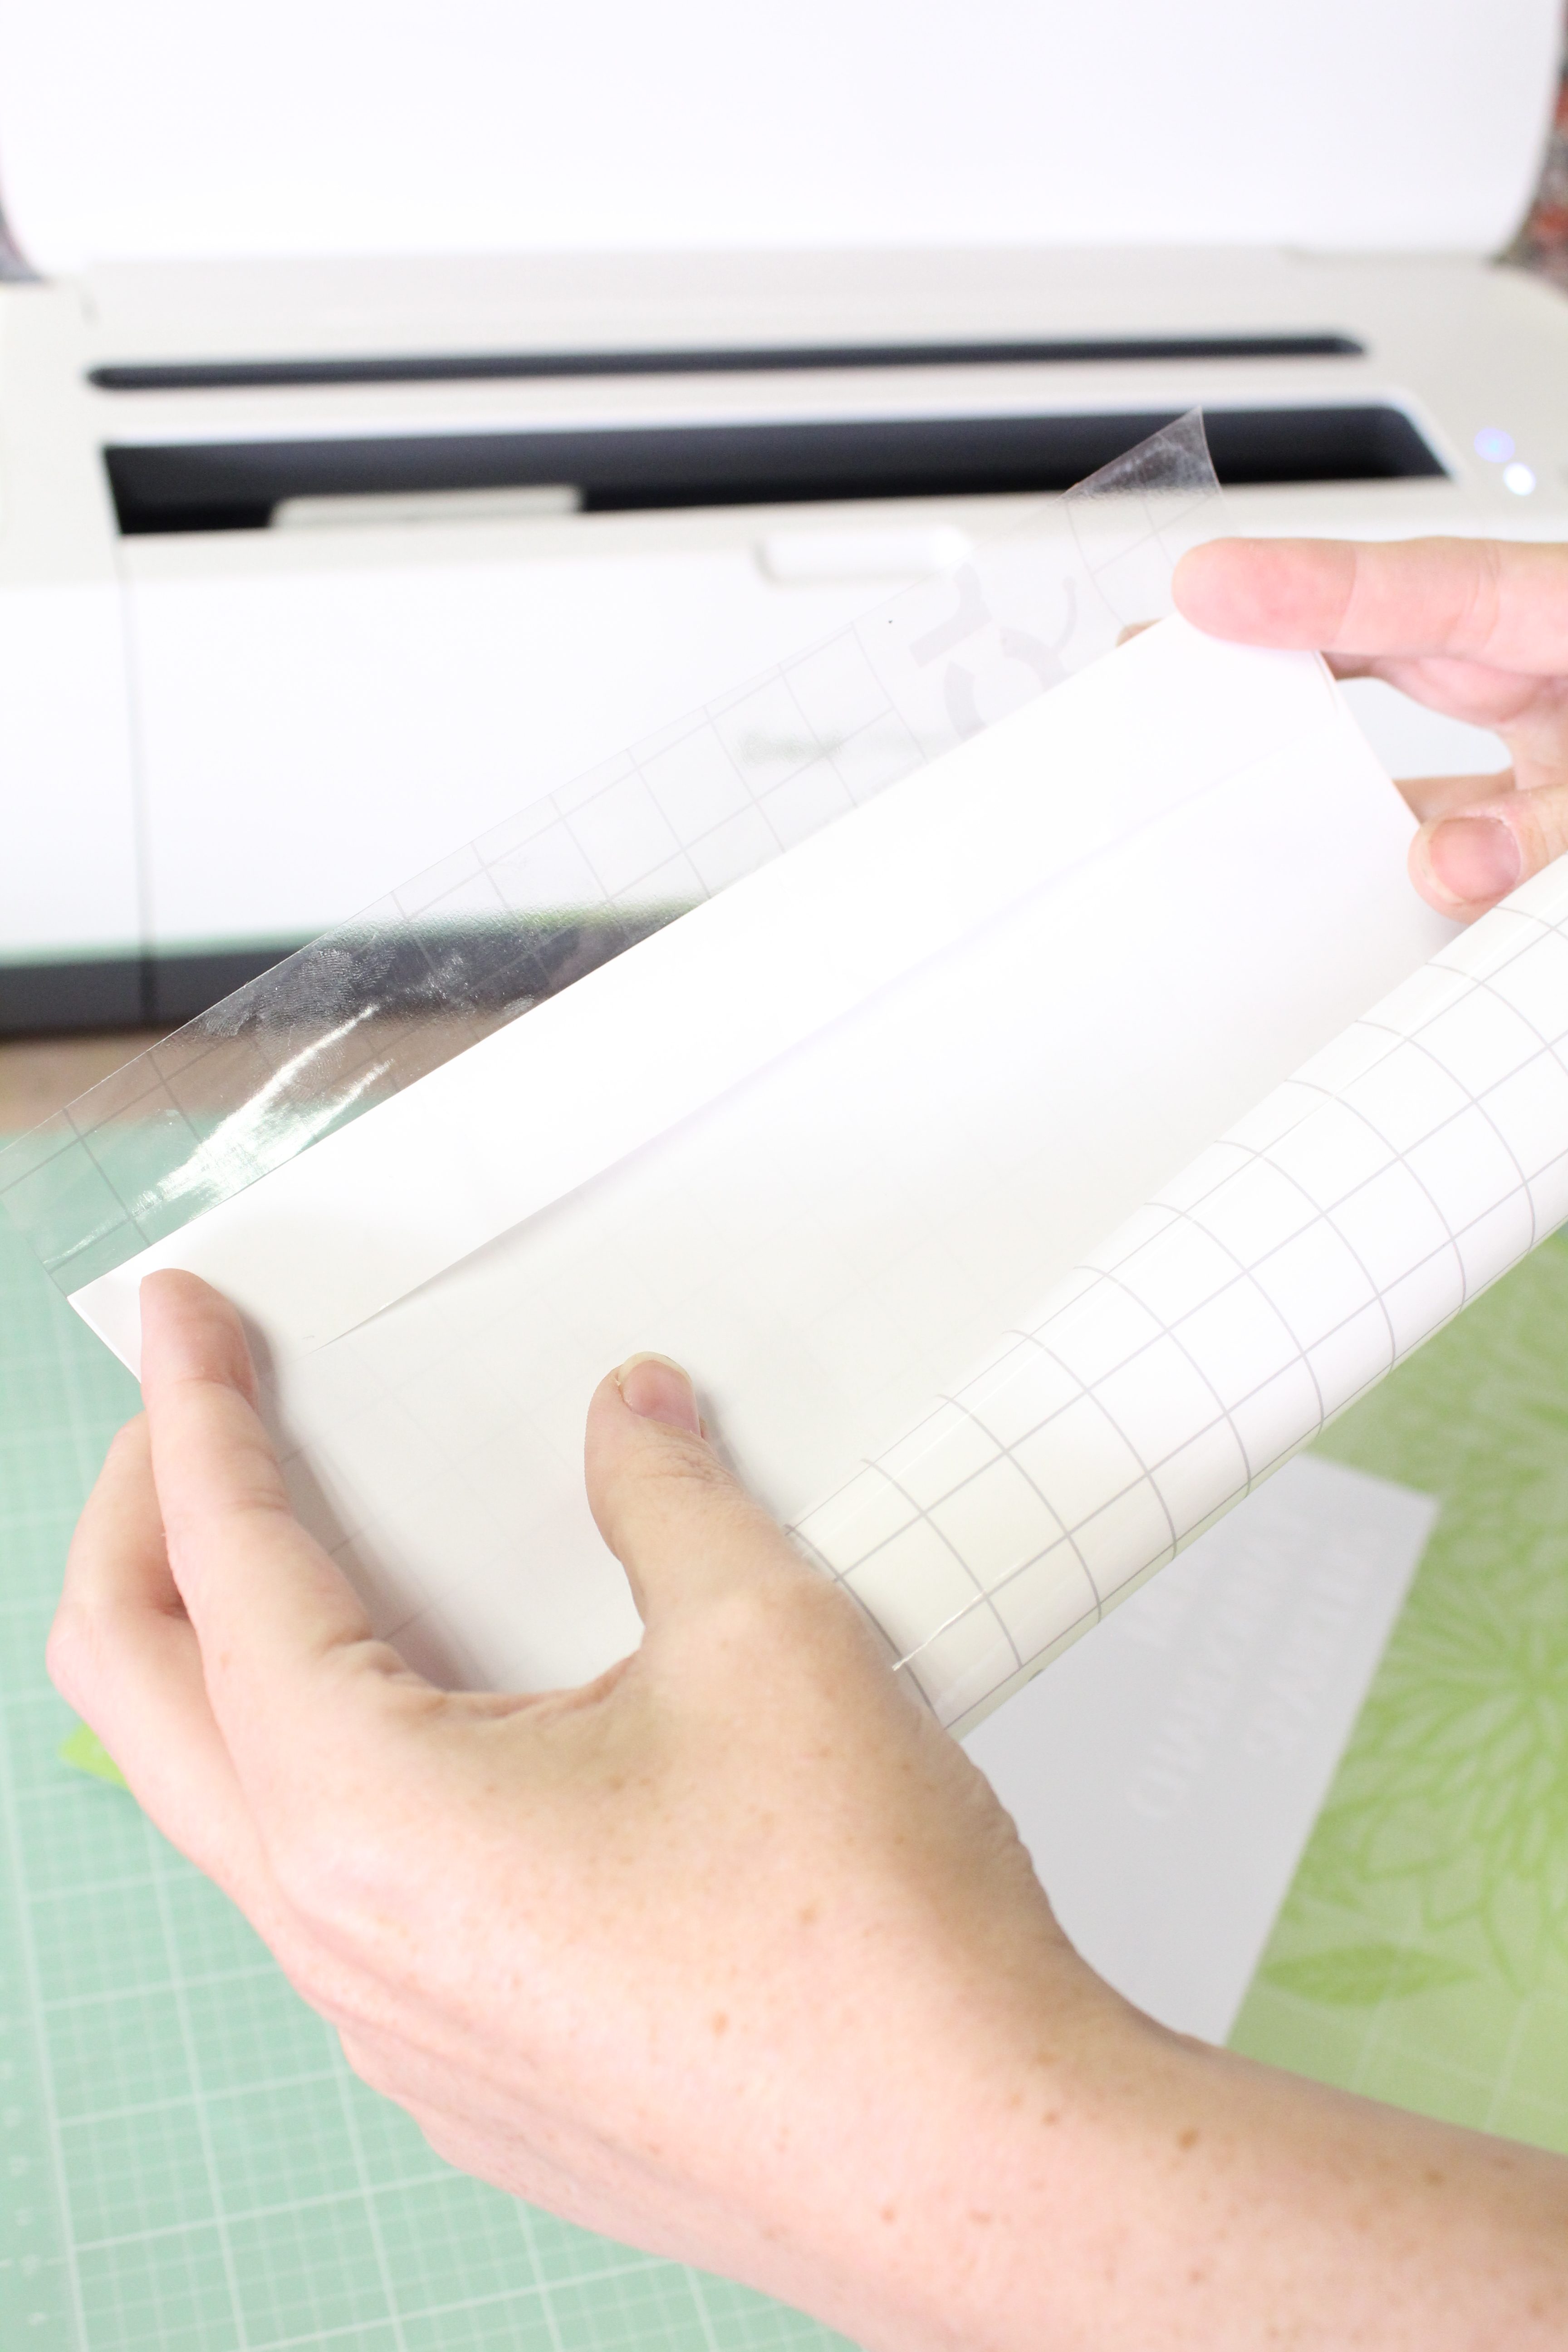
Applying transfer tape can be a bit tricky, the best way that I have found to apply it is to fold over a small portion of the backing sheet at the top before beginning to apply it to your vinyl, like I show here.
Then, carefully line it up with the top of your design and slowly pull back the backing sheet, applying the transfer tape to your design.
Sometimes I even use my XL scraper tool as I go.
Insider Tip: It usually works best to remove the mat from your project, vs your project from the mat, to prevent rolling.
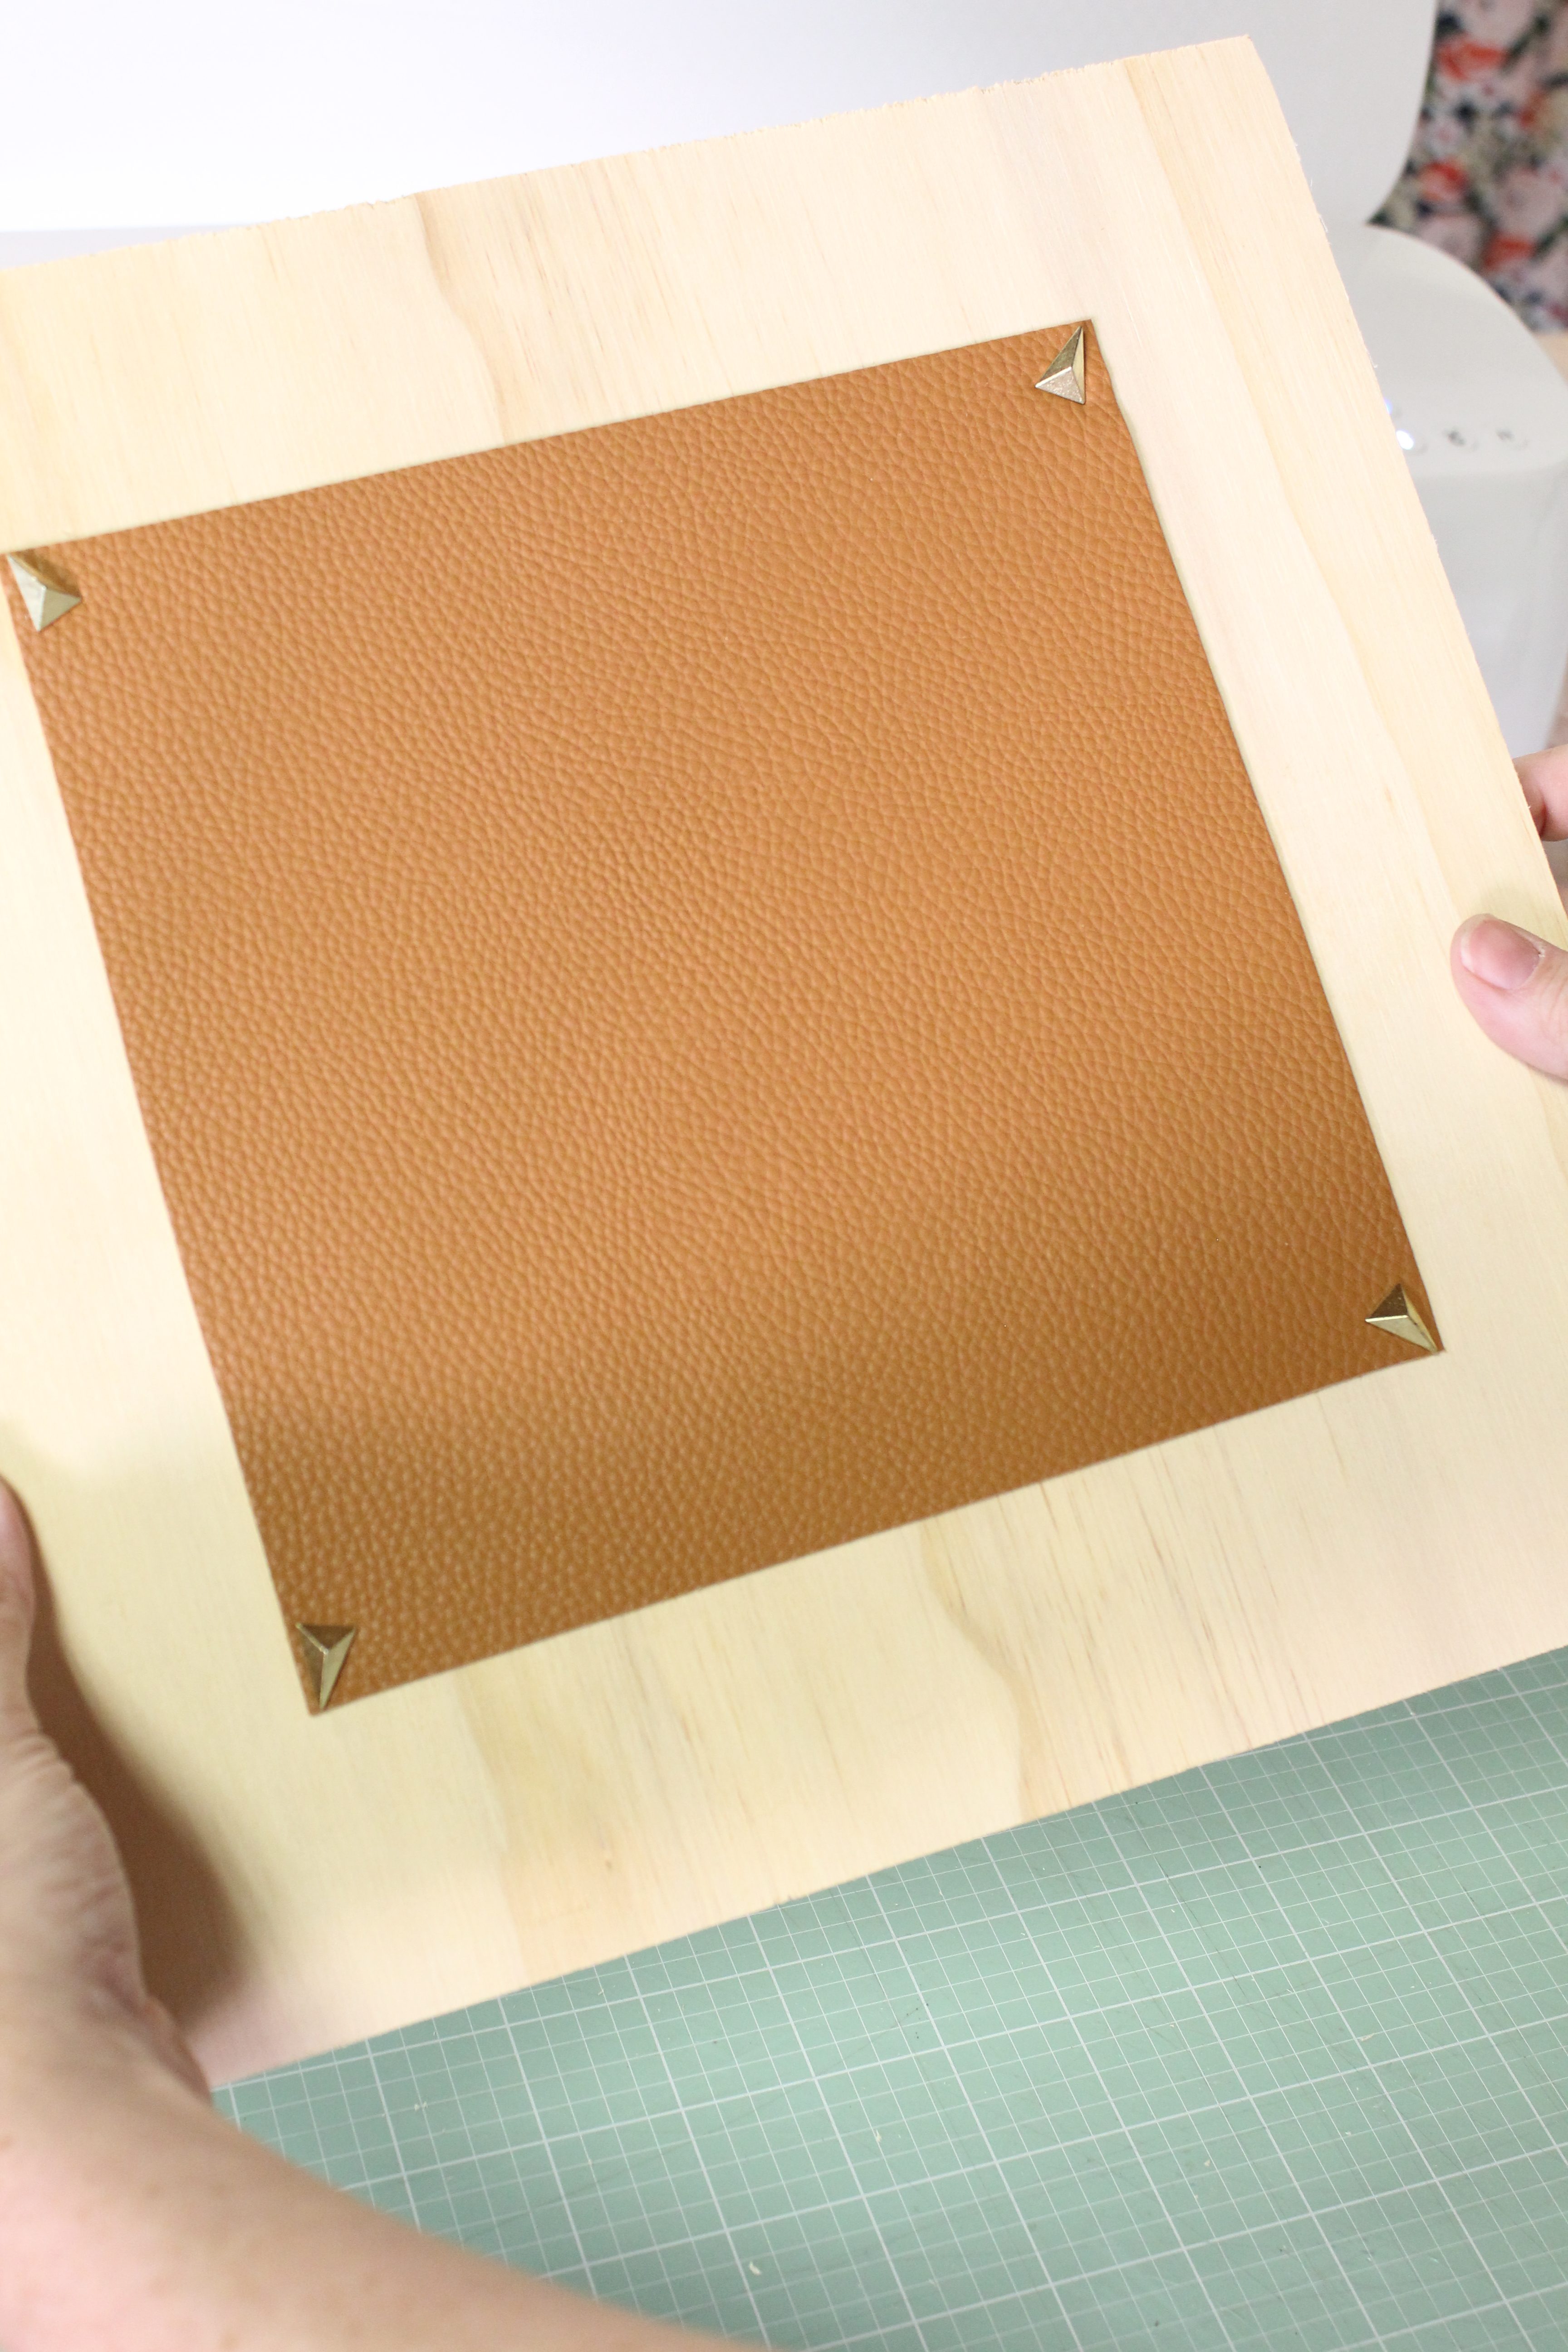
Tack Down Leather
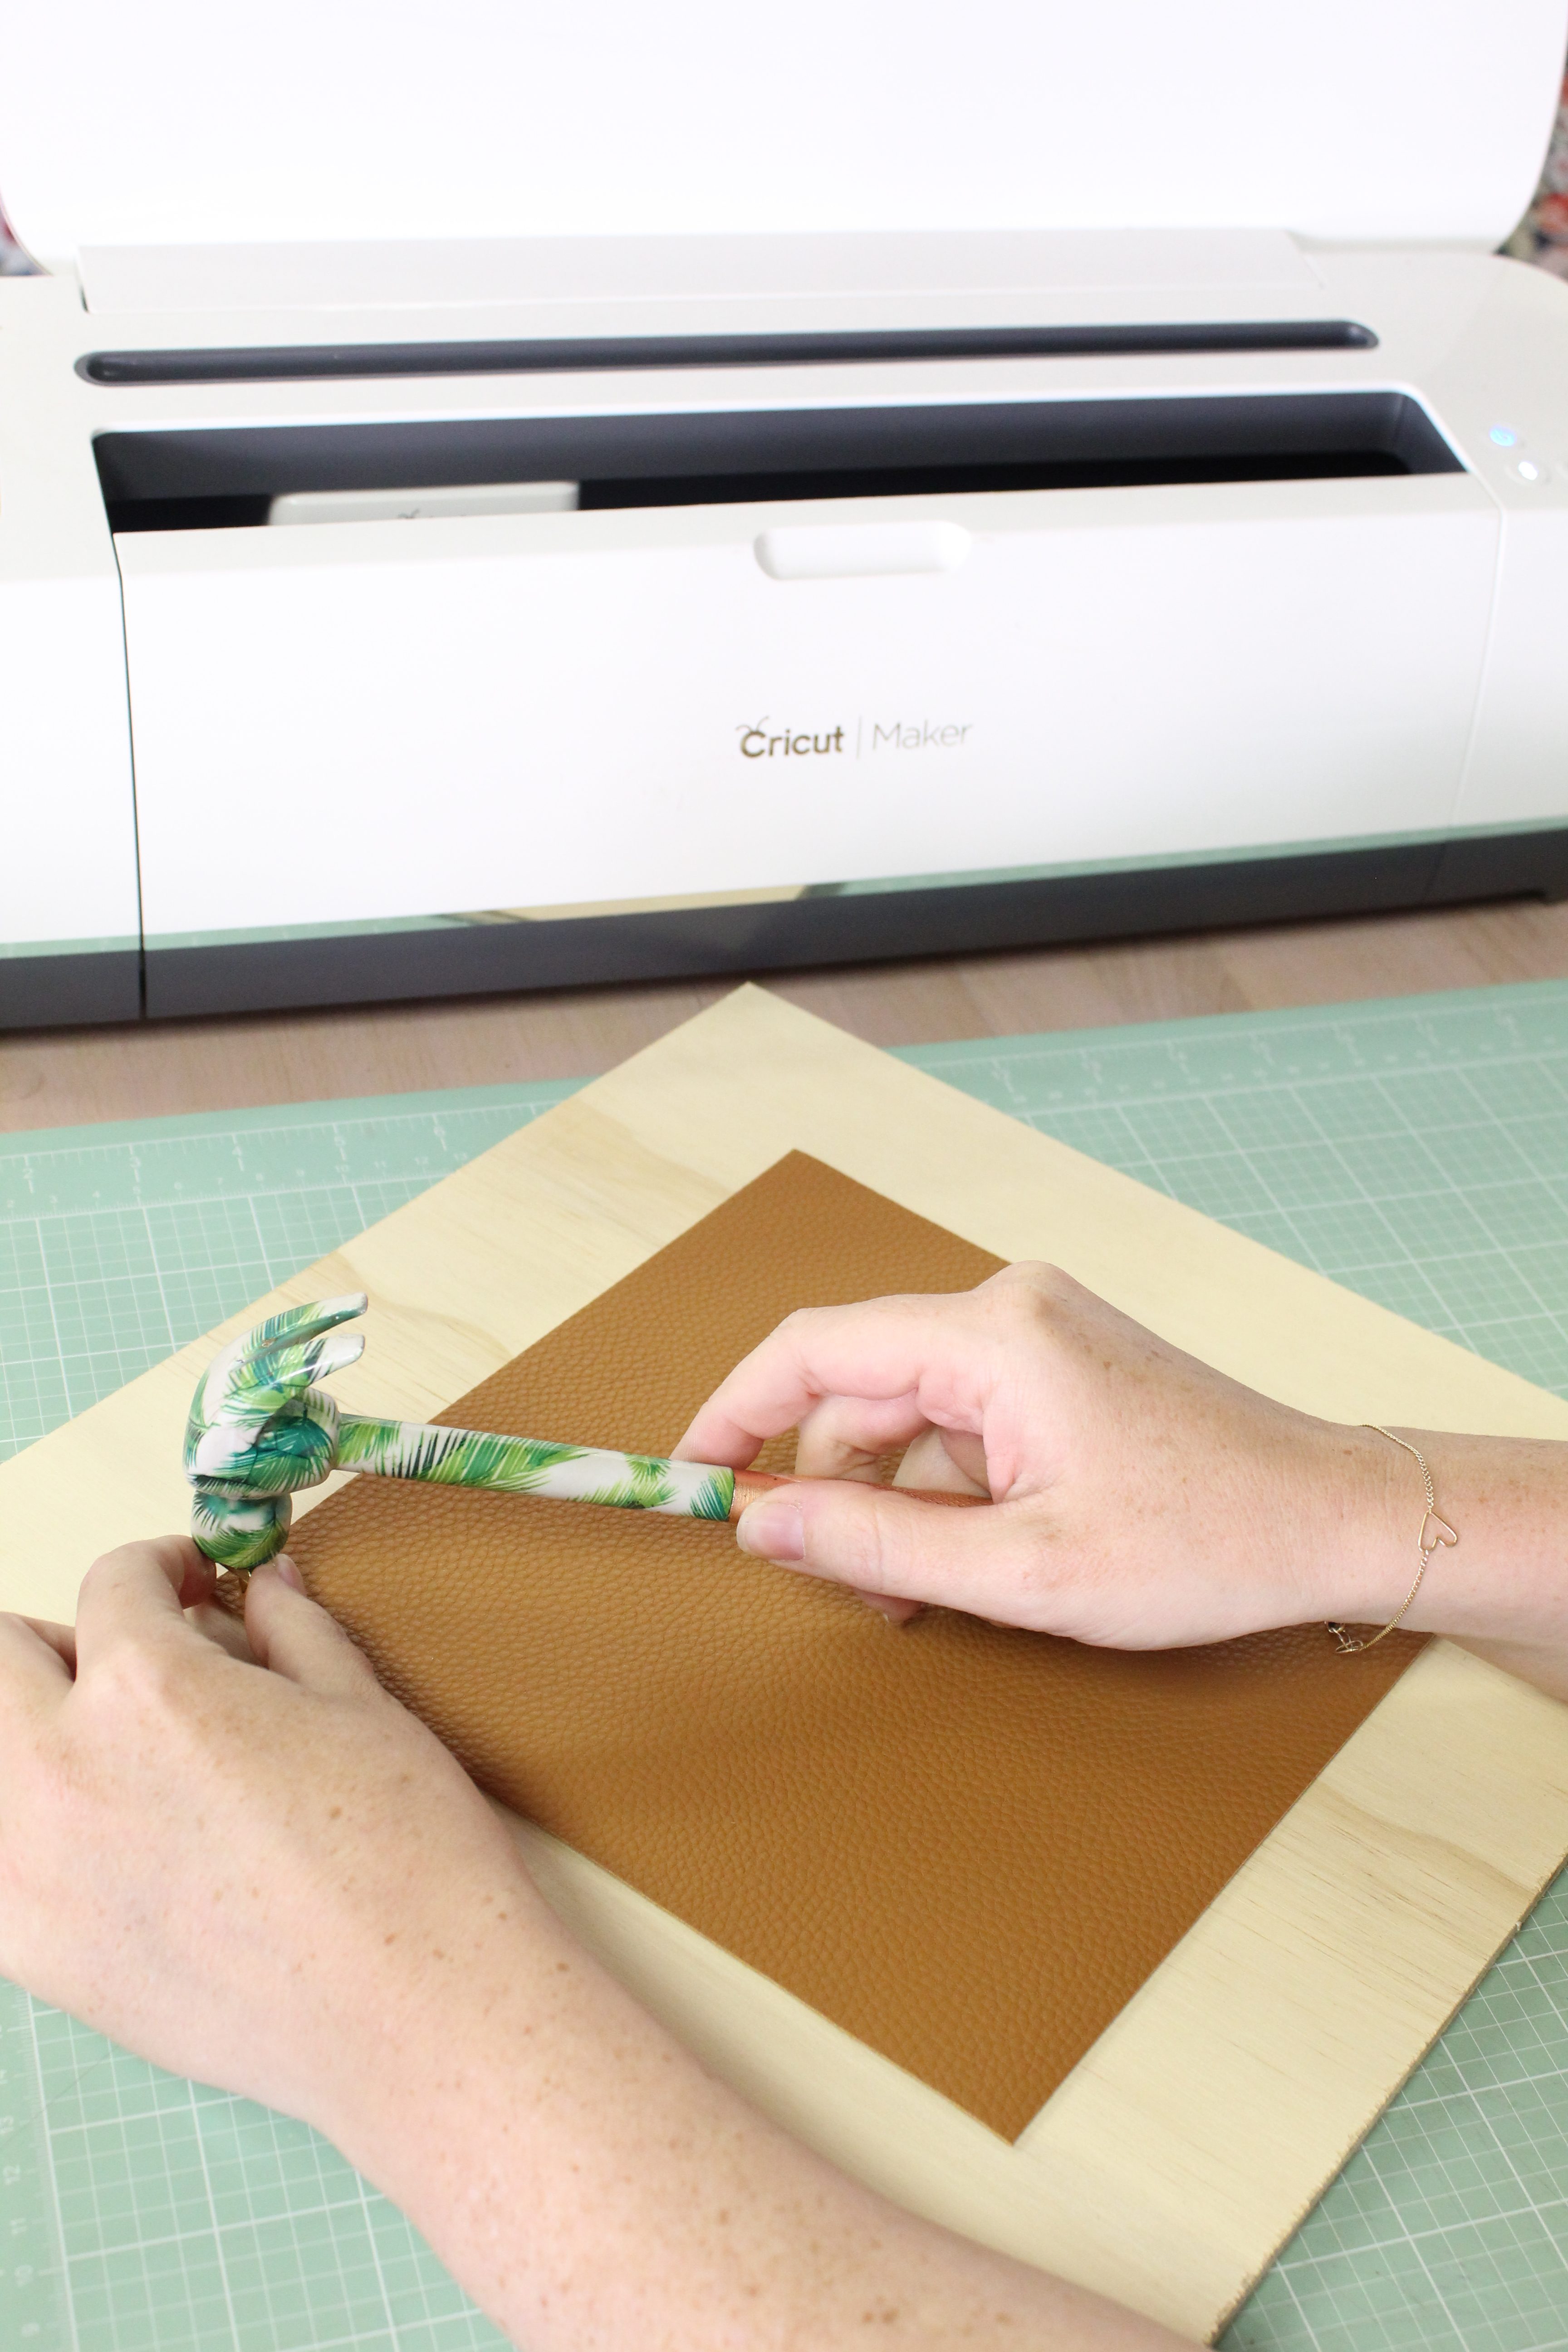
Using your tacks and a small hammer, tack down your leather to your wood where you want it. Depending on the thickness of your wood and the size of your tacks, they may end up going through so be sure to have a piece of scrap wood underneath to catch them if they do.
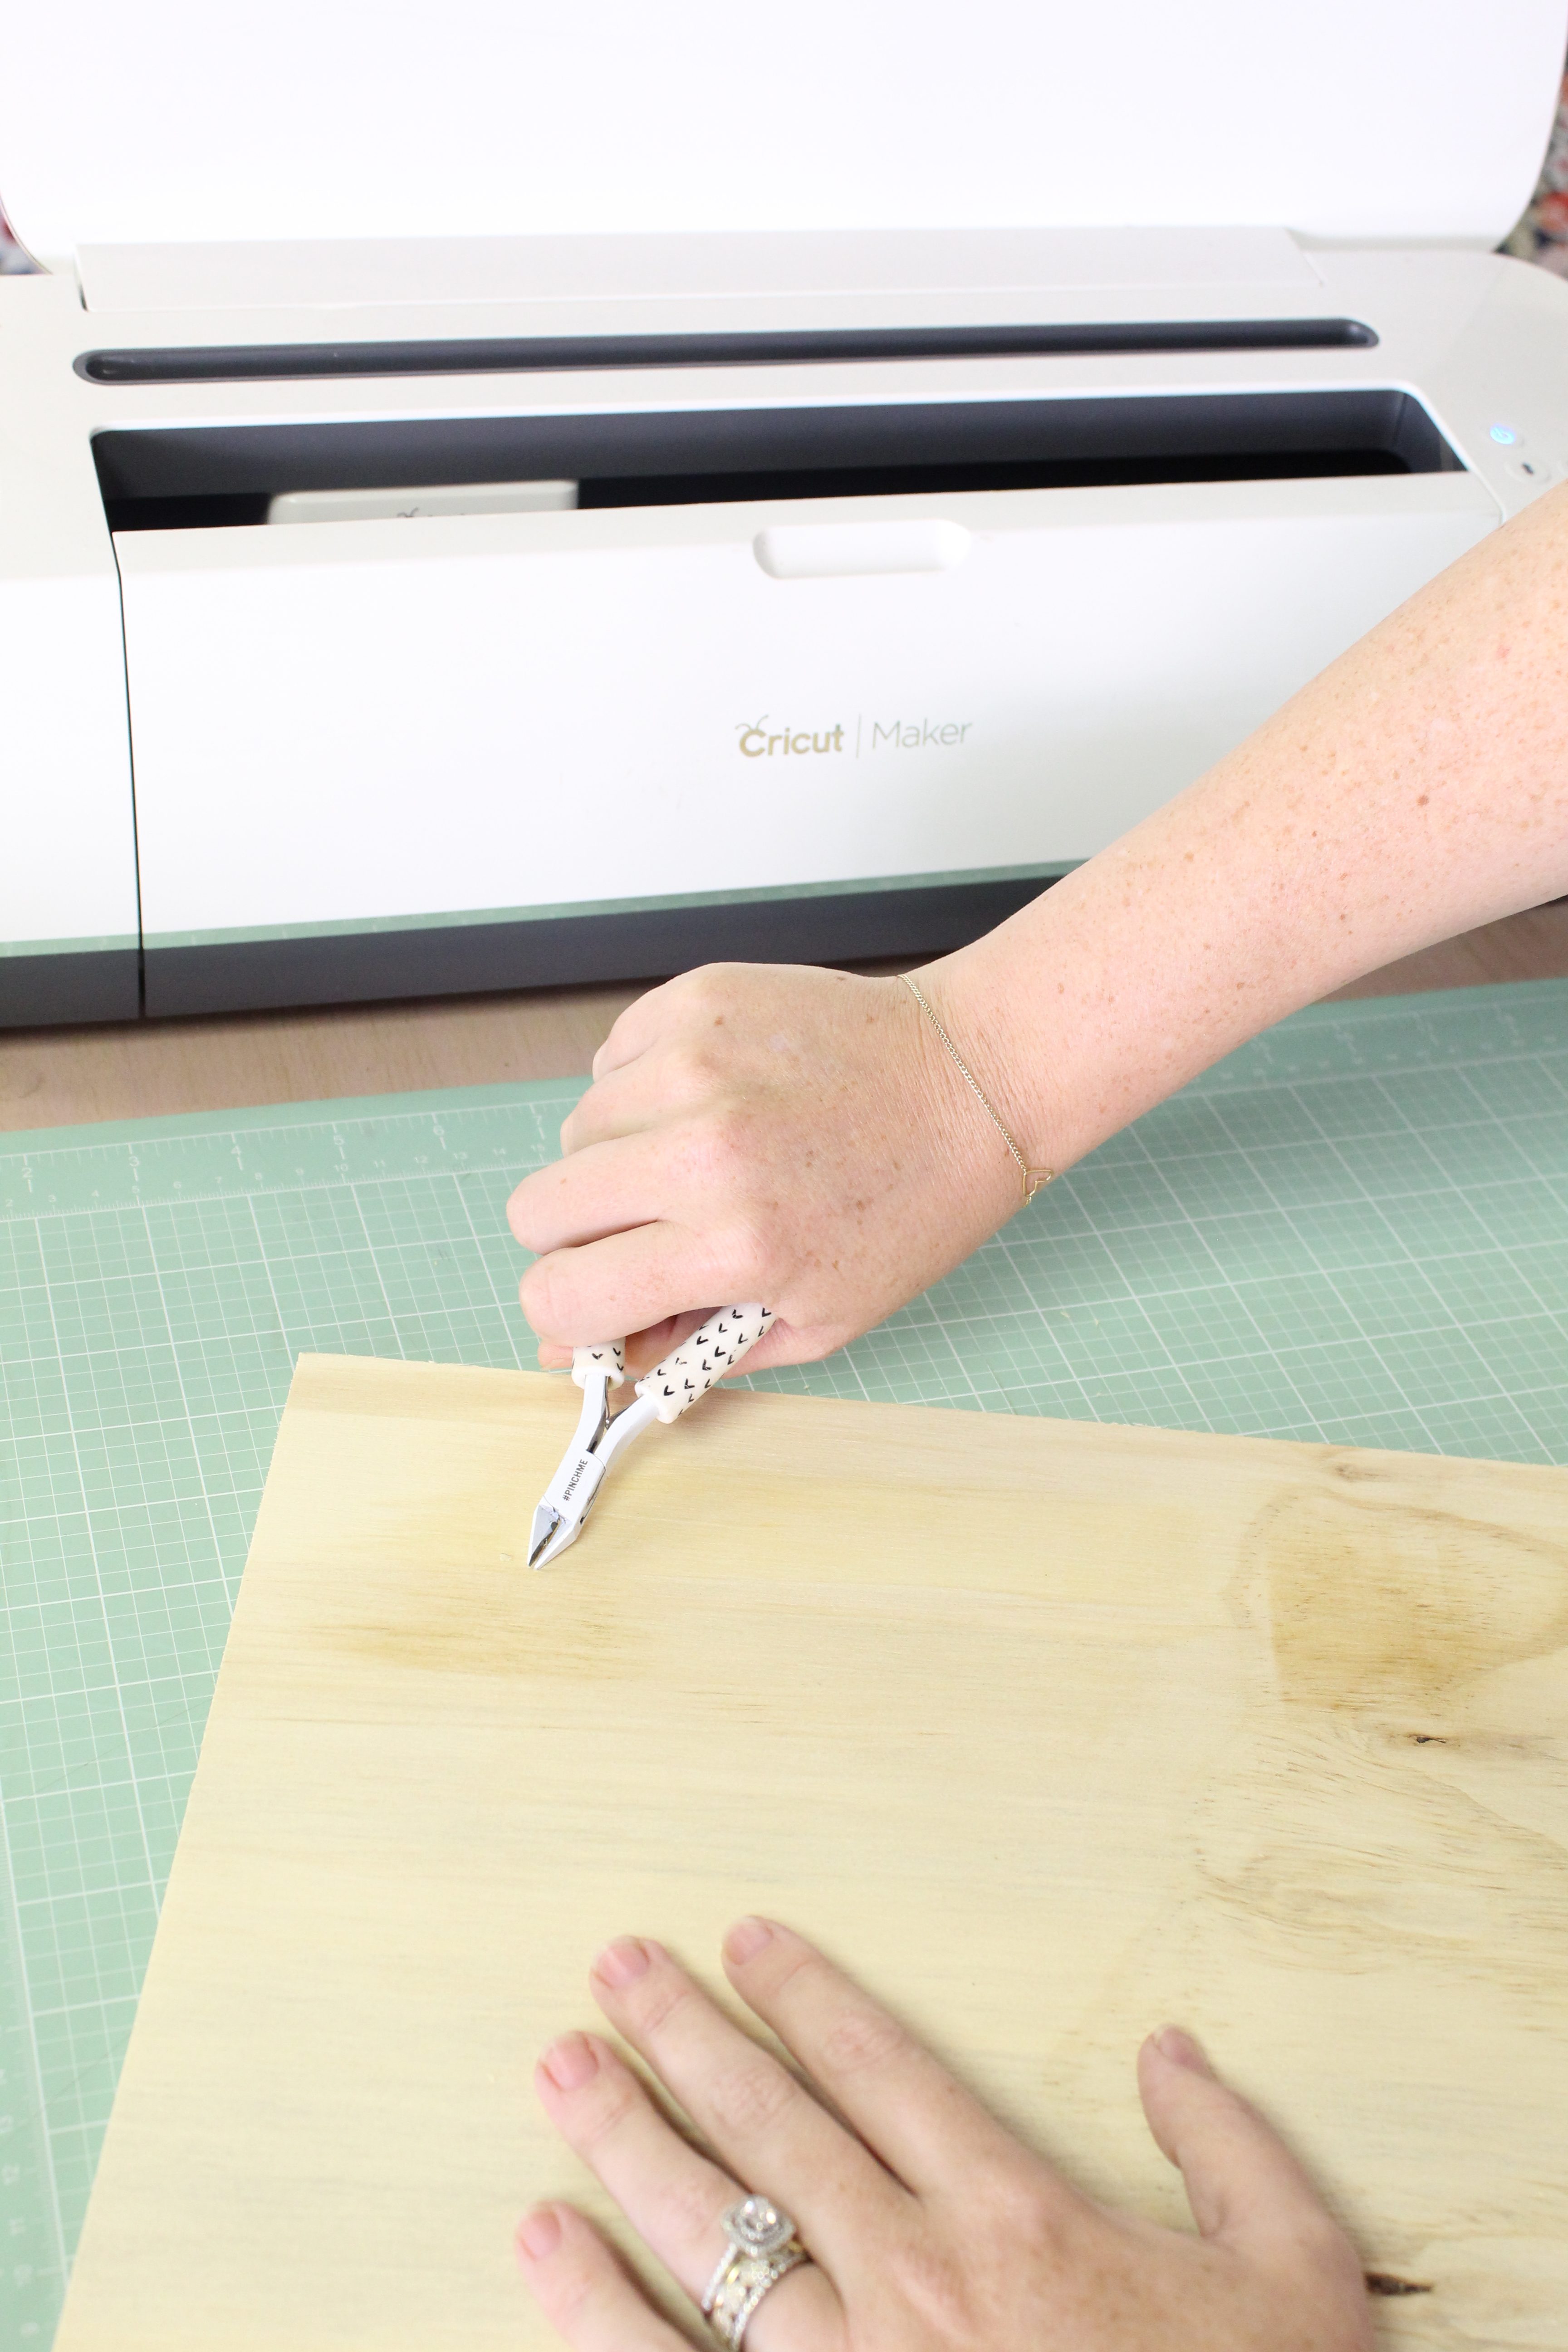
If your tacks end up coming through, clip them with your wire cutting pliers.
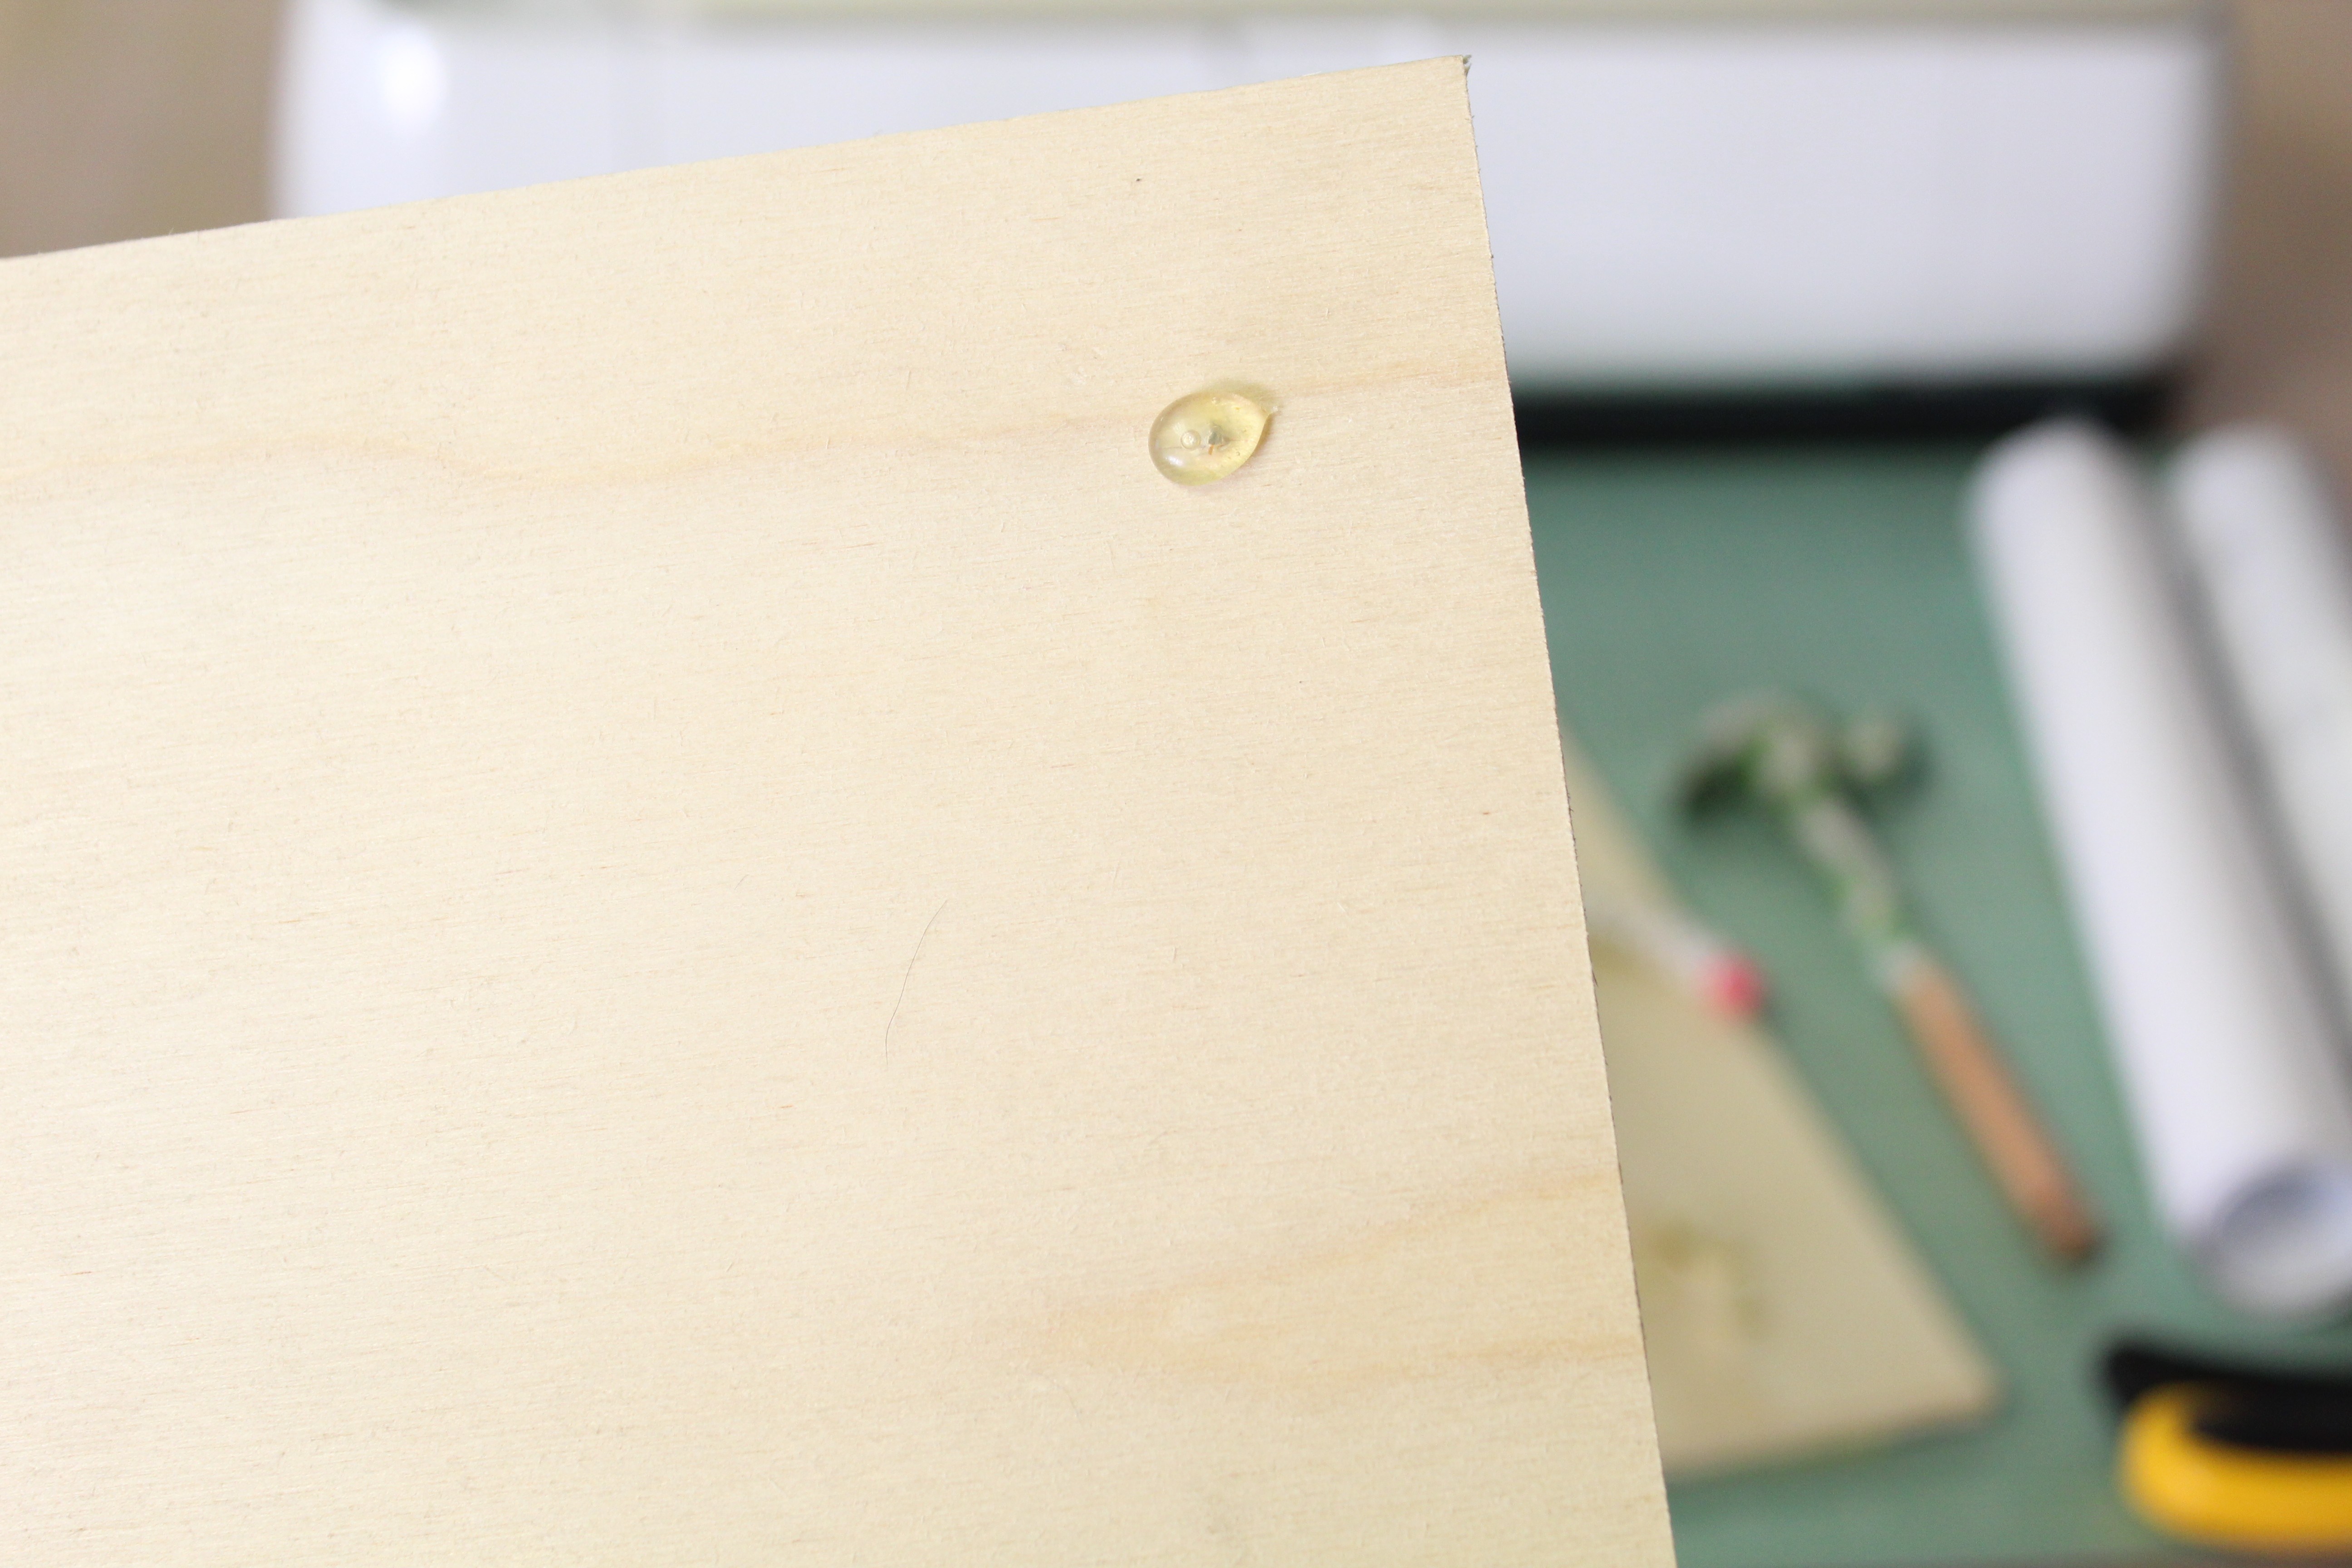
Insider Tip: If you are unable to clip them flush with the wood, add a little blob of hot glue to cover them.
Apply Your Vinyl
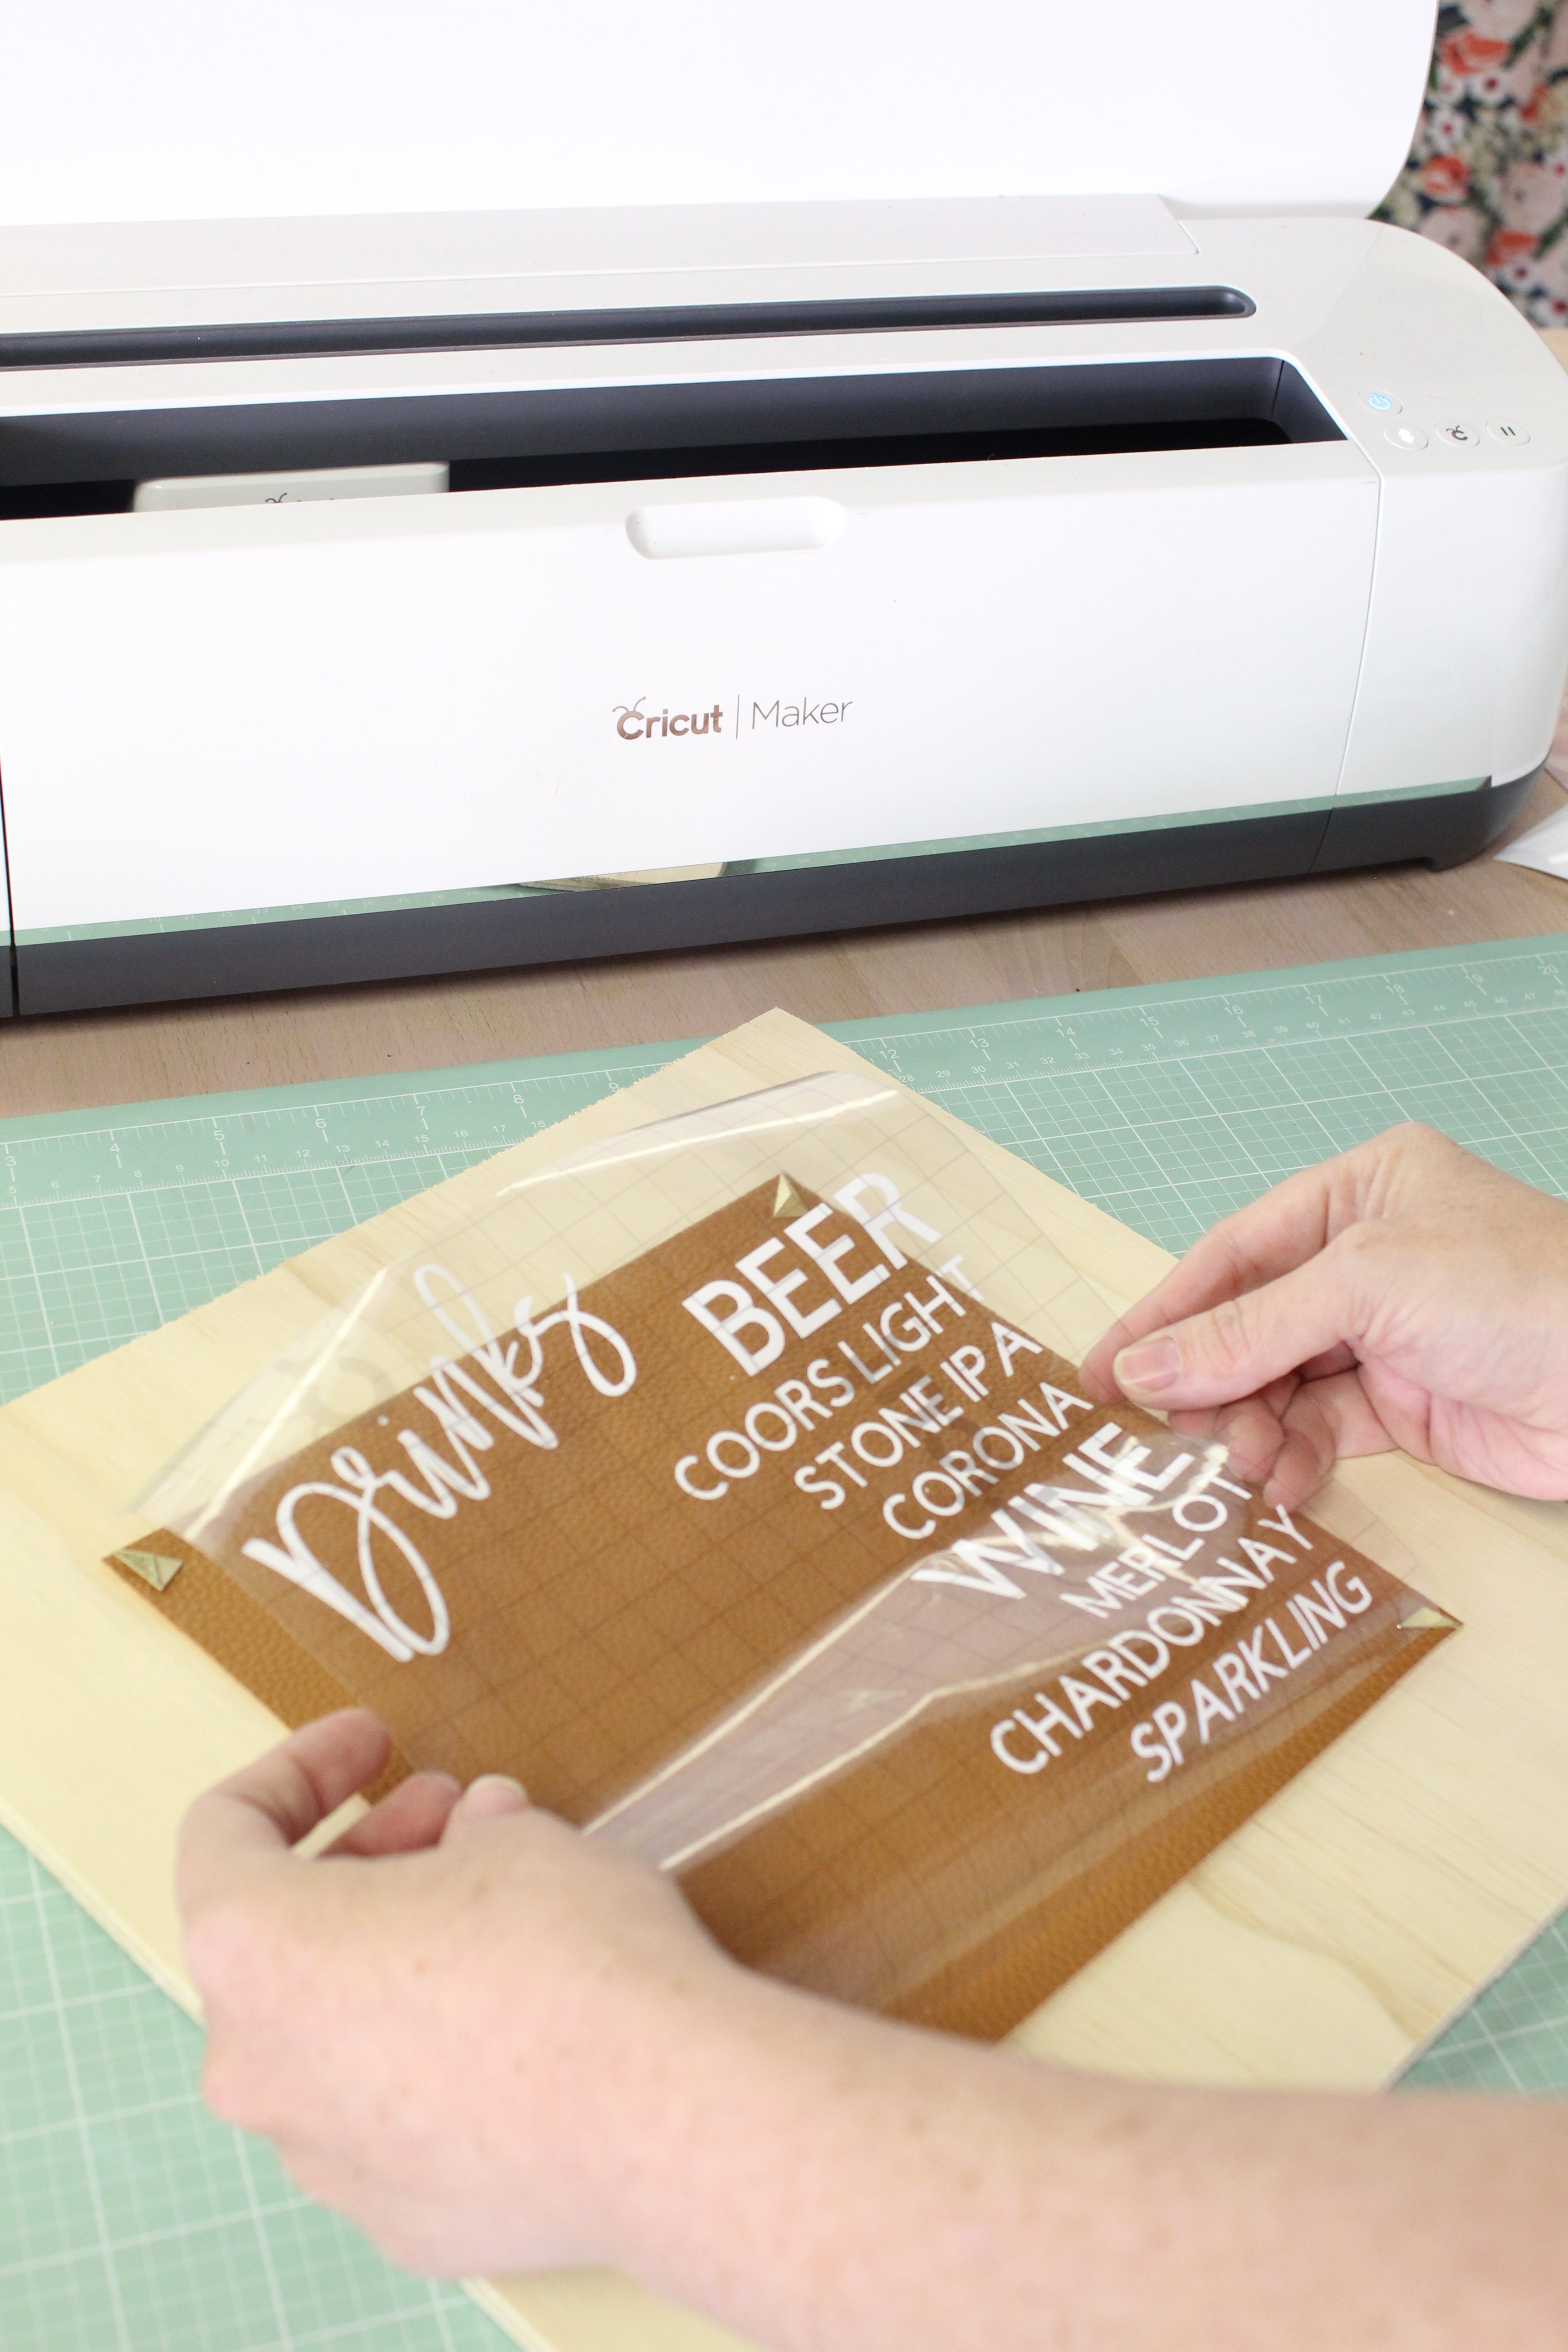
Decide where to place your vinyl and lay it down on your faux leather.
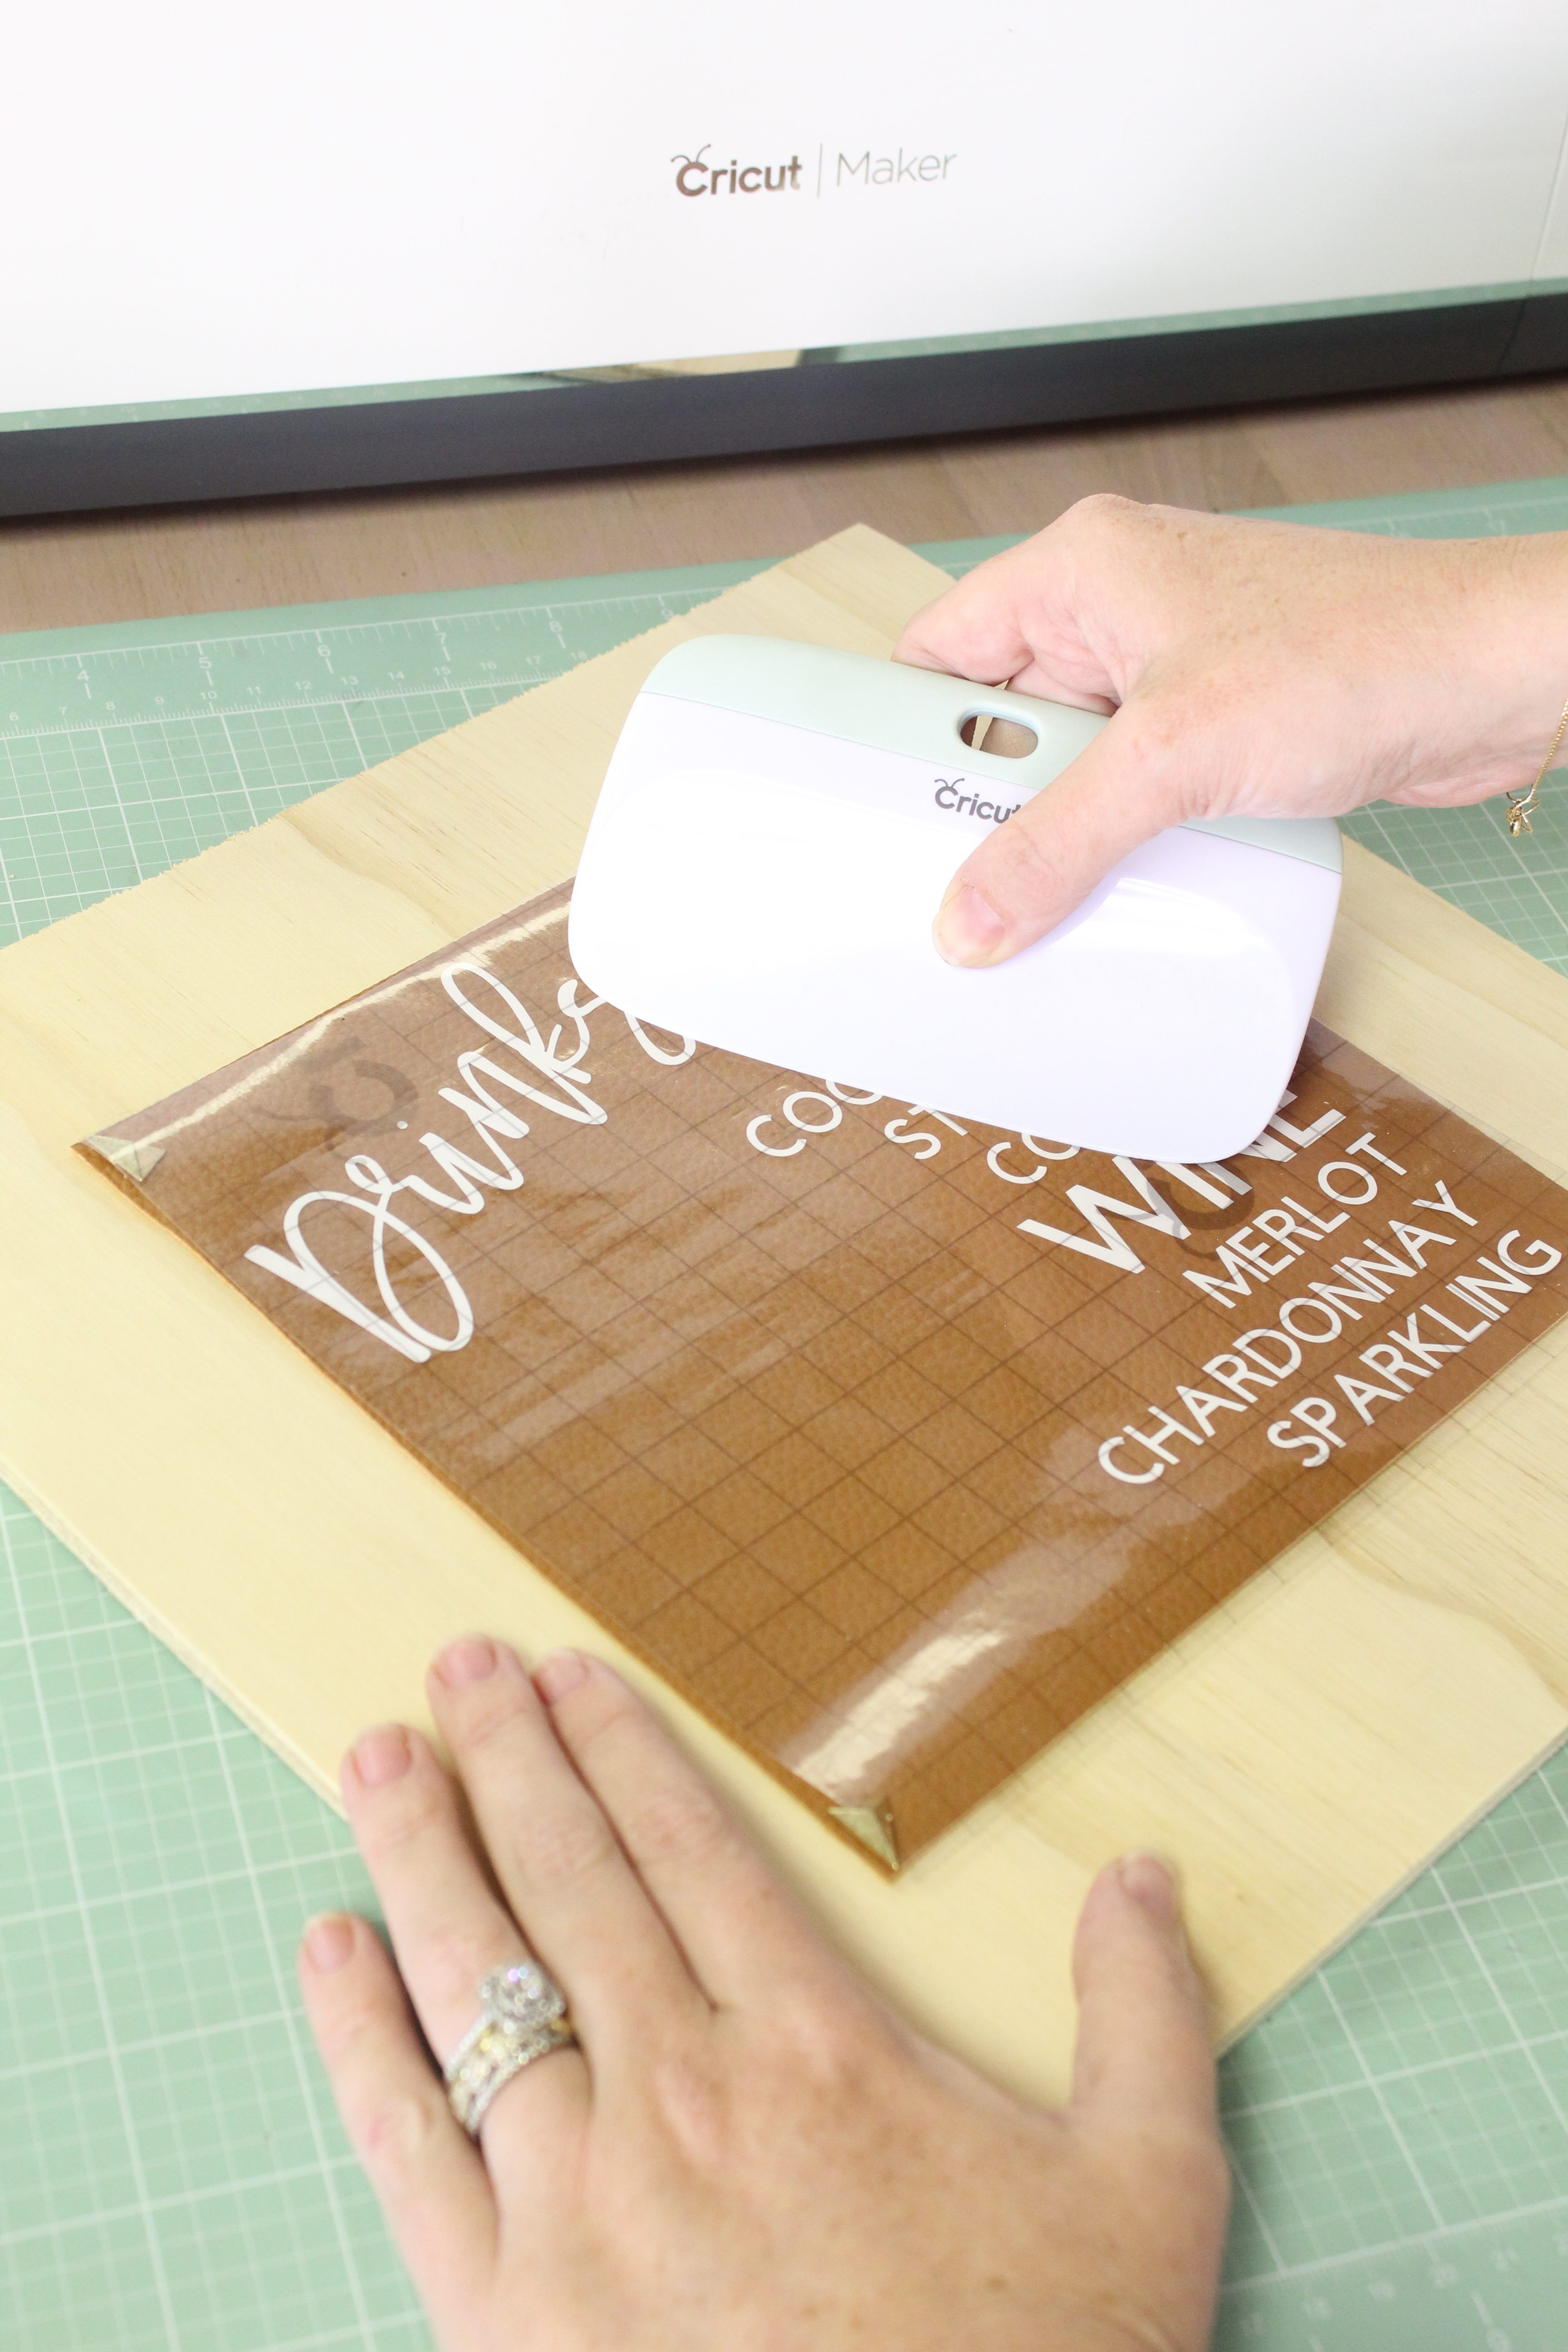
Using a scraper tool, carefully burnish (or rub) the vinyl into place. Be mindful of your faux leather and don’t rub too hard (it is just thumb tacks keeping it in place after all).
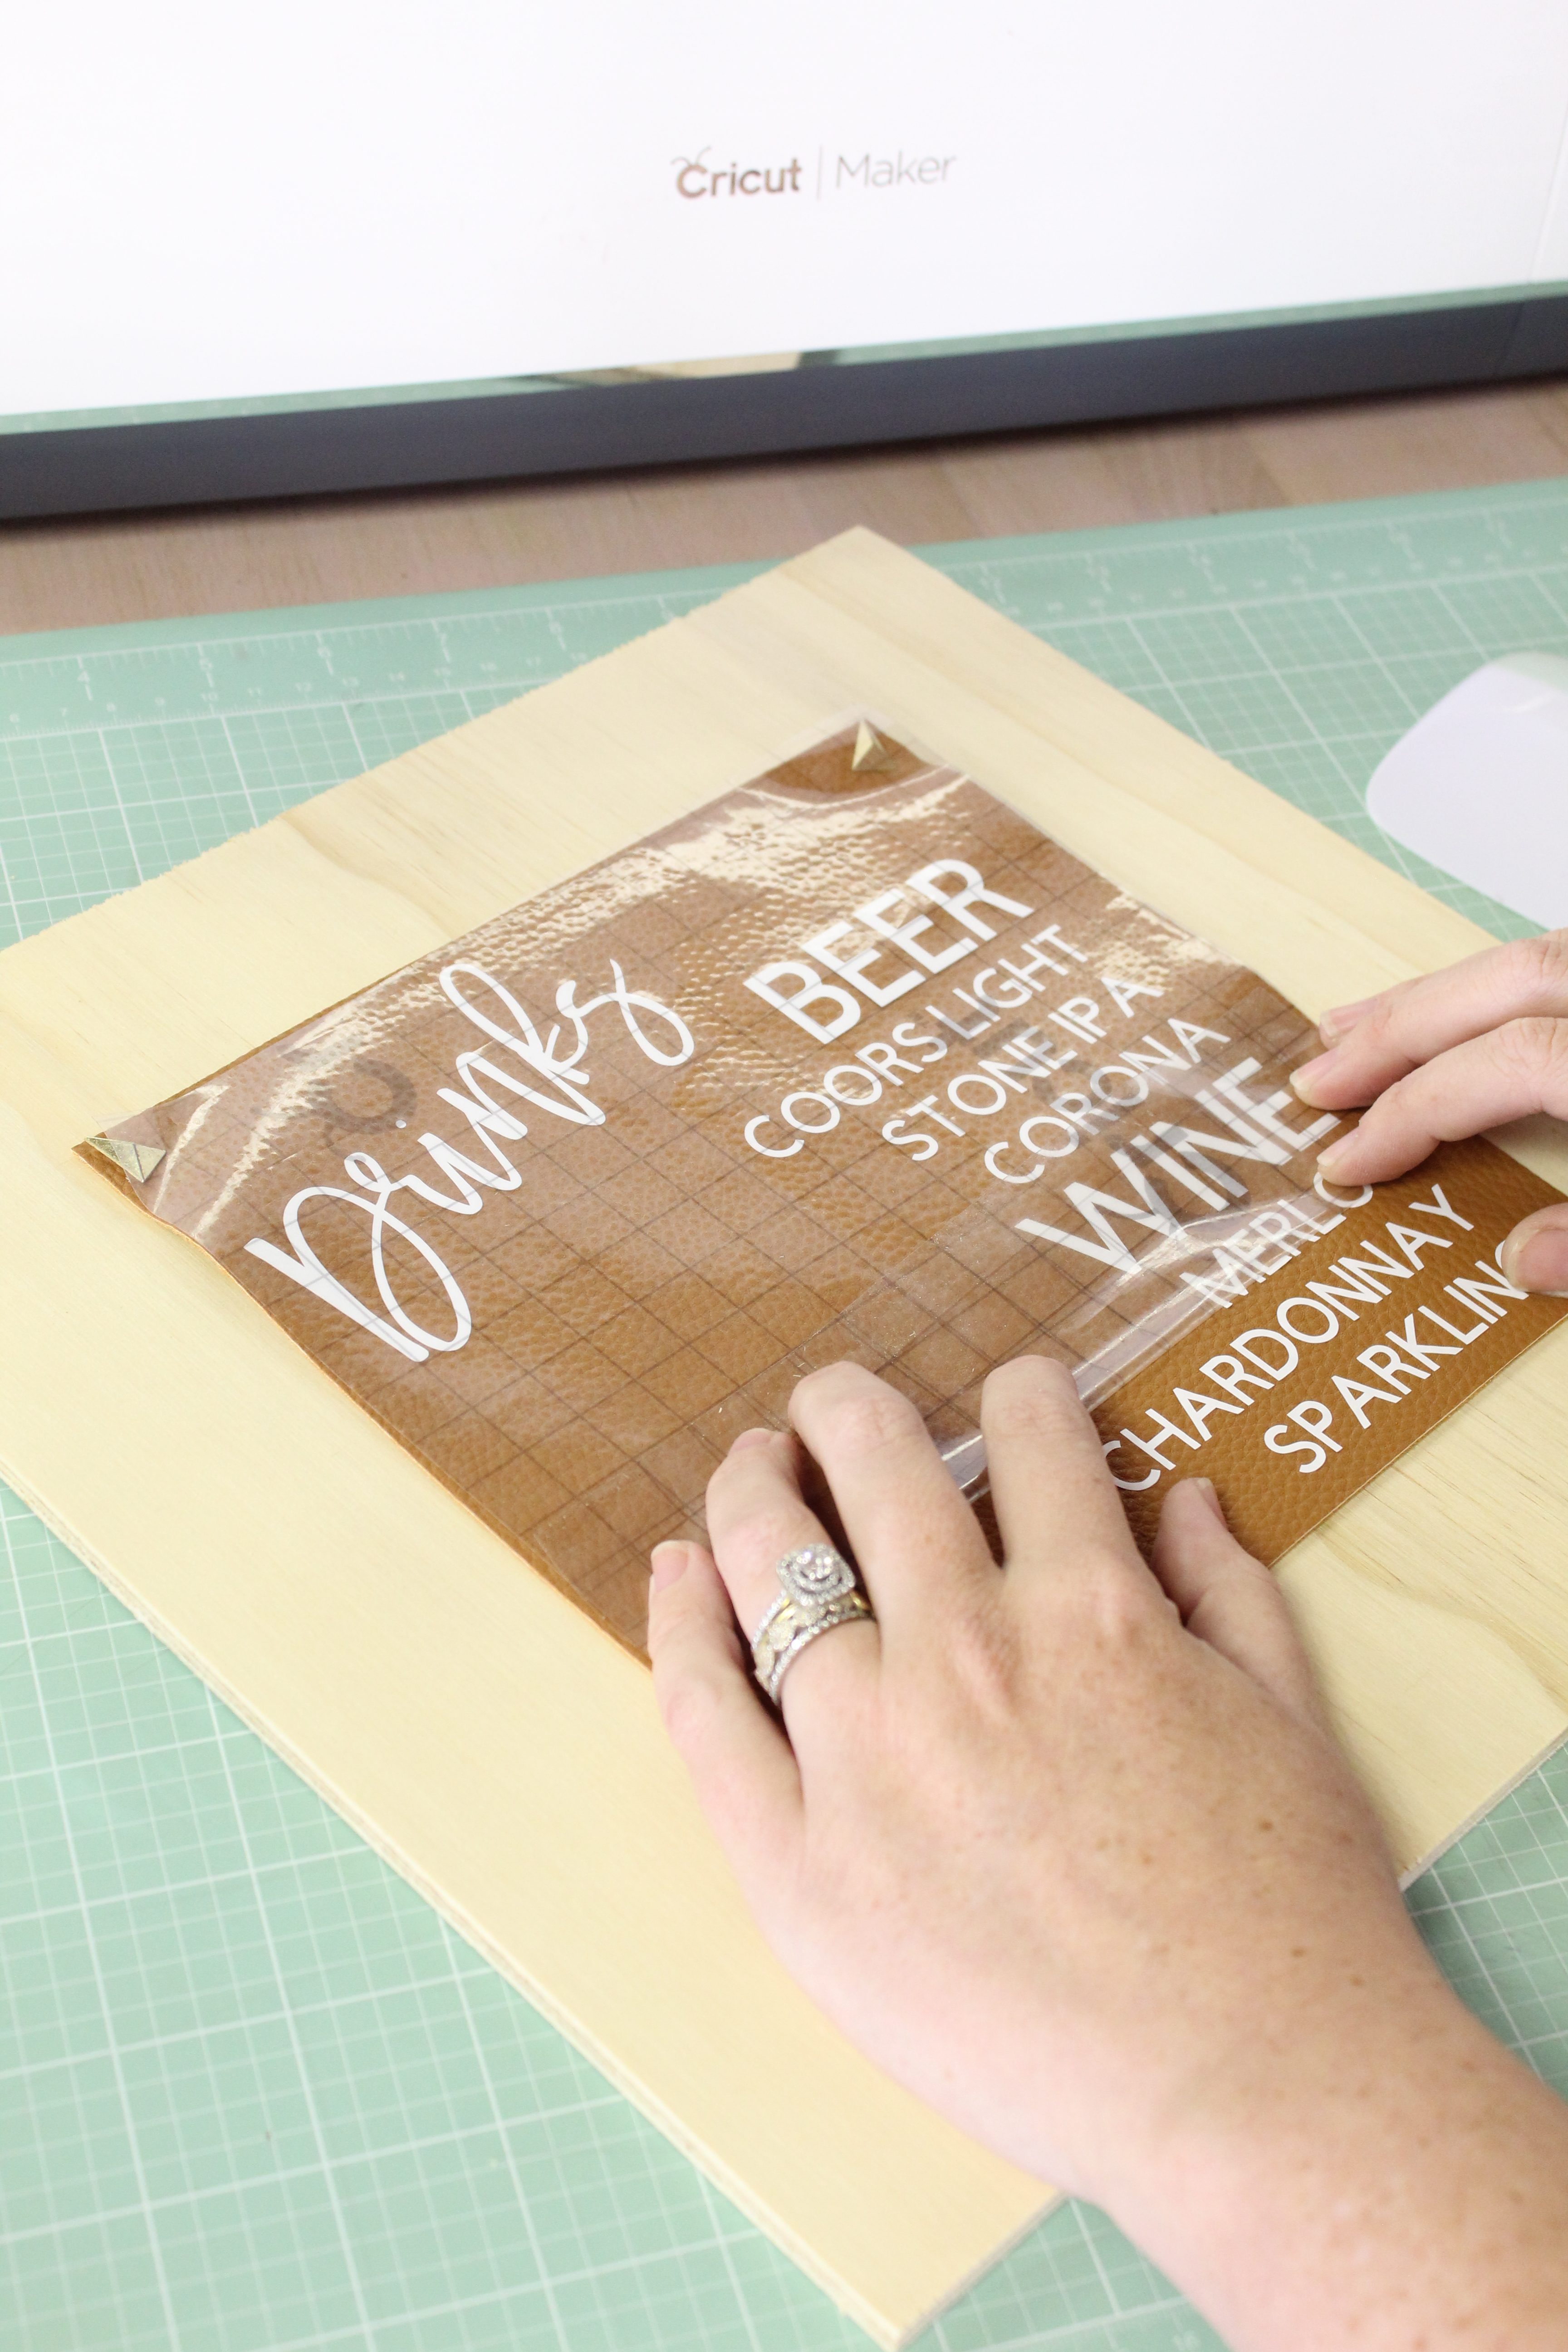
Slowly remove your transfer tape. I found it best to use a rolling motion and be patient. Some areas may be a little more stubborn than others to release from the transfer tape but a little patience and you’ll be good!
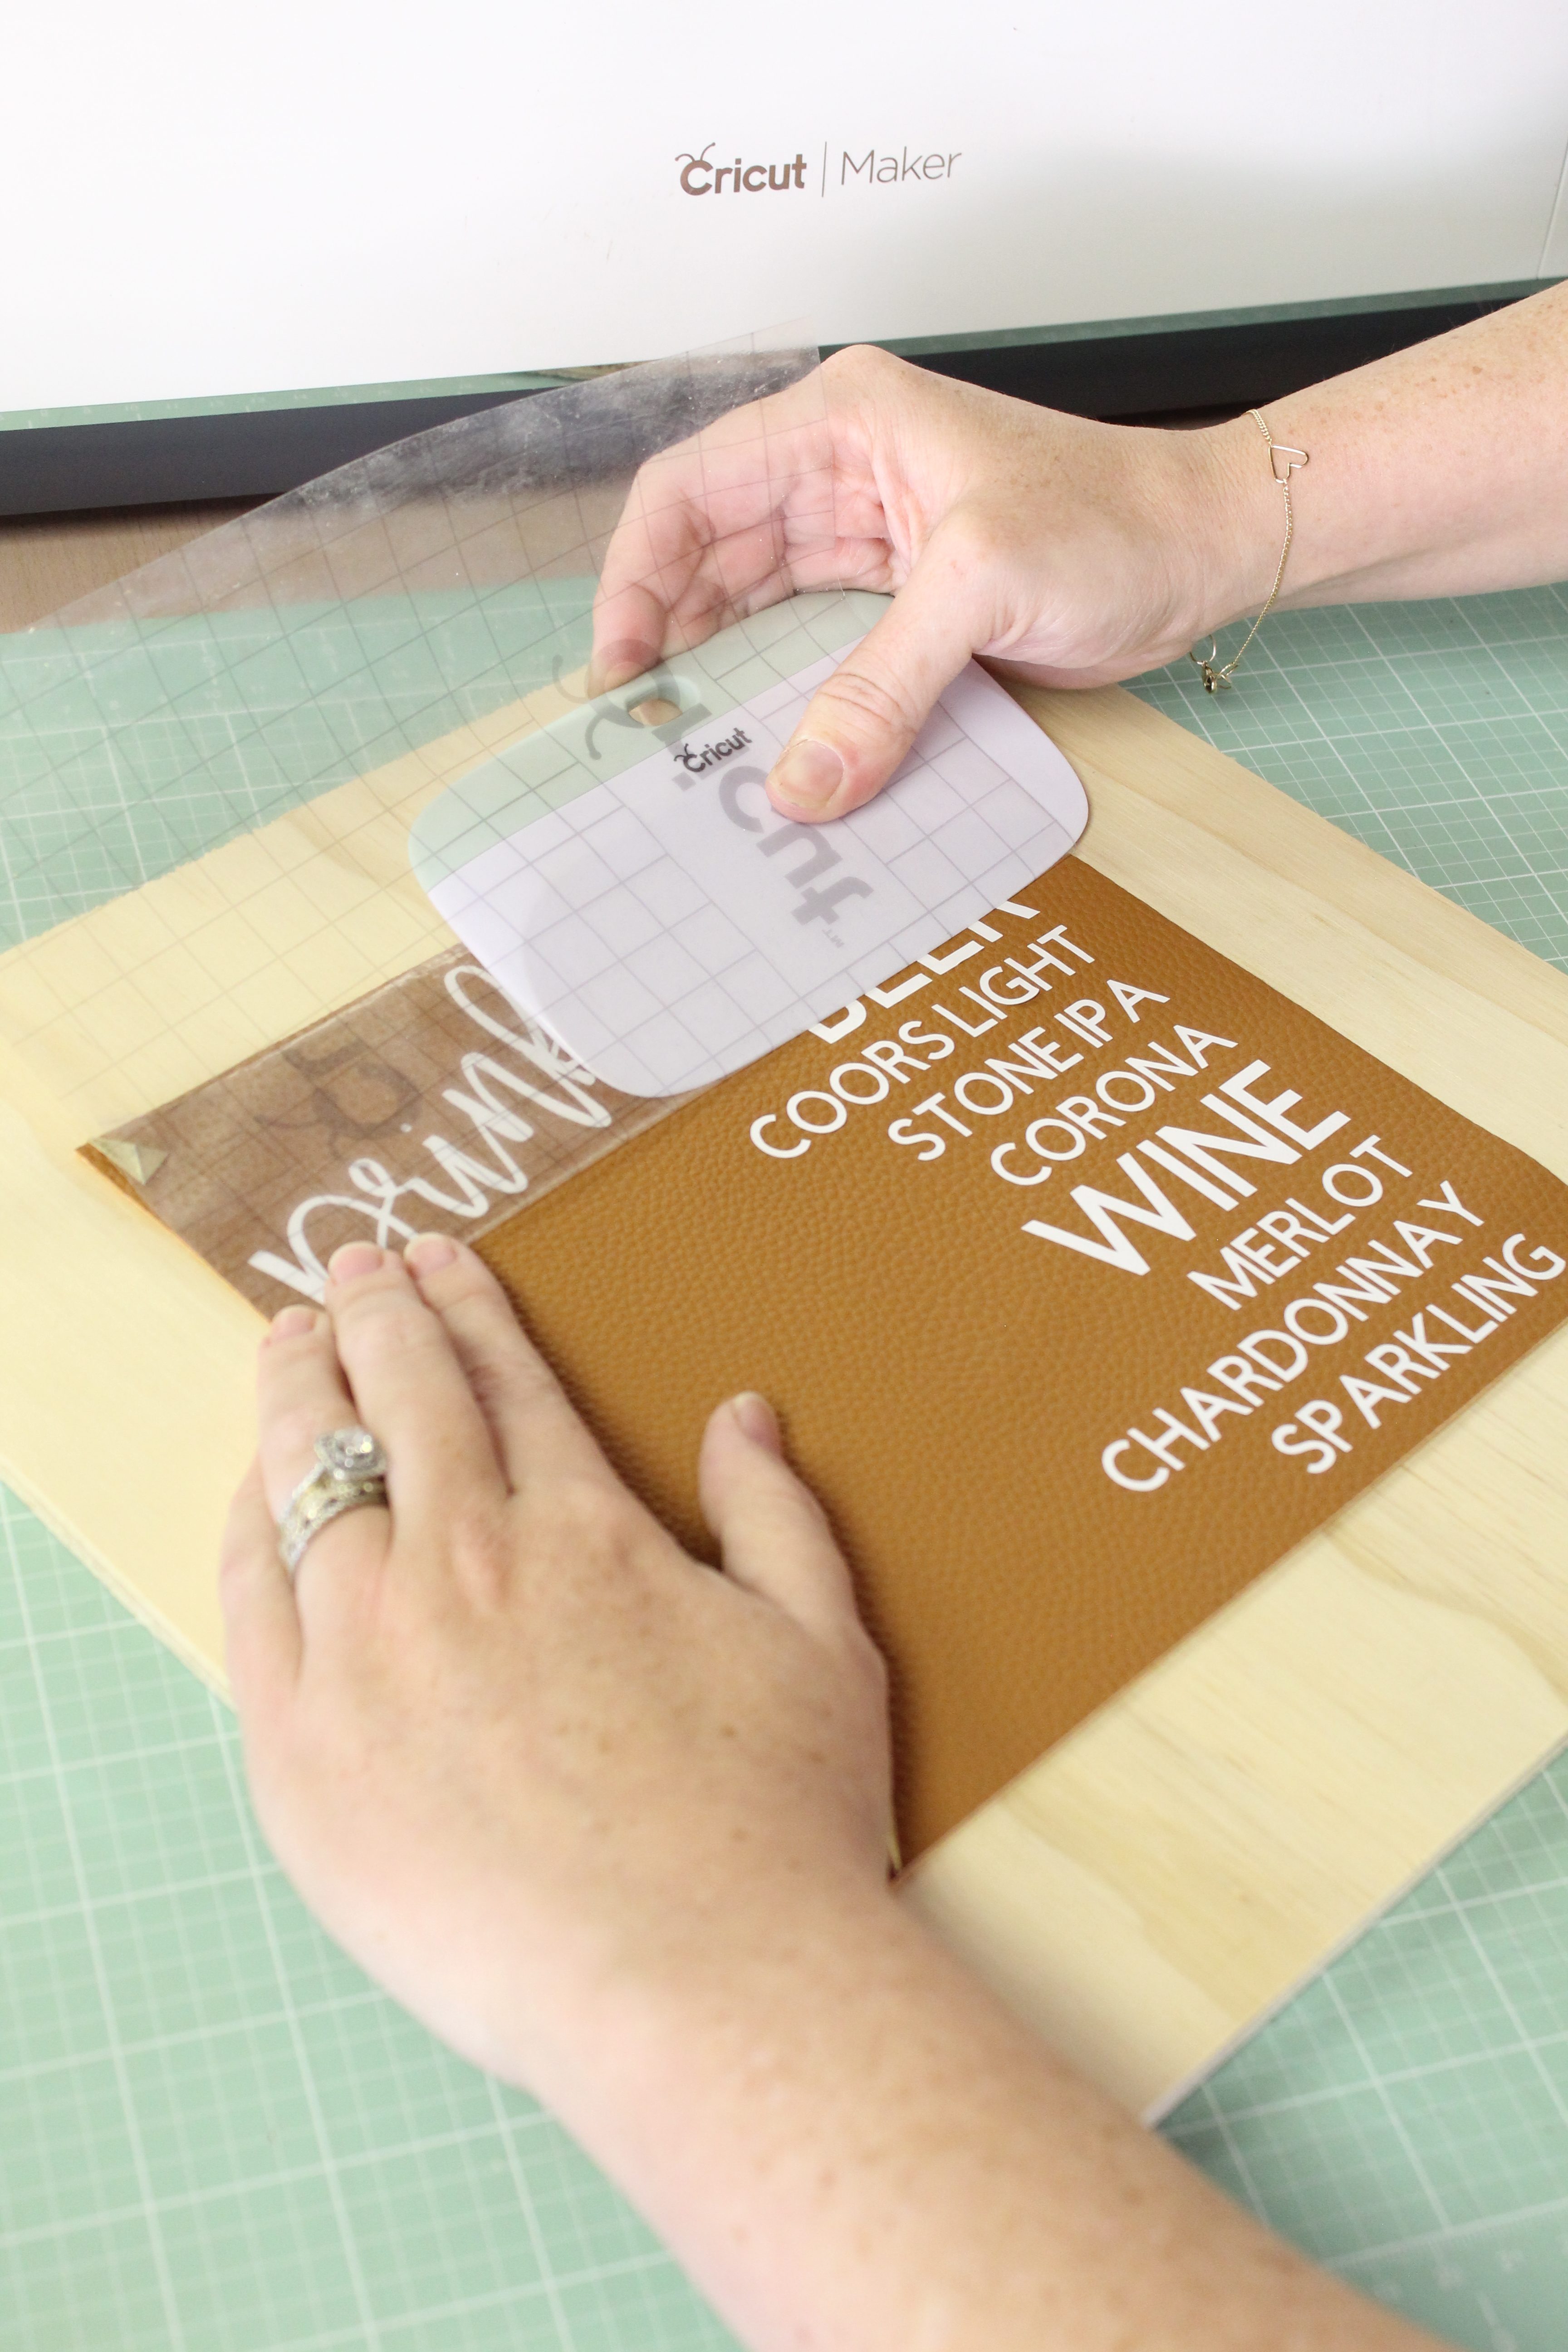
I also like to use my XL scraper tool during this process as well, it helps to remove the transfer tape while also adding a counter pressure on the vinyl to keep it down.
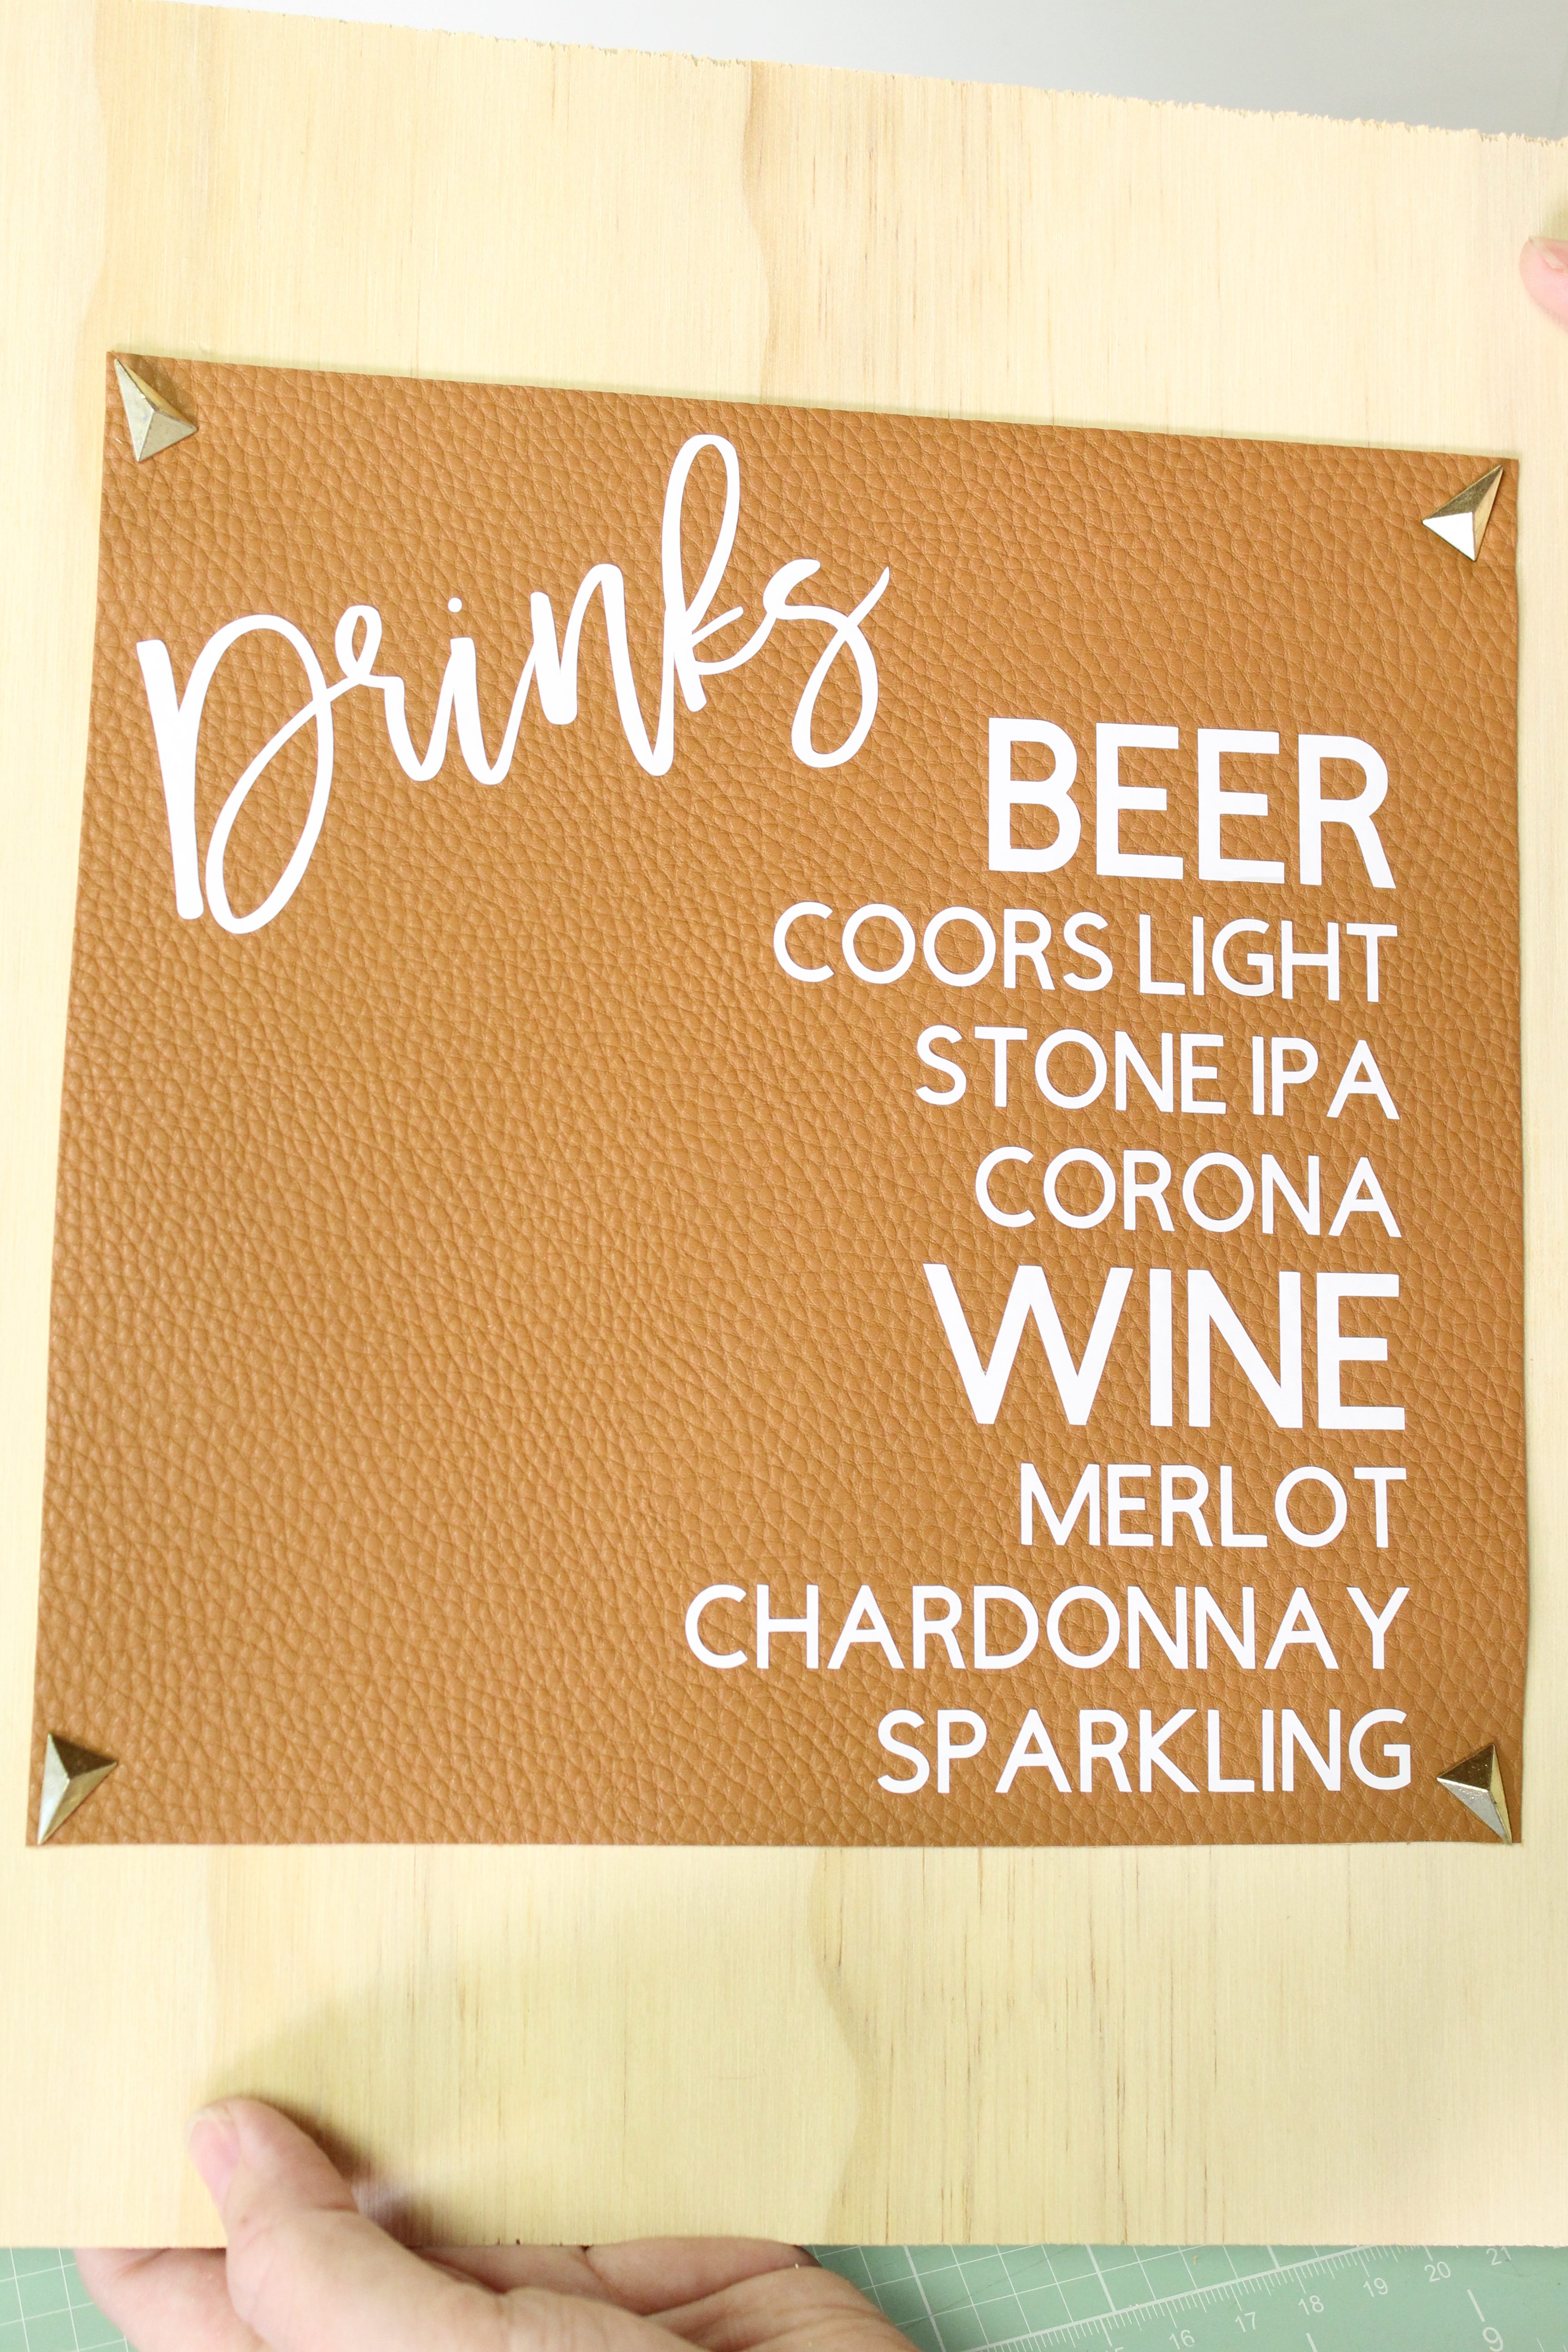
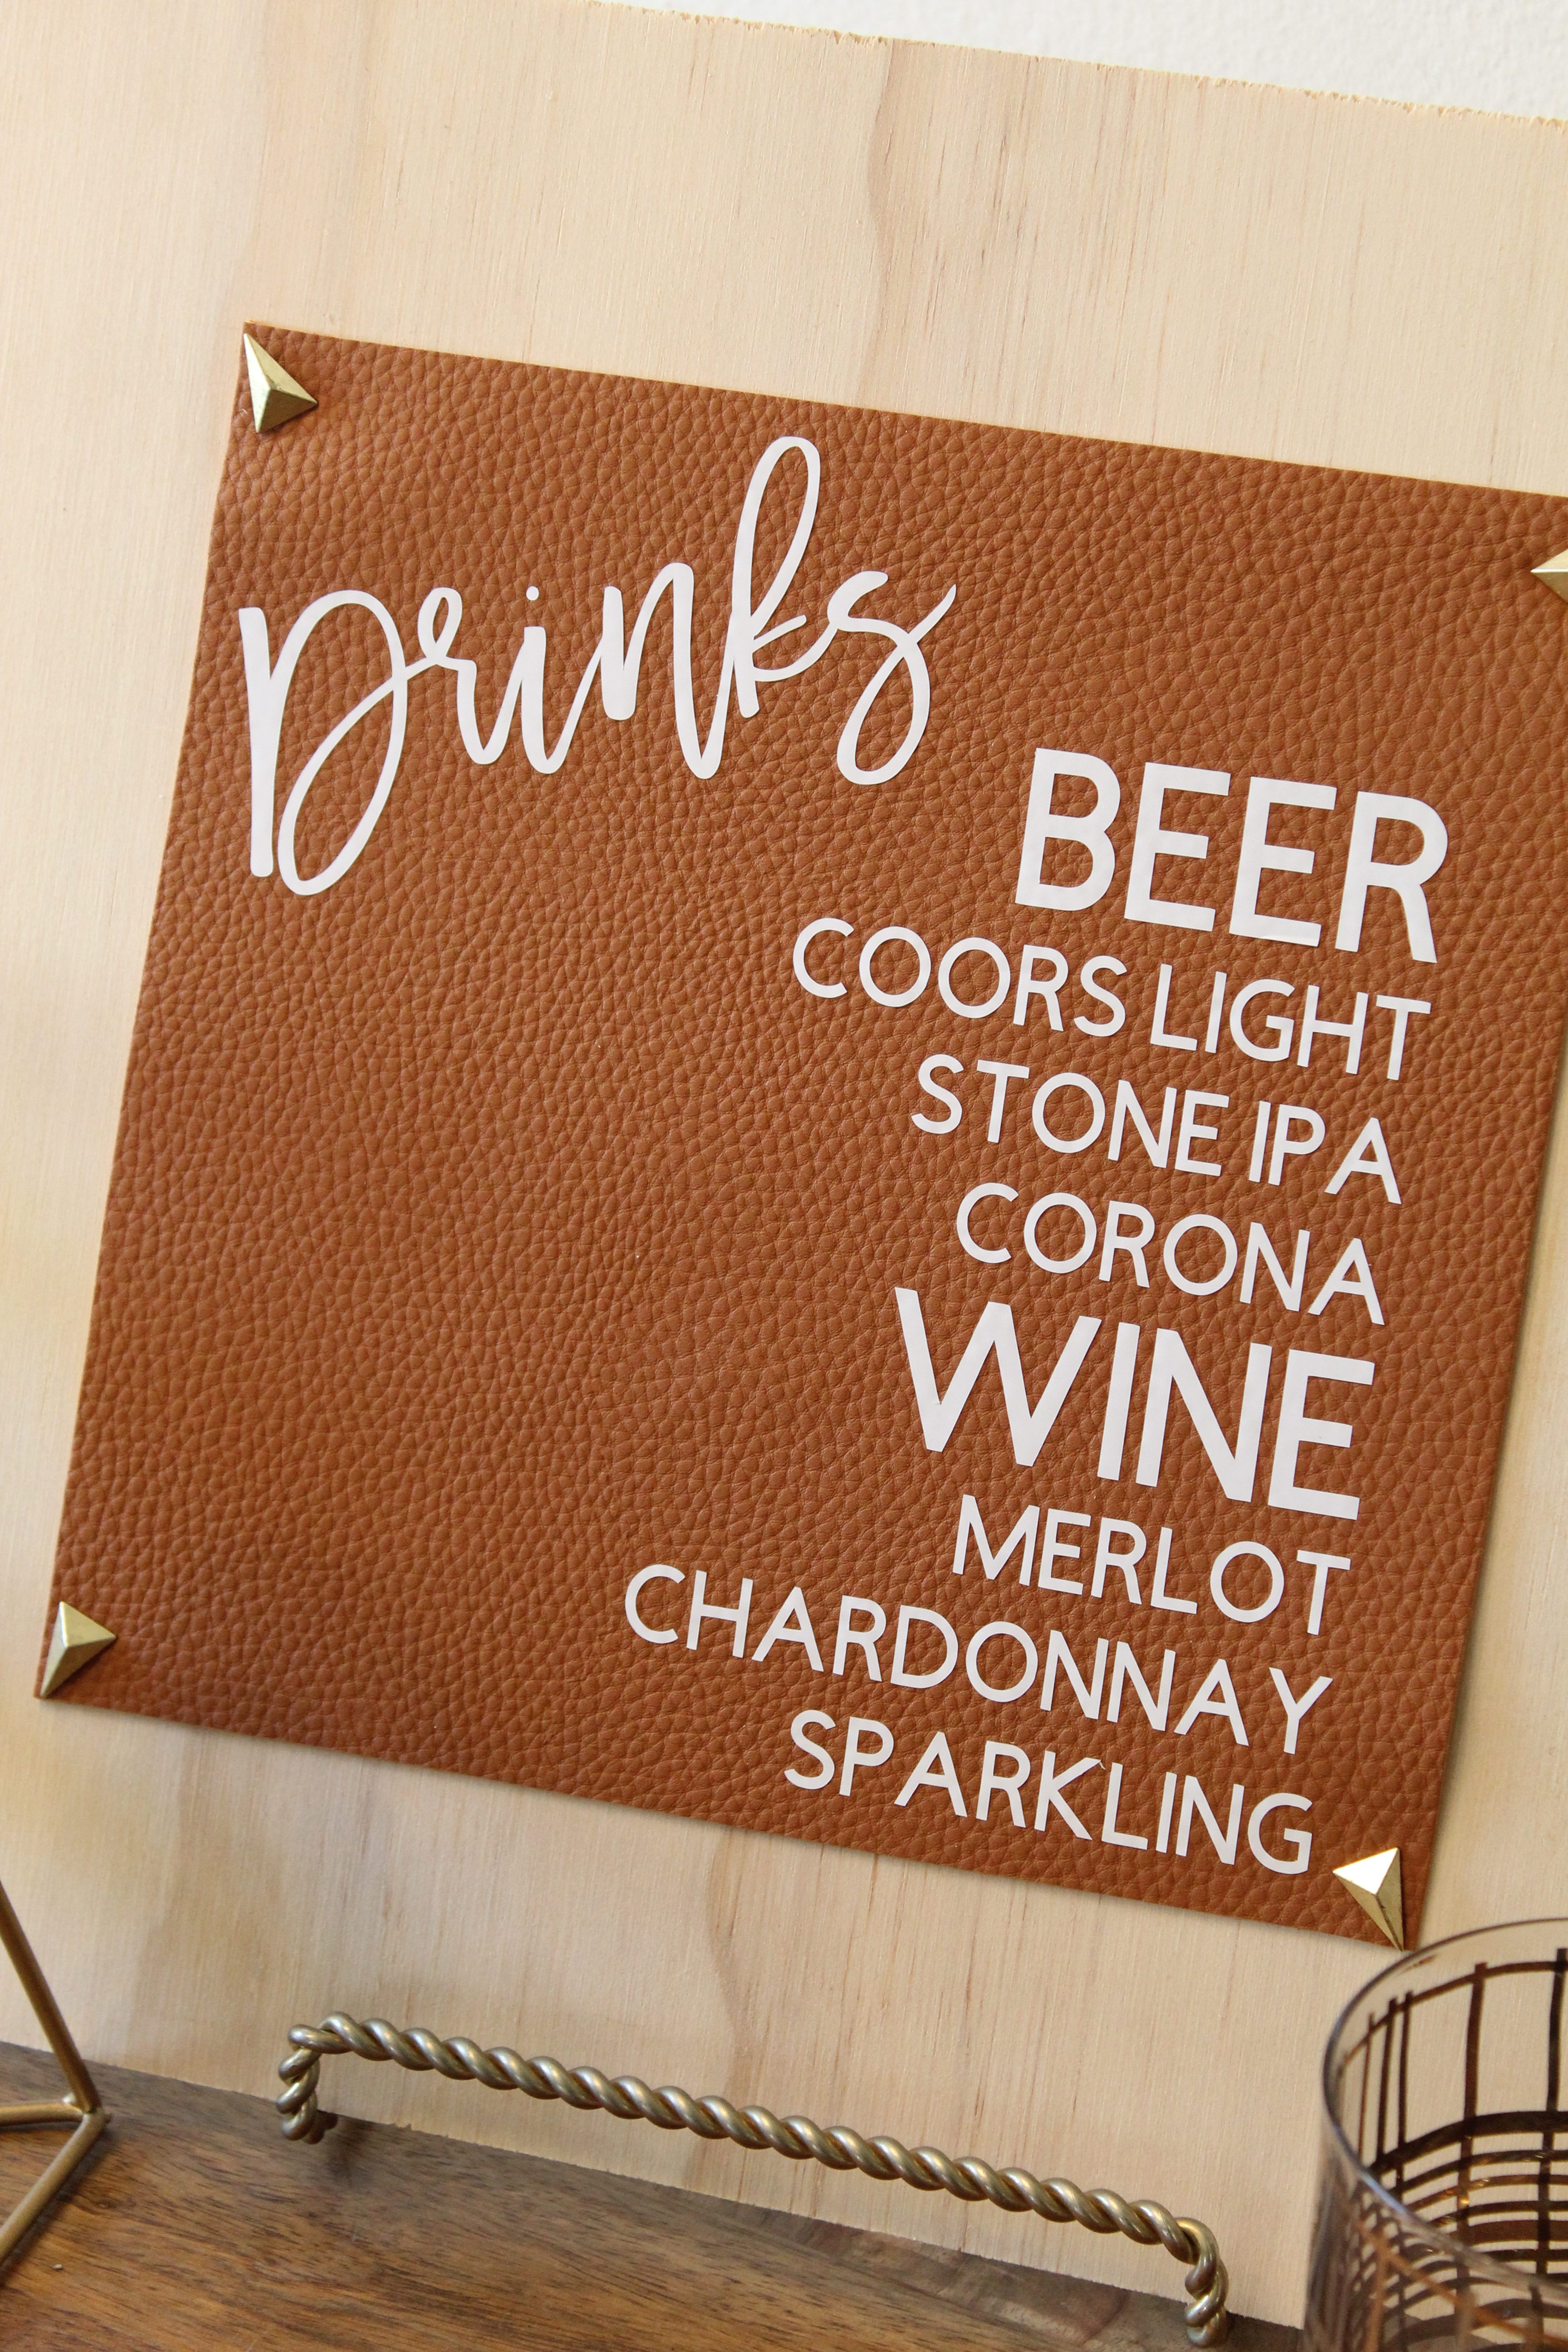
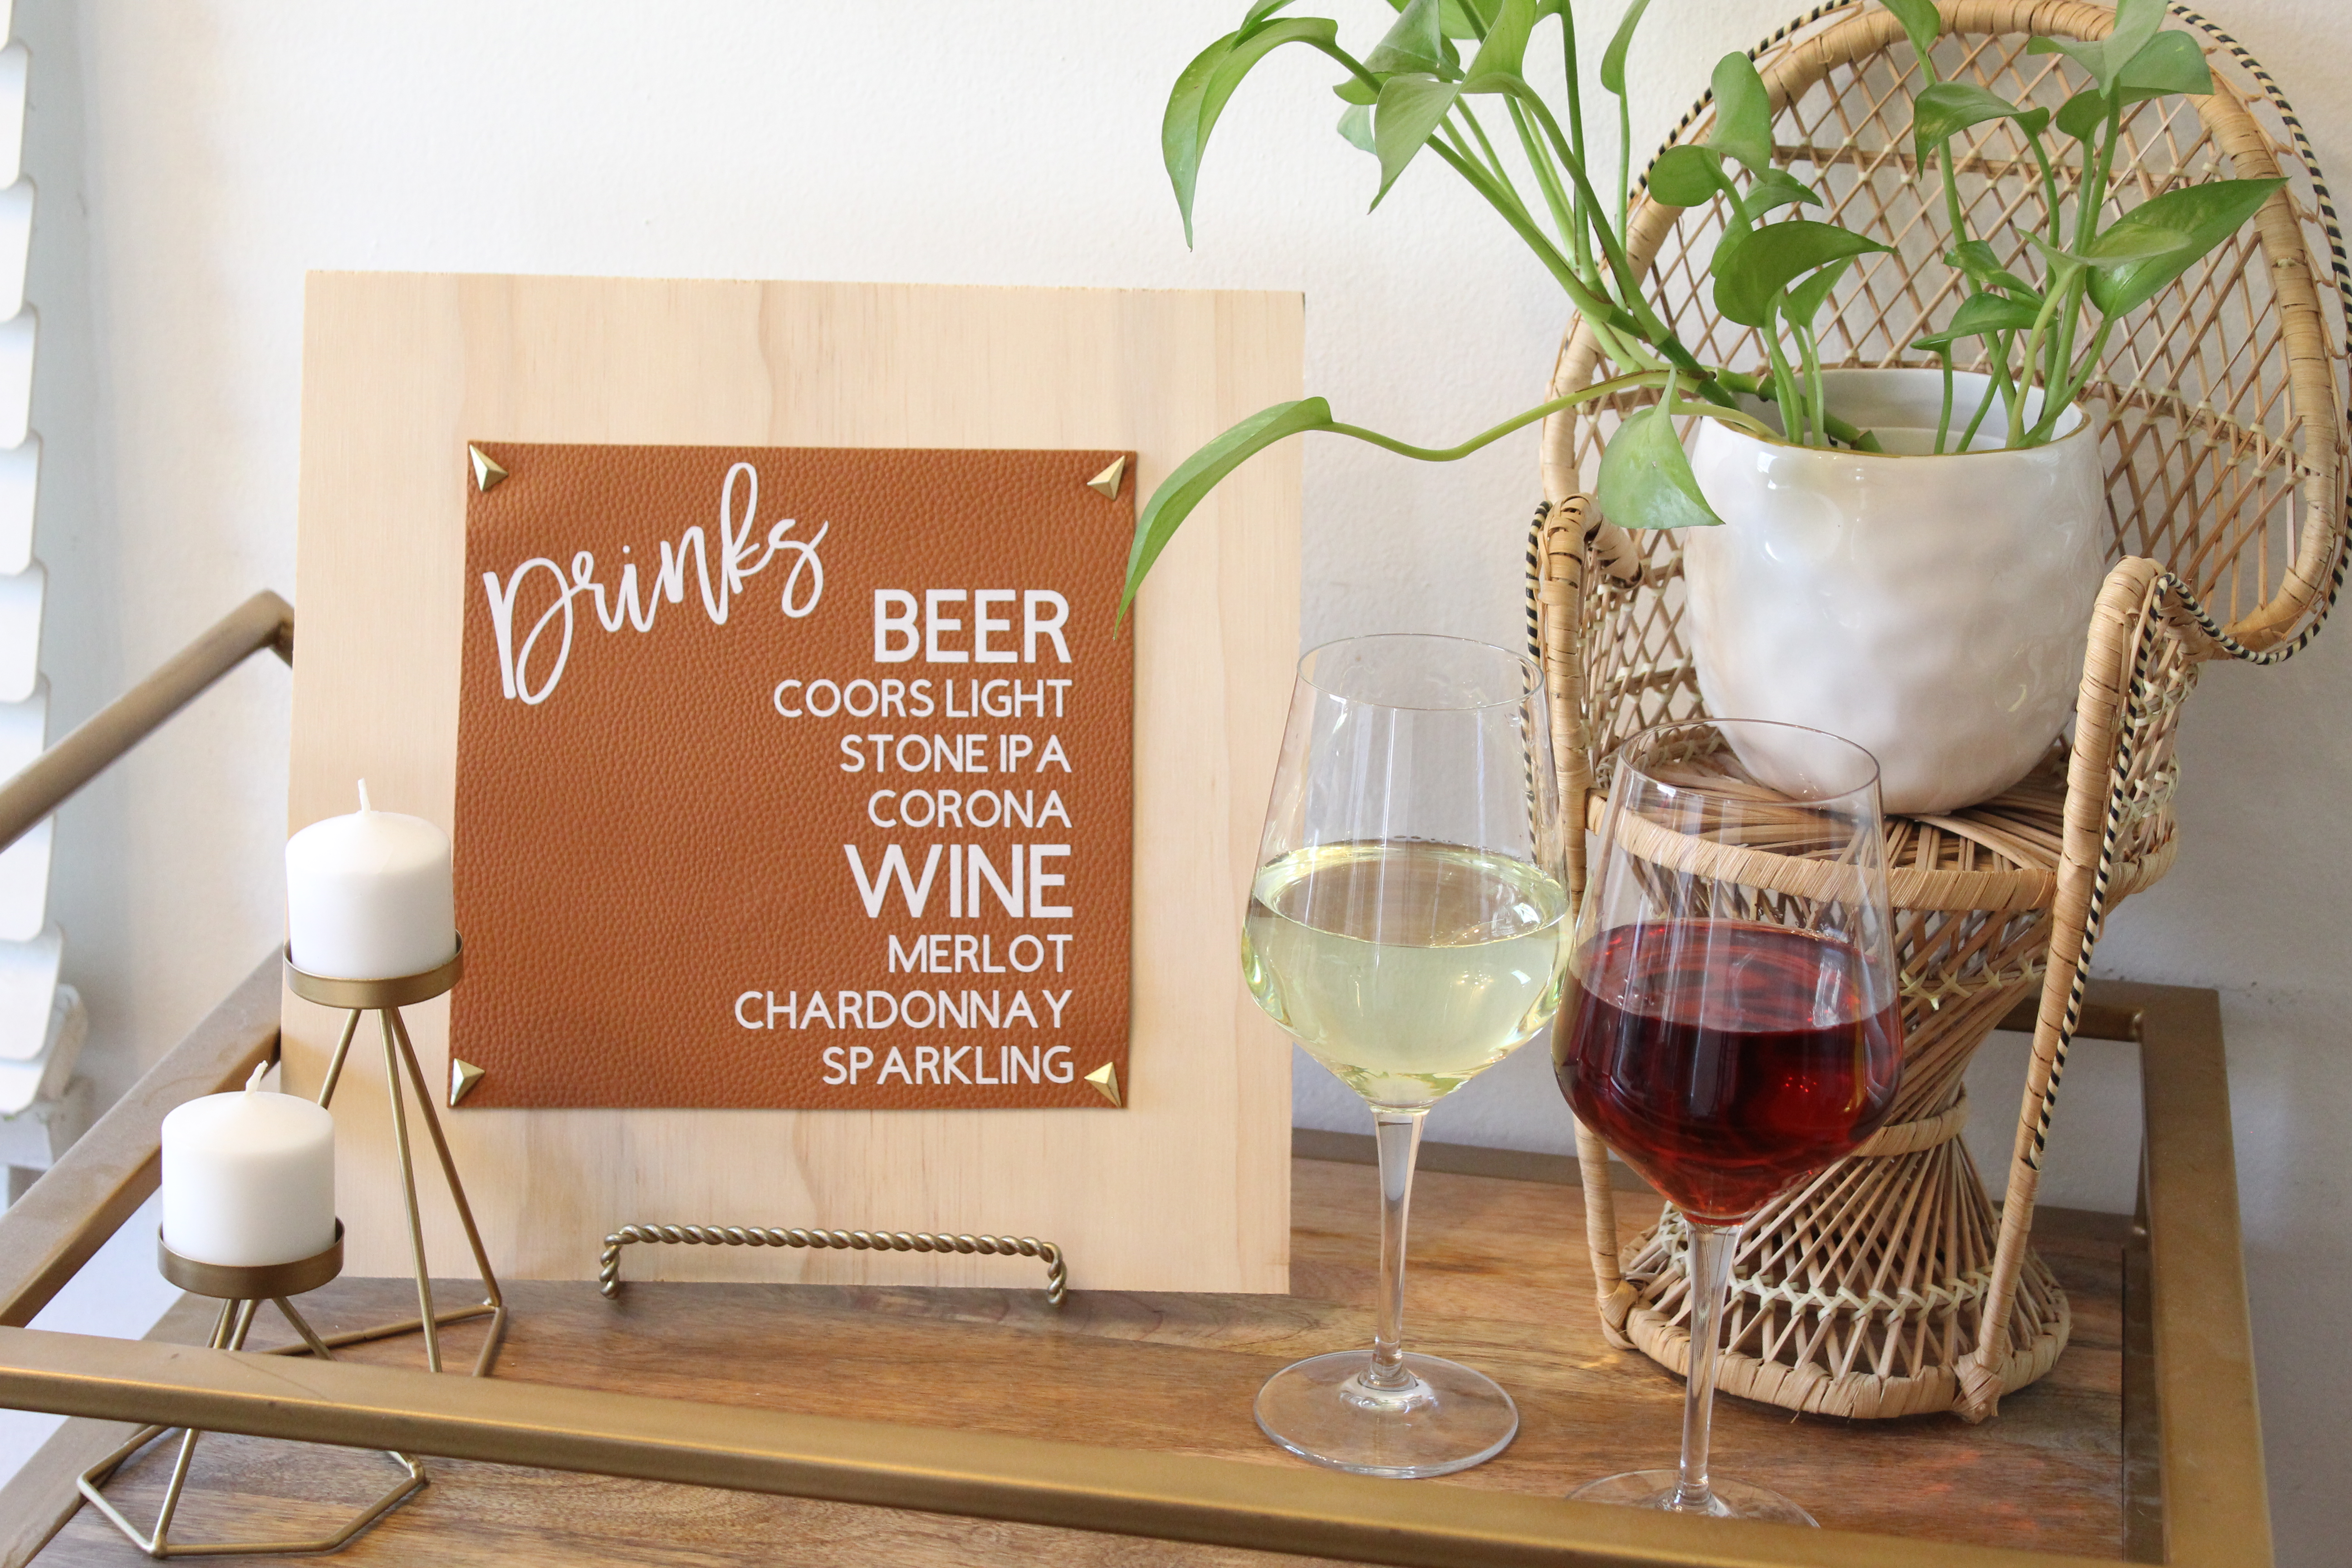
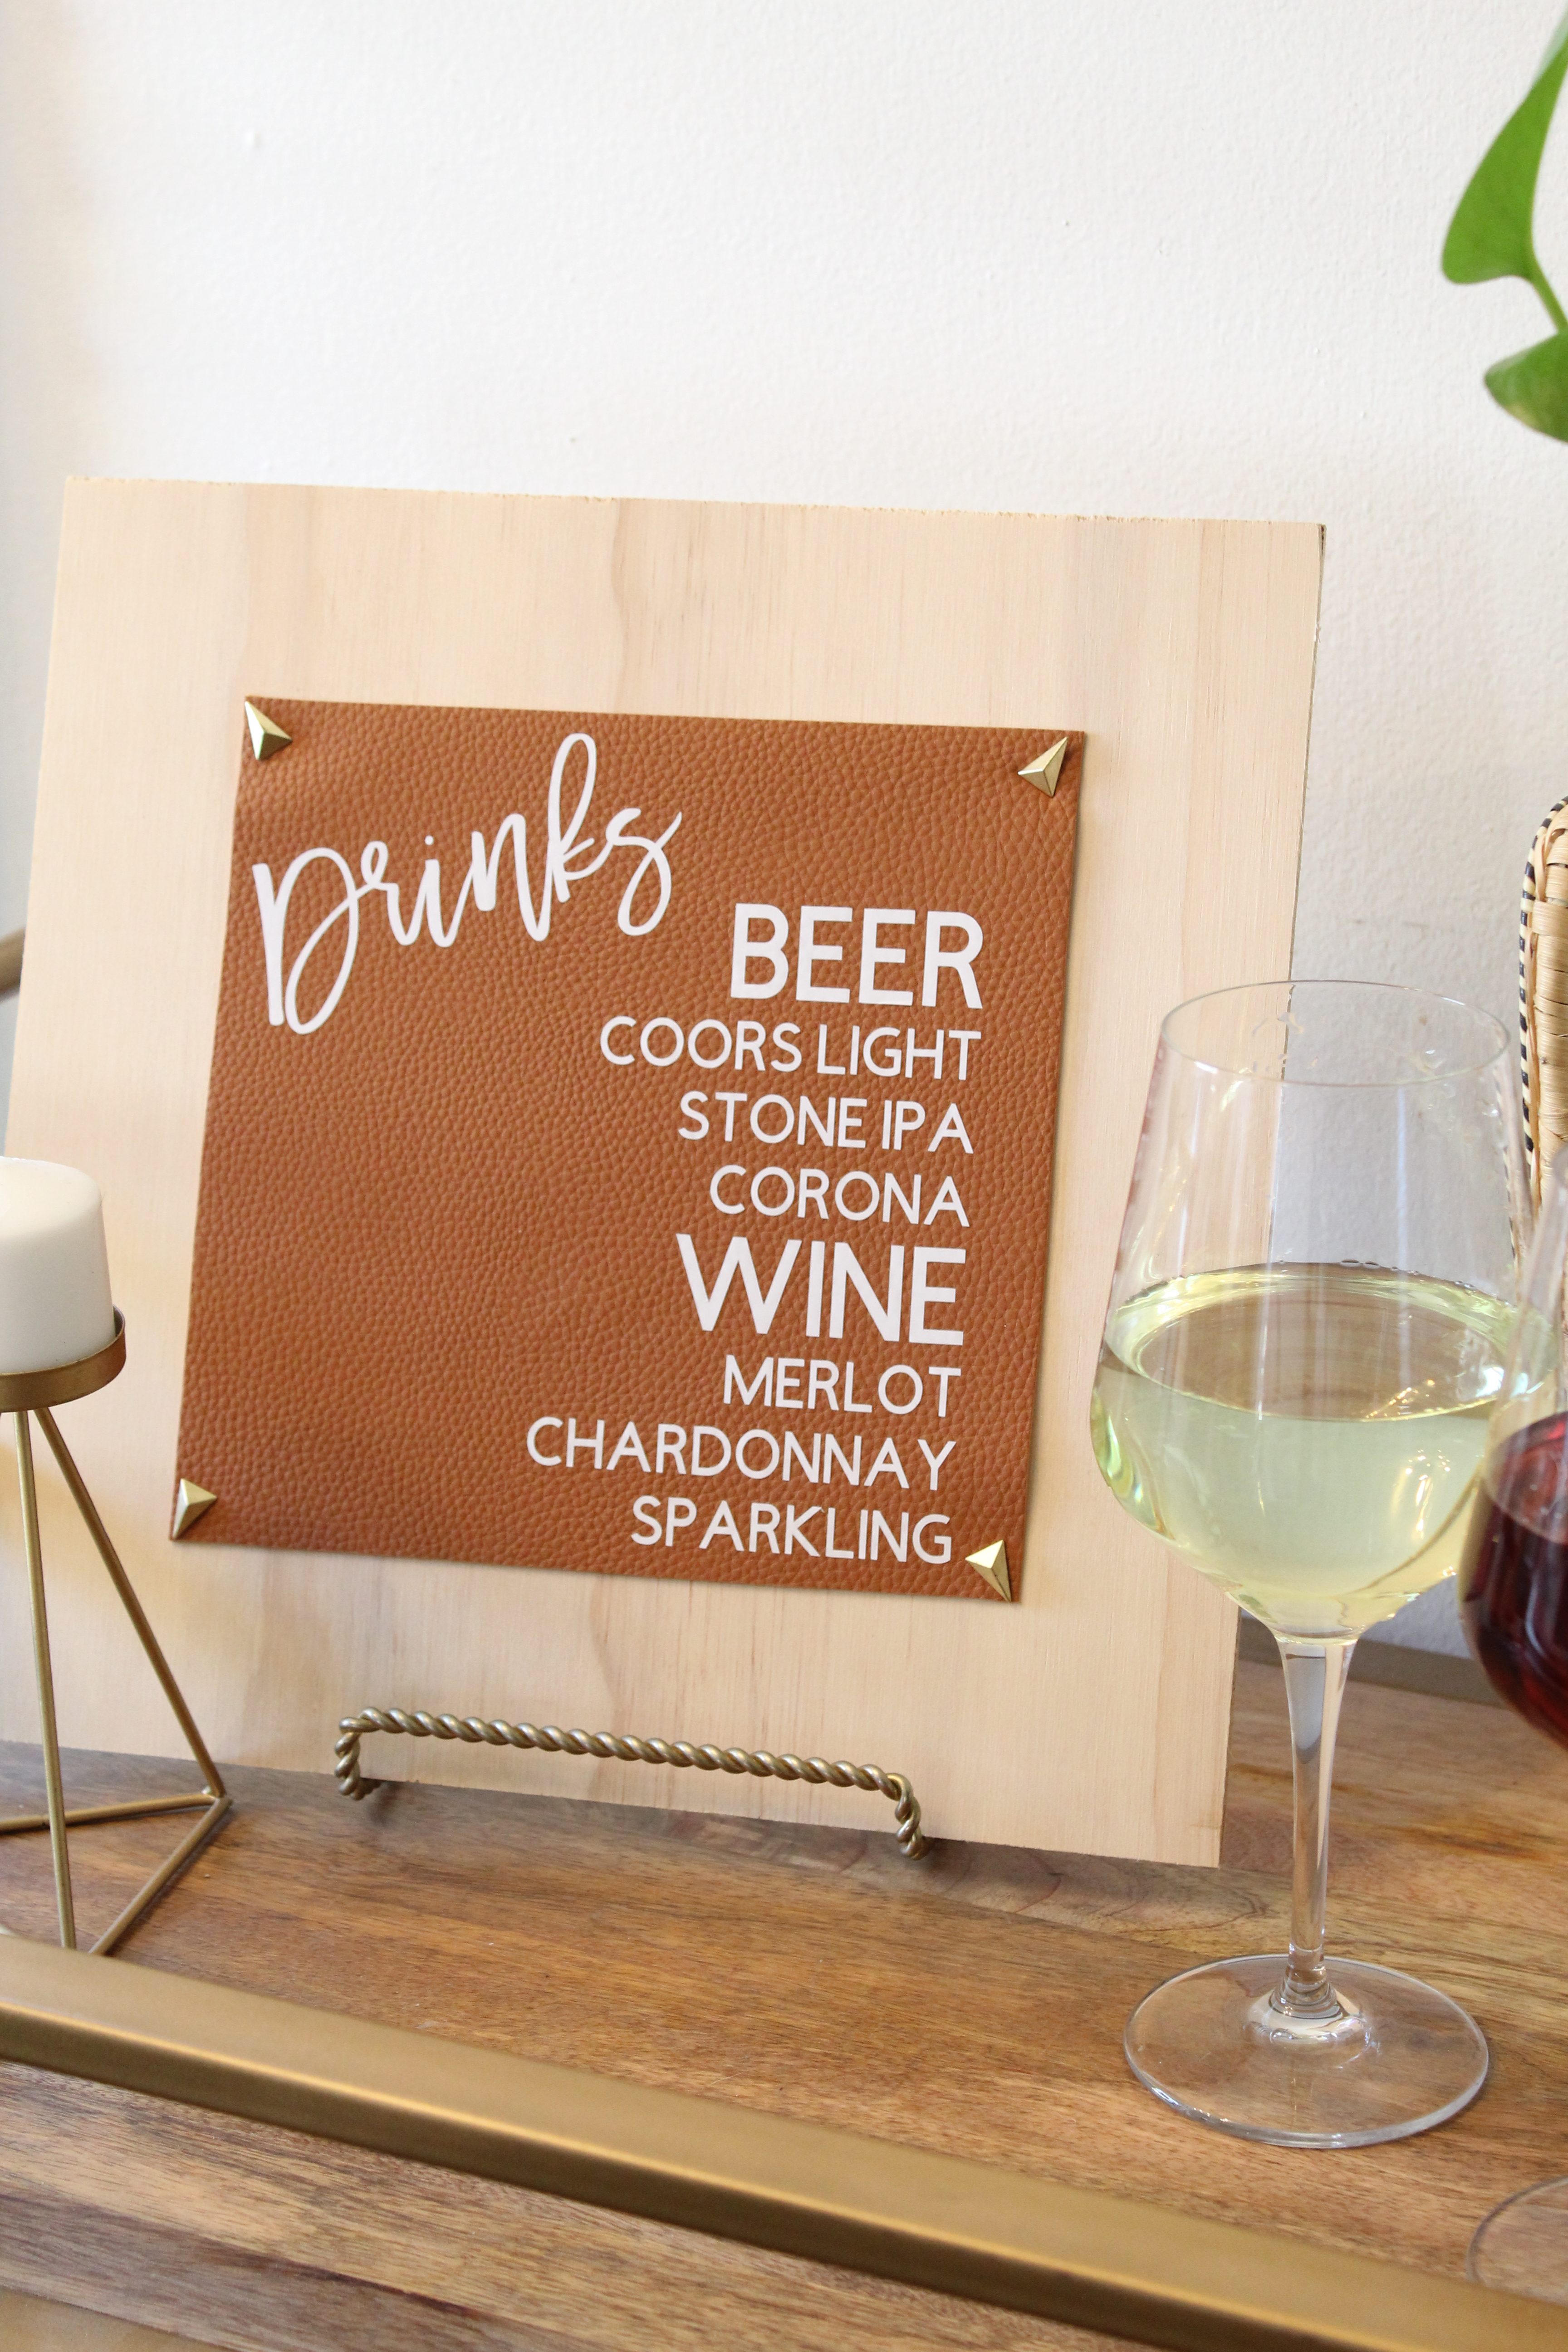
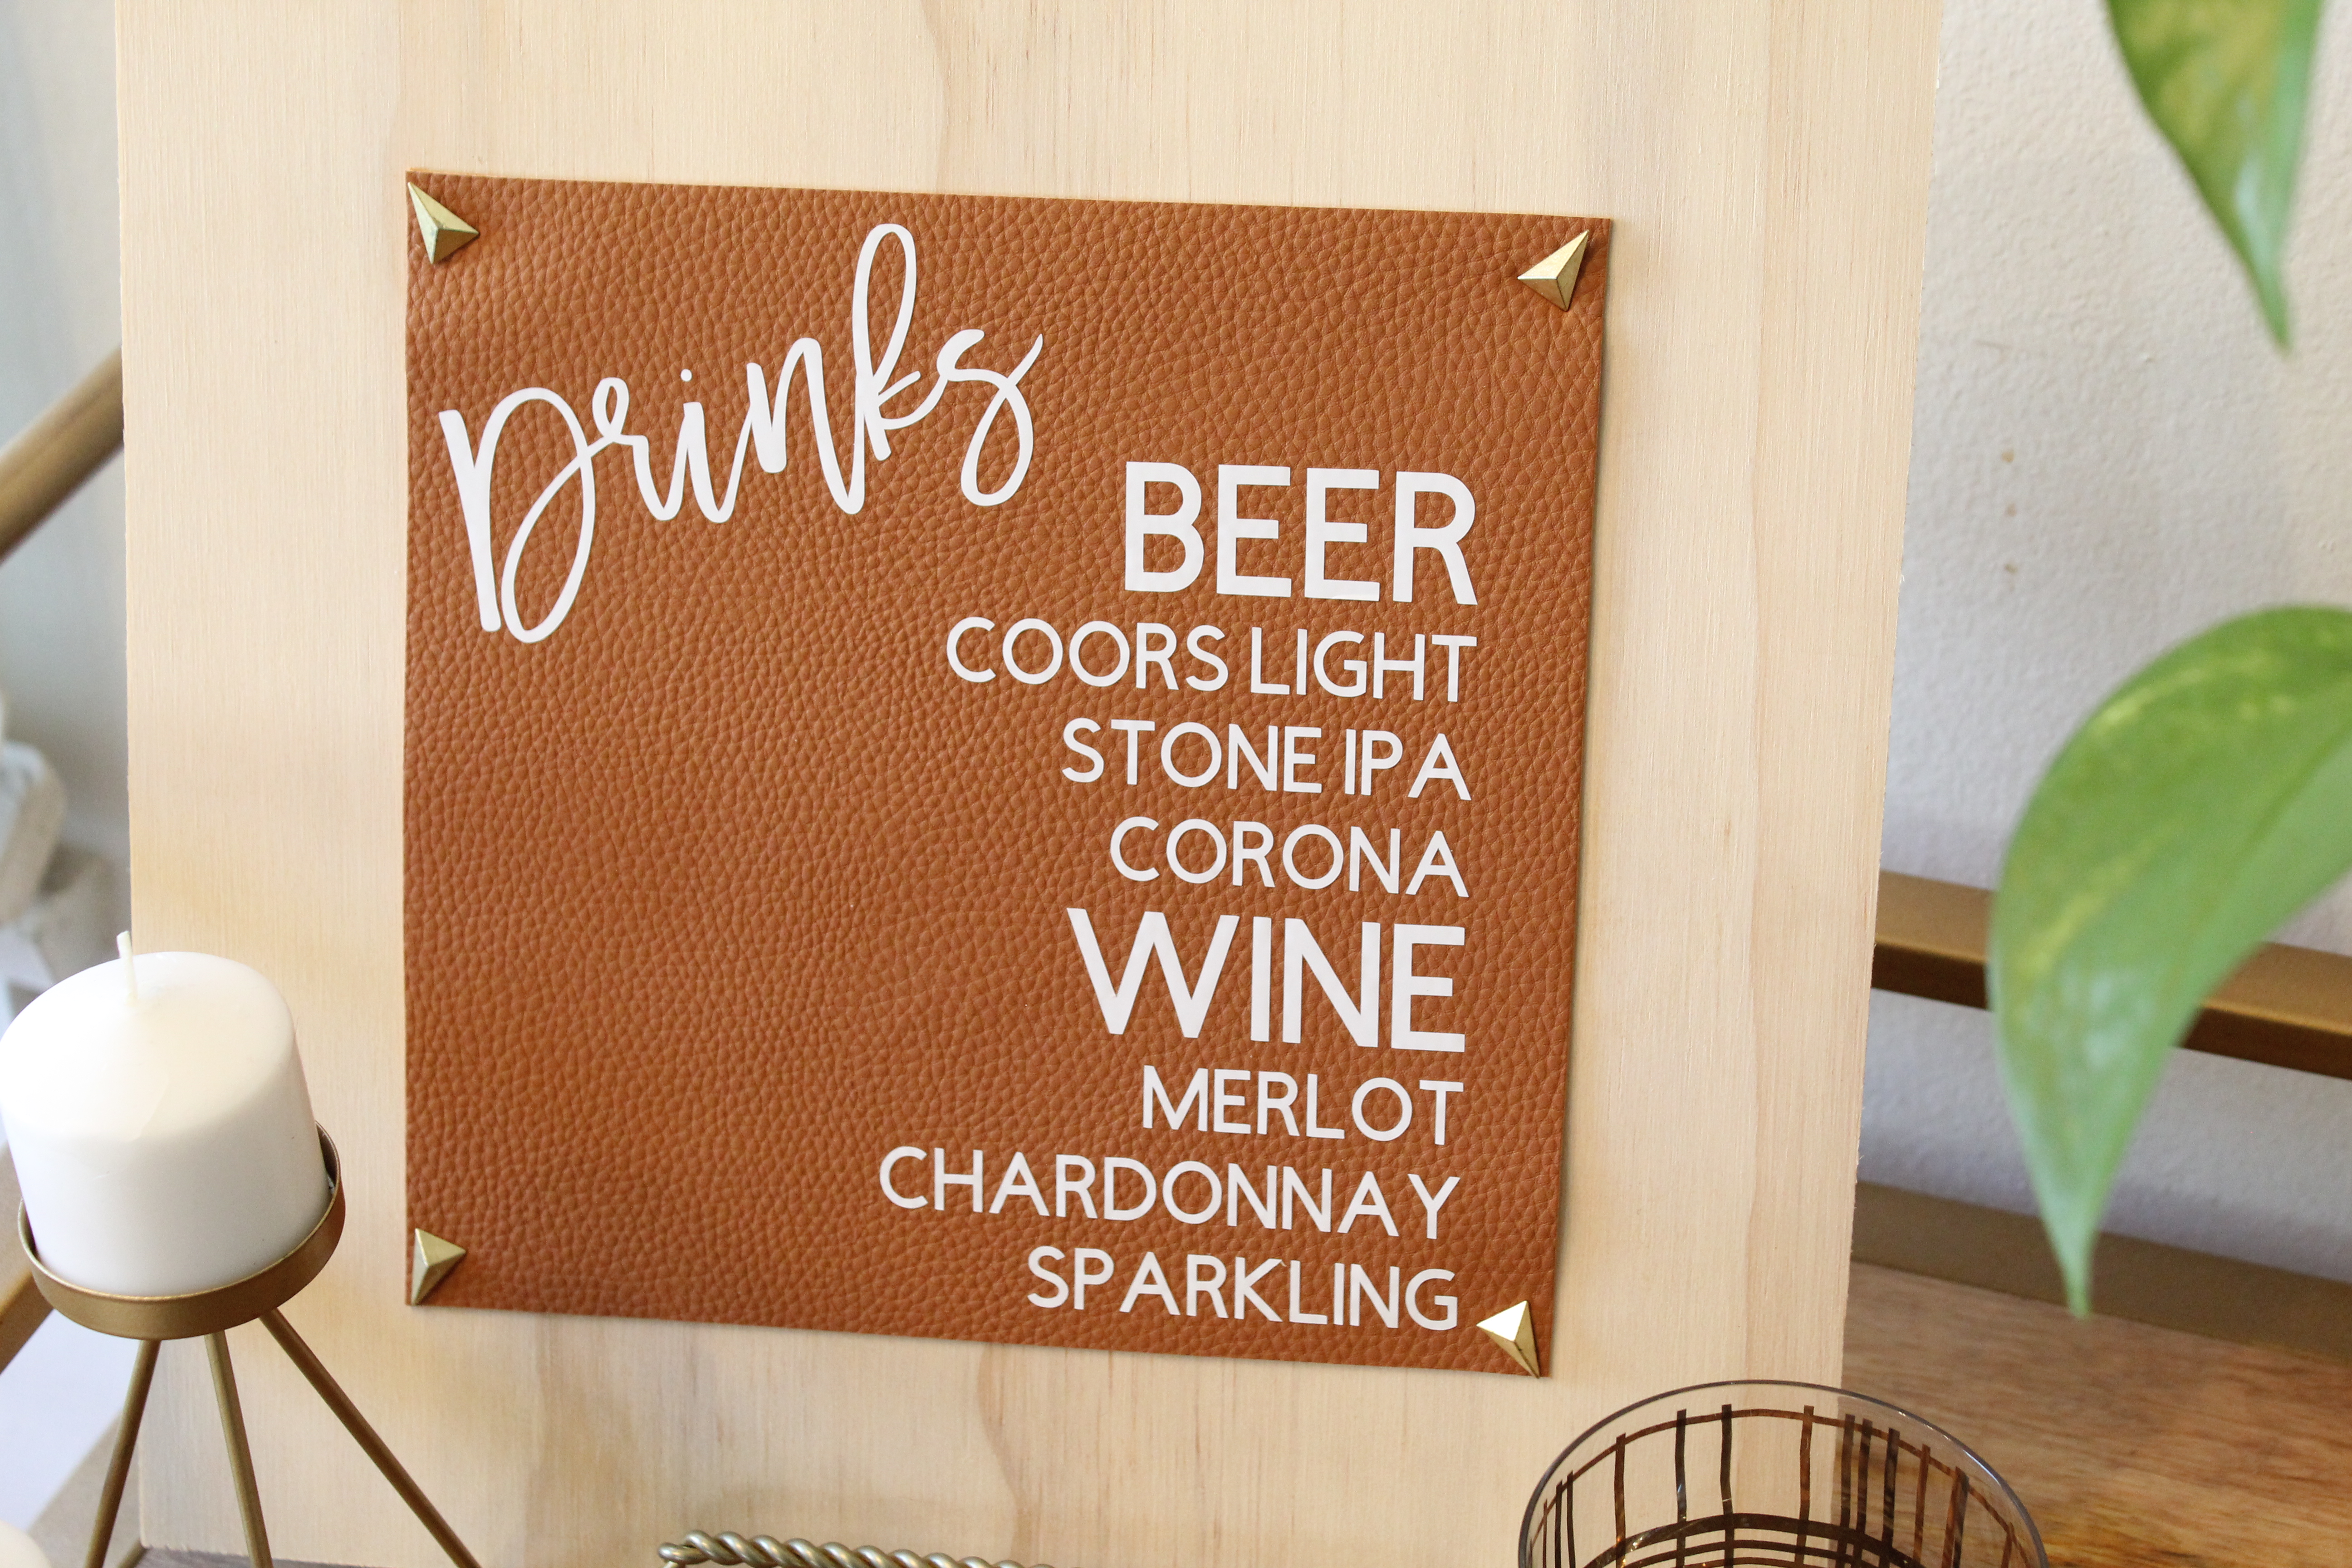
And you’re all done! A super modern and unique way to let your guests know what their drink options are!
DIY Tutorial Credits
Photography + DIY Tutorial: Shea O’Quinn of Not So Cli-Shea // Rotary Cutter // Hammer (similar) // Wire Cutting Pliers // Push pins (similar) // Wood- Ganahl Lumber // Cricut Maker and tools courtesy of Cricut // Faux Leather // Metal Edge Ruler
Shop The Supplies:
Find the supplies you’ll need for this project from our affiliate links below:


Comments