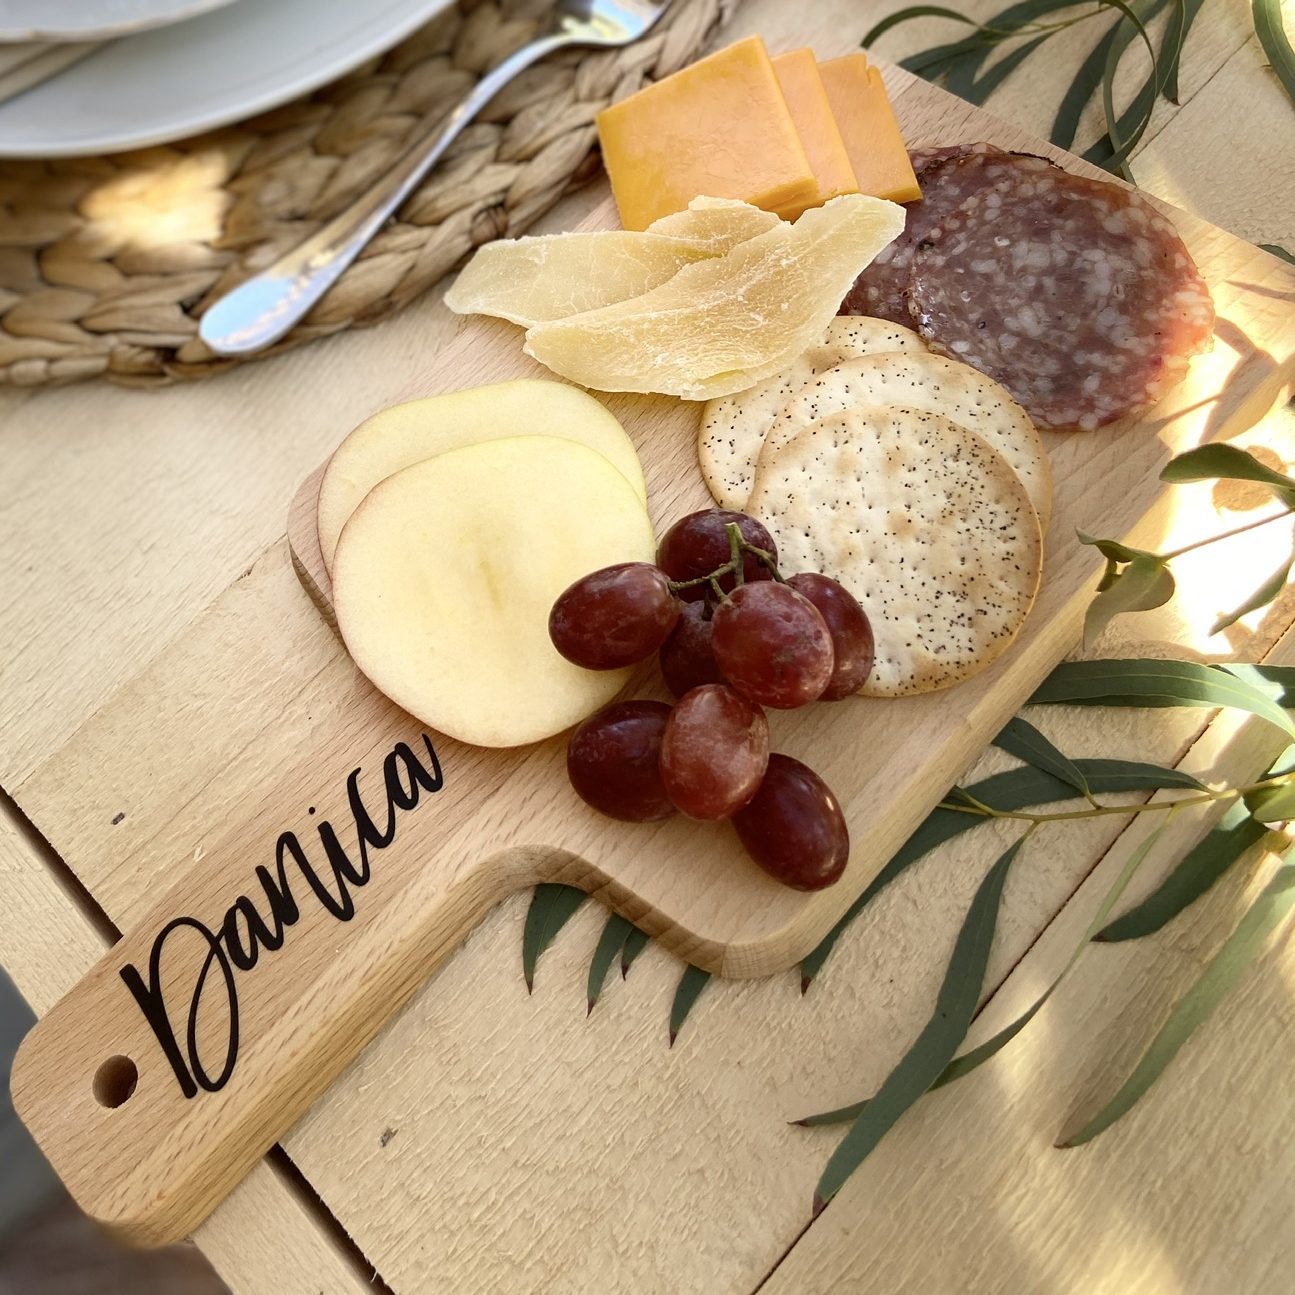

DIY Personalized Cheese Board
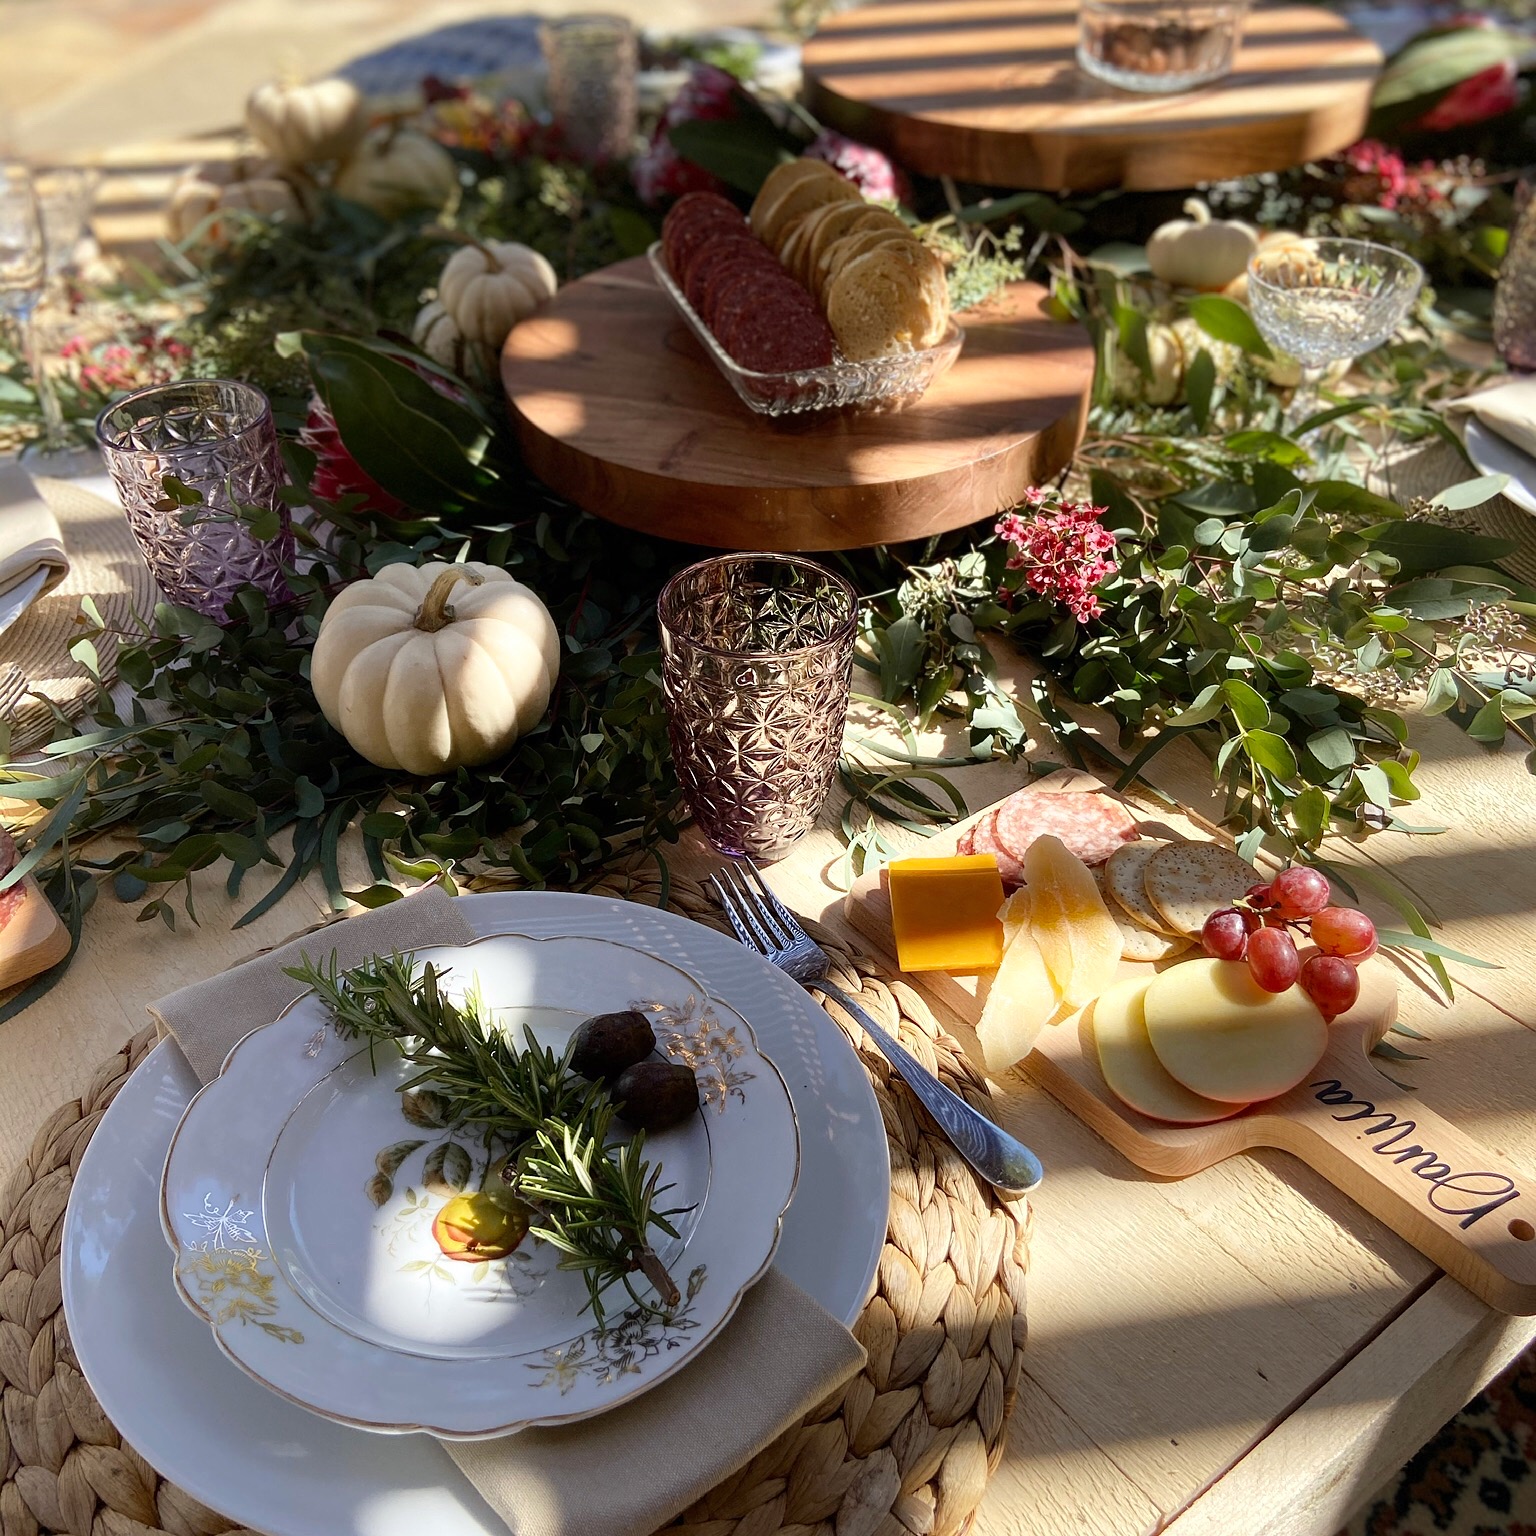
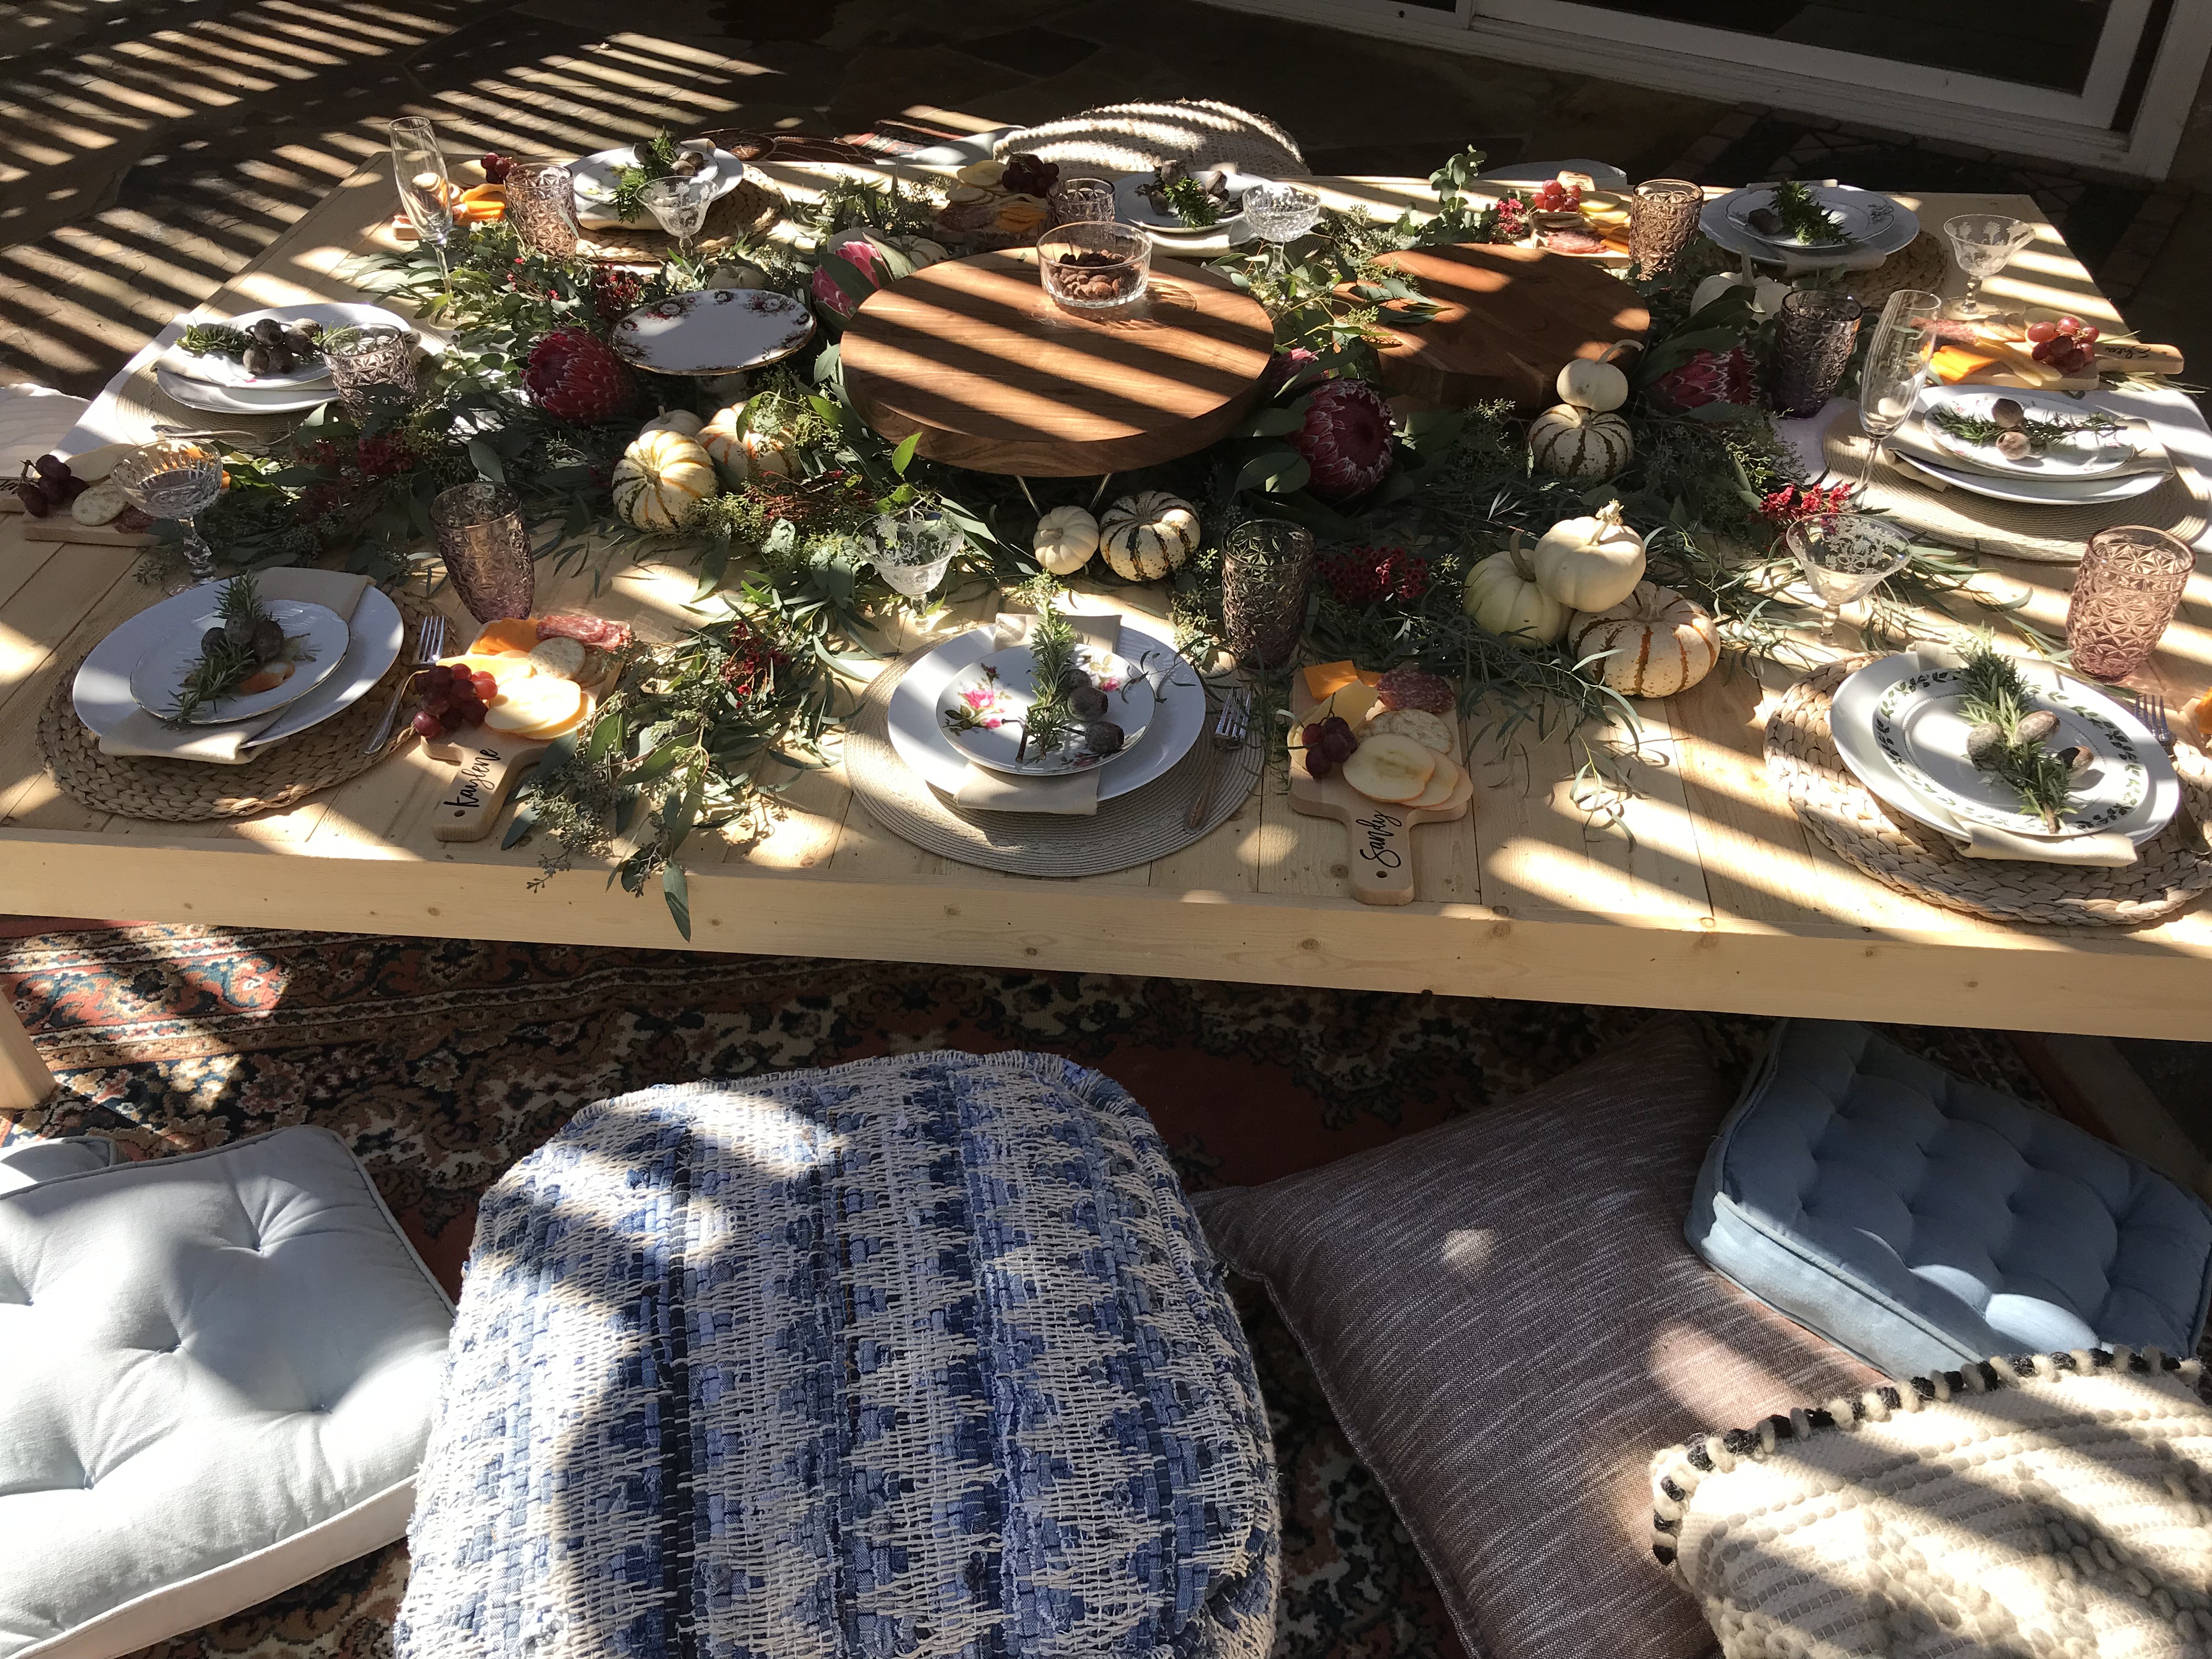
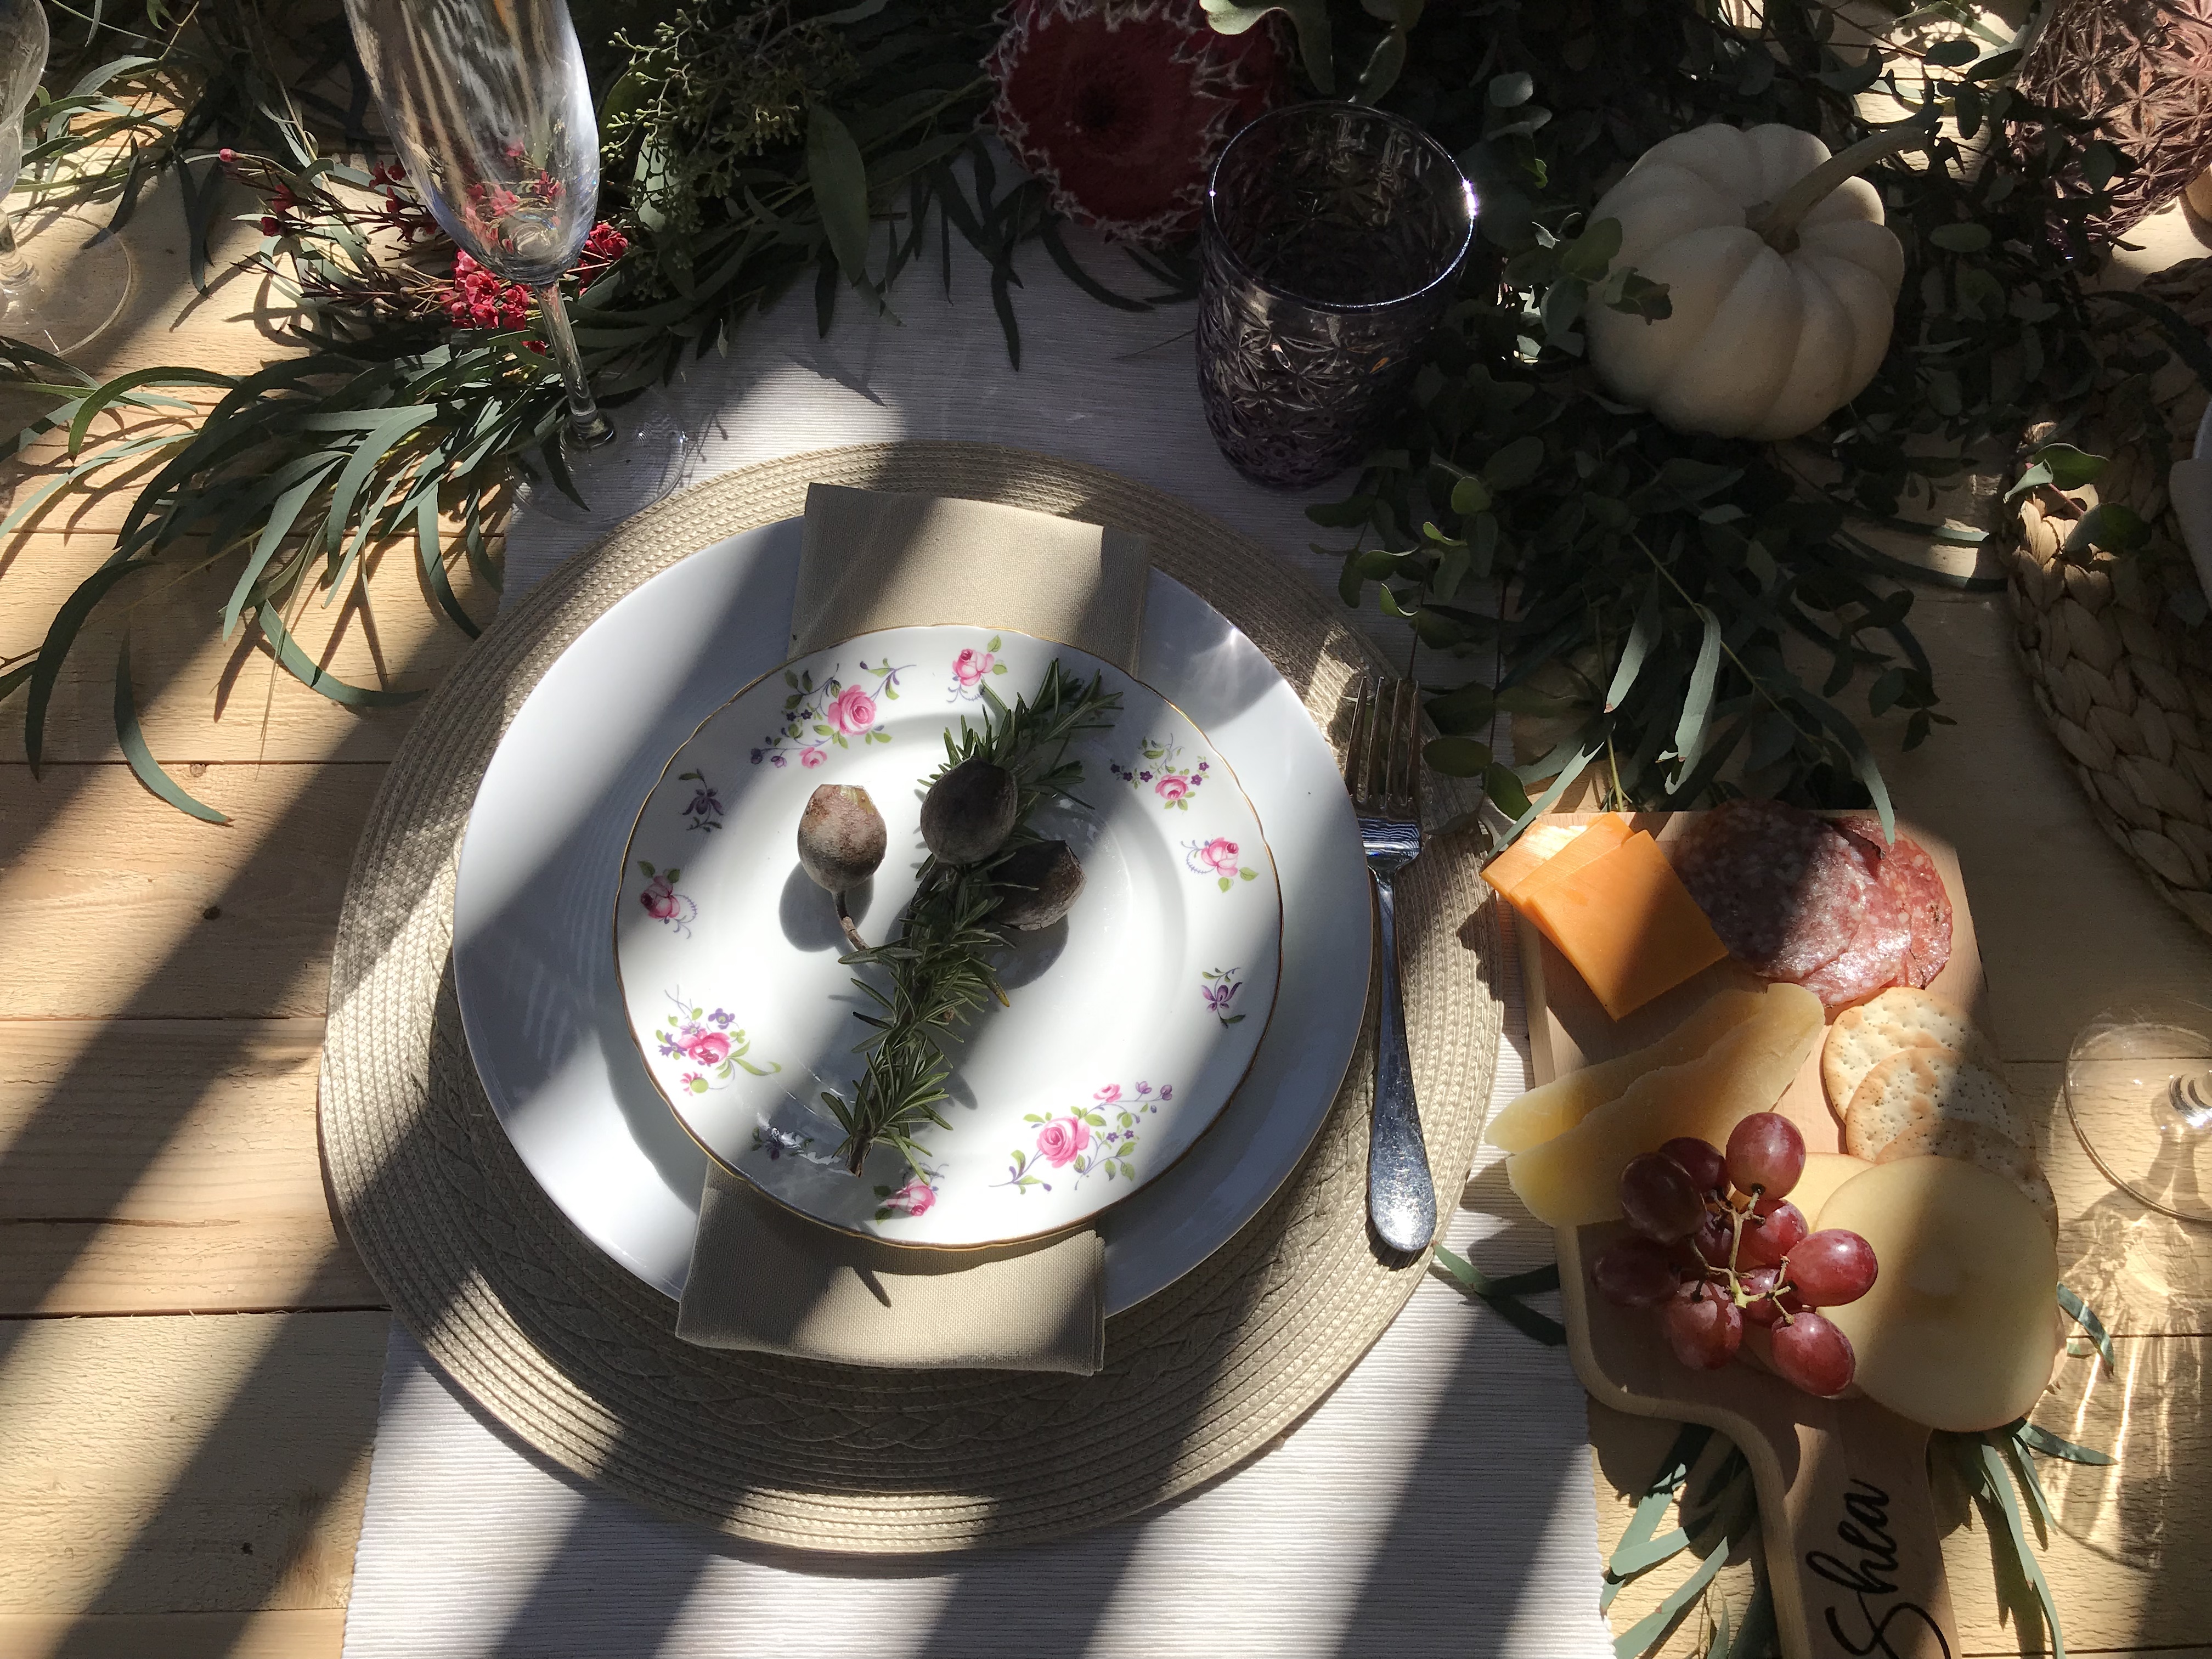
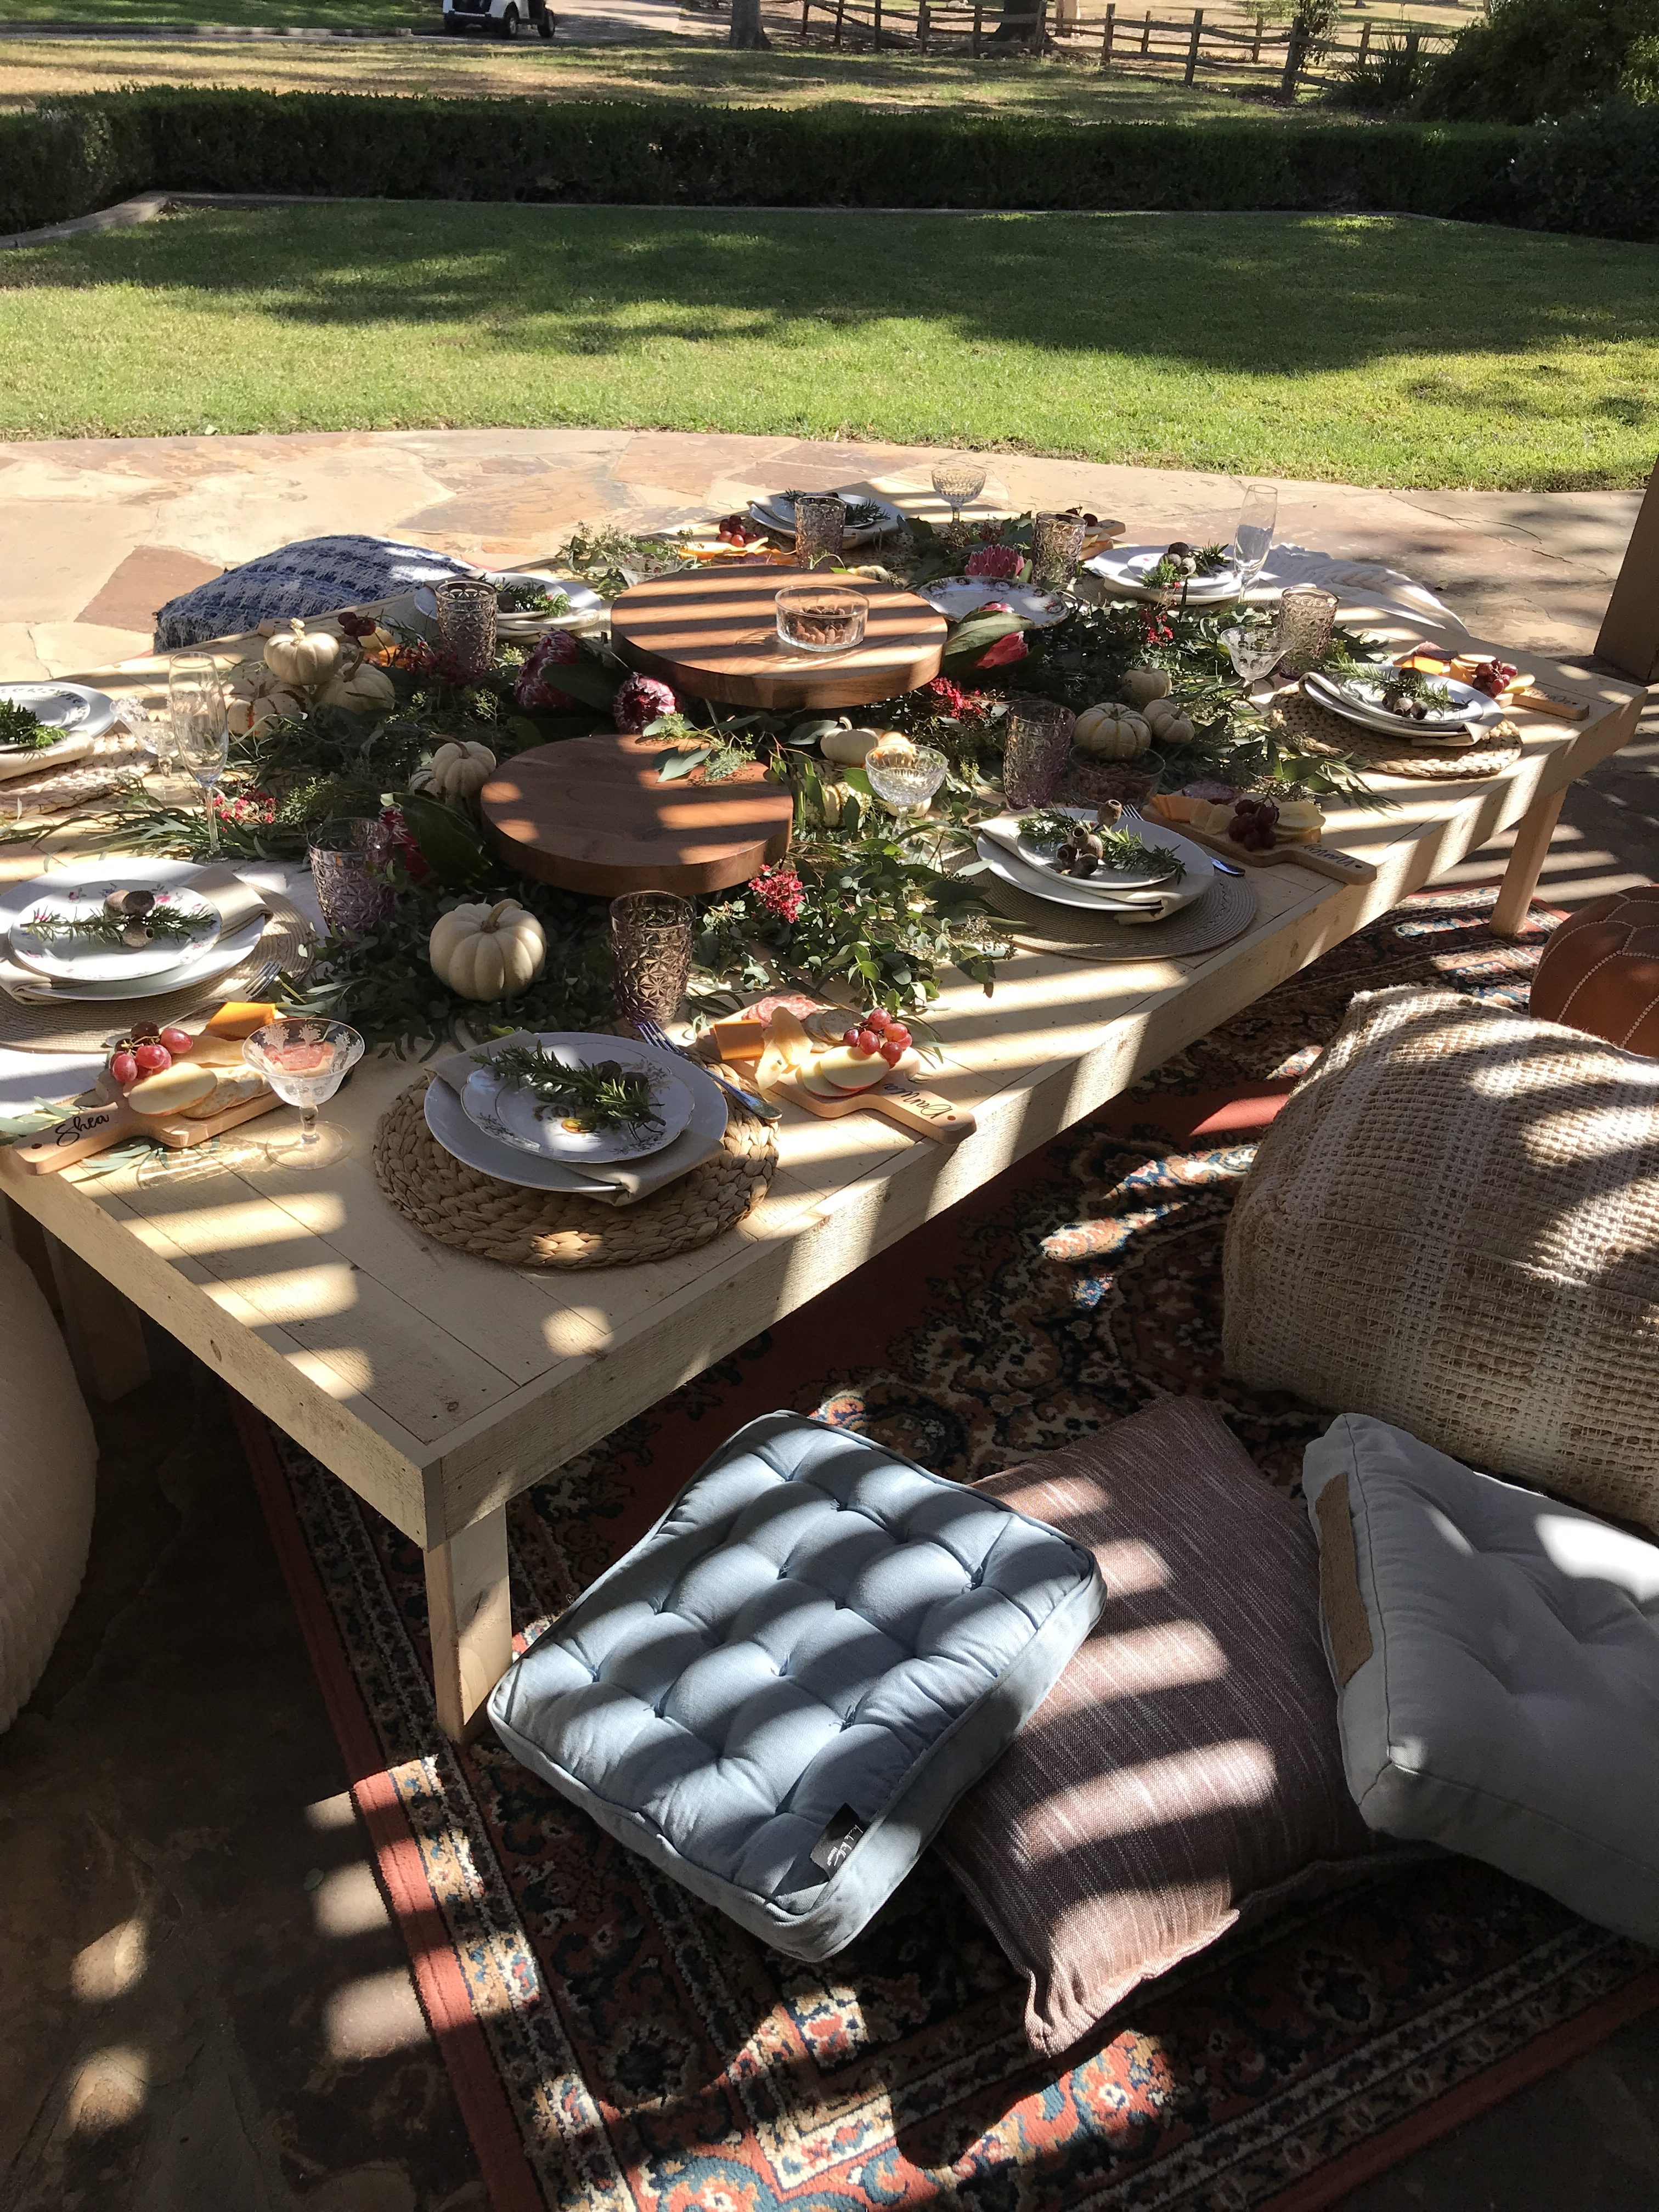
Hi friends! It’s Shea back with another fun and super simple DIY! If you haven’t gotten on the charcuterie bandwagon, have you been living under a rock? Just kidding… but seriously, charcuteries are all the rage at events these days. For my moms birthday this year we decided to do a backyard boho soiree. I dreamed up these personalized cheese boards for every guest and they were SUCH a hit. I can’t tell you how many times I was asked “Where did you get these made?” and I was able to proudly answer “I made them”.

Supplies:
- Mini Cheese Board
- Cricut Machine (Explore or Maker)
- Cricut Vinyl (we used black)
- Cricut Transfer Tape
- Cricut Standard Grip Cutting Mat
- Cricut XL Scraper Tool
- Cricut Weeding Tool

Design Your Name
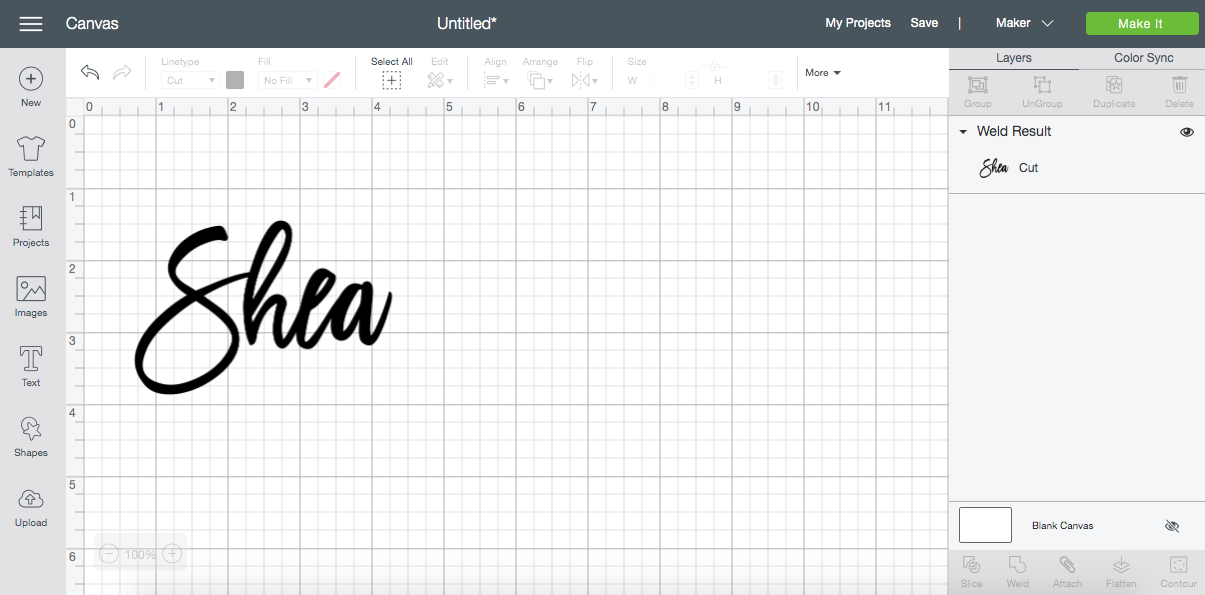
In Cricut Design Space, design your name either using Cricut fonts or your system fonts (Madina is a personal favorite of mine). If using a script font, it will default with space between each letter like you see here.
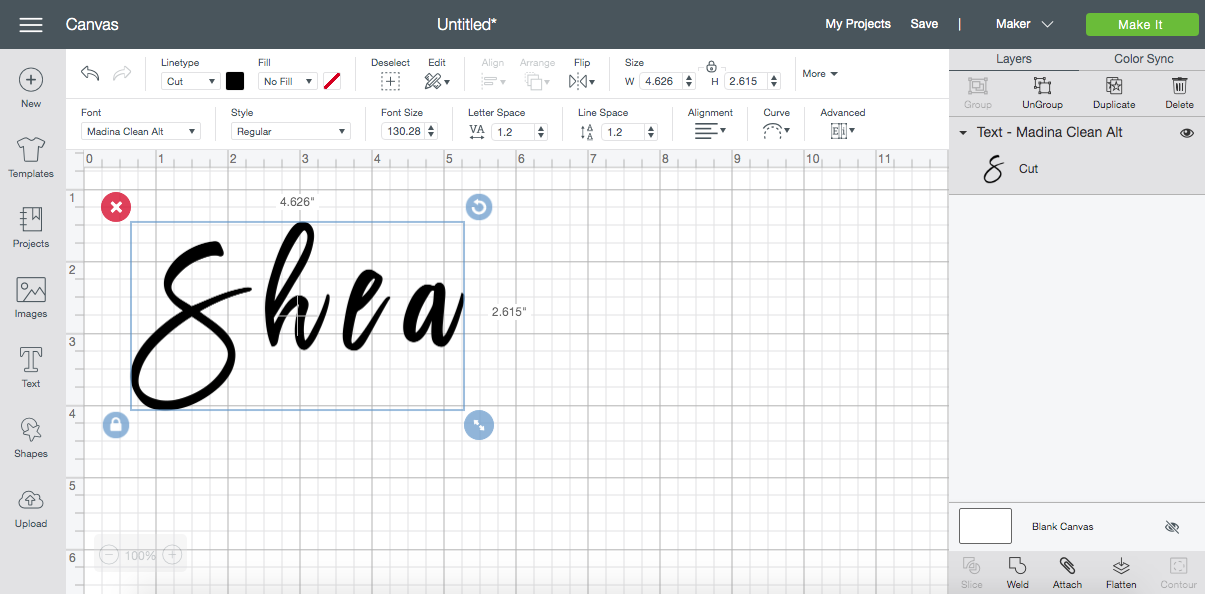
“Ungroup” your text and move each letter where you want it and hit “weld”.
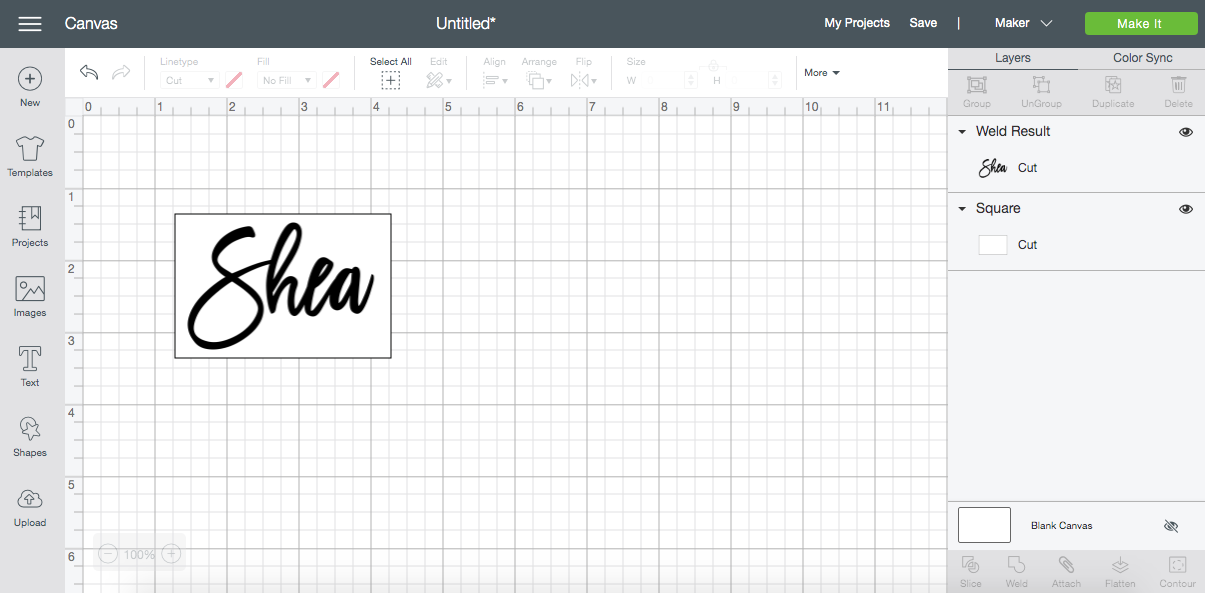
Insider Tip: I like to measure the space I’ll be working on, in this case the handle of the cheese board. Taking the hole into account, the space is 2 inches tall by 3 inches wide so what I do is add a rectangle to my canvas in that size to properly size my text, as you can see in this photo.
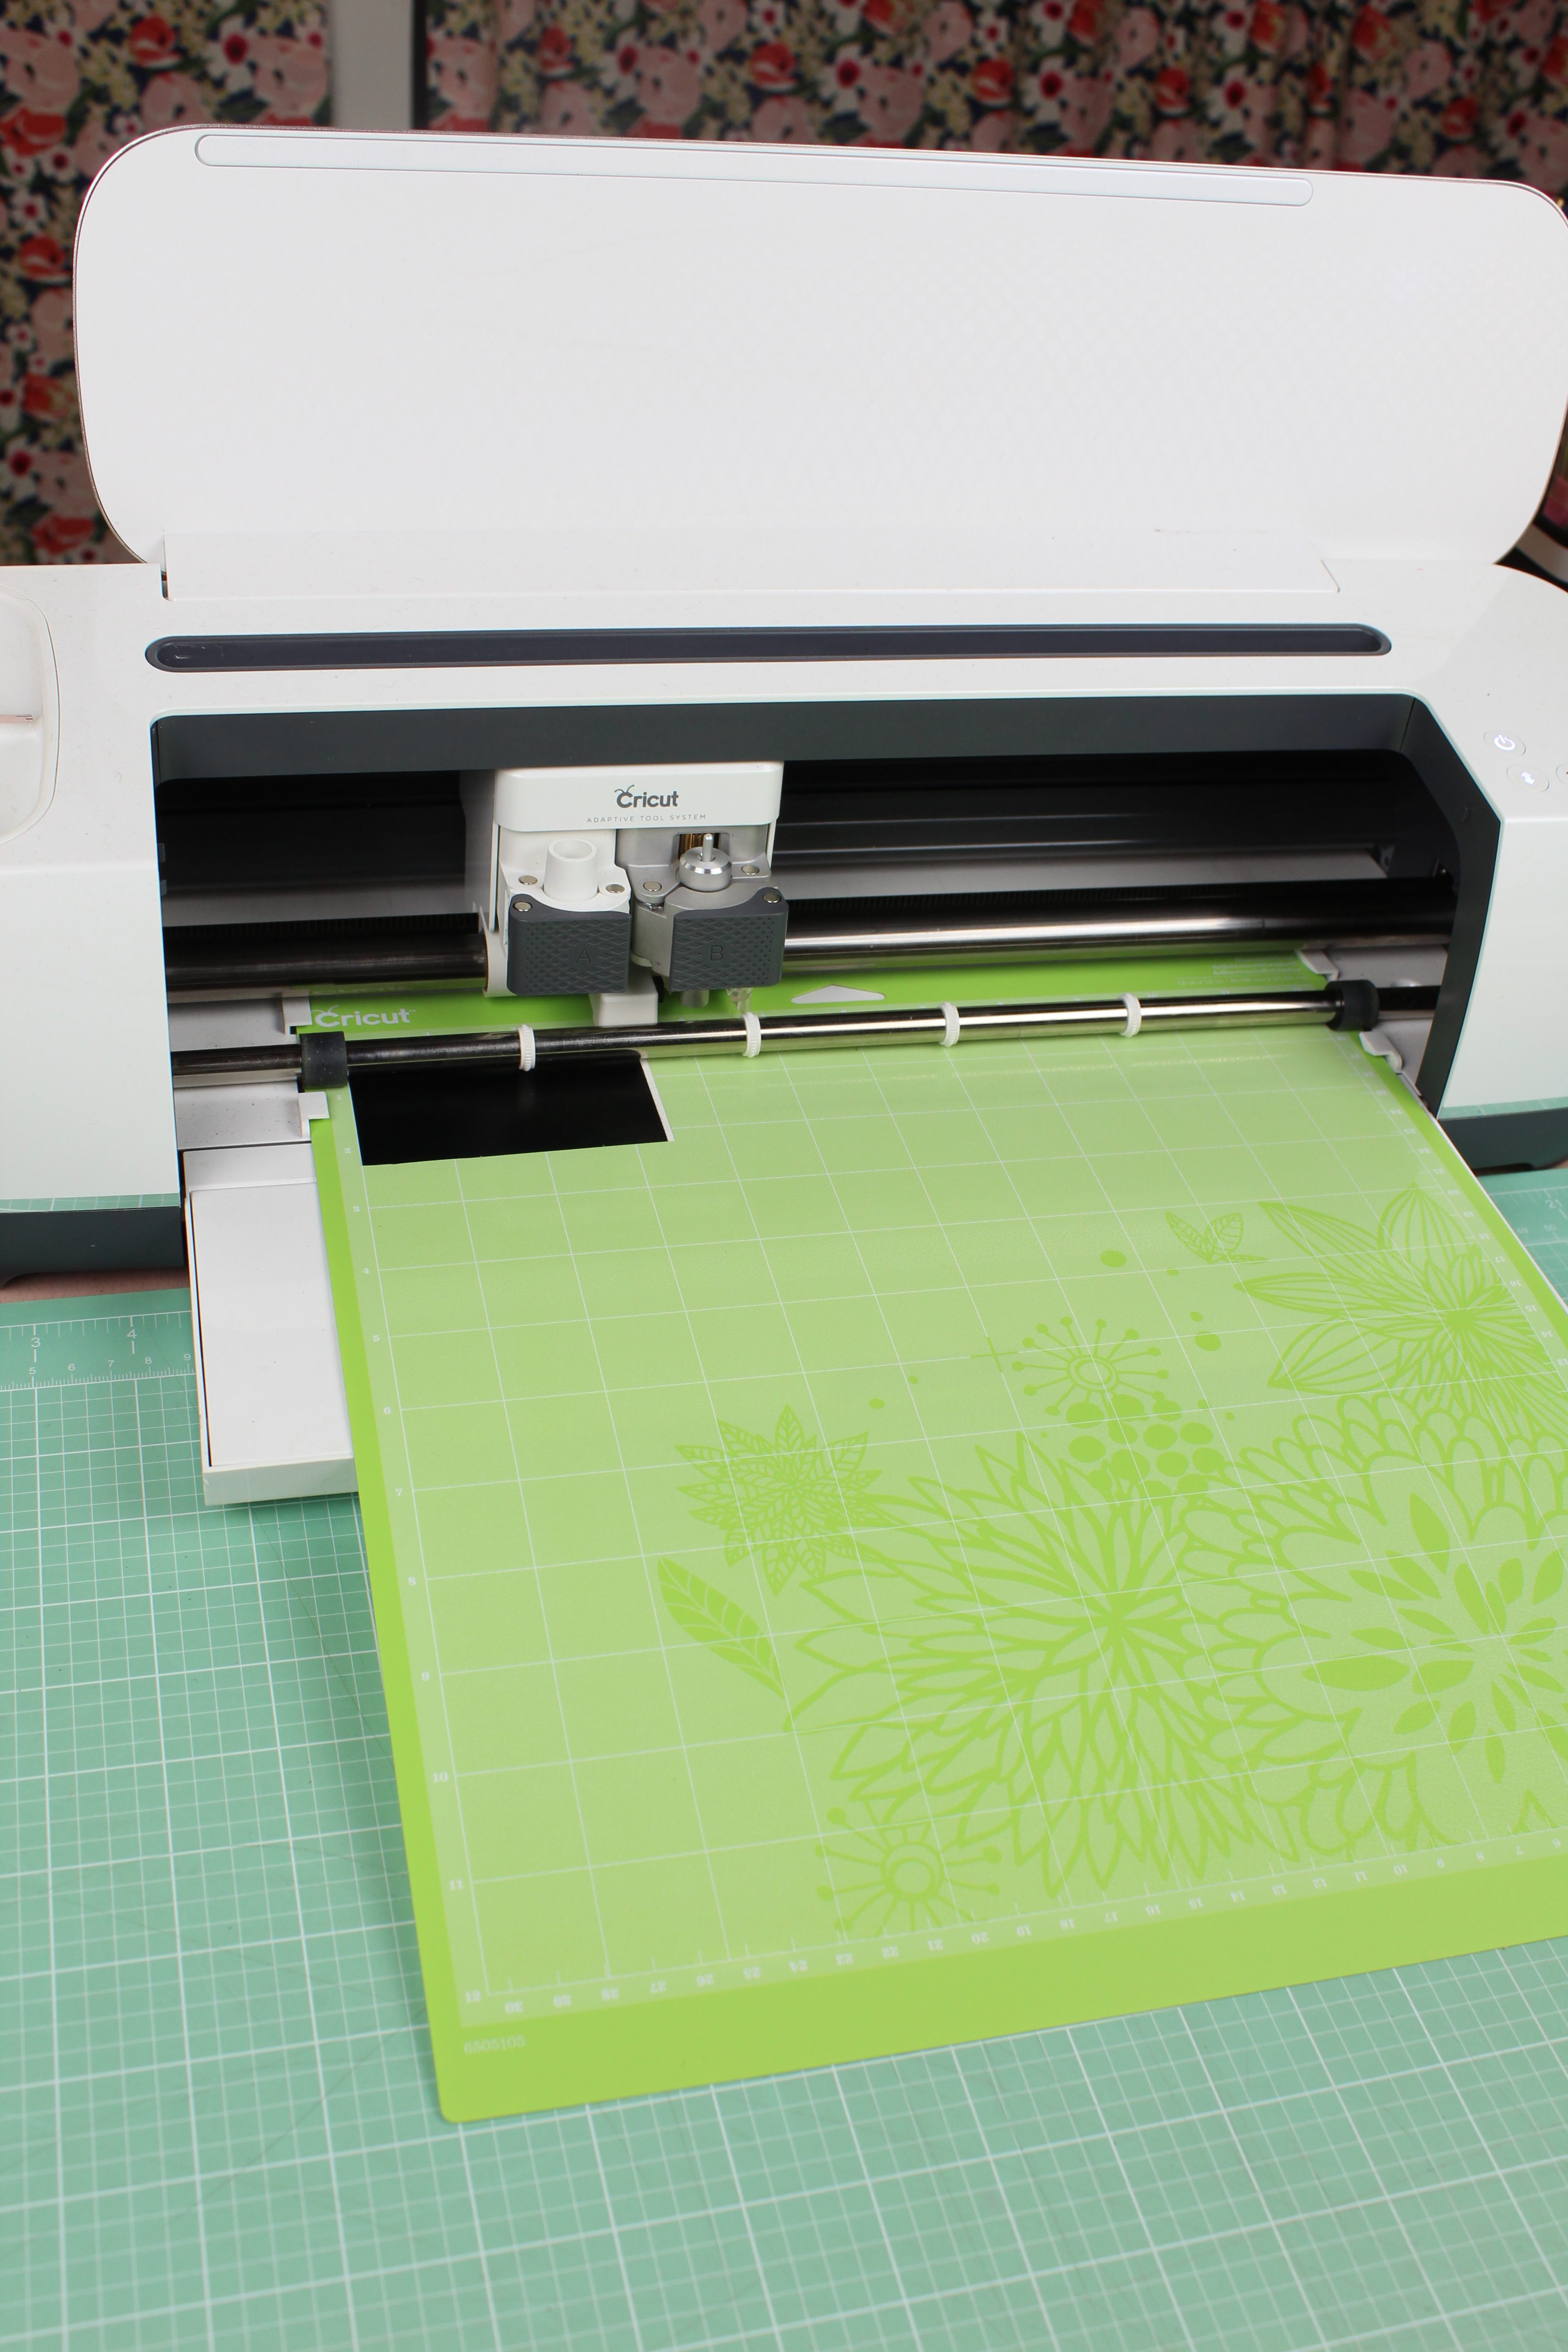
Cut Your Design
Load your vinyl onto your mat, making sure to use the correct “vinyl” setting for your project and then let your machine do its magic!
Insider Tip: I generally cut down my vinyl to the correct size before cutting, I just find it easier to manage that way, and then you can also weed it while it’s on the mat which helps!
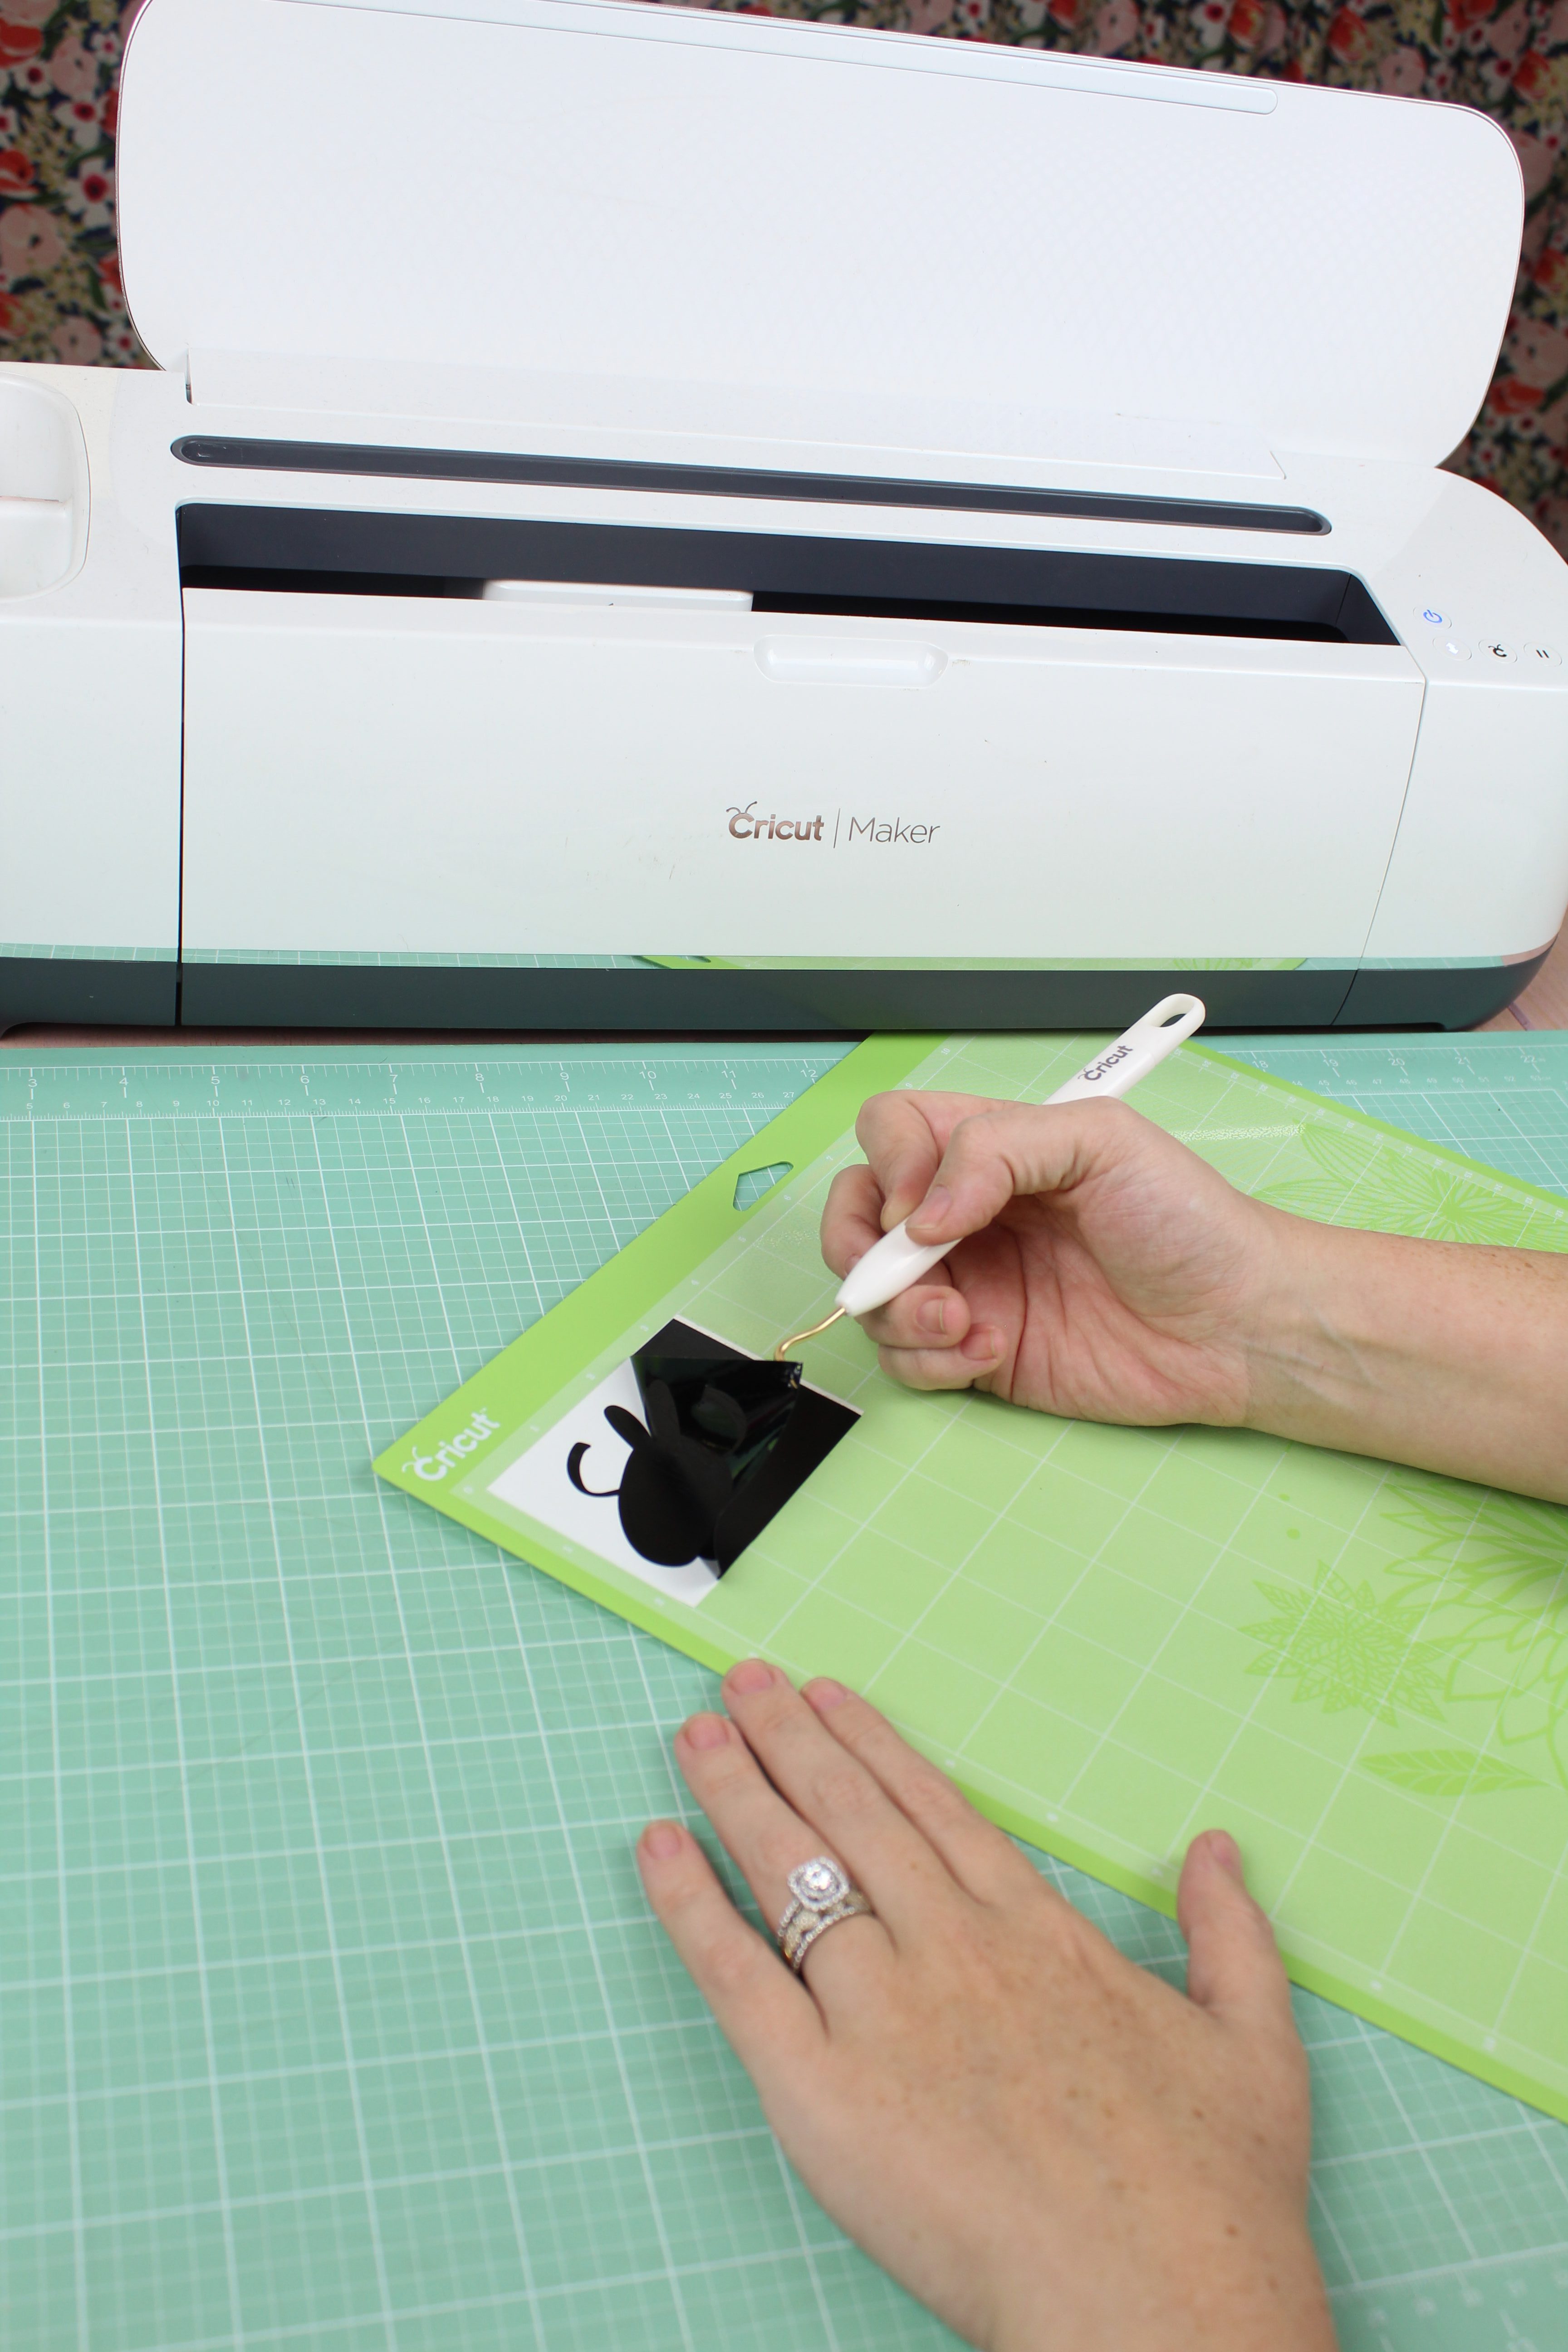
Weed Your Design
Weed your design by removing all of the parts you don’t want.
Apply Transfer Tape
Add transfer tape to your project, making sure to cover all of the vinyl.
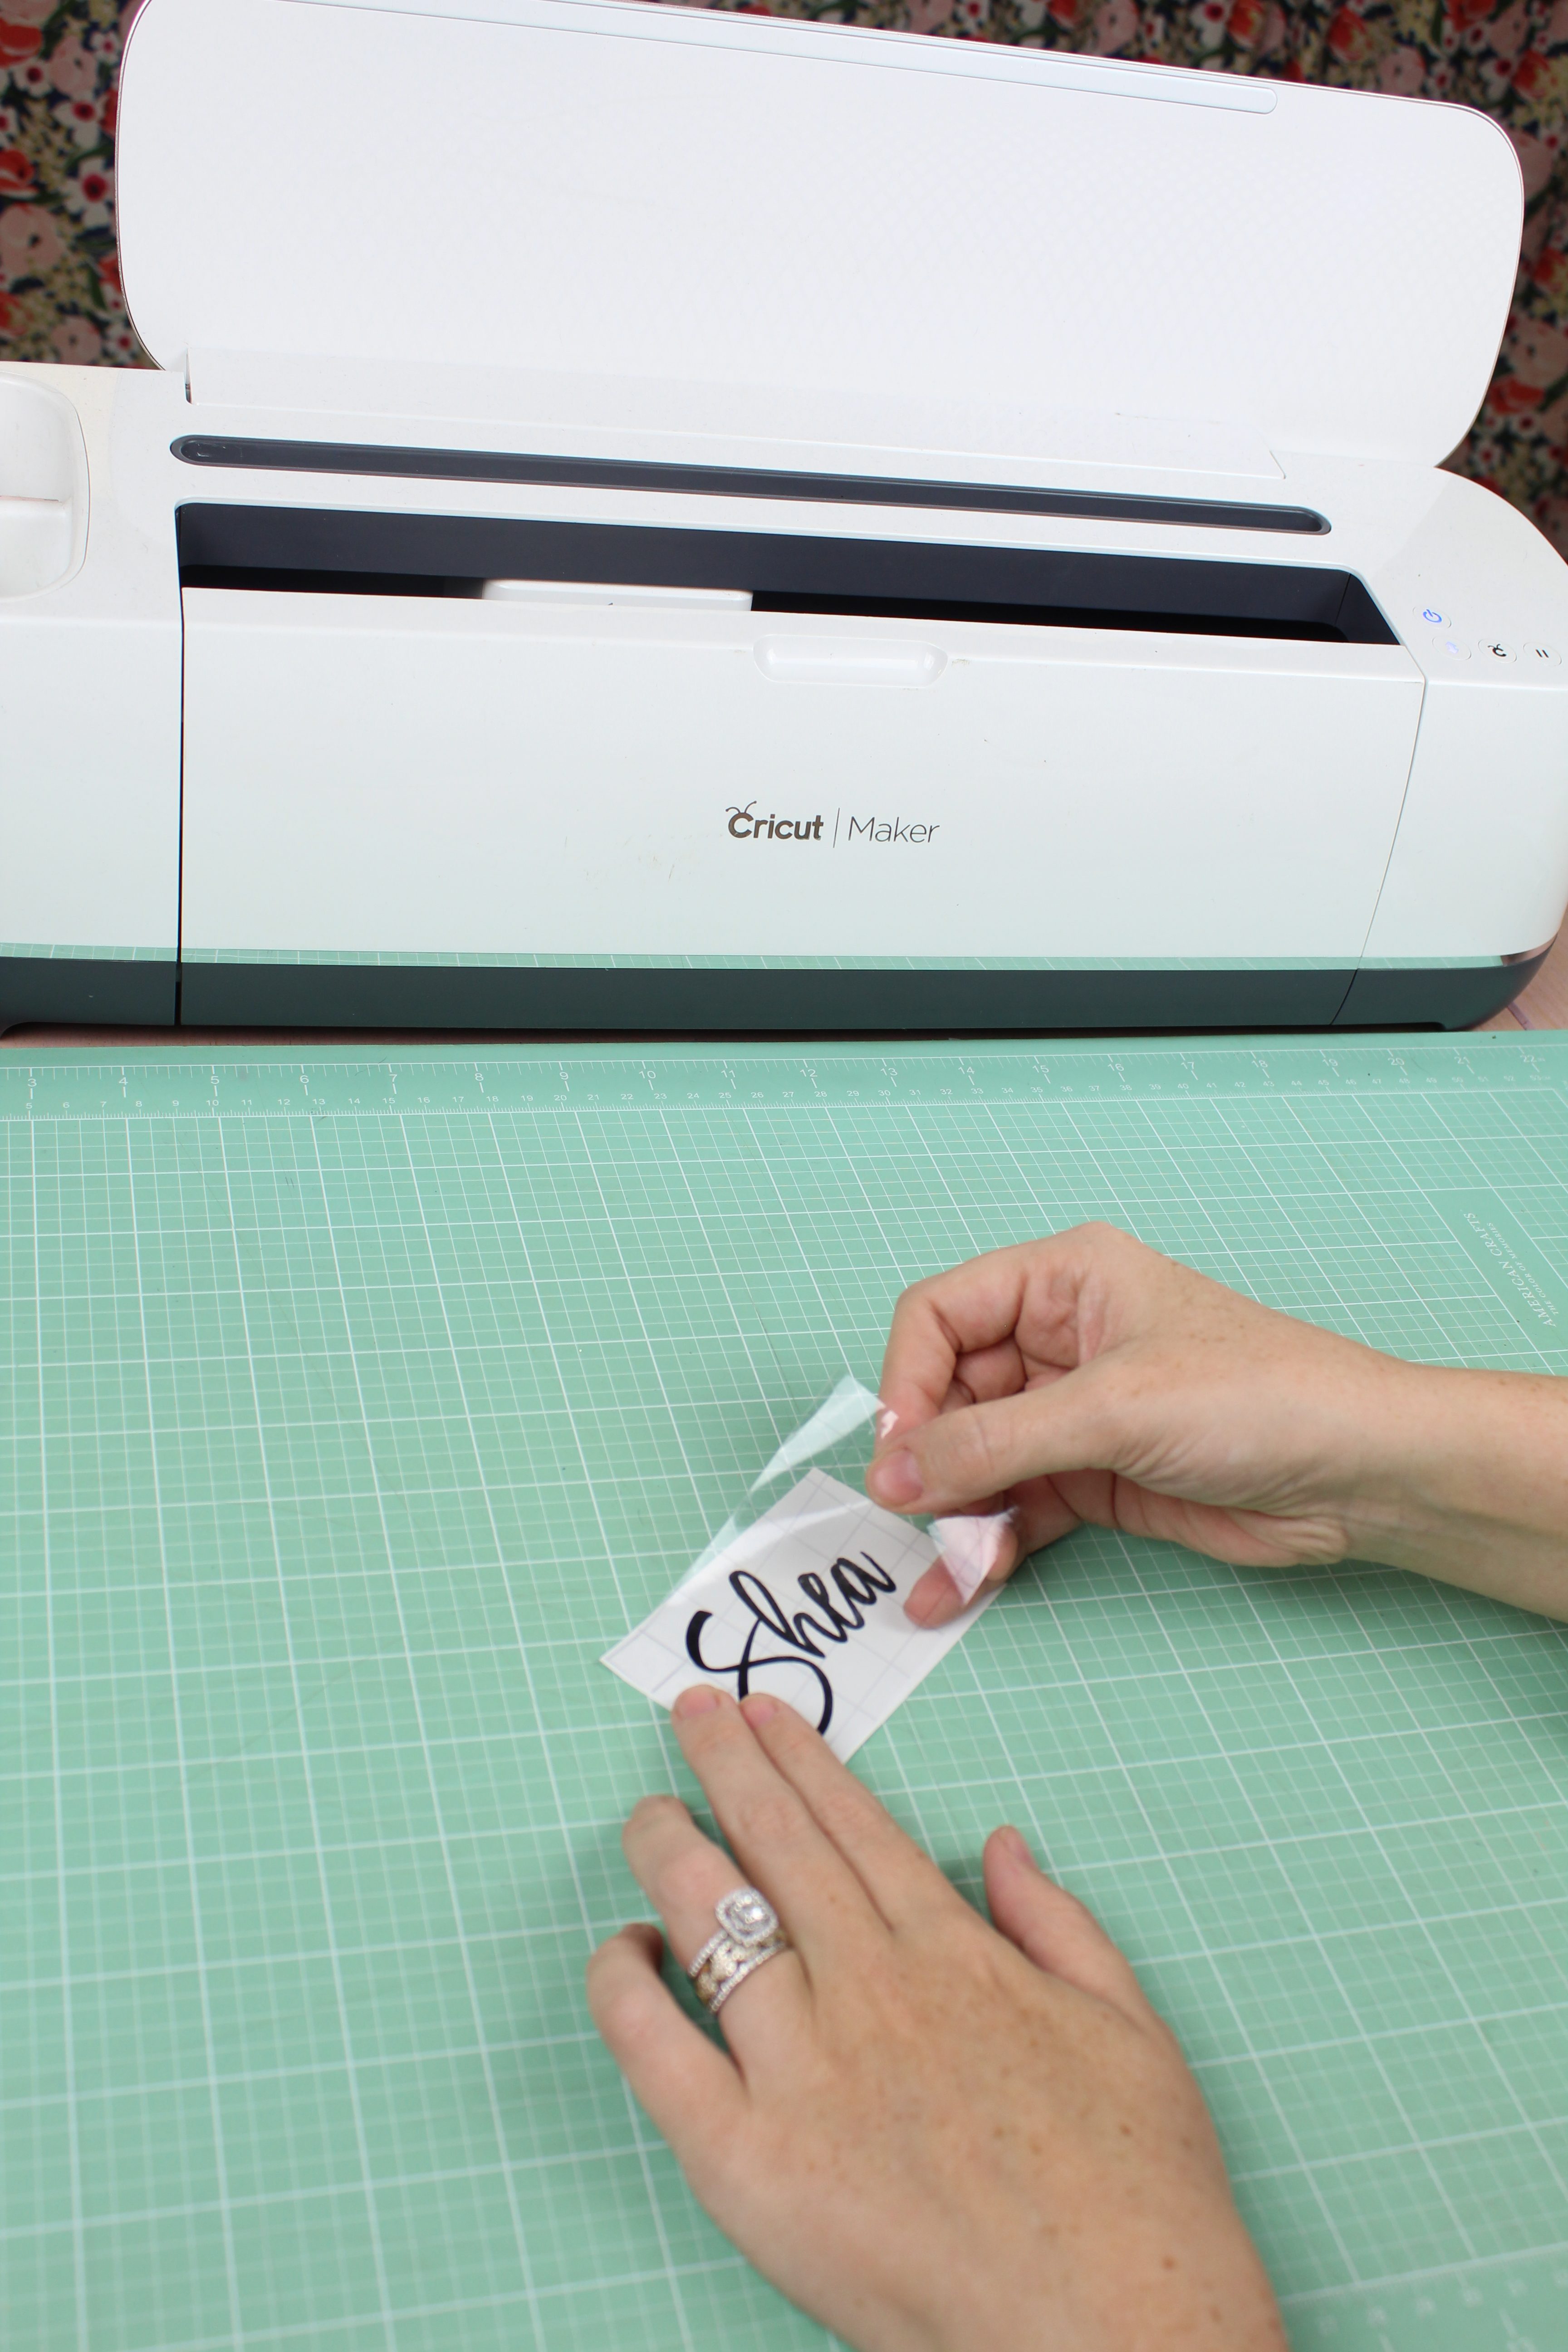
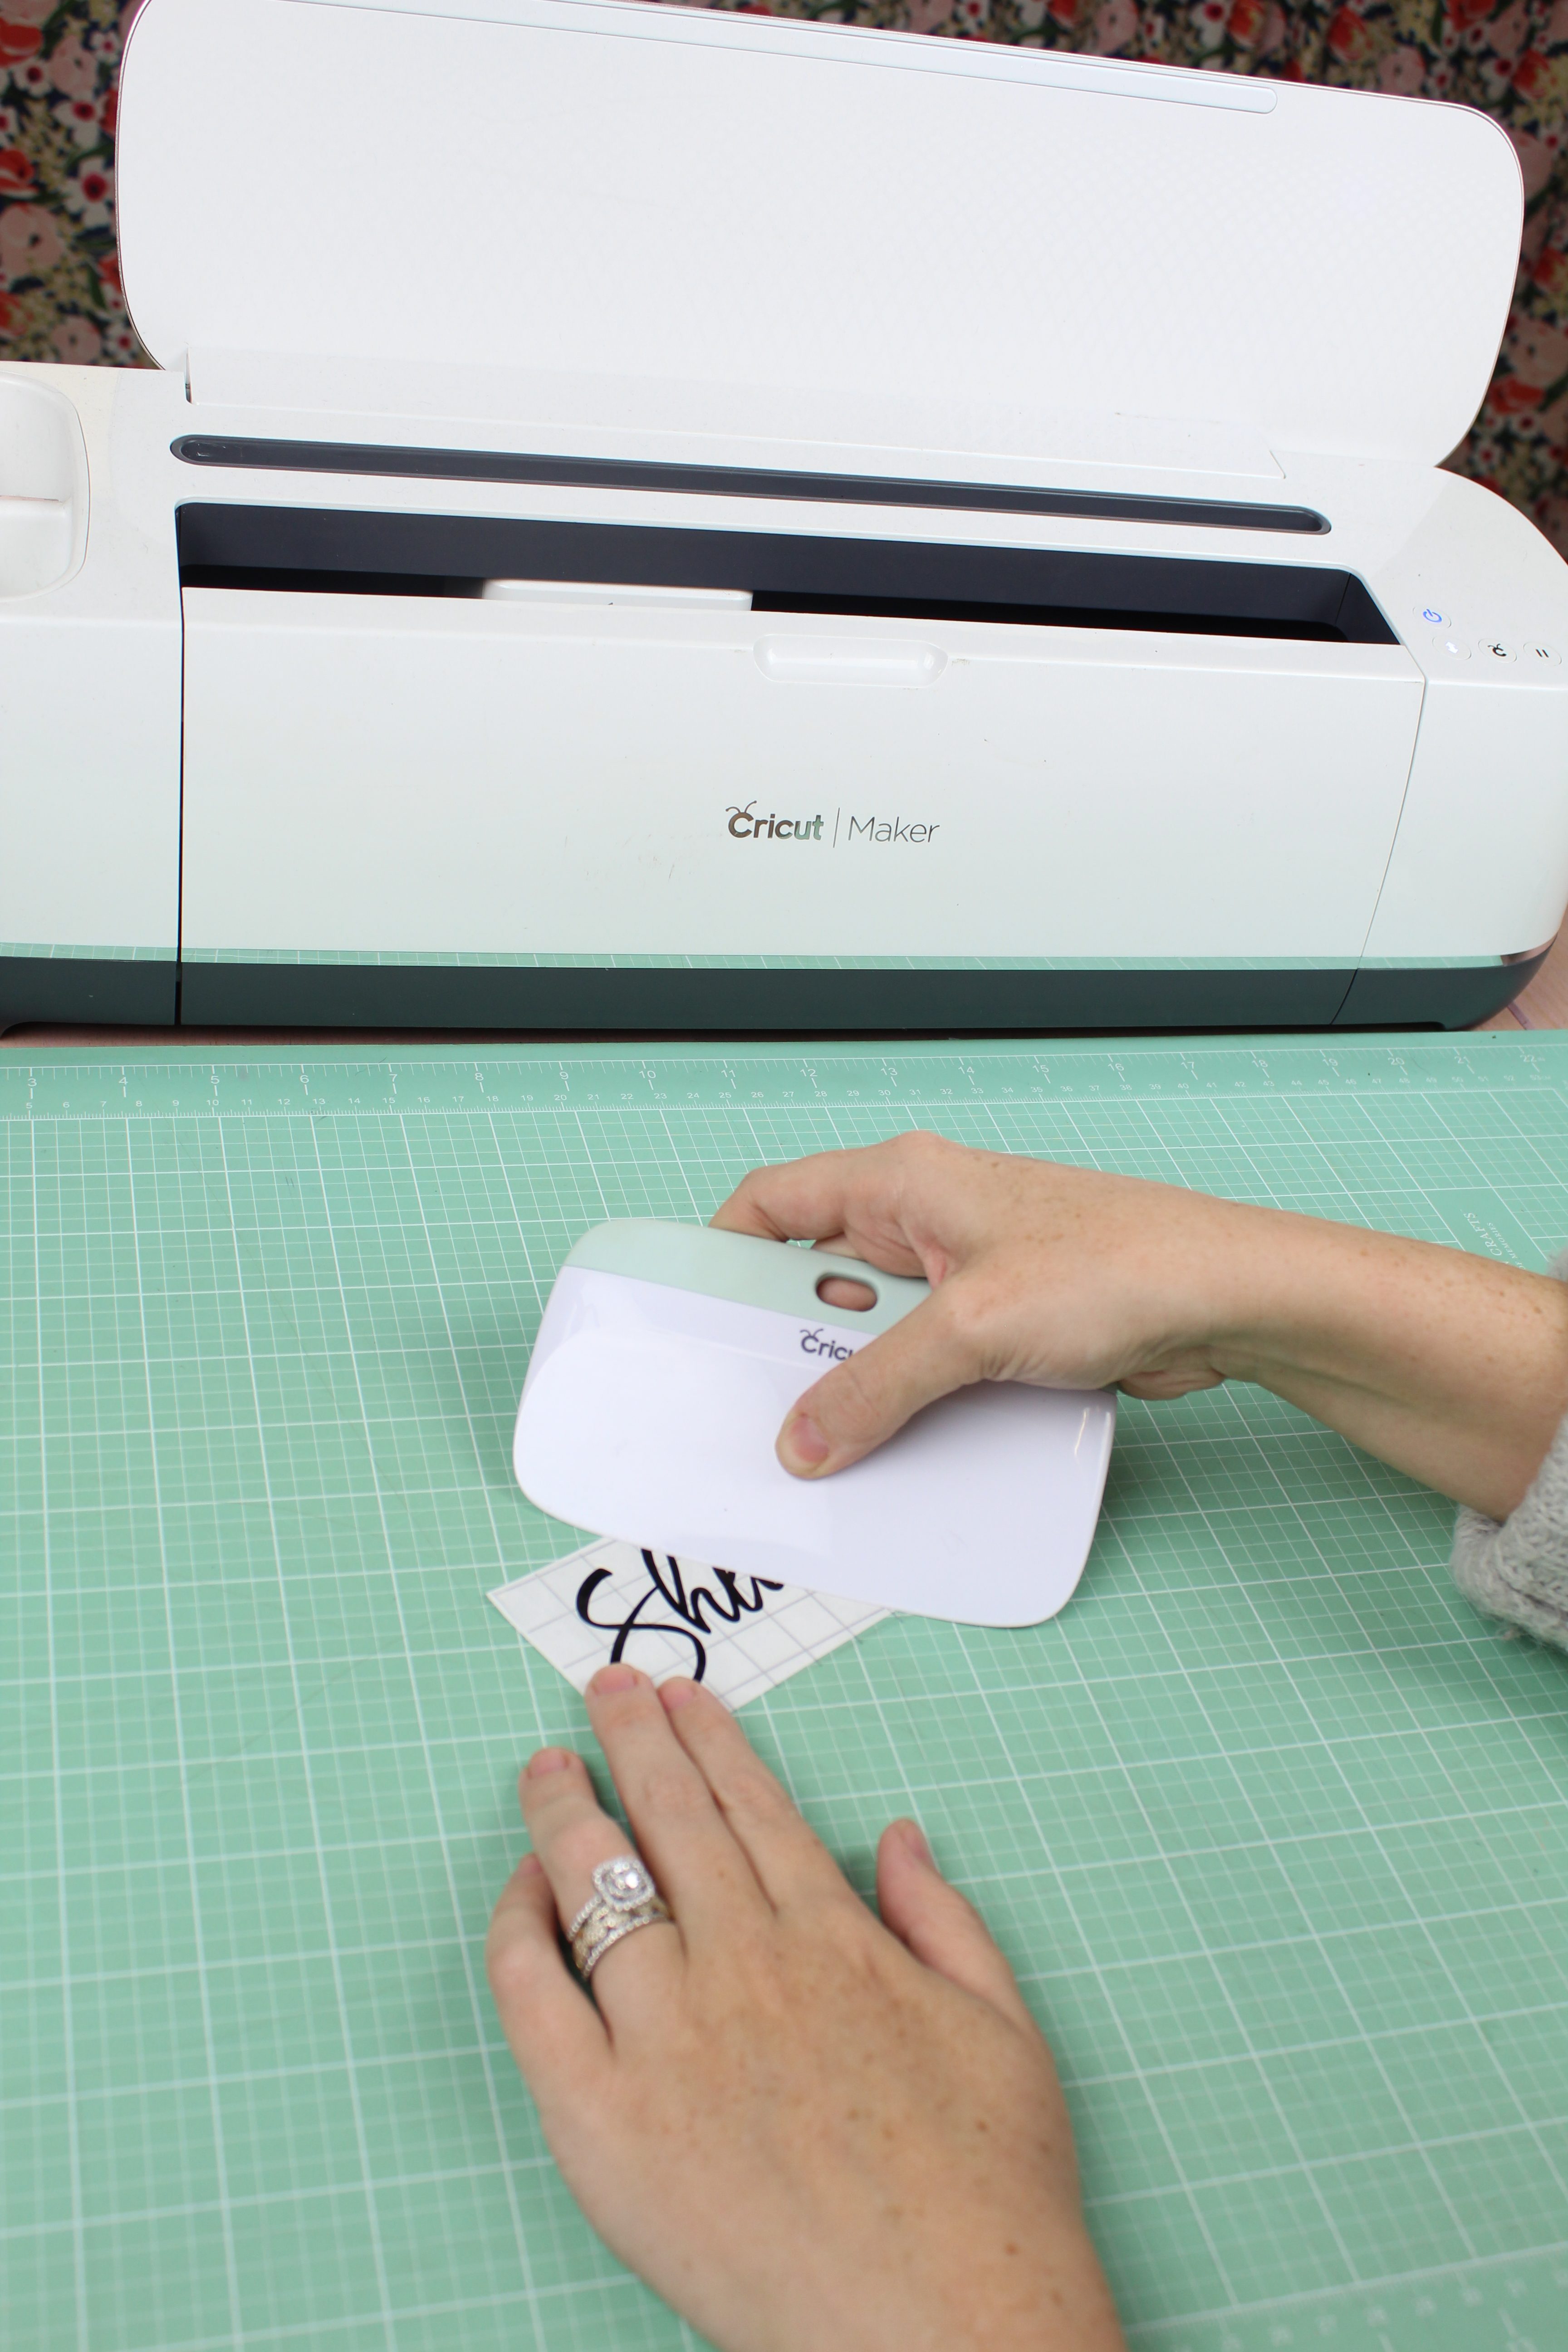
Burnish by rubbing your scrapper tool over the top. Flip it over and burnish from the back as well.
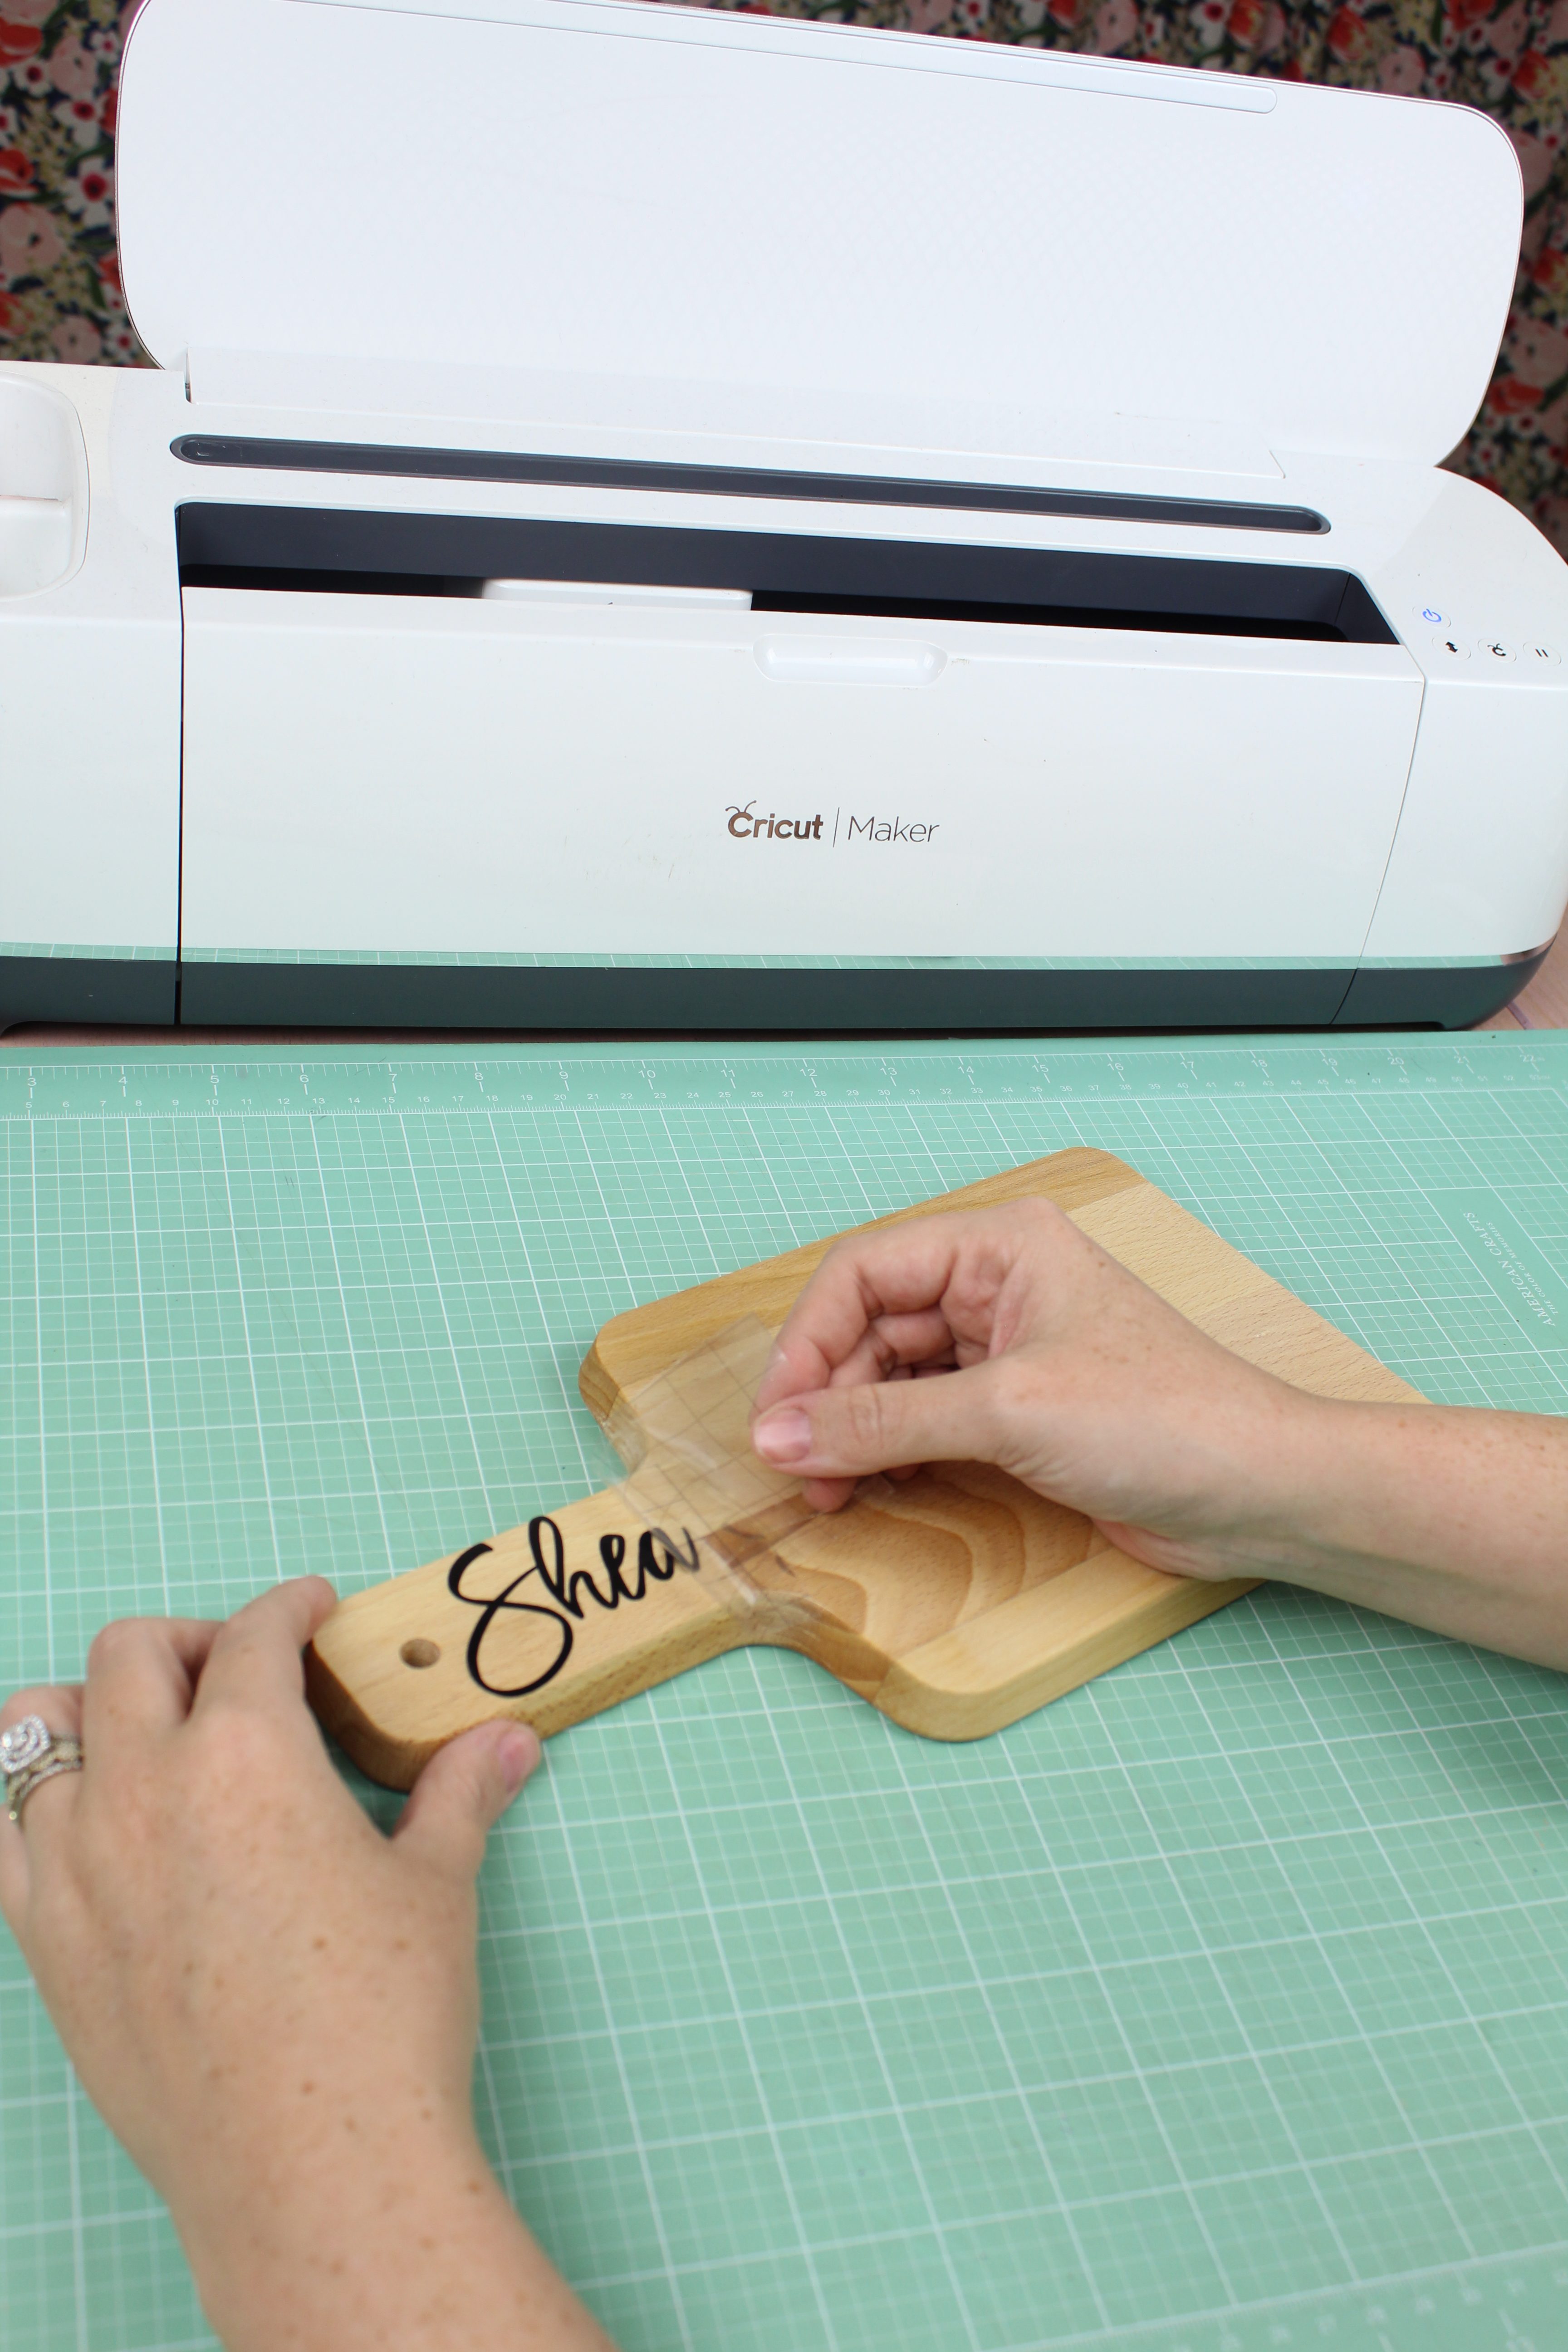
Place Vinyl on Project
Carefully remove the vinyl backing making sure that everything is on your transfer tape, if not, burnish some more.
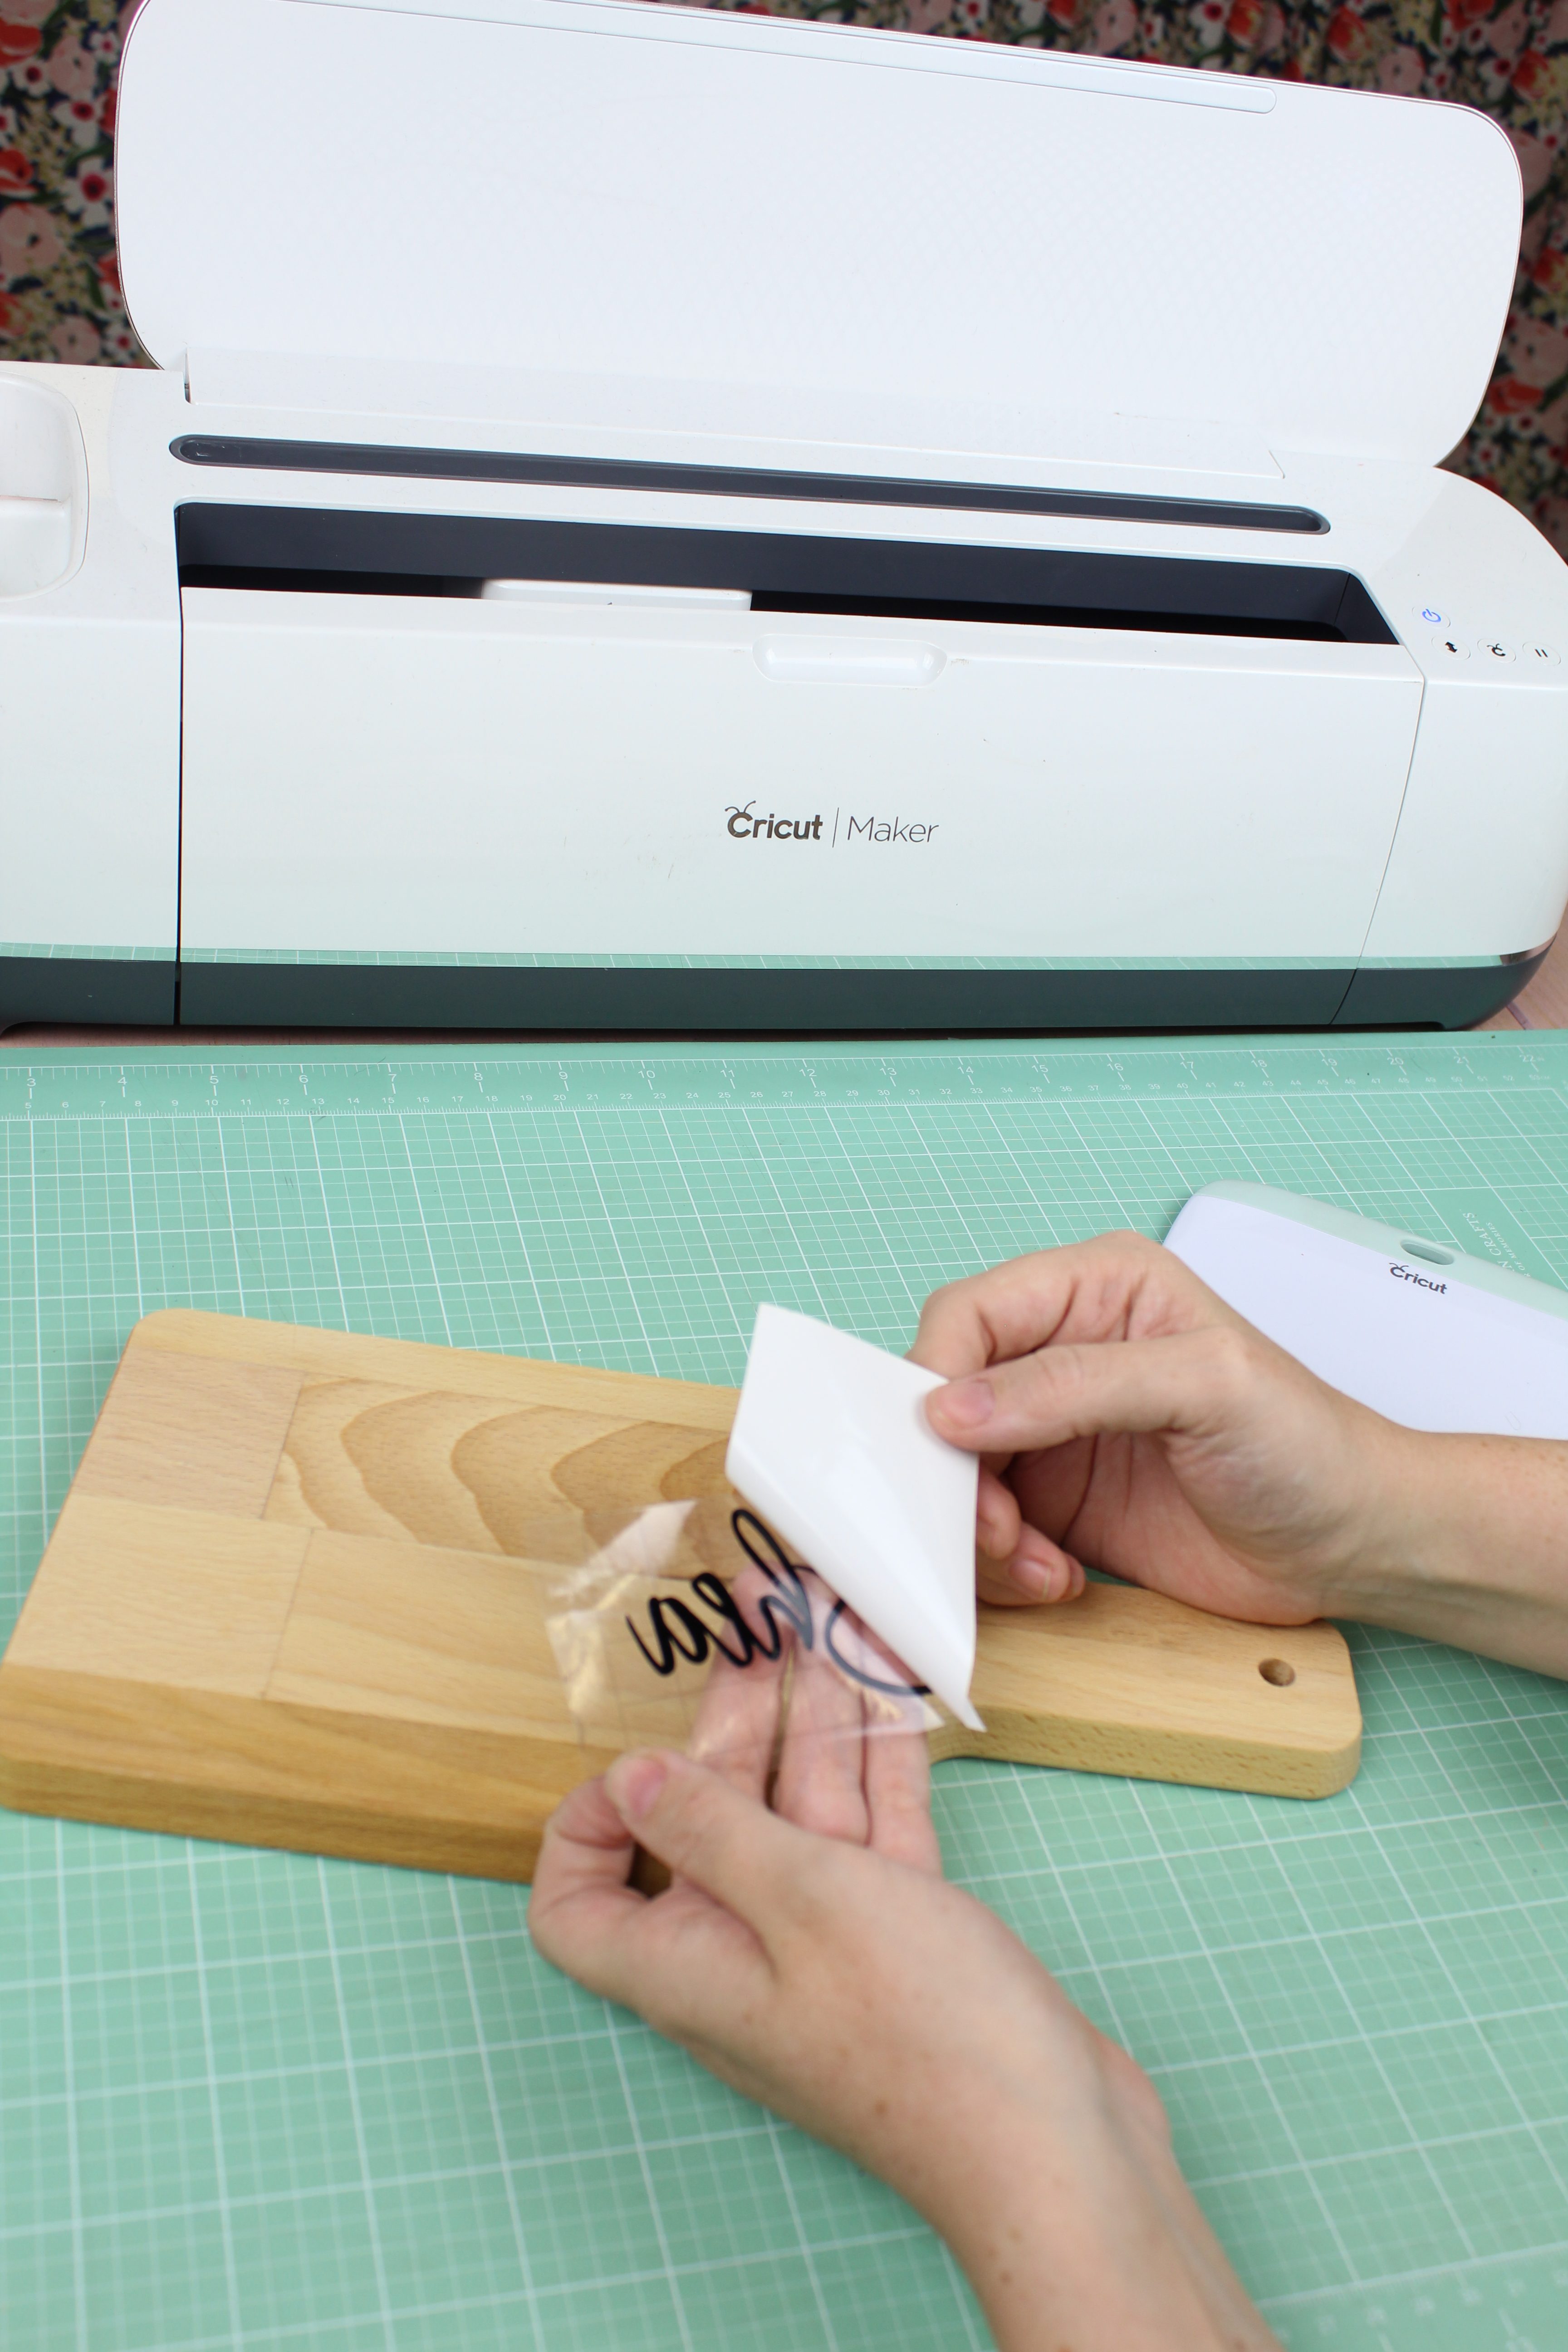
Then place your vinyl onto your project surface and burnish it into place.
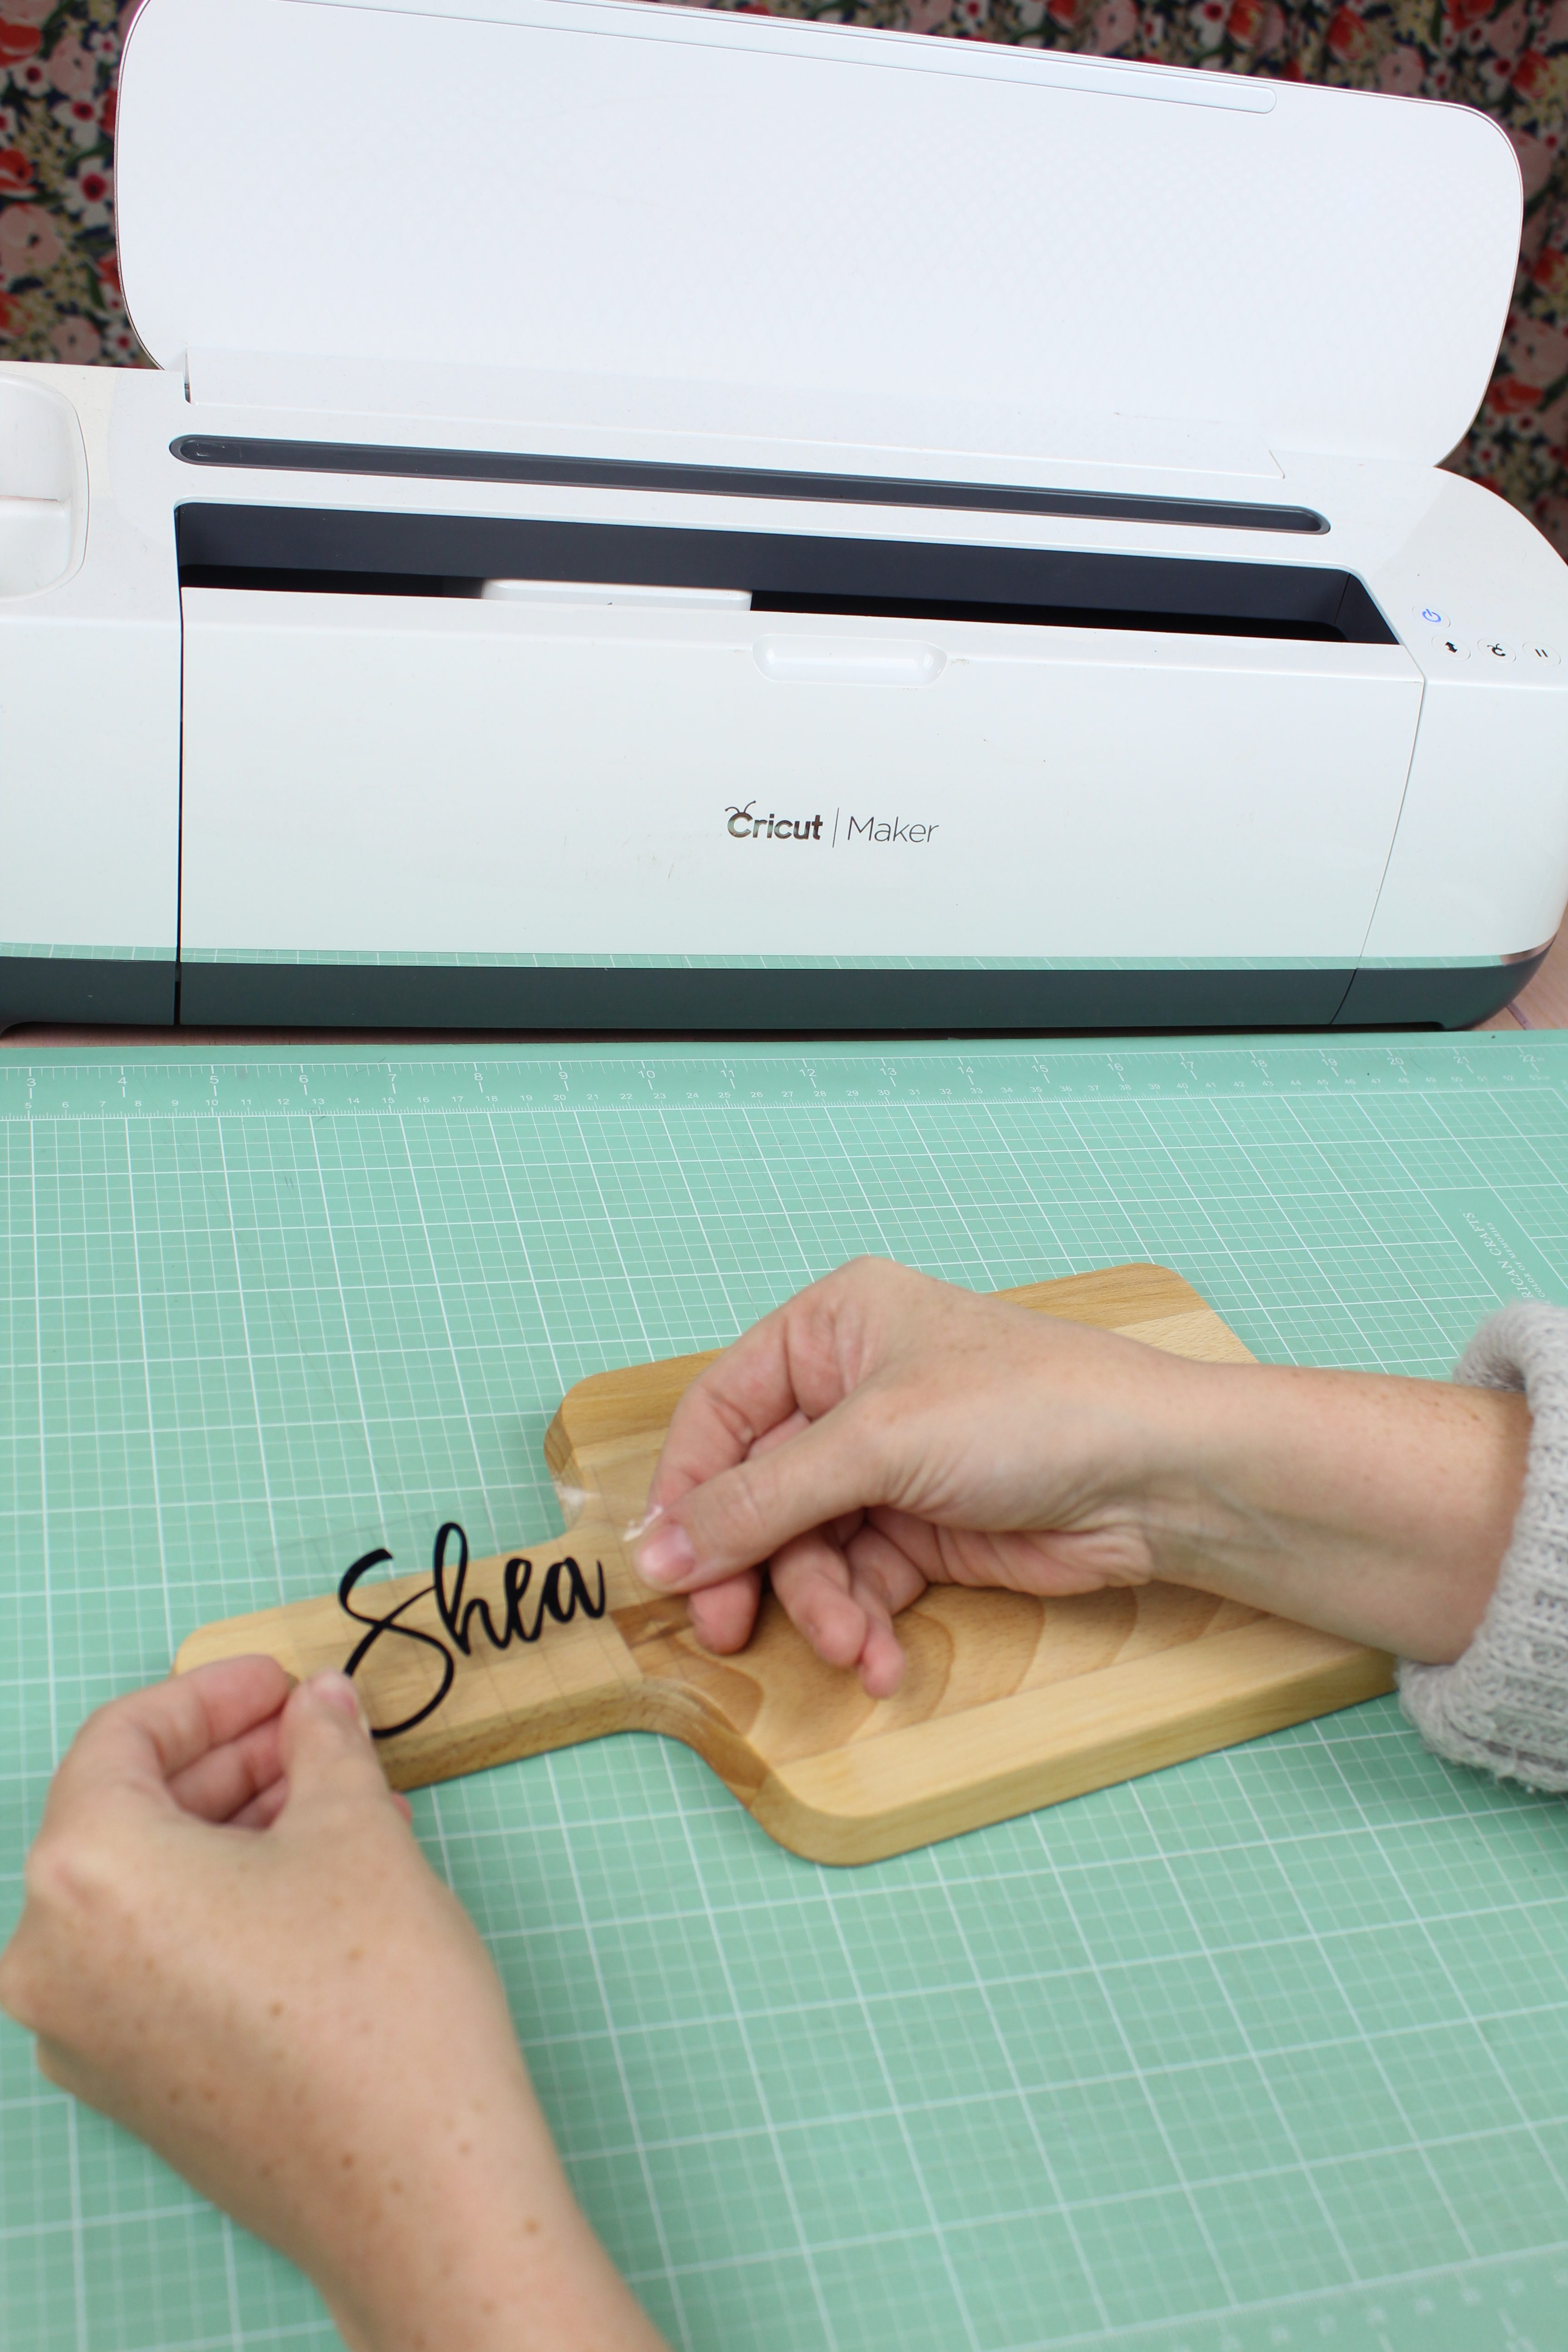

Then carefully remove your transfer tape. If any areas are staying on the transfer tape, burnish some more until you can remove the transfer tape.
Note: I washed my cheese board a few times before applying the vinyl. I felt that it had an almost chemically smell so I wanted to be sure it was nice and clean before serving food on it. I feel like that might have also help my vinyl to stick.
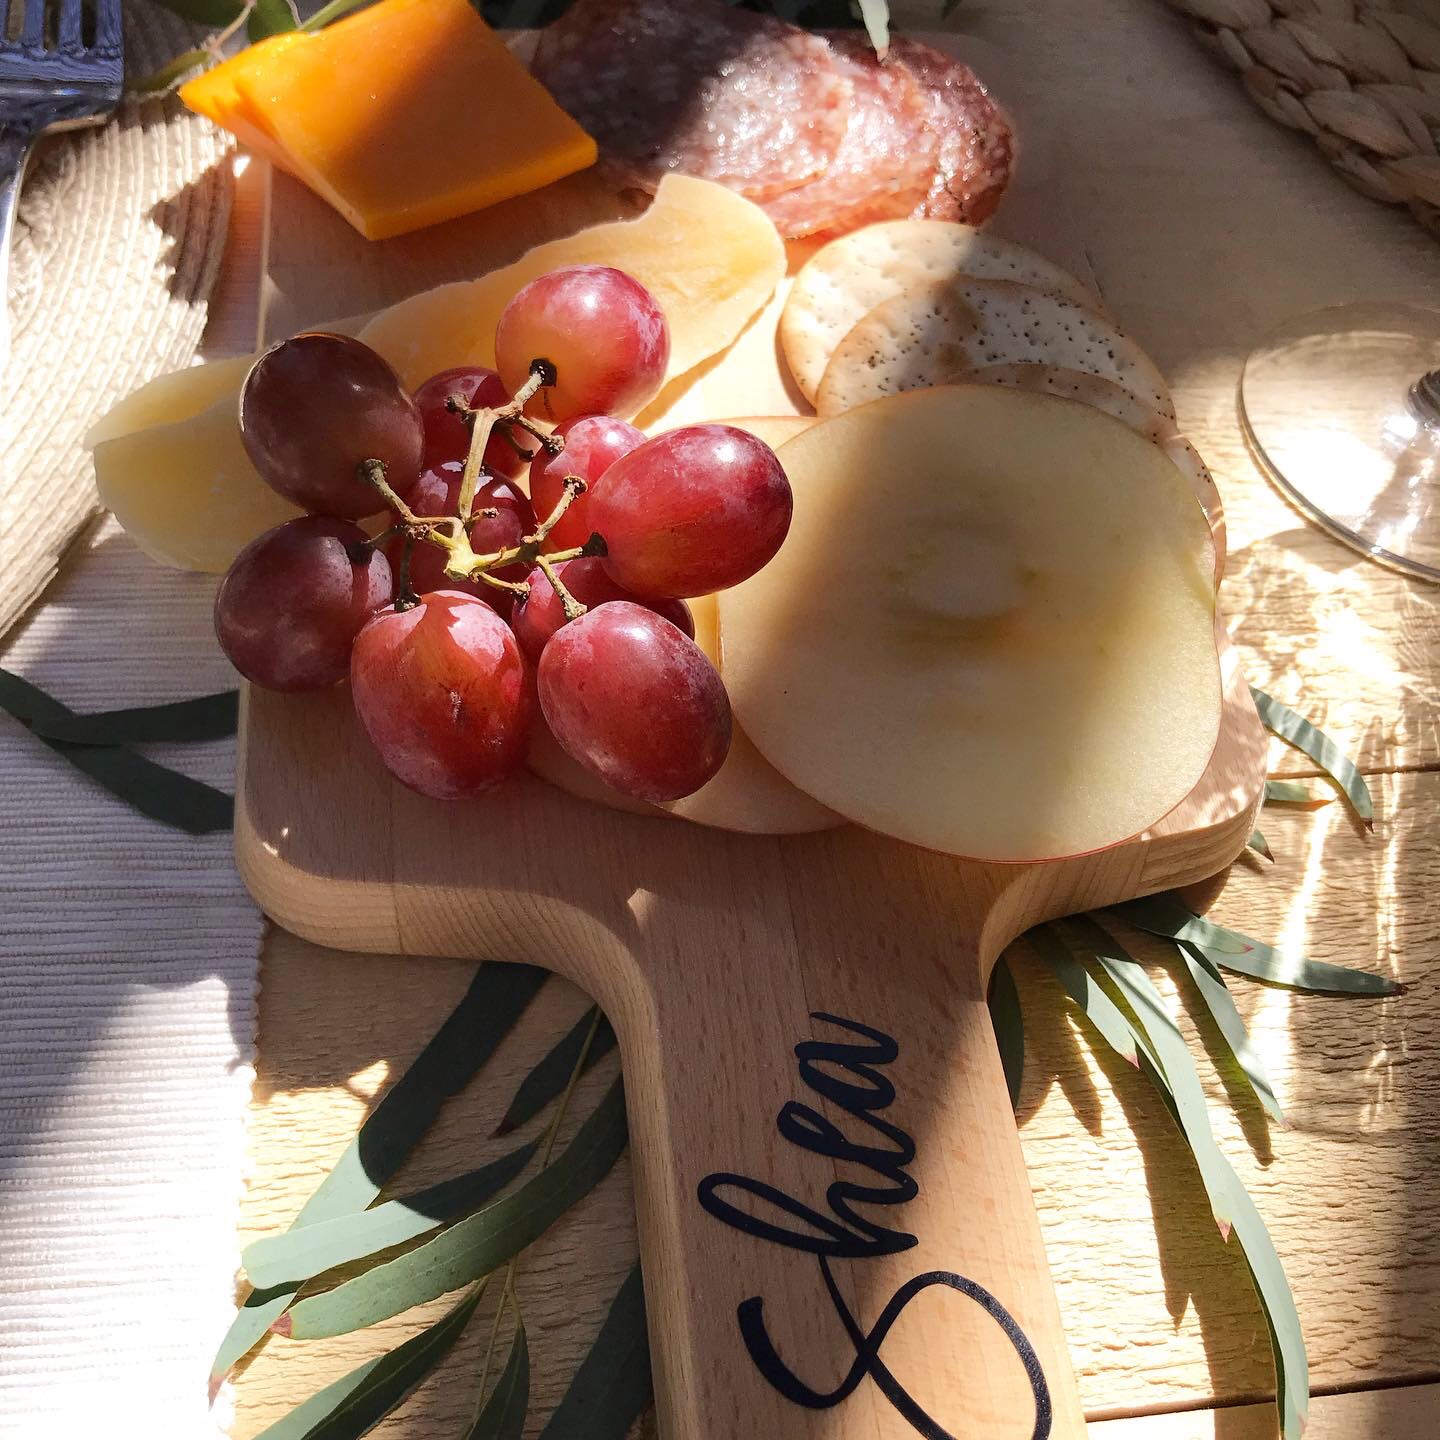
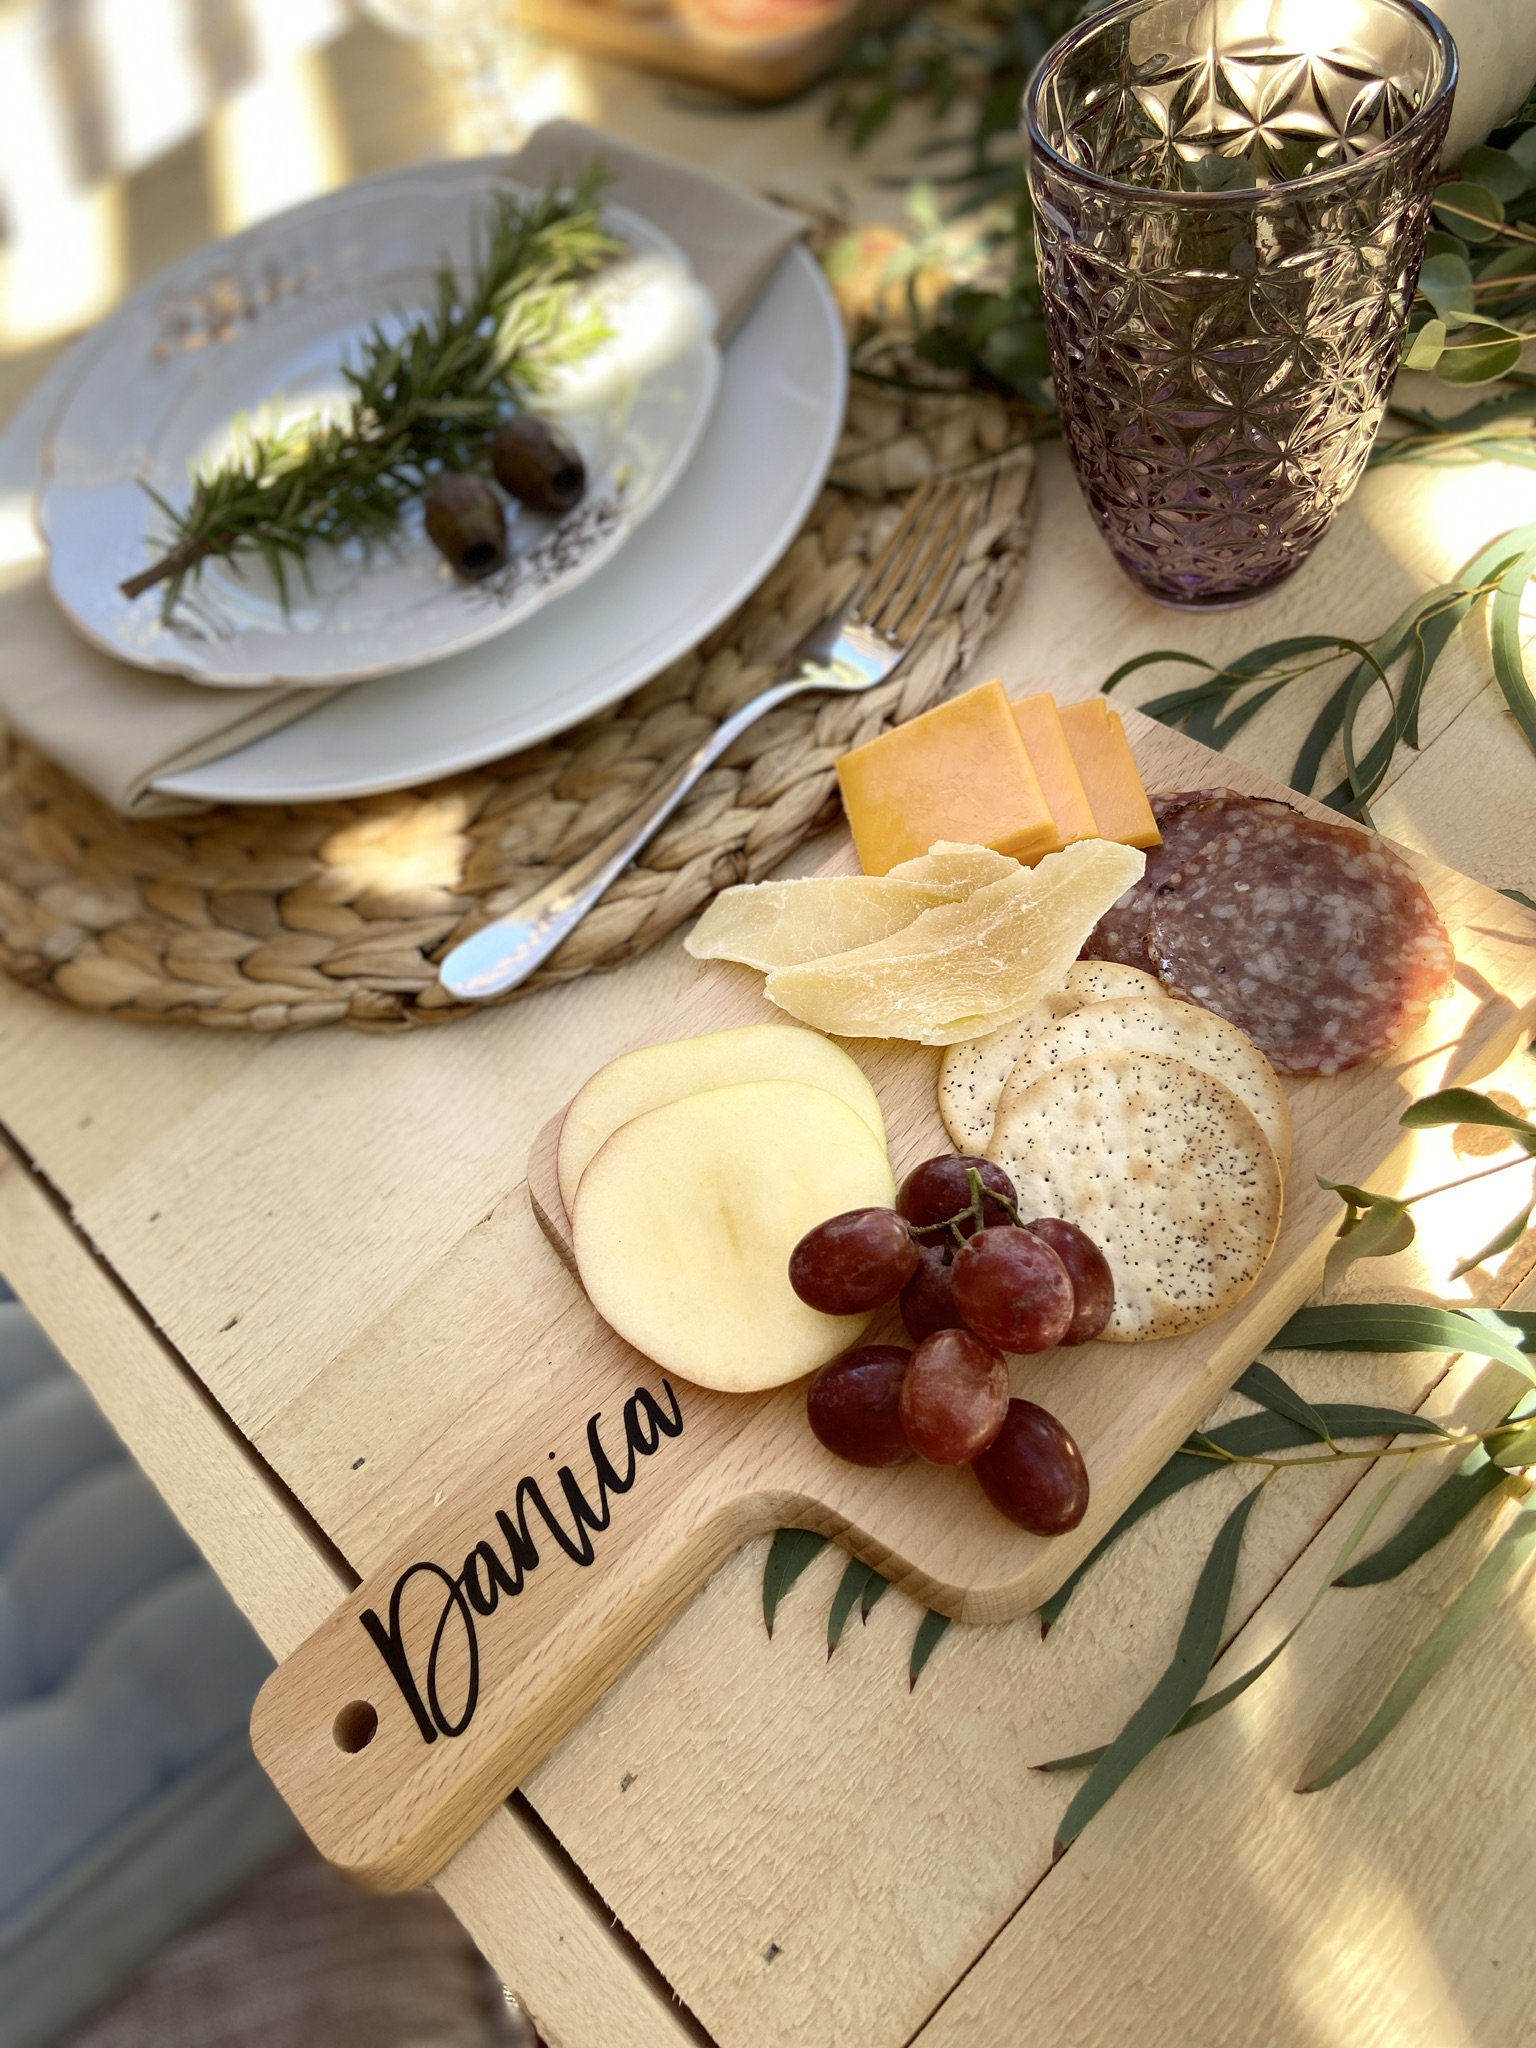
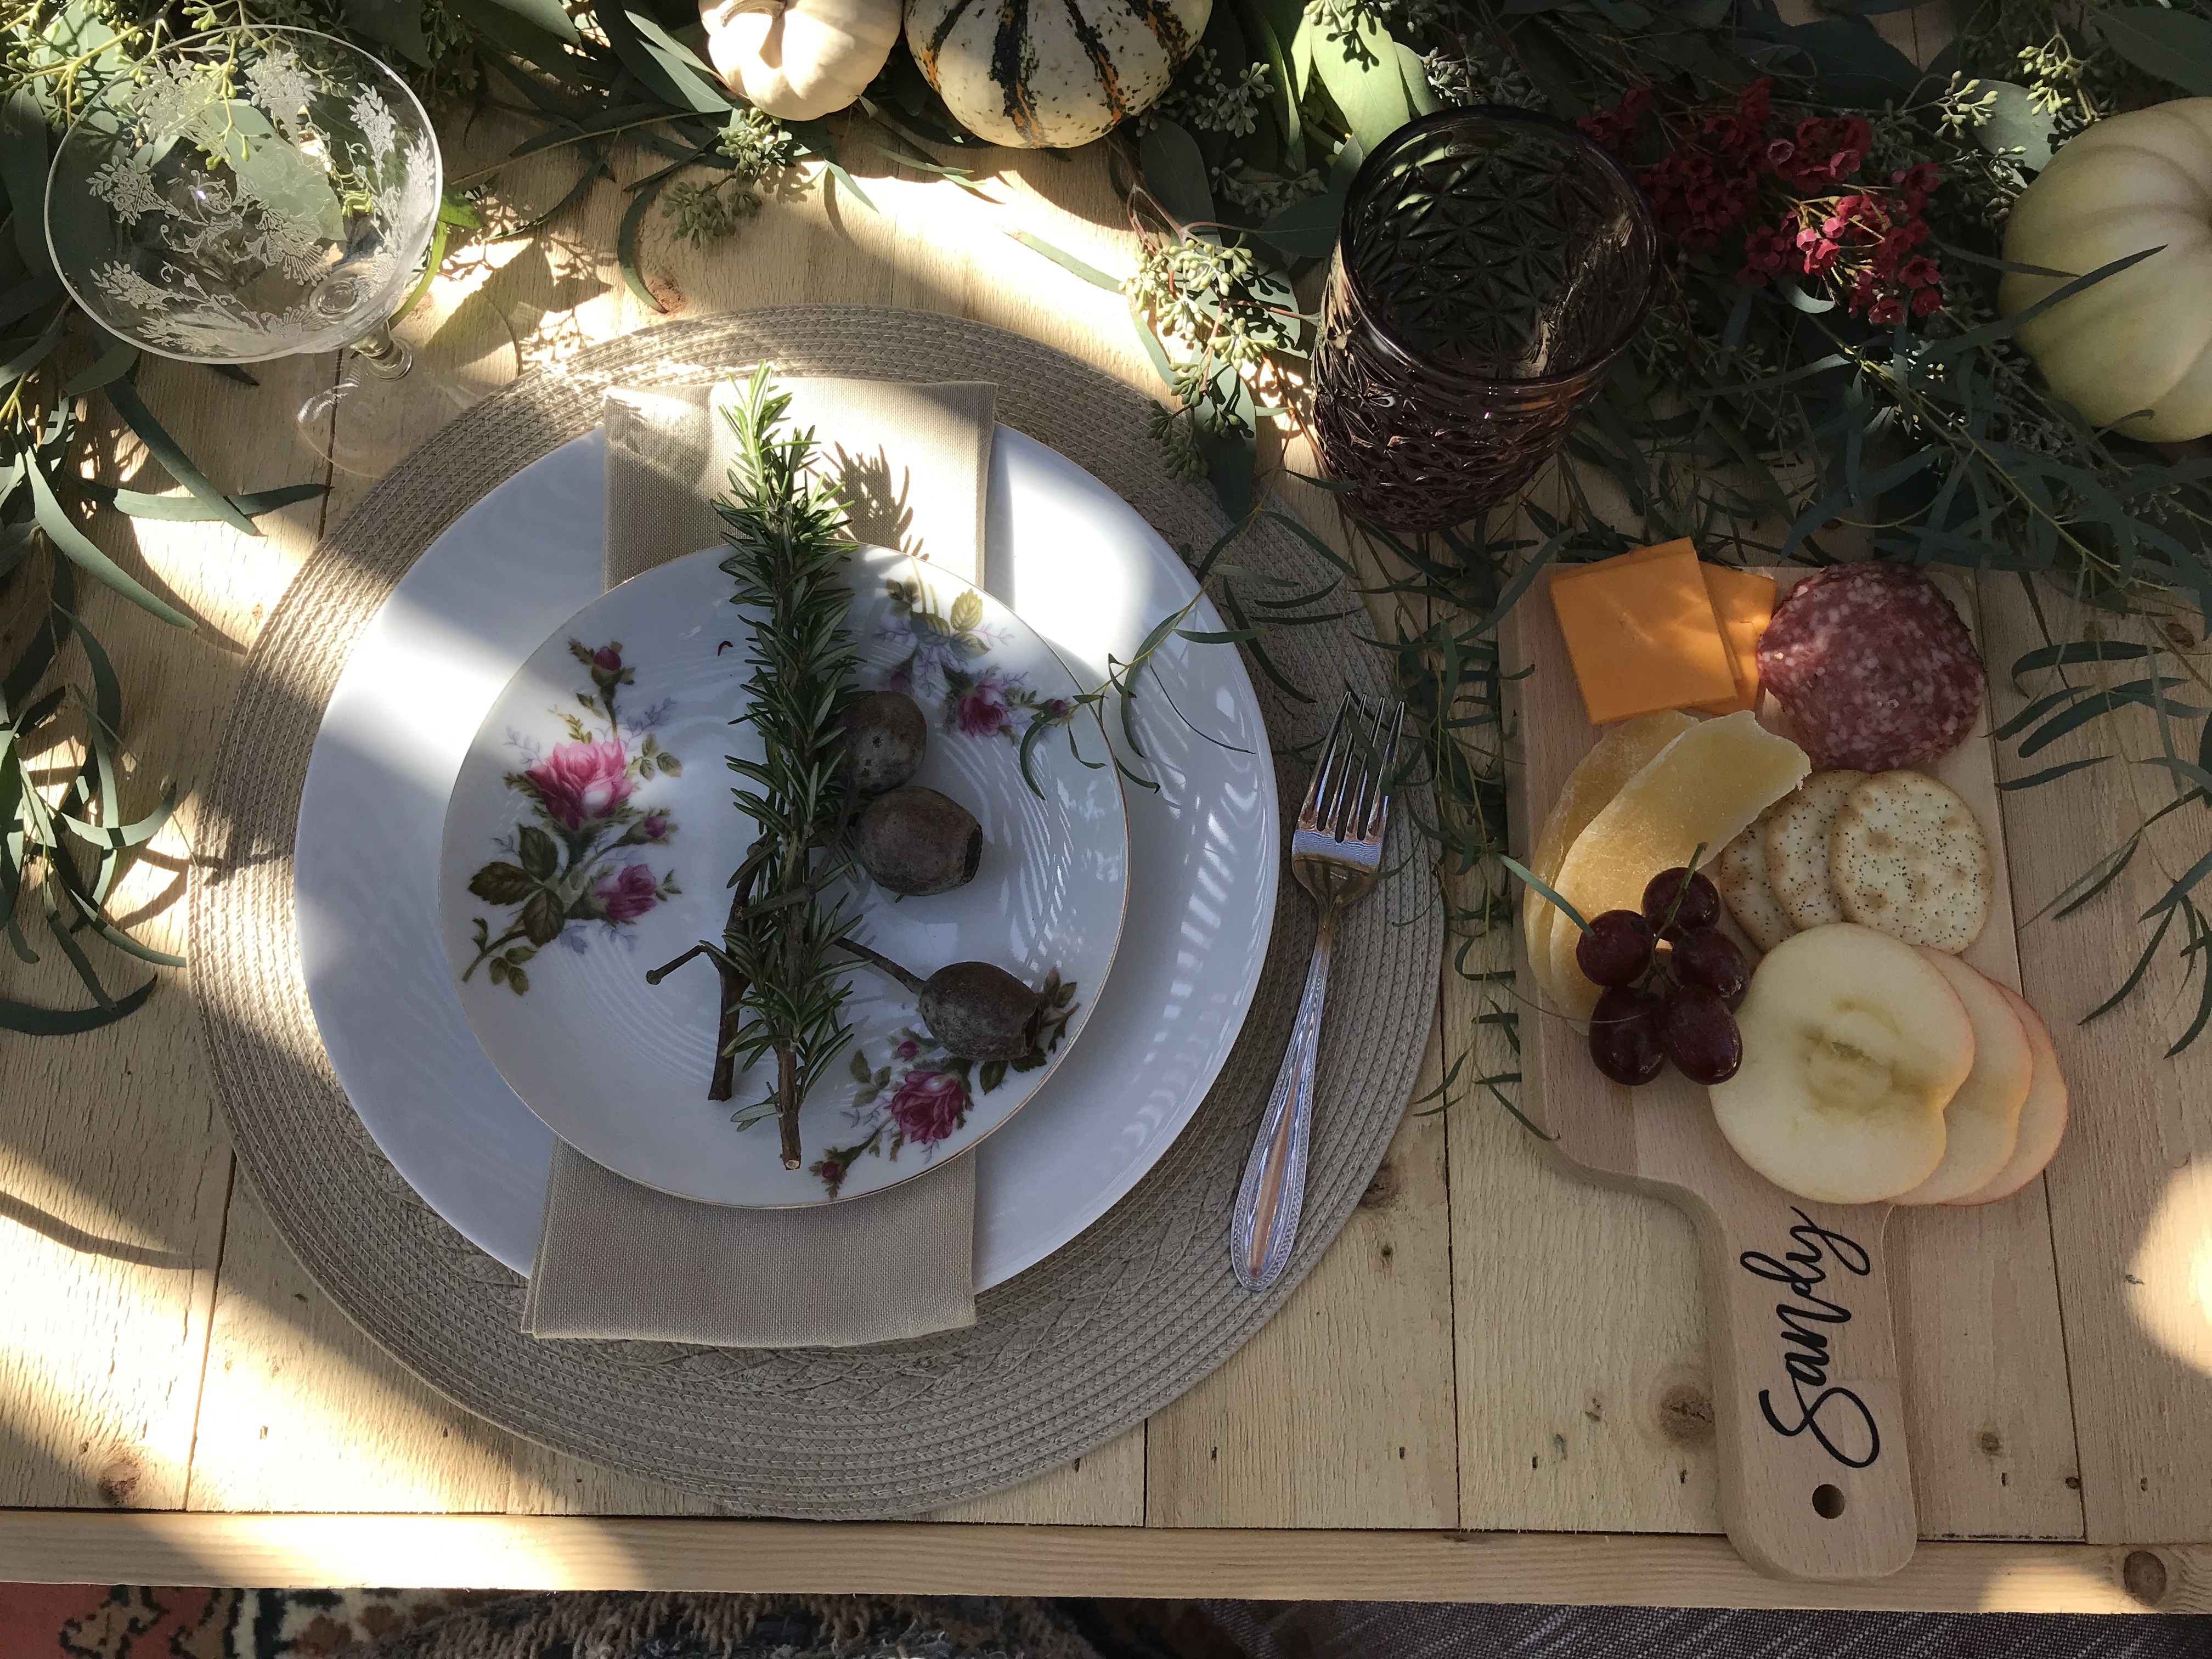
And that’s it! Now all that’s left is a run to Trader Joe’s to fill it up!
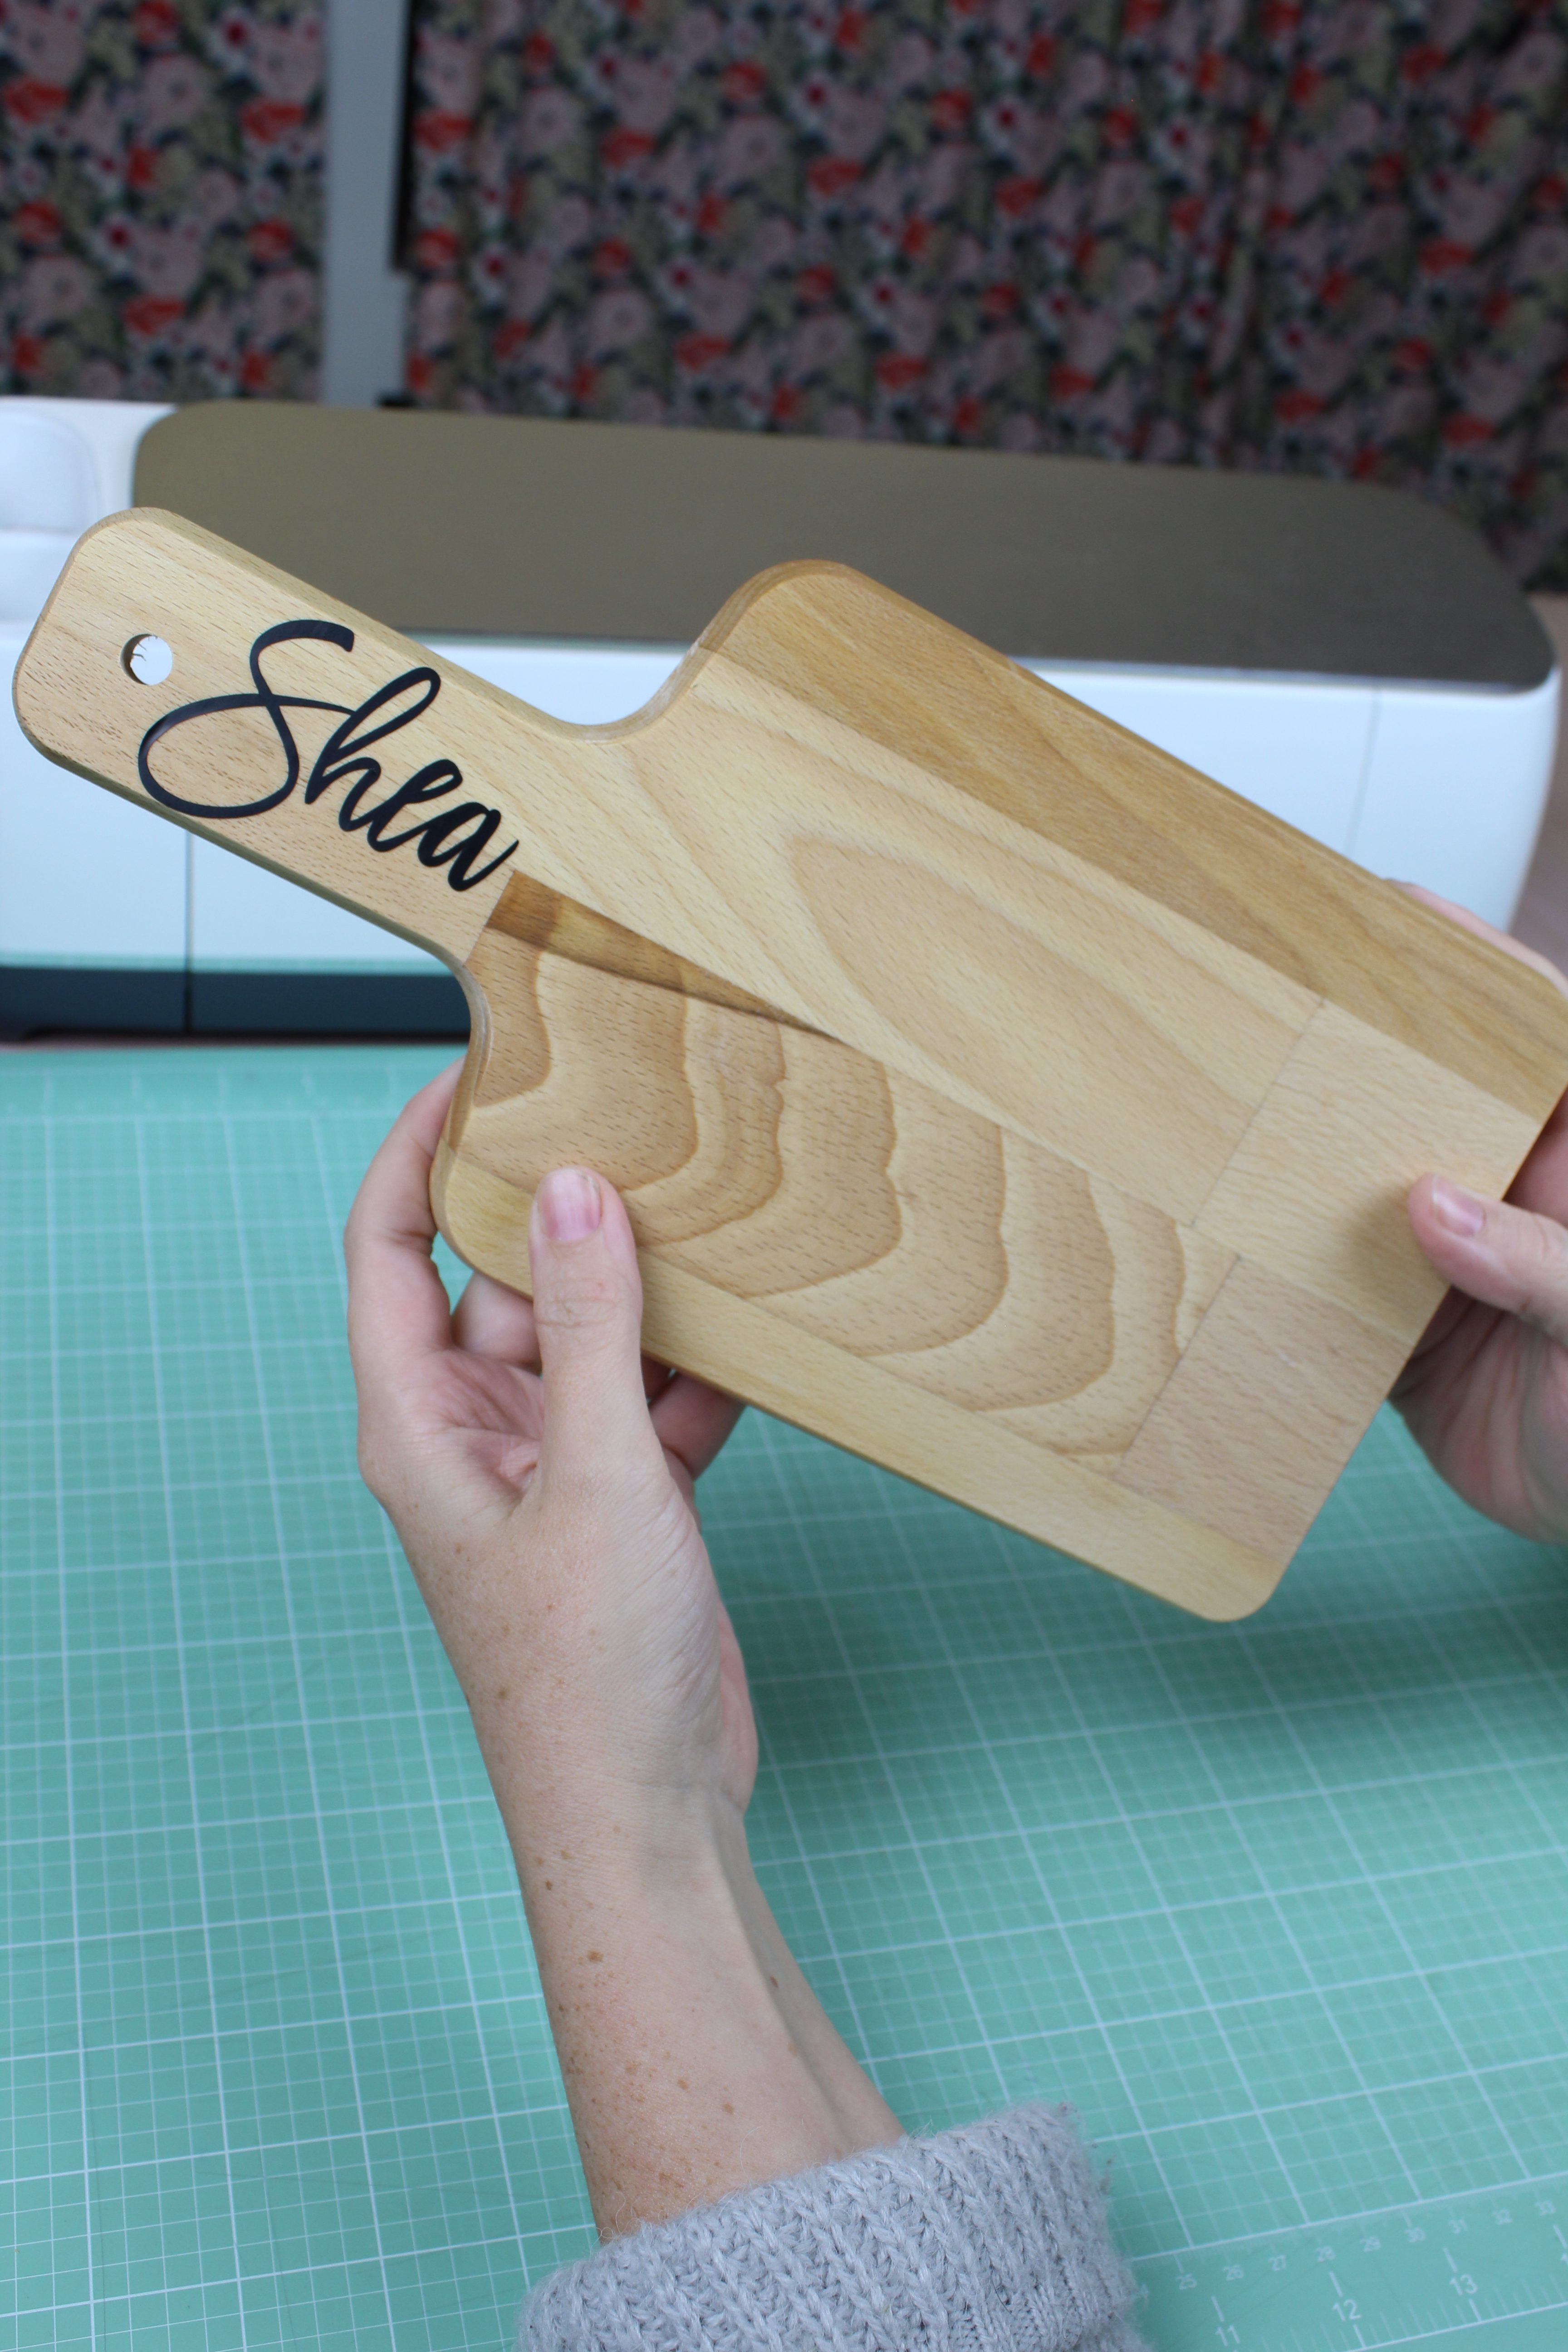
Now you have a personalized cheese board! Not only do these make great party favors, they would also be a great birthday gift or housewarming gift, or even a wedding gift using the couples last name! There really is SO many possibilities!

DIY Tutorial Credits
Photography + DIY Tutorial: Shea O’Quinn of Not So Cli-Shea // Florist: LeeLina Martin // Event Venue: Private Residence // Boho Table Rentals: Crowned Rentals // Mini Cheese Board: IKEA // Cricut Maker provided by Cricut // Cricut Vinyl // Cricut Transfer Tape // Cricut Standard Grip Cutting Mat // Cricut XL Scraper Tool // Cricut Weeding Tool
Shop The Supplies:
Find the supplies you’ll need for this project from our affiliate links below:


Comments