
How to Create Fun Modern Storytelling Magnets
I grew up in a very creative family. My mom encouraged many forms of arts and we loved to visit museums together. She also instilled the love of reading into my life. One thing that was not my strong point was creative writing. I decided to start creative storytelling with my daughter at a young age to give her a leg up on creative writing and to nurture her imagination. She would tell me a character and we would come up with a story together. The stories have got increasingly more detailed and now she tells them to me versus asking me to tell them to her. She can go on for what feels like an hour weaving a detailed story that twists and turns and has a life of its own!
Now that she has moved on to kindergarten (cue all the tears) we are focusing more and more on writing. This brings up the oh so fun task of making her writing practice fun! There is a limited amount of patience a five-year-old has unless they are deeply involved in a task they love. I decided to try having D try to write down her epic stories into a book since she loves telling her stories and reading books. I also selfishly think it would be the cutest thing ever to keep the books she writes and give them to her when she is going to be a mom herself one day. Now, let’s get to the good stuff, I wanted a way D could get inspiration without having to know how to read. I also wanted something durable since if I am going to put in all this effort, I want it to last! These DIY story icon magnets seem to be a perfect fit!
I was brainstorming the idea with Jen, and she thought it would be great to put together a printable with fun icons that would be perfect for storytelling. As soon as I saw these images she found I knew they would be perfect for an aesthetically pleasing story guide. I loved the variety of the icons yet the limited color pallet. I do not feel that all kid items need to be overwhelming colorful. In fact, too many colors can be distracting. These icons are a perfect fit for us! Find these design printables in our shop for only $1.99!
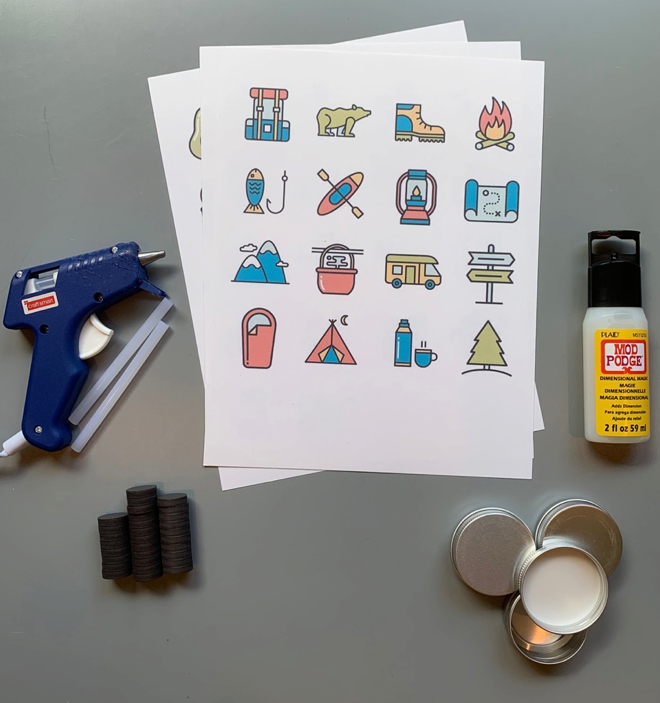
SUPPLIES:
- Printable
- Magnet
- Glue Gun and Glue
- 1 ounce tin with lid
- Mod Podge Dimensional Magic
- Cardboard (optional)
- Our printable magnet themes in farm, food, and camping! Only $1.99 for all three in our shop!
Printable
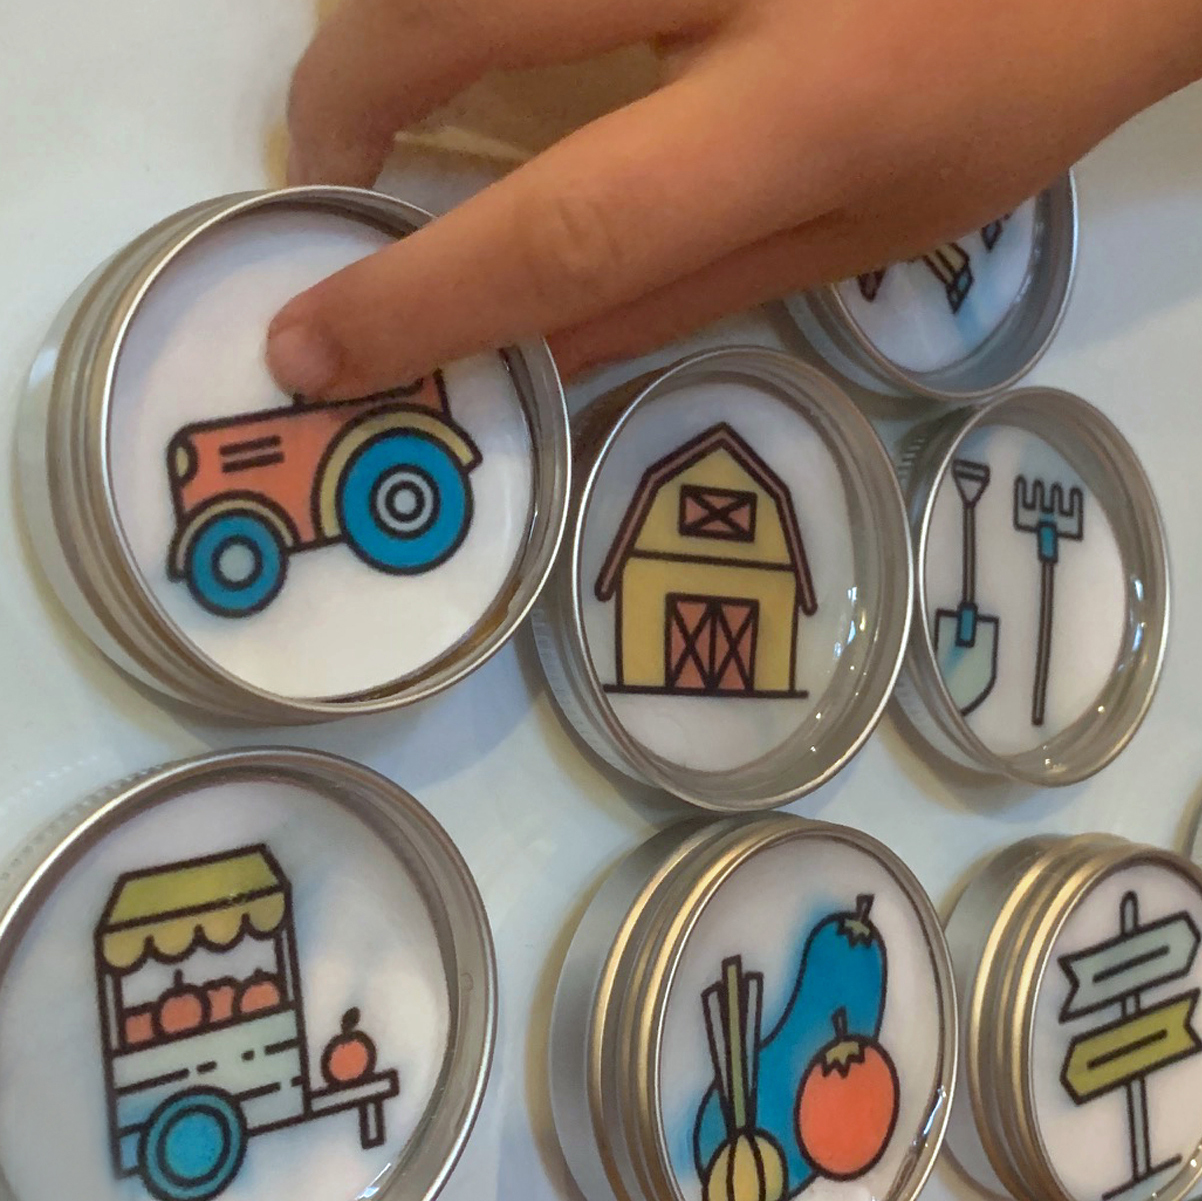
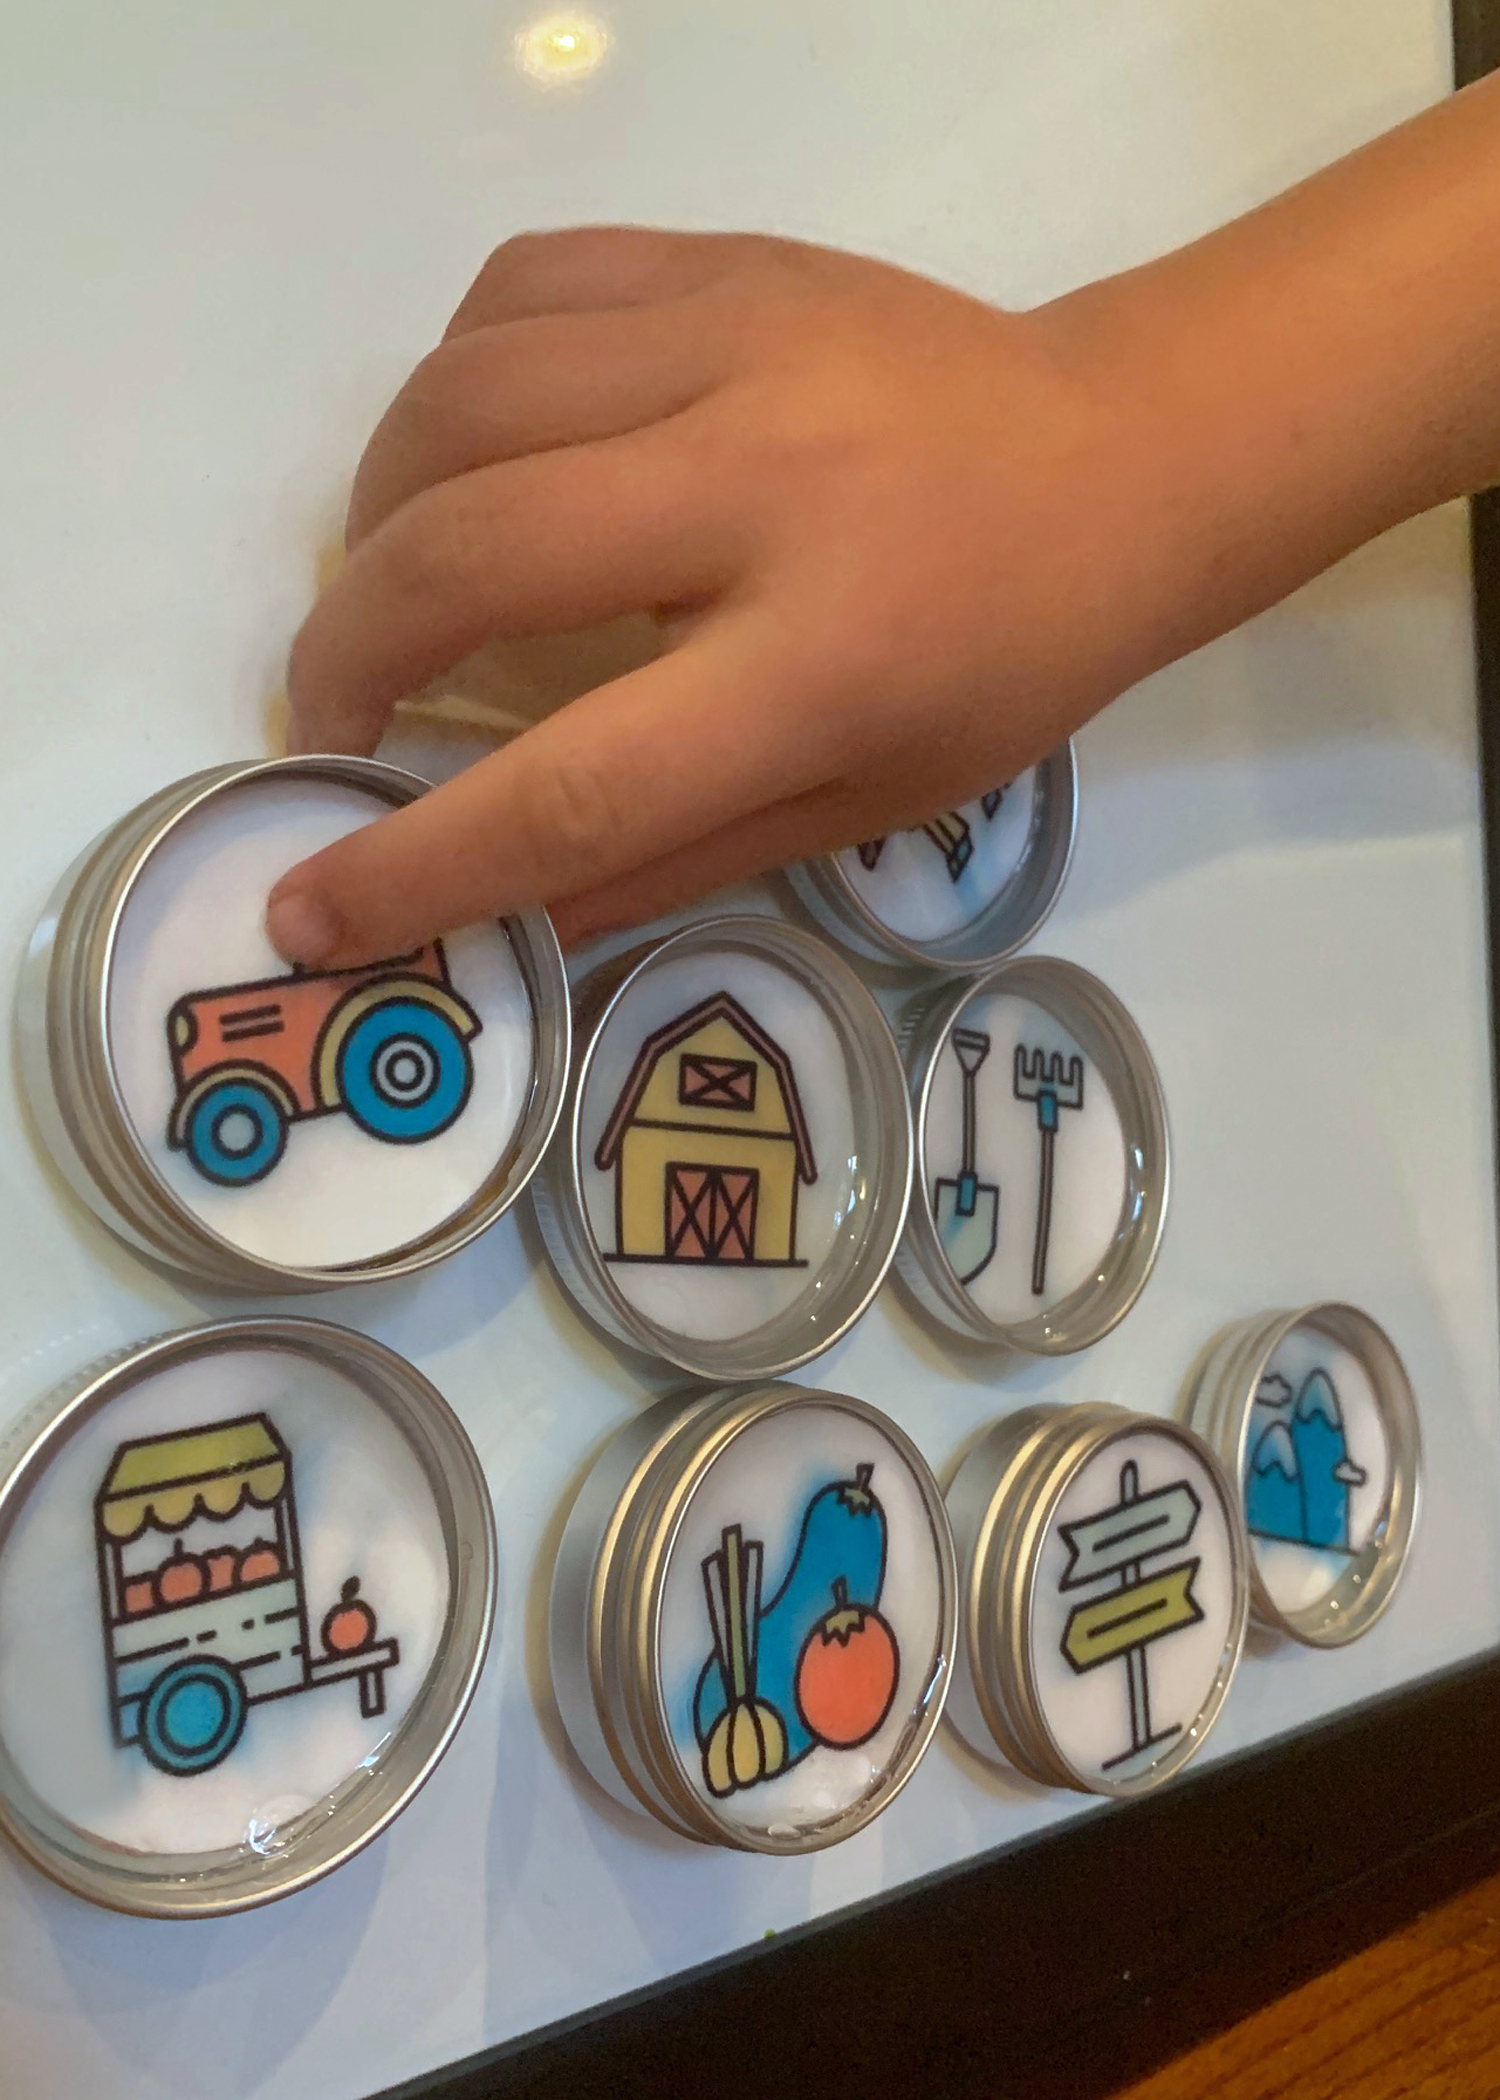
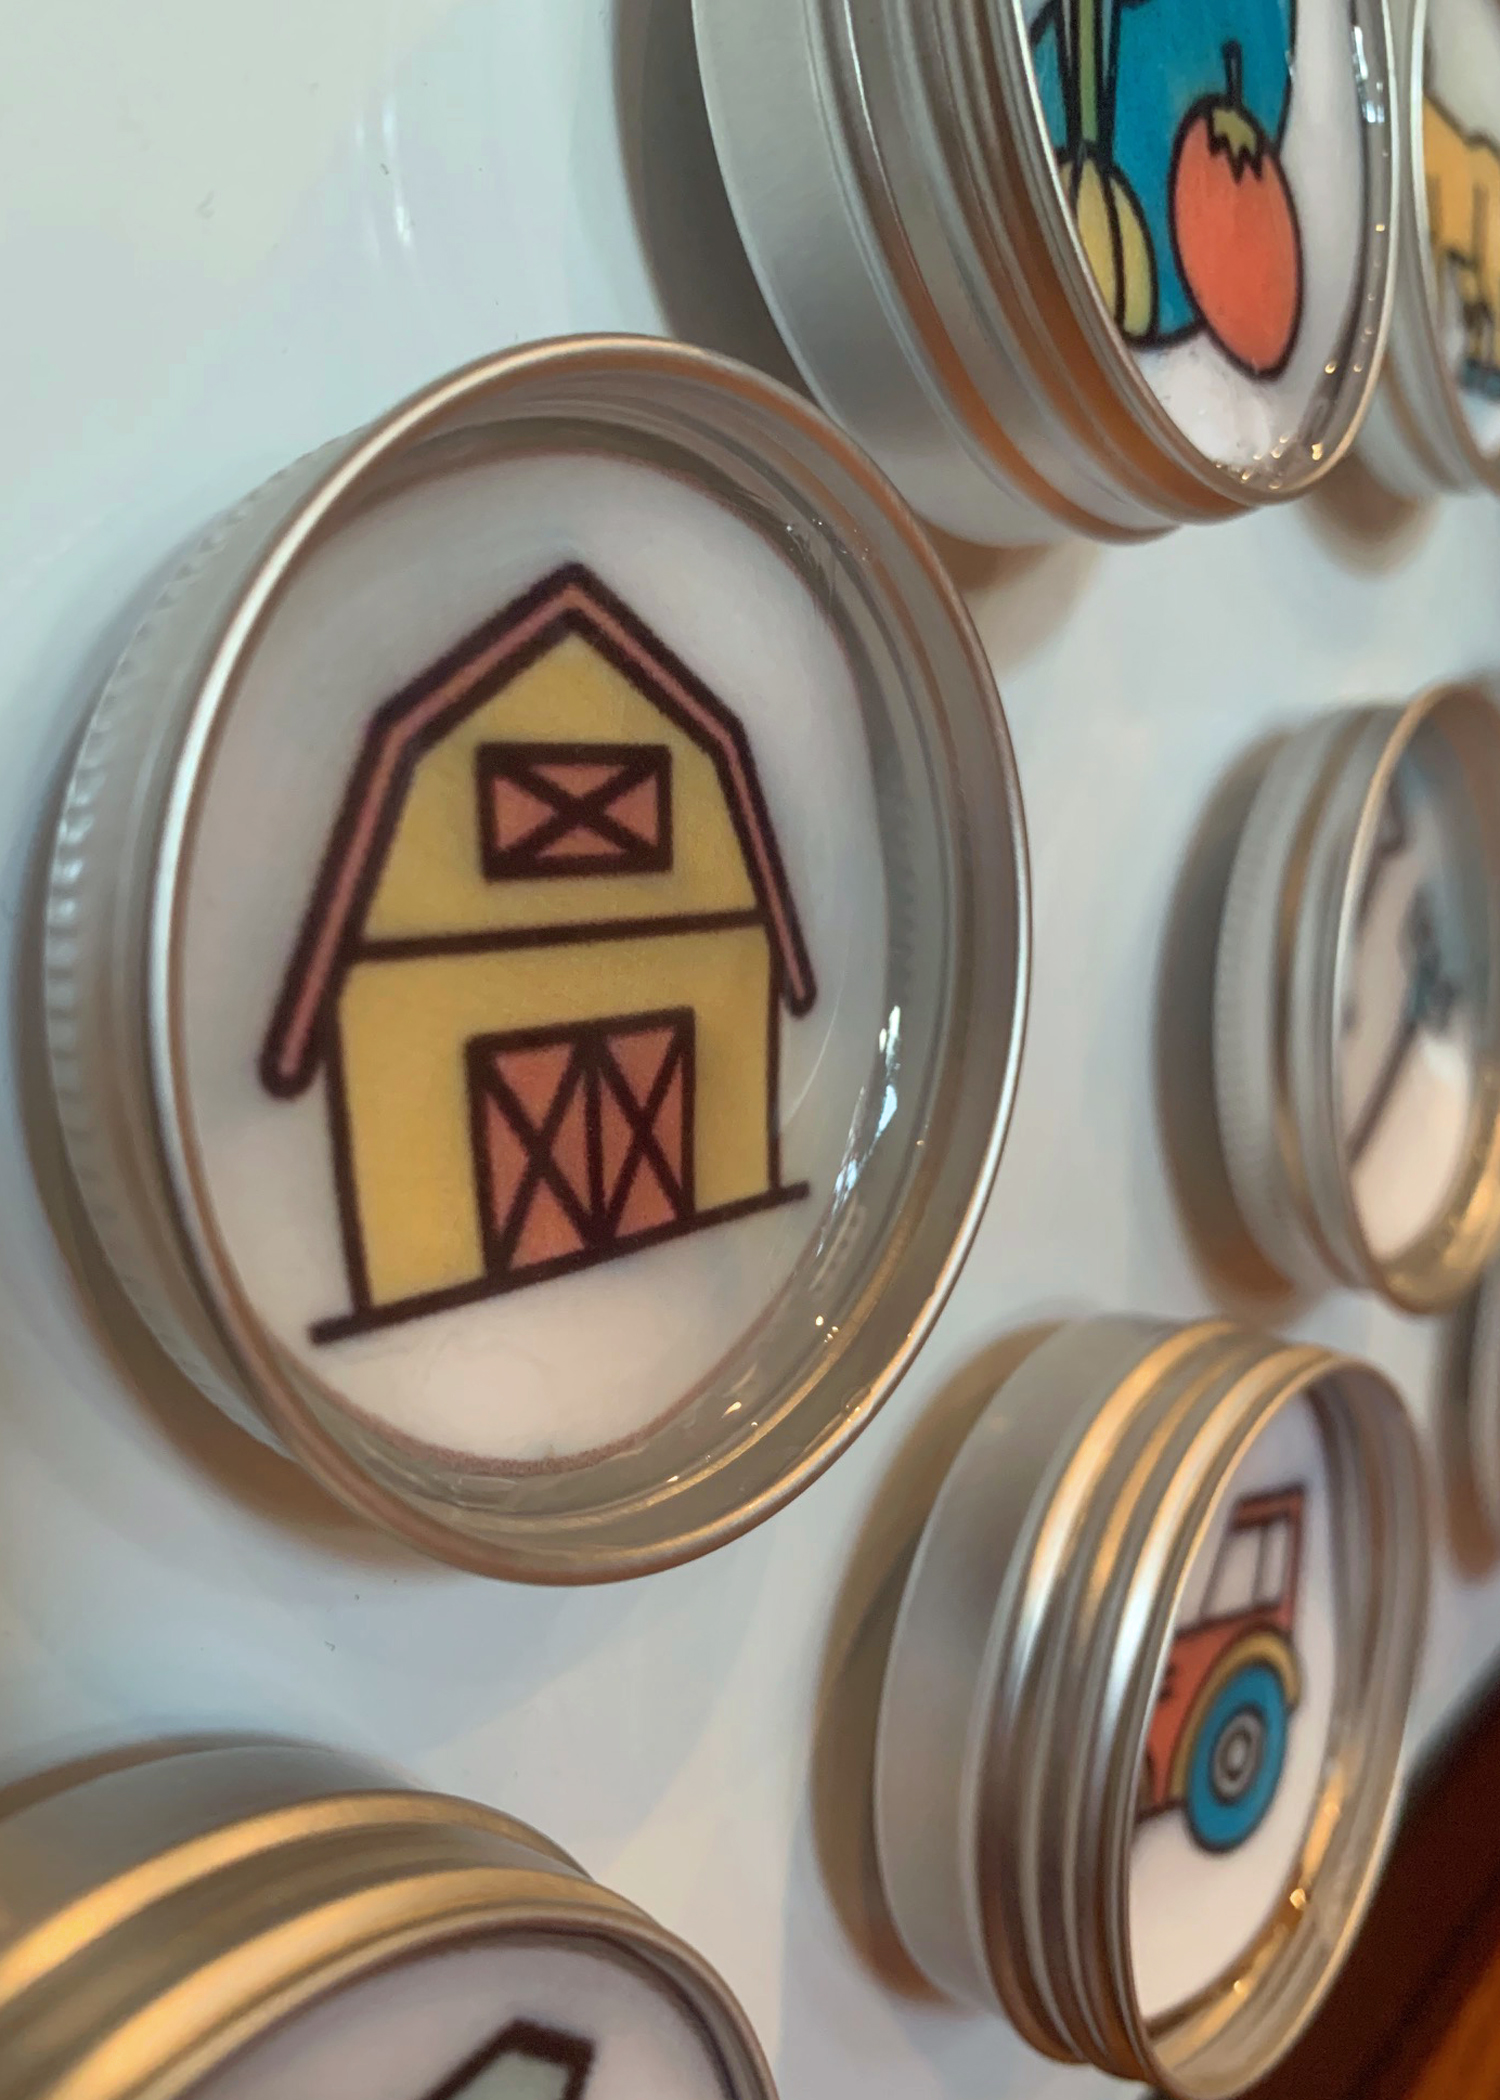
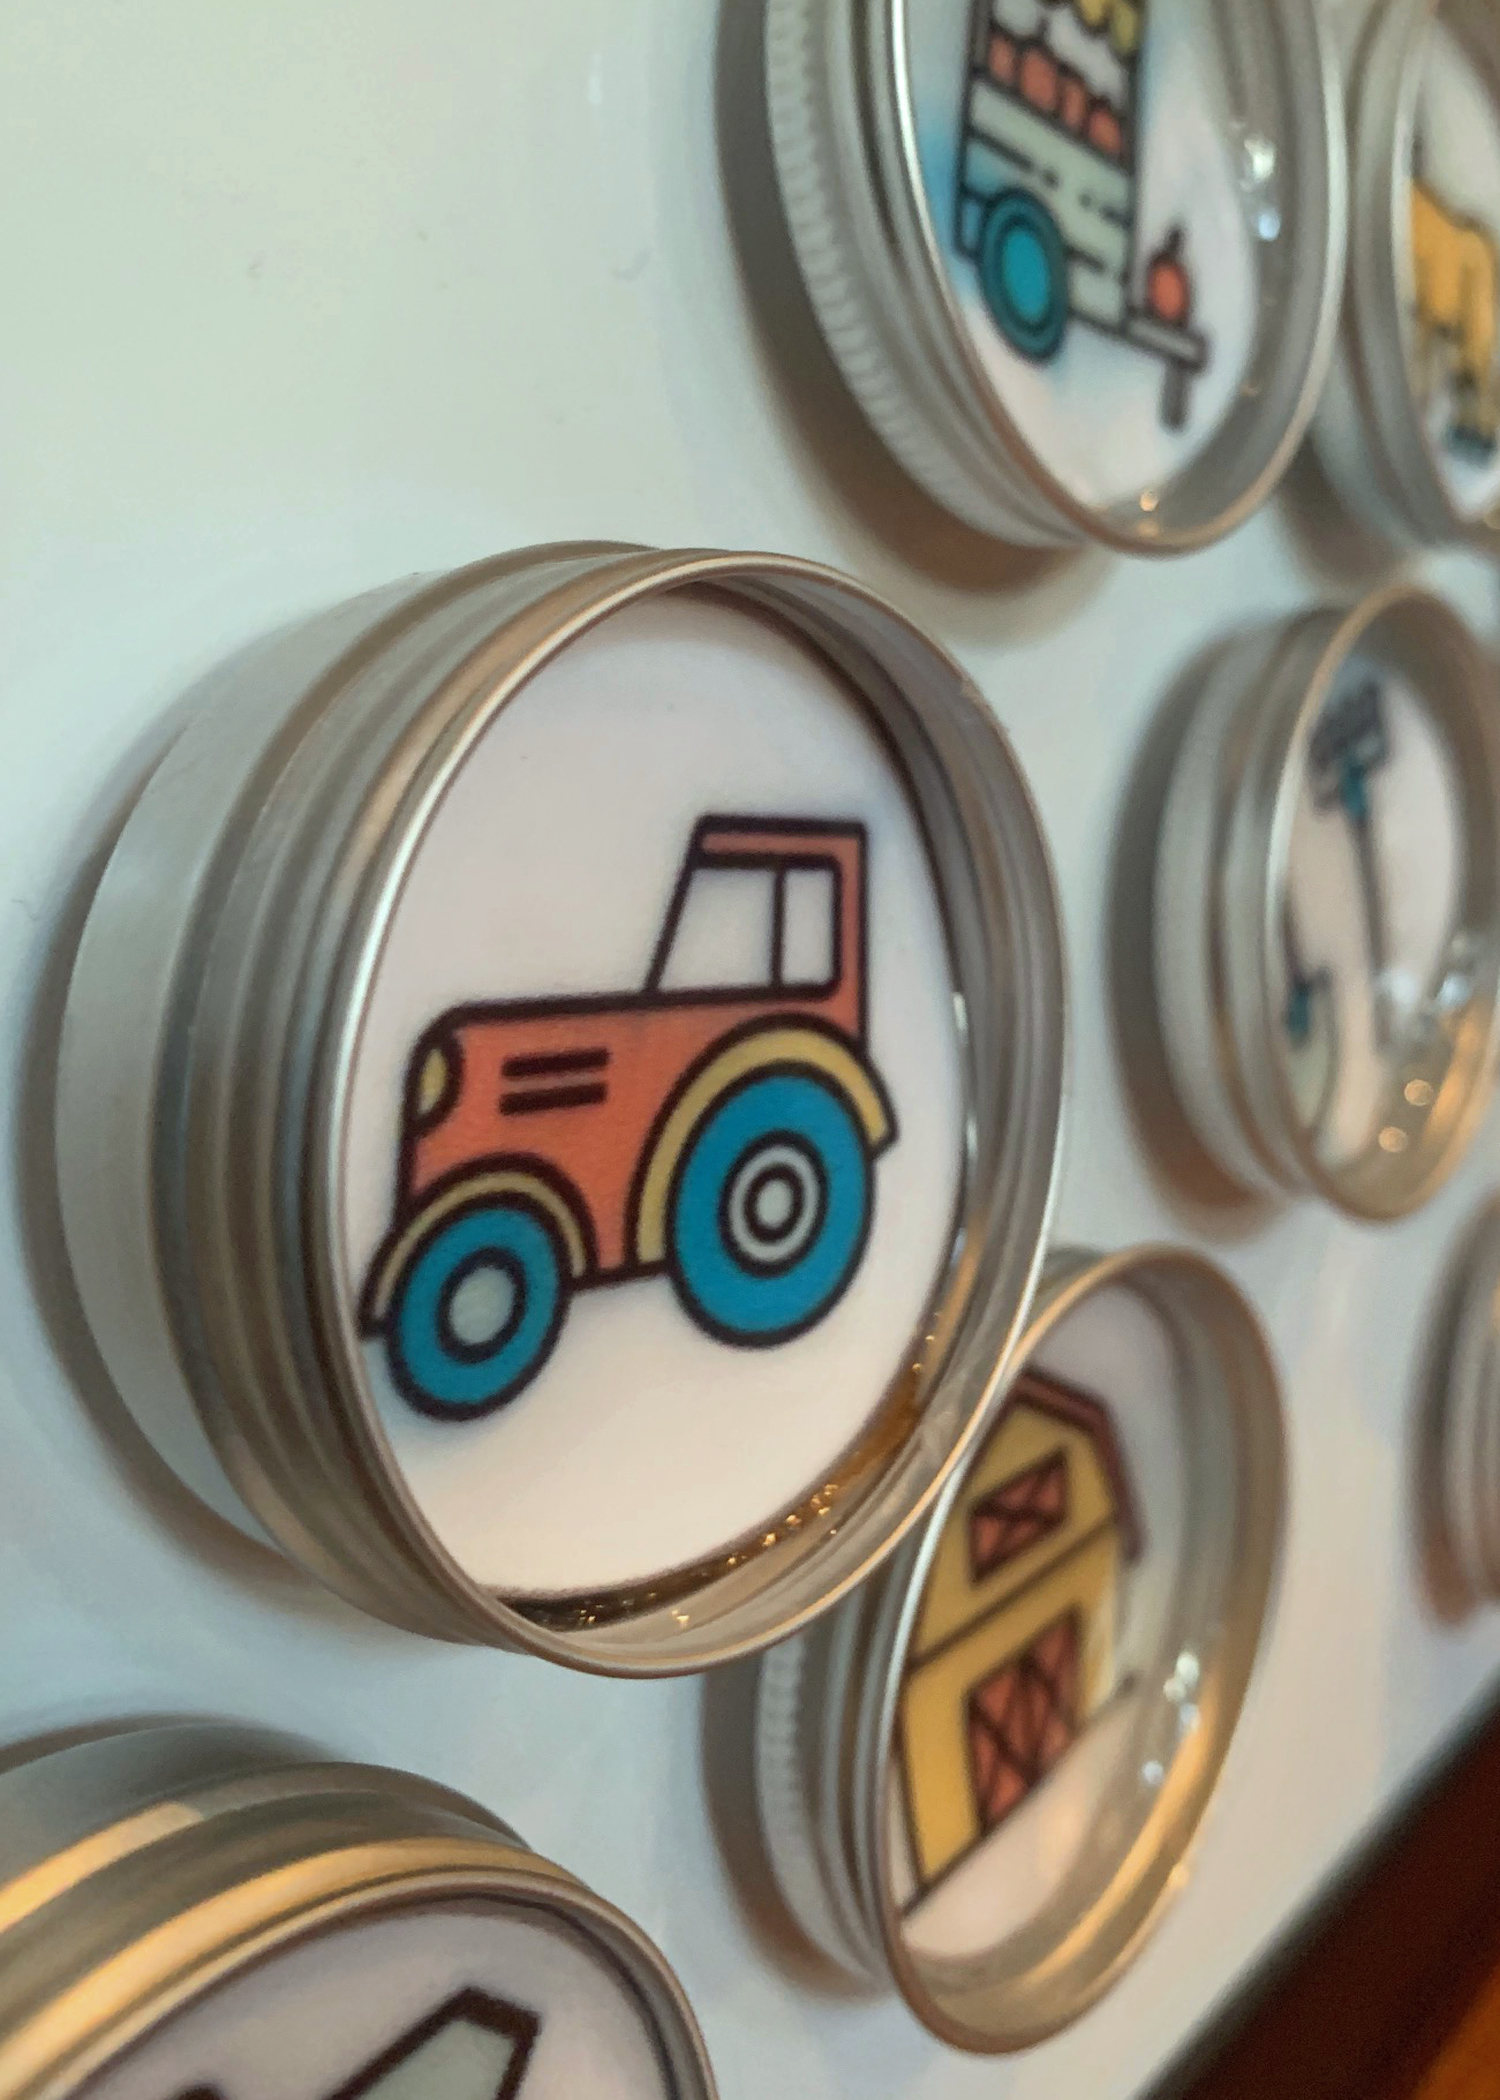
The three themes included in our printable are camping, farm, and food. Each of the themes comes with 16 – 18 icons that can be mixed and matched by your child to create an interesting story. The file comes with the icons placed in a 1.75″ circle, all the icons on one sheet without a circle border, and the icons spread among two pages to allow for space in case various size circles need to be cut for different side containers. Print the designs onto 8.5″ x 11″ white cardstock or photo paper. FYI: lower quality printer ink may run with the Dimensional Magic.
![]()
Assembly
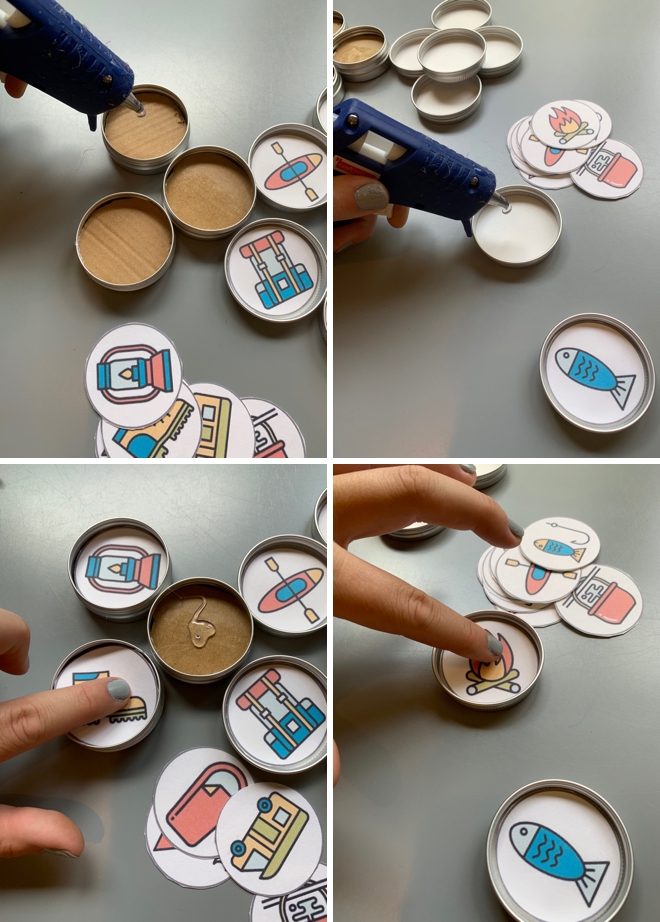
After printing my document, I cut the icons outs to fit the inside of my container. The 1.75 circle worked perfectly for my 1-ounce tin however if you are using metal jar lids or another round item you can trace the size on the unlined version.
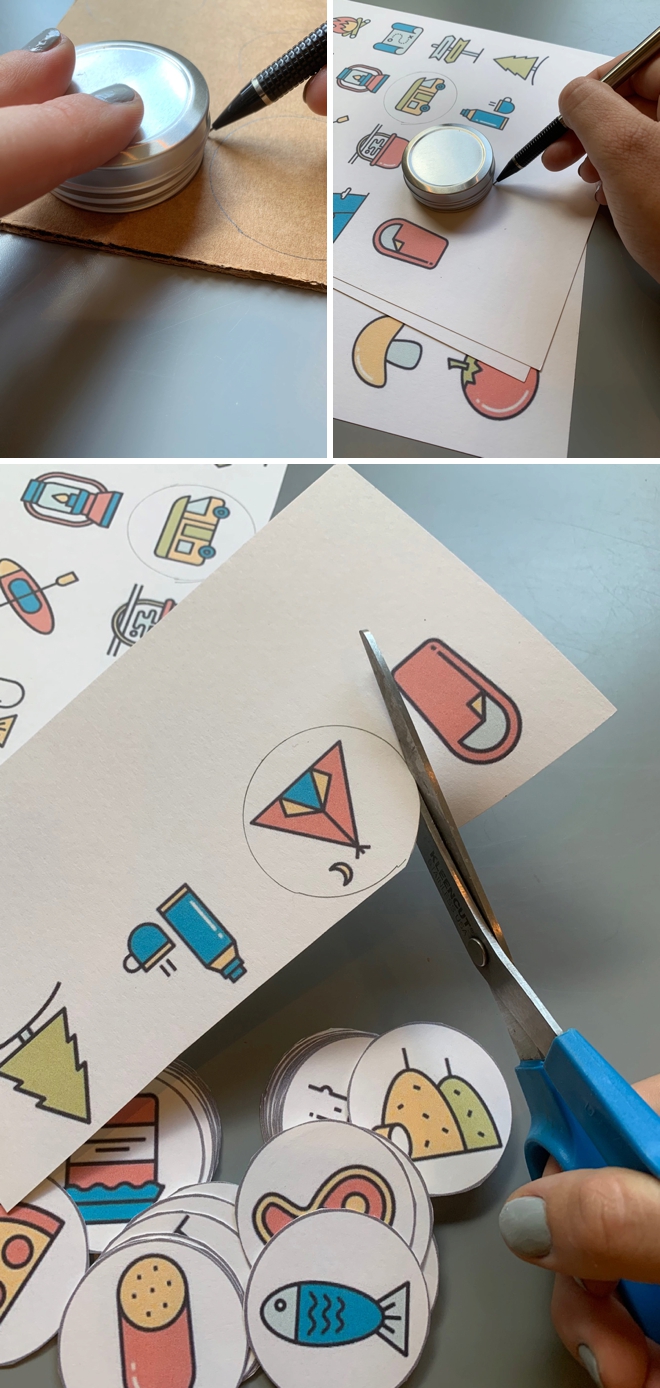
I personally cut all the icons out by hand while waiting for D’s dance class to finish. If I had been home I probably would have used a large round punch or even my Circuit to make the process easier and quicker. Once all my icons were cut I decided I wanted to raise the paper a bit inside the tin. This allowed me to use less of the Mod Podge Dimensional Magic for faster drying times and made them lighter weight. If you have a shallow lid, this is not a necessary step! I glued the cardboard first followed by the icon into each tin.
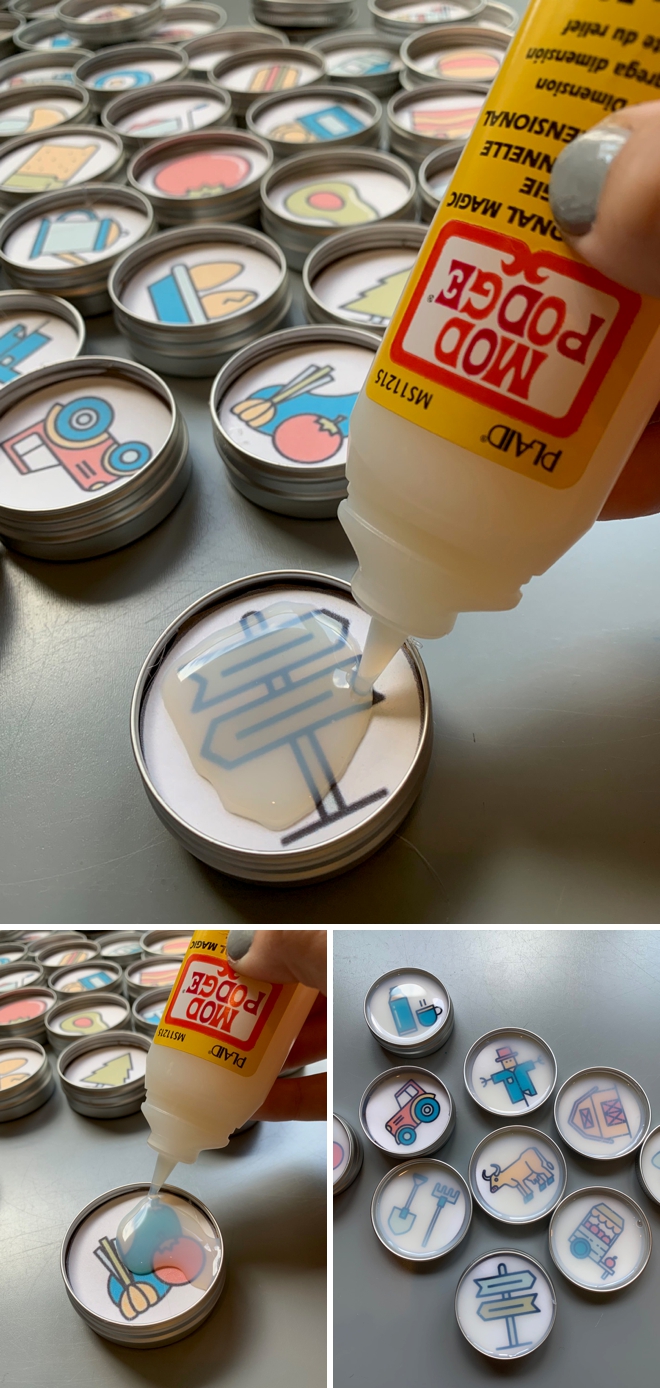
Mod Podge Dimensional Magic
I was surprised at how easy Dimensional Magic is to use! Simply unscrew the cap and gently squeeze into the tin. It is best to create a small layer, no more than 1/4 inch thick. The trick is not to shake the bottle to prevent bubbles from forming. This bottle of Dimensional Magic is 2 ounce. I was able to cover about 10 of my tins with a full bottle.
Finishing Touches
After the Mod Podge Dimensional Magic has dried over 3 hours, flip to the back of each tin and glue a magnet (or two) to the tin. You want to make sure you have a strong enough magnet to hold the tin security.

Once all the tins have magnets, you can display them on any magnetic surface. We are using magnetic whiteboards that have been around quite some time. They work perfectly for us! I have also seen kids easels that are magnetic which would be a great idea too!
Story Time
D has always loved magnets and she has magnetic whiteboards In Her room just for them. I surprised her with her new story starter magnets by having them displayed in her room one day after school. She was SO excited and wanted to start telling stories right away.
I encouraged her to pick a character followed by a location and action and some details.
Once she selected her story elements, she started into her story. I quickly wrote down what she said and then transferred them into a blank book. As she gets better at spelling and writing I plan to have her write the story herself in the book but until she is ready for that, I will write it out in pencil for her to trace with a marker.
After she had traced each word, I encouraged her to draw a picture of what is described in each page. This activity does take time to complete. We decided it would be best to break the project down into smaller steps. We took a break after doing the writing and came back to the illustrations the following day.
The finished results were a super cute book I treasure and I hope she does too!
As with all our DIY tutorials, if you create one of our projects please send us a picture – We Love Seeing Your Creativity! If you use Instagram or Twitter please use the hashtag #SomethingTurquoiseDIY and it will show up on our Get Social page. Happy Crafting!
DIY Tutorial Credits
Photography + DIY Tutorial: Jacki Davis for Something Turquoise // Printable Magnet Icons: Shop Something Turquoise, $1.99 // Metal Tins: Amazon // Mod Podge Dimensional Magic: Amazon // Magnets: Amazon
Shop The Supplies:
Find the supplies you’ll need for this project from our affiliate links below:


Comments