Hey friends! It’s Shea from Not So Cli-Shea and I’m THRILLED to be sharing my first DIY on Something Turquoise! I originally found Something Turquoise as a bride myself trying to make all of my DIY wedding dreams come true. Fast forward 5+ years and not only am I a part of the ST team, but I am now a mama and ST has expanded to include family! It only made sense after the year the ST team has had, having three babies, with three more on the way!
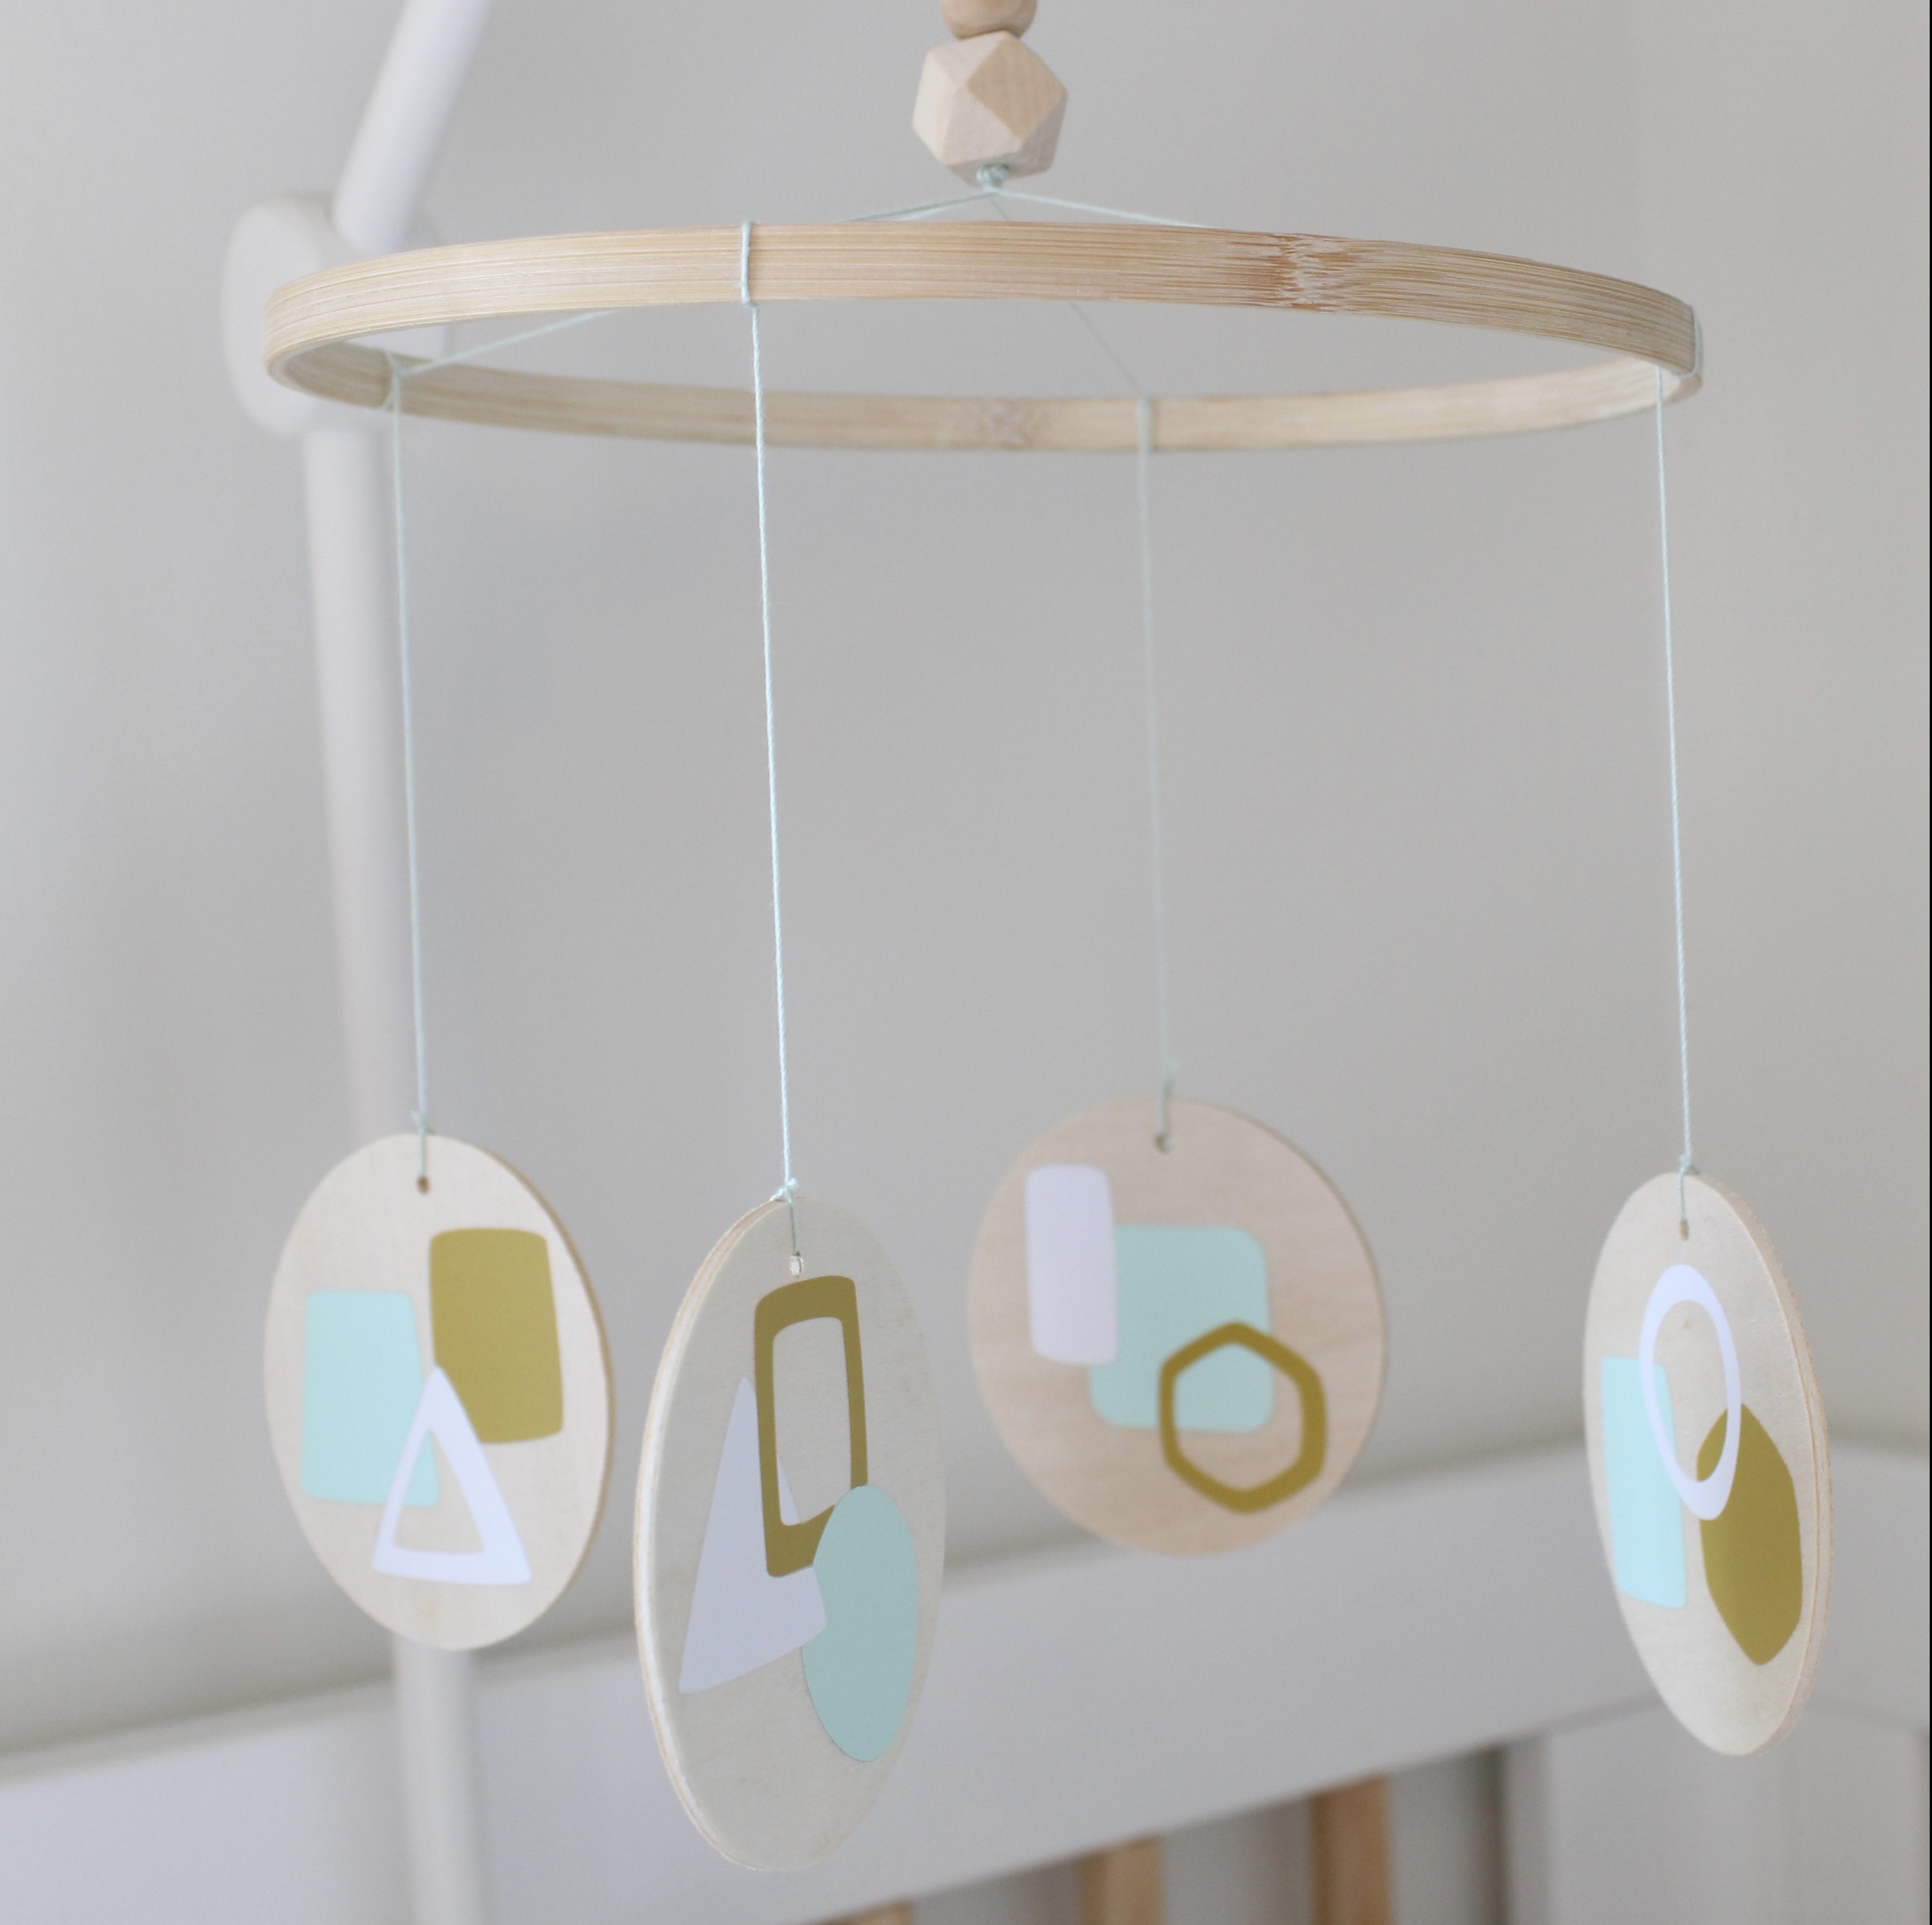
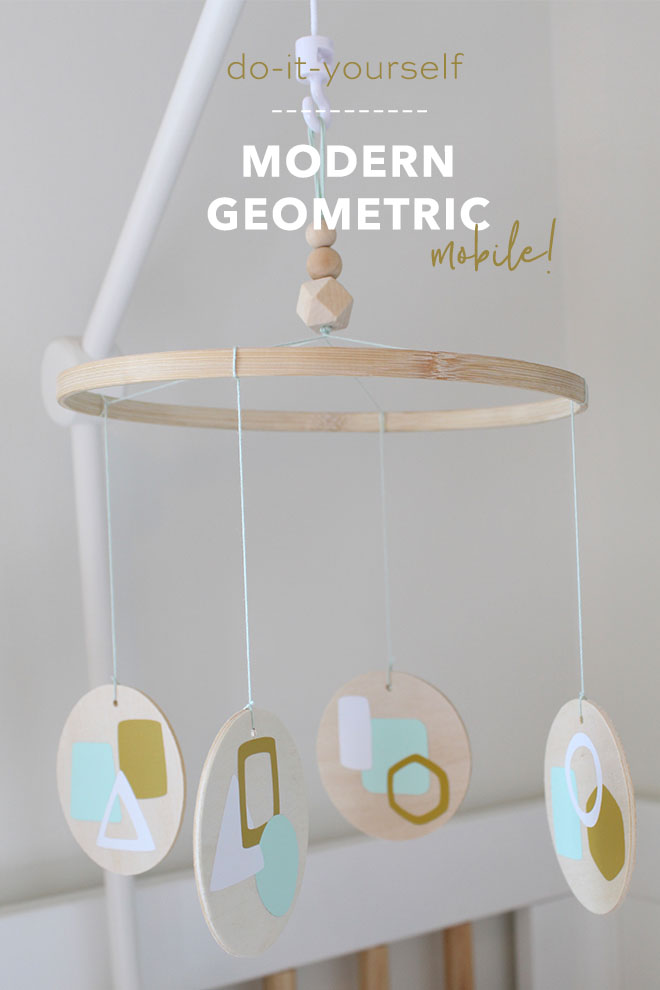
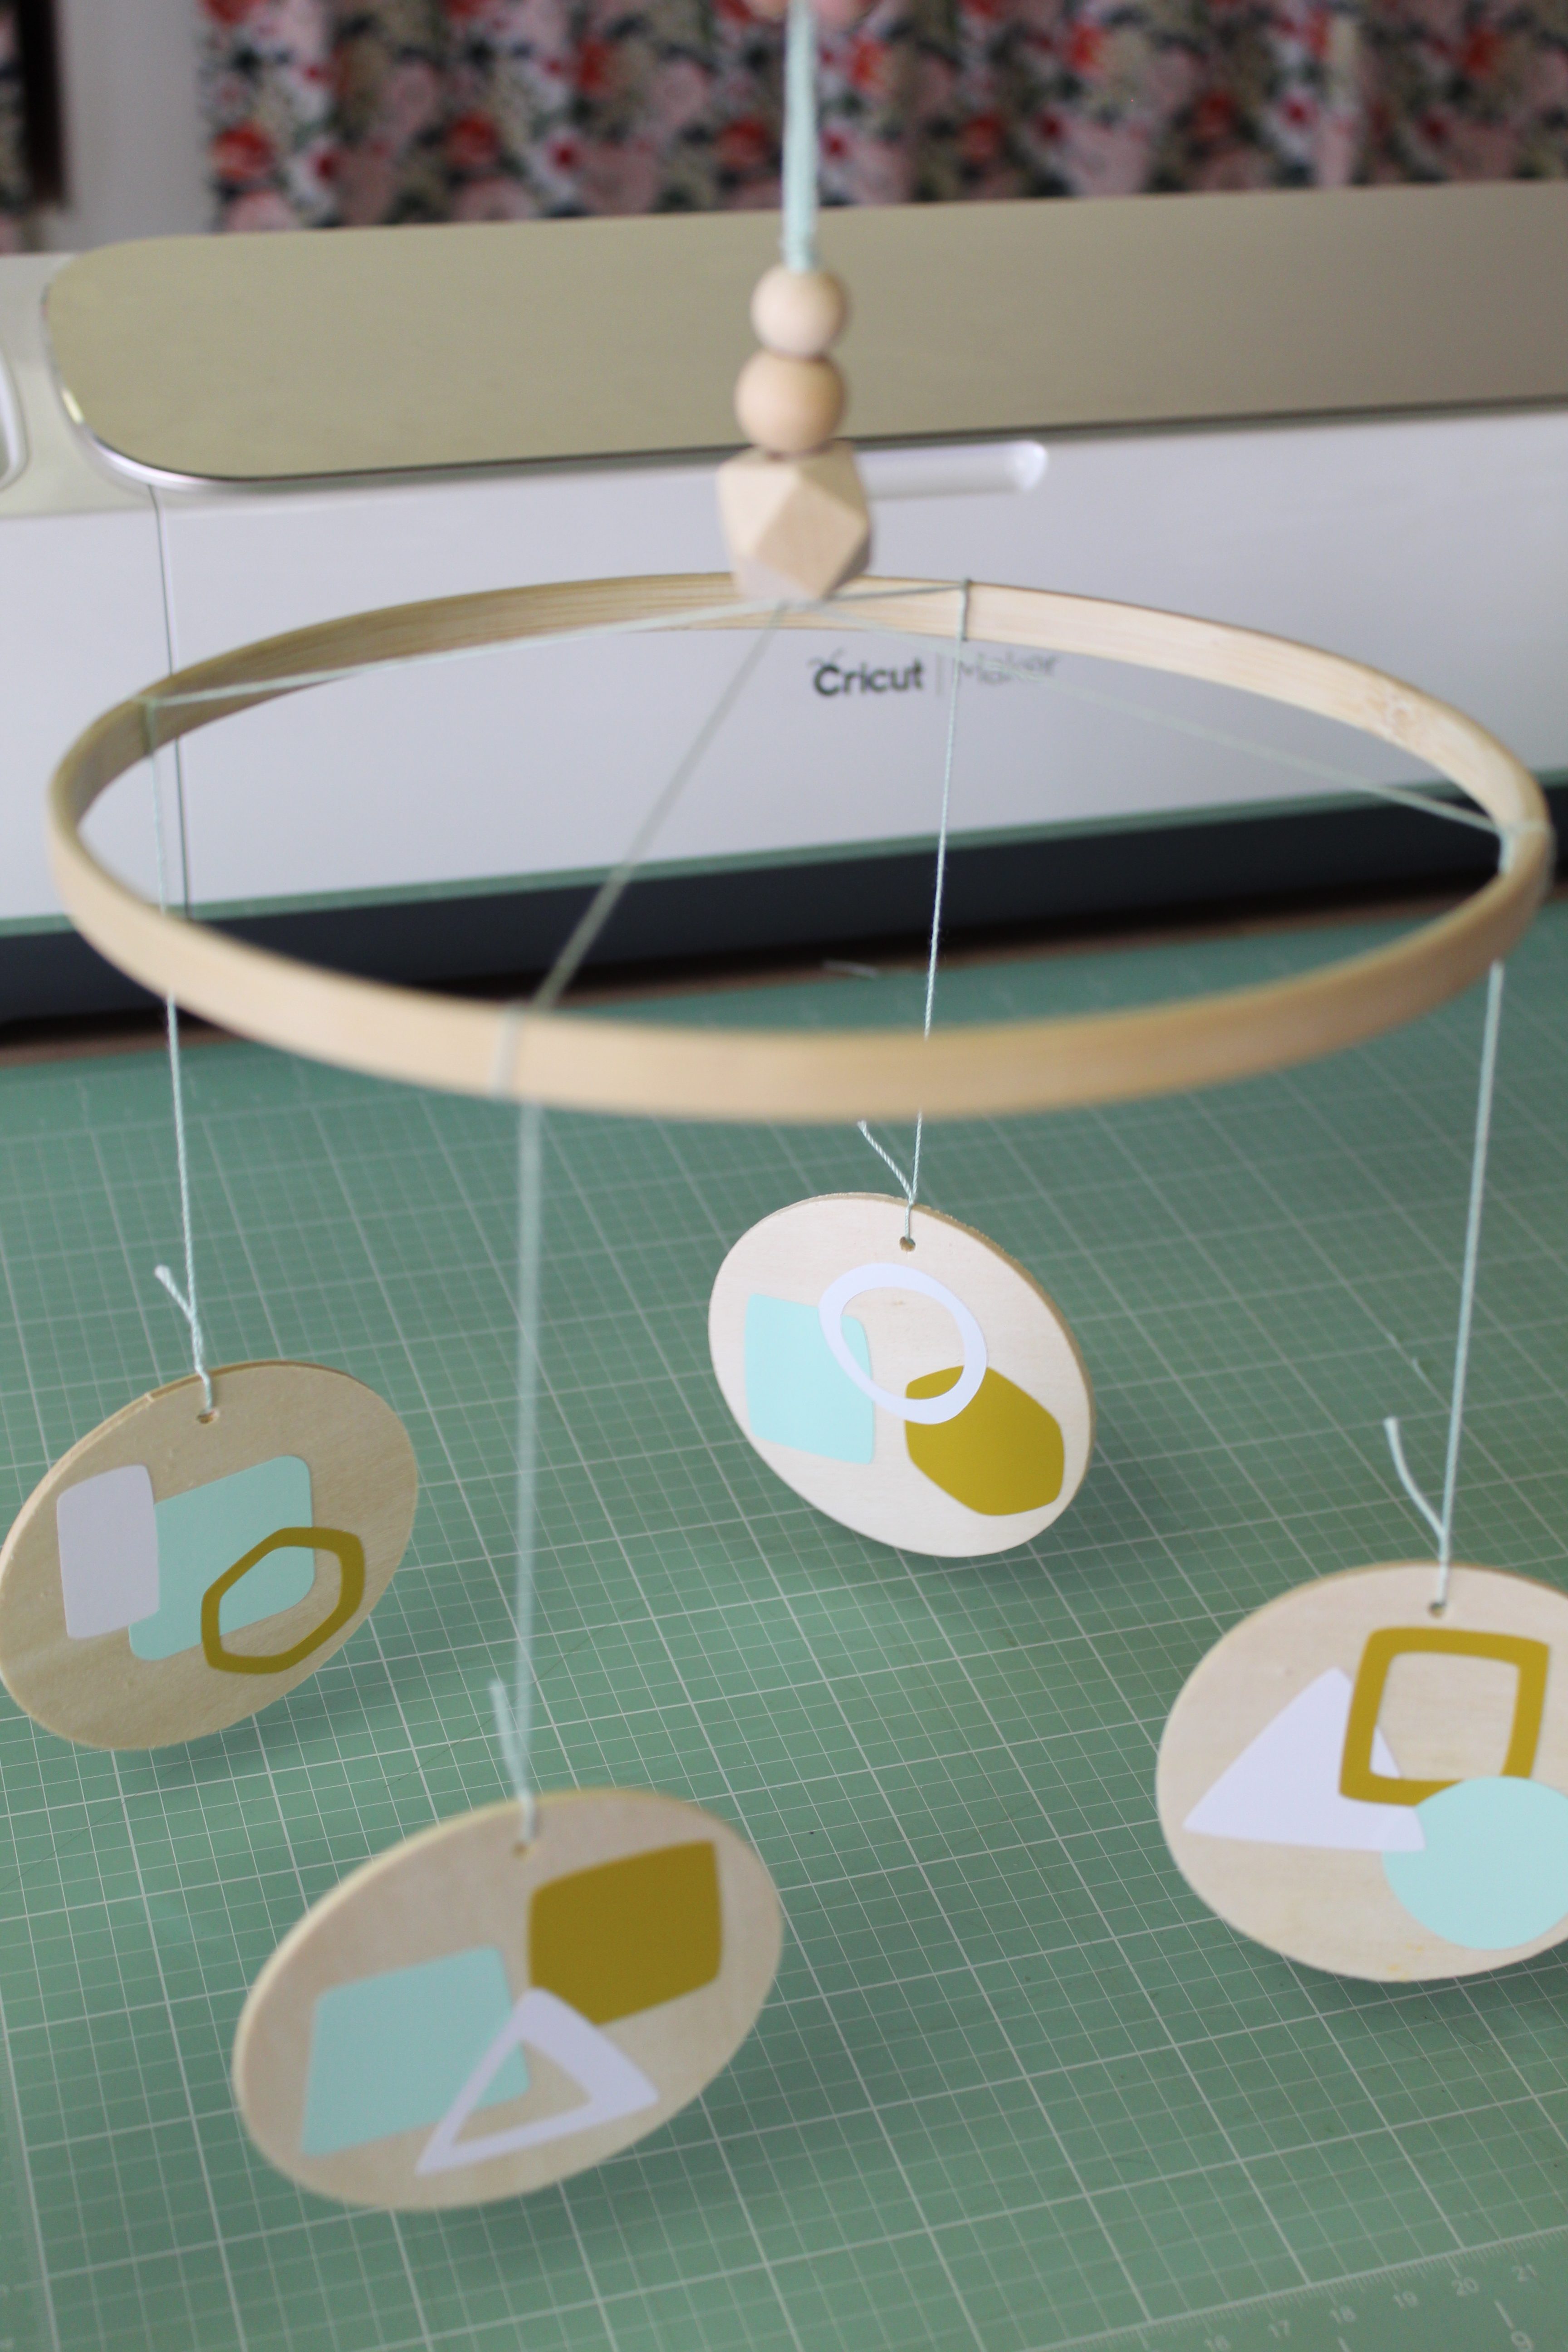
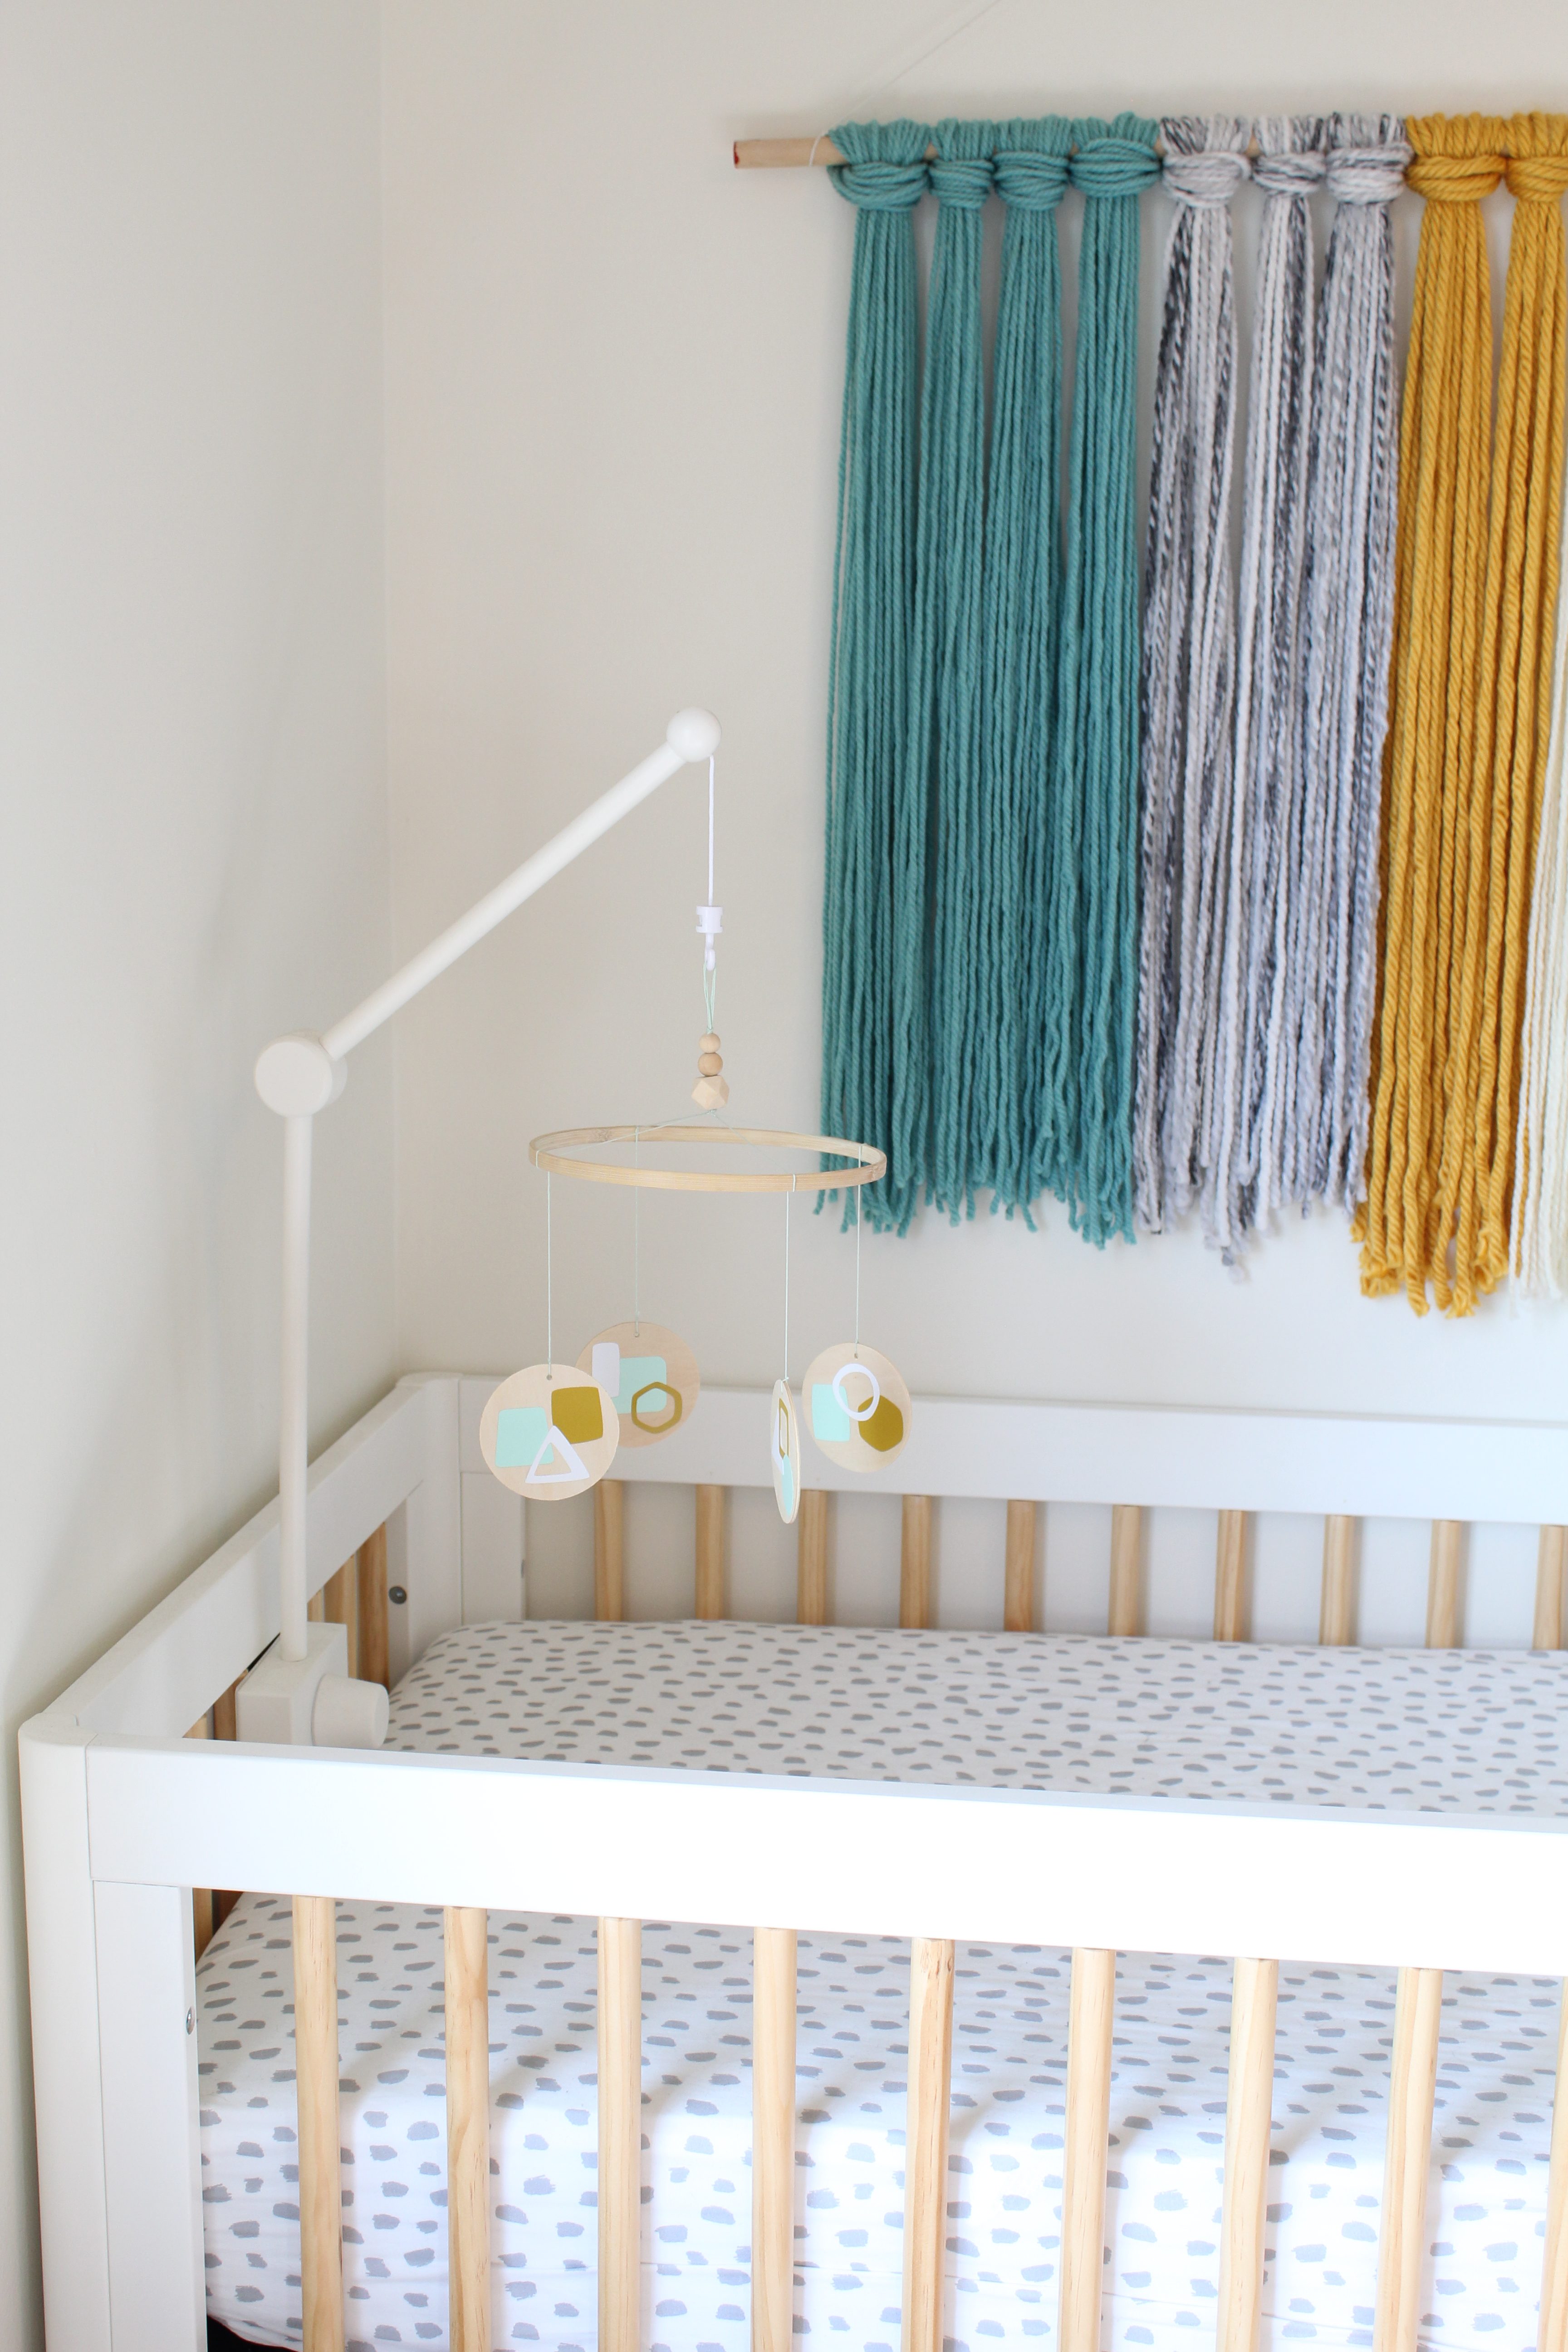
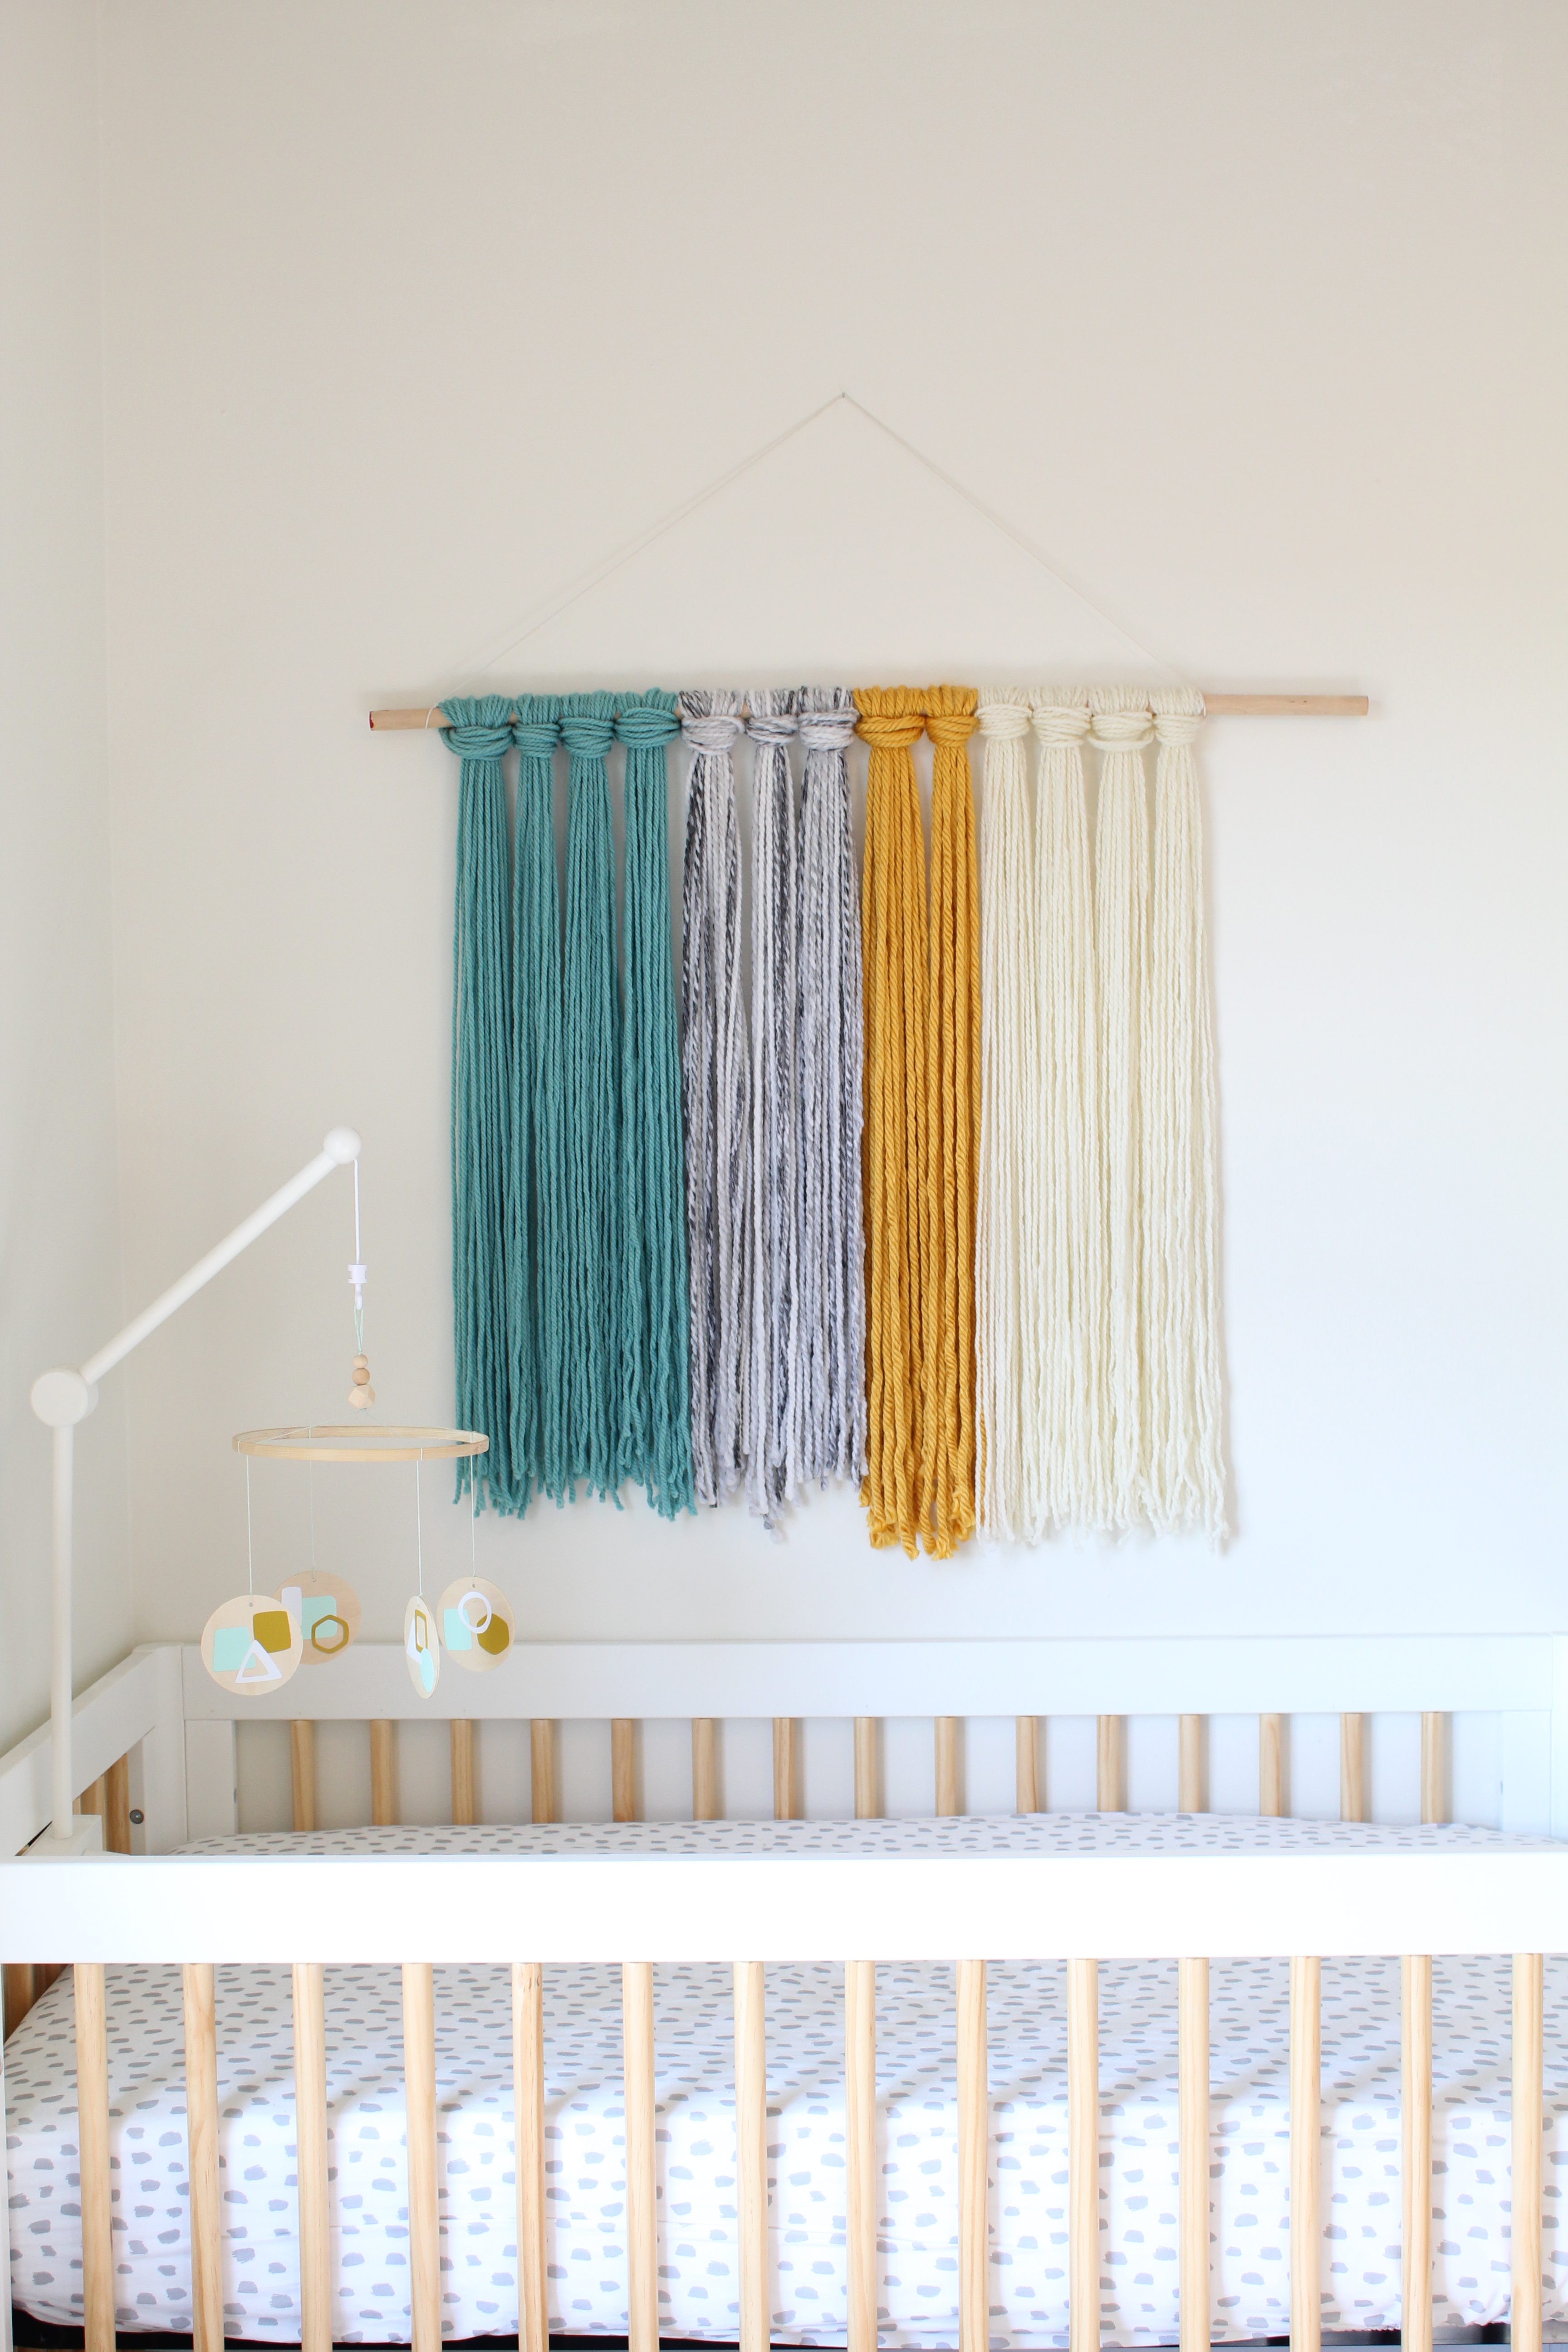
Since having my little one, my DIY projects (and life in general) have shifted. I want to make ALL the baby things. One of the first things I made for my nursery was a DIY mobile. I couldn’t find anything that I loved and the things I did find were pricey so, of course, I decided to make something myself. In keeping with the “theme” of our nursery I made myself a Beatles themed mobile but I understand that might not be everyone’s thing so I created this fun modern geometric mobile for you guys!
Supplies:
- Small 3 inch Wooden Circles (4)
- 8 Inch Embroidery Hoop
- Vinyl in Three Colors (I used mint, mustard and white)
- Transfer Tape
- Cricut Maker (or Explore)
- Cricut Cutting Mat
- Cricut XL Scraper
- Cricut Weeding Tool
- Crop-a-dile
- Wood Beads
- Crochet Thread
- Scissors
- Large Eye Blunt Needle (Optional)
Design Space
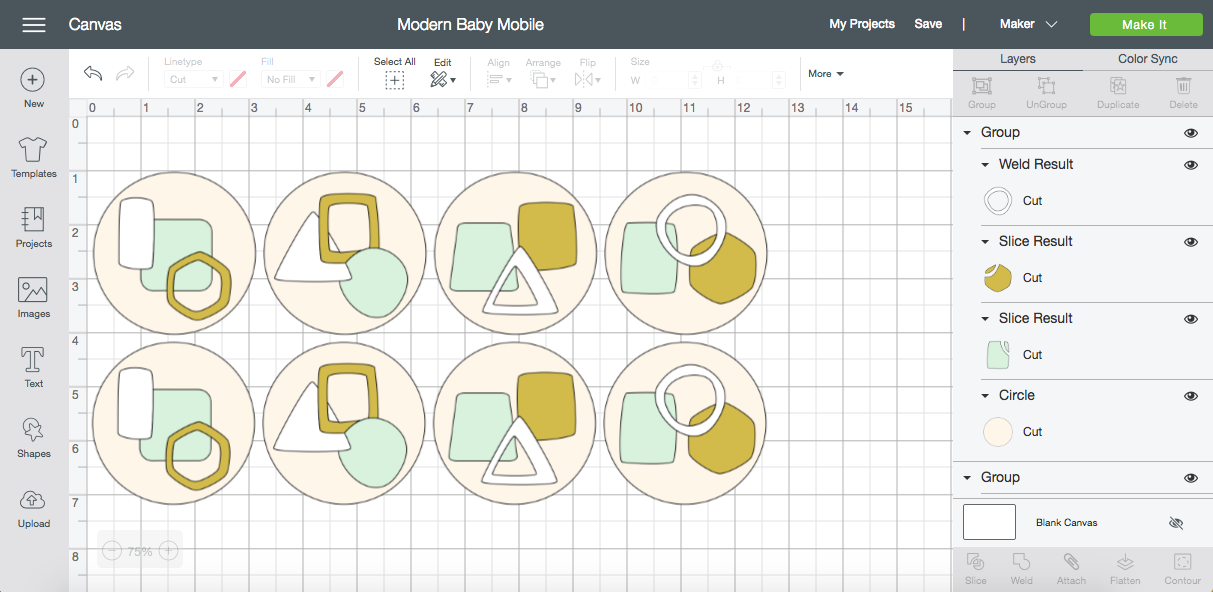
To start, open the project HERE in Cricut’s Design Space. This is their free design software. I’ve already done all of the work for you so you can just hit “Make It” and create your mobile! The best part is, all of the colors are totally customizable so you can really make a mobile to match your space!
Prep Your Vinyl
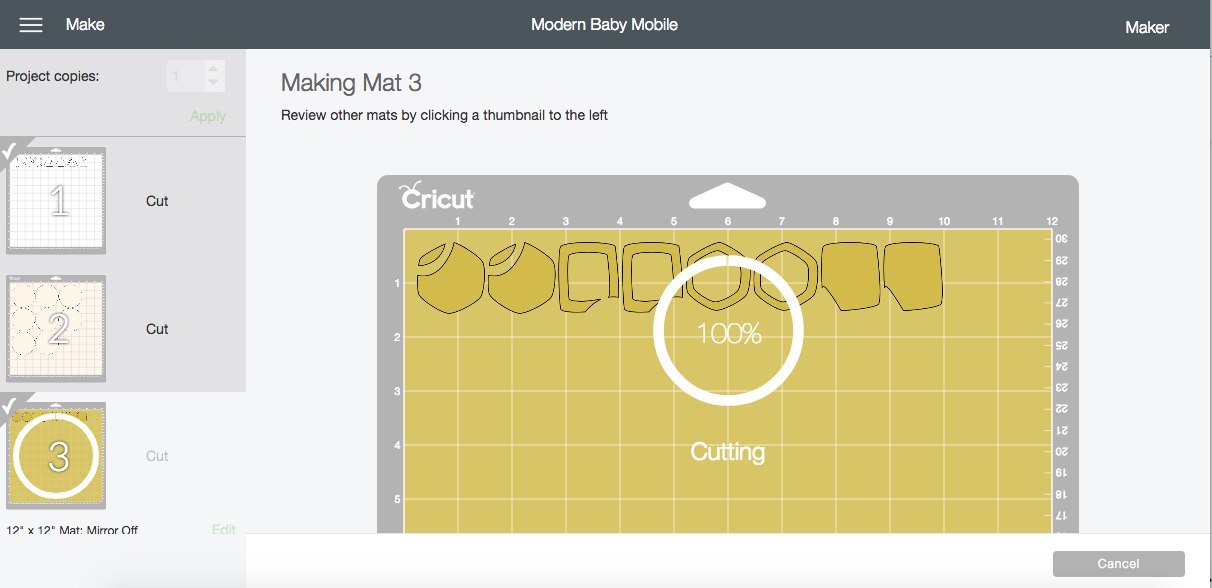
This is totally an optional step, I just like to trim my vinyl down so that its more manageable to work with. Once it’s trimmed (or straight off the roll, if that’s more your style) apply your vinyl to your Cricut mat (face up) and load it into your machine, making sure to pay attention to which mat is cutting and which color you should be loading.
I love how the software keeps you updated with how much longer you have for each cut.
(Side note: in the Design Space file I created, I added the wooden circles purely for a visual, they are not actually meant to be cut however so you can either, hide them (by clicking on the eye icon next to them), you can skip that mat when it is time to cut it or simply delete them from the file, totally up to you.)
Weed Your Design
Once you machine has done its magic, you’ll want to weed your design. (Weeding is the process of removing the vinyl you don’t want. you should be left with two of each item (one for both the front and back). You’ll notice, I used the magic of “slicing” to ensure you don’t end up with layer upon layer of vinyl. This should also help with your placement of the design.
Transfer Your Design
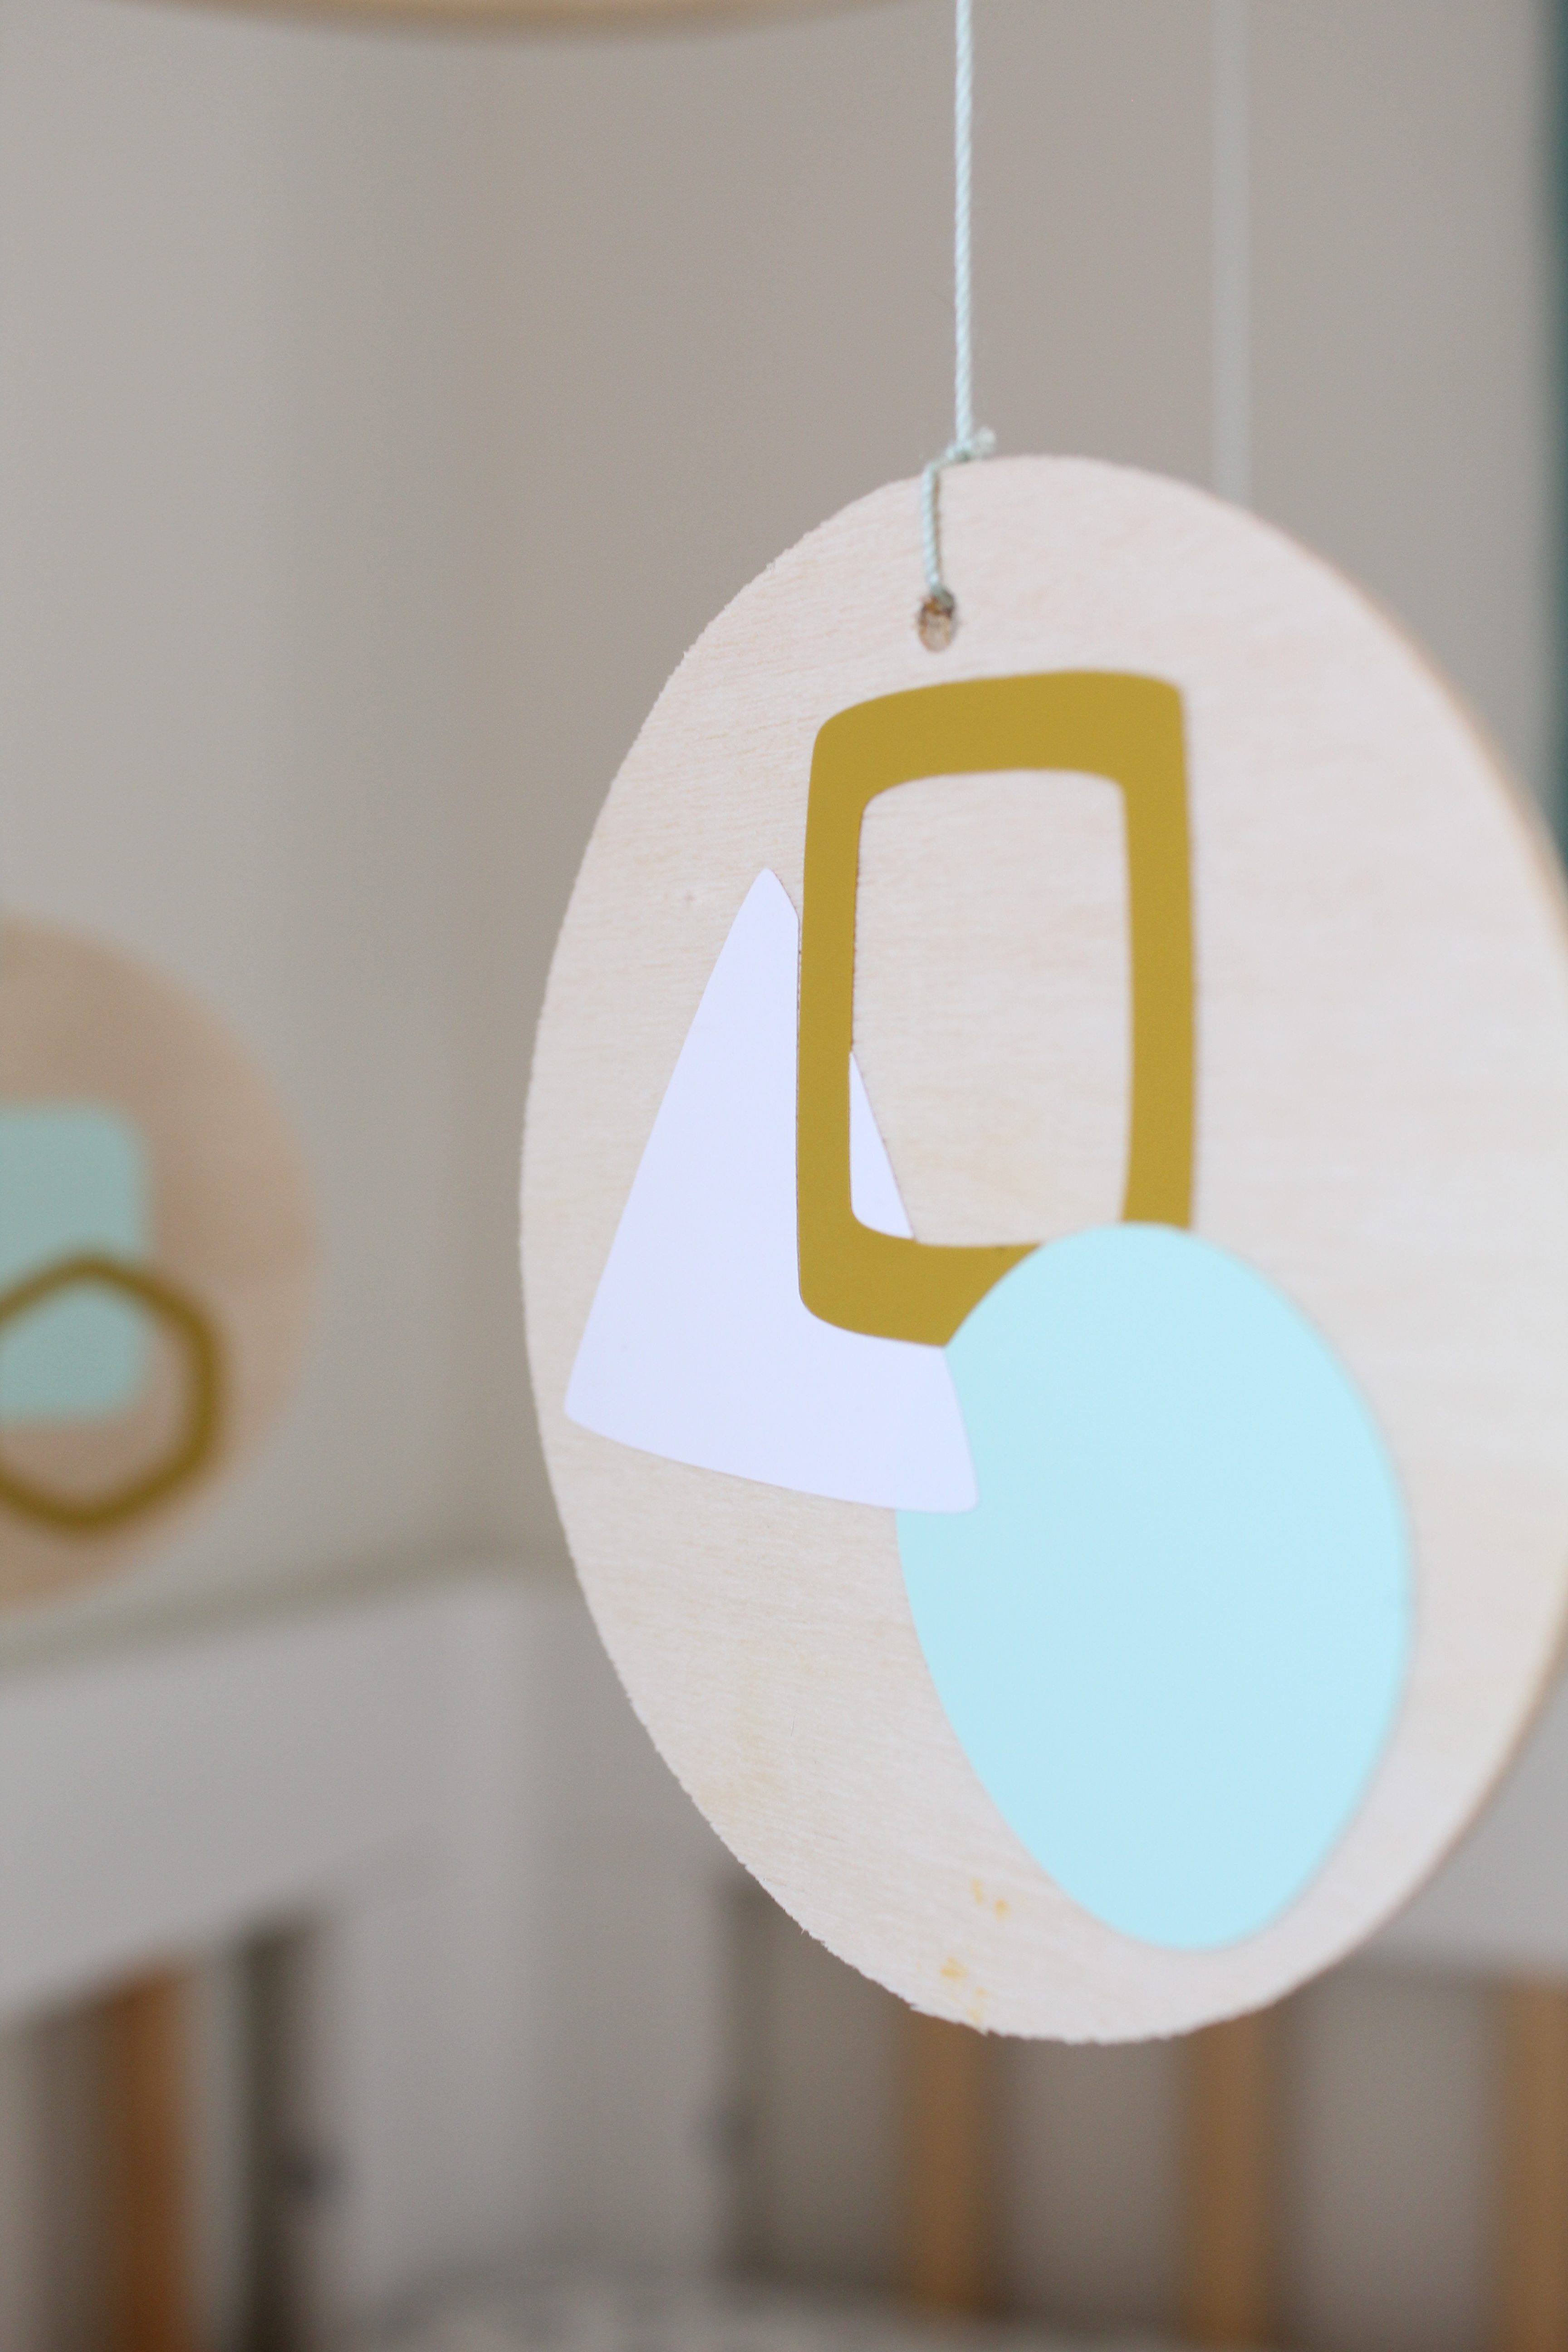
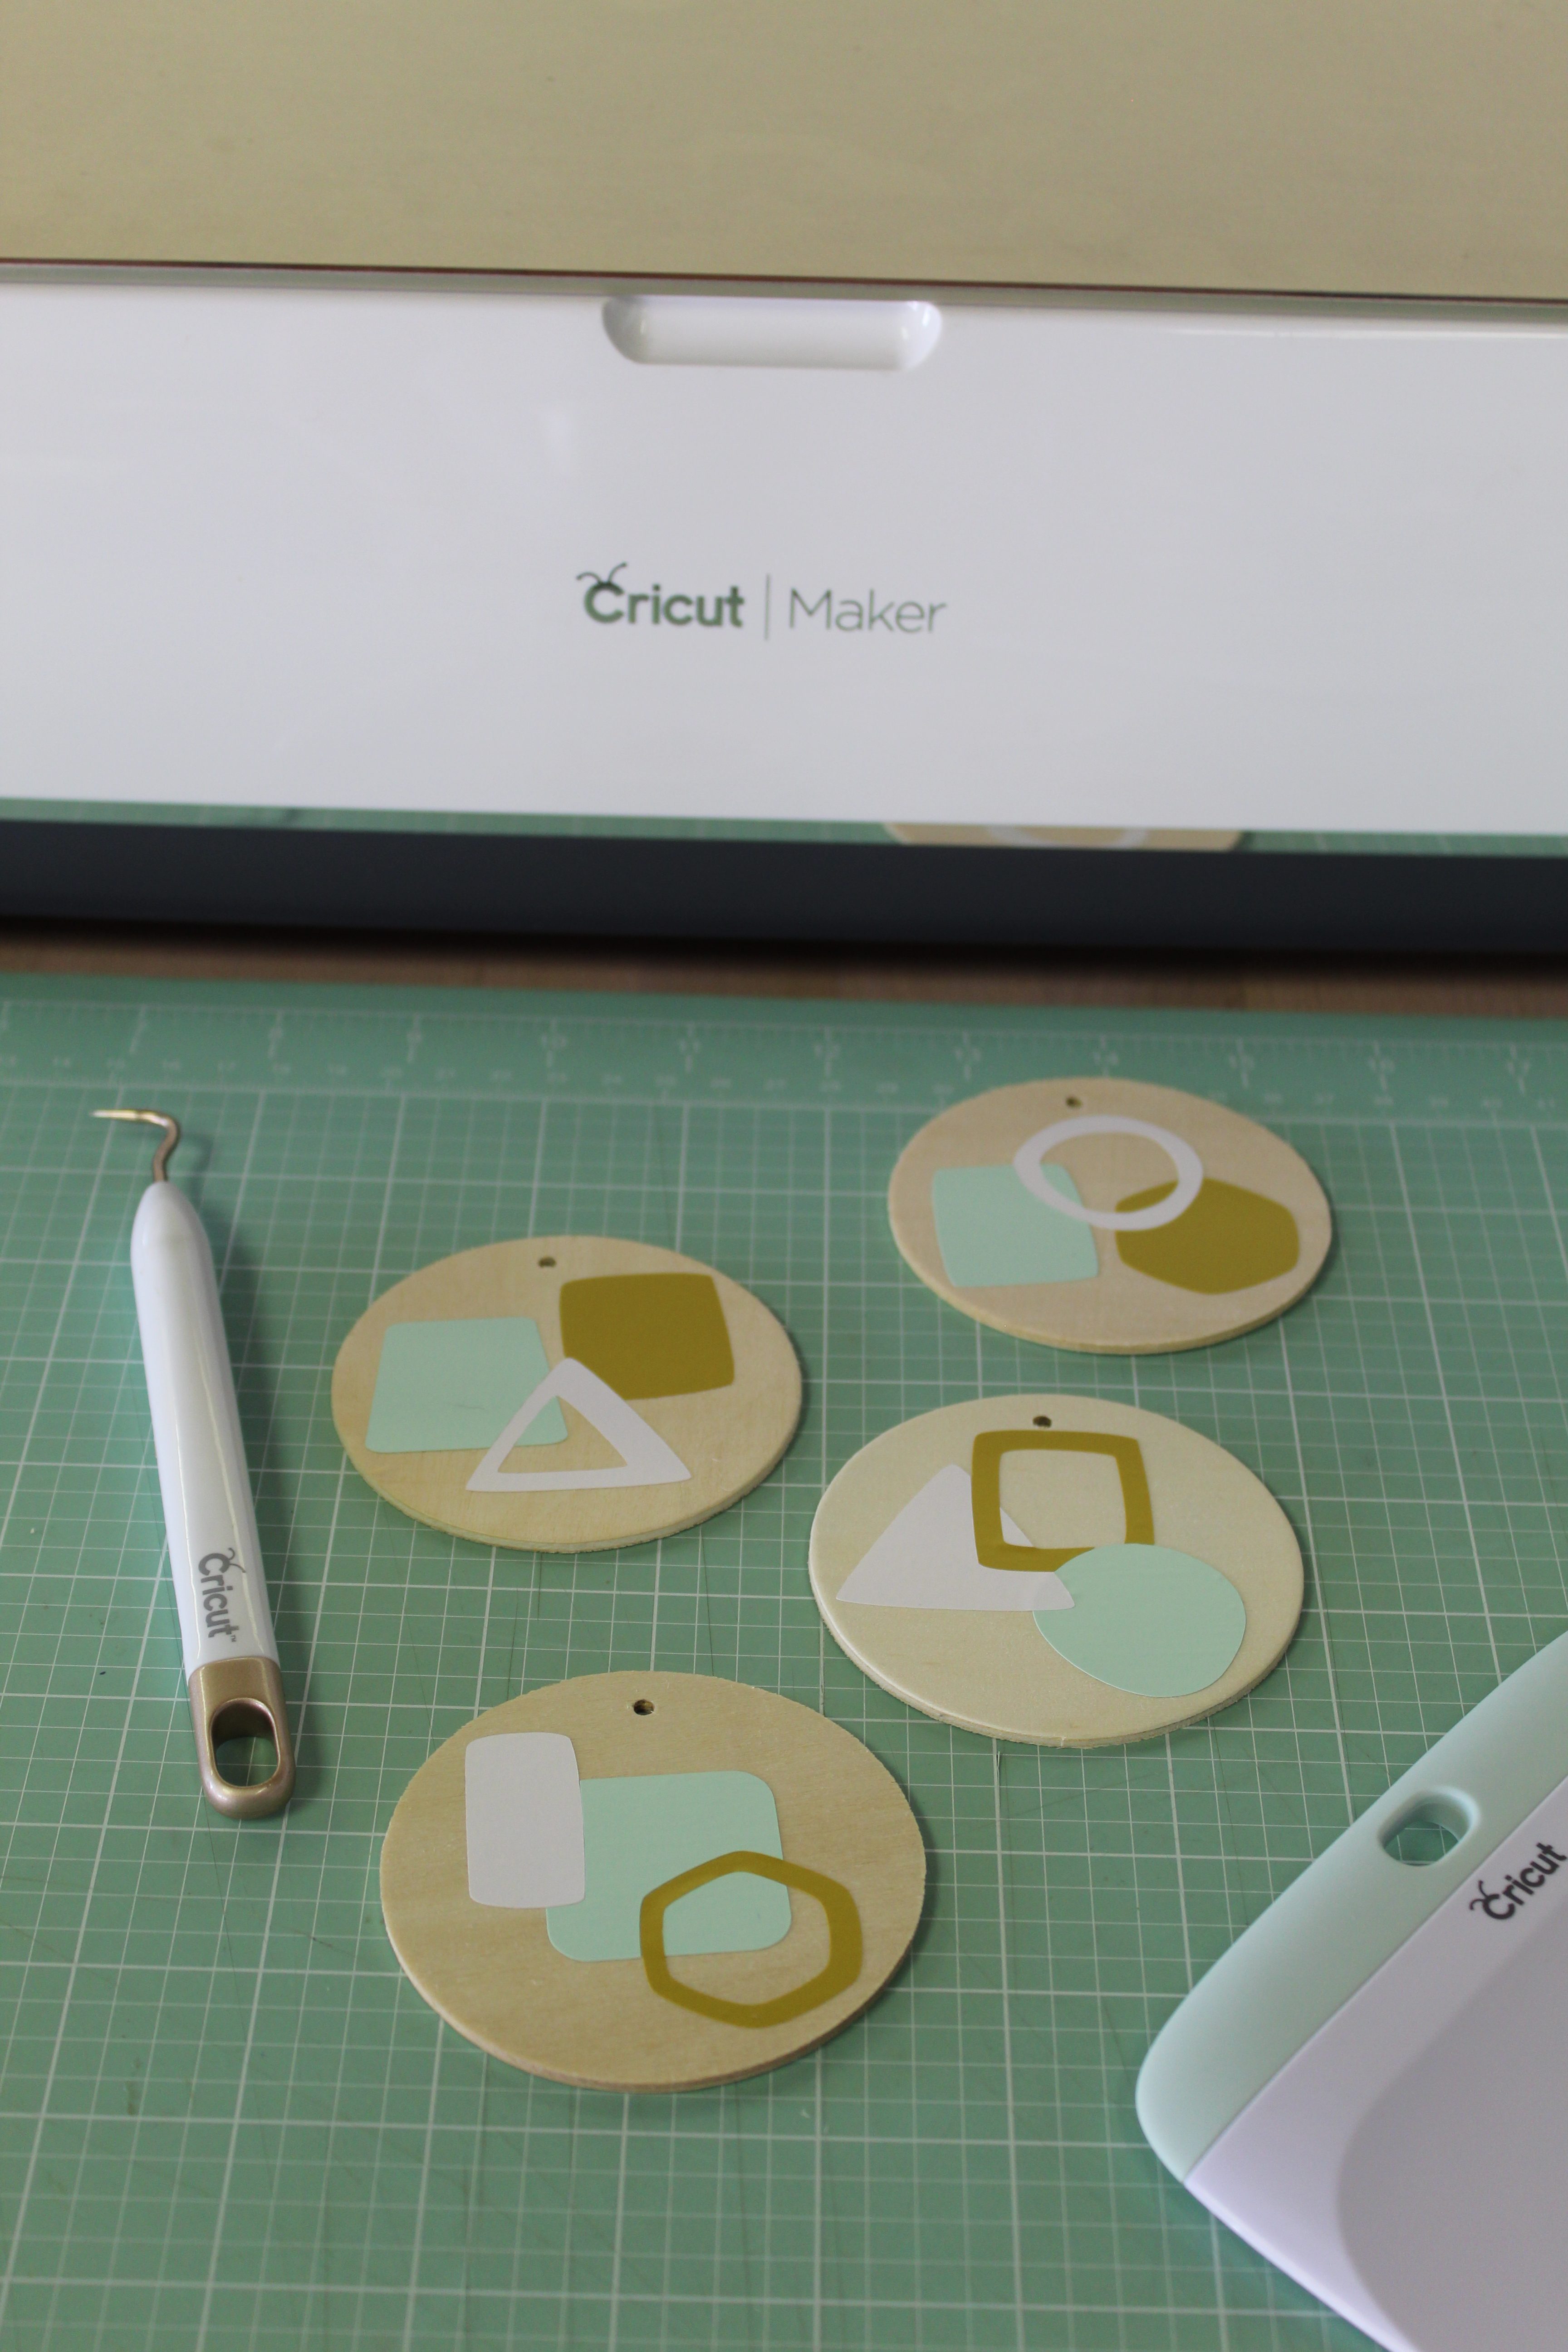
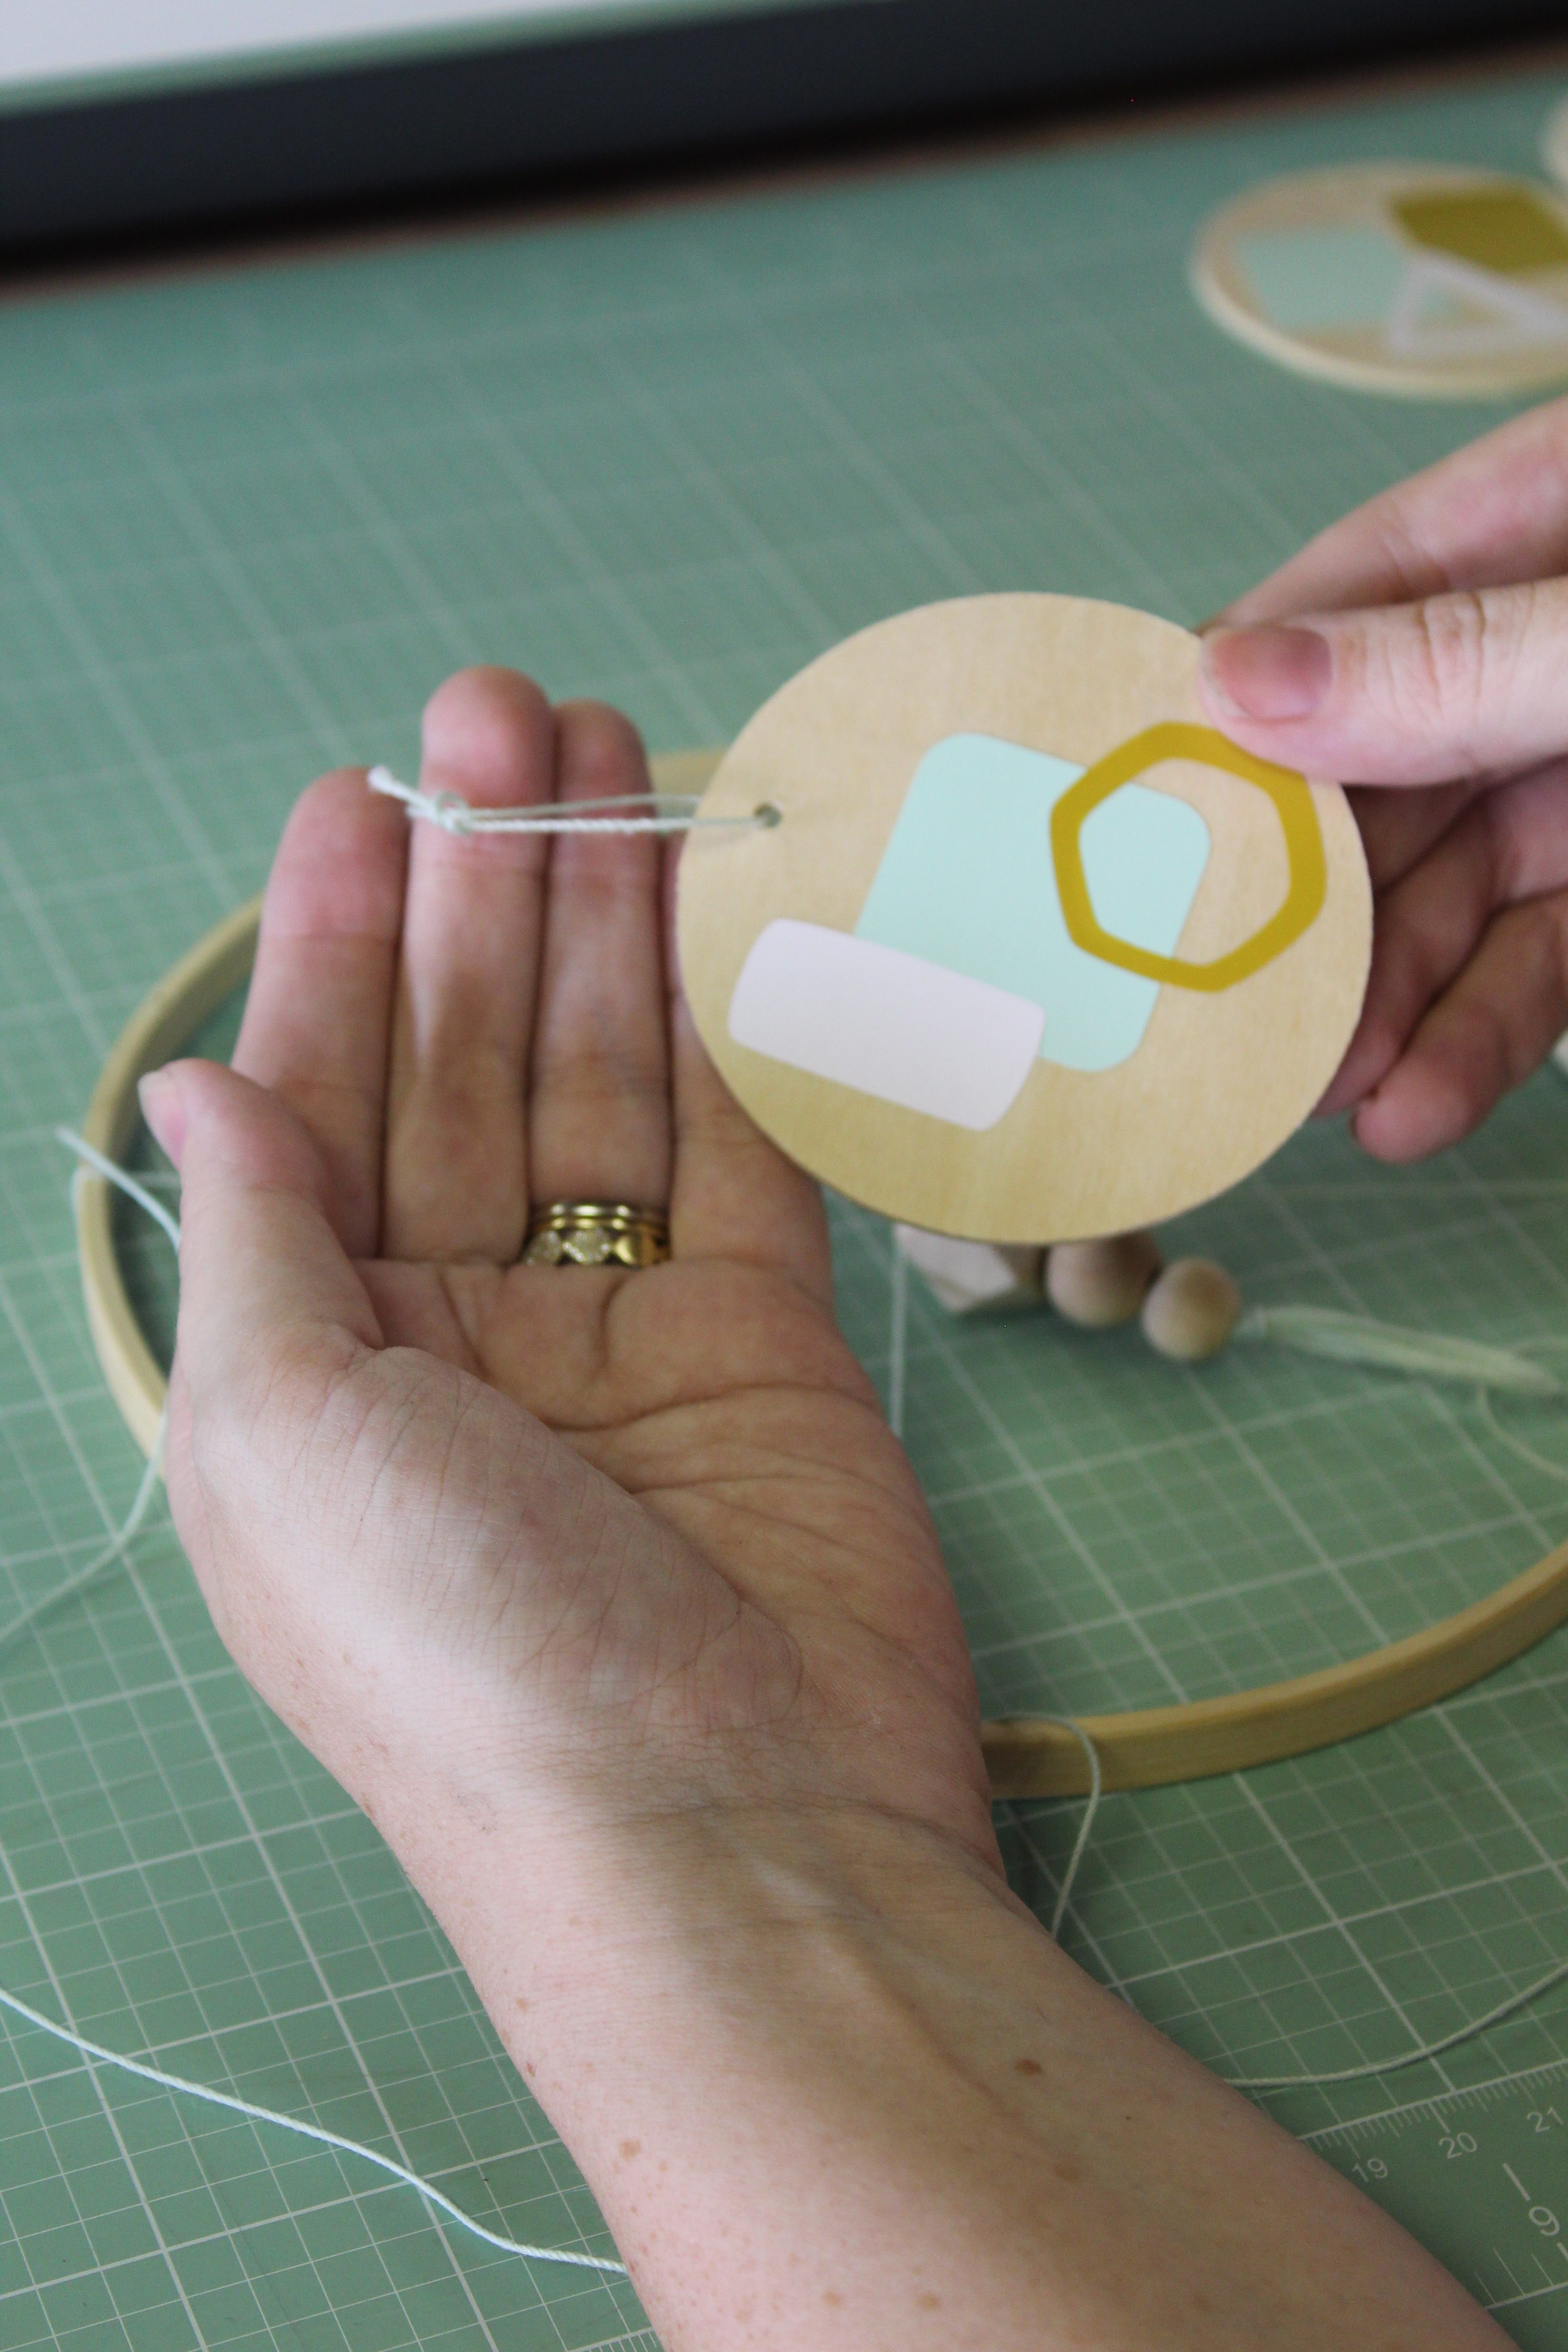
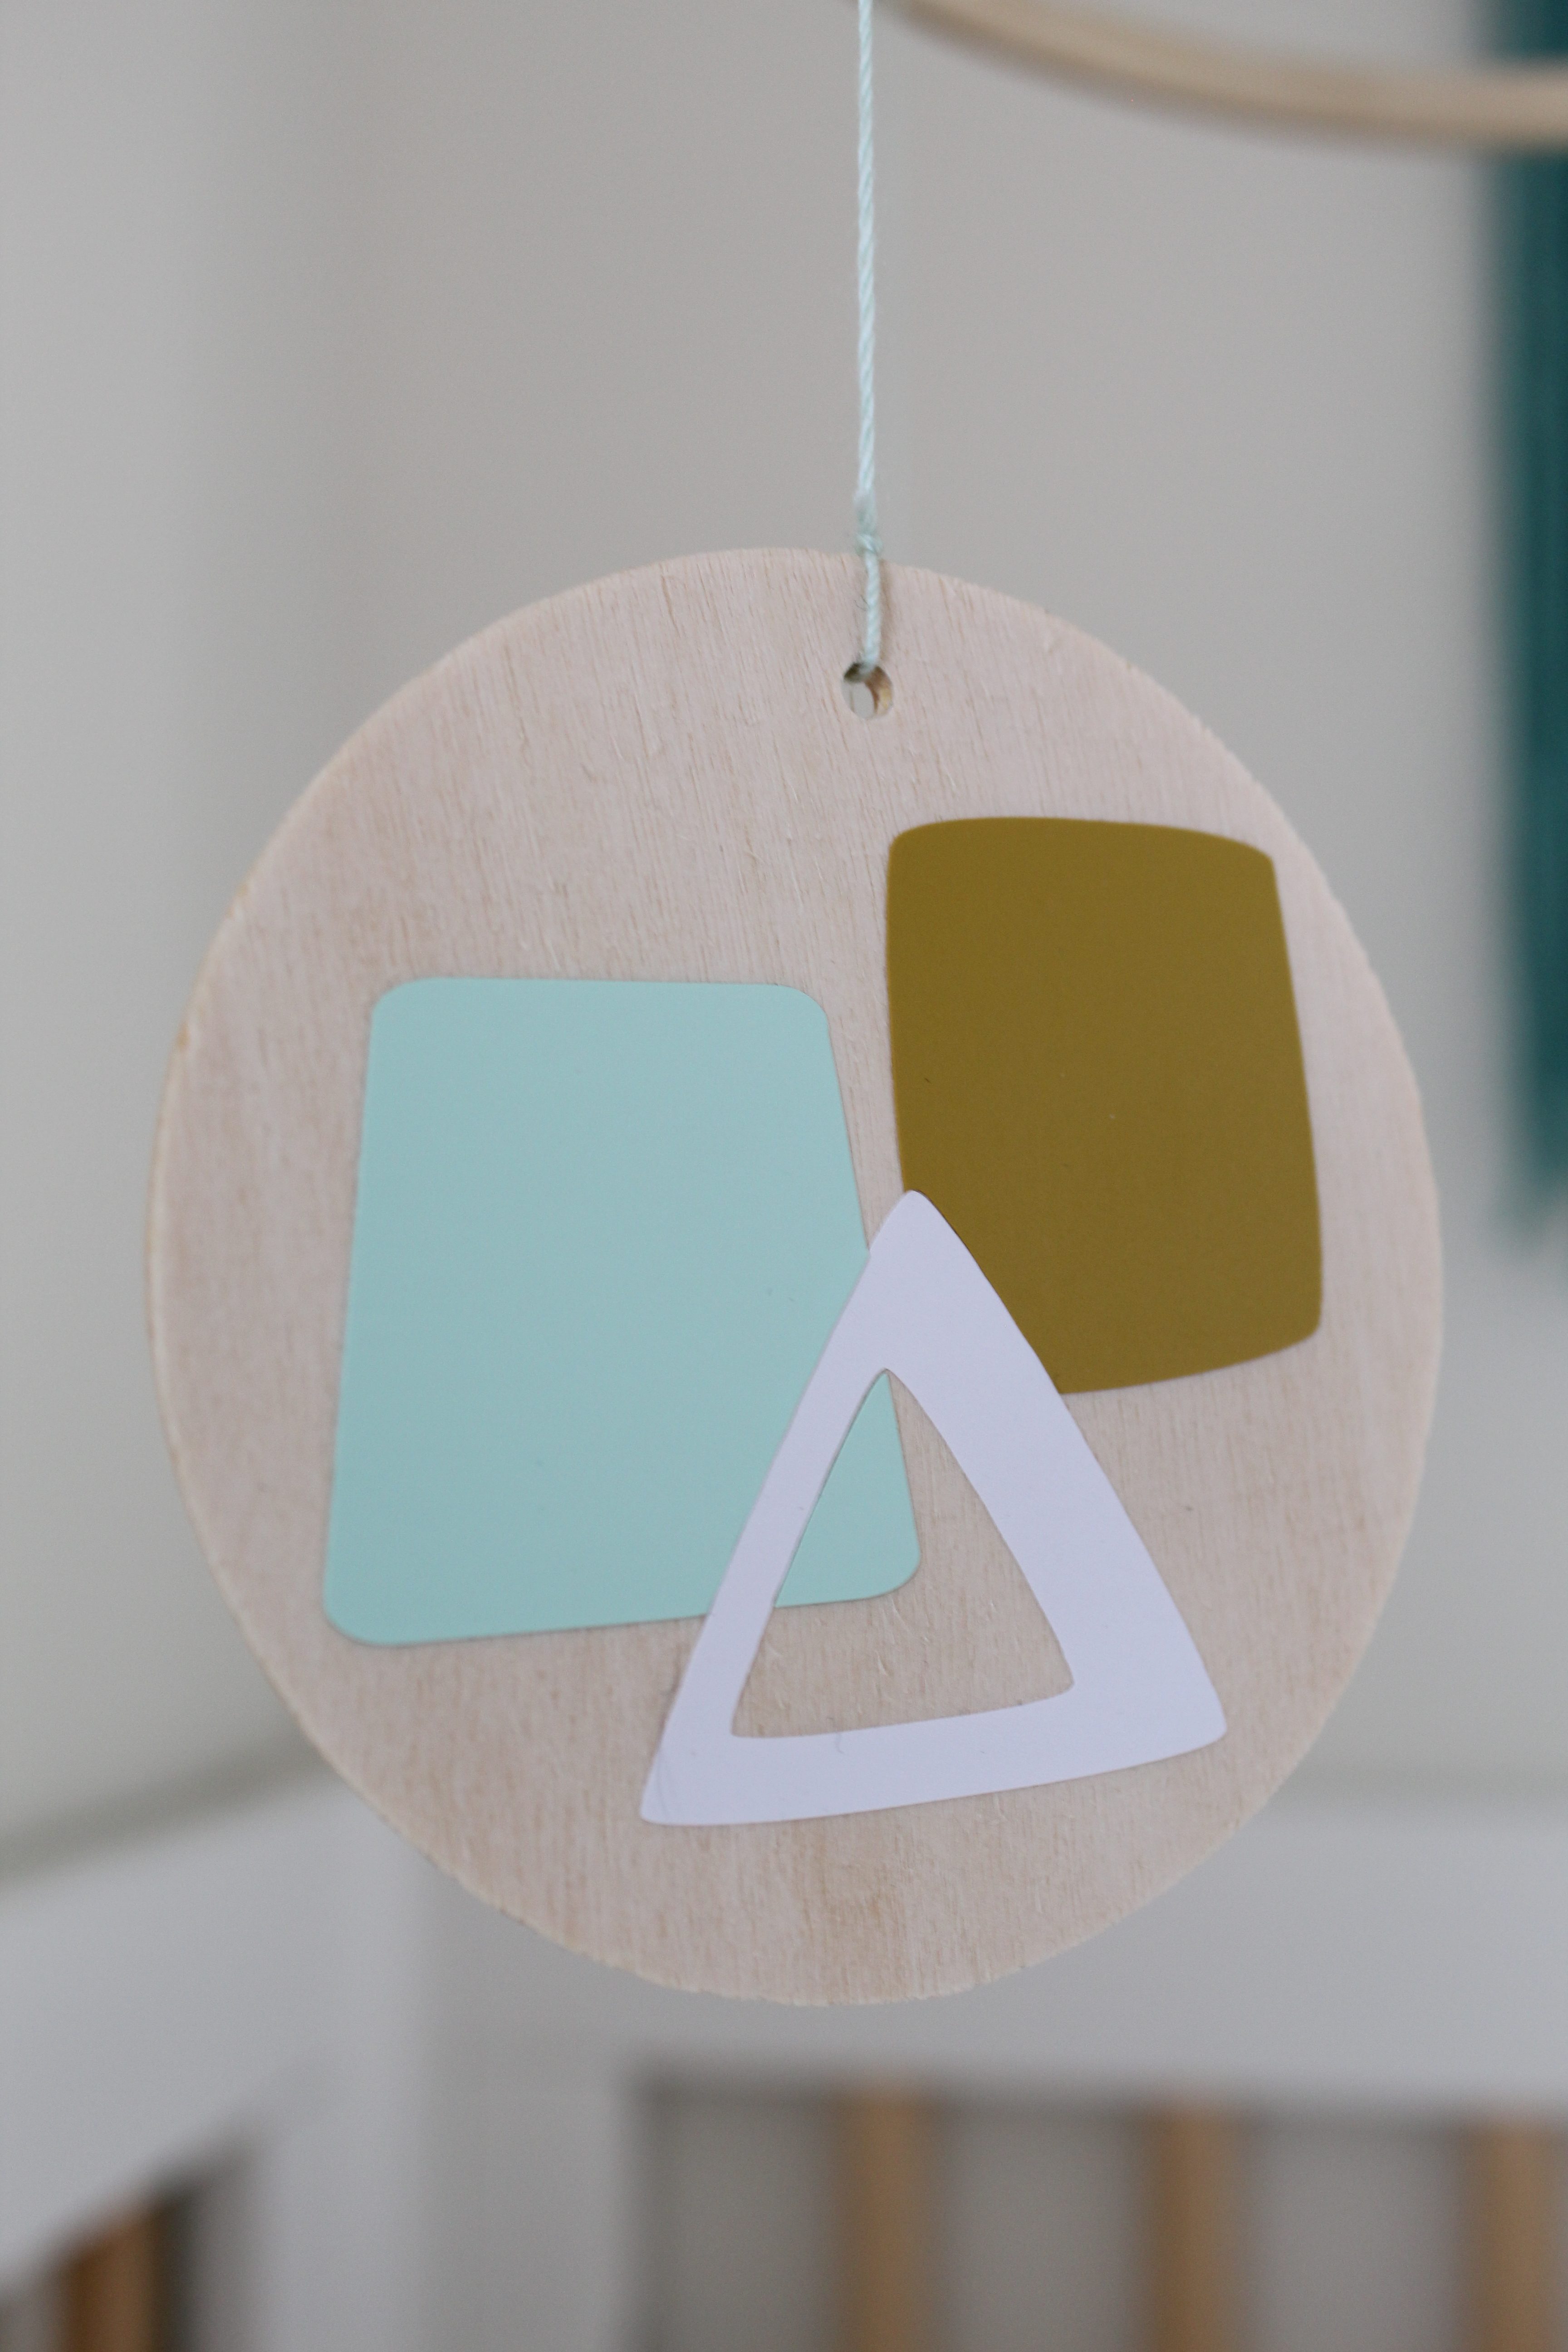
Using transfer tape, and the Design Space file as your guide, carefully align each set of geometric shapes and apply them to your wooden circles by burnishing, or rubbing them onto the wood. Cricut’s XL scraper tool is my favorite for applying vinyl. If you don’t currently have one, add to cart. Also, the great thing about transfer tape is that it is totally reusable. I was able to use just two pieces of 3×3 squares for this project, meaning I used each one four times!
Punch Your Hole
Using maybe my favorite tool ever (one that I actually learned about right here on ST!), the Crop-a-dile, add a small hole to the top center of the wooden circle. I found it easiest to add the hole before transferring the design to the back side to use the hole as a center point of sorts.
Finish All Circles
Once you get the hang of the first one, the next few should get easier.
Prep Your Hoop
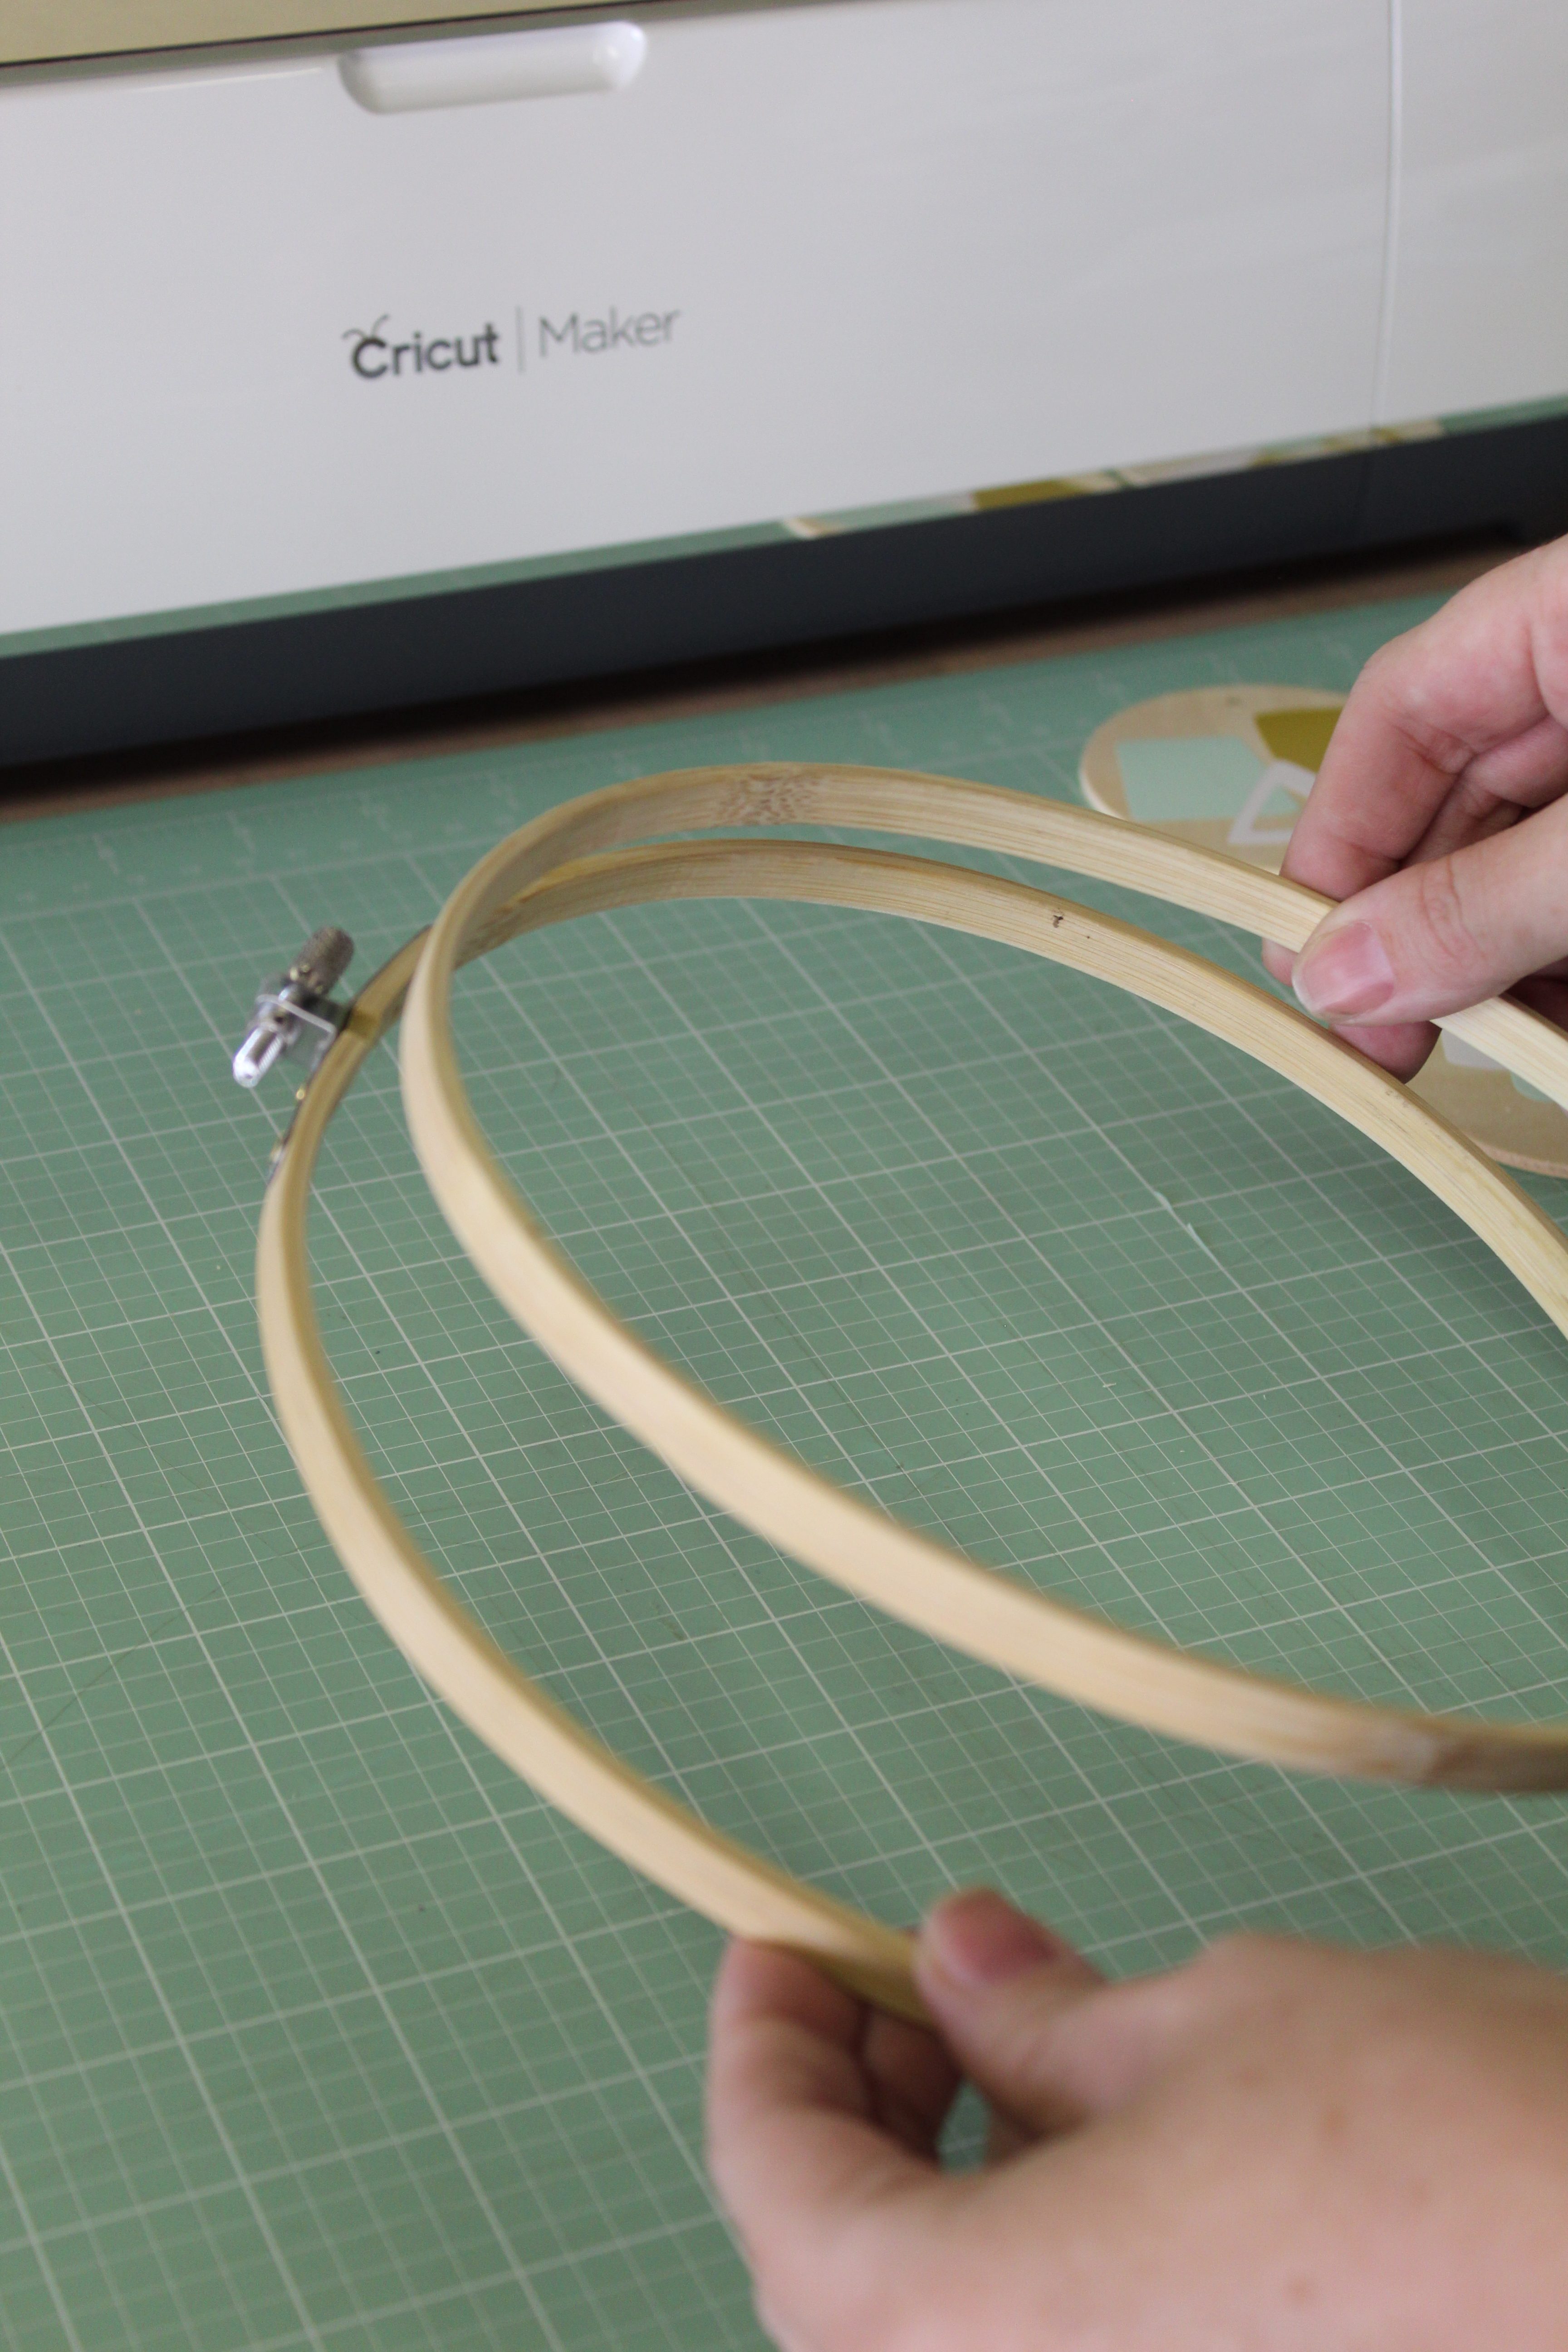
Embroidery hoops come with two rings, an inner and and outer ring. We will only need the inner ring for this project so loosen the outer ring and set it aside.
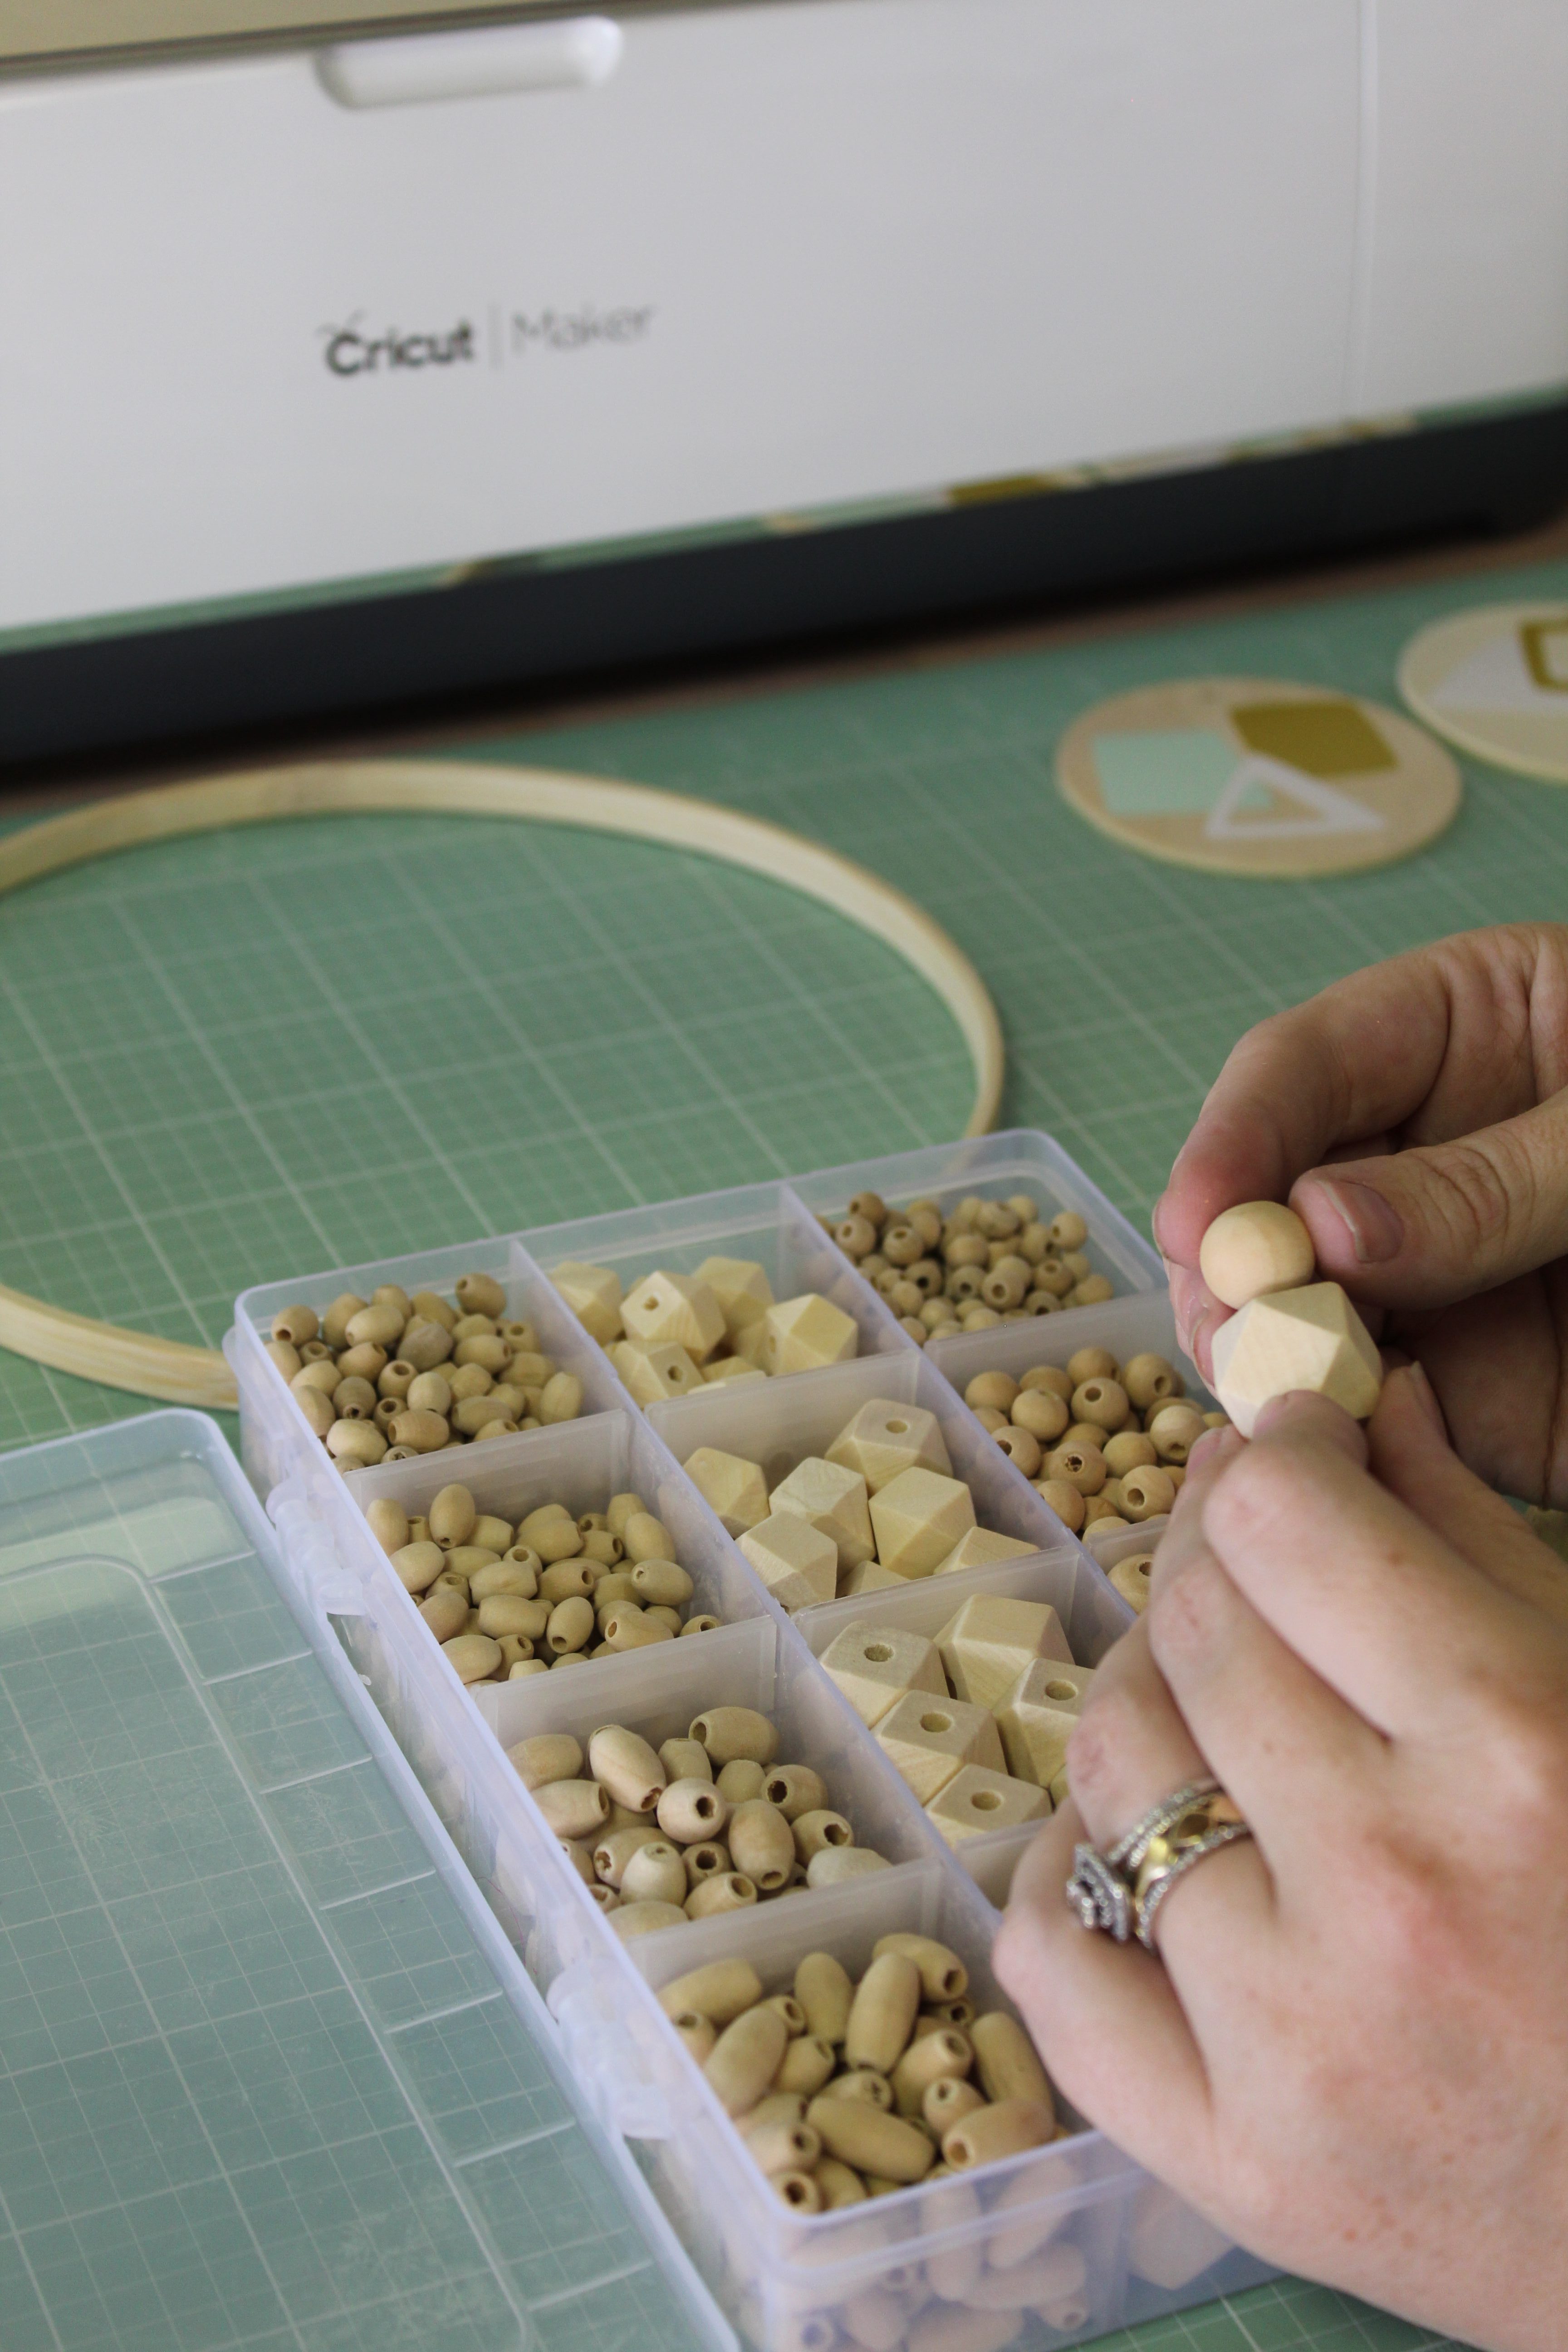
Wood Beads
Another totally customizable part of this project is the wood beads! You can use as many or as few as you’d like. Mix and match sizes, shapes, whatever best suits you! I played around around with them until I found a mix that I liked.
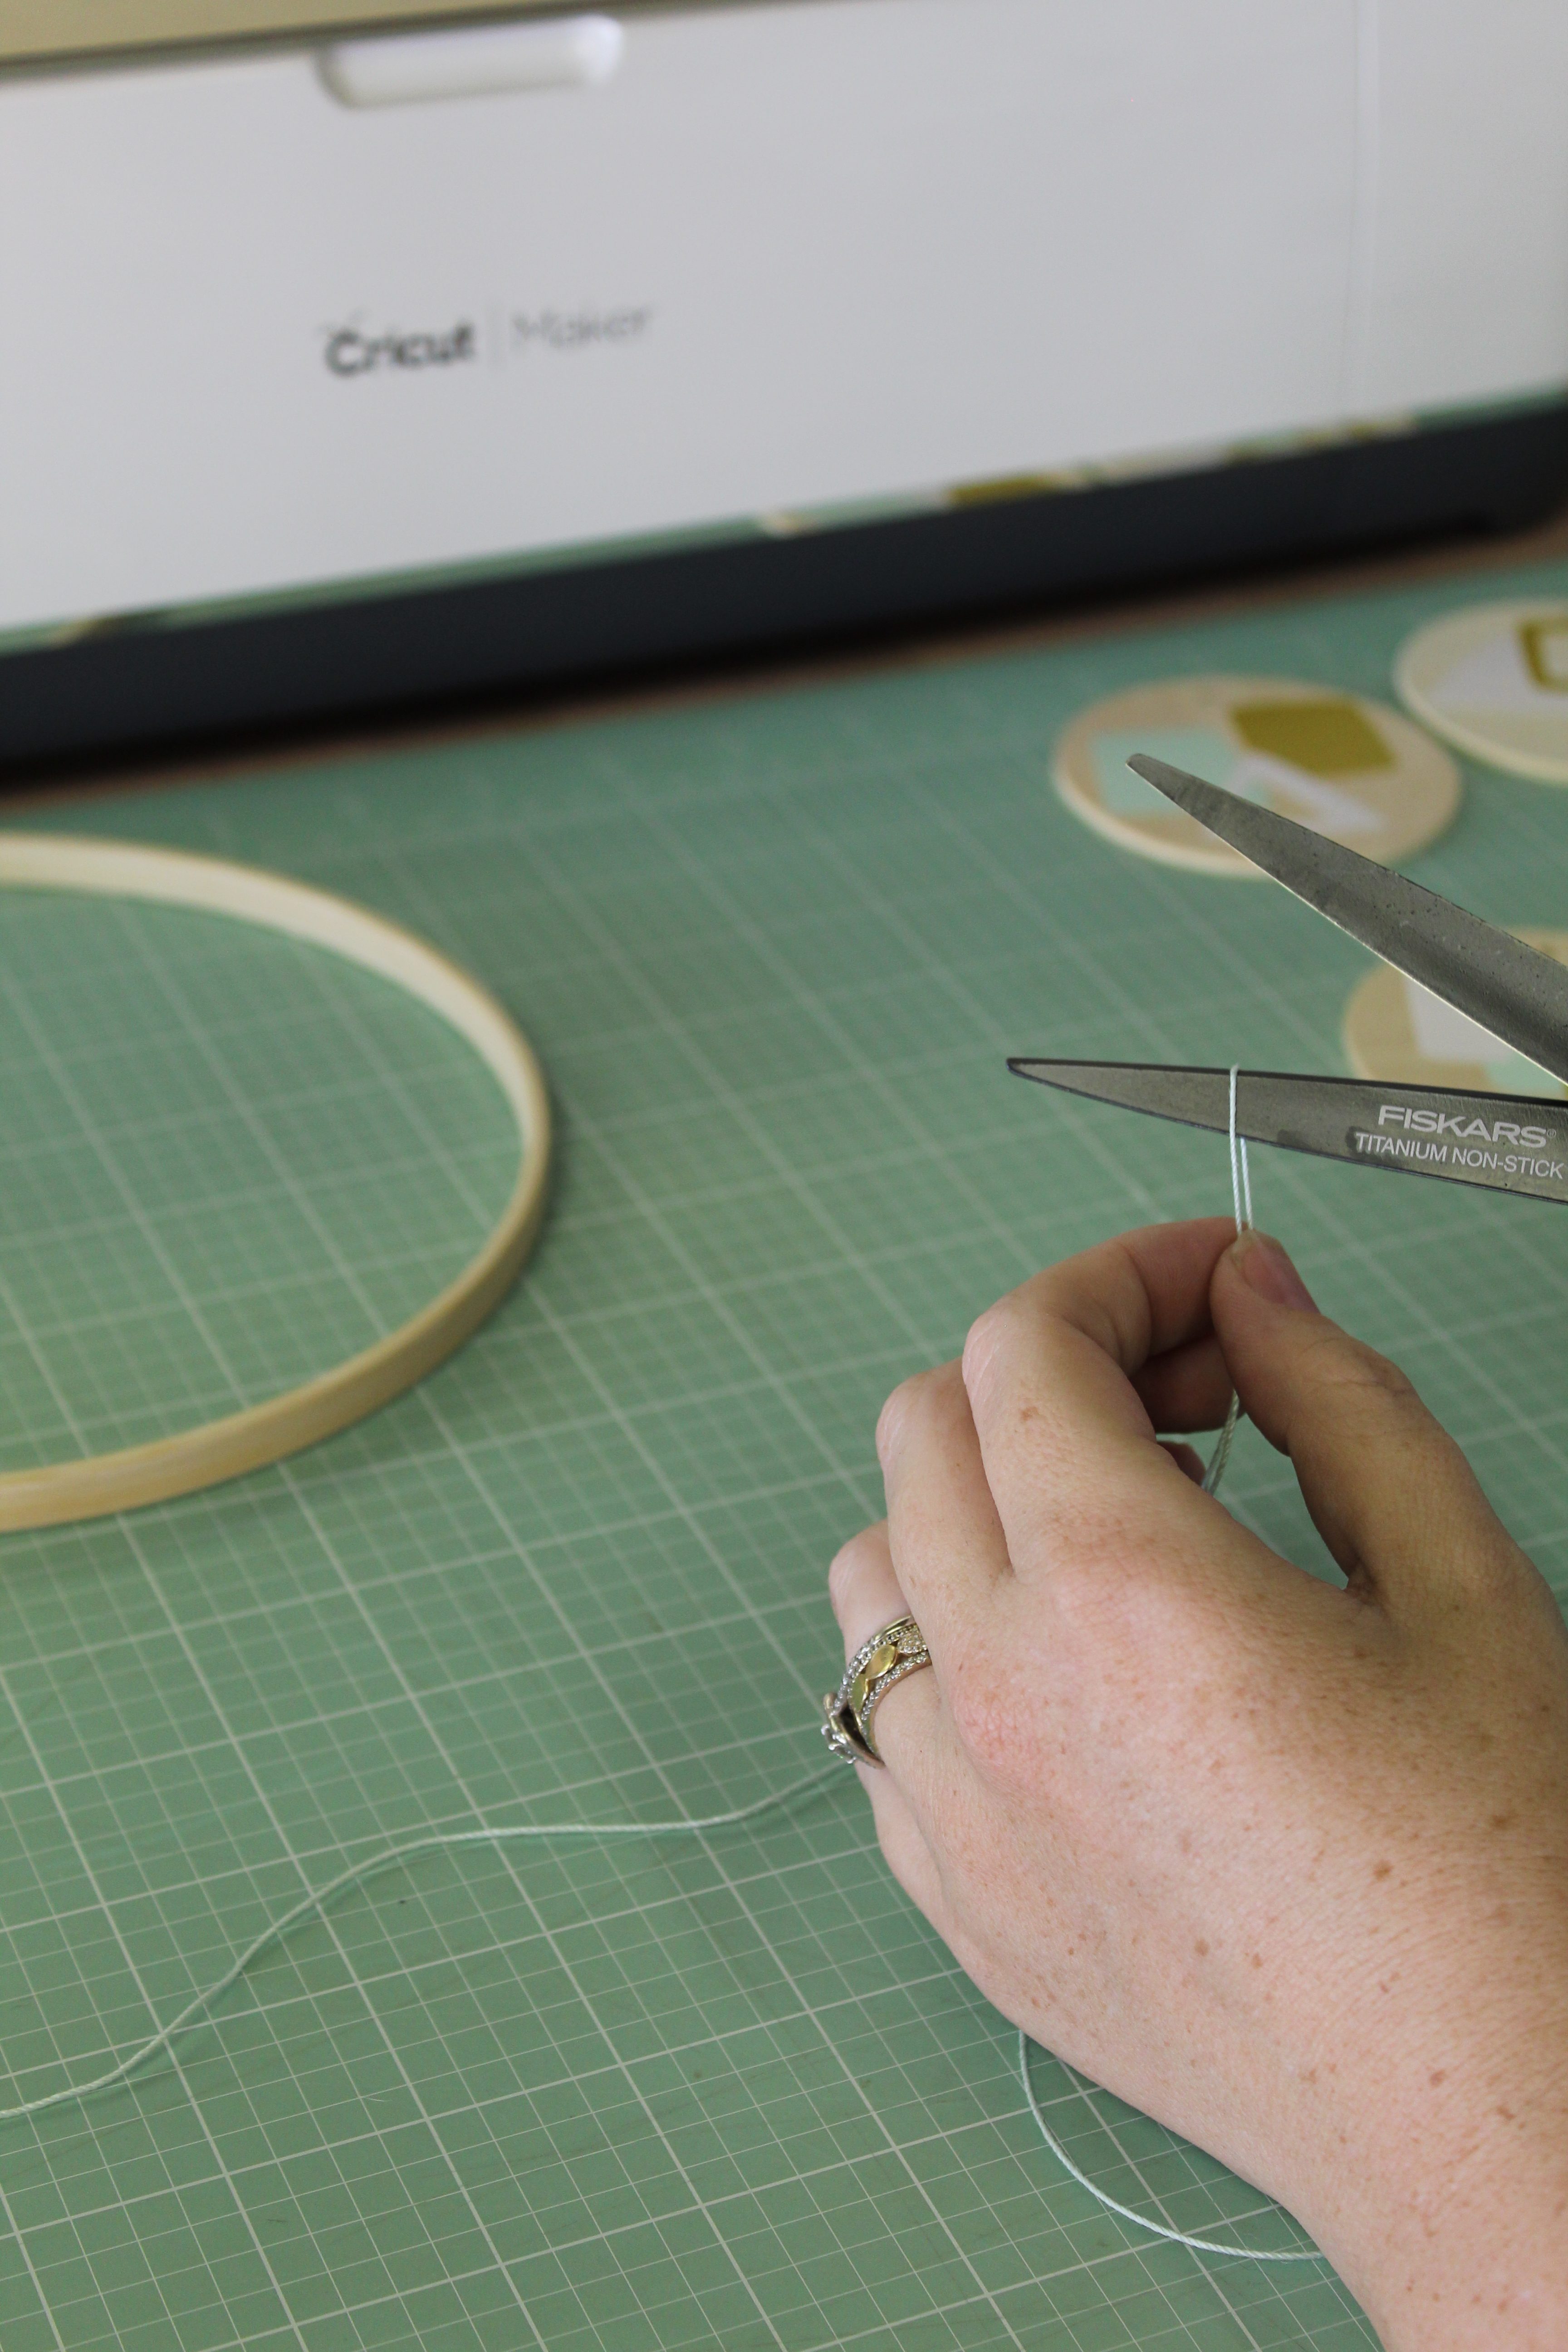
Cut and Tie Your Thread
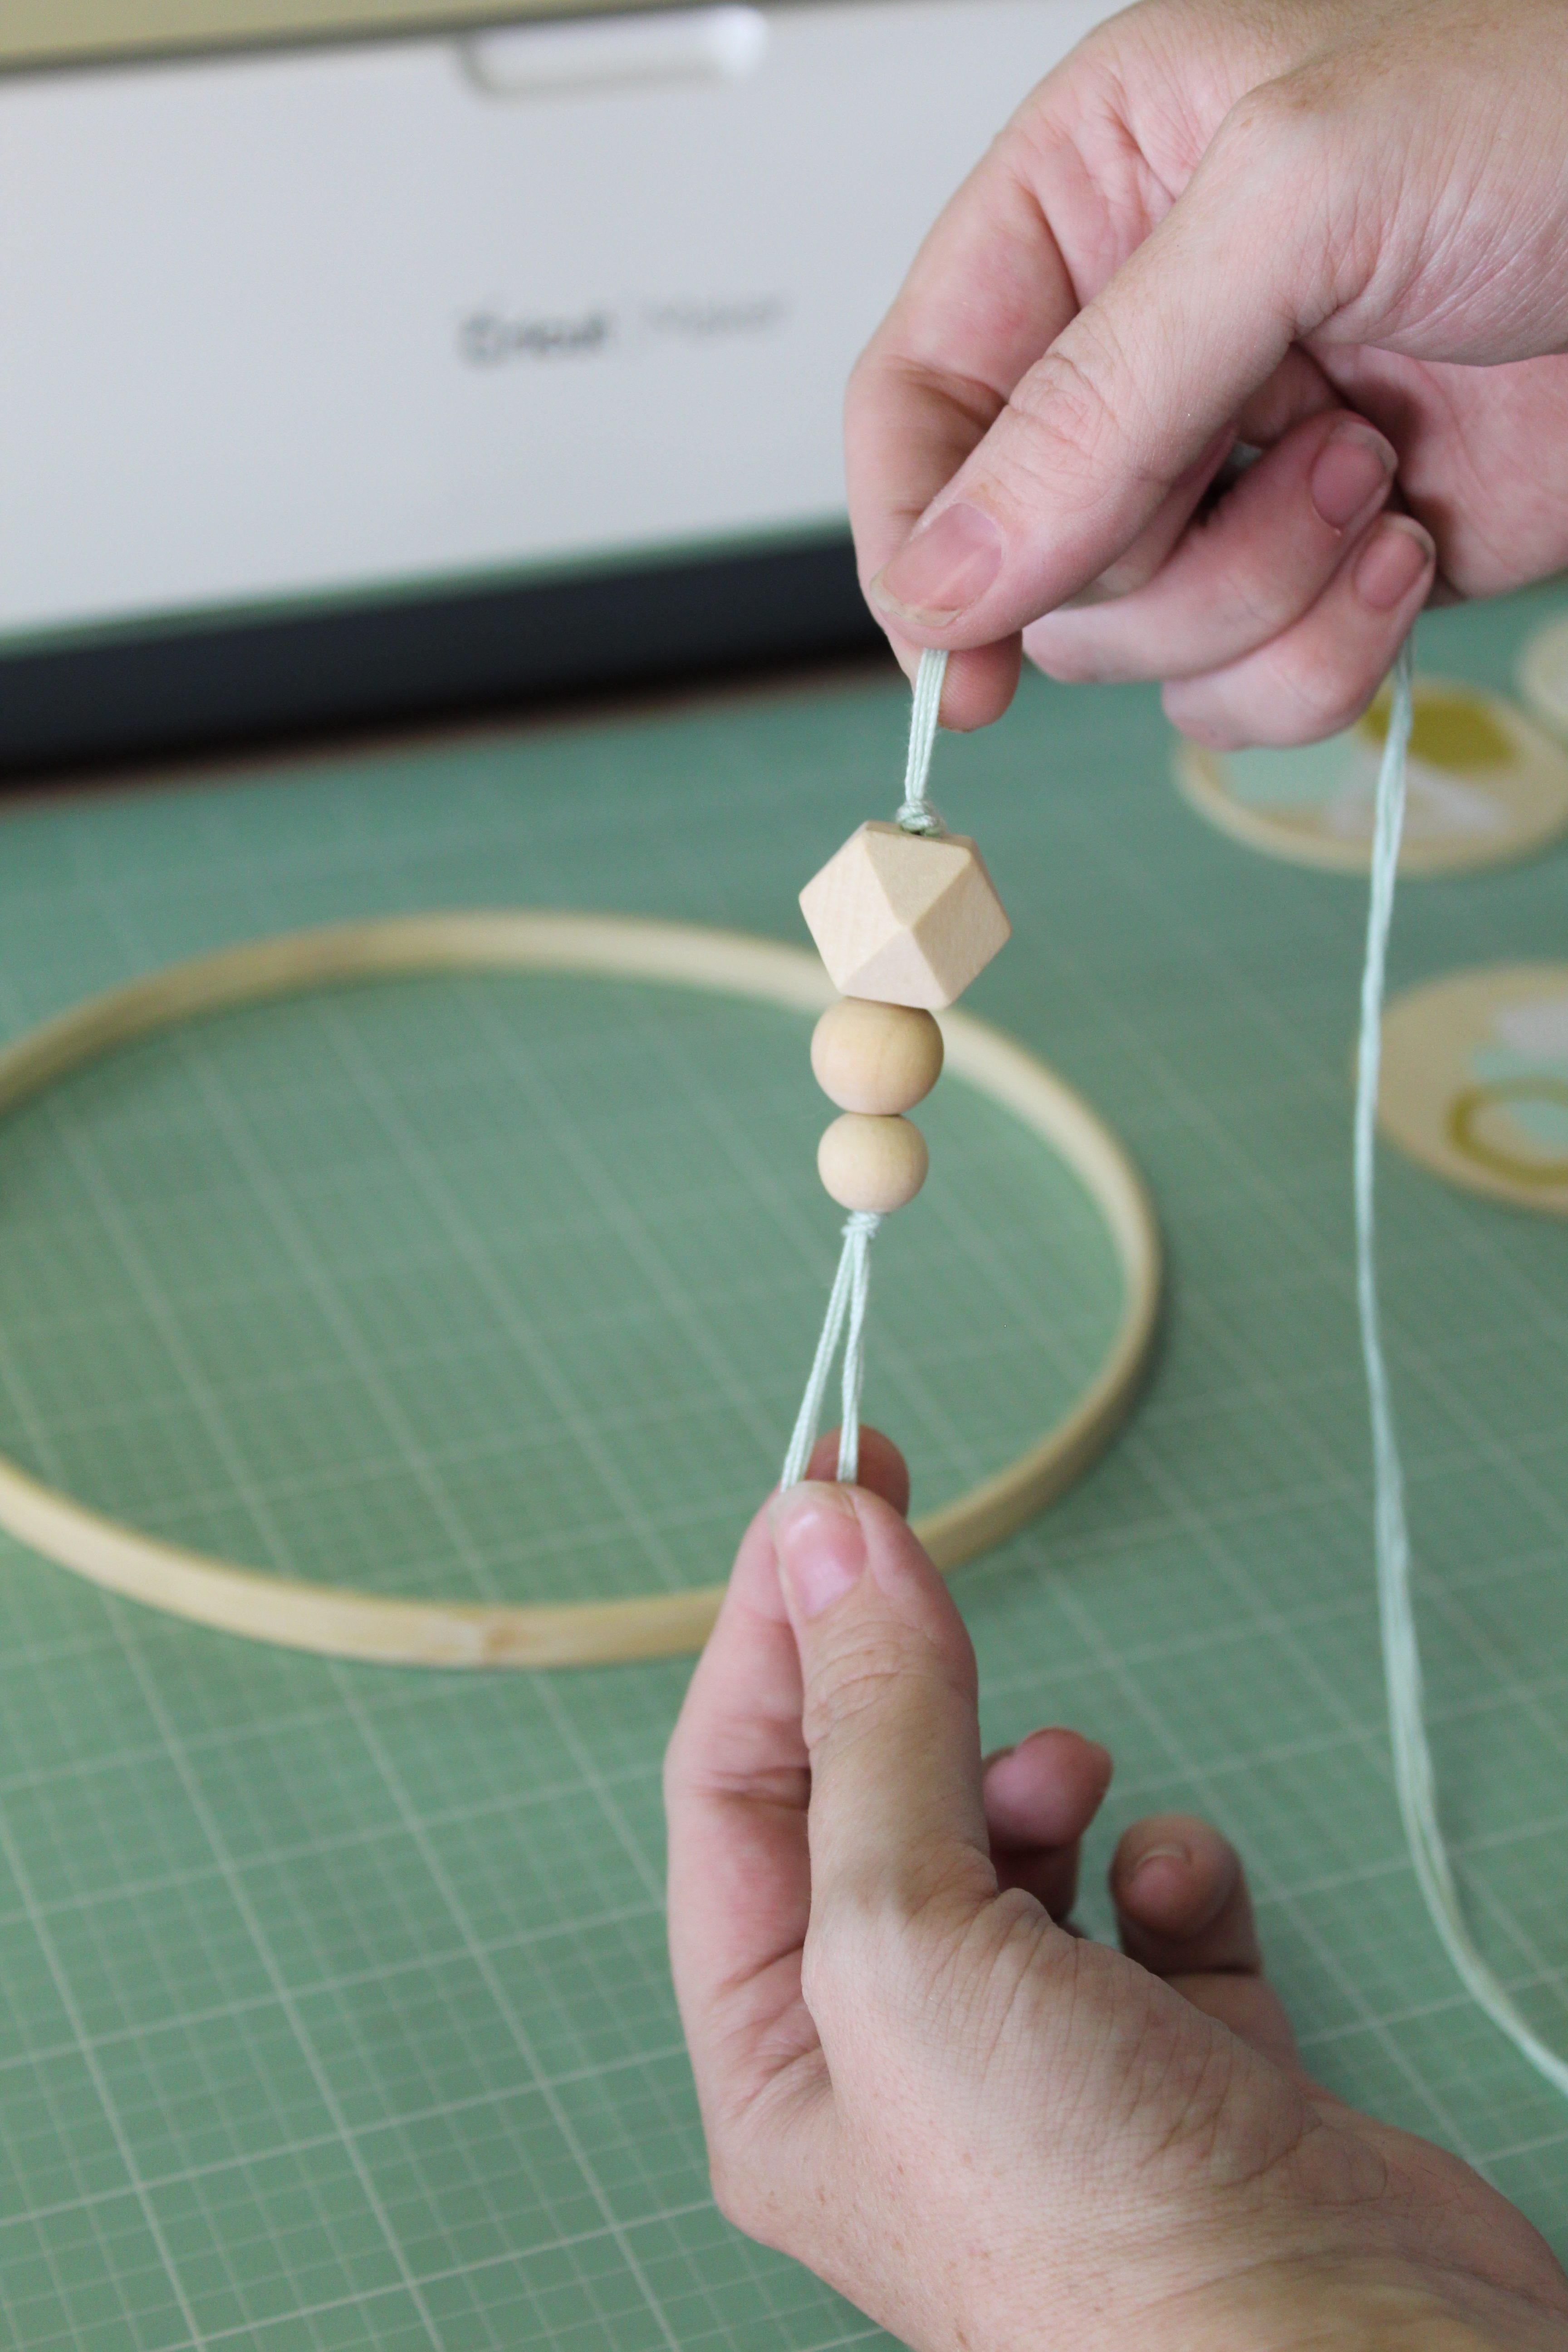
Cut four pieces of your crochet thread to about 18 inches long.
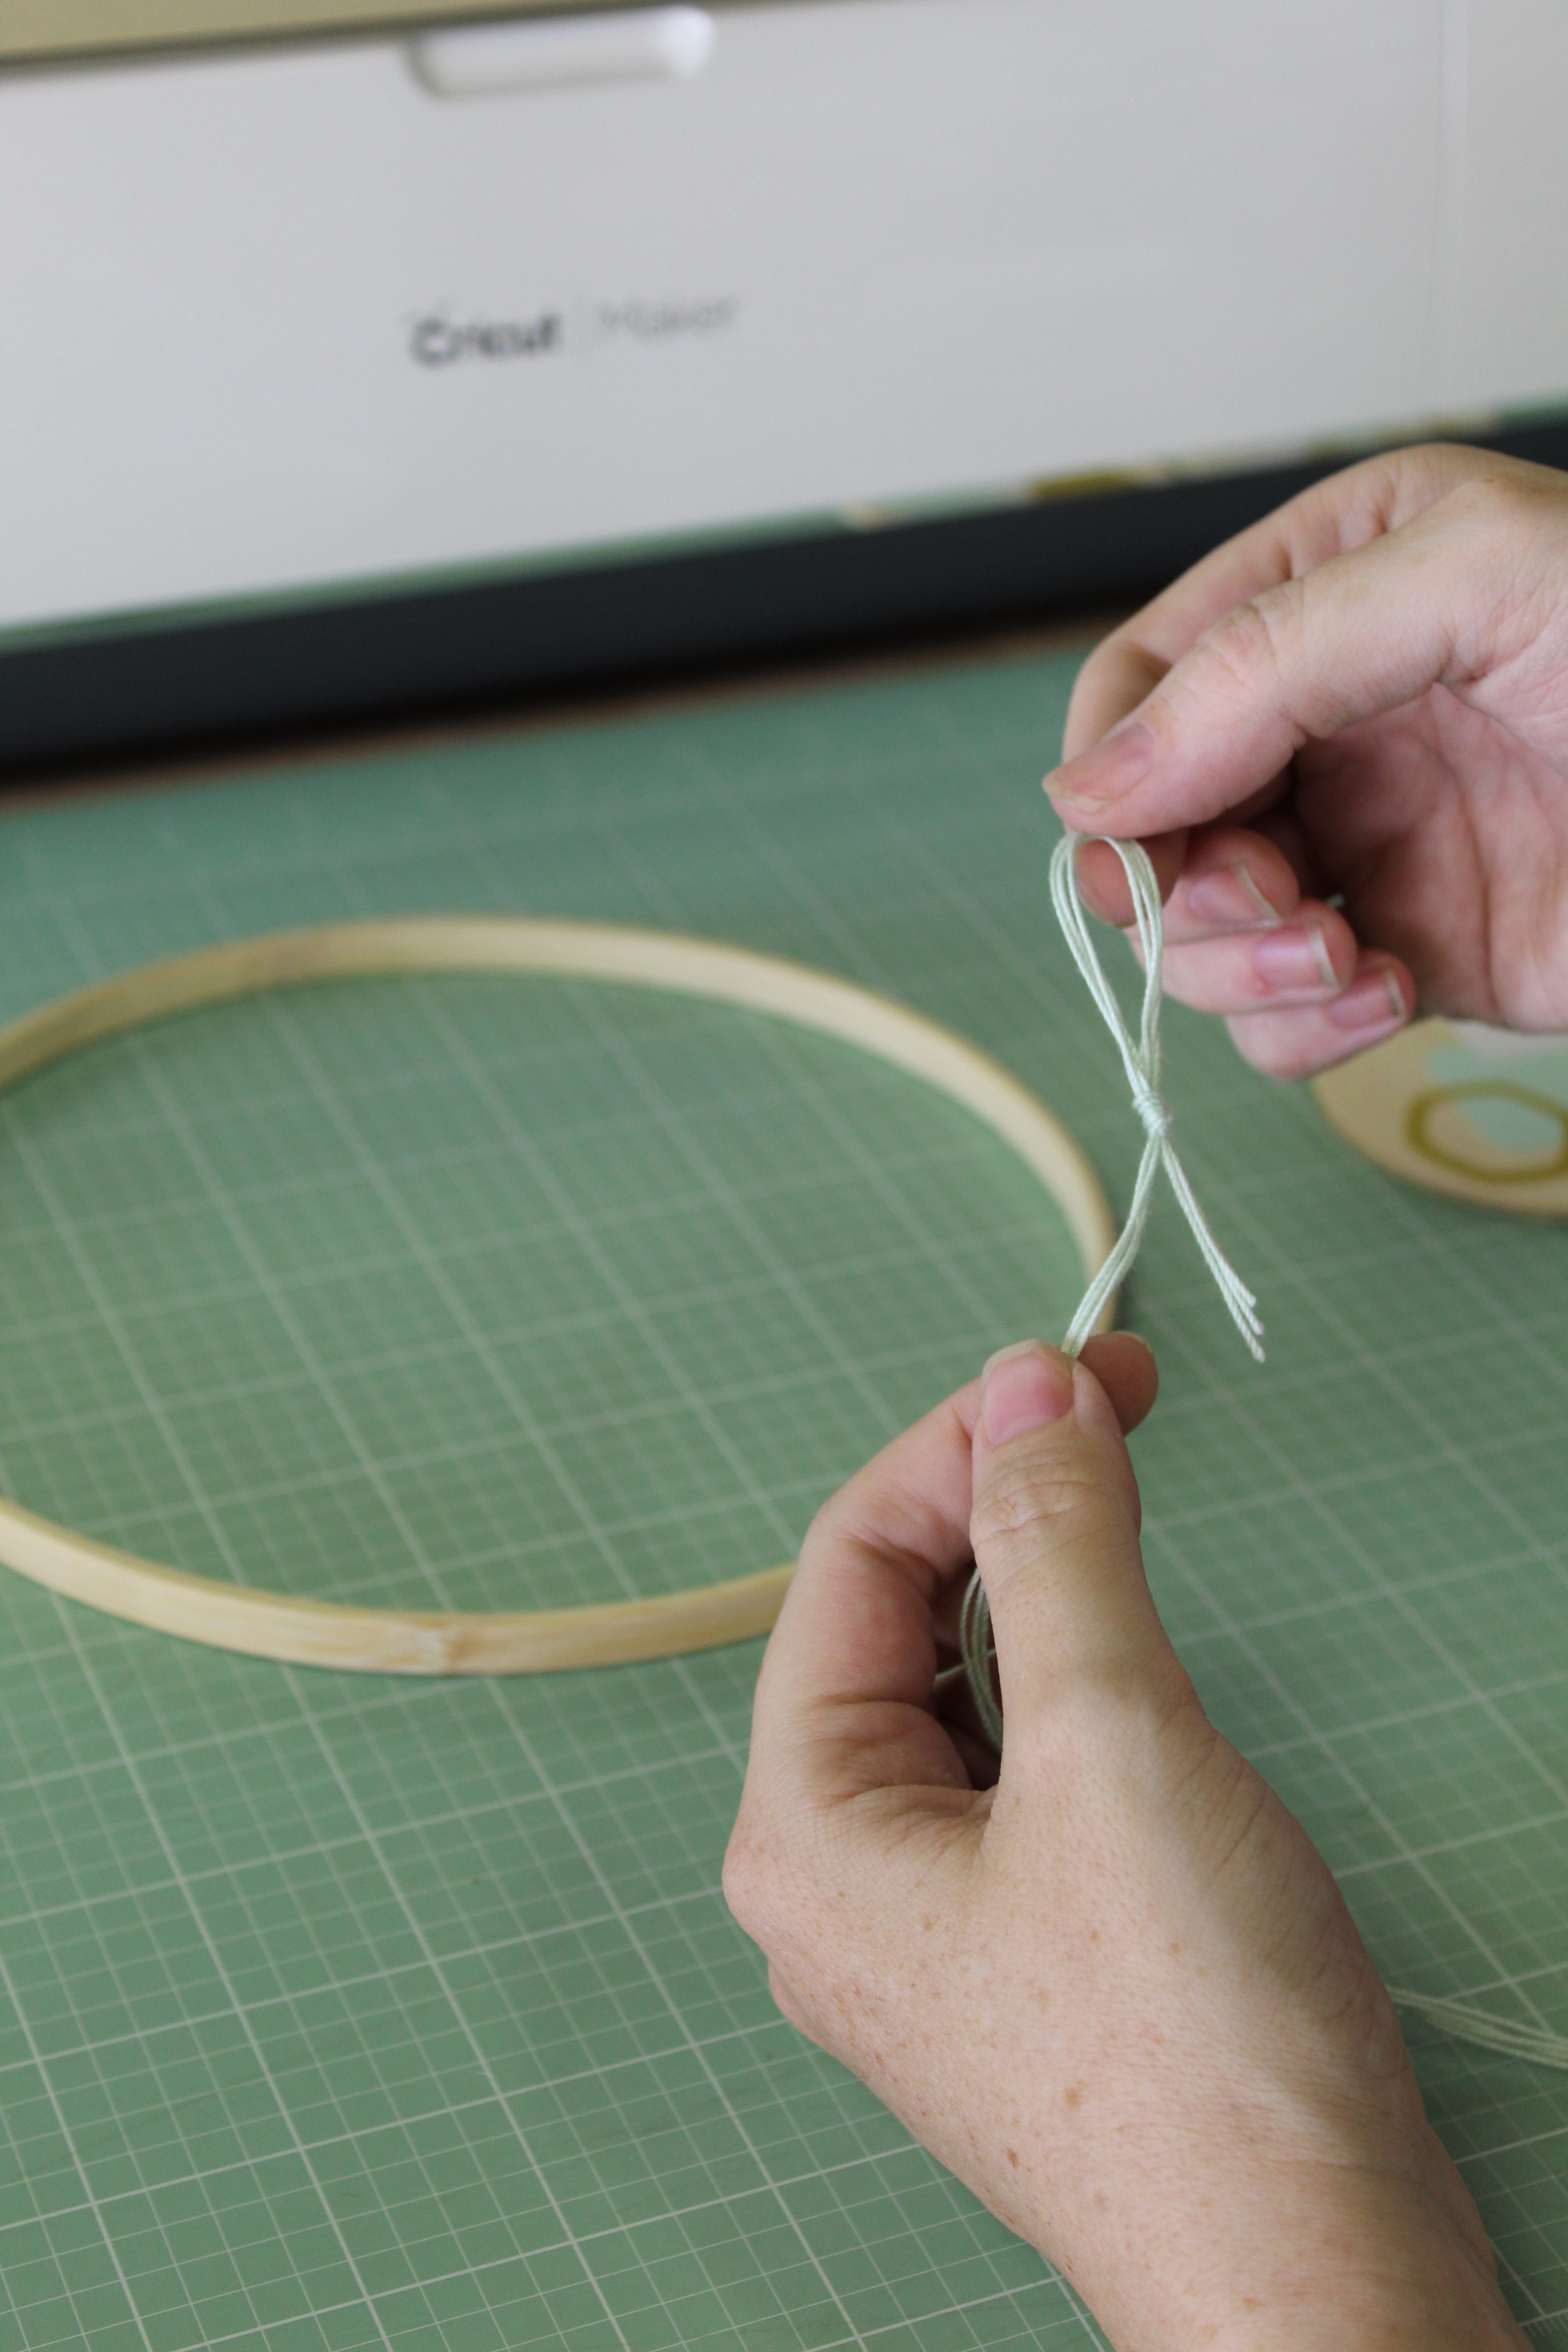
Once it is cut to size, with all four pieces together, fold them back about 3 inches and tie a knot to form a loop, this is the loop you will use to hang your mobile.
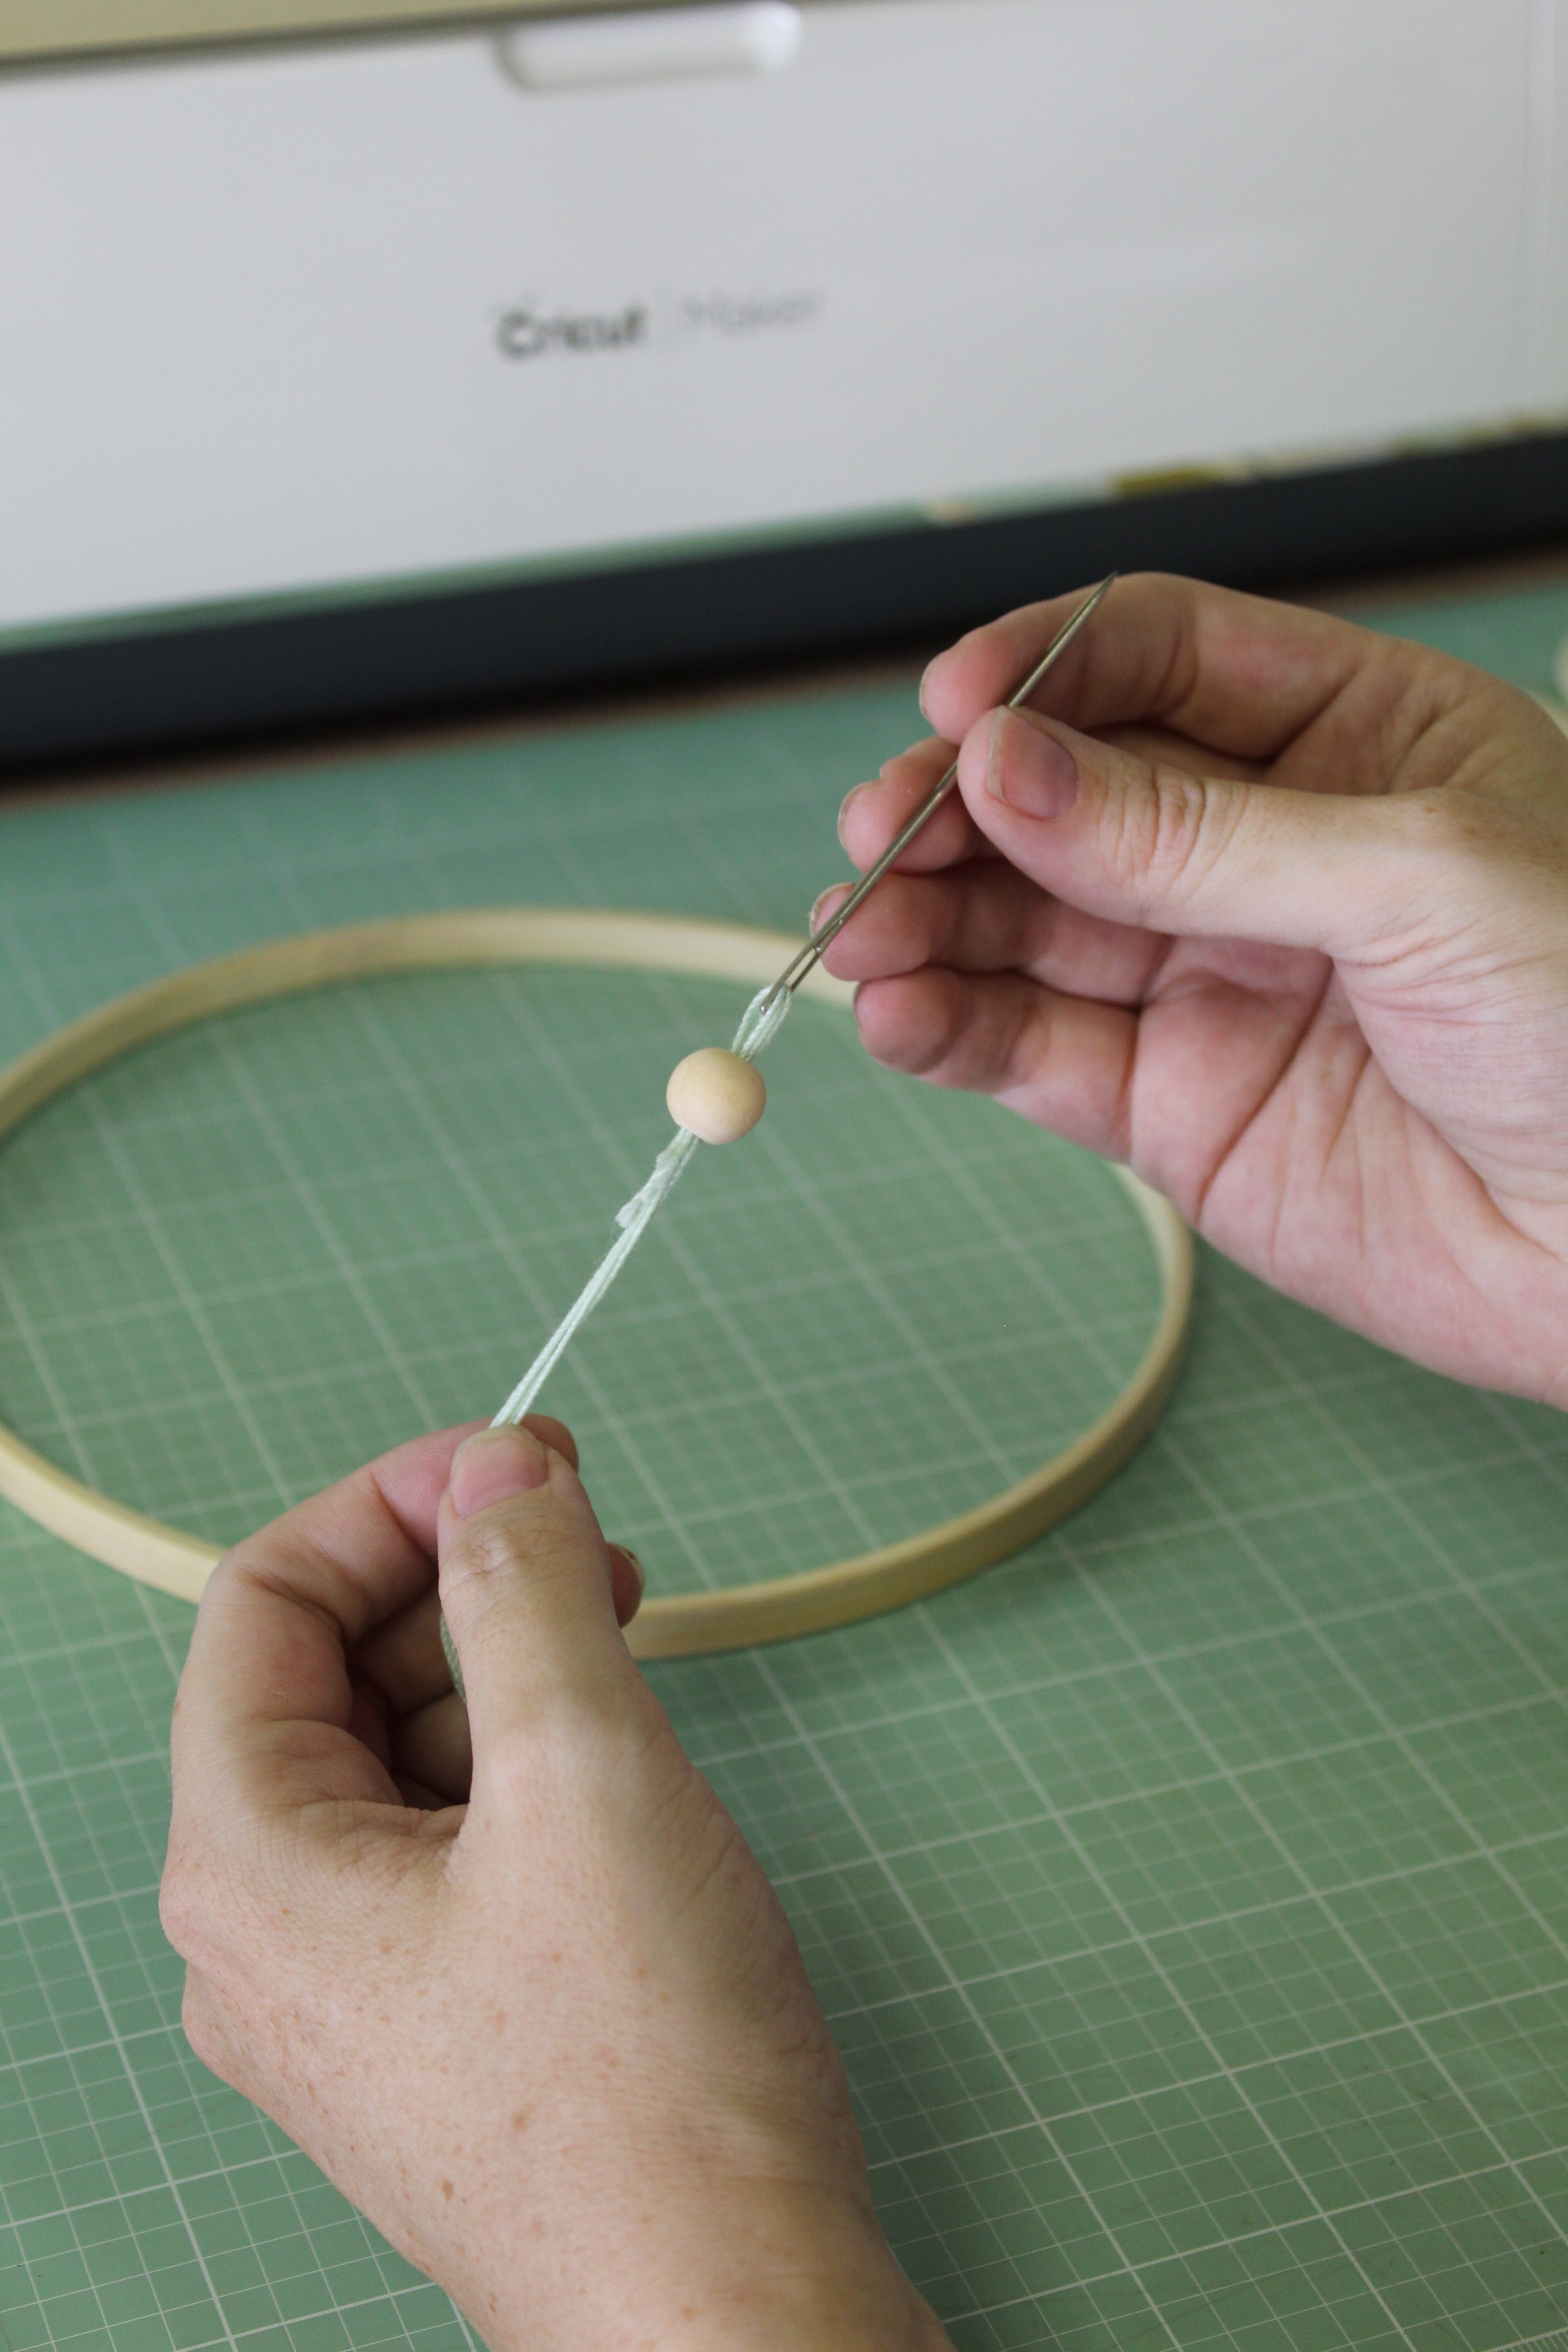
Add your wood beads. I found it easier to use a large-eye blunt needle for this.
Once you’ve added your wood beads, knot your thread being sure your knot is large enough to keep your beads in place.
Prep Your Mobile
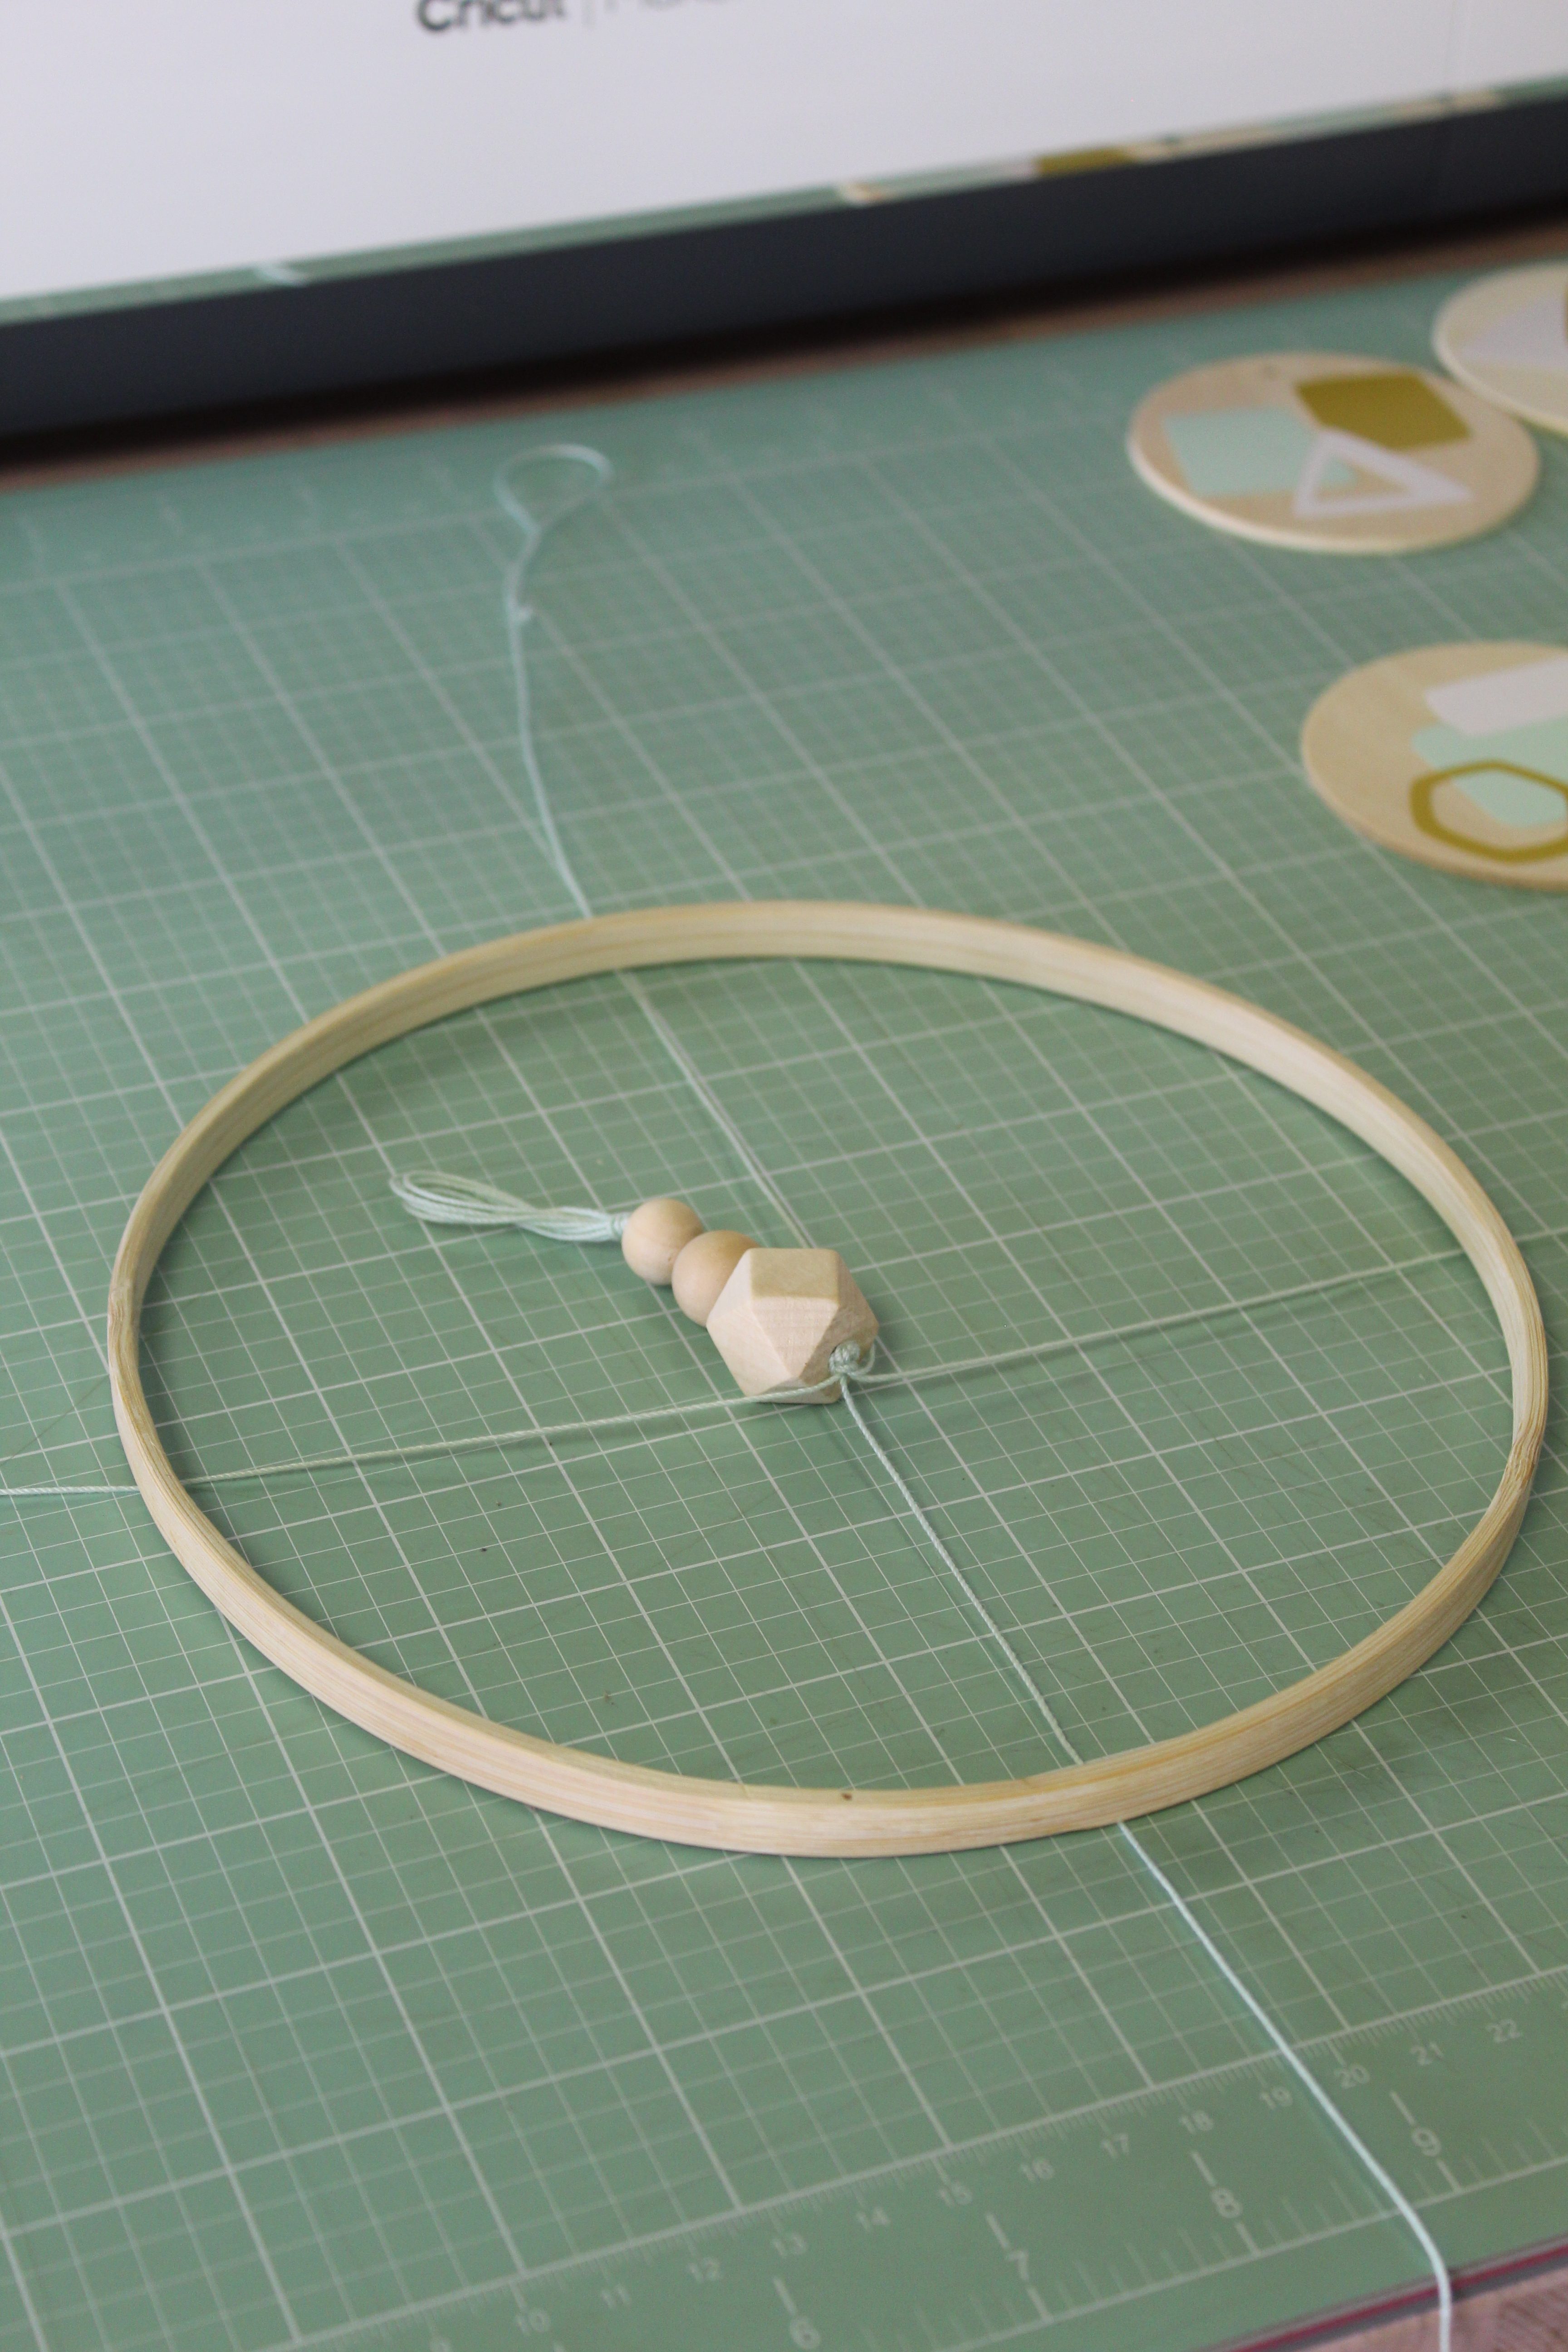
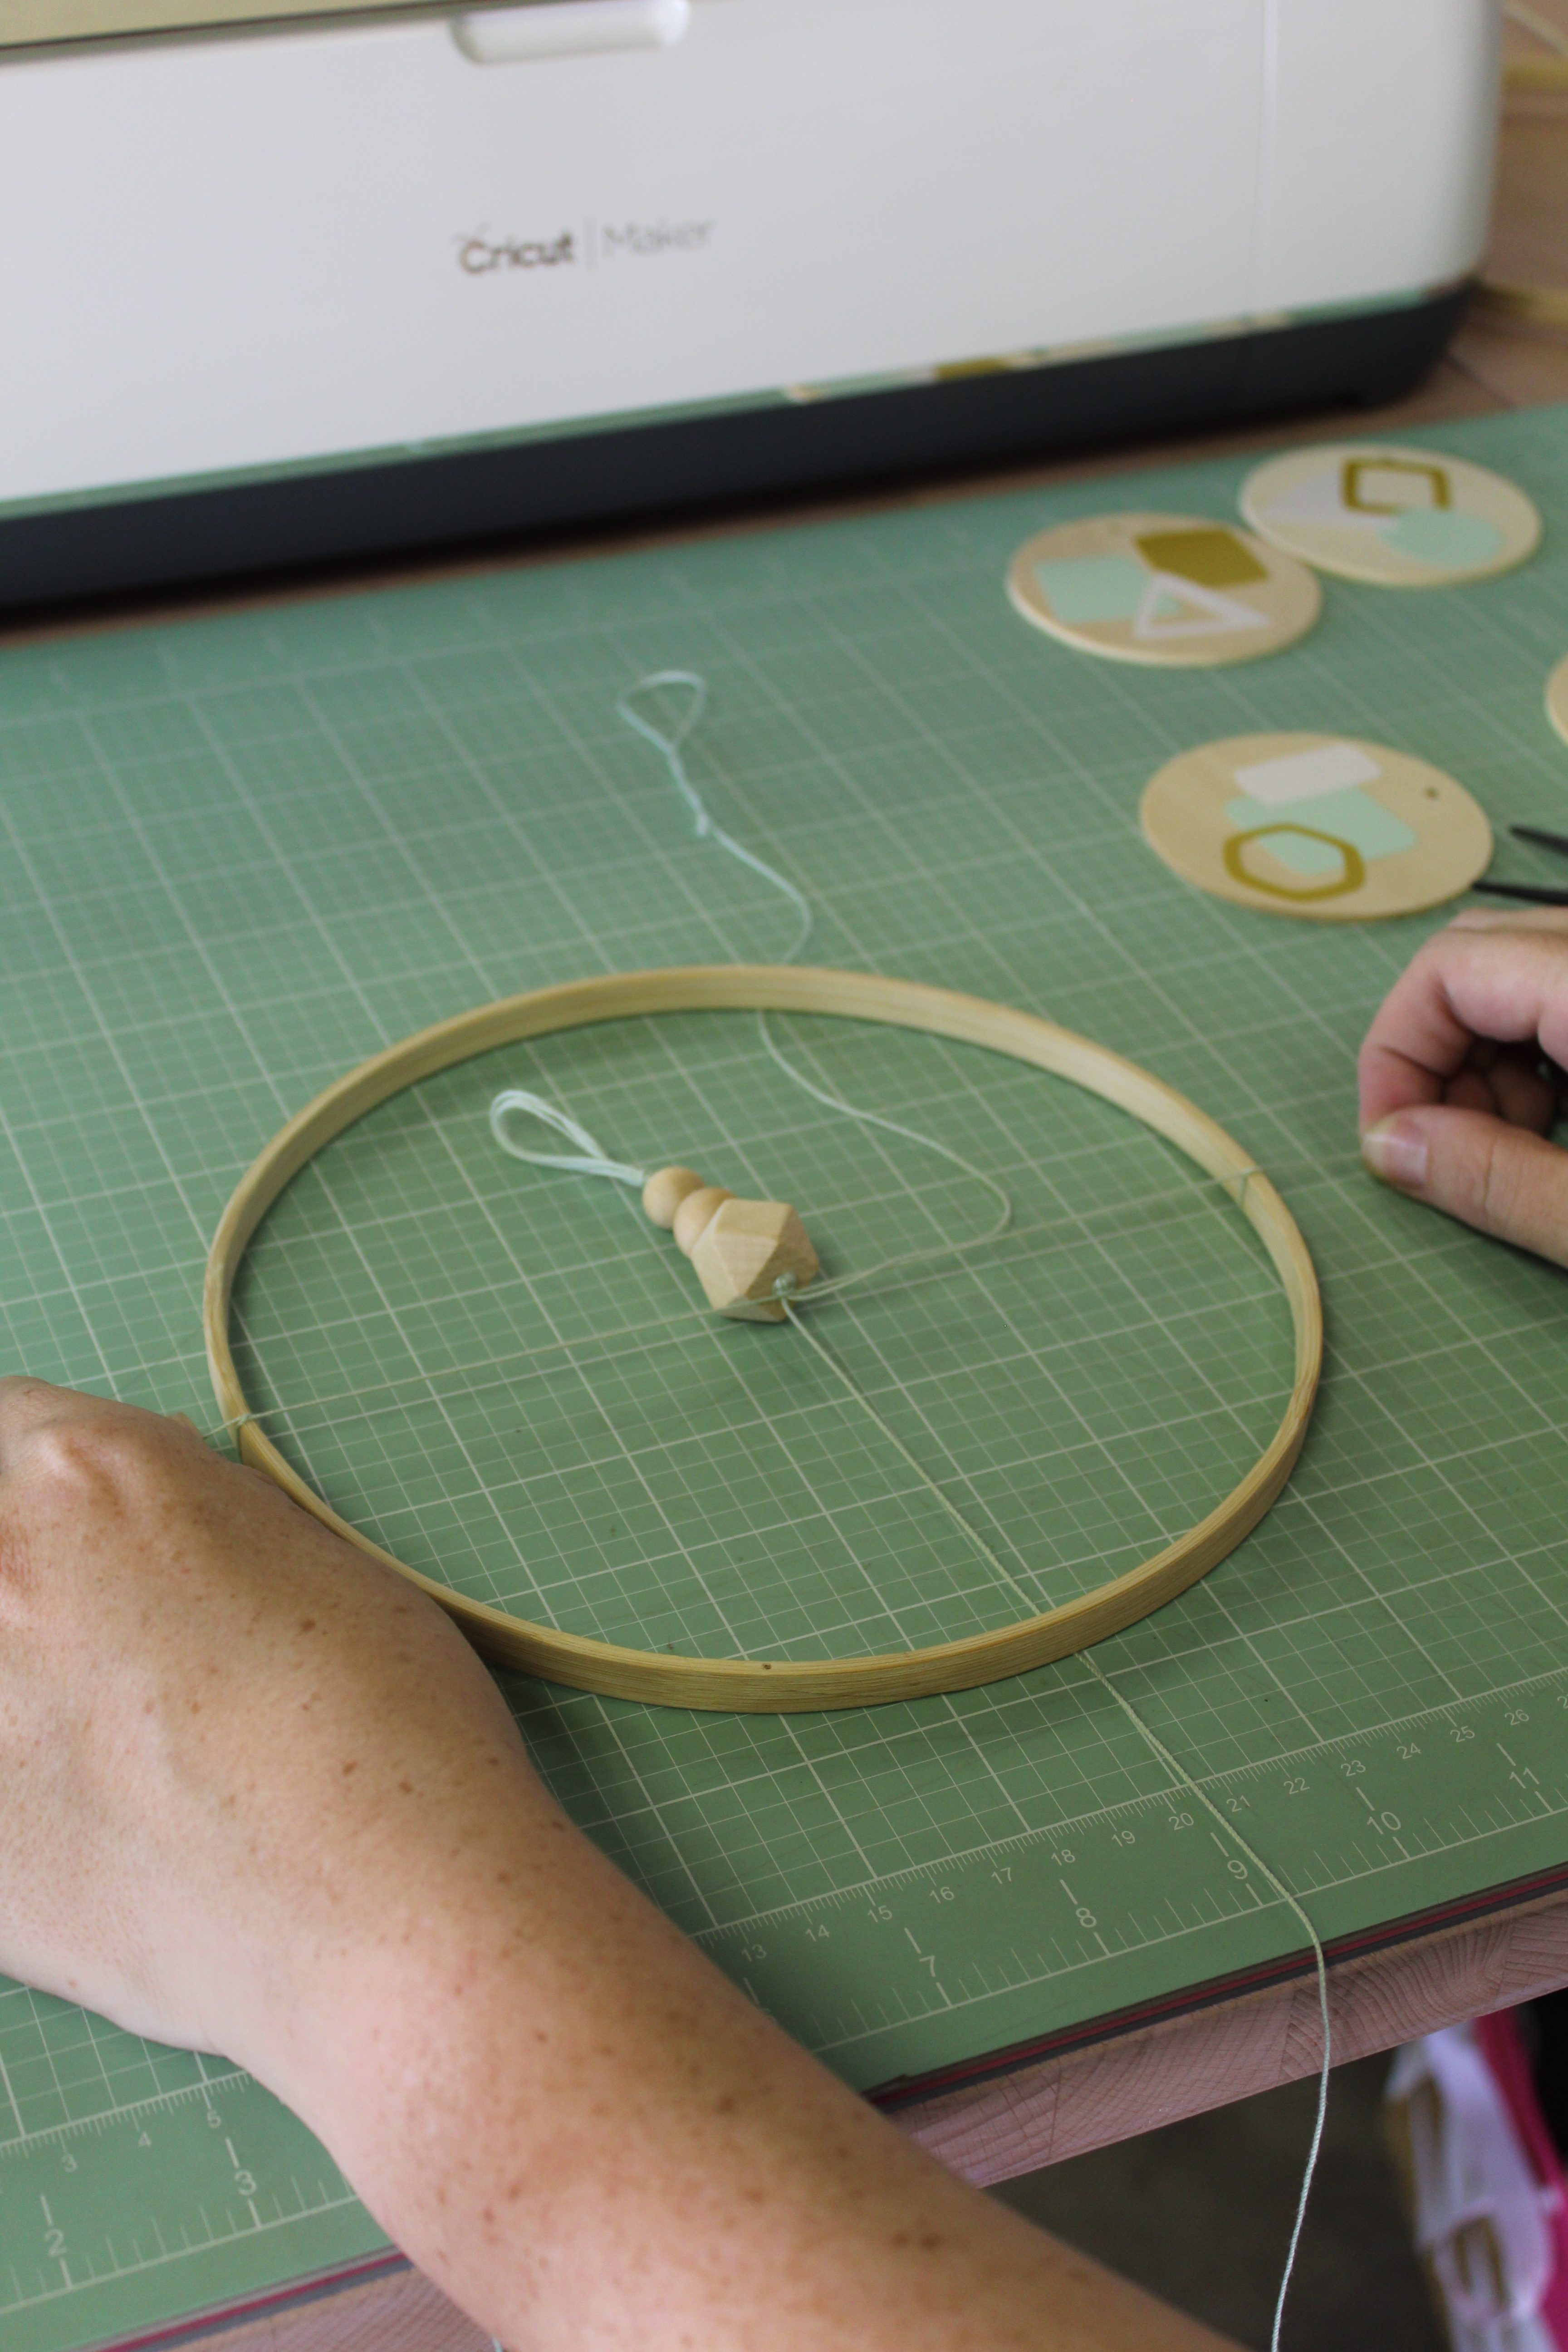
Here’s where it gets just slightly tricky (and borderline mathematical, but stay with me). In order for the mobile to properly hang, it needs to be balanced. I found the easiest way to do this was to lay my thread in a cross shape under my hoop on my gridded cutting mat, using the grid as my guide, then adding a single knot to each opposite side and ensuring they were even before adding the second knot.
Add Your Wood Circles
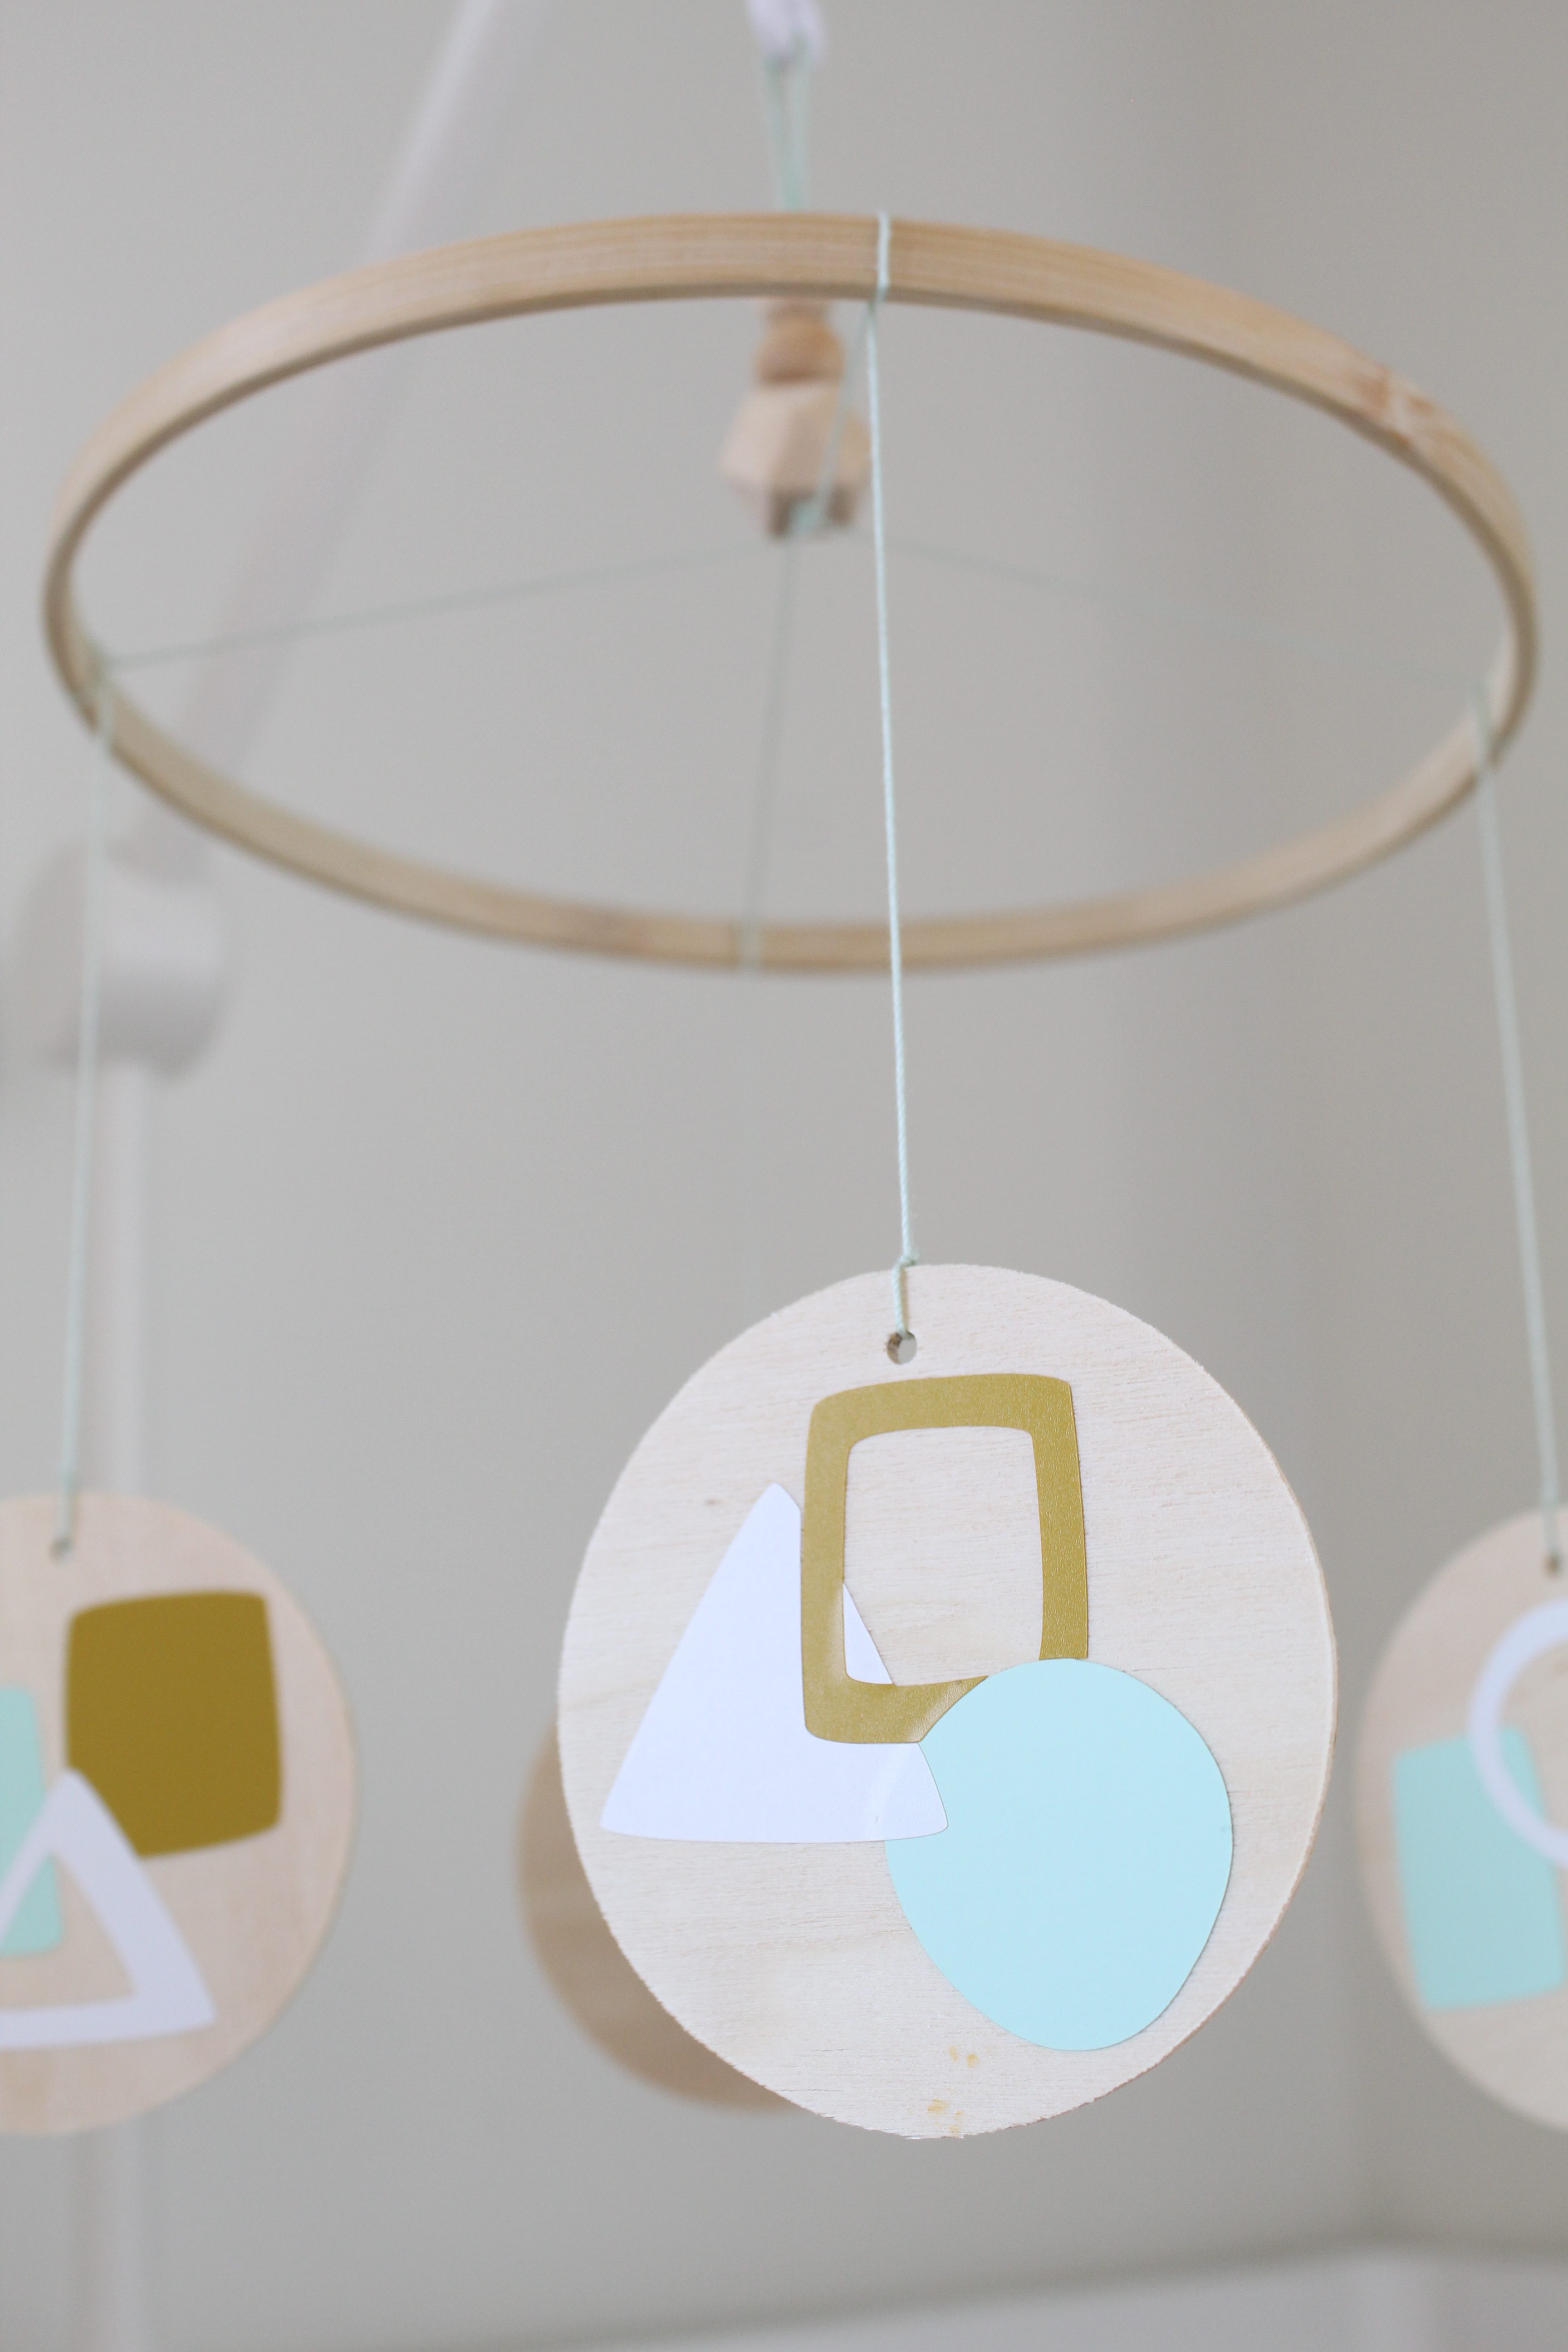
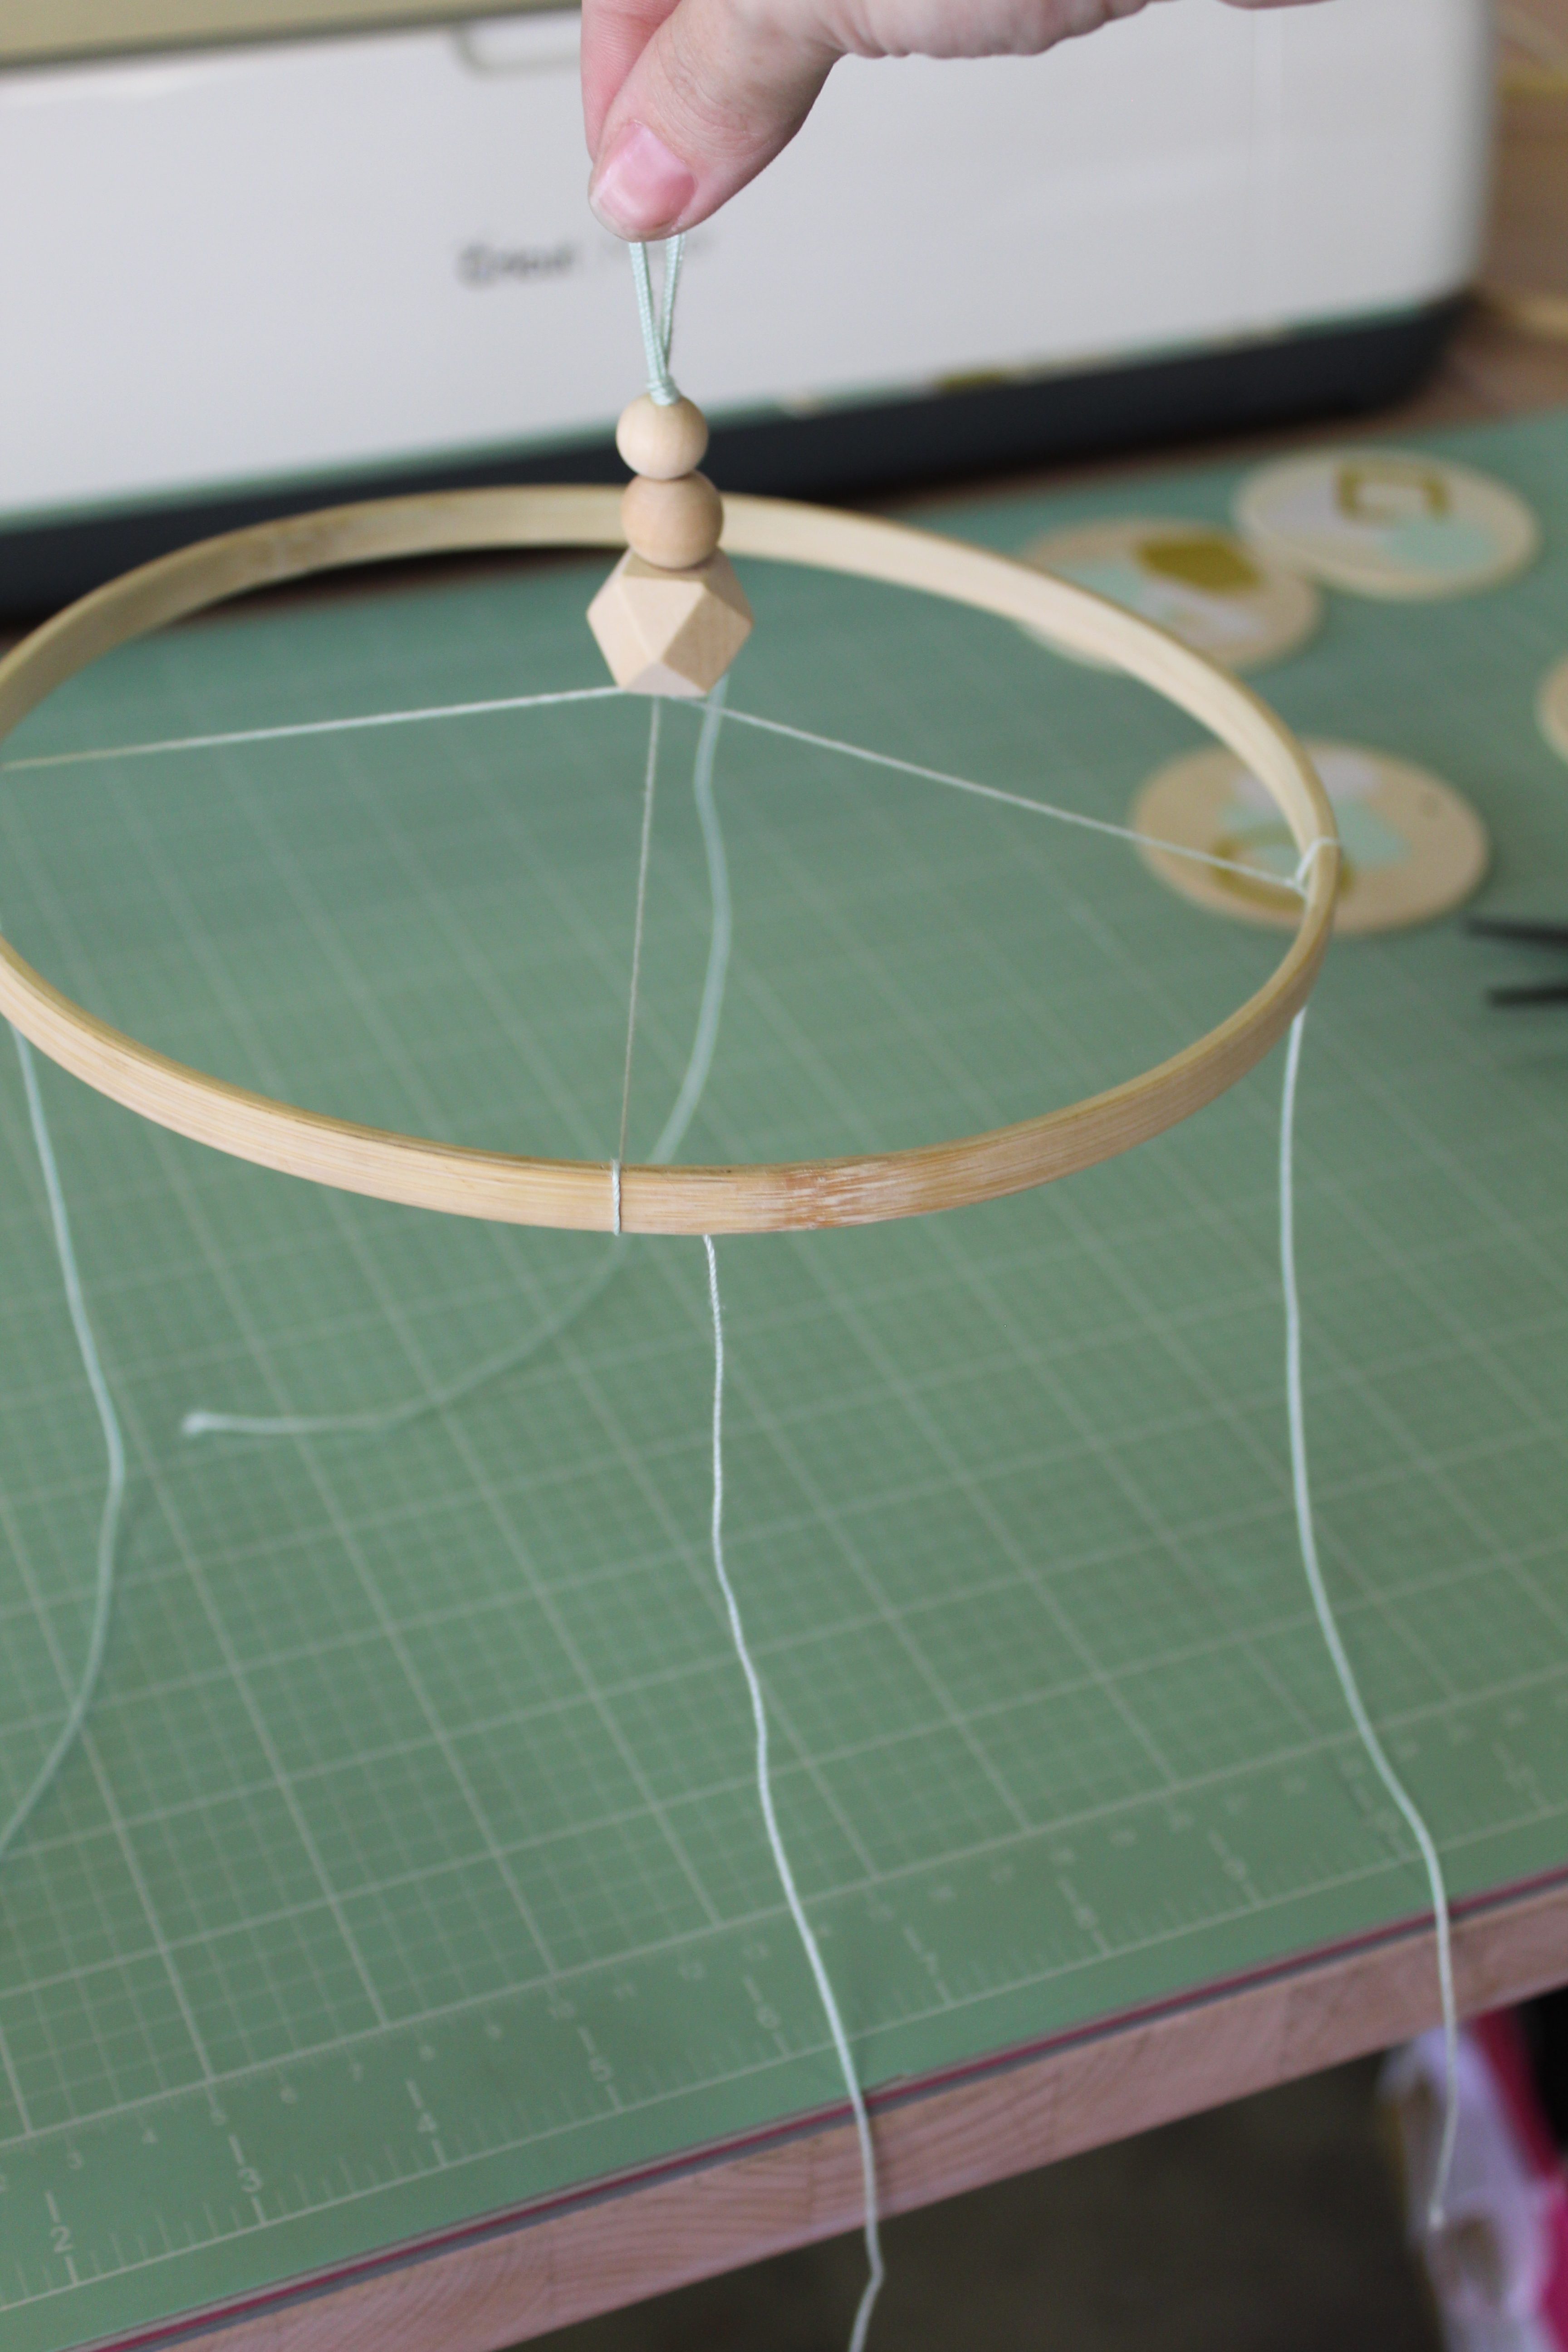
We’re almost there! Now, again, because balance is important be sure that all of your strings are still the same length. Play around with them and be sure you like where your wooden circles will fall. Now would be the time to trim if you’d like, depending on how you want them to hang. Also be sure that when you tie your circles on that you do your best to tie them the same way each time. I used a slip knot to attach them and made sure to leave the tail of the slip knot the same with each wooden circle.
Lift your mobile to make sure it hangs properly before cutting the tails off your knots.
And that’s it! This project is perfect if you are looking to add a DIY touch to your nursery and would also make for a wonderful shower gift for a mommy to be!
As with all our DIY tutorials, if you create one of our projects please send us a picture – We Love Seeing Your Creativity! If you use Instagram or Twitter please use the hashtag #SomethingTurquoiseDIY and it will show up on our Get Social page. Happy Crafting!
DIY Tutorial Credits
Photography + DIY Tutorial: Shea O’Quinn of Not So Cli-Shea // Wooden Circles: Michaels // Embroidery Hoop: Michaels // Vinyl in Three Colors: Michaels (I used mint, mustard matte and white) // Cricut Maker, Cutting Mat, Transfer Tape, XL Scraper and Weeding Tool: Courtesy of Cricut // Crop-a-dile: Amazon // Wood Beads: Michaels // Crochet Thread: Amazon // Scissors: Amazon // Large Eye Blunt Needle: Amazon // Self Healing Cutting Mat: Amazon // Mobile Arm: Pottery Barn Kids // Crib: Amazon // Crib Sheet: Pottery Barn Kids // Wall Hanging: DIY
Shop The Supplies:
Find the supplies you’ll need for this project from our affiliate links below:










Comments