
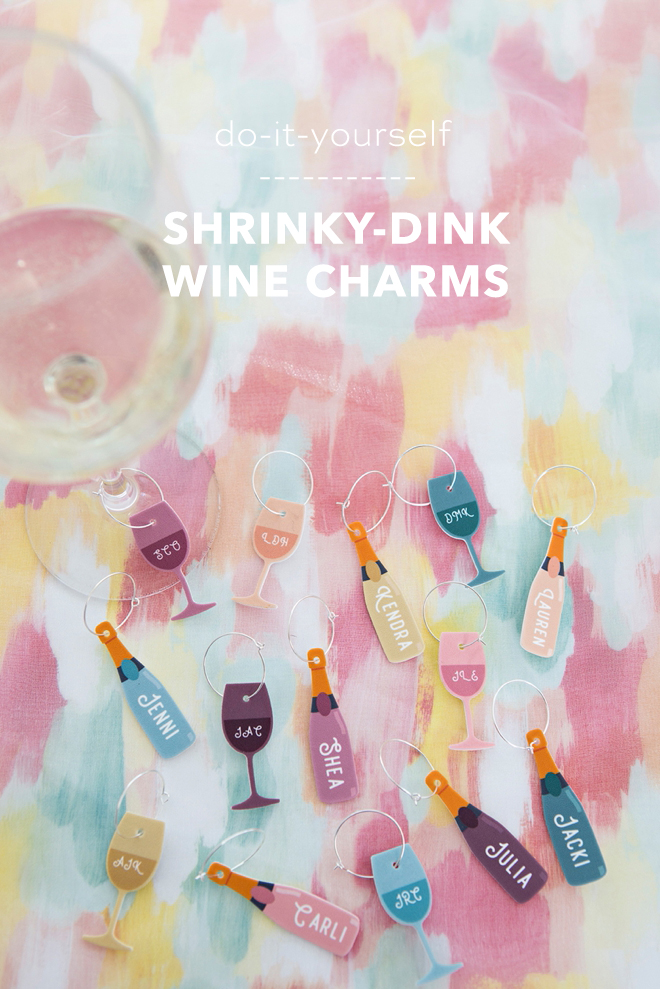
DIY Shrinky Dink Wine Charms With Cricut
-Sponsored Post-
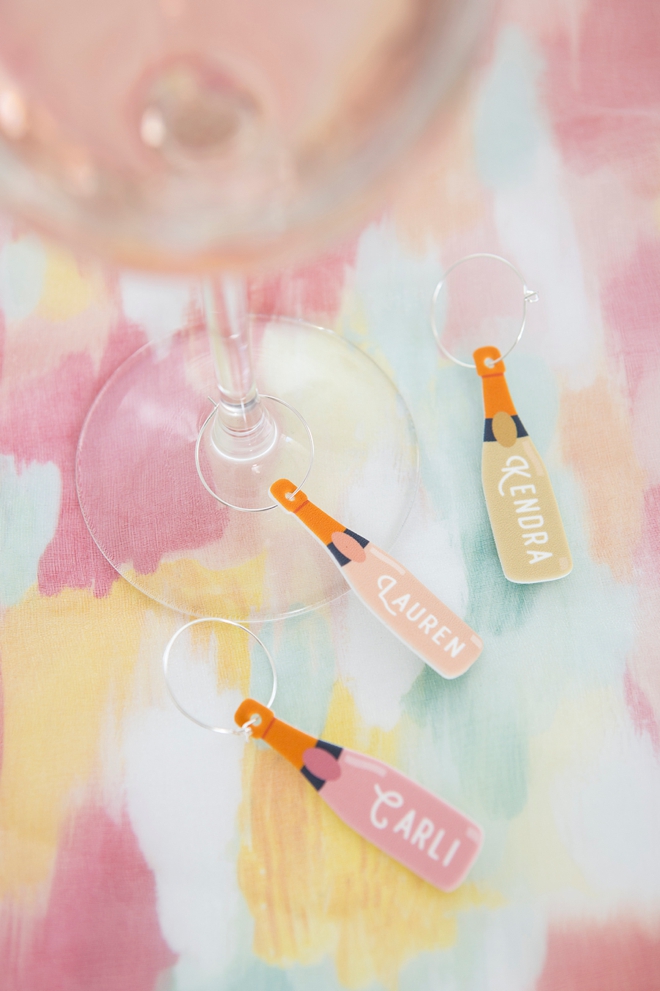
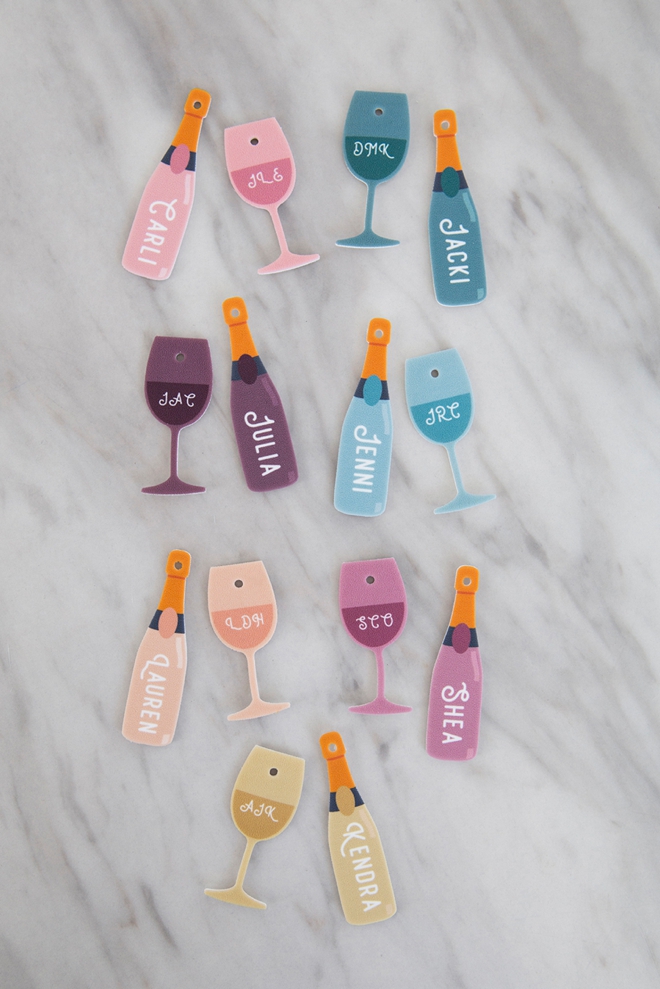
Shrinky-dink is an underutilized craft supply in my mind. There are so many different things you can use it for and my new favorite way to use it is for wine charms! Today we’re using the amazing print then cut feature on our Cricut Maker to create these adorable charms. I’ve designed wine bottles and wine glasses that you can use blank or add names or anything you’d like to within Design Space, print at home, cut with your Cricut, and then shrink. Our cut files are free and you can download them at the end of the post to personalize yourself… so you can quit worrying about whose wine is whose, if that’s a problem for you, hahaha.
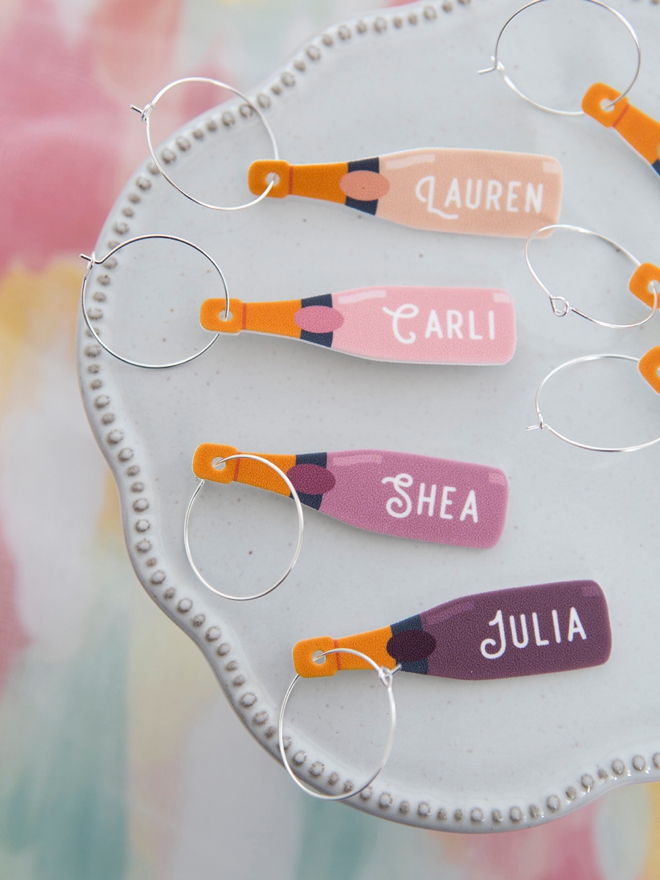
Gifts or Seating Cards
These adorable wine charms would be perfect for your bridal shower or bachelorette party! Perfect little favors or awesome seating cards. Glasses or bottles? Maybe both because they’re just so cute! Or maybe you’re not getting married and you just love wine and you want to make them to have for your home! They’re good for any reason or occasion, no wedding necessary.
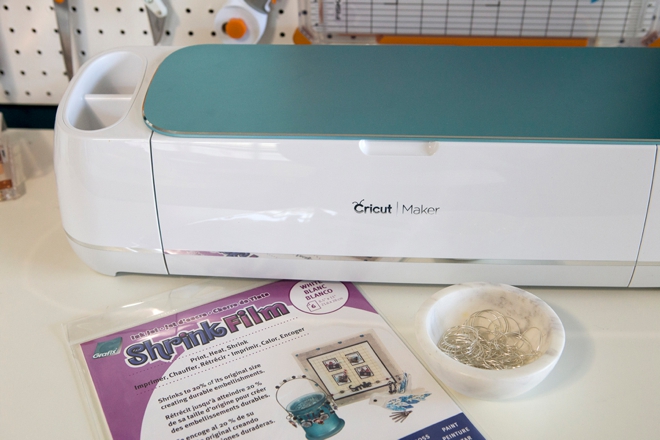
SUPPLIES:
- Cricut Maker
- White, Inkjet Shrink Film
- Cricut Deep Point Blade
- Cricut Strong Grip Mat
- Wine Charm Hoops
- Parchment Paper
- Baking Sheet
- Home Printer
- Our FREE .SVG cut files at the end of the post!
Note about shrink film: I had the best luck with the above linked brand across the board. It shrinks the BEST. It’s not the “shrinky-dink” brand it’s another called Grafix and it’s the only one I recommend.
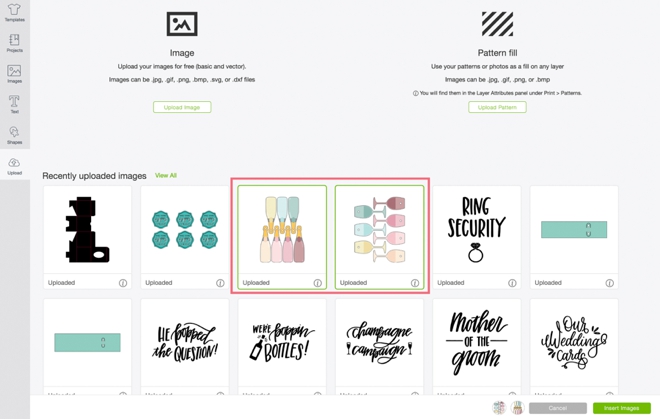
Upload To Design Space
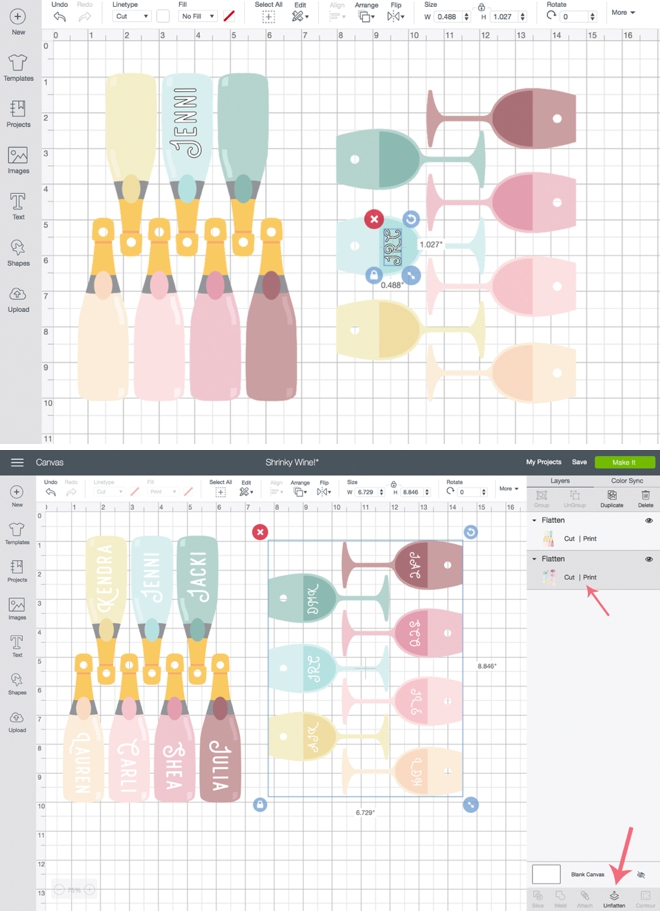
Click on the graphic at the end of the post to start the automatic download of our shrinky-dink wine files. There are two, the bottles and the glasses. All are blank. Upload and add to your canvas.
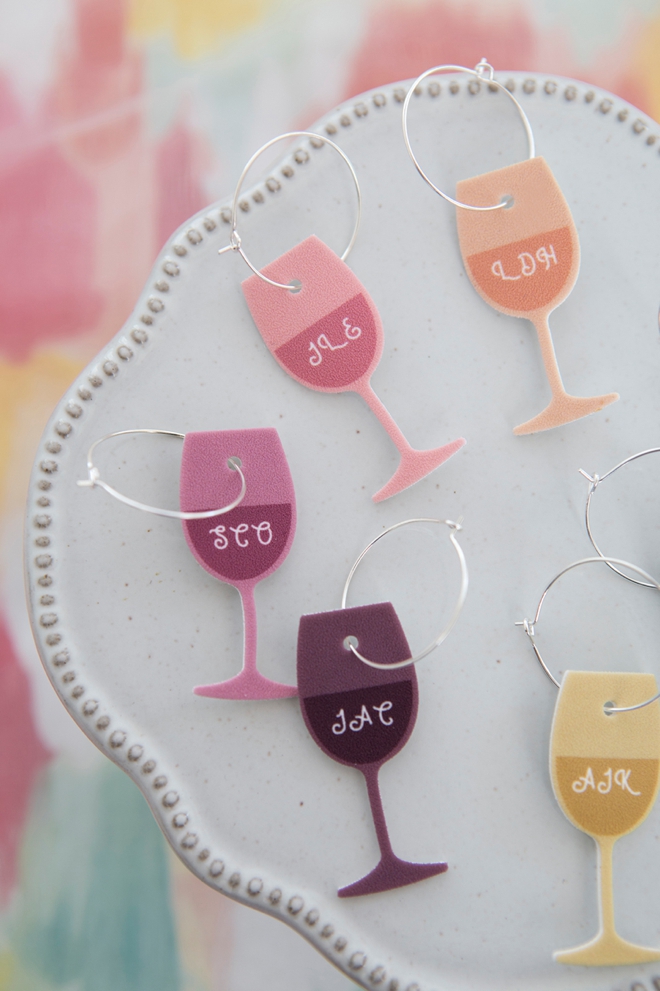
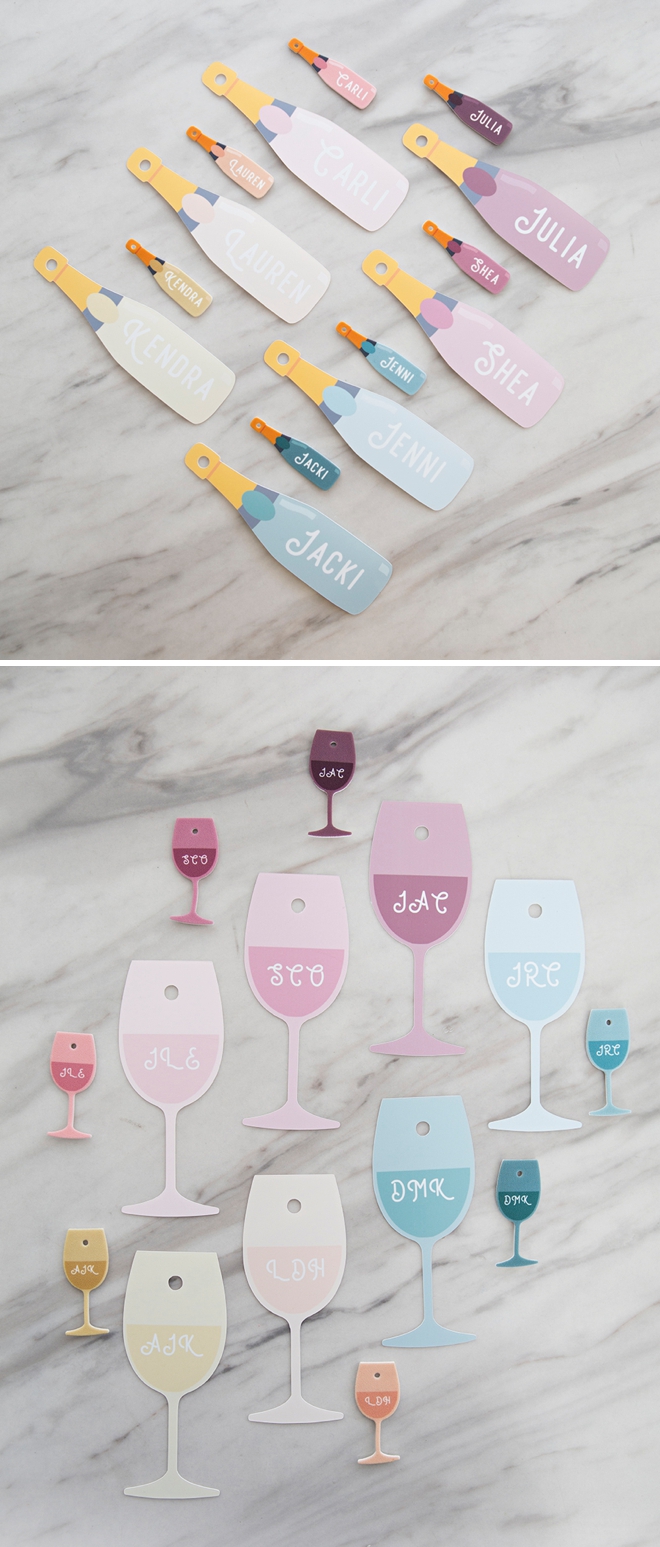
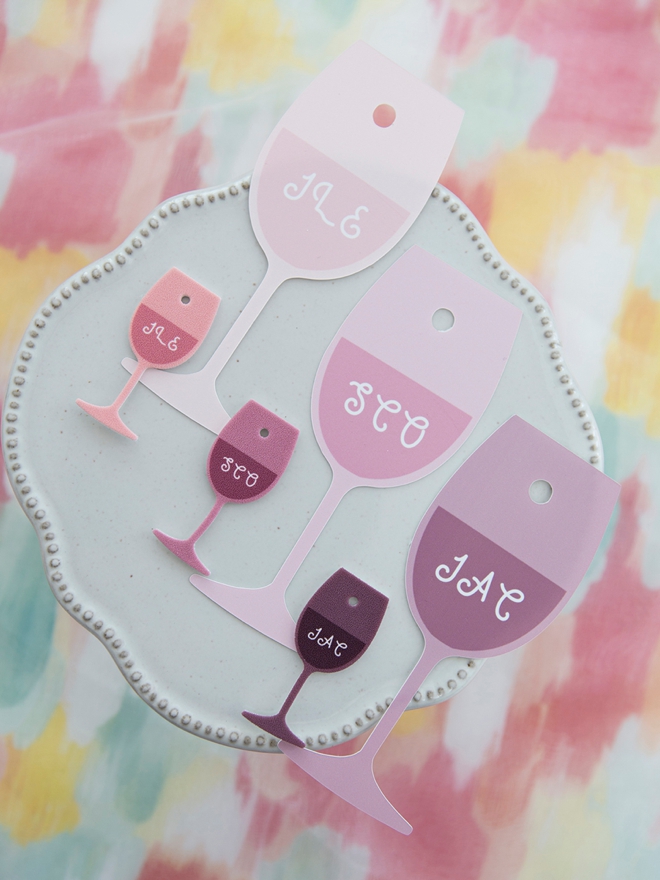
Add Personalization
Add text and resize to fit on top of the blank areas of the bottles and the glasses. Use names, initials, table numbers, etc. Once you’re finished you must select all the text along with the bottle or glass file and hit the flatten button on the bottom of the right hand tool bar. This turns the entire file into print then cut! If done properly you’ll see in the layers panel that it now says Cut | Print.
Don’t resize the files! They are perfectly sized for print then cut and ideal for the shrink ratio!
Edit Material Settings
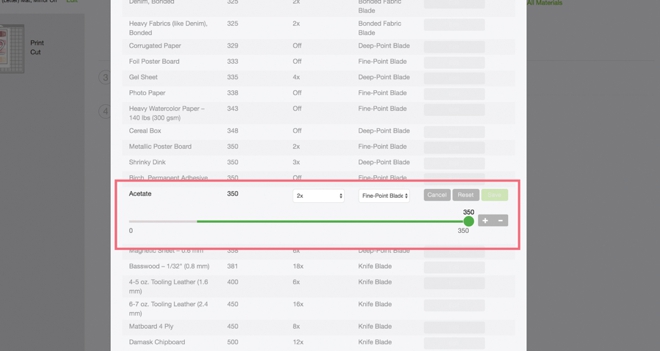
Unfortunately there isn’t a setting for “shrinky-dink”, so we’re going to make Acetate work! During the cut step, under “Set Material”, click the green “browse all materials” button and then at the very bottom click “material settings”. That will open up the window you see below. Scroll to find Acetate. Click edit and change the cut pressure to 350 with 2x cut passes.
Deep Point Blade
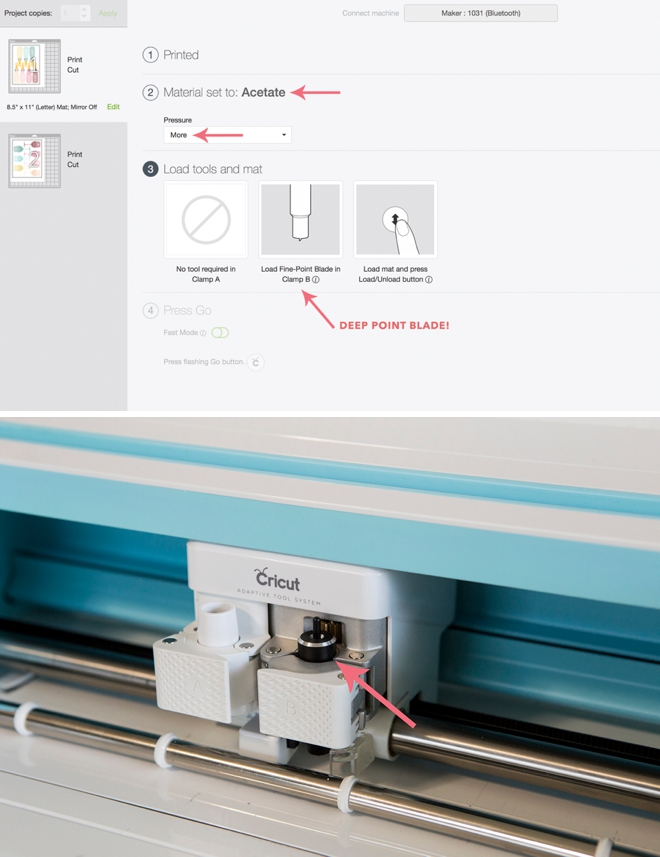
I had some trouble cutting the shrink film properly, I even called into the Cricut help line to figure it all out and I’ve got the scoop for you. It says to use the fine point blade with Acetate but we’re going to be bad girls and use the Deep Point Blade instead! The machine doesn’t know the difference, crazy right!? Here are the perfect cut settings for this shrink film:
- Set To: Acetate
- 350 Cut Pressure
- Plus “More” Cut Pressure
- 2x Cut Passes
- Deep Point Blade
- Strong Grip Mat
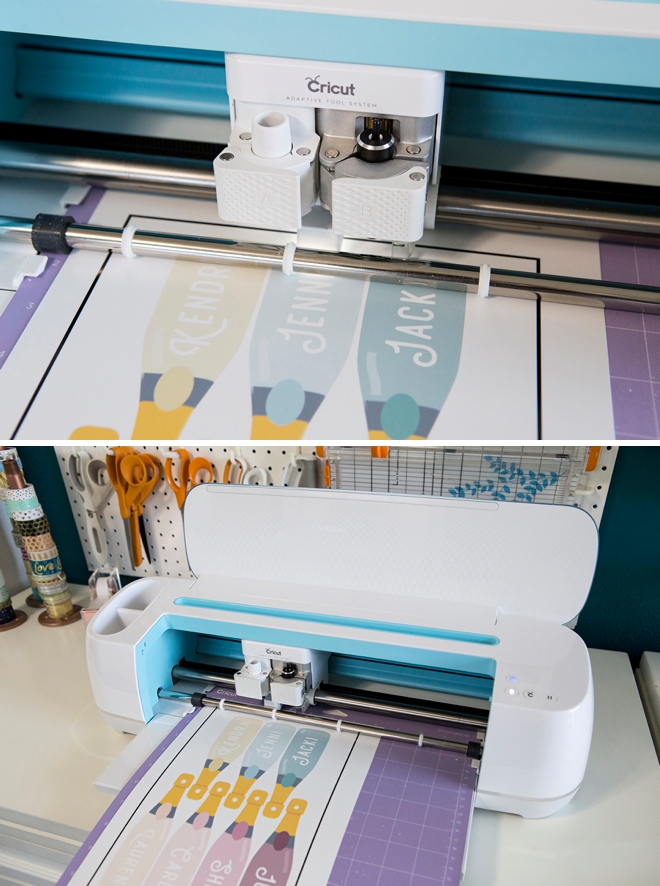
Print Then Cut
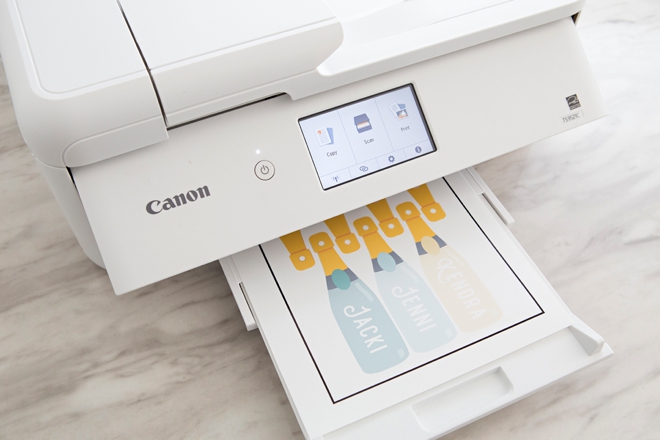
Print then cut is so freaking awesome. Kind of intimidating the first time but after that it opens up a whole new world of options. Design Space will prompt you to print the file first so follow the prompts on your computer. For my Canon, I printed the shrink film on “photo paper and best quality”. The colors will be light at first, but they get much more intense after shrinking.
Let Your Cricut Work It’s Magic
Design Space automatically adds the black box around the designs which is the print then cut registration mark. The adaptive tool system reads the box using a bright light and thats how it knows exactly where to cut!
Stay Away From Water Before Shrunken
Before the files shrink – they are not waterproof! The inkjet color will bleed even with a sweaty palm! Many times there is water near your oven because you’re in the kitchen so just be careful. After they shrink they are totally waterproof!
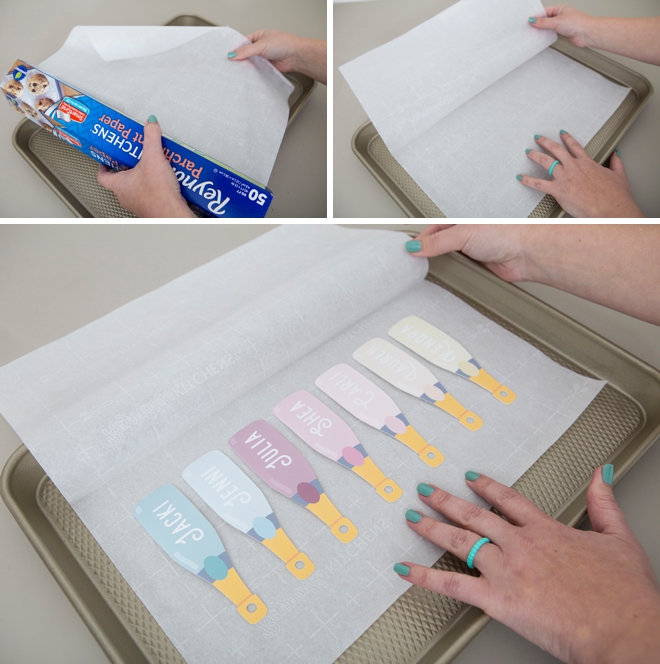
Parchment Pouch
I like to make a little parchment pouch to protect my files during baking.
Shrink!
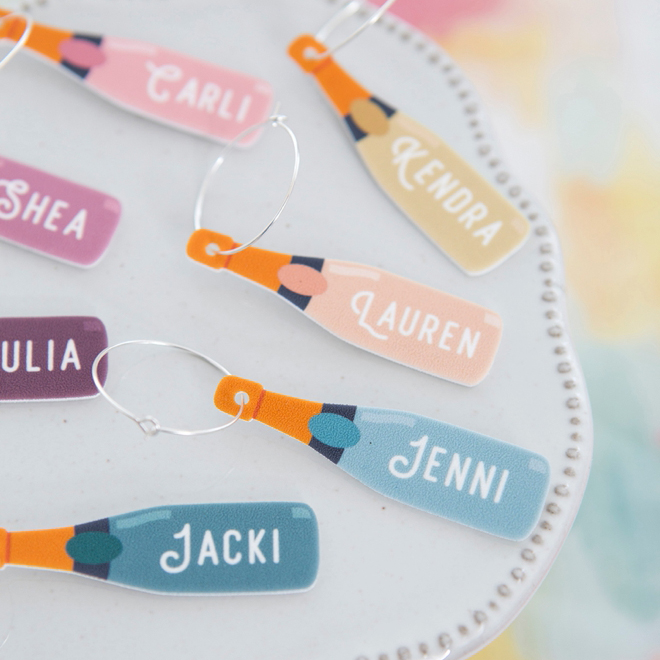
I have a brand new oven and 325˚ for 2.5 minutes was the perfect setting for me! Aren’t they so freaking adorable!?
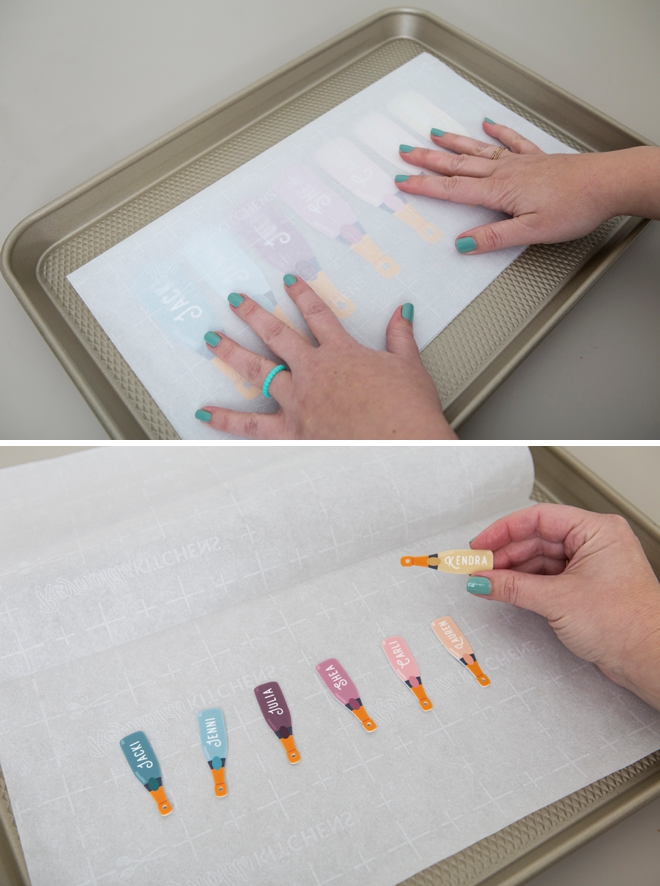
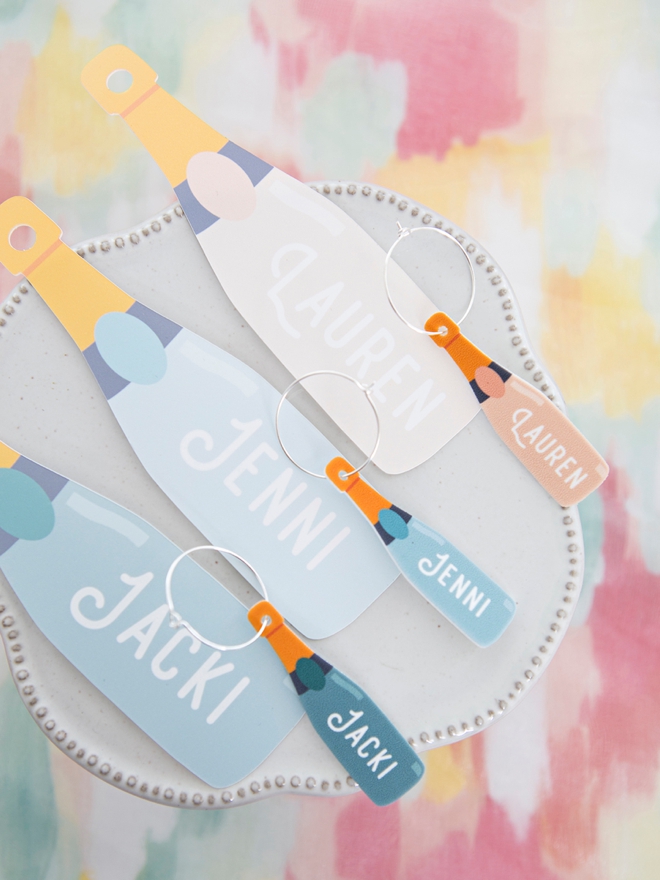
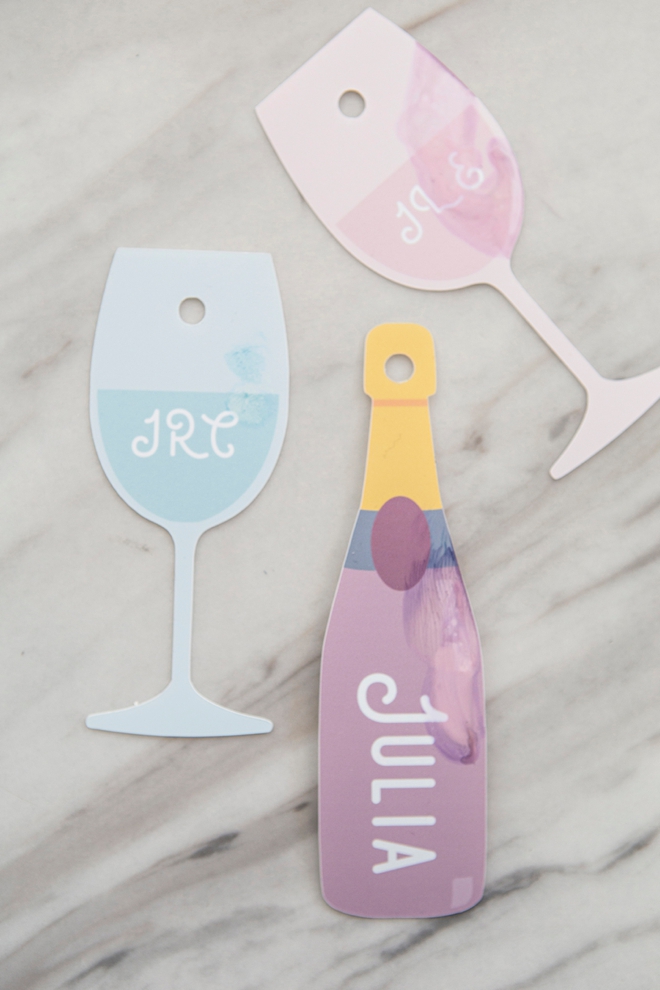
Size + Color
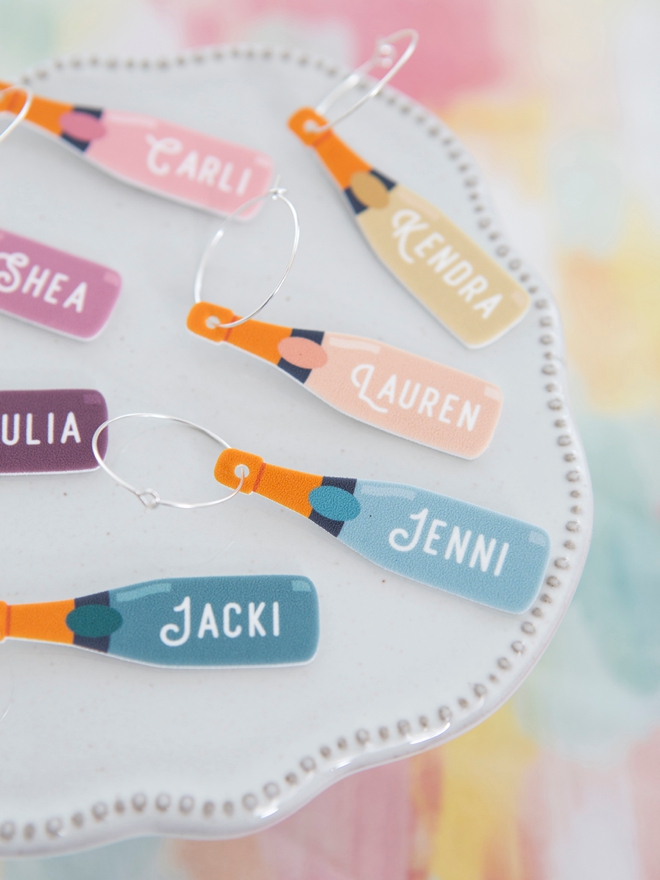
You might notice a HUGE difference in size and color! Welcome to the world of shrinky-dink. They shrink up to 2.5 times the size and the color is intensified by 50%. So if designing on your own, make sure the colors you choose are MUCH lighter than you want them to end up.
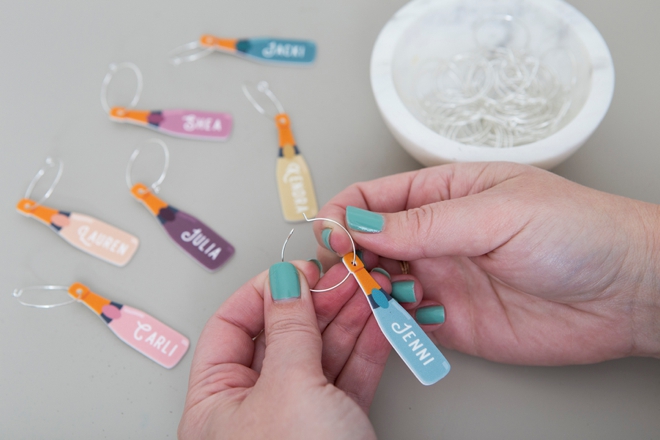
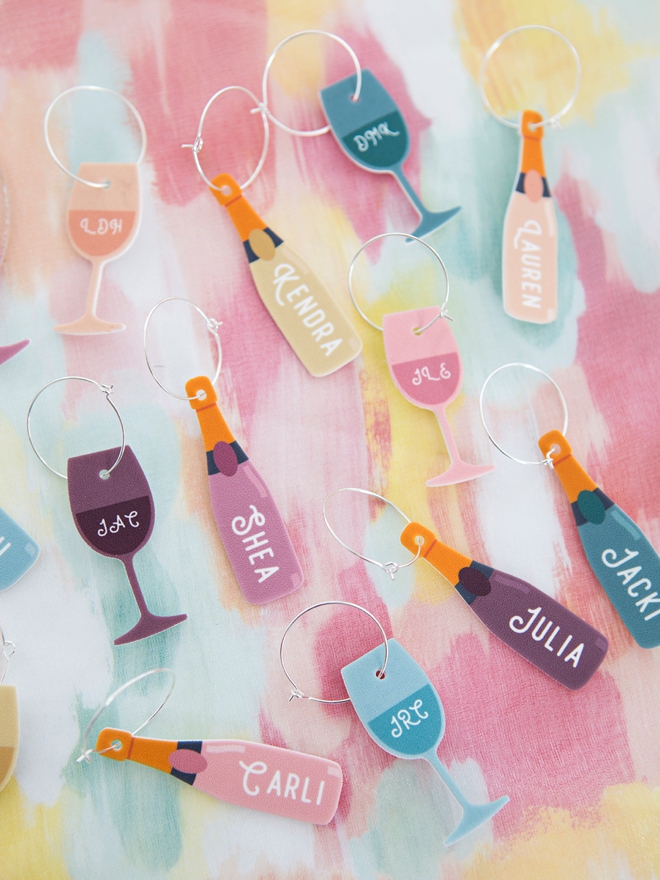
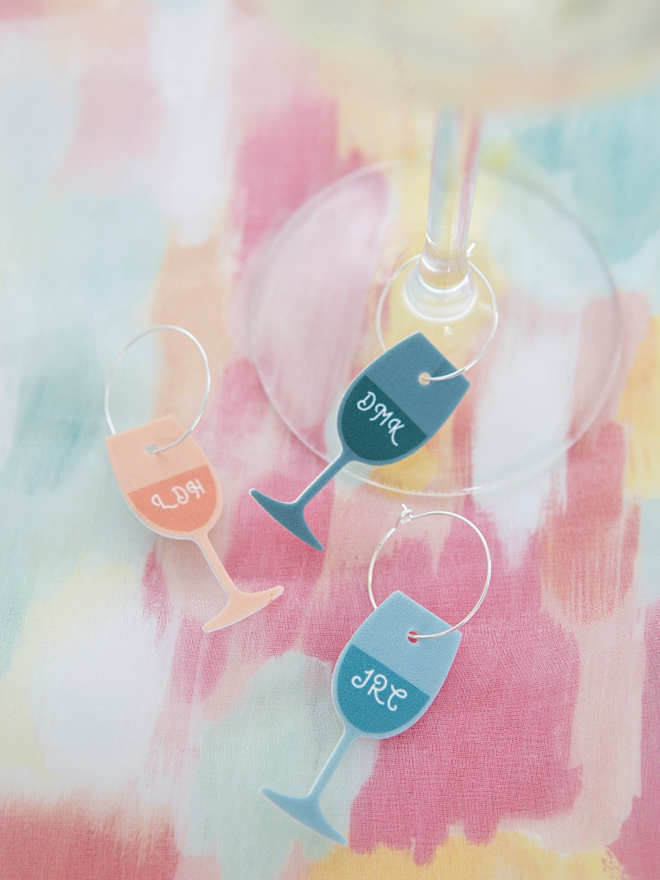
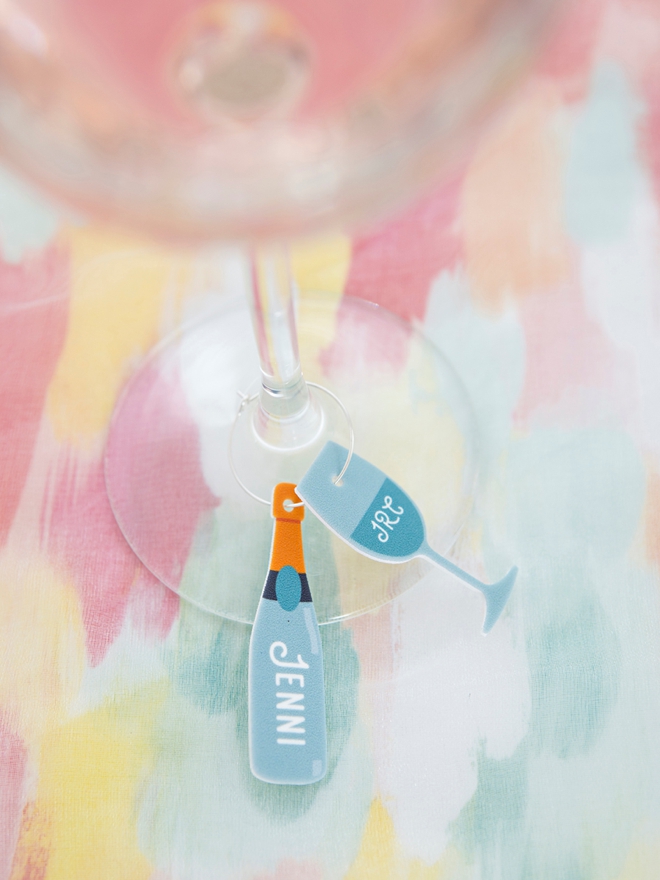
Add A Wine Hoop
Thread your darling new charms onto wine charm hoops and get ready to celebrate… whatever it is that you’re celebrating!
Print Then Cut
If you’ve never attempted print then cut I really hope that this post will have encouraged you to try it, even if it’s not this project! We have a few other print then cut projects, like our wedding planning stickers, our gift card sleeves, and our hole lotta love donut skewer favors. It’s such a fun technique that if you haven’t tried it you’re missing out!
DIY TUTORIAL SPONSORED BY:

Cricut is a world-class leader in personal electronic cutting machines that has enabled people to achieve their creative best for over 50 years. Today, millions of people use Cricut products to create unique projects, and they focus on enhancing lives with this power of creativity. Let Cricut help you take your wedding personalization and project creativity to the next level!

As with all our DIY tutorials, if you create one of our projects please send us a picture – We Love Seeing Your Creativity! If you use Instagram or Twitter please use the hashtag #SomethingTurquoiseDIY and it will show up on our Get Social page. Happy Crafting!
DIY Tutorial Credits
Photography + DIY Tutorial: Jen Causey of Something Turquoise // Cricut Maker, Deep Point Blade, and Strong Grip Mat: courtesy of Cricut // Wine Charm Designs: Julia Ensign // Inkjet Shrink Film: Amazon // Wine Charm Hoops: Amazon // Nail Polish: OPI – Withstands the Test of Thyme
Shop The Supplies:
Find the supplies you’ll need for this project from our affiliate links below:

Comments