

DIY “Hole Lotta Love” Donut Skewers With Cricut
-Sponsored Post-
We’d like to wish you a hole lotta love on this fabulous DIY Friday! Are you a donut lover? Who isn’t right? If handing out donut holes at your wedding or special event sounds like the absolute perfect treat, then we have a darling project idea for you. Use your Cricut to print then cut super sweet hearts to adorn skewers with, then simply add donut holes! Add just one or add a few, the amount is up to you. The colors of the hearts are endless, as you choose the color in Design Space and print it, it’s not colored cardstock, which means you can get an exact match on these hearts to your wedding color scheme. Even if you aren’t planning a wedding, this idea would be great for Valentines Day or any special day that requires the center of a donut!


Custom Colors
The best thing about this project is that you can make the hearts ANY color you want, because the color is printed! We used the Cricut Print then Cut feature for the color and the text so you can use the colors we choose, or choose your own before cutting.
Follow this link to Design Space to find our canvas and use these exact cut files!


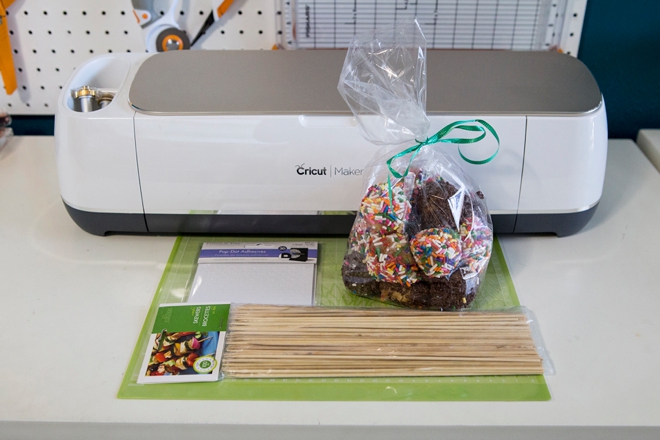
SUPPLIES:
- Cricut Maker or Cricut Explore
- 8.5″ x 11″ White Carstock
- 10″ Bamboo Skewers
- Home Printer
- Pop Dots
- Donut Holes
Design Your Hearts
Follow this link to Design Space to find our canvas and use these exact cut files or you can design your own. Change the colors of the hearts in the layers panel and then click the printer icon. If you are attaching text to a shape you’ll need to click “flatten”, that’s what makes the element “print then cut” instead of cutting out the text from the shape. I used Watermelon Script for the font.

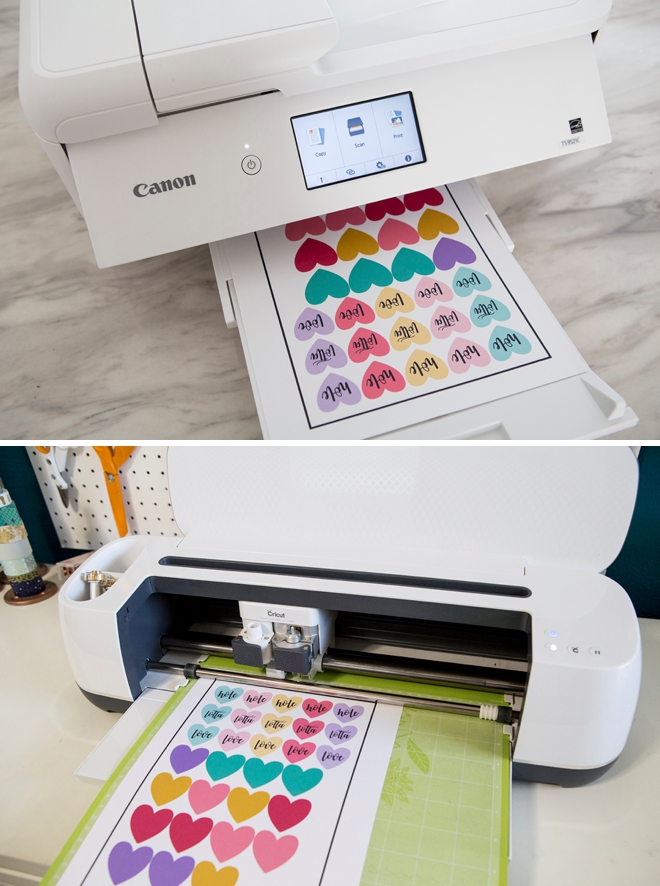
Print Then Cut
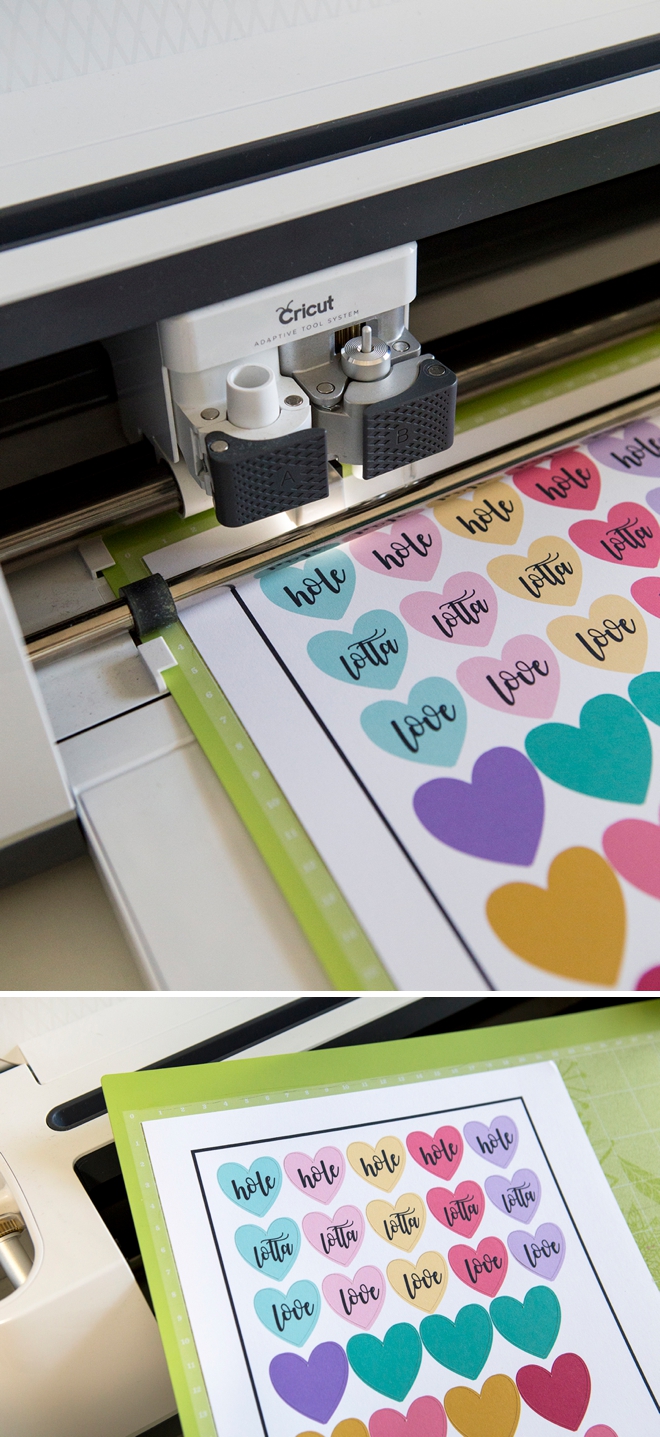
Design Space will prompt you to first print the file using your home printer. Do so on 8.5″ x 11″ white cardstock. Then add the print to a cutting mat and feed into your Cricut. The Cricut will then make a series of movements to register where the print is using the black box lines, it’s so cool. Once the Cricut sees the print, it will perfectly cut out all your hearts!
Please Try It
If you’ve never tried print then cut, you absolutely must give it a go! It might feel a bit daunting at first but it’s so incredibly awesome and easy, you just have to experience it! Once you do, you’ll realize all the amazing possibilities. One of my favorites is planner stickers!
Remove All Your Hearts From The Cutting Mat

Assemble
I used Pop Dot adhesive circles to adhere the hearts to the skewers, for a little extra dimension but you can use any adhesive that you like. One heart for the backside and one for the front.
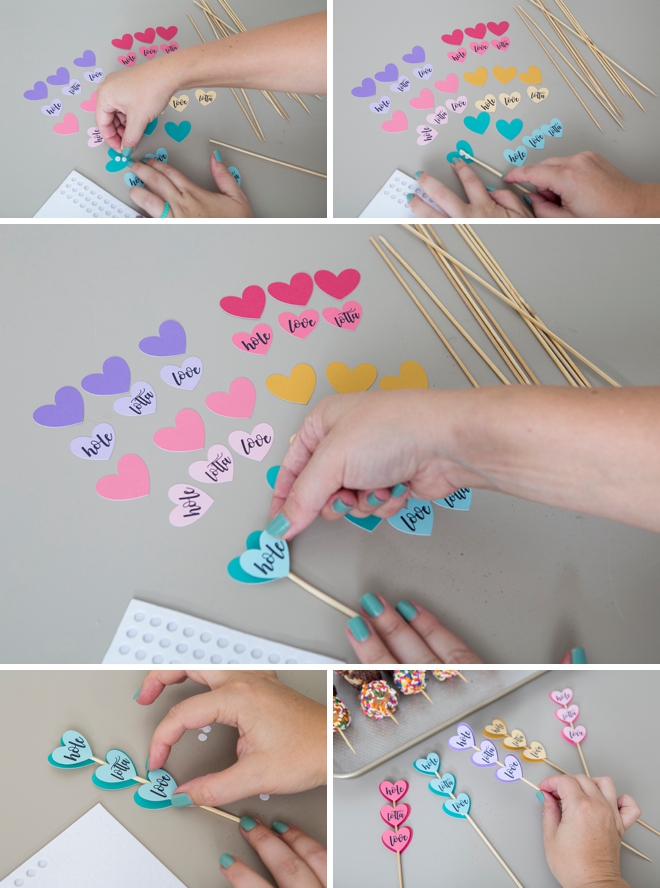
Add Donut Holes
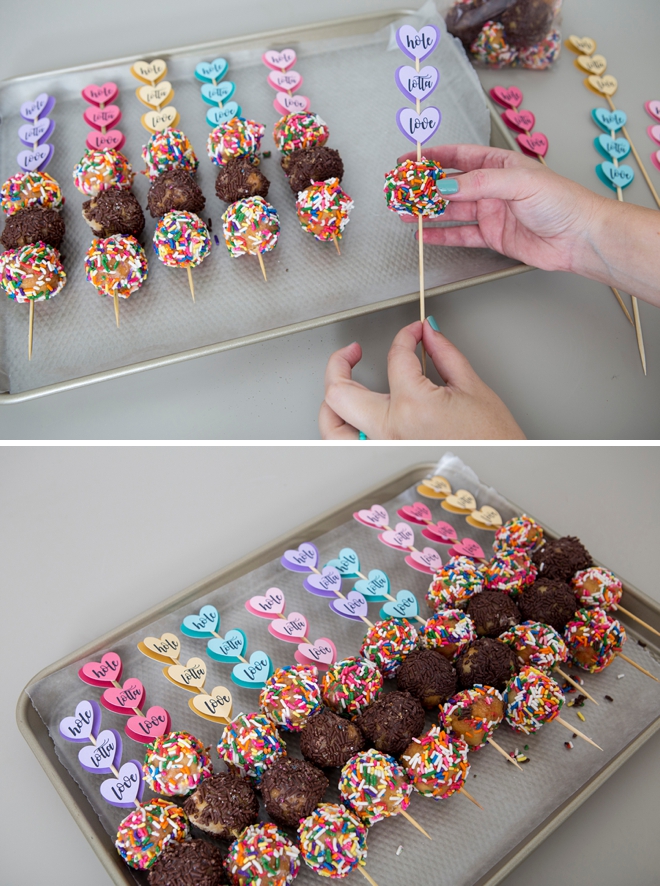


Super Quick + Easy
The Cricut makes this project incredibly quick and easy, the longest part will be adding the hearts to the skewers… or maybe picking your colors or types of donut holes. It’s being able to quickly make fabulous crafts like this, that look lovely (and not crafty-cheesy) that made me fall head over heels for my Cricut!


DIY TUTORIAL PARTNER:

Cricut is a world-class leader in personal electronic cutting machines that has enabled people to achieve their creative best for over 50 years. Today, millions of people use Cricut products to create unique projects, and they focus on enhancing lives with this power of creativity. Let Cricut help you take your wedding personalization and project creativity to the next level!

As with all our DIY tutorials, if you create one of our projects please send us a picture – We Love Seeing Your Creativity! If you use Instagram or Twitter please use the hashtag #SomethingTurquoiseDIY and it will show up on our Get Social page. Happy Crafting!
DIY Tutorial Credits
Photography + DIY Tutorial: Jen Causey of Something Turquoise // Cricut Maker, tools and supplies: courtesy of Cricut // Canon TS9521 C: courtesy of Canon // 10″ Skewers: Amazon // 8.5″ x 11″ White Cardstock: Amazon // Pop Dots: Amazon // Nail Polish: OPI – Withstands the Test of Thyme
Shop The Supplies:
Find the supplies you’ll need for this project from our affiliate links below:

Comments