
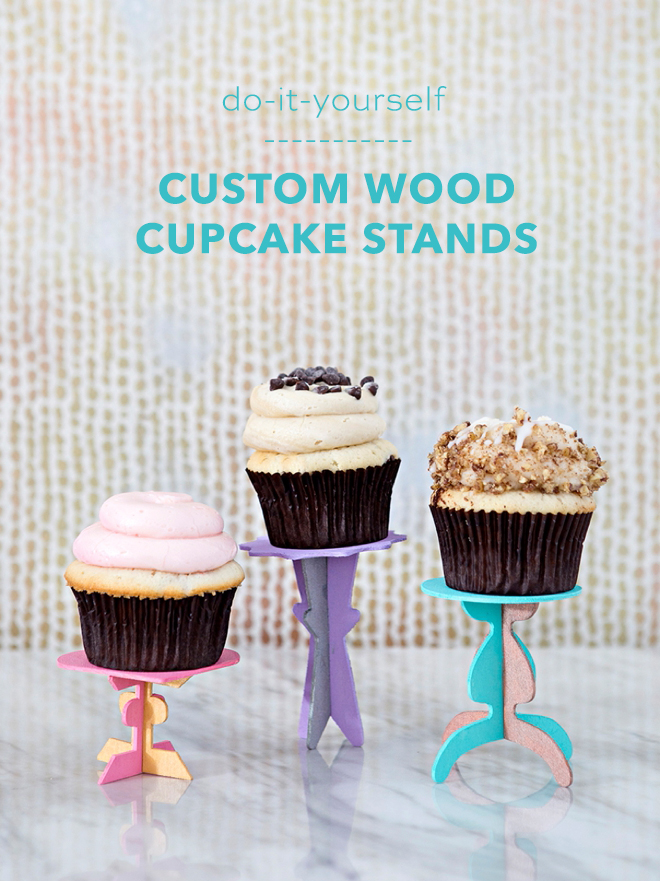
DIY Wooden Cupcake Stands With Cricut Maker
-Sponsored Post-
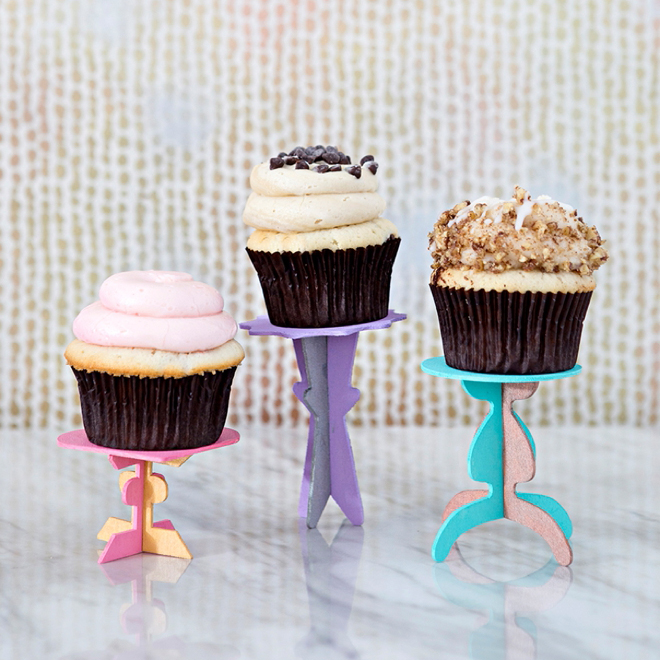
Cupcake lovers rejoice, today’s DIY project was designed specifically for you! We’re cutting basswood for the very first time using our Cricut Maker and the new Cricut Knife Blade. We cut super thick chipboard last month, but this month it’s all about wood… and if you didn’t know that the Maker cuts wood, I’m excited to be the one to tell you it does! Today we’re making the cutest cupcake stands you’ve ever seen and all three cut patterns for your Cricut are FREE to download at the end of the post. If you’re serving cupcakes at your wedding or special event, these are a must make!
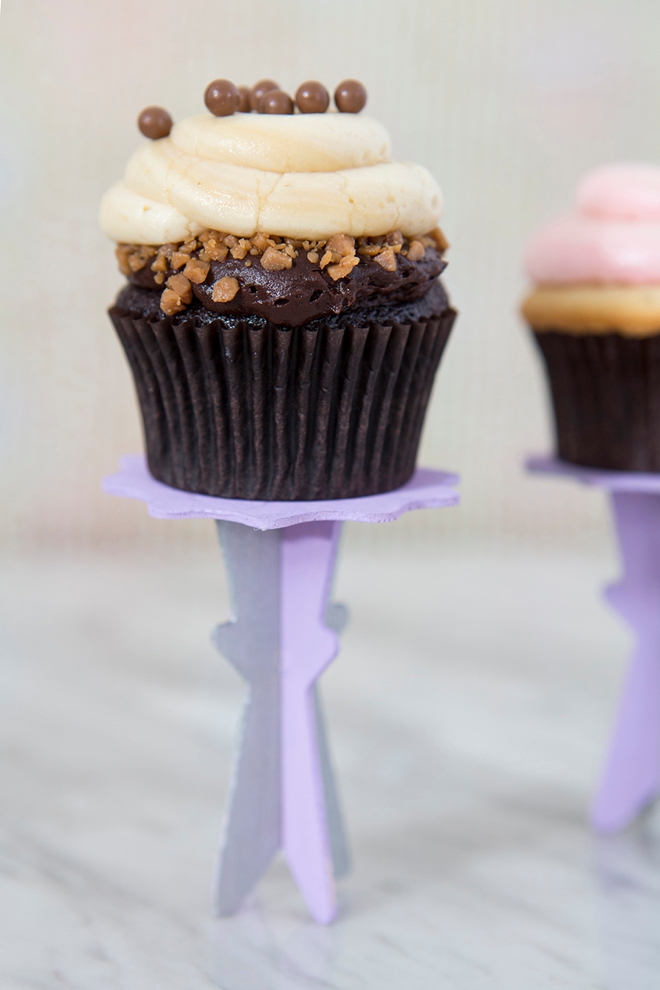
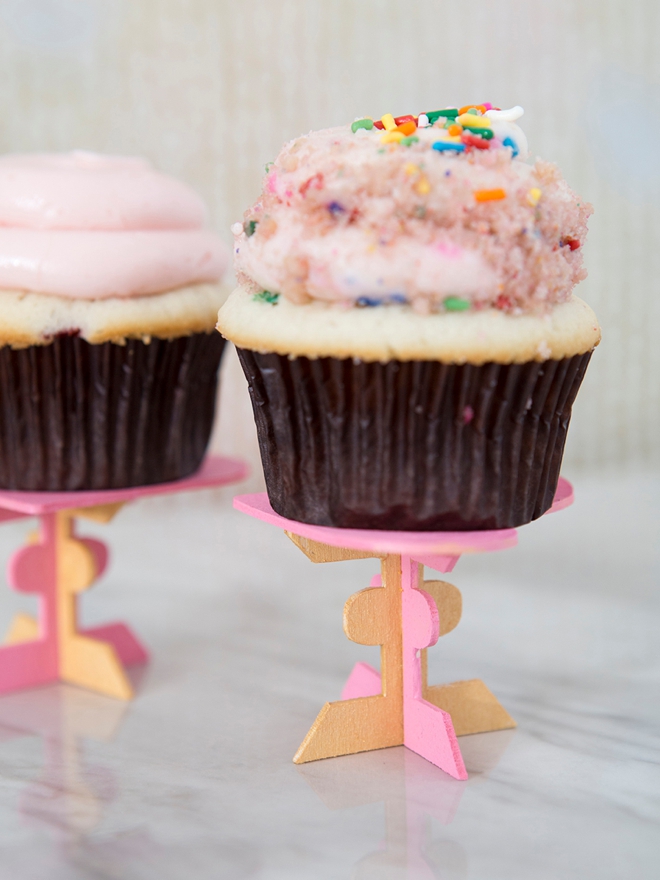
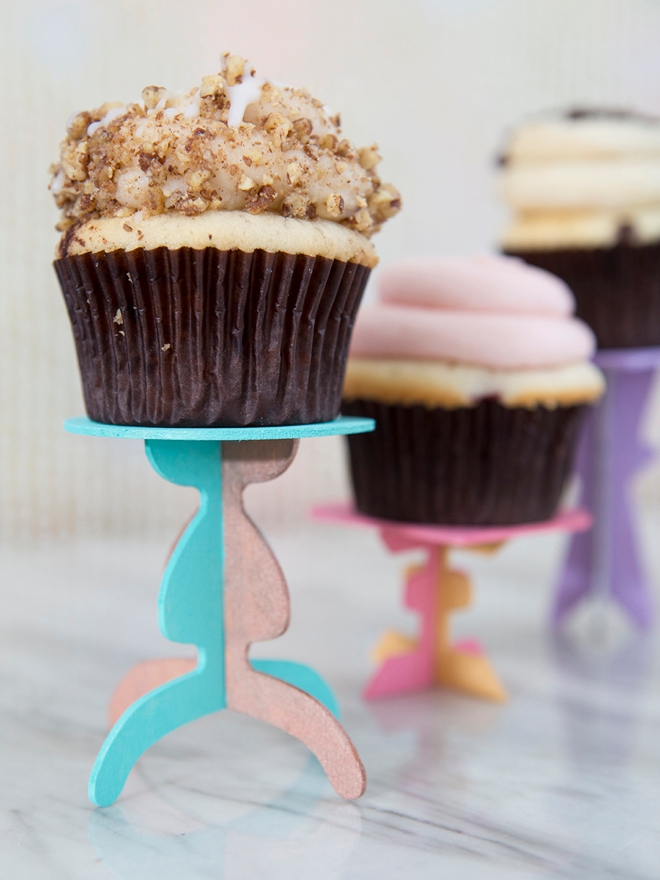
Wedding or Birthday
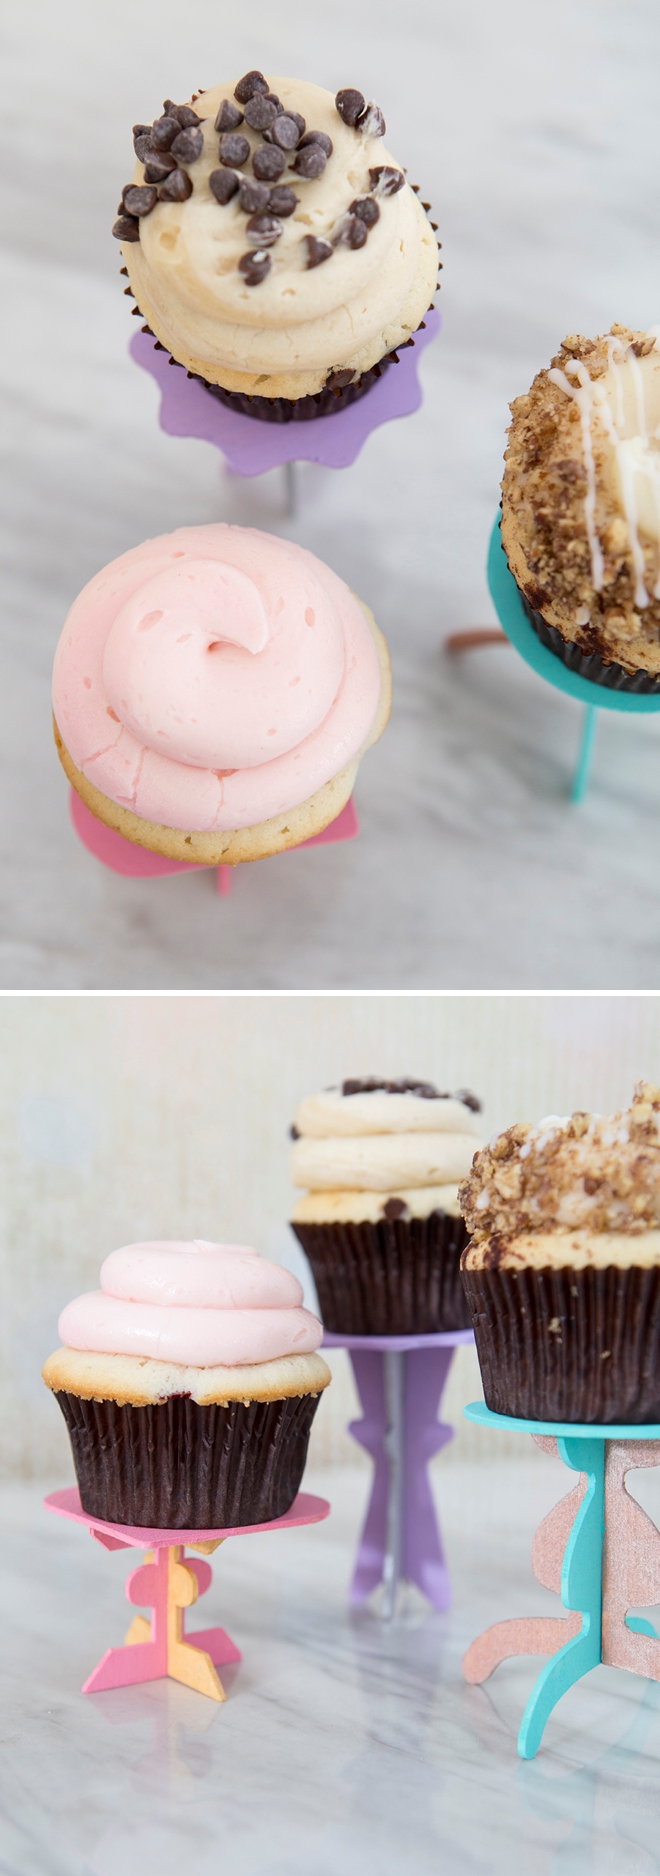
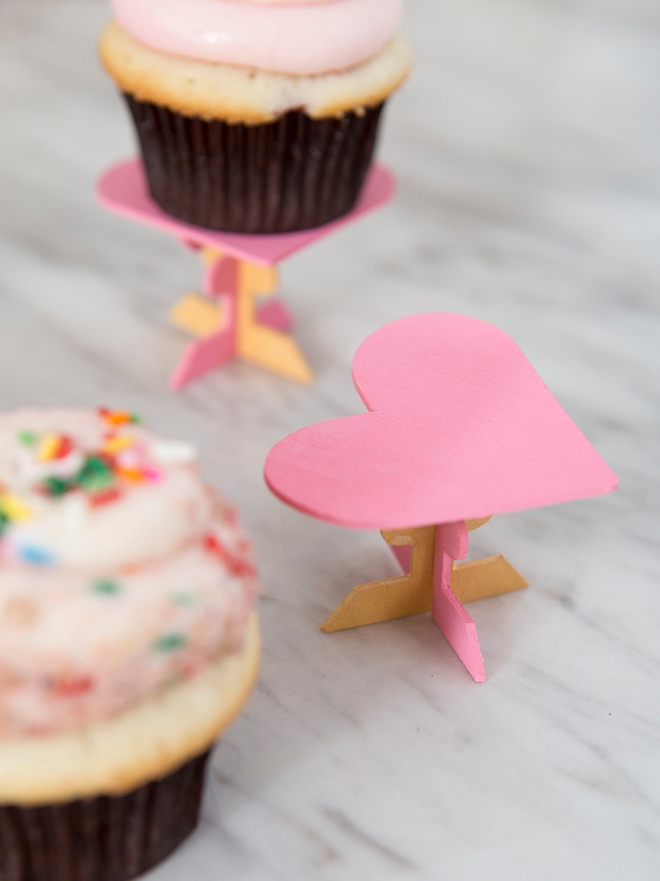
These darling little cupcake stands would be perfect for the cupcake-loving bride and groom, or the couple serving cupcakes as their dessert. They would also of course be wonderful for any type of birthday celebration or circumstance that calls for a cupcake to be displayed and then eaten!
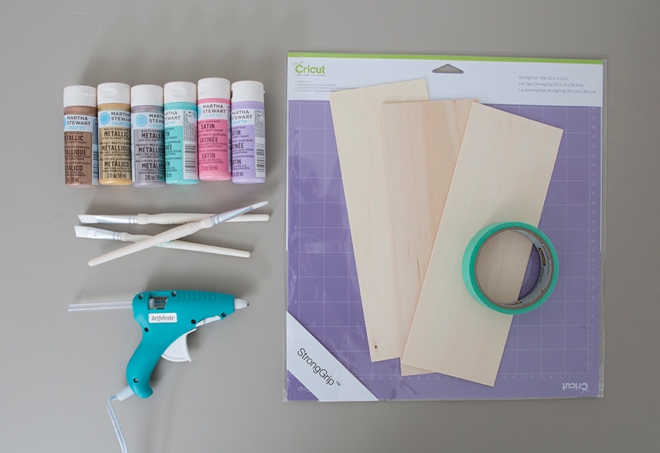
SUPPLIES:
- Cricut Maker
- Cricut Knife Blade
- Cricut Strong Grip Mat
- 1/16″ x 4″ x 11″ Basswood Sheet (for each cupcake stand)
- Masking Tape
- Paint
- Hot Glue Gun
- Our FREE .SVG cut files at the end of the post!
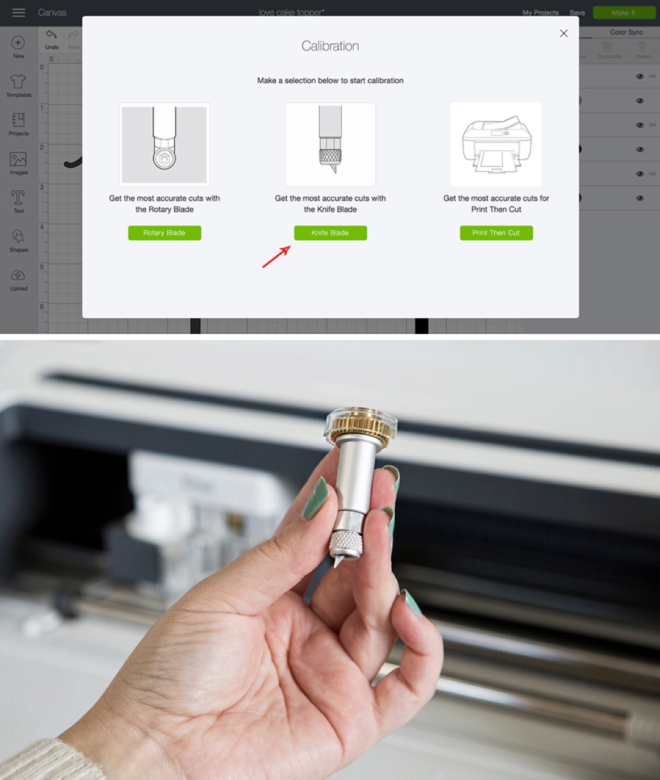
Calibrate Your Knife Blade
If this is your FIRST knife blade project, you’ll need to calibrate it with your machine before you start. Click the hamburger menu in the upper left hand corner of Design Space to reveal a dropdown menu and select “Calibration”. Then click on the knife blade and follow the on screen prompts. This ensures your machine is properly registered to use the exact blade you purchased.
You need the Cricut Maker and the Cricut Knife blade for this project.
Other Knife Blade Musts:
- You can only work from Design Space using your desktop or laptop computer. Knife blade projects aren’t compatible with the Cricut app yet.
- Tape your thick material to the cutting mat using a low-tack tape to ensure it doesn’t move around during cutting. The knife blade is so strong that this can happen!
- Move the 4, white start wheels to the right side of your machine, otherwise they will make indents in your wood or other materials.
- Avoid small cuts. The knife blade is not your intricate cutting blade. Lines should be kept to about 1/4″ while inner cuts should be no less than 3/4″. If your file isn’t sized properly you run the risk of the item having cutting issues or you could break your blade.
- Knife blade projects take time! Thicker materials require more cuts, so give yourself time to make projects. After the blade does it’s first pass, DS will tell you how many more passes it is going to make and the time estimated.
- Use a dedicated cutting window online. You can have other windows open, just open them separately and don’t use a new tab.
- Turn the sleep function off or increase the time on your computer. Some computers are set to sleep at 15 minutes or less and if your project is still cutting, it will stop!
For more tips on using the knife blade, check out this YouTube video from Cricut.

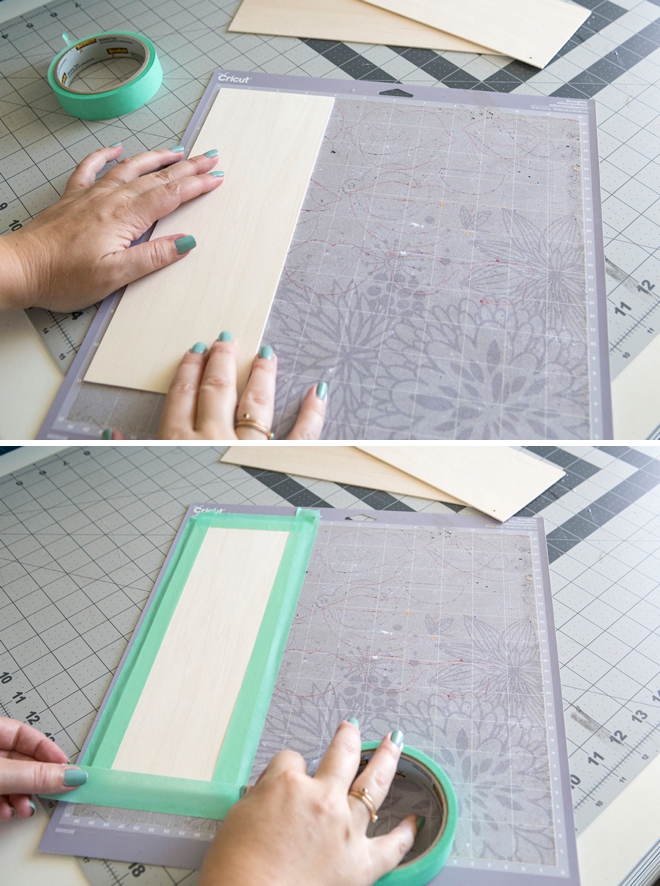
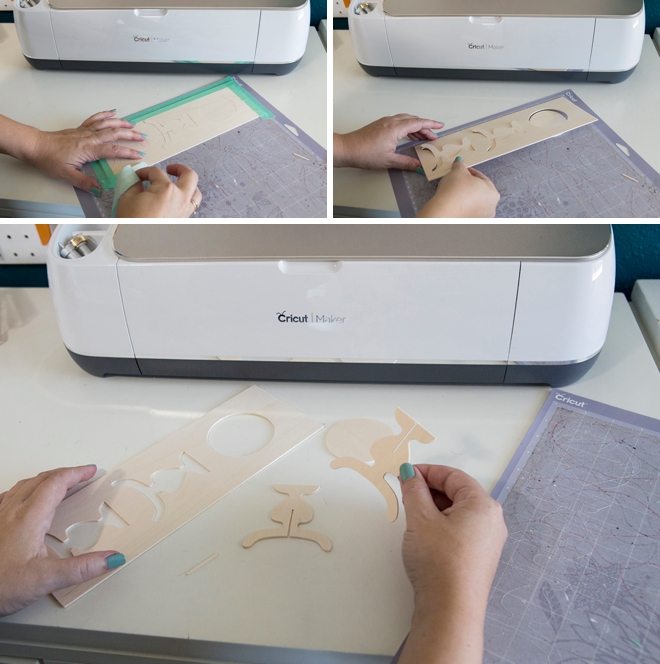
Tape Down Your Basswood
This project was designed to be created using 1/16″x4″x11″ basswood. This size can be hard to find, but it’s easy to buy a larger piece and cut it down to that size; I purchased 1/16″ thick x 4″ wide x 24″ long basswood and then cut it down to 11″ pieces. You can also use the Cricut Chipboard. Tape all four sides down to your strong grip mat using masking tape or another type of low-tack tape.
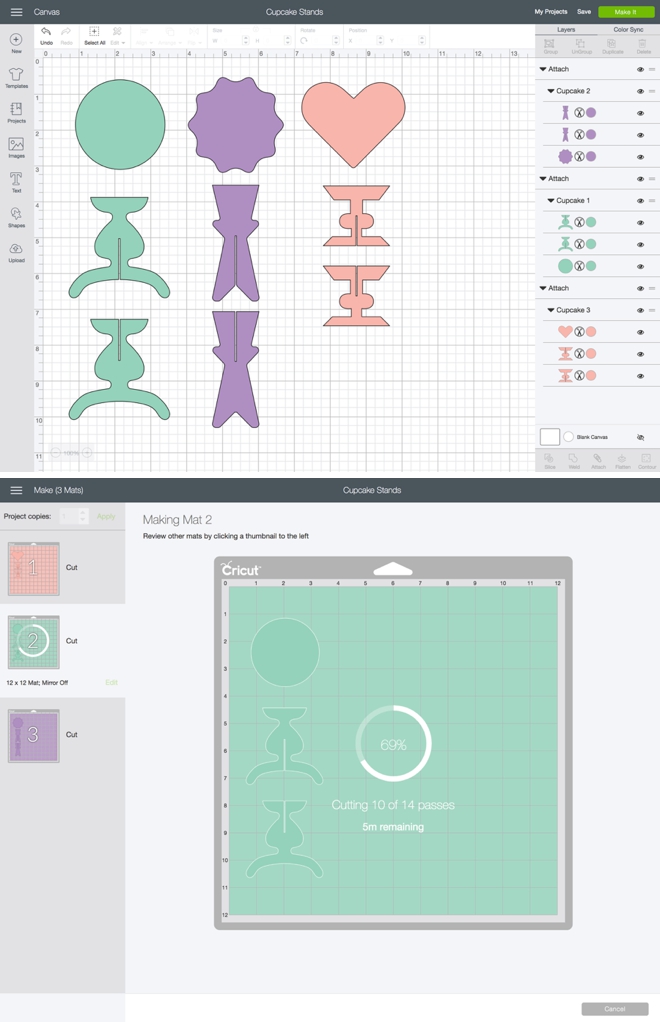
Prepare Your Project
Click the graphic at the end of the post to download our free design files. Open Design Space and click to upload each .SVG. Make just one of the cupcake stands, or make them all. All three patterns are attached in the download.
After the first cut, DS will tell you how many more cut “passes” the machine needs to make with the knife blade and how much time is remaining. I found that the machine wanted to make 14 passes, but that 10 was sufficient for all three designs.
Then Let The Cricut Work It’s Magic
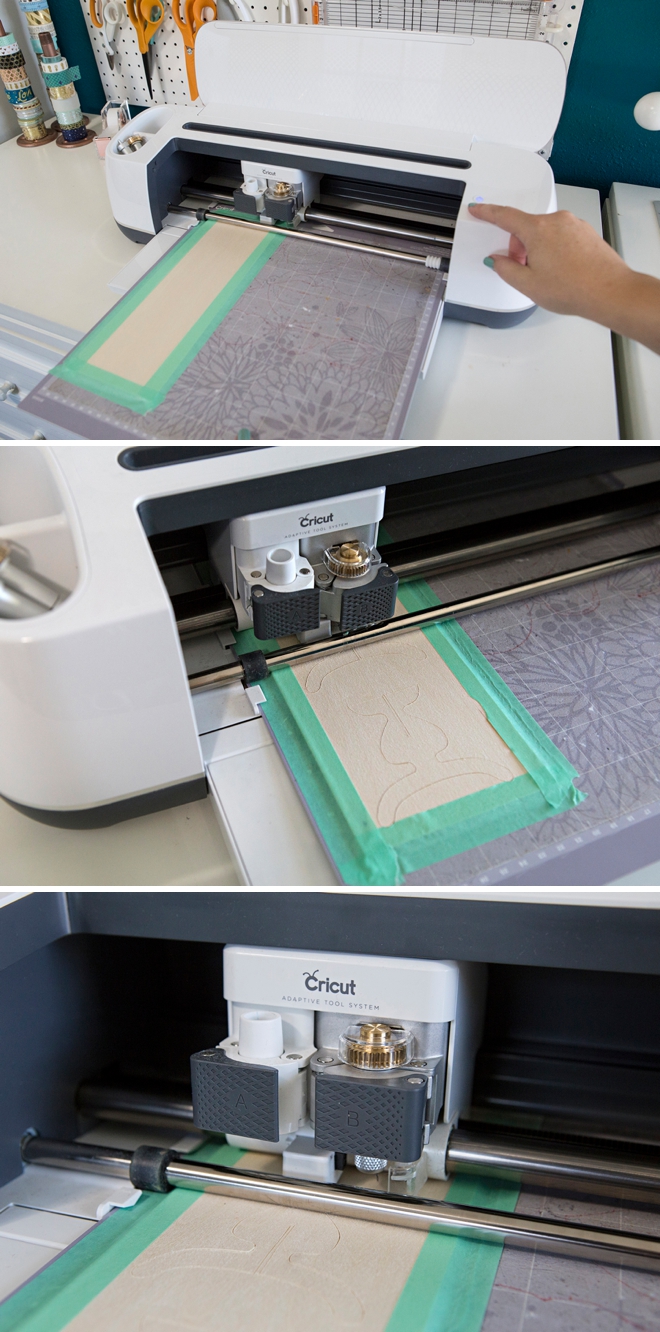
Check The Depth
Like I mentioned, Design Space wants to make 14 cut passes but 10 is sufficient. The way to check if the material has been cut all the way through is to simply pause the machine and use a piercing tool to lift up a small section. If it hasn’t you can click pause again to restart the machine and if it has been cut all the way through you can click to unload your mat!
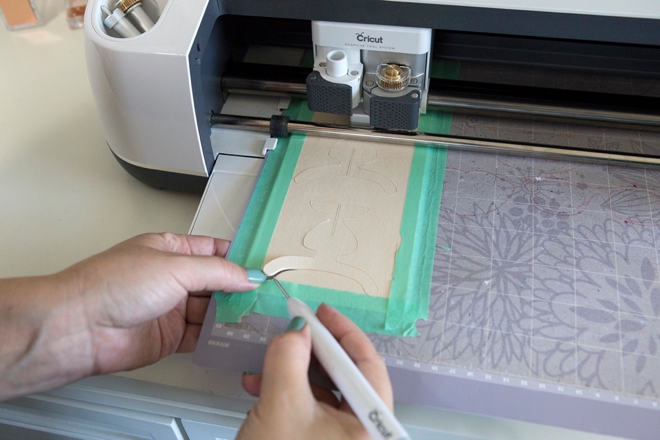
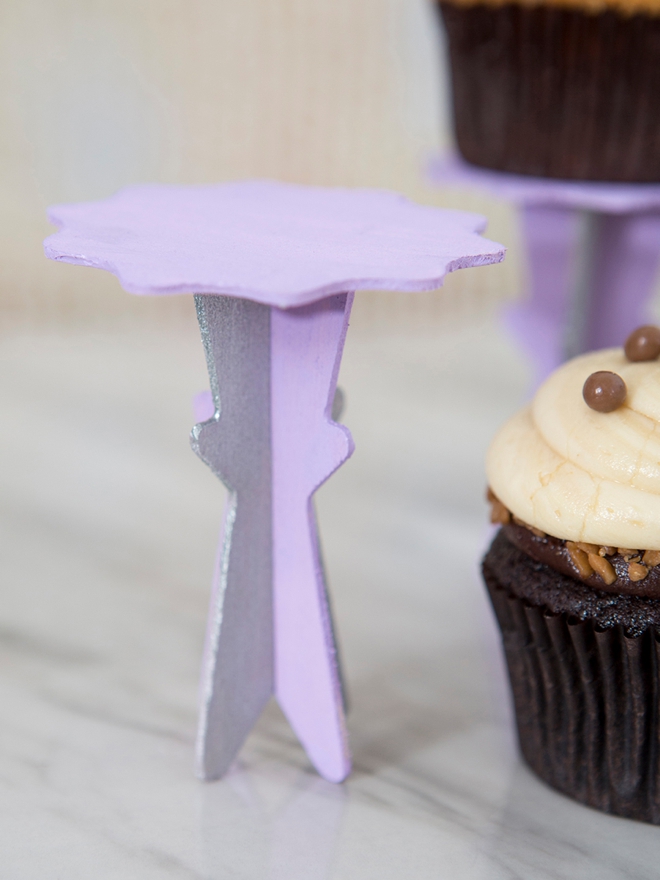
Remove Your Cupcake Stand Pieces
Carefully peel the tape and basswood off your mat to reveal the three pieces of your cupcake stand. You might have to break off the tiny slits in the stand base.
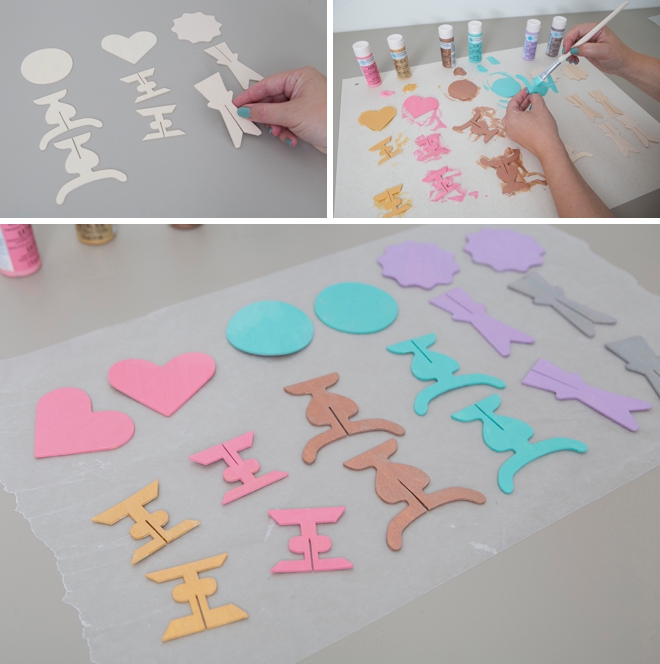
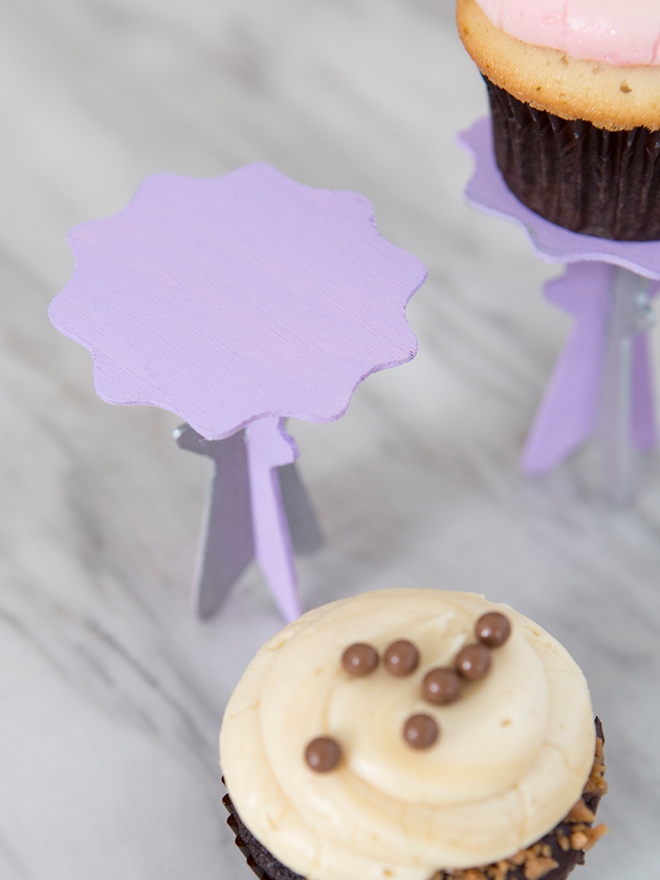
Painting Is Up To You
Paint each of your cupcake stands however you would like. You can use craft paint, spray paint, wood dye, stain… anything. You can paint them in pieces or paint them once they are assembled, it’s your call.
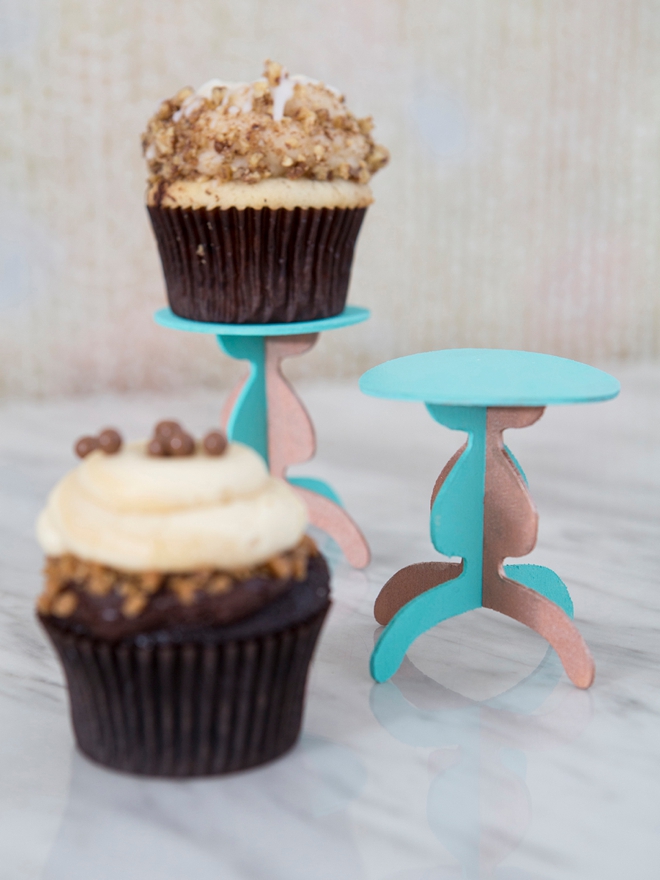
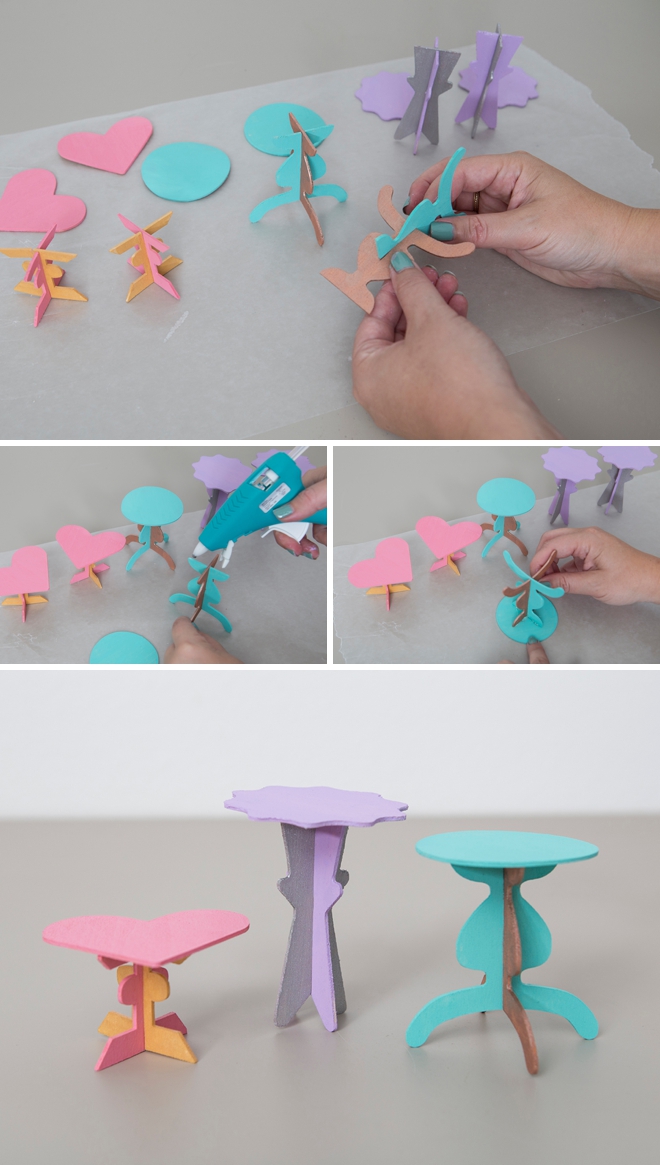
Assemble
There are only two steps to assembly. The first is to slide the two base pieces together, gently, if you press too hard you can break the wood. The second is to hot glue the stand top on the top of the base. That’s it!
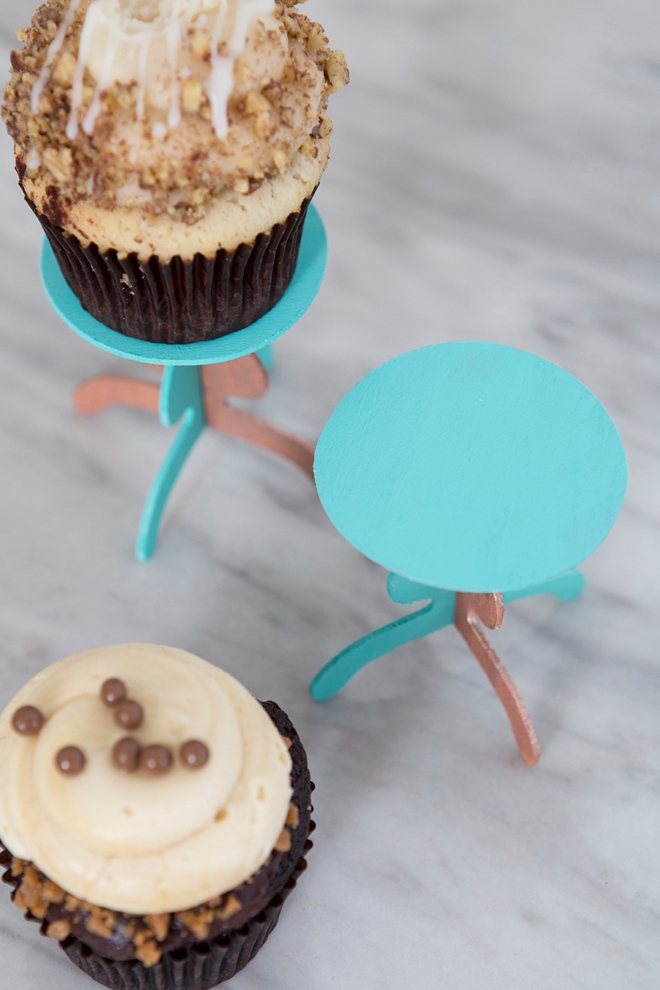
Quick + Easy
By letting our Cricut Maker do all the hard work, each of these little stands took less than 3 minutes to cut and just a few minutes to paint. The longest part is letting the paint dry. You could make a pair of these as “bride and groom” cupcake stands or if you’re feeling adventurous you could make one for every guest as their favor!
DIY TUTORIAL PARTNER:

Cricut is a world-class leader in personal electronic cutting machines that has enabled people to achieve their creative best for over 50 years. Today, millions of people use Cricut products to create unique projects, and they focus on enhancing lives with this power of creativity. Let Cricut help you take your wedding personalization and project creativity to the next level!

As with all our DIY tutorials, if you create one of our projects please send us a picture – We Love Seeing Your Creativity! If you use Instagram or Twitter please use the hashtag #SomethingTurquoiseDIY and it will show up on our Get Social page. Happy Crafting!
DIY Tutorial Credits
Photography + DIY Tutorial: Jen Causey of Something Turquoise // Cricut Maker, Strong Grip Mat, and Knife Blade: courtesy of Cricut // Cupcake Stand .SVG Design: Julia Ensign // 1/16″x4″x24″ Basswood Sheets: Hobby Lobby or Amazon // Craft Paint: Martha Stewart // Turquoise Masking Tape: Amazon // Cupcakes: Sweet & Saucy // Nail Polish: OPI – Withstands the Test of Thyme
Shop The Supplies:
Find the supplies you’ll need for this project from our affiliate links below:

Comments