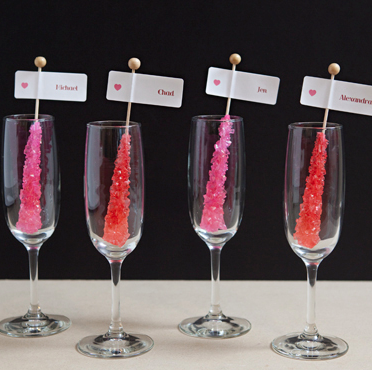
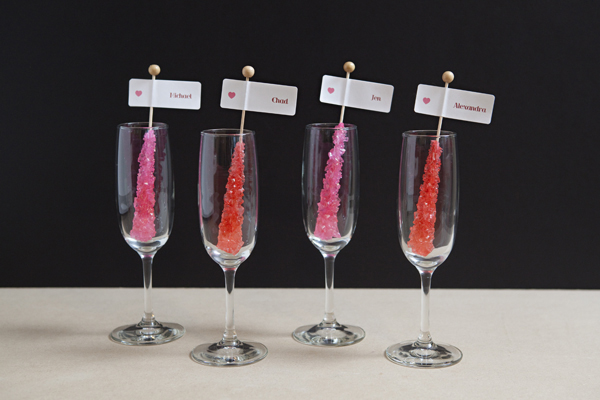
While sitting down with one of my adorable brides a few months ago… she showed me a picture from Pinterest of rock candy in champagne glasses – they looked so cute, we were both in love with the idea. As we were discussing more wedding planning, the topic of escort and seating cards came up – and how difficult seating many guests with no seating cards can be. Escort and seating cards are different! Escort cards actually escort your guests to their appropriate table and seating cards tell your guest which place setting is reserved for them. Enter my idea to combine the adorable rock candy in champagne glasses with seating cards… dearest Laura… this DIY is for you!
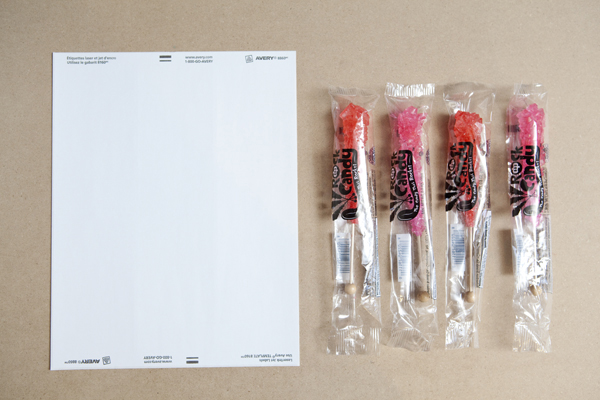
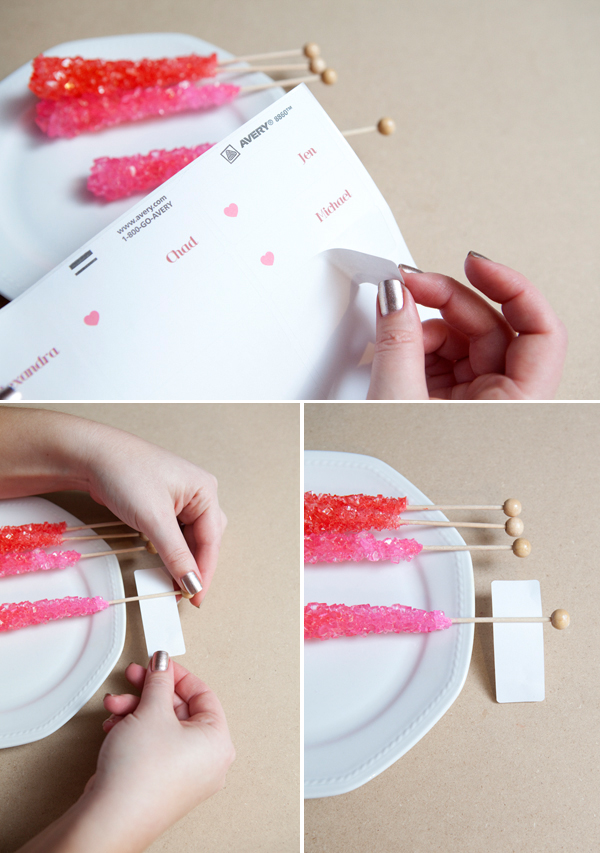
Supplies: any type of address labels (2 per guest) and rock candy sticks (one per guest)!
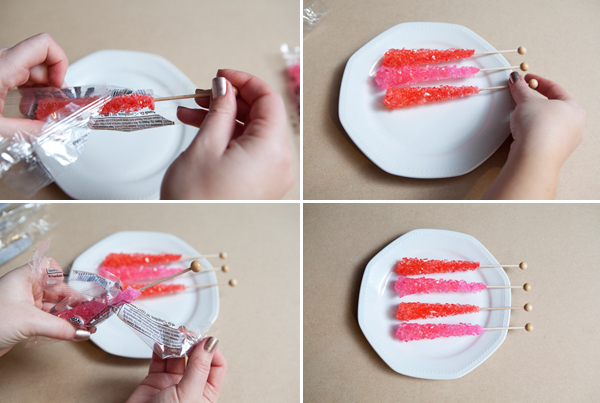
Unwrap and carefully layout your rock candy sticks. If you are creating these for your wedding, I would recommend doing this by table by table. When finished, place each tables rock candy sticks into large zip lock bags {numbed by table} for the ease of your coordinator to set them out at your reception.
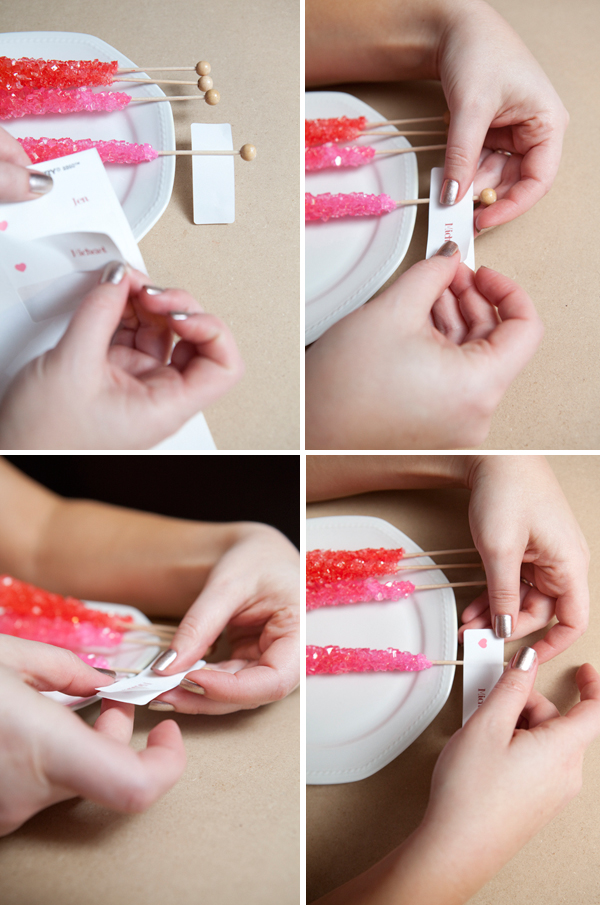
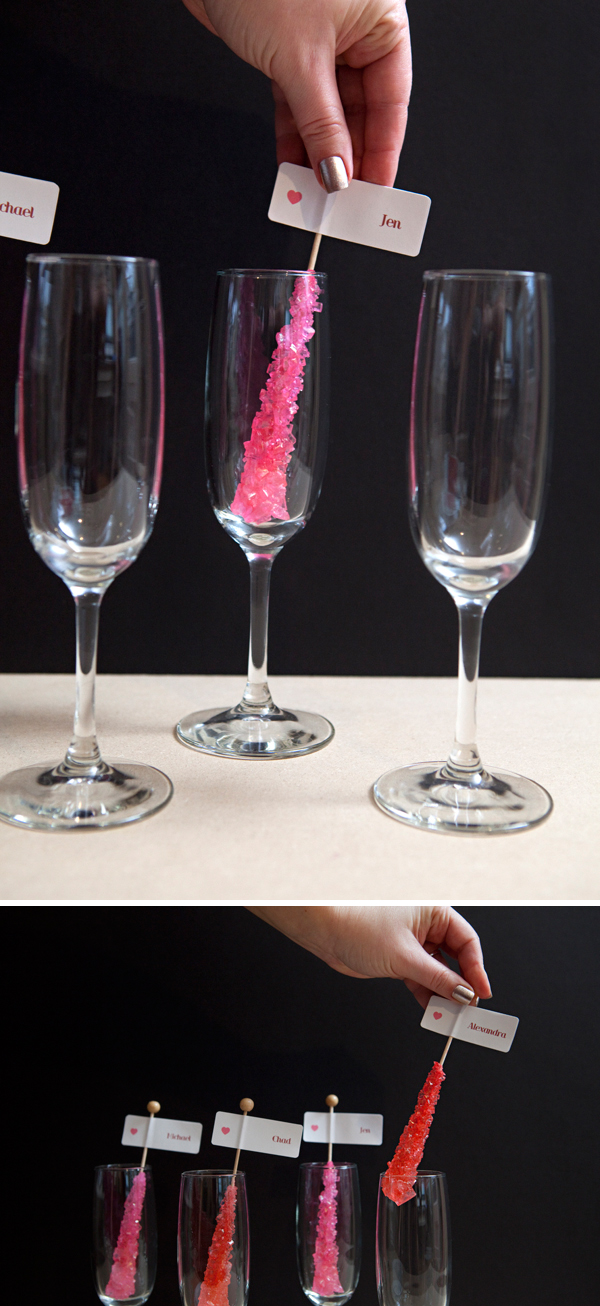
Peel off the first label, which is blank and place it on the back of the rock candy stick. If you are computer savvy like me, you can design print your guest labels, maybe even add a cute little icon. You can also hand write your guests names and possibly rubber stamp something cute on the opposite end of the label!
Next, peel off the label with the guests name and carefully apply directly on top of the blank label.
Press down and make sure that it is completely stuck together, around the stick.
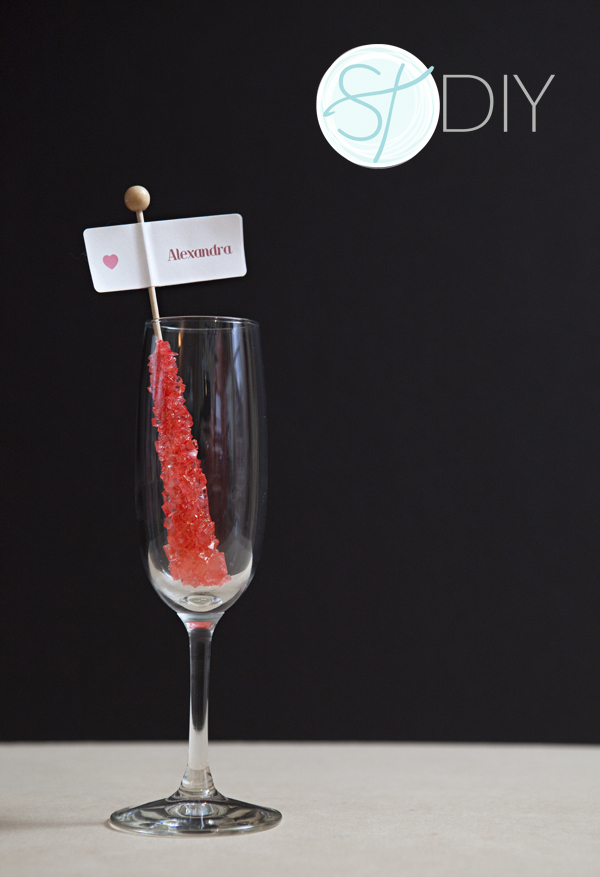
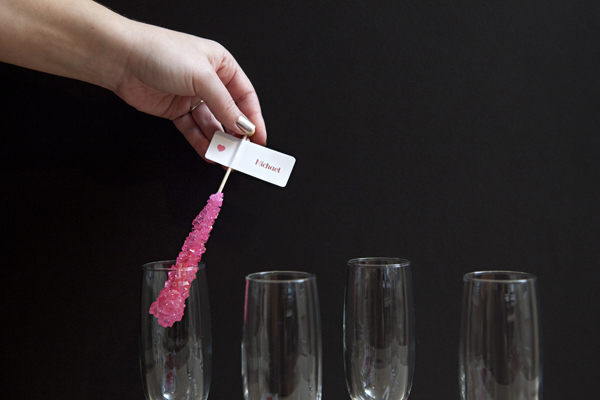
Insert into champagne glass!
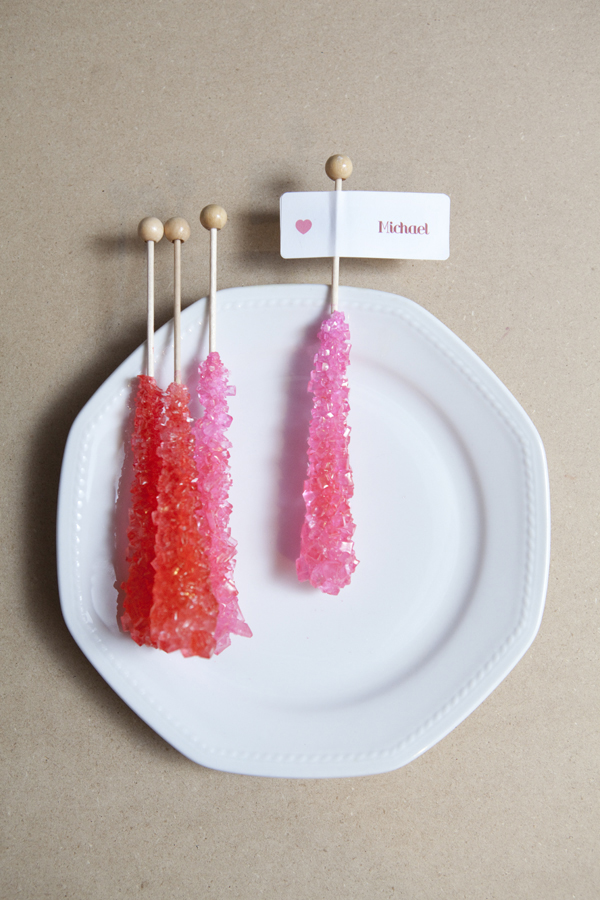
Now do the rest! Apply a blank label to the back of the candy stick and your personalized label to the front of the candy stick… so simple and totally adorable!
As with all our DIY tutorials, if you create one of our projects please send us a picture or a trackback – We Love Seeing Your Creativity! If you use Instagram or Twitter please use the hashtag #SomethingTurquoiseDIY. Happy Crafting!
Photography: Studio 11 // Diy: Jen | Something Turquoise // rock candy: Michaels // labels: Stapels // champagne glasses: Cost Plus World Market // nail polish: same



Comments