
DIY | painted stemless wine glasses
Hoooray!!!! It’s the best day of the week… DIY Friday! I have a fabulous project to share with you today! It’s a spin-off of our extremely popular ‘Glam Champagne Glass‘ tutorial… the painted stemless wine glass! Perfect for the new Mr & Mrs… wonderful as bridesmaid gifts… or just all around darling for your home… what color will you paint yours?
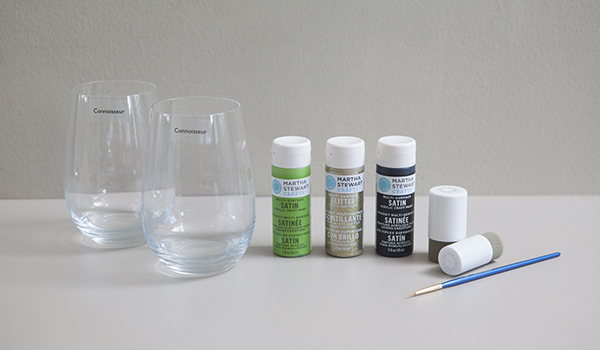
SUPPLIES // Connoisseur style stemless wine glasses from Cost Plus World Market (only $6 each!), Martha Stewart Crafts paint in your choice of colors, paint pouncer sponges, paintbrush, rubbing alcohol and a plastic baggie.
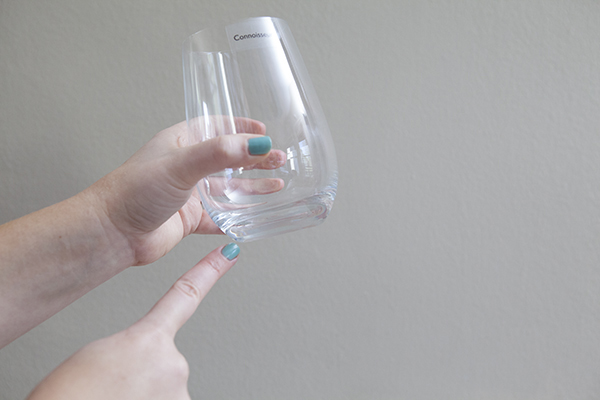
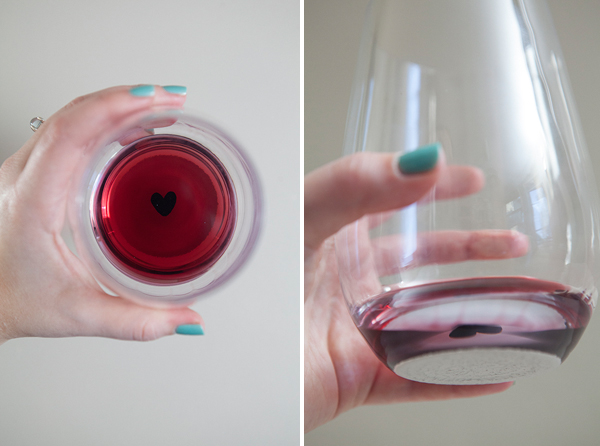
The ‘connoisseur’ style glass has this special double walled base which will beautifully reflect the design you choose to paint on the bottom of your glass. You can definitely do this with regular stemless wine glasses – these will just give your design a little something extra.
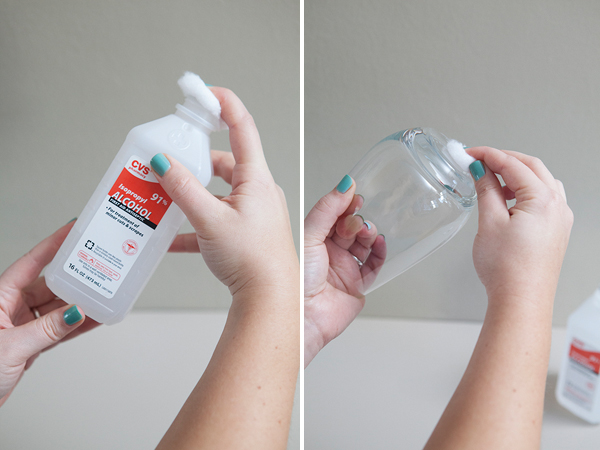
Make sure to clean the area of your glass that you will be painting with rubbing alcohol.
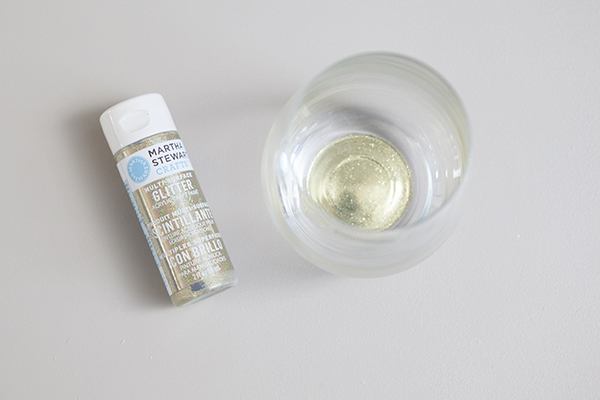
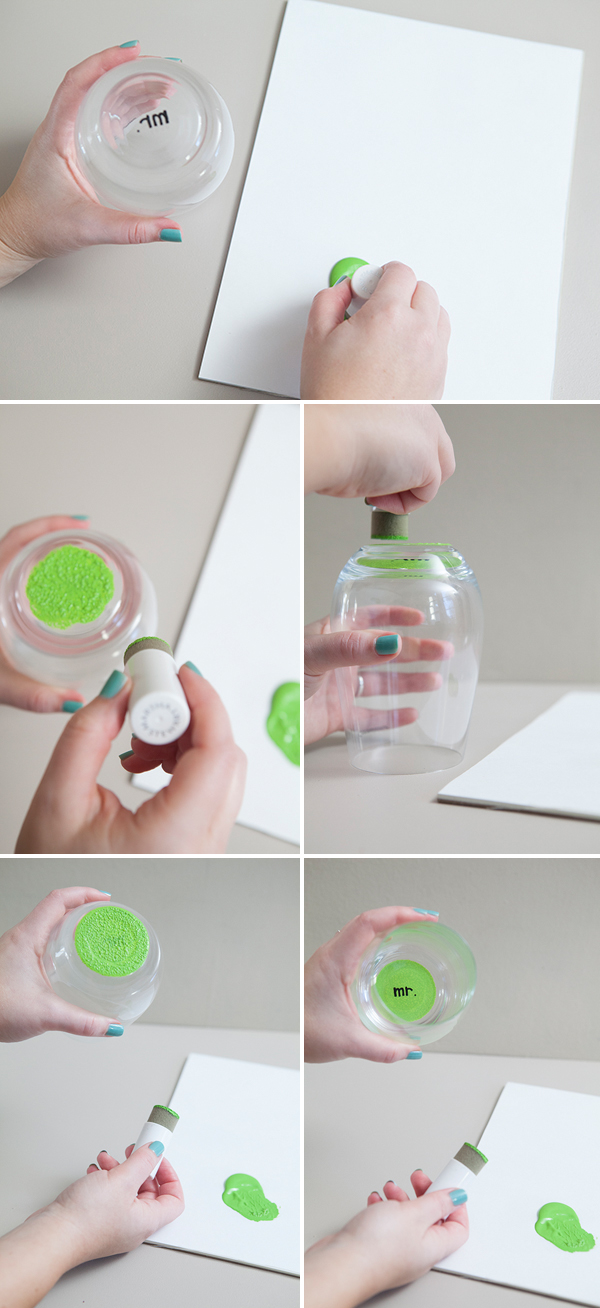
Start painting your glass! Using the Martha Stewart Crafts pouncer paint sponges is a very easy way to evenly paint the bottom of these glasses. When you use the ‘pouncing’ or ‘dabbing’ motion it leaves a soft texture, unlike using a paintbrush that will leave lines. Paint thin coats with an hour of dry time in between each coat, until you are happy with the coverage. I did 4 thin coats of the Florentine Gold glitter paint on this glass below.
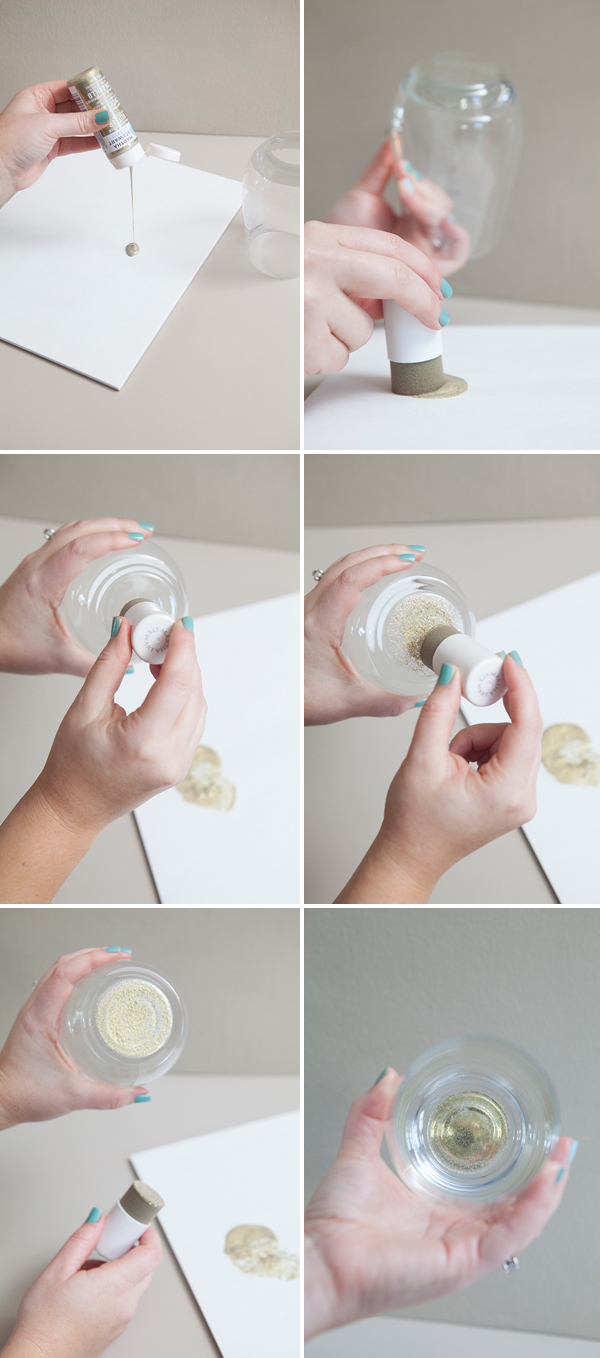
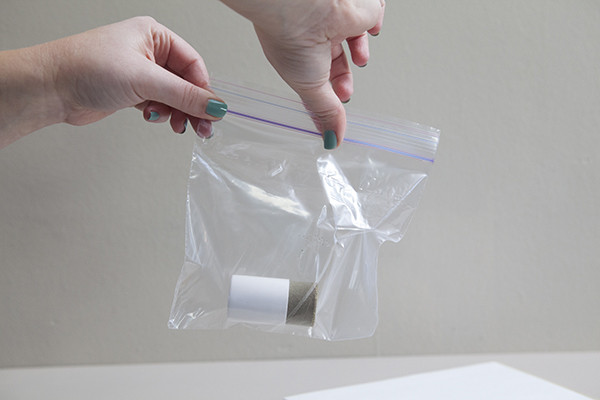
Instead of wasting time and paint, store your pouncer in a ziplock bag between each coat.
If you feel like some of the paint is feathering beyond the edge of the glass base, just wipe it away before it has a chance to dry.
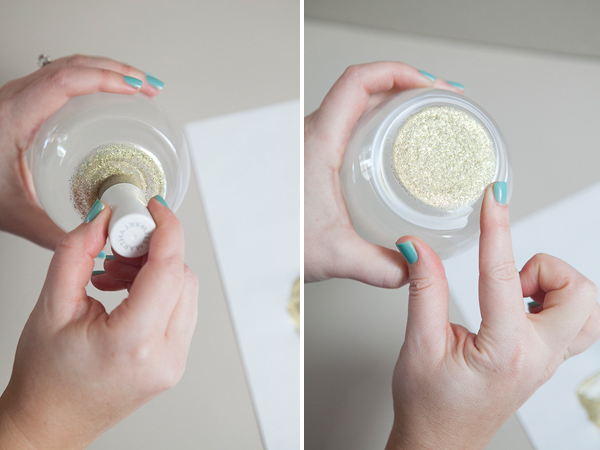
Four thin coats of Florentine Gold created terrific glitter coverage!
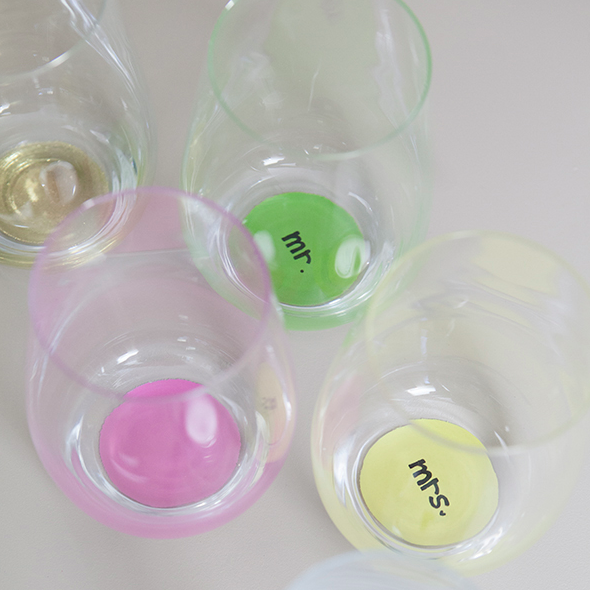
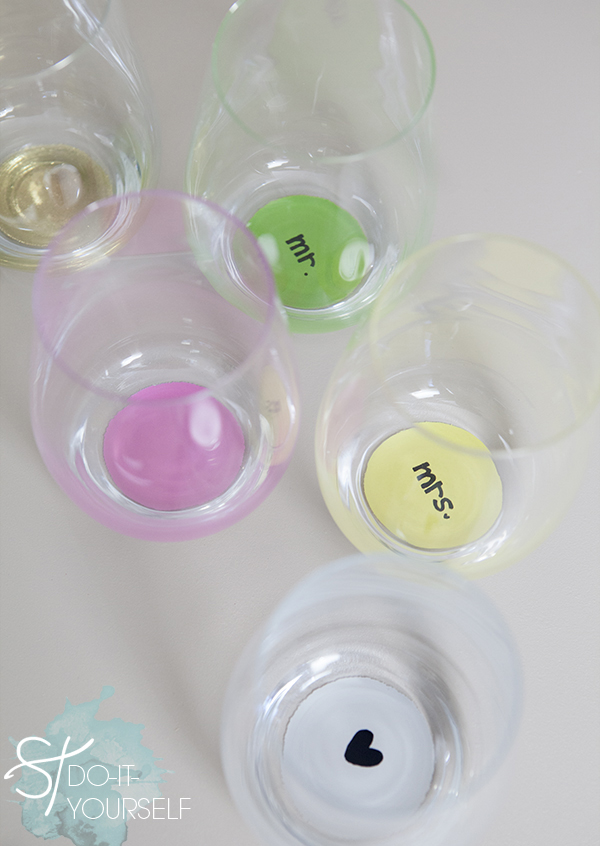
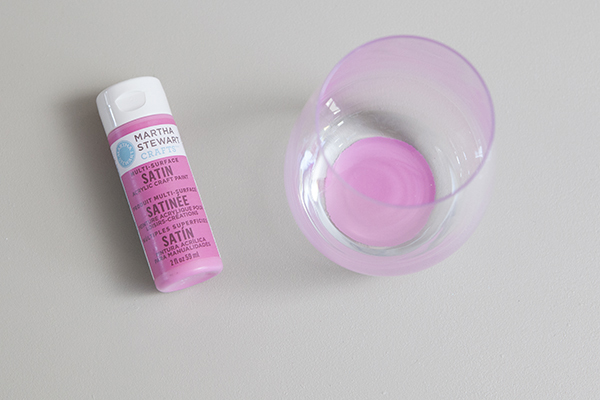
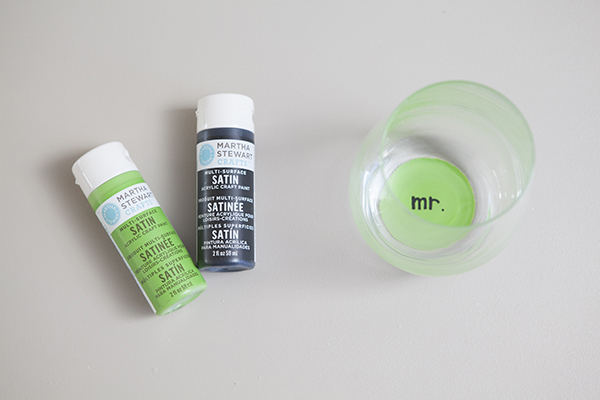
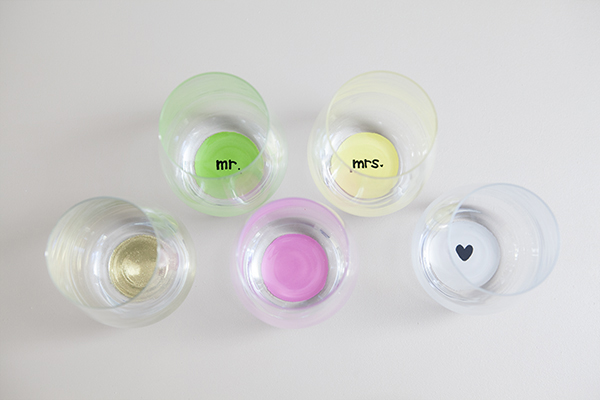
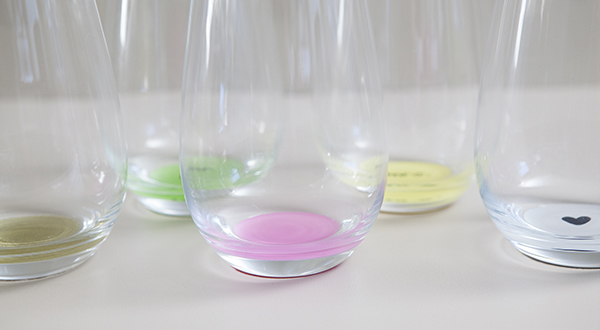
Painting these glasses in any solid color or set of colors would be just beautiful. This glass below was three thin coats of Raspberry Ice paint.
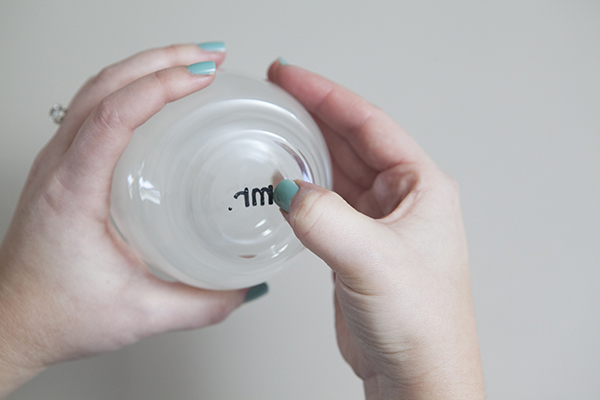
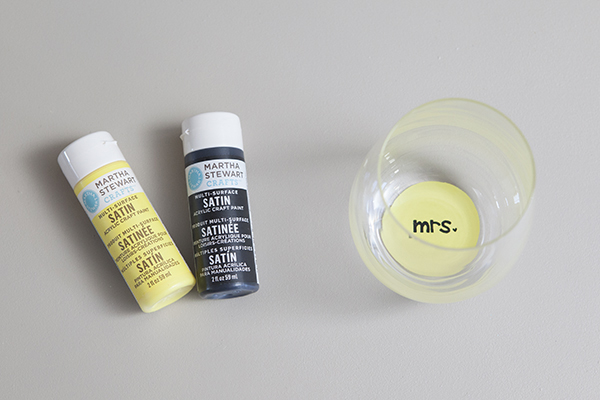
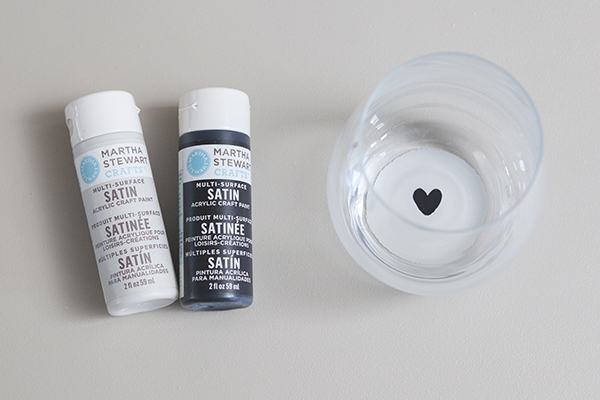
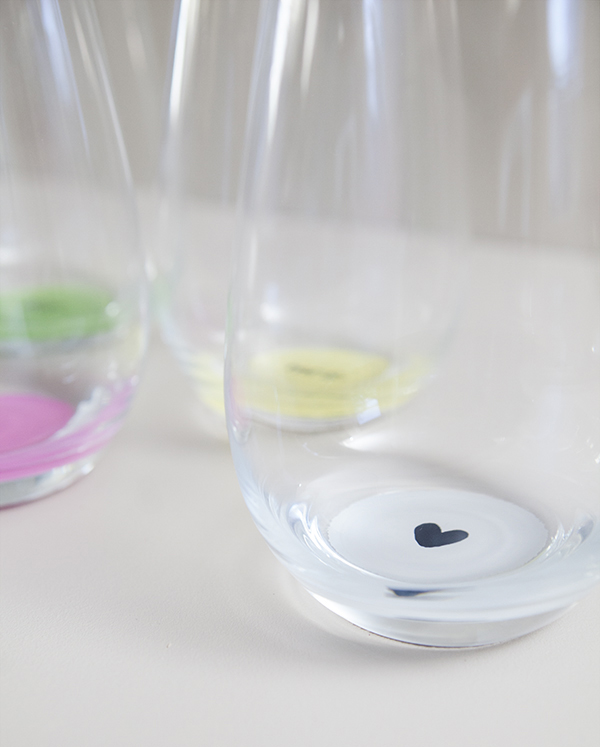
If you will be personalizing your glasses, you will first need to paint your letters backwards – that is if you want to read them while drinking! I used a Sharpie to draw my words first.
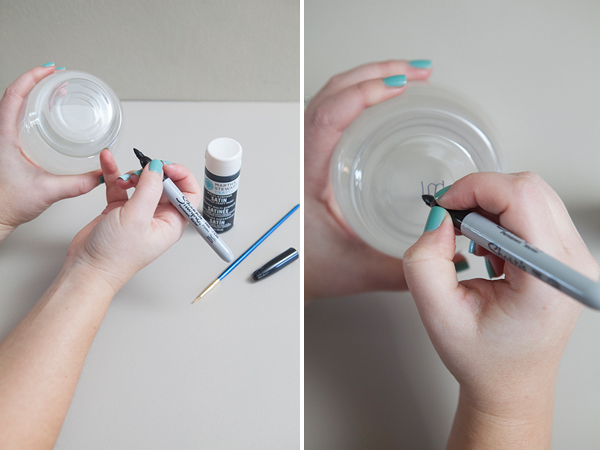
Using a very tiny paint brush, carefully paint your personalization. For these I used Beetle Black paint and I only needed one coat, but on other designs I did – I used Wedding Cake White and needed two coats. Again, coverage is up to you.

If your painted design isn’t perfect, scratch or wipe the imperfections away before it dries. Let the first coat dry at least an hour before proceeding to the next coat of paint.
Now using the same steps as the glittered glass above, paint the colored layer on top of the design layer. I did three coats of the colored layer in all three designs below.
Three coats of Spring Pasture green…
Three coats of Chamomile yellow…
Three coats of Lake Fog… as you can see any design will be just darling!
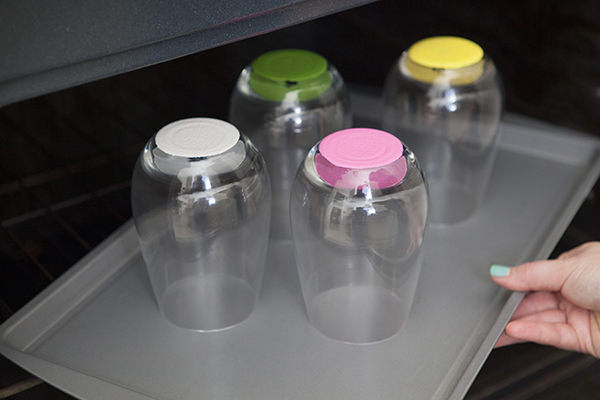
HOW TO CURE MARTHA STEWART CRAFT PAINT
There are two ways to cure this paint, the air-dry method or the oven method. To air-cure, simply let the paint dry for 21 days. To oven-cure, place your glasses in a cool oven and set it to 350 degrees. Set a timer for 30 minutes, when the time is up turn off the oven and let your glasses cool down inside the oven to prevent cracking. *All glitter and metallic paints must only be air-cured! Once cured, these beautiful glasses will be top shelf dishwasher safe!!!
Aren’t they just adorable!!??
CRAFT TIP // To preserve the gorgeous paint, even after it has been cured – don’t let these glasses sit in a bowl or puddle of water in your sink for extended periods of time.
As with all our DIY tutorials, if you create one of our projects please send us a picture or a trackback – We Love Seeing Your Creativity! If you use Instagram or Twitter please use the hashtag #SomethingTurquoiseDIY. Happy Crafting!
![]()
Photography: Studio 11 Weddings // DIY tutorial by: Jen | Something Turquoise // Martha Stewart Craft Paints and pouncer sponges: Michaels // Connoisseur style stemless wine glasses: Cost Plus World Market // nail polish: Essie in Turquoise & Caicos and Mint Candy Apple

Comments