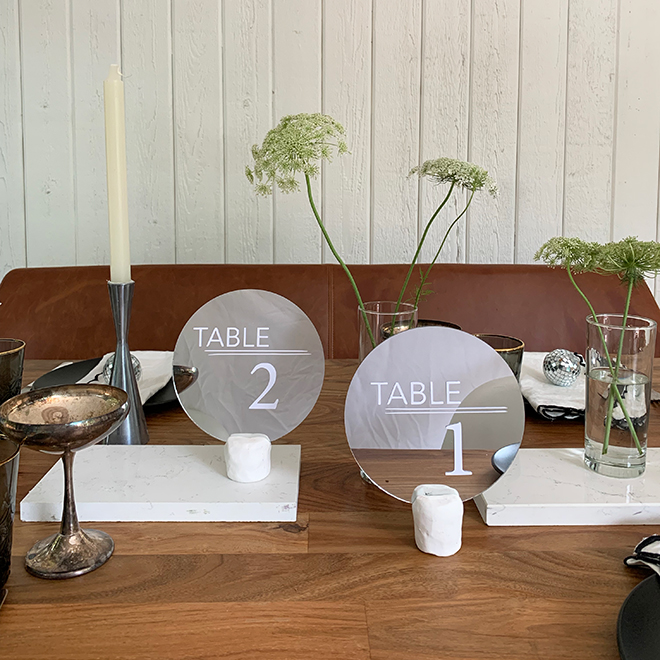

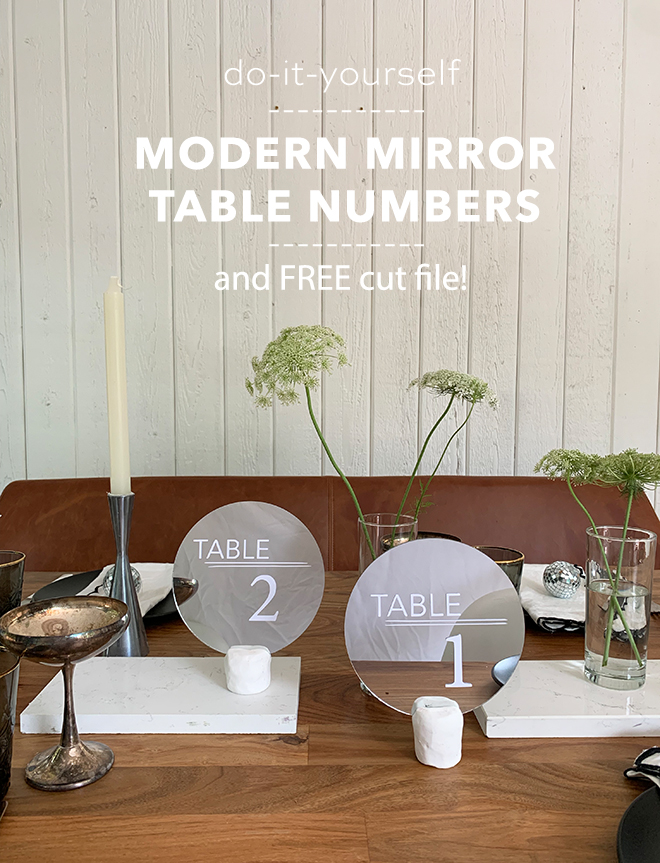
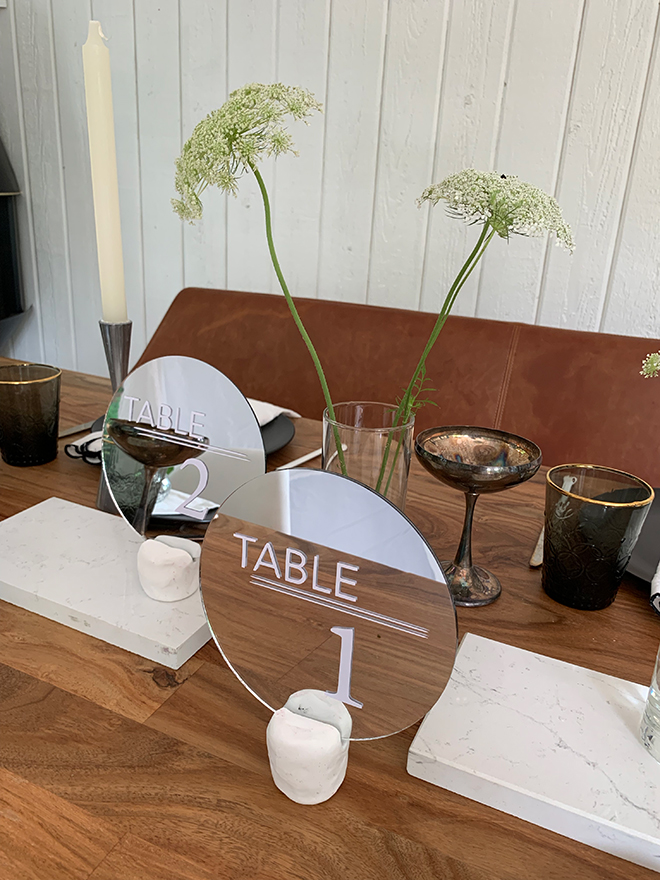
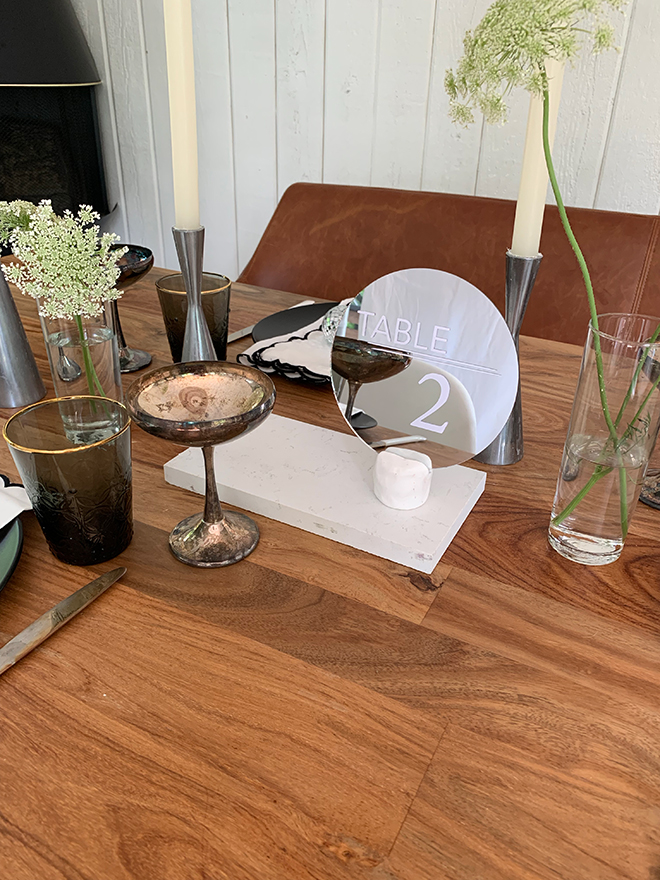
DIY Modern Mirror Table Numbers with a FREE Cut File!
As a wedding designer, I love that decor is shifting from rustic to modern. The clean and minimal looks are fresh and what’s next in weddings. The good news for my DIY brides is that clean and polished can also be DIY! I had this table number idea for a client getting married at a modern art museum, but I couldn’t source the perfect mirror in our budget, so I came up with a way to DIY it! Though this look isn’t limited to modern, it could fit in with glam or even industrial styling. I am smitten with how chic and pretty these turned out! Download the PNG file below. I used the font “Minion Variable Concept” as the table number, which you can download here and update to fit your event!

SUPPLIES:
- 2 round mirrors per table number, I used 6″
- super glue
- polymer clay
- Cricut
- Cricut standard grip cutting mat
- Permanent Vinyl
- weeder tool
- Cricut transfer tape
- our free PNG cut file at the end of the post!
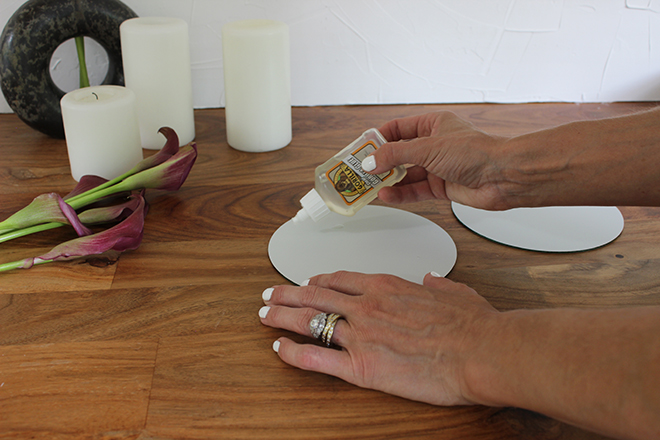
GLUE TWO MIRRORS TOGETHER BACK TO BACK
Use super glue to adhere 2 mirrors, back-to-back.
ROLL OUT CLAY
Use the polymer clay and roll it out into a cylinder about the size of a large marshmallow.
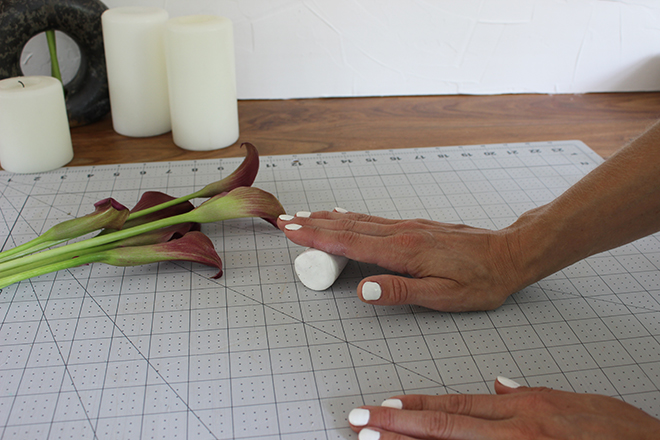
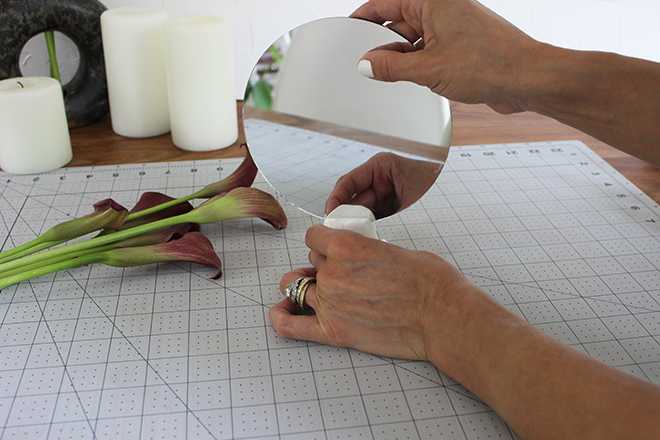
SHAPE THE STAND
Use the edge of the mirror to make the divot where the mirror will sit. After you make the divot, you will need to reshape the top to keep flat and even. Bake according to packaging.
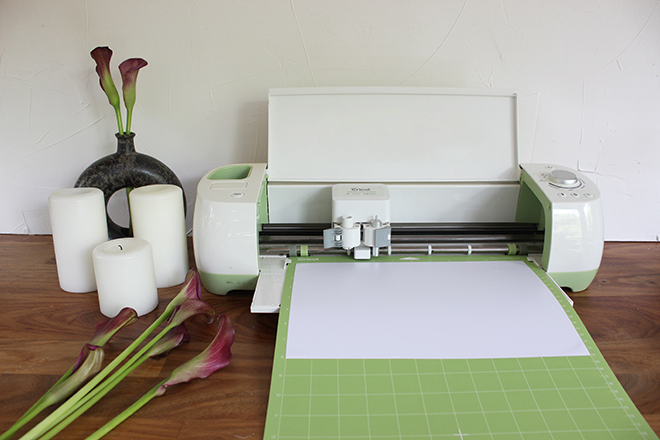
USE YOUR CRICUT TO CUT THE LETTERS OUT OF VINYL
Use the free cut file below, click on the graphic to start your free download, then upload it to Cricut Design Space, and cut the text out of matte white vinyl.
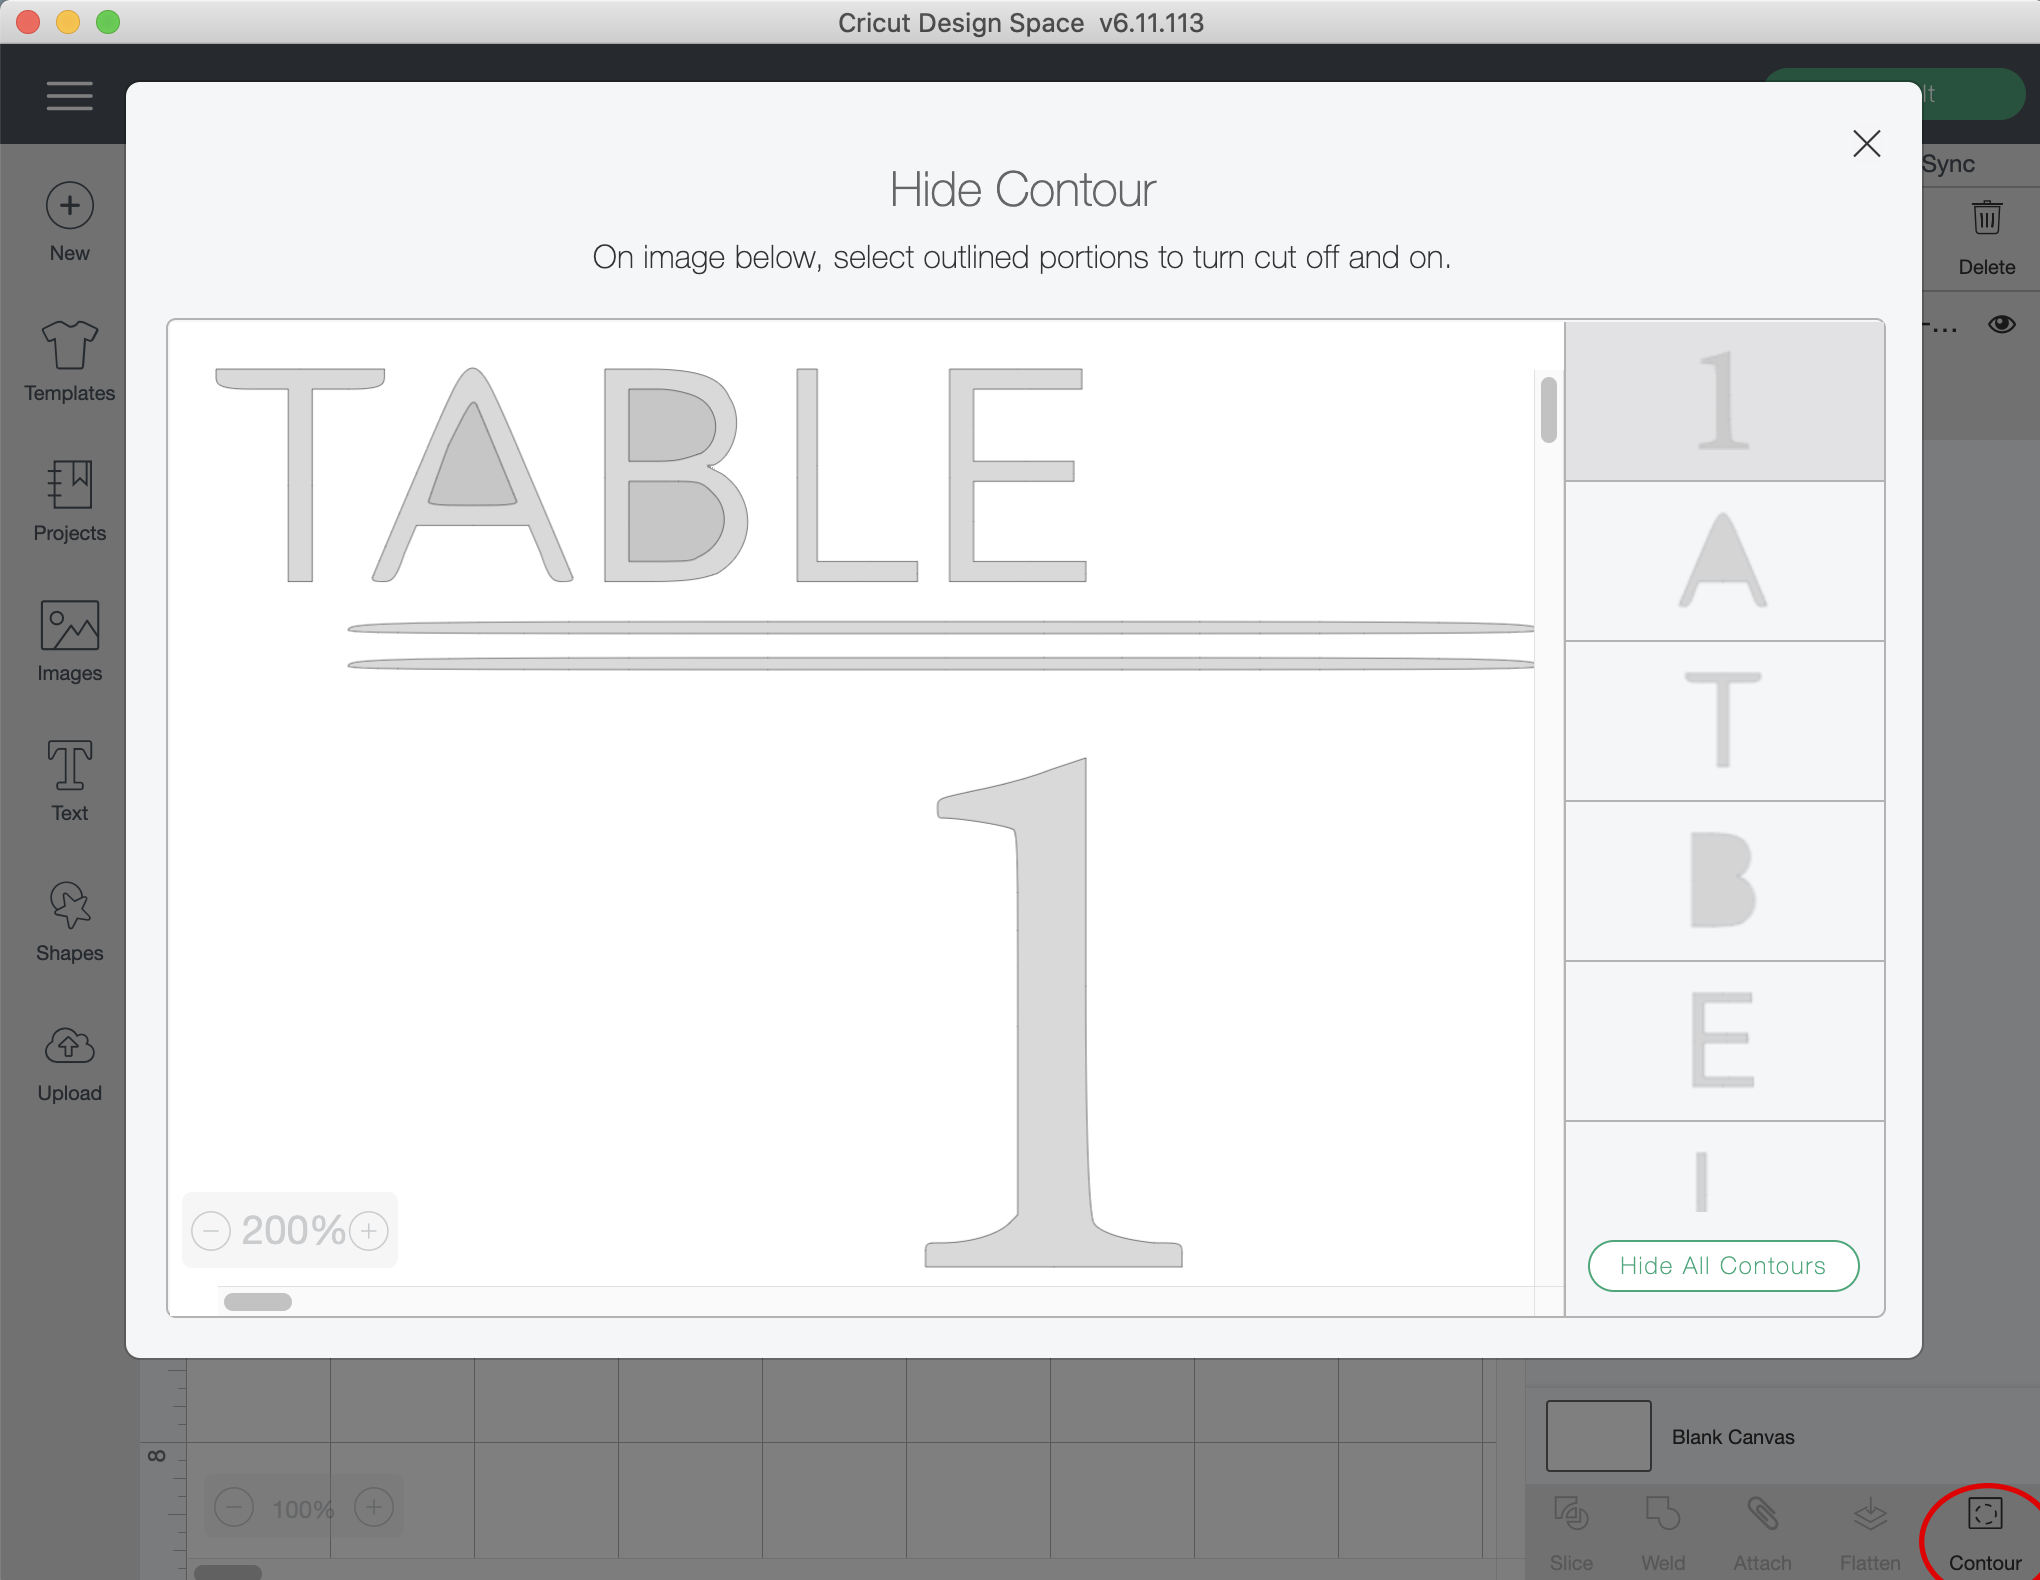
CUT AS MANY NUMBERS AS YOU NEED
In Design Space, use the “Contour” tool in the right-hand tool panel to easily “de-select” our number 1 from the cut file so that you can add in each additional table number that you need. I used the font Minion Variable Concept, find a link to the font in the top paragraph.
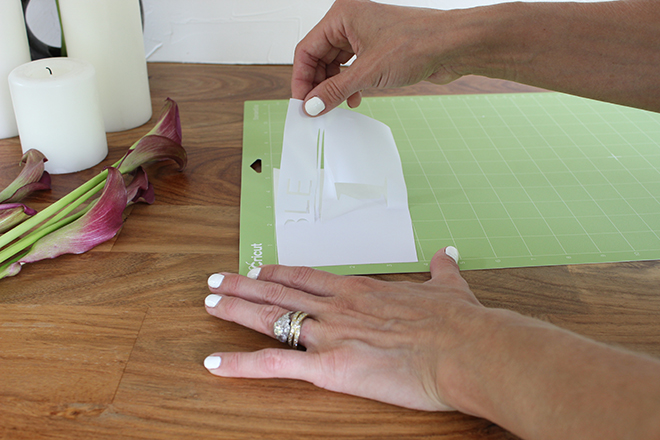
WEED THE VINYL
Use the weeding tool or Exacto knife to weed the text, meaning remove the excess material that isn’t a part of your design.
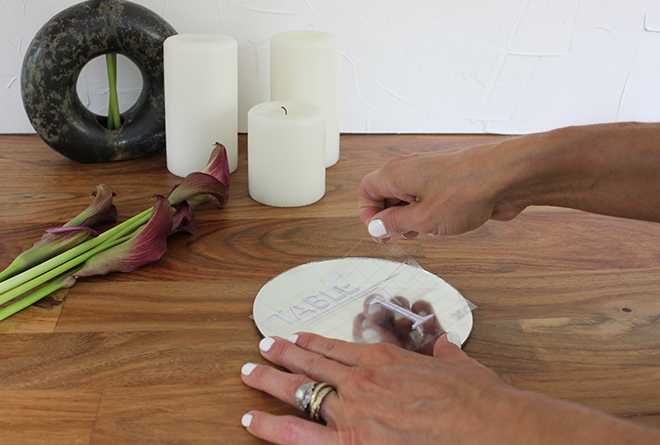
APPLY TO MIRROR
Use the Cricut Transfer Tape to apply your new table number stickers to the mirrors.
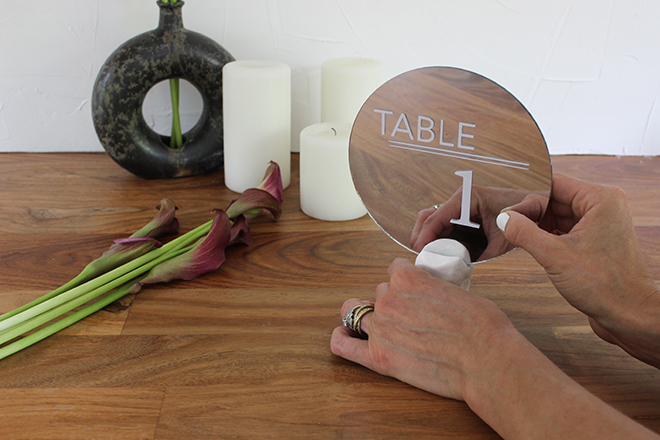
POP THE MIRRORS INTO STAND
If the mirror is not fitting snuggly into your custom base, add a few dots of glue to hold in place.

As with all our DIY tutorials, if you create one of our projects please send us a picture – We Love Seeing Your Creativity! If you use Instagram or Twitter please use the hashtag #SomethingTurquoiseDIY and it will show up on our Get Social page. Happy Crafting!
DIY TUTORIAL CREDITS
photography + DIY tutorial: Lauren Koster of Lauren Koster Creative // mirrors // super glue // polymer clay // Cricut Cut Machine // Cricut standard grip cutting mat // Cricut permanent vinyl // Cricut transfer tape


Comments