

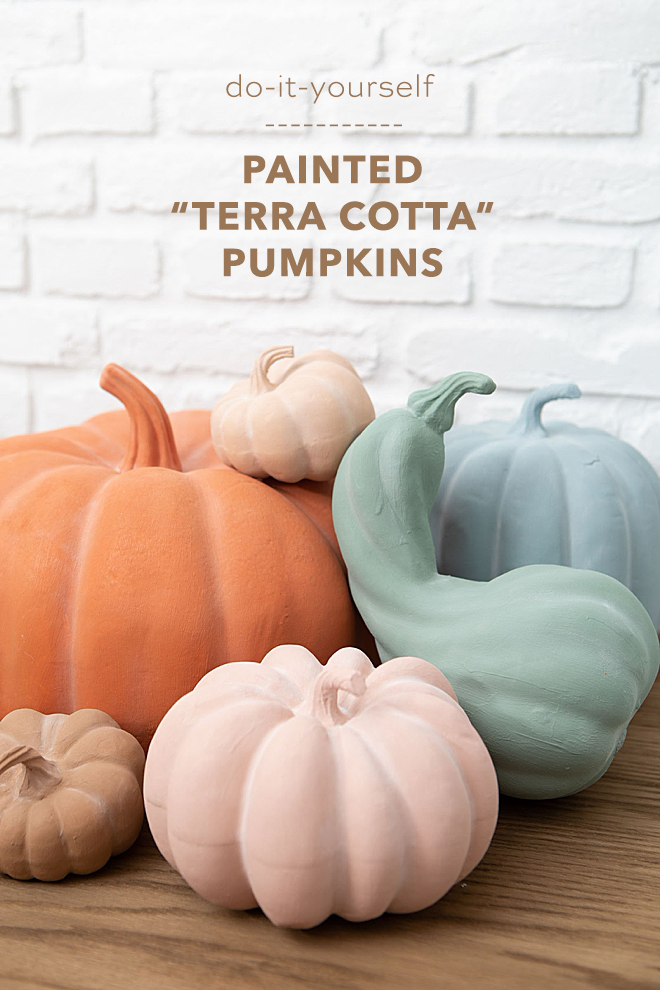
How To Paint Terra Cotta Pumpkins, The Easy Way
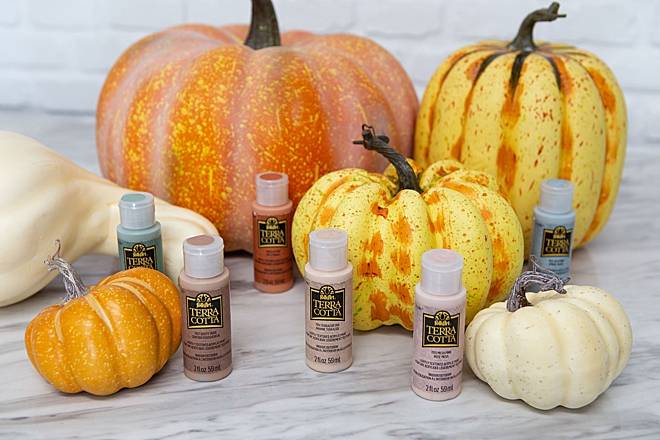
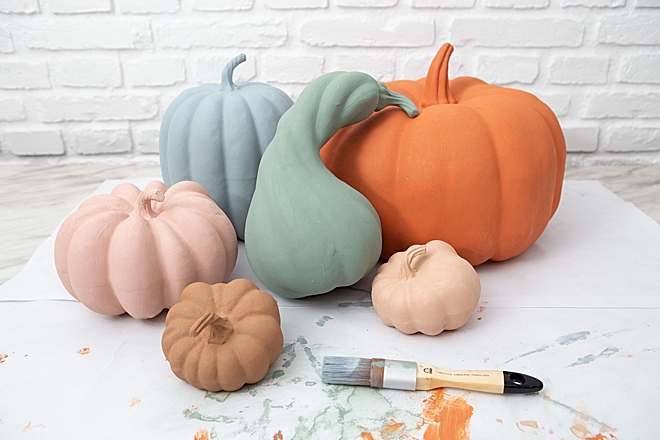
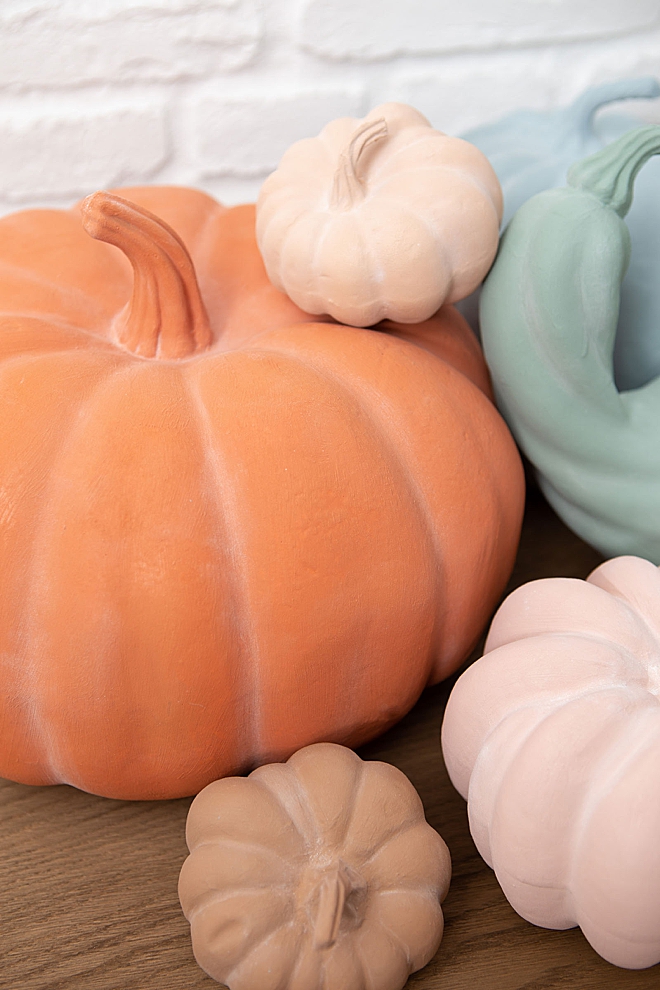
I’m currently in love with the terra cotta trend… and since Halloween is by far my favorite holiday, I figured mixing the two would be epic. There are lots of ideas online on how to “create” your own terra cotta style paint, which involves perfectly mixing paint colors with sandy substances, but this mama of four has no time for that. Enter FolkArt’s brand new, gorgeous, Terra Cotta paints! These premium paints are thick, textured, fast-drying, and come in the most beautiful colors. I am very impressed. With two quick coats and a dusting of chalk, almost any surface can be turned into what looks like rustic terra cotta, including plastic pumpkins like these.
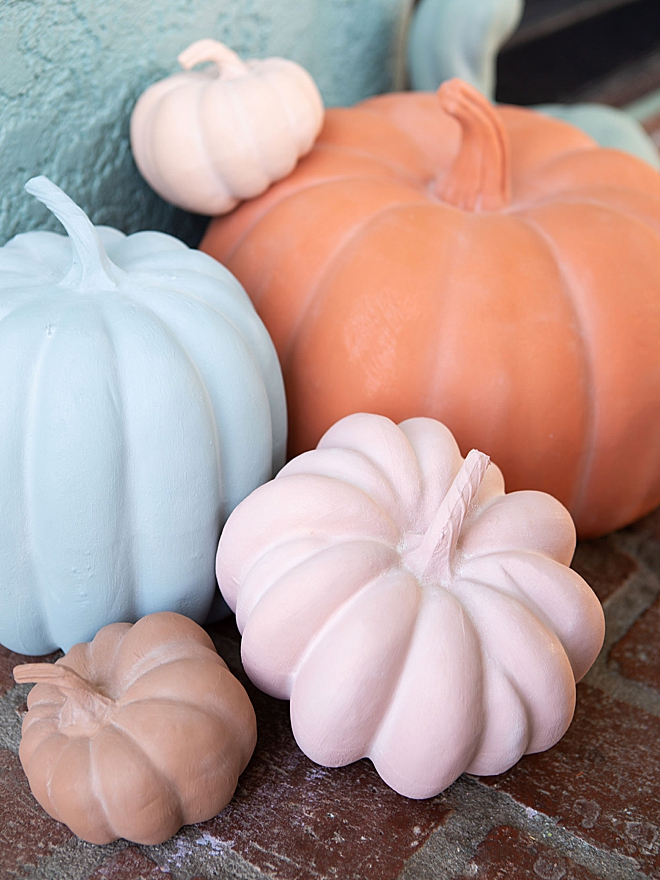
Display With Confidence
If you have little kids like me, any kind of stone, glass, ceramic, or terra cotta anything is at risk of being broken. Especially if it’s on the floor like these pumpkins – but – these are plastic! So super kid friendly!
SUPPLIES:
- FolkArt Terra Cotta Paints
- Faux Pumpkins
- Paint Brushes
- White Chalk
- Wood Filler, optional
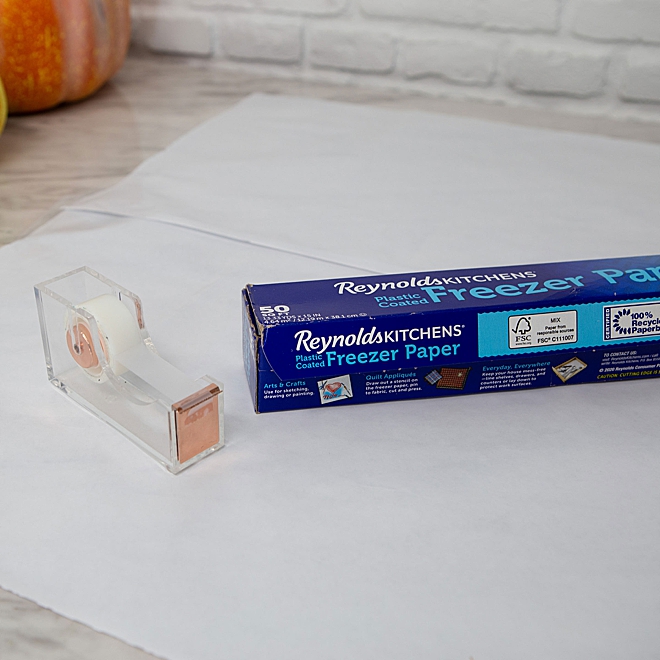
Set Up Your Work Space
I covered my countertop with freezer paper so that I could make a little painting mess…
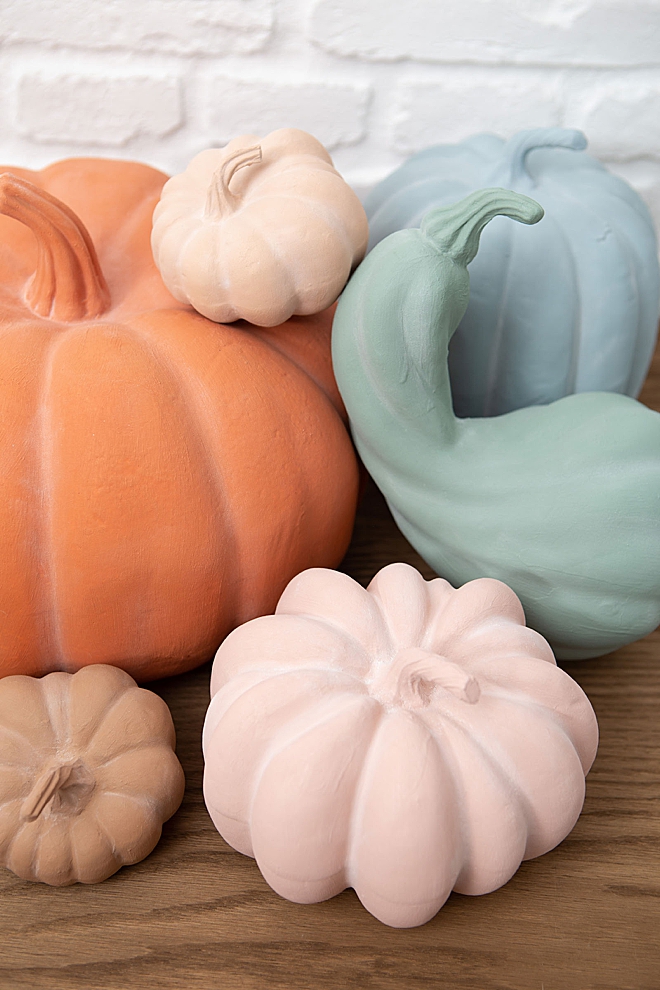
Paint Your Pumpkins
Any type of faux pumpkin will do! Or actually anything you want to paint. Porous, non-shiny surfaces are best but glass or shiny surfaces only require a quick sanding to be ready for paint. Two coats with an hour of dry time in between will transform any plastic pumpkin!
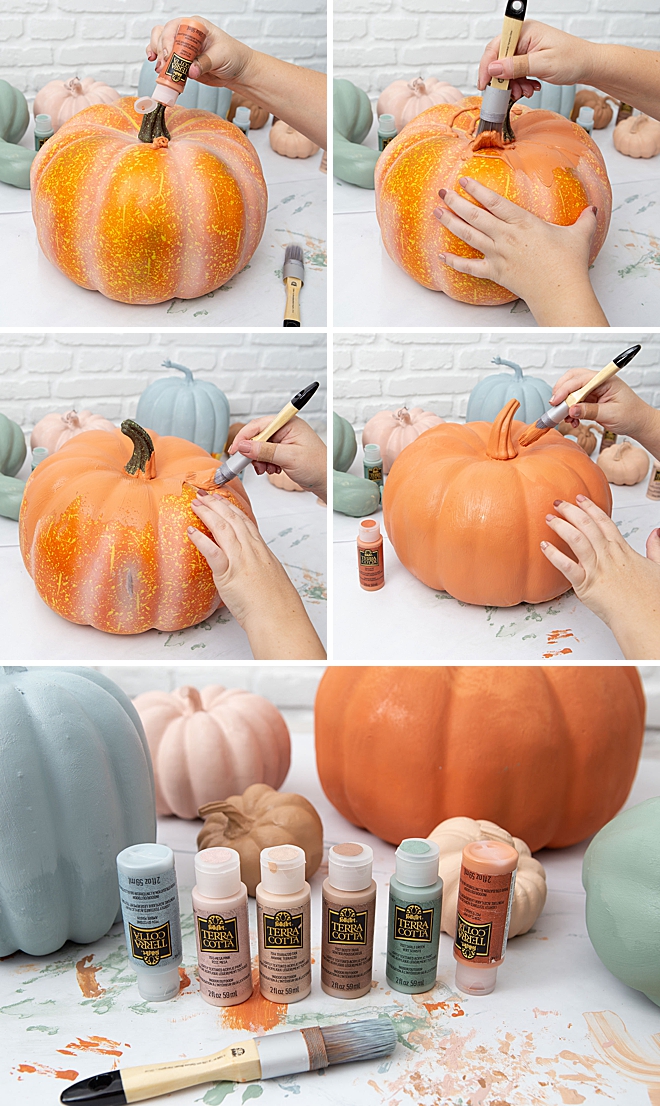
Paint Colors: (from L to R) Seastone, Mesa Pink, Terrazzo Tan, Dusty Trail, Shale Green, Clay Pot.
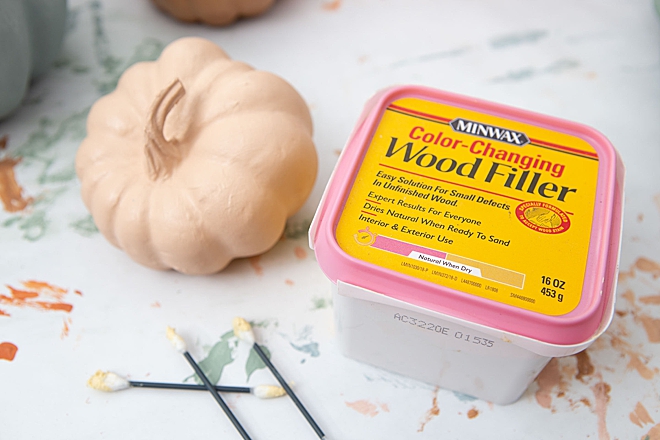
Fill Gaps
A few of my pumpkins ended up having weird gaps where the stem was attached to the pumpkin so I filled them in with “paintable” wood filler. This made a big improvement in the look.
Let Dry Overnight
I painted my pumpkins over two days simply because #kids, but I let the final coat dry for 24 hours before moving to the next step.
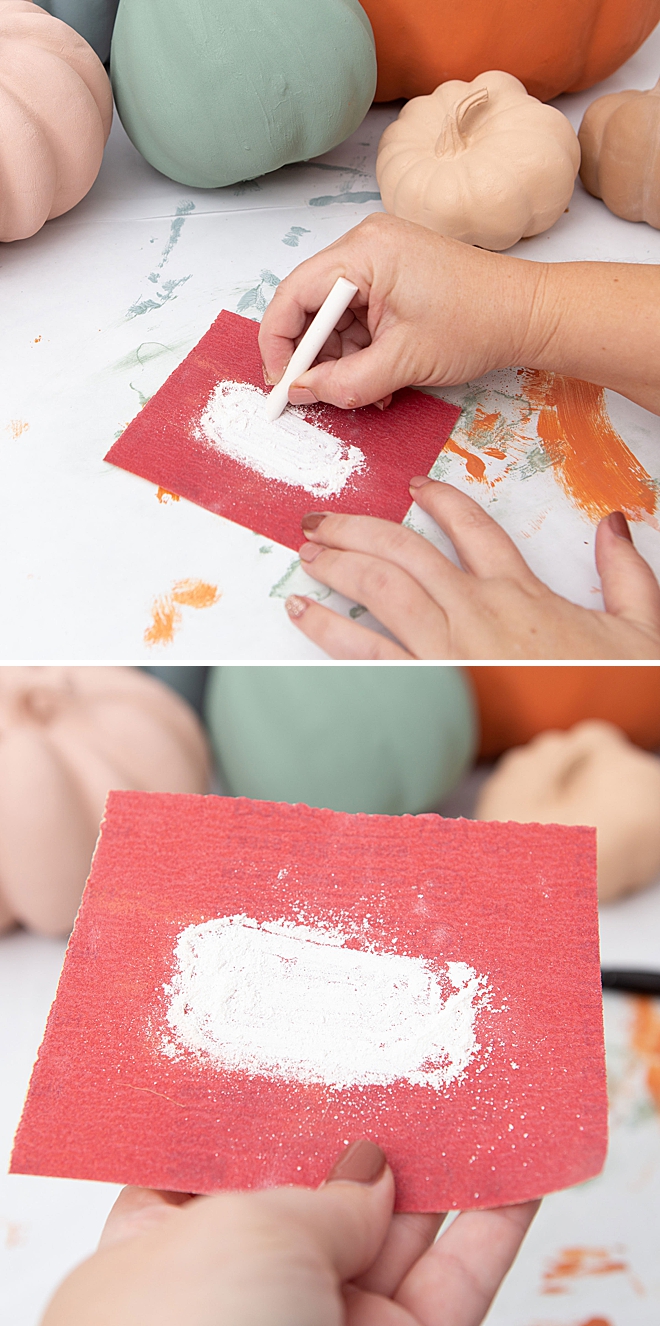
Sand Some Chalk
Take a piece of regular white chalk and make some chalk dust by rubbing it on a small piece of sand paper.
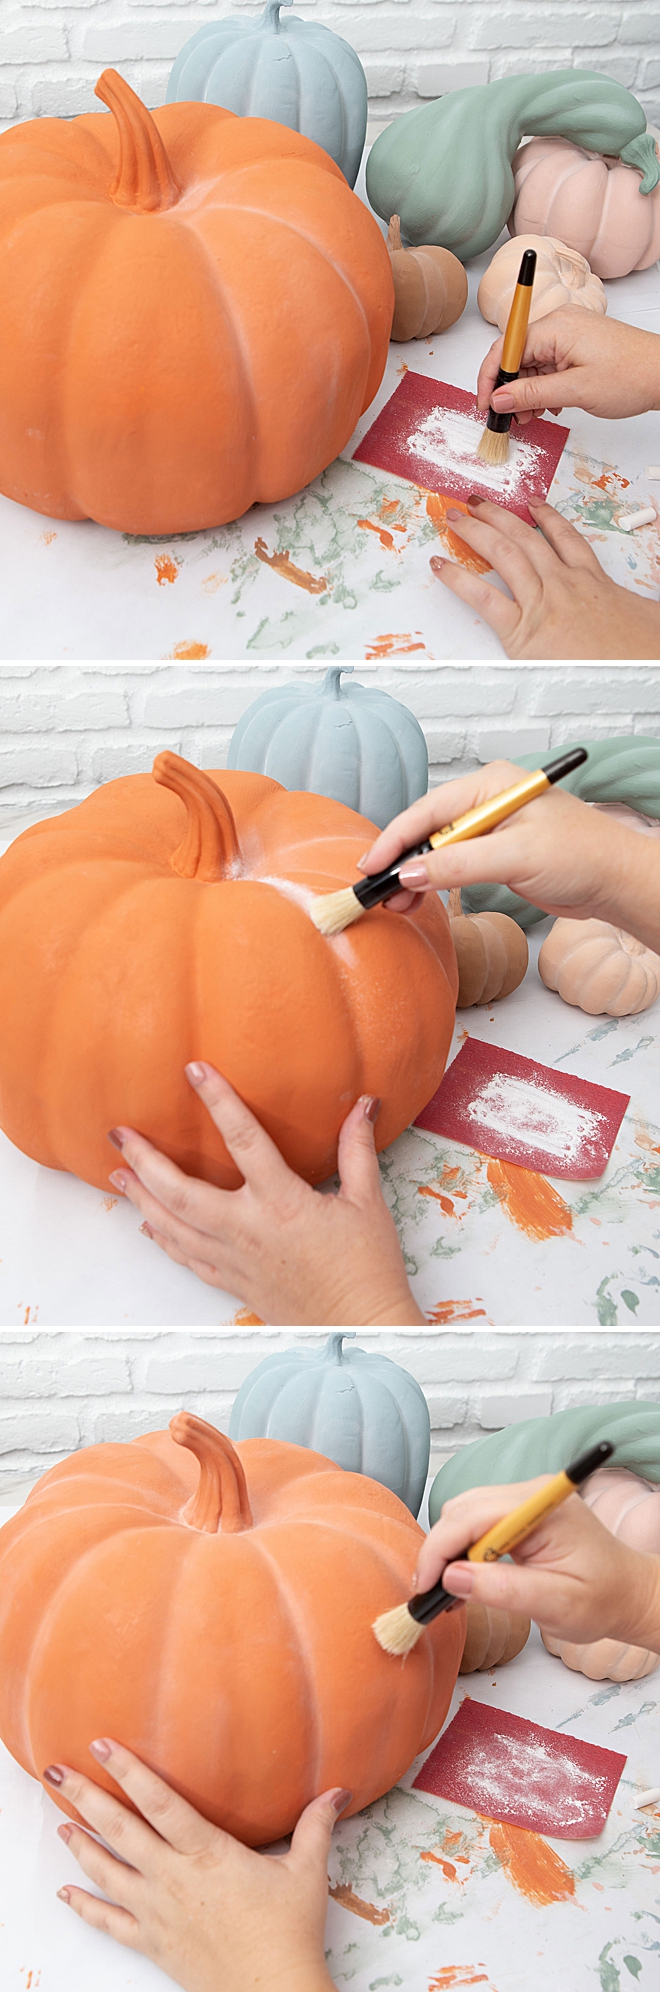
Brush On The Chalk
Using a firm brush like a stippling brush, tap it in the chalk dust and wipe onto the pumpkins, especially in the segment grooves. This is the finishing touch to the terra cotta look.
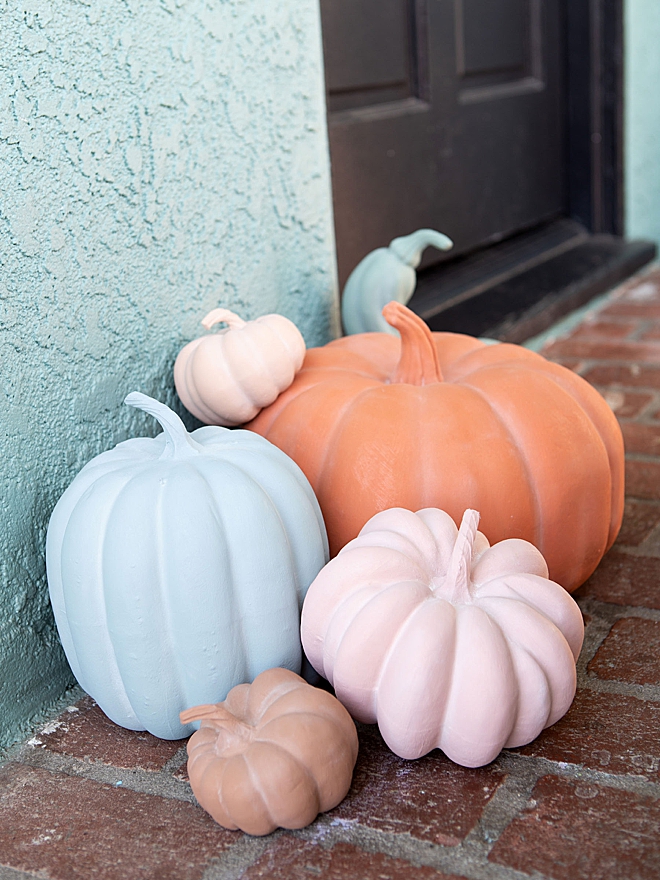
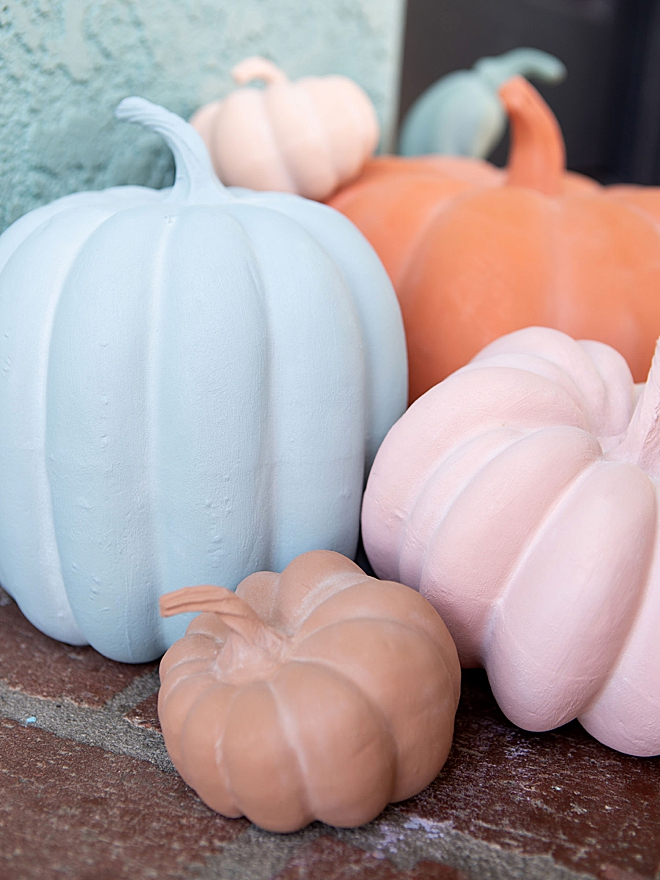
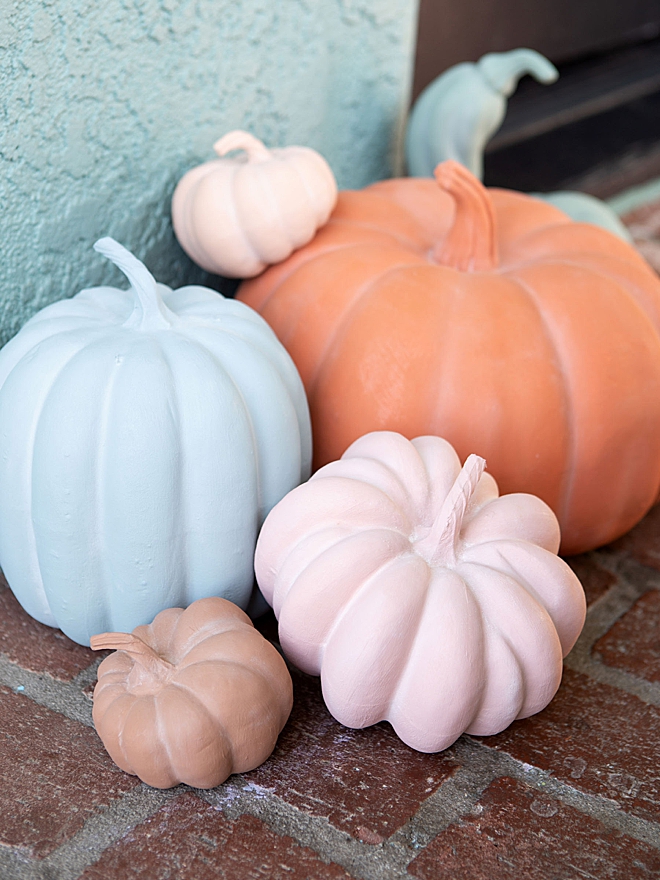
Elevated Look: this step is optional but it really elevated the terra cotta look. My husband had no idea what was going on with these and I just set them on the porch and he asked if I made them out of plaster! Score! Nope they are plastic!
What Colors Would You Use??
If you create one of our projects, please share a picture with us on Instagram or Twitter using the hashtag #somethingturquoisediy, we regularly reshare our favorites! Your profile will need to be public for us to see it otherwise, you can always DM us!
DIY Tutorial Credits
Photography + DIY Tutorial: Jen Causey-Kidder of Something Turquoise // FolkArt Terra Cotta Paints: courtesy of Plaid // Faux Pumpkins: JoAnn // Wood Filler: Amazon // Chalk: Amazon // Stippling Brush: Amazon
Shop The Supplies:
Find the supplies you’ll need for this project from our affiliate links below:

Comments