This is a sponsored post written by me on behalf of Canon. All opinions are 100% mine.
It’s the most wonderful time of the year! Being a mom of 3 littles under 5 can be stressful, but then it comes to times like Christmas and it’s just magical. Experiencing these things all over again through their eyes is unexplainable terrific. It’s my job to create the magic and let me tell you, I couldn’t be more excited about all the things I have planned this year, including these Santa Letters! I partnered with Canon to bring you the printable designs for FREE and everything you need is included. Just download, edit with your kiddos names, print and write! We already filled ours out and sent them off to Santa, because the North Pole is really far away, (said my 5 year old) so in a few weeks they’ll get their Nice List Certificates and I will put both pieces in their keepsake boxes forever, and now I’m crying.
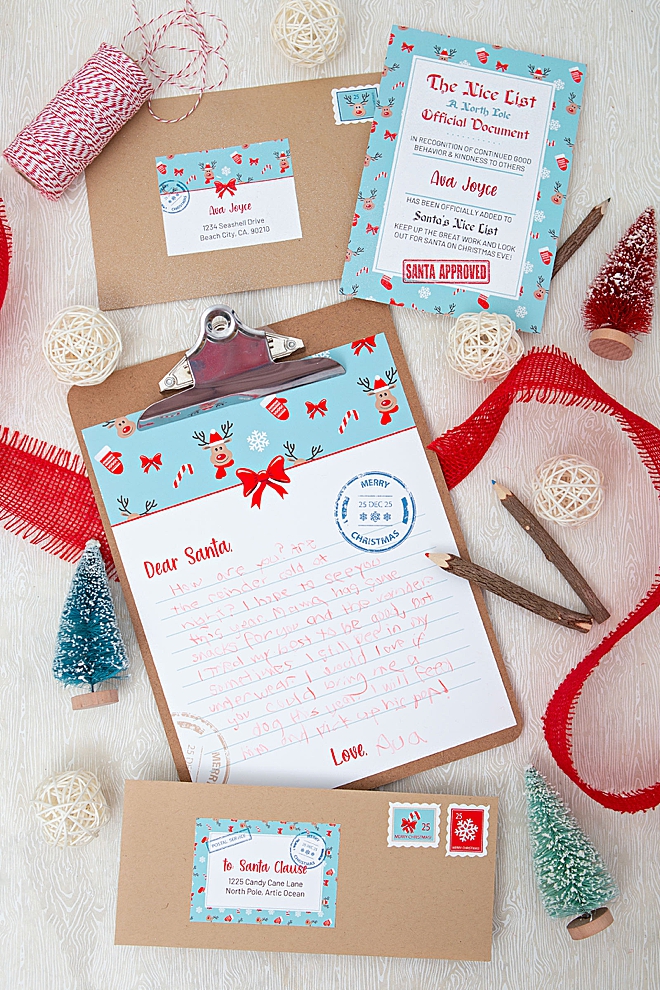
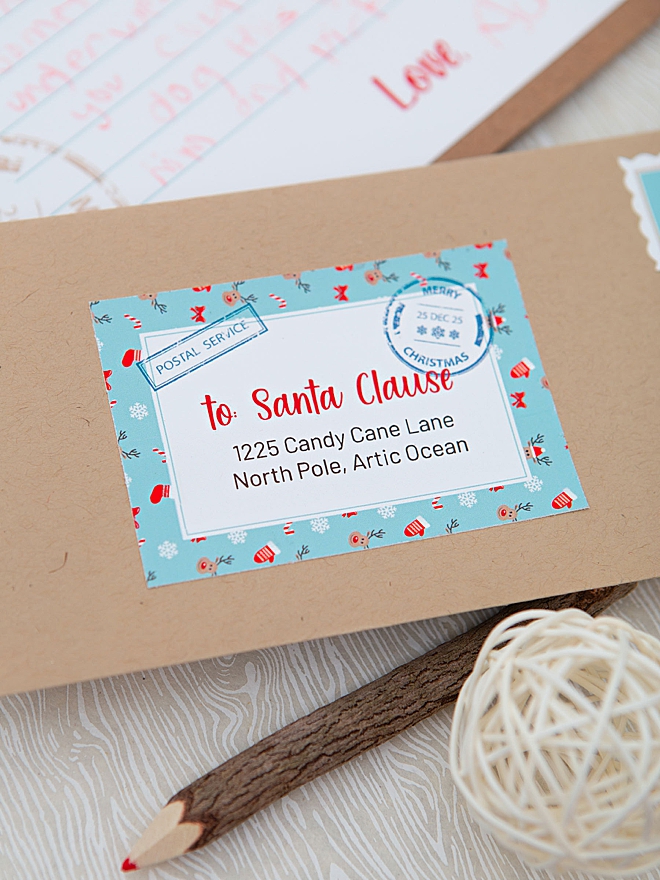
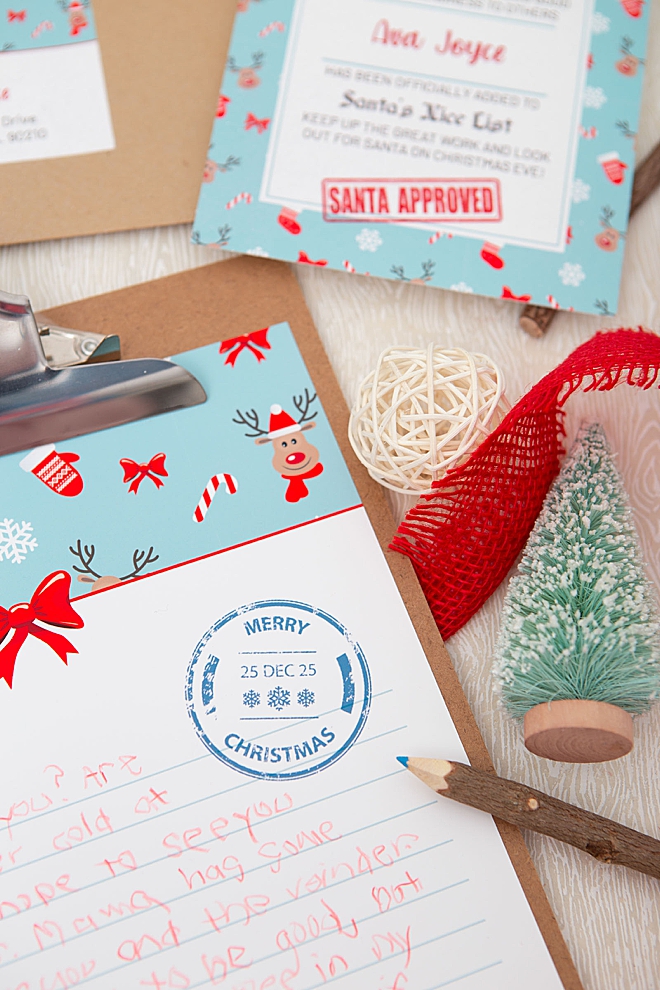
Santa Letter Suite
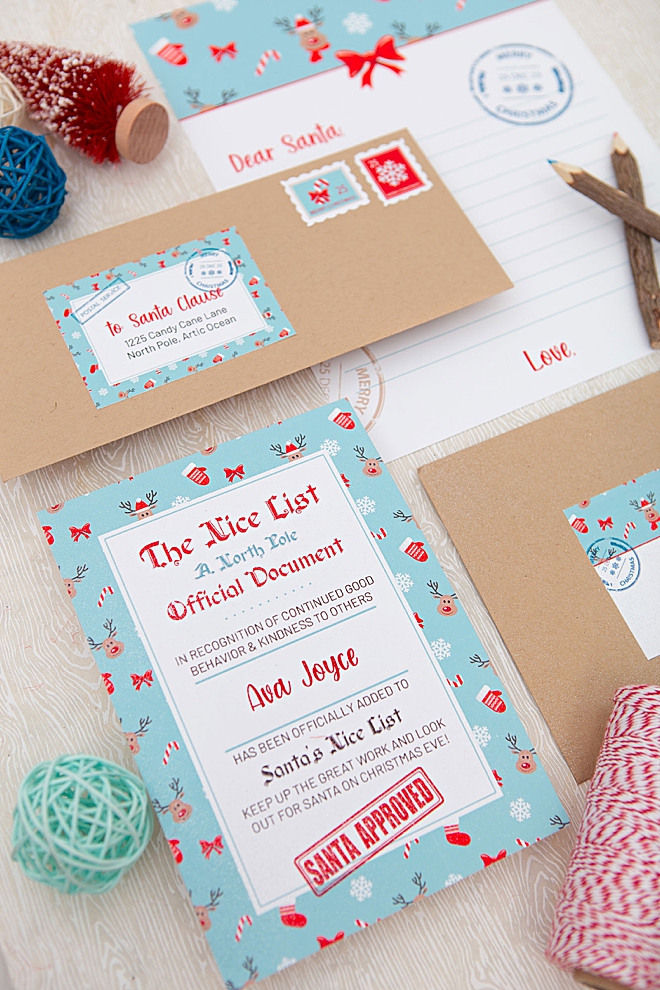
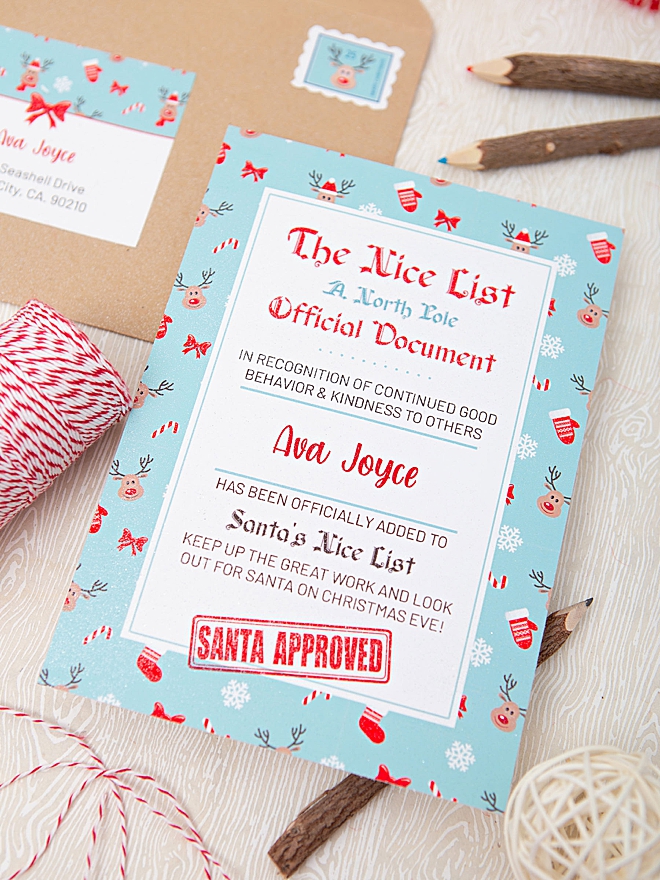
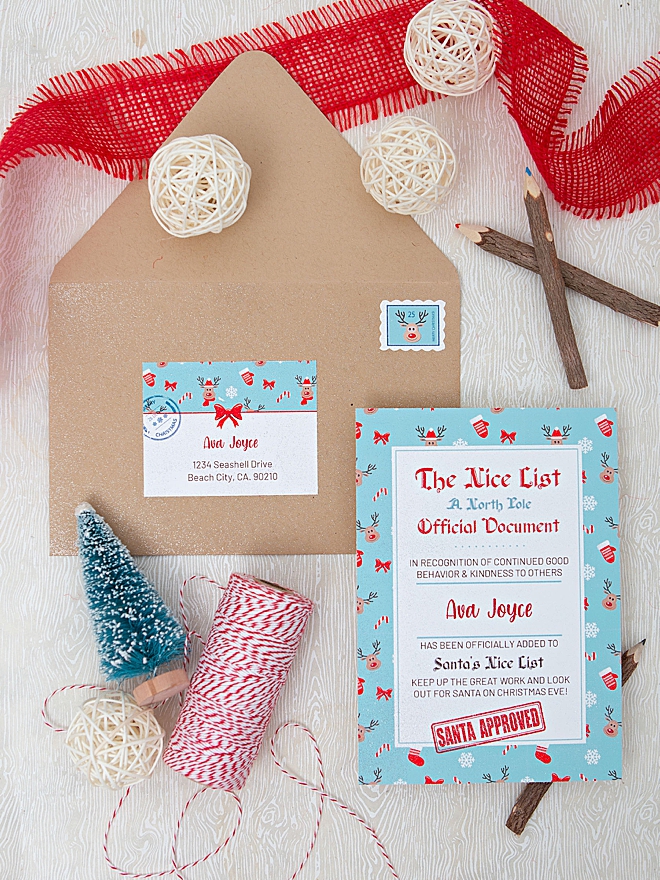
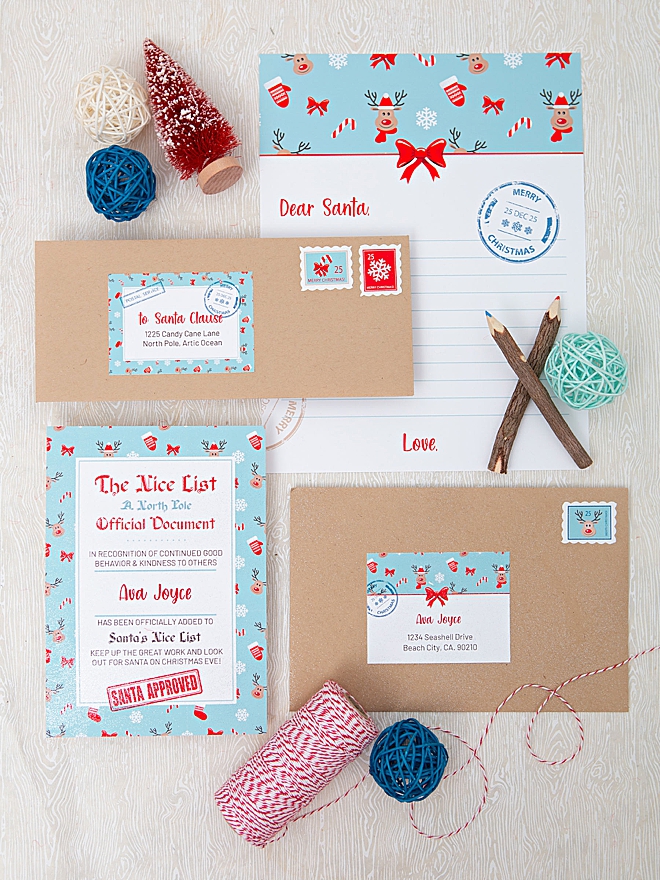
This set has everything you need, the Santa Letter itself, a Nice List Certificate, mailing labels for both letters and stamps too! Total it will be two 8.5″ x 11″ sheets of paper for each set, or each kid. The only thing you’ll need is envelopes and maybe a little glitter spray!
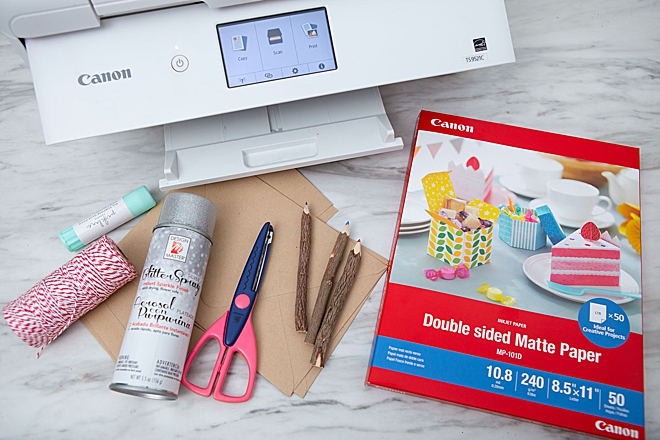
SUPPLIES:
- Canon PIXMA TS9521C Crafting Printer
- Canon Double Sided Matte Photo Paper, 8.5″ x 11″
- #10 and A7 sized Envelopes
- Paper Trimmer or Scissors
- Glue Stick
- Wavy Edge Scissors
- Glitter Spray (optional)
- Our FREE printable designs at the end of the post!
Download + Edit
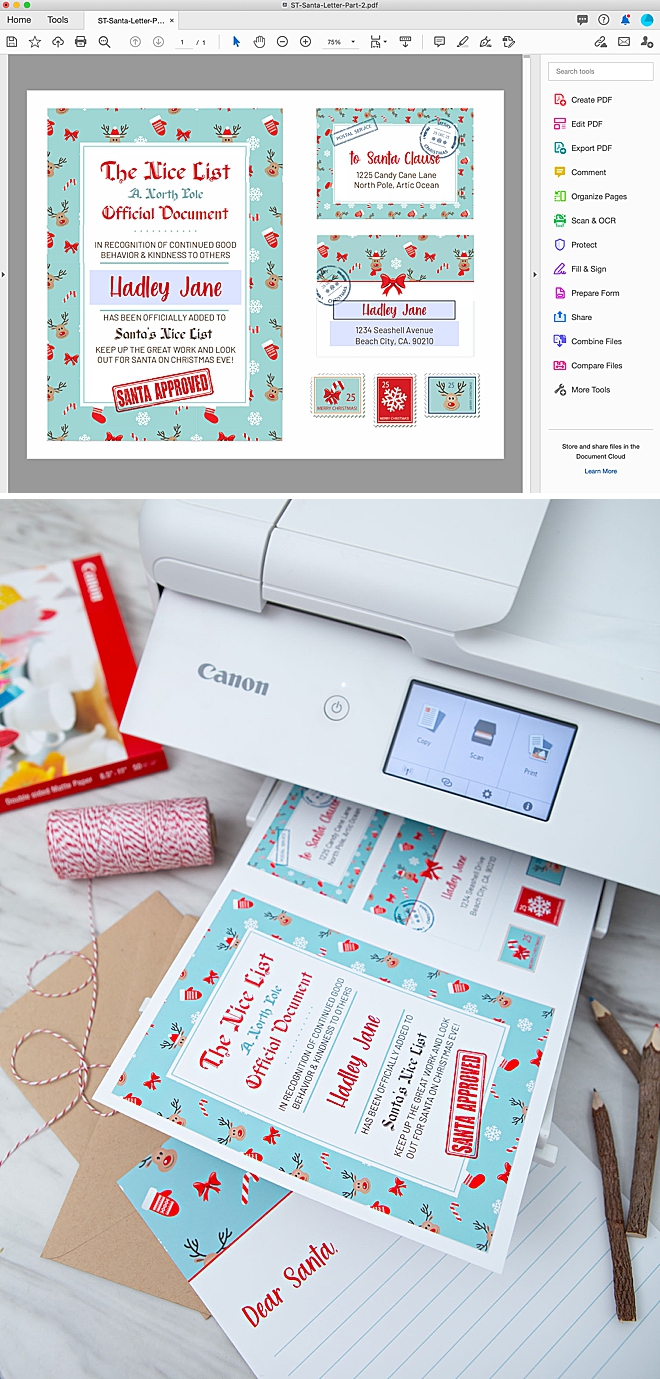
Download: Visit the end of the blog post to grab our exclusive, free printable Santa Letter items. Once you click on the graphic your download will start instantly, doing it from a laptop or desktop computer is best. Double click to open the .zip file and reveal the two printables, the Santa Letter and the Nice List Certificate with mailer labels and stamps.
Edit: First download the free font Kind and Rich, then also make sure you have Barlow installed on your computer, or download it if you don’t. Then open up Adobe Reader or Adobe Acrobat to edit the highlighted blue spaces to add your child’s name and address. Save and print!
Printer Settings
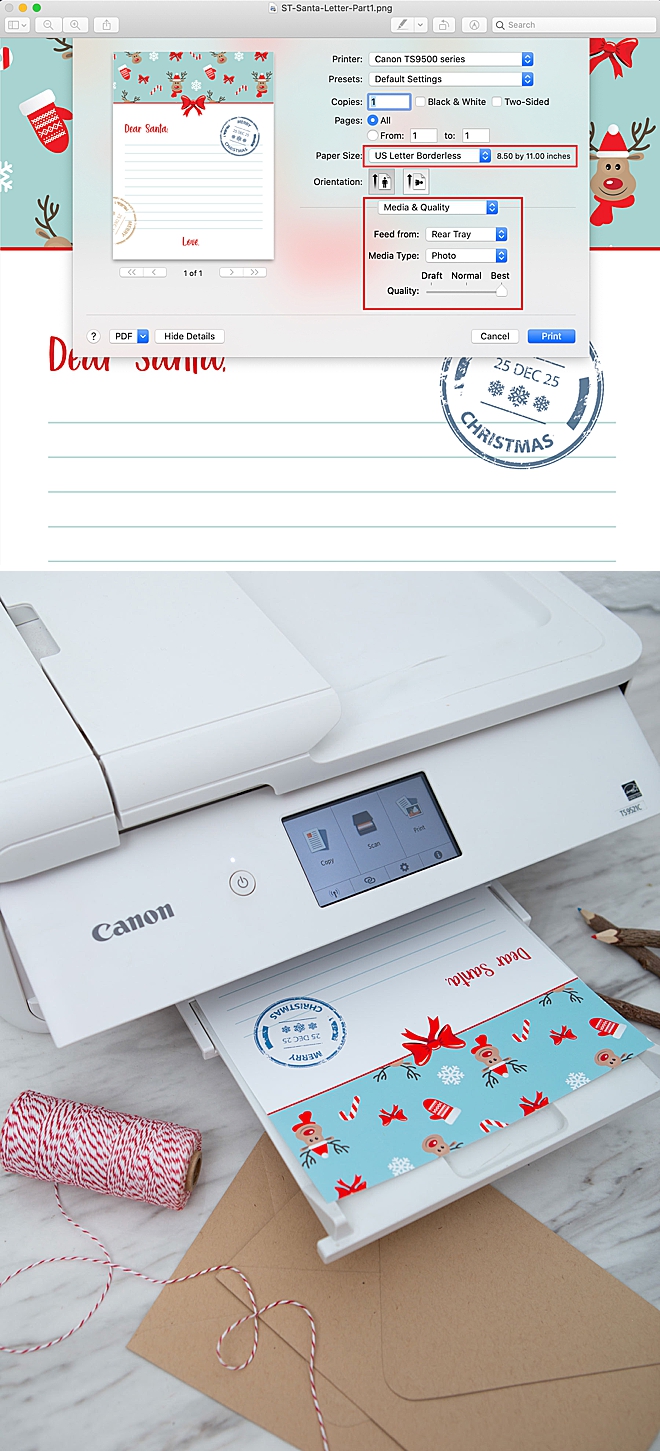
Use your favorite Canon printer to get the job done. Here I’m using my Canon PIXMA TS9521C Crafting Printer, it’s my everyday printer and my serious crafting printer, all wrapped up in one. For both printable design sheets you’ll want to make sure to select the “US Letter Borderless” option, along with the Photo Paper, Best Quality, I like printing from the Rear Tray, but you can also do the cassette for this printable.
Trim
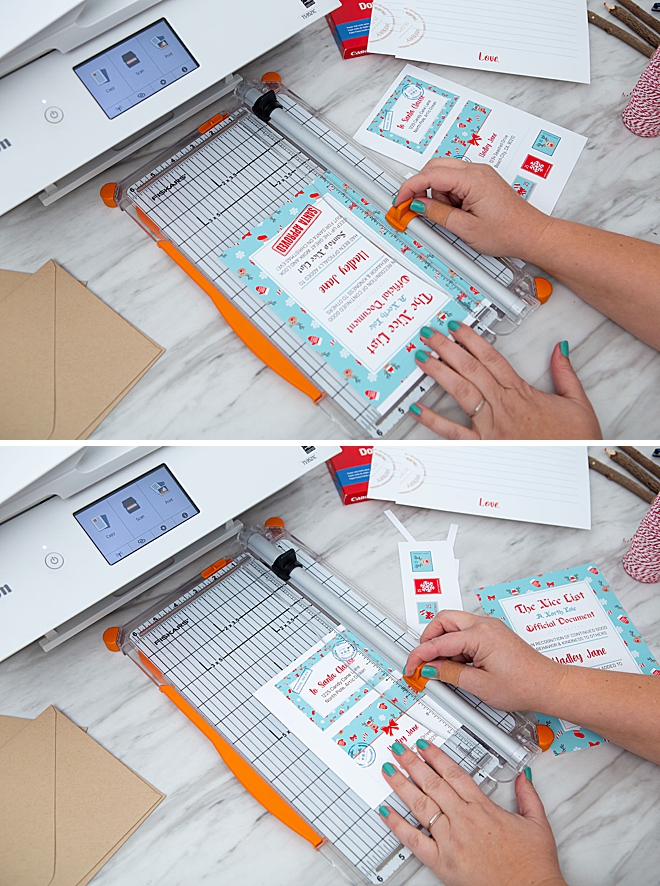
The Santa Letter itself needs no trimming but the Nice List Certificate does. Trim the certificate and two mailer labels down to size.
Wavy Scissors
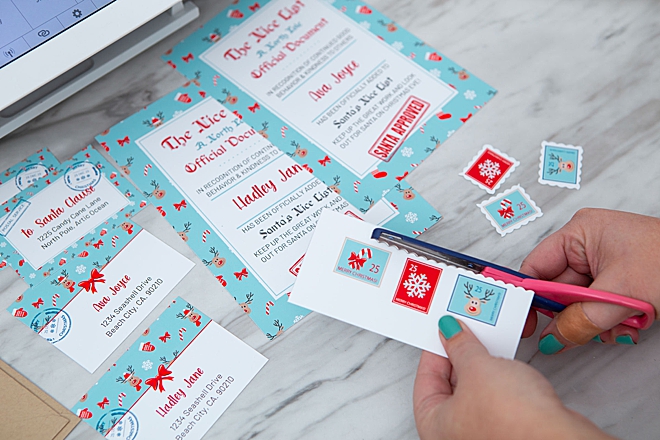
If you have a pair of wavy scissors, you can dust them off for this project to cut out the stamps, LOL.
Glue
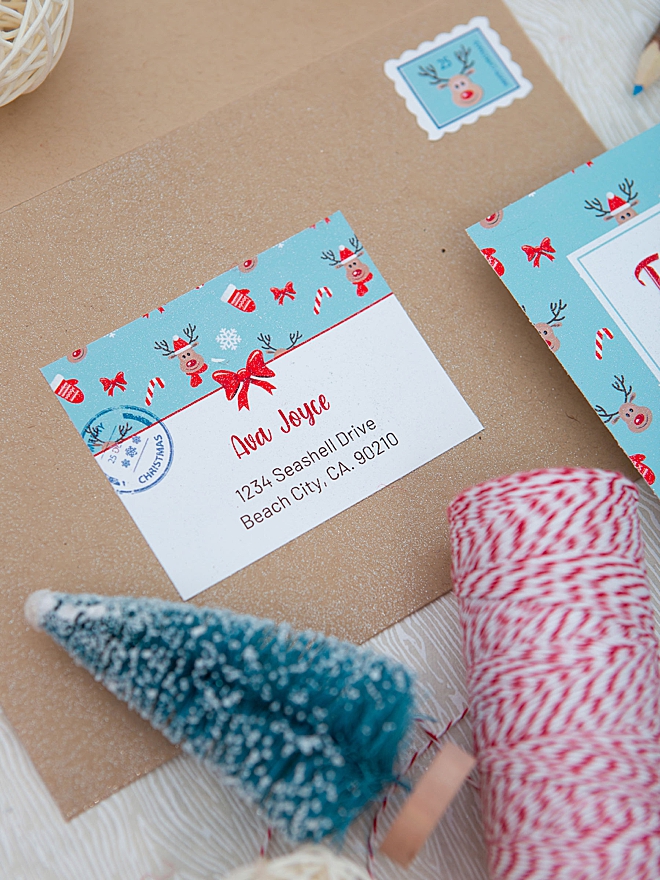
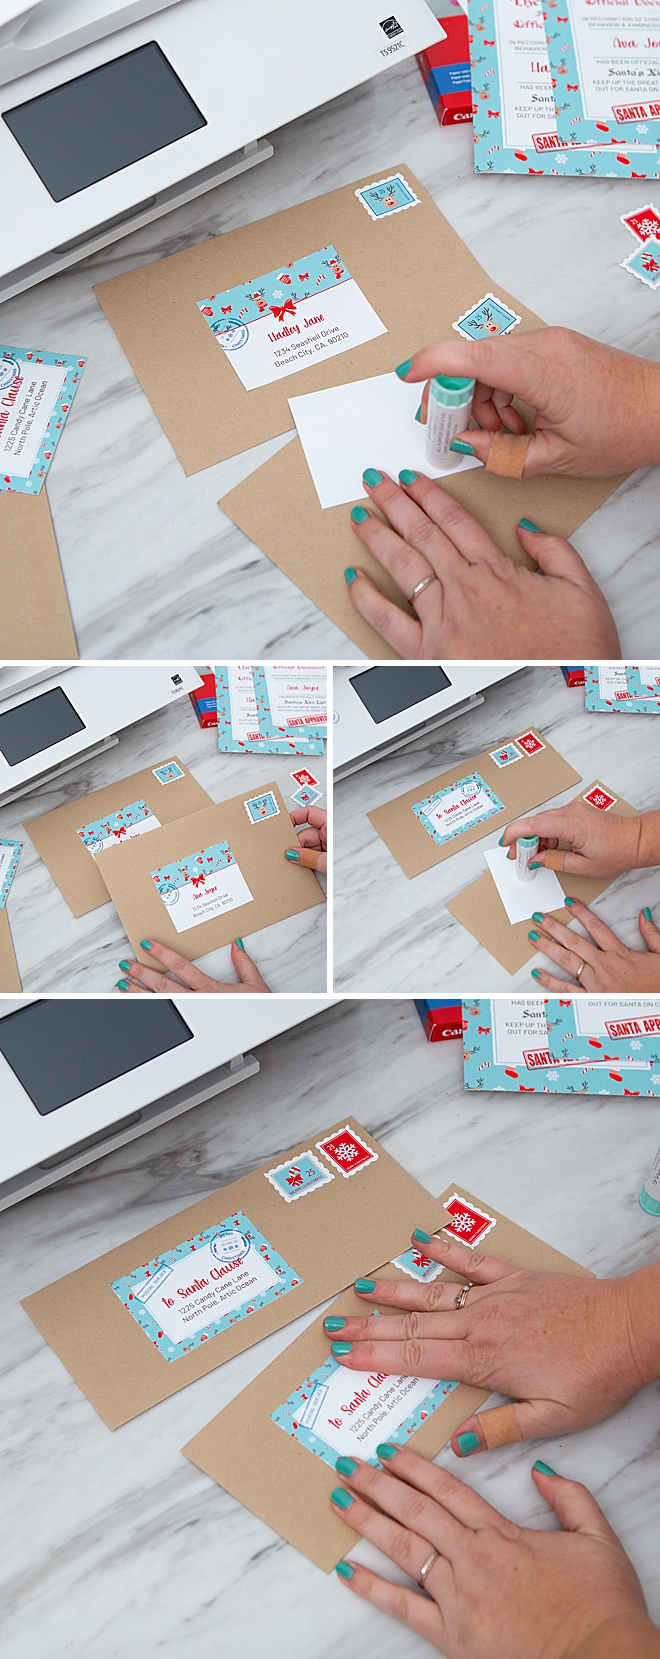
Glue the mailer labels and stamps onto their envelopes. The Nice List Certificate will fit perfectly in an A7 sized envelope and the Santa Letter will fold in thirds to slip into a #10 sized envelope.
Glitter Optional
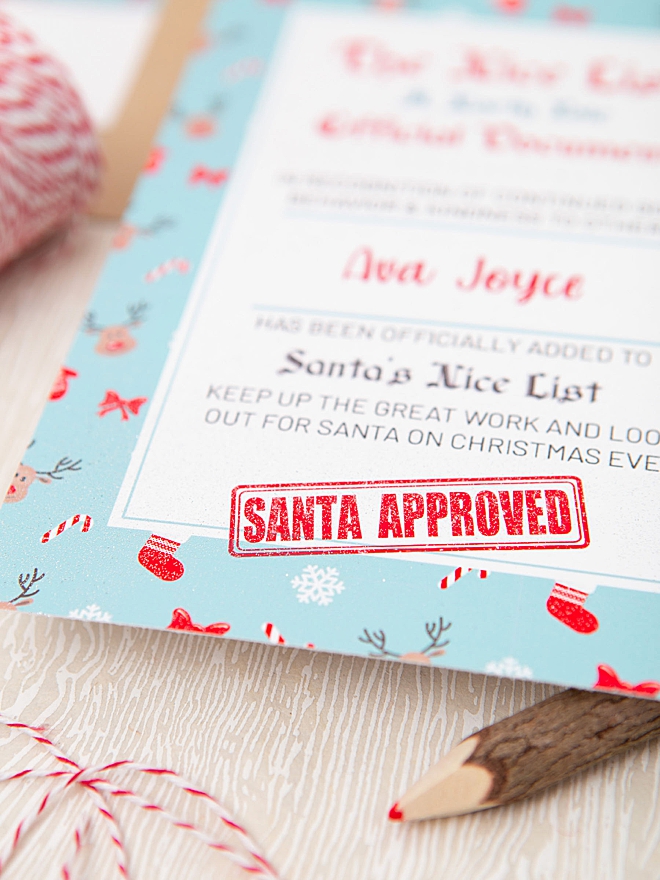
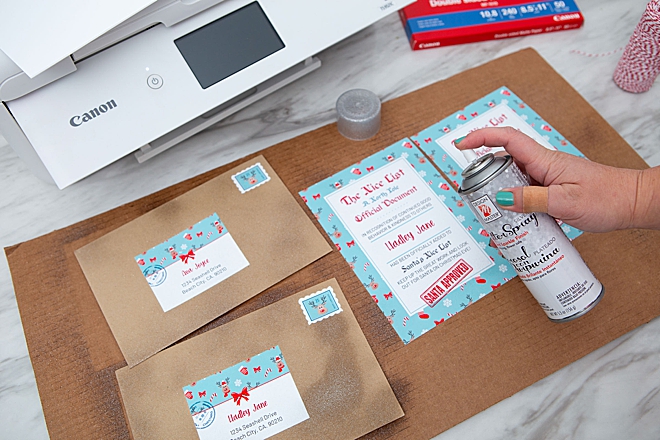
I sprayed the Nice List Certificate and Envelope with glitter spray. Don’t worry, it dries really quickly.
Note: The glitter is bouncing off my lights and reflecting white so the prints are perfect, but the fuzziness or faded look is because of the glitter!
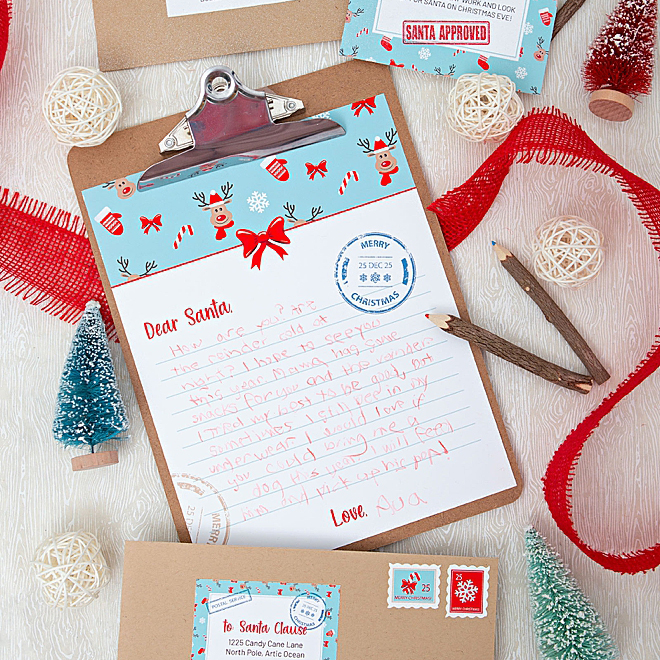
Write Your Letter
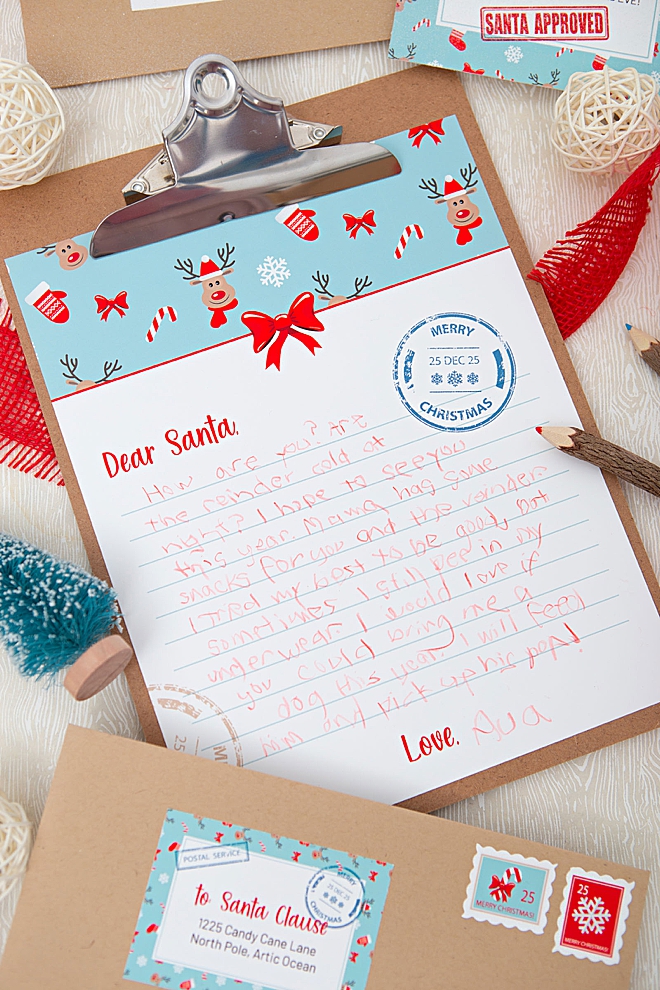
Let your kiddos write their special letter to Santa and put it in the “mail”. Our mailman is very sweet, he took the letter and then slipped it back to my husband on the sly. A few weeks later the magical Nice List Certificate will arrive with a little hand written note from Santa, I seriously can’t wait to give them to the girls!
Crafters Need This Paper
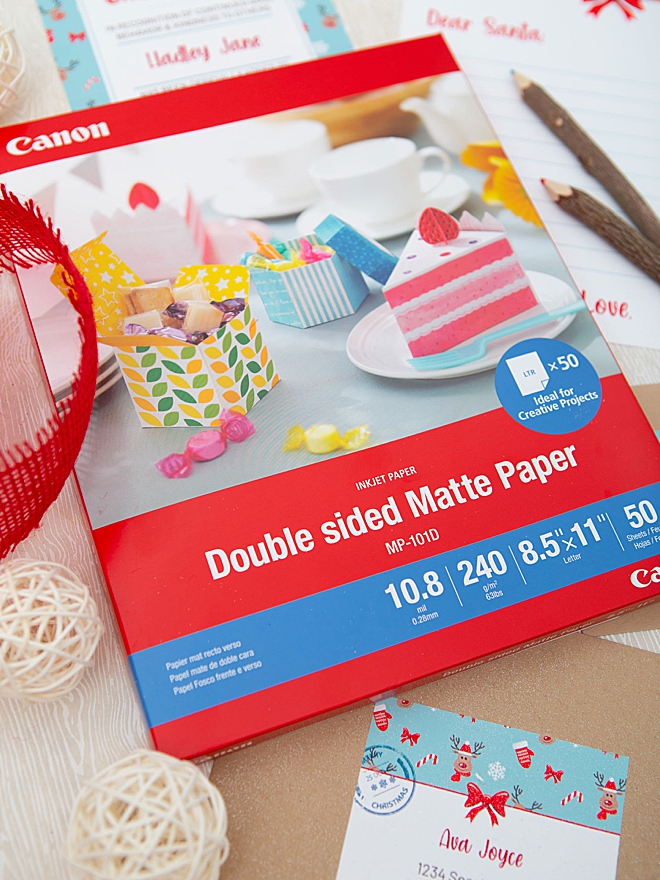
Here I am again, singing the praises of this Double Sided Matte Photo Paper from Canon, it really is the most fantastic. I do all my text prints with regular cardstock and there is such a HUGE difference in the print quality. Even my husband remarked “whoa, that’s a big difference, what do they do to the Canon paper to make it print that good!?” I don’t have the answer, but I don’t need it, I just need the paper because it makes everything I print look absolutely fabulous. If you haven’t tried it, maybe you should put it on your Christmas list!
DIY TUTORIAL SPONSORED BY:

Canon U.S.A., Inc. prides itself on allowing consumers to create and preserve beautiful imagery, from capture to print. With wireless technology and seamless printing capabilities, you can print your photos and printables with precision and ease.
If you create one of our projects, please share a picture with us on Instagram or Twitter using the hashtag #somethingturquoisediy, we regularly reshare our favorites! Your profile will need to be public for us to see it otherwise, you can always DM us!
DIY Tutorial Credits
Photography + DIY Tutorial + Printable Design: Jen Causey of Something Turquoise // Canon PIXMA TS9521C Wireless Inkjet All-in-One Printer and Double Sided Matte Photo Paper 8.5″ x 11″: courtesy of Canon // Glitter Spray: Amazon // Wooden Colored Pencils: Amazon // Twine: Amazon // Paper Trimmer: Amazon // #10 and A7 Size Envelopes in “paper bag”: Paper Source
Shop The Supplies:
Find the supplies you’ll need for this project from our affiliate links below:



Comments