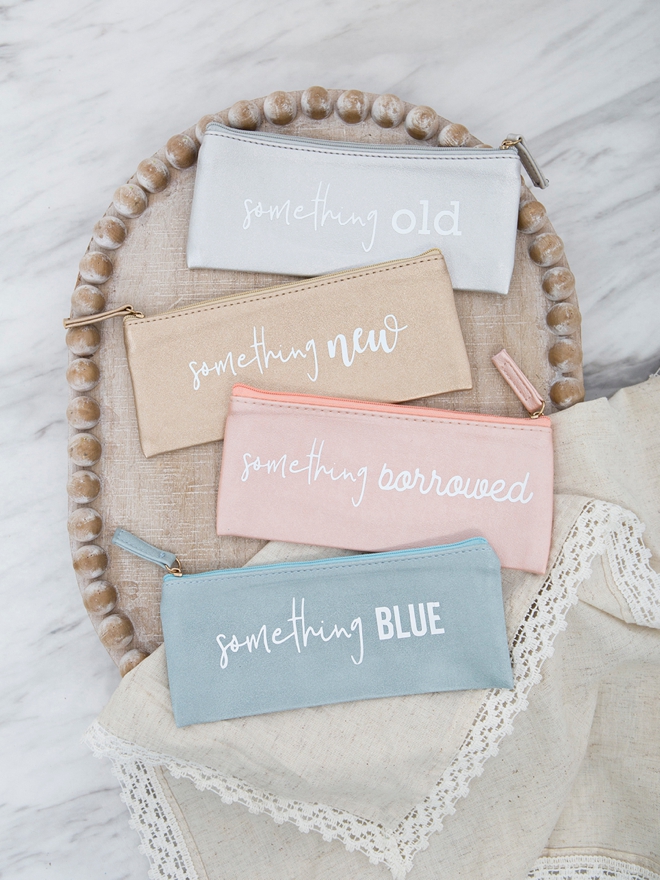
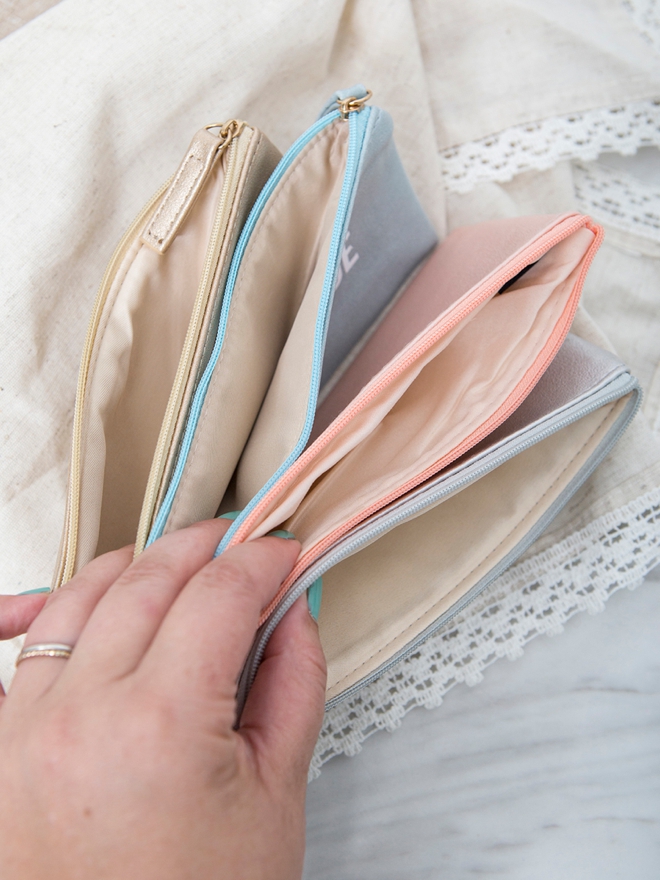
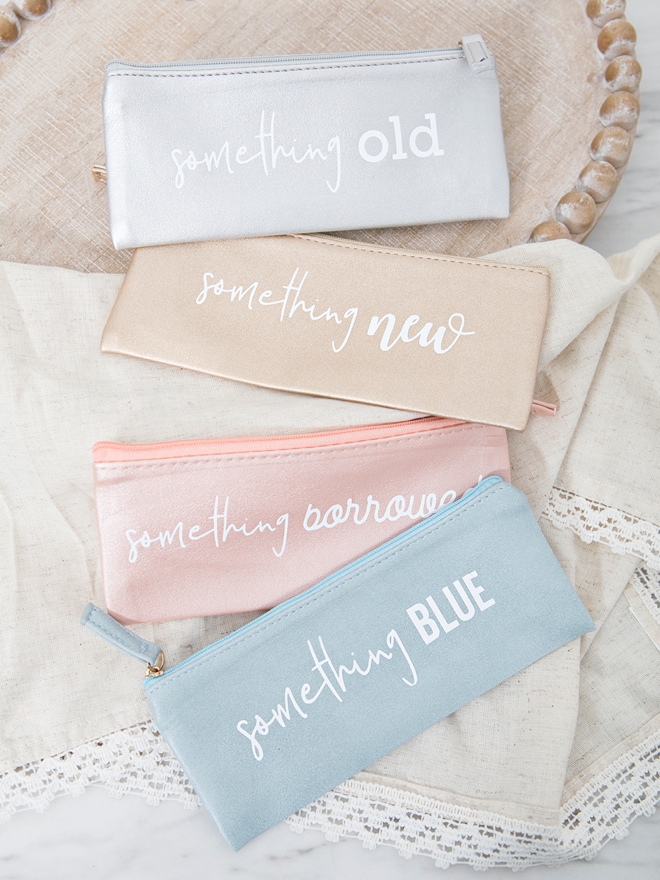
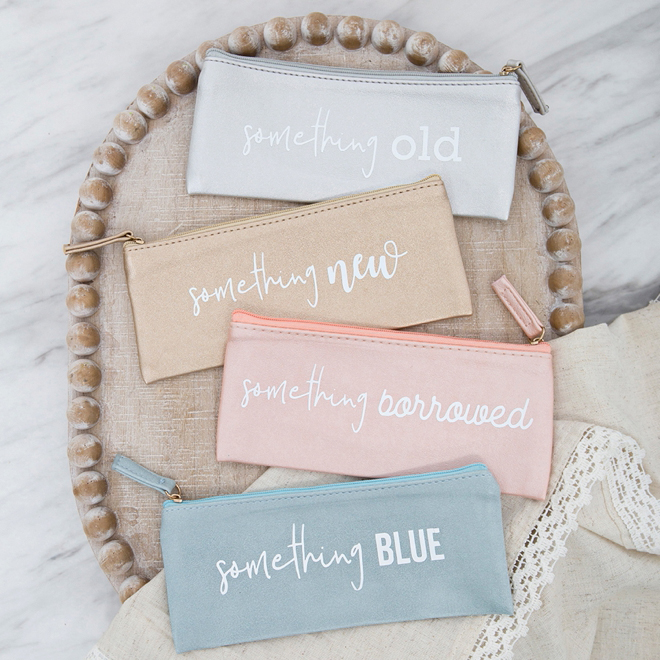
The something old, new, borrowed, and blue tradition can be a really fun search of special items. It’s super sweet to know that you’ll be carrying special little things with you down the aisle. Since we all have a little extra time on our hands, why not make yourself some adorable pouches to hold these special items!? These bags can become a special keepsake after your big day and possibly even shared with other friends or family to use. Also a fabulous gift idea for the bride in your life!
SUPPLIES:
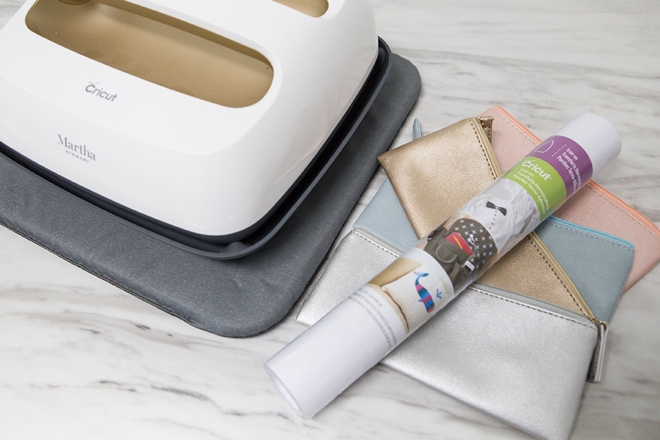
- Cricut Maker or Cricut Explore
- Faux Leather Pouches, mine are from Amazon
- Cricut EasyPress
- Cricut Weeding Tools
- Cricut Iron-on, White
- Our free .PNG cut files at the end of the post!
Upload
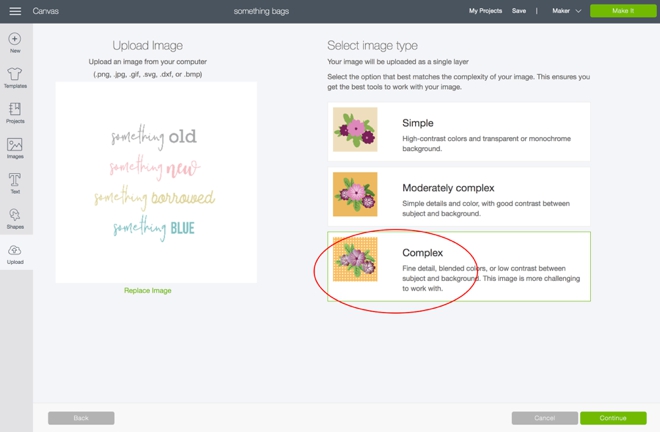
Visit the end of the post to download our free .PNG cut files! Click on the graphic to start the instant download. Open up Cricut Design Space and start a new project. Then in the left tool panel click ‘upload’. Select the file and pick Complex.
I’ve provided you with the 4 sayings on one canvas and also all of them separate so that you can easily cut them all out of one color or upload them individually to do different colors.
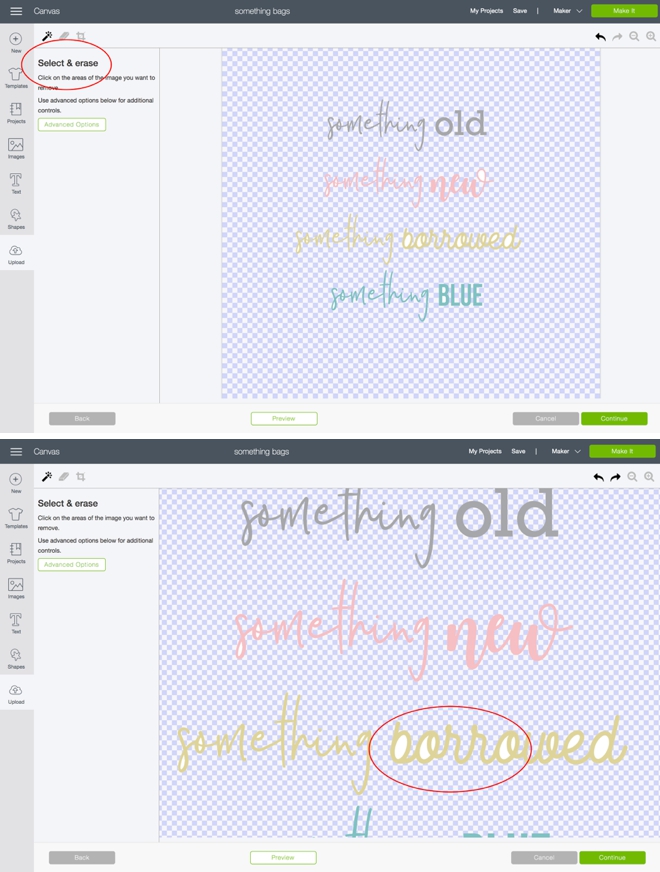
Select & Erase
With the cursor select and erase ALL white spaces, including all the insides of the letters with loops!
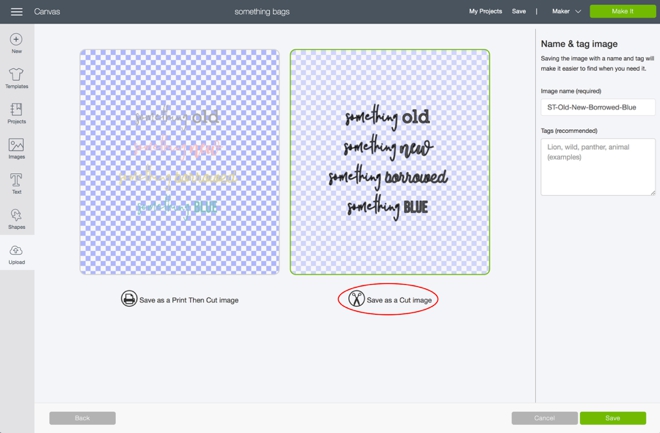
Save As A Cut File
Next, click to save it as a cut file, not print then cut.
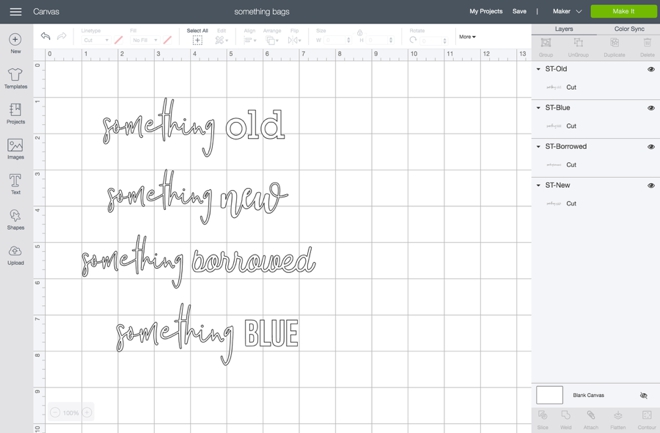
Resize
Drag to resize the sayings so they fit how you want them to on your pouches.
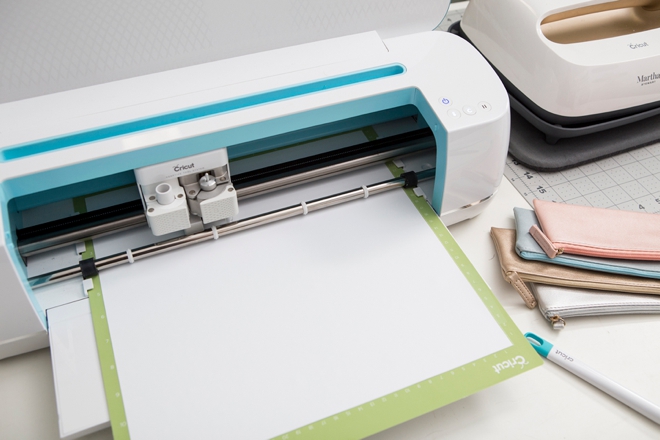
Let Your Cricut Work It’s Magic
Add your iron-on material face down on the cutting mat and make sure to click the “mirror-image” button for iron-on projects, otherwise your lettering will be backwards!
Weed The Designs
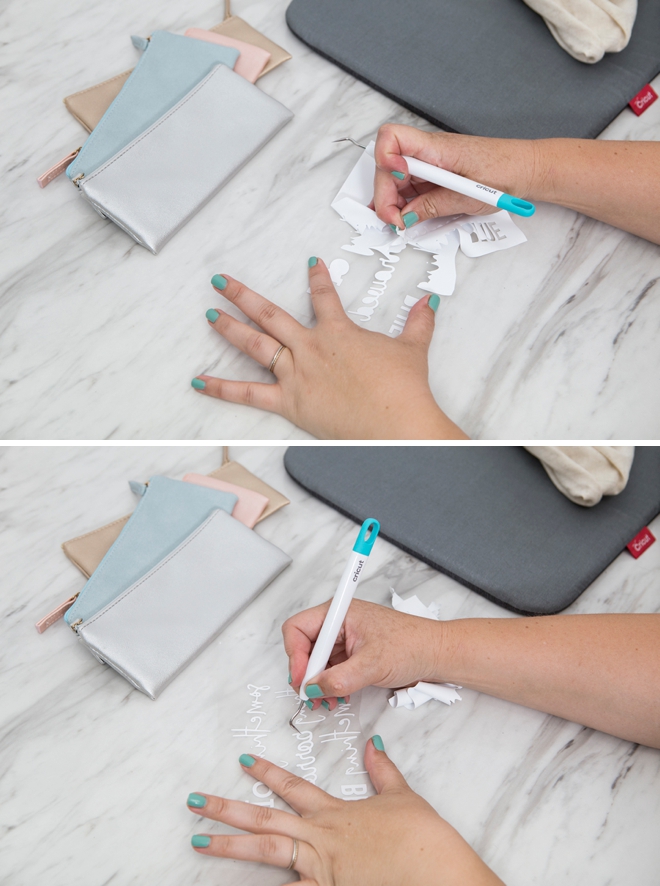
Weed, (aka. remove) all the excess iron-on material that isn’t a part of your design. Using the Cricut weeding tools makes the removal of intricate pieces super easy. Then trim each design down to size.
Easy Press Adhesion
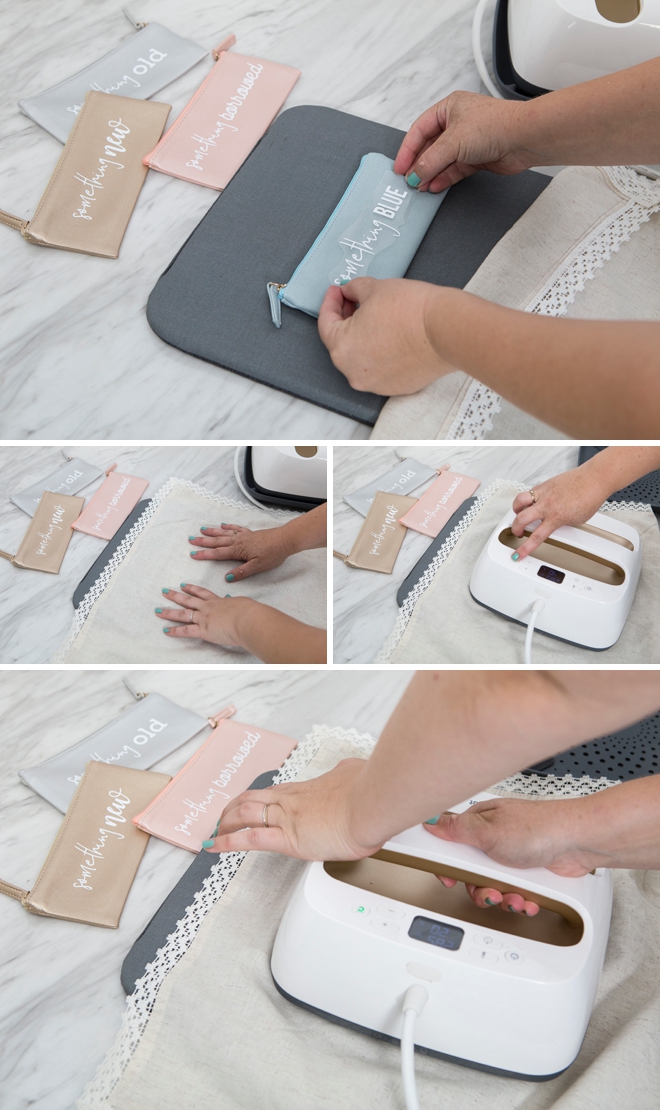
I LOVE my EasyPress because I can perfectly set the time and temperature for my projects. For faux leather like this, ALWAYS test a spot on your item first because it might melt. 285º for 40 seconds, with firm pressure and a cold peel was the ticket for these pouches. Place a pressing cloth (thin napkin, pillow case, scrap material) in between the pouch and the EasyPress.
Second Press
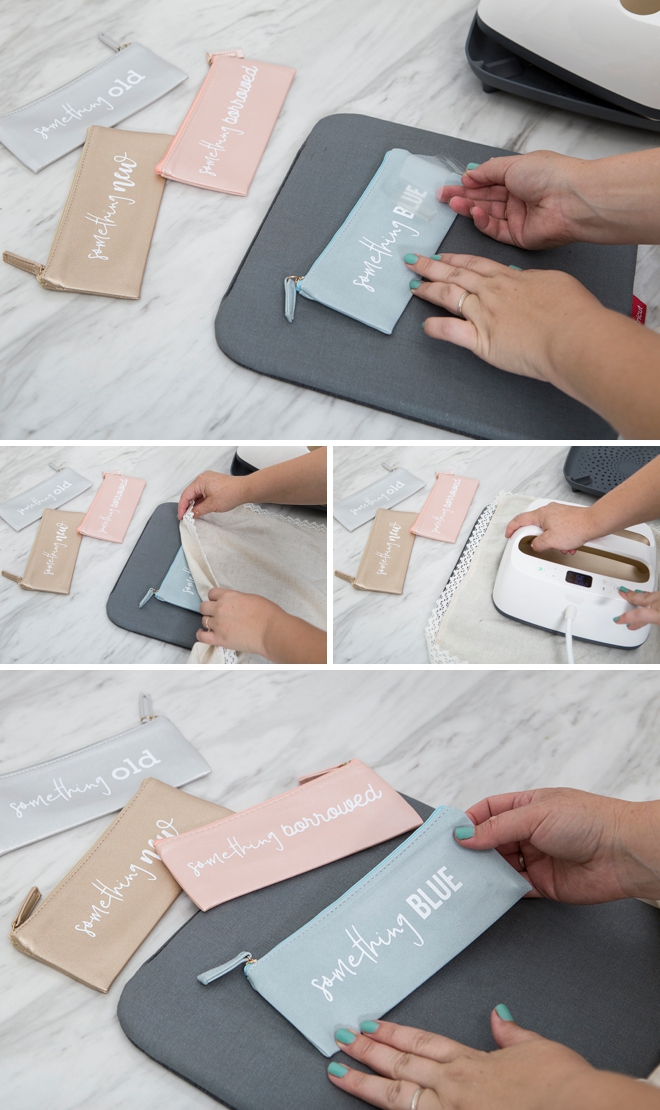
Let the pouch and iron-on design cool before you remove the plastic cover sheet. Once removed place the pressing cloth down and press again, same time and temperature for maximum adhesion ~ and you’re done!
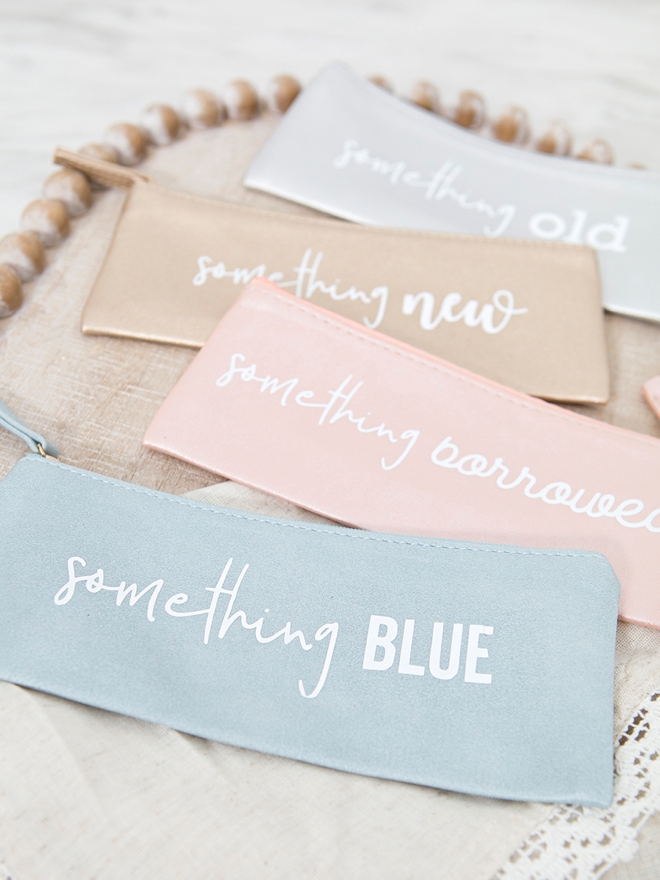
What Will Be Your Old, New, Borrowed, & Blue?
If you create one of our projects, please share a picture with us on Instagram or Twitter using the hashtag #somethingturquoisediy, we regularly reshare our favorites! Your profile will need to be public for us to see it otherwise, you can always DM us!
DIY Tutorial Credits
Photography + DIY Tutorial: Jen Causey of Something Turquoise // Cricut Maker, EasyPress 2, and Iron-on: courtesy of Cricut // Faux Leather Pouches: Amazon
Shop The Supplies:
Find the supplies you’ll need for this project from our affiliate links below:



Comments