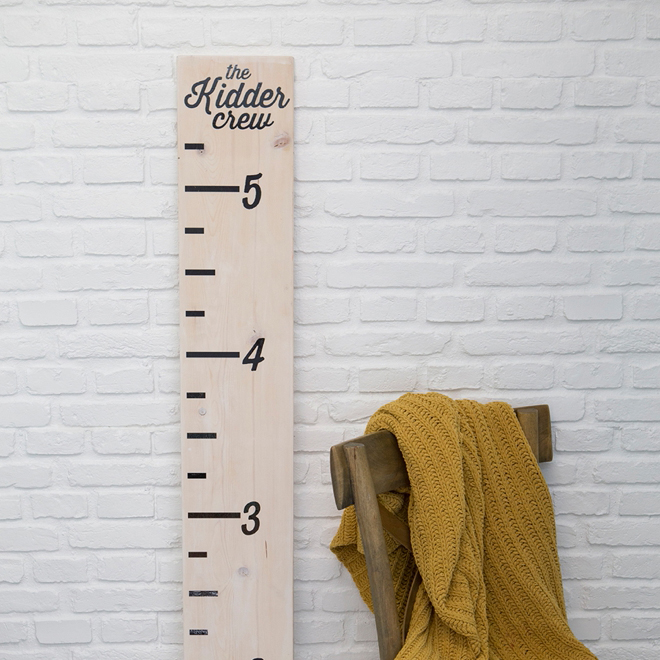

How To Make A Kids Oversized Ruler Growth Chart With The Cricut Joy
Everyone says it, they grow up so fast, but seriously! Our little crew is growing so freaking fast it’s kind of scaring me. My youngest is already 6 months old, I feel like I blinked and that happened, probably because I’m deliriously tired, but how is it possible? In four months my daughter will be 2 and I swear I was just pregnant with her. Ok, mom rant over. I’ve been wanting to make one of those cheesy kids growth charts, the kind that are on wood so you can take them with you if you move, but I’ve been dreading thinking about a vinyl project of that size. As soon as the Cricut Joy was released and I heard it could cut up to 20 feet, I knew instantly what my first project would be, a growth chart, yay!! Now the only question is – how often do we mark their measurements? Every year? Every month? More.. less…? Help, lol!
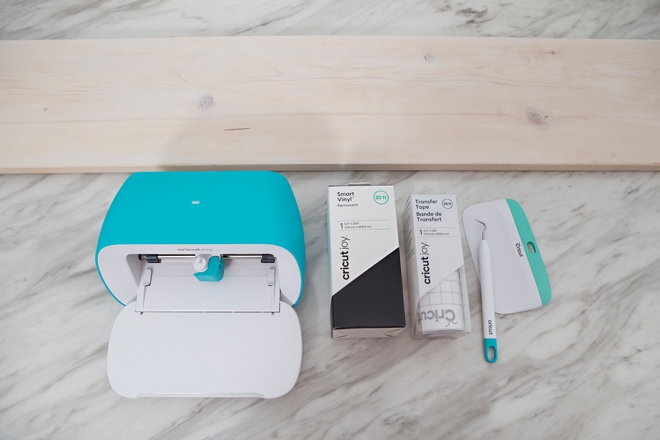
SUPPLIES:
- Cricut Joy
- Cricut Joy Smart Vinyl
- Cricut Joy Transfer Tape
- Cricut XL Scraper
- Large Piece of Wood
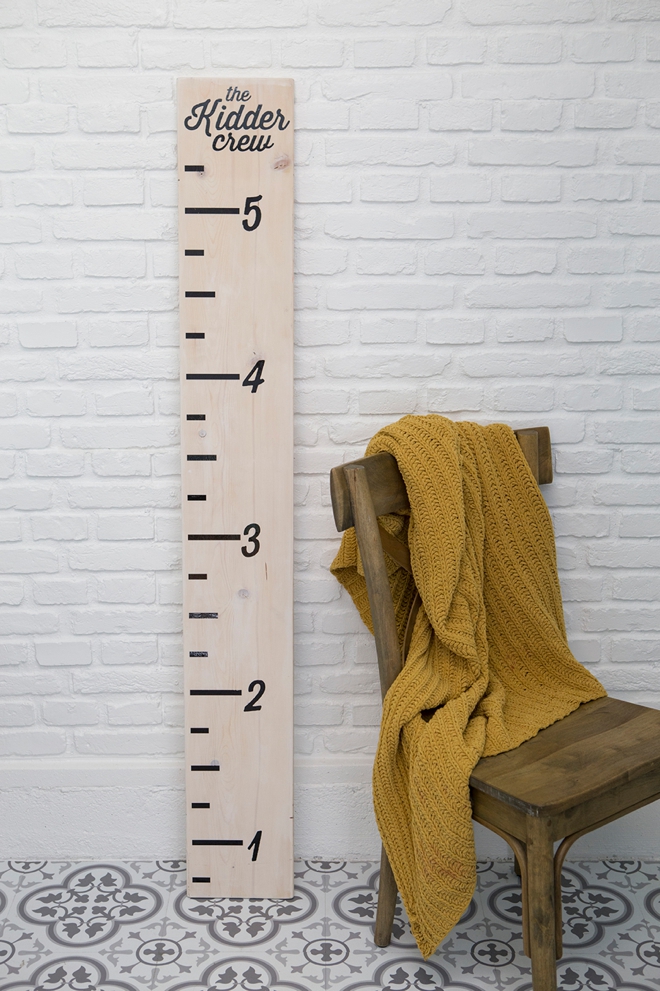
About the wood: my dad and I cut, sanded, and stained this beautiful piece of wood for a shelf in my old office and it turned out it was absolutely perfect for this project! It measures 8.25″ x 5′.
Create In Design Space
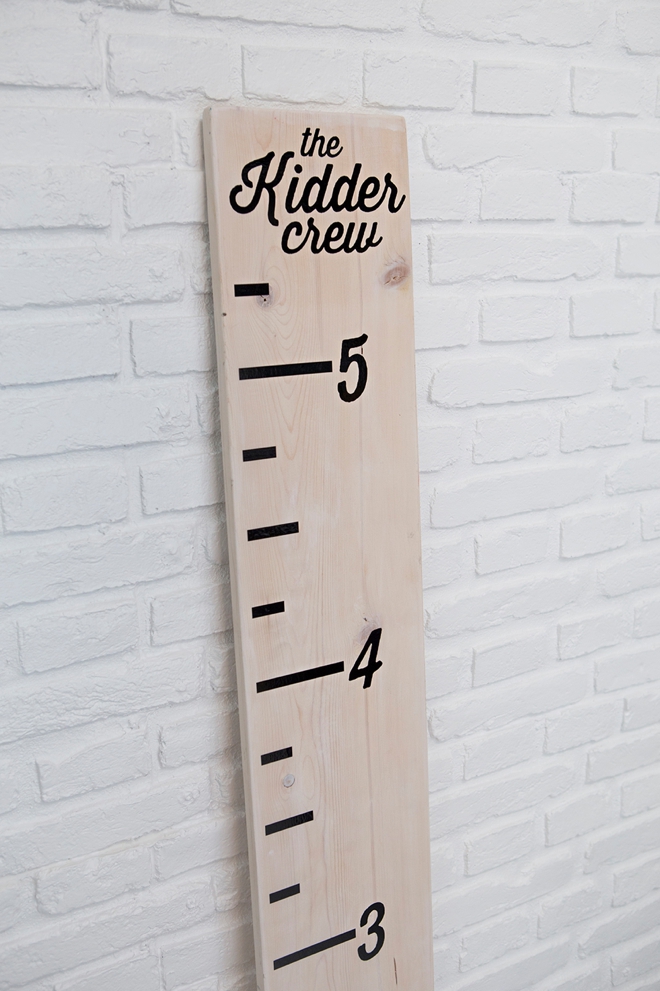
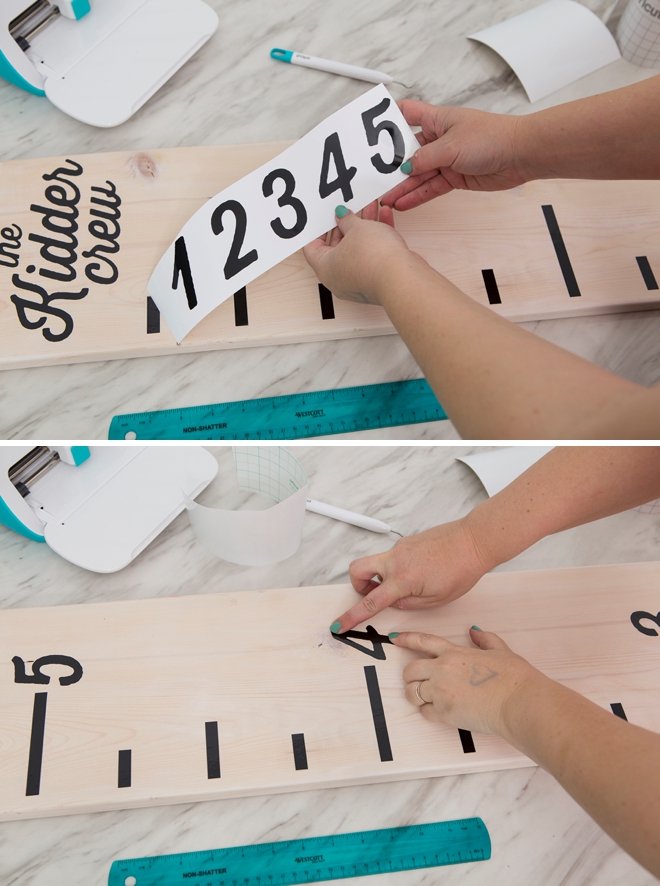
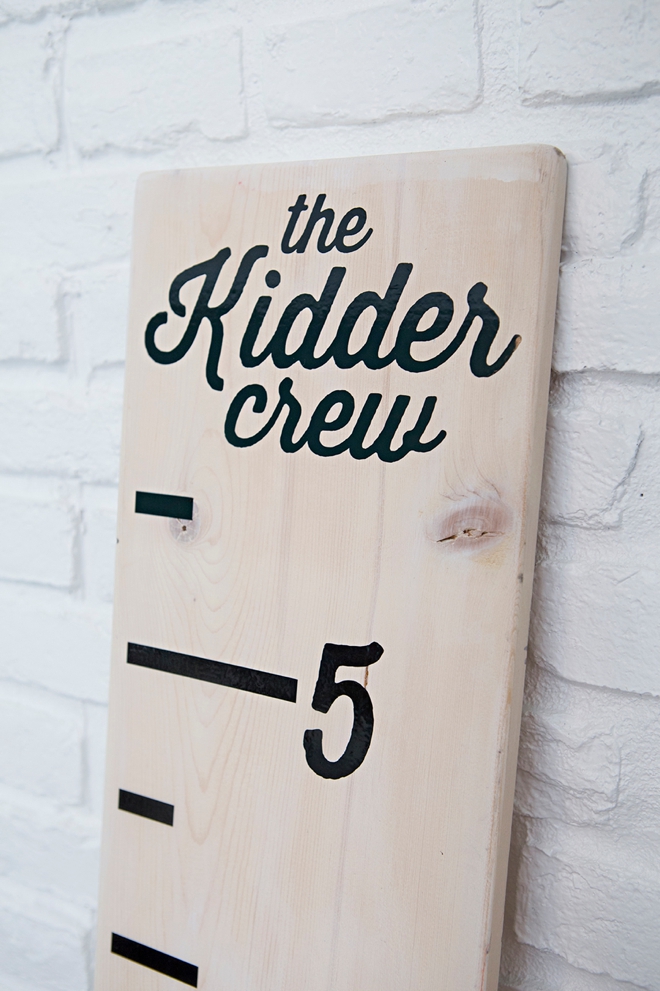
The first step is to login to Design Space and start designing your families growth chart! Click on this link to visit my exact canvas in Design Space to use the same design files that I did, some of the files I used require a subscription or will cost a few dollars. I used the font Thirsty Rough for “the Kidder crew” and the numbers. This board turned out to be about 5 feet long. The Cricut Joy can cut up to 4 feet of one design, so part of the ruler and the text was cut separately.

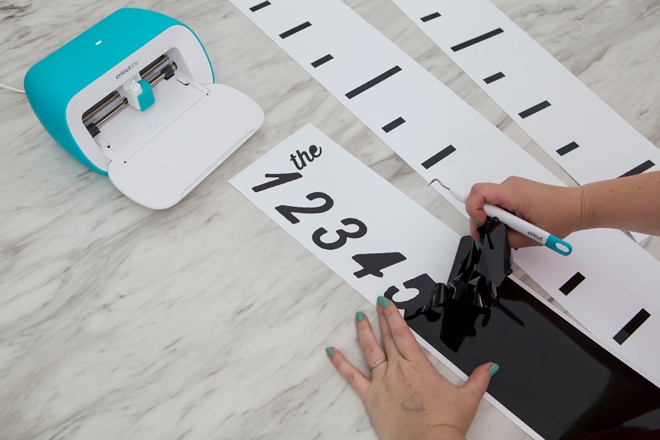
Weed The Designs
Weed, (aka. remove) all the excess vinyl material that isn’t a part of your design. Using the Cricut weeding tools makes the removal of intricate pieces super easy. Then trim each design down to size if needed.
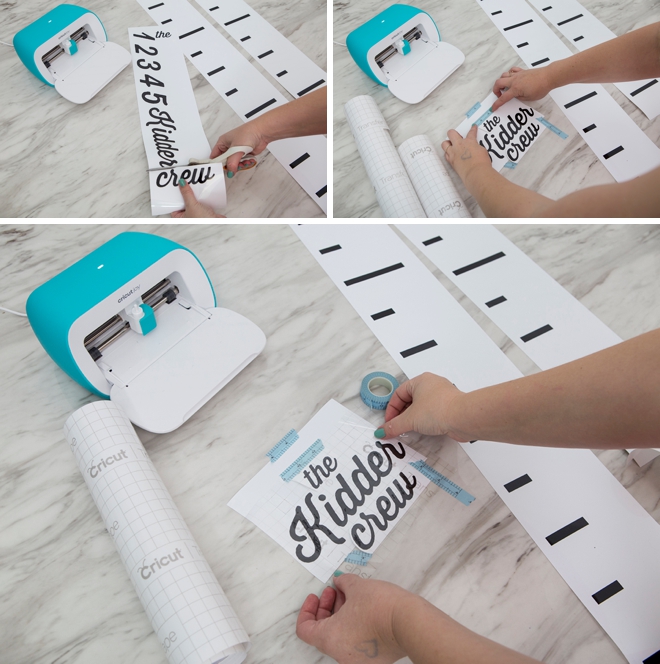
Transfer Tape
Transfer tape is the BEST and if you’ve never used it, you must try it. Basically you transfer your new vinyl stickers from their base to a clear film so you can properly position them on their final resting place.
Cut a piece of transfer tape just larger than your designs, peel and evenly smooth on top of the vinyl using the XL scraping tool. For “the Kidder crew” I had to piece it together as it was larger than 4.5″.
Adhere The Designs
Finally, the fun part. Remove the white vinyl backer sheet leaving just the clear transfer tape and your design. Then place on top of the wood and burnish with the scraping tool to fully transfer the vinyl to the wood. Next, very carefully pull away the transfer tape to reveal your awesome oversized ruler design!
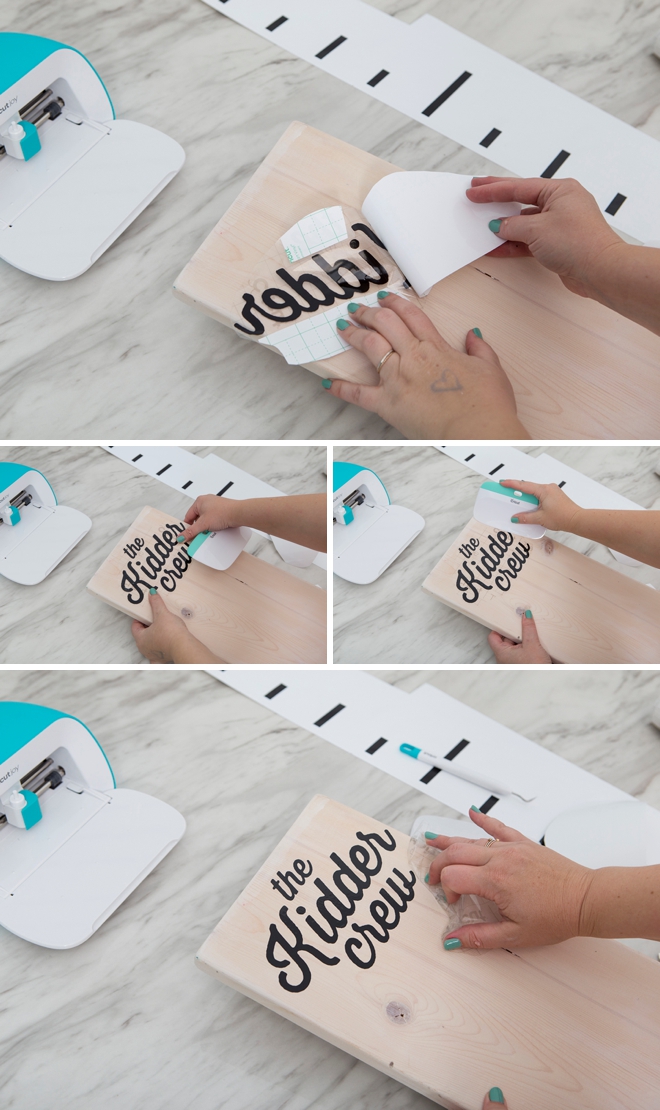
Working slowly helps with larger projects like this.

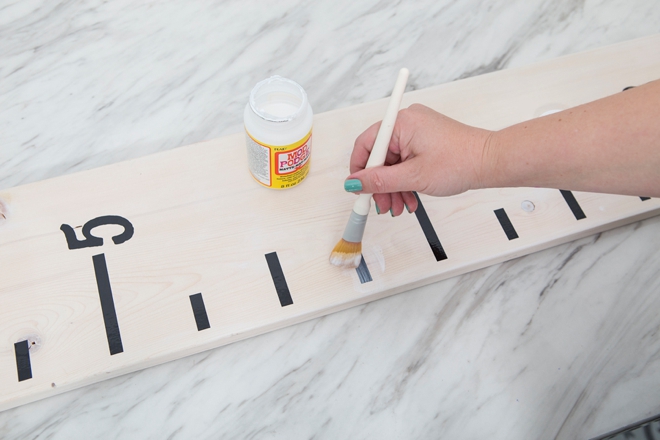
Mod Podge Seal
The final step is to seal the vinyl with Mod Podge, I used matte finish. This step is optional, but given that I want to keep this board and design for a considerable length of time, I applied two coats with a days dry time in between.
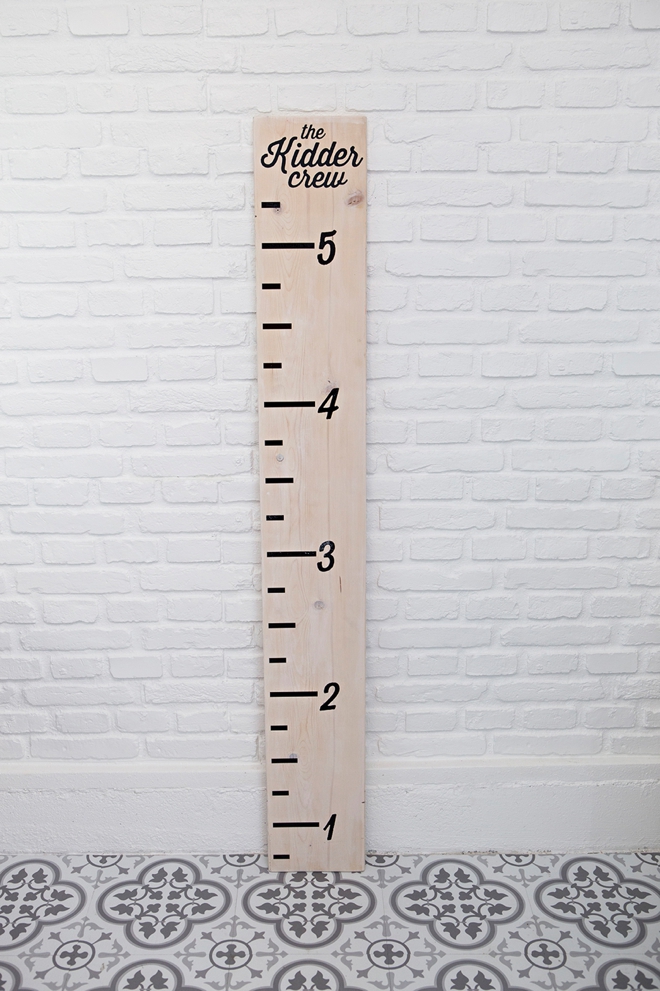
Hang
Now the hard part, which I’m grateful I’m not in charge of, LOL. The hubby now needs to perfectly hang this on the wall about 2/3 of a foot off the ground, which he will do with ease because he’s ultra precise like that!
If you create one of our projects, please share a picture with us on Instagram or Twitter using the hashtag #somethingturquoisediy, we regularly reshare our favorites! Your profile will need to be public for us to see it otherwise, you can always DM us!
DIY Tutorial Credits
Photography + DIY Tutorial: Jen Causey of Something Turquoise // Cricut Joy and Supplies: courtesy of Cricut // Matte Mod Podge: Amazon // Wood: Ganahl Lumber
Shop The Supplies:
Find the supplies you’ll need for this project from our affiliate links below:

Comments