
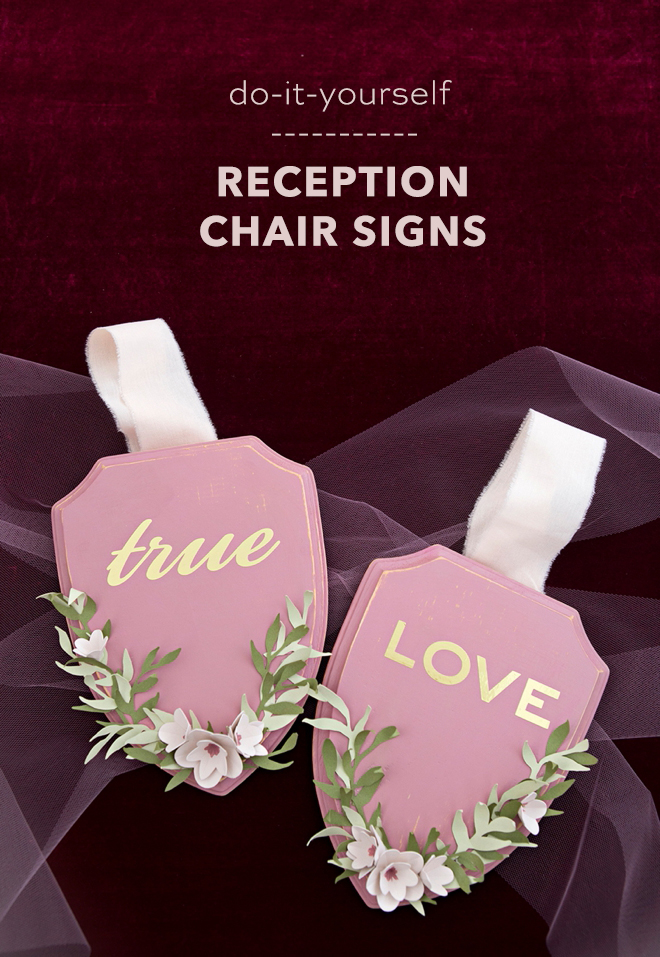
DIY Reception Chair Signs With Cricut & Martha Stewart
-Sponsored Post-
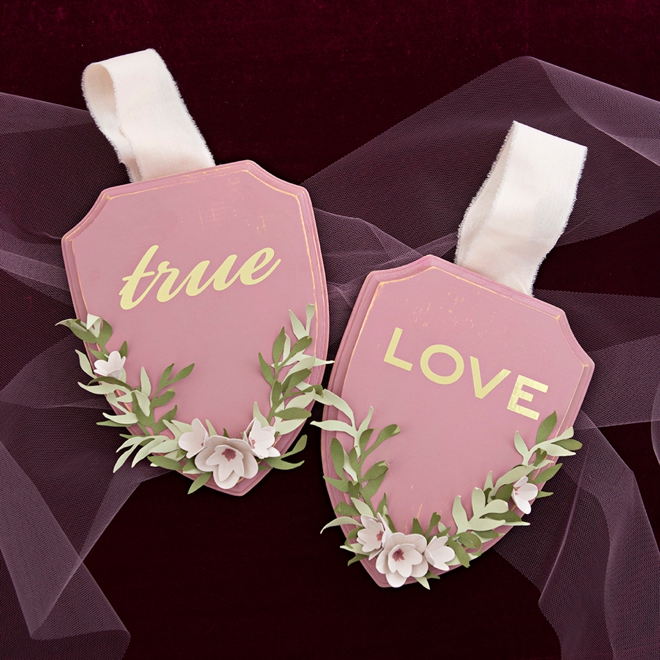
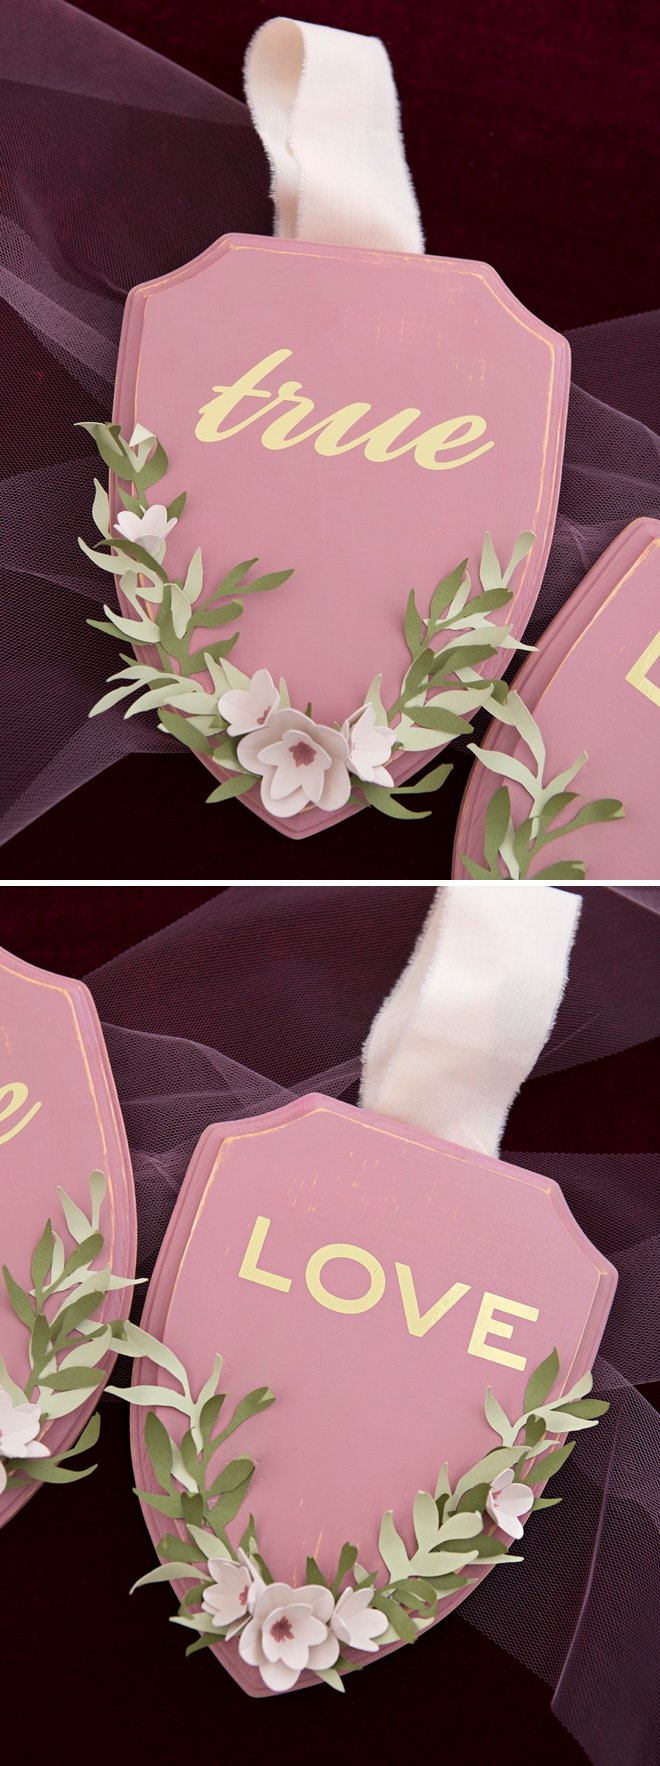
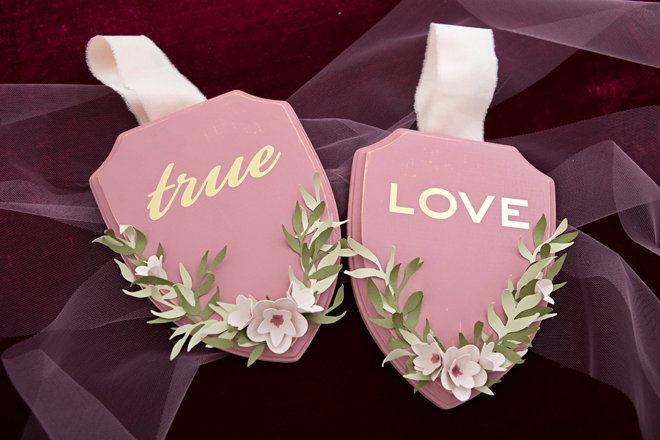
I’m thrilled to share that Martha Stewart has just released a brand new line of wedding-specific Cricut materials at Michaels!!! Yaaassss! One of the most exciting elements is that the packages, be it iron-on, vinyl, or cardstock – are all mixed materials! Which is exactly what we need for weddings! A little of this and a little of that making creating all your wedding projects super easy… and it wouldn’t be Martha without gorgeous color schemes! Today I’m using her vinyl collection called Black Tie Soriée and some of her beautiful new Cricut cut files to create these darling reception chair signs. Easy to personalize to your unique event, beautiful enough to save as a keepsake, and a terrific DIY wedding project because you only have to make two!
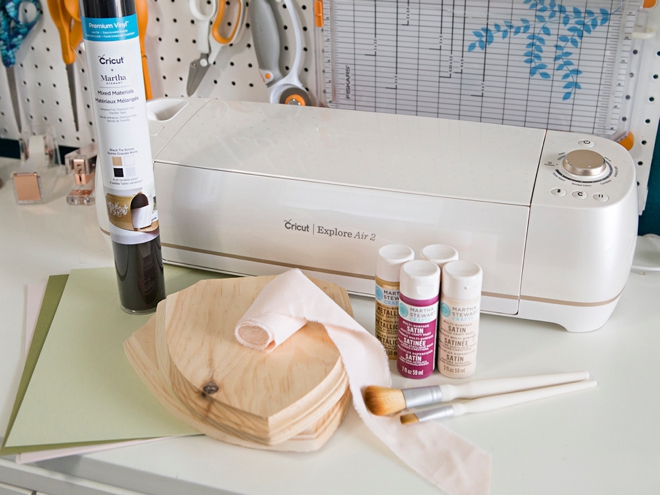
SUPPLIES:
- Cricut® Explore Air™ 2 Special Edition, Martha Stewart Machine Bundle
- Cricut® Martha Stewart Mixed Materials Vinyl Wedding Collection, Black Tie Soirée
- Martha Stewart Multi-Surface Craft Paint and Brushes
- 8″ x 10″ Wood Craft Plaques
- Colored Cardstock
- 2″ Cotton Ribbon
- Hot Glue Gun
- Sand Paper
- Staple Gun
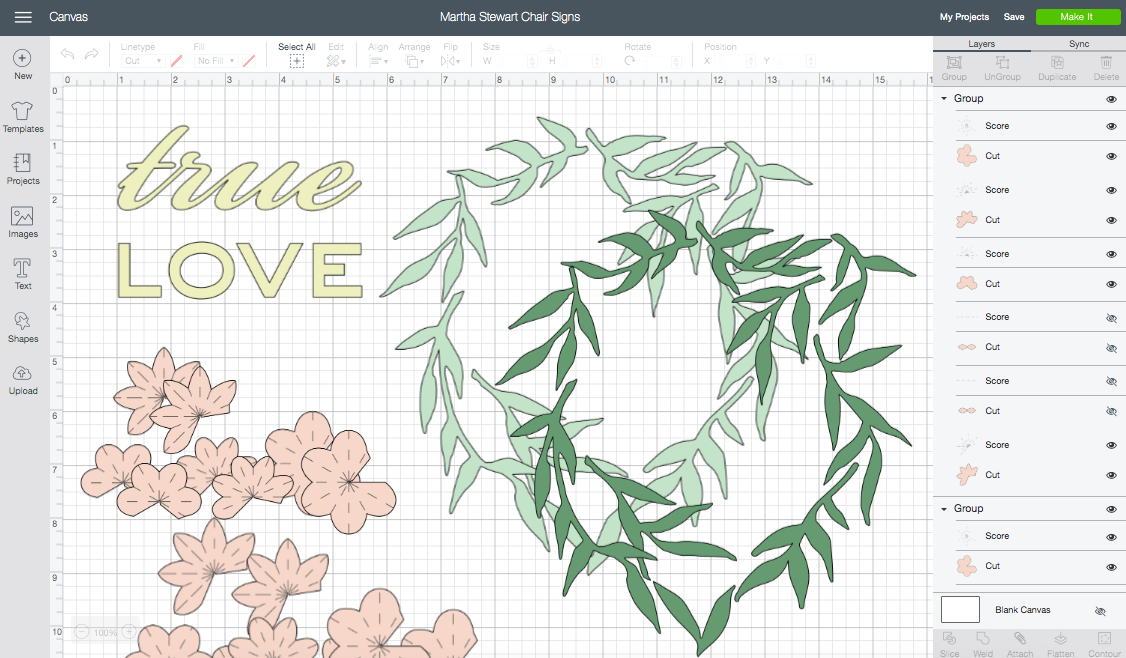
Create In Design Space
The first step is to create your reception chair signs in Design Space. Measure your plaques and create your design according to their size. I used 8″x10″ wood plaques. Color your designs to the paper and vinyl you’ll be using to keep your cutting mats organized. Login first and then click here to access my exact canvas within Design Space. When you purchase the new Cricut® Explore Air™ 2 Special Edition, Martha Stewart Machine, it comes with an entire set of gorgeous wedding design files including the ones I’ve used here. The exact design files I used were:
- Martha Stewart “true” #M92D5FA8
- Martha Stewart “LOVE” #M92D61F4
- Martha Stewart Leafy Frame #M92D61C3
- Martha Stewart 3D Flowers #M92D5FC4
Start Cutting Your Creations
For this project we have 4 cutting mats; three cardstock and one vinyl. Start cutting and keep following the mat prompts from Design Space until all your cuts are complete.
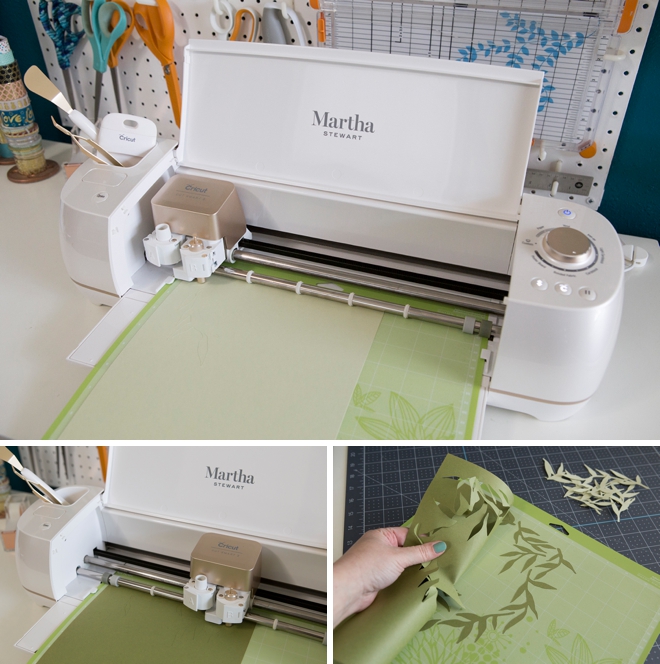
The flowers will require the scoring stylus.
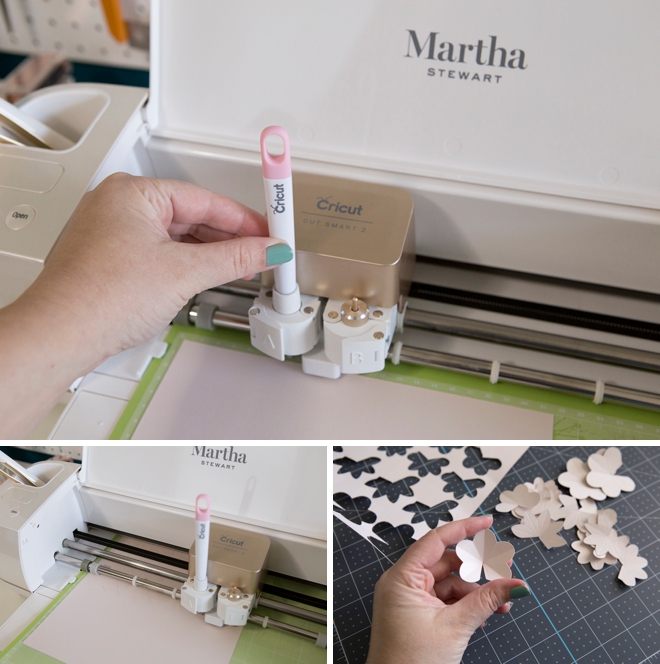
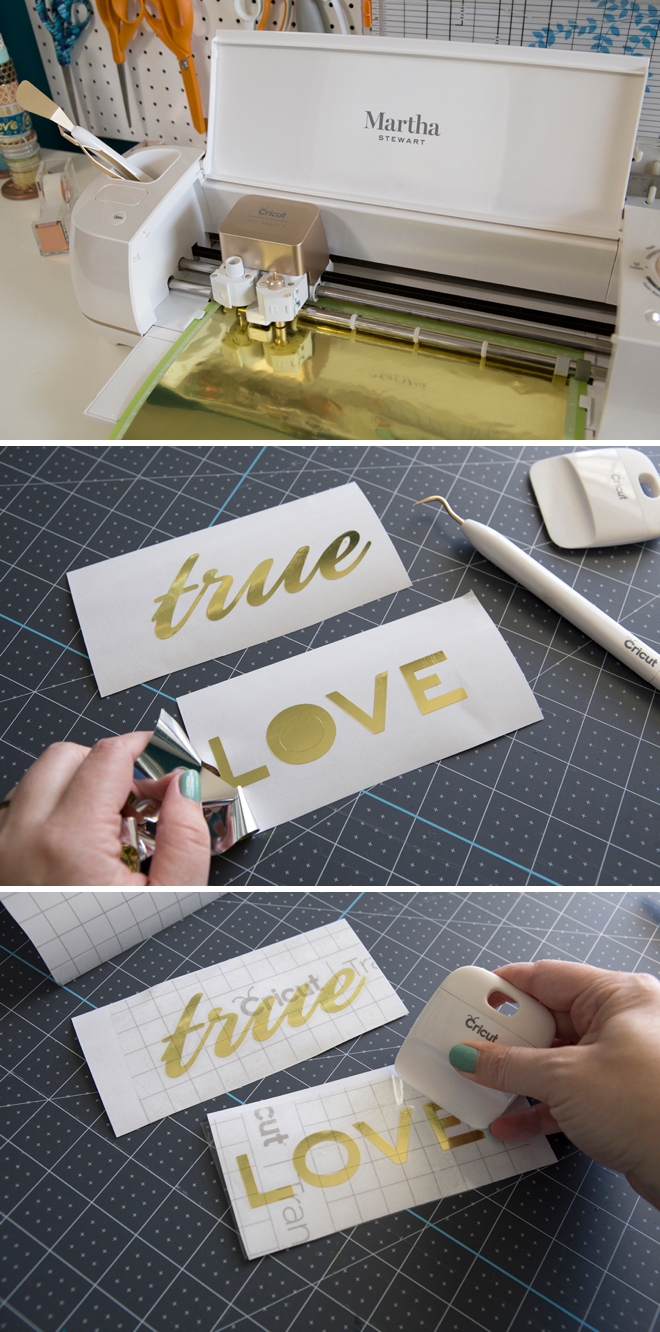
Vinyl Letters
We’re cutting the lettering out of gold foil vinyl which comes in the Black Tie Soriée vinyl pack from Martha Stewart. What also comes in the roll is the transfer tape needed, YAYAY! Weed (aka. remove) all the non-design areas of the vinyl. Then place a piece of transfer tape on the top and burnish.
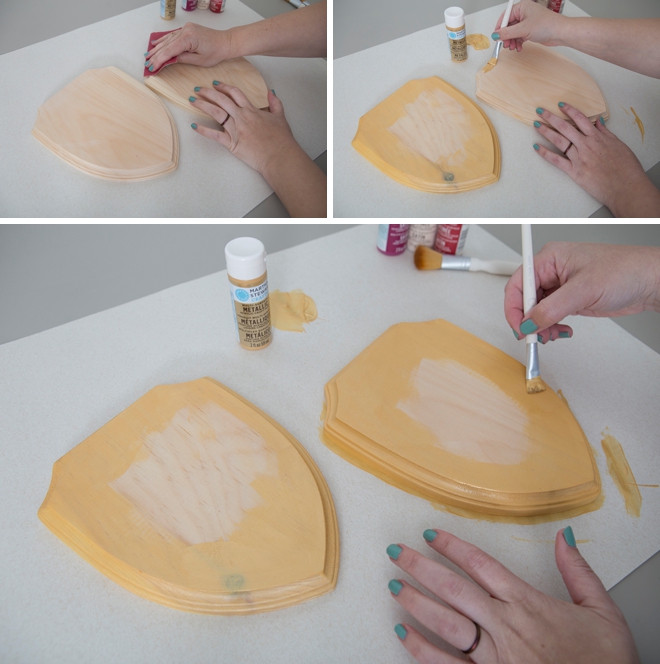
Begin Painting
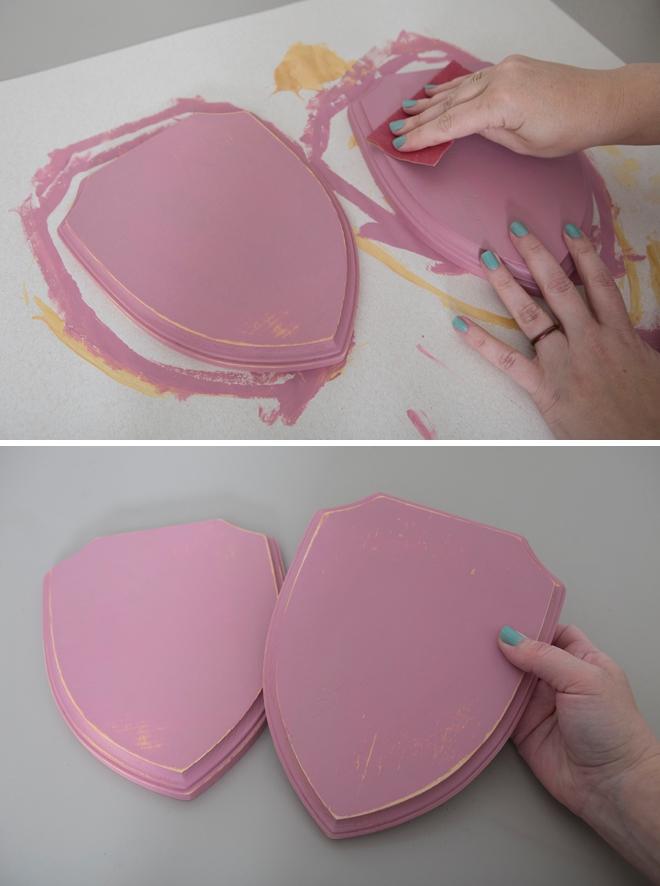
Next up, painting our wood plaques! Or not, totally your call and up to the style of your event. Sand the wood to remove any rough edges and create a nice clean paint canvas. Next, generously apply one coat of gold paint to the edges of the plaques. This step is optional but will add a glittery base that will show through when sanded!
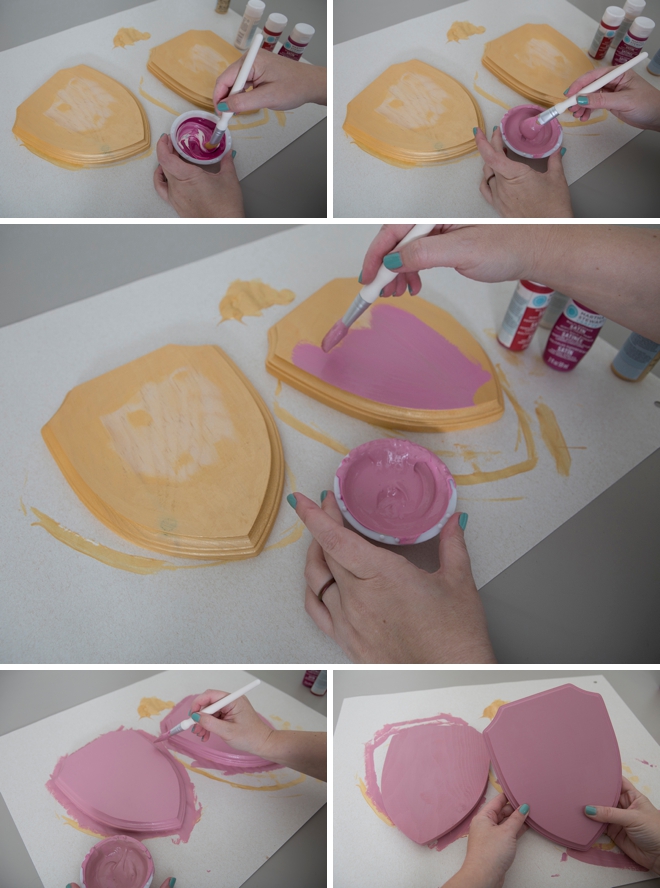
Layer Two
I mixed a few different Martha Stewart Craft Paint colors together to get this beautiful dusty mauve. Paint the entire plaque, front and back. Allow a few hours of dry time in between flipping. A second coat might be needed depending on the shade of your color.
Sand
Using sand paper, sand the front and edges to give a slightly romantic/rustic look to the plaques. During this step you’ll see bits of that gold show through the mauve. Remove all dust with a damp paper towel before adding the vinyl.
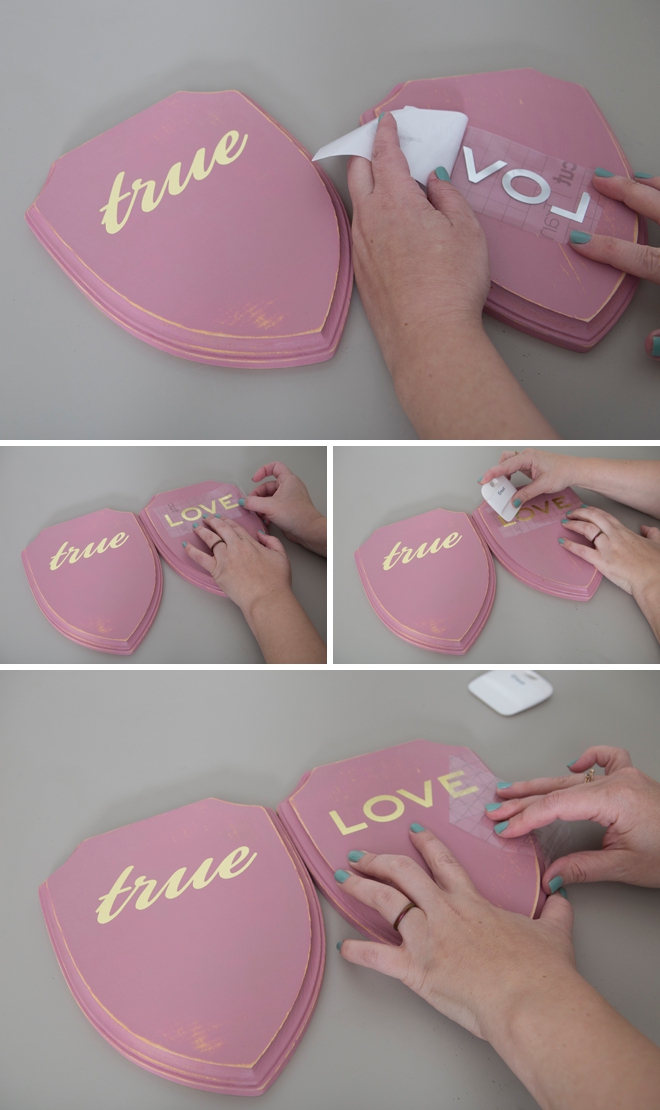
Vinyl Lettering
With the plaques sanded and clean from dust, carefully peel the white vinyl backing sheet off the lettering to reveal only the design and the clear transfer tape. Then transfer the lettering to the plaque, burnish the design with the scraper tool and then carefully remove the clear transfer tape. So pretty!
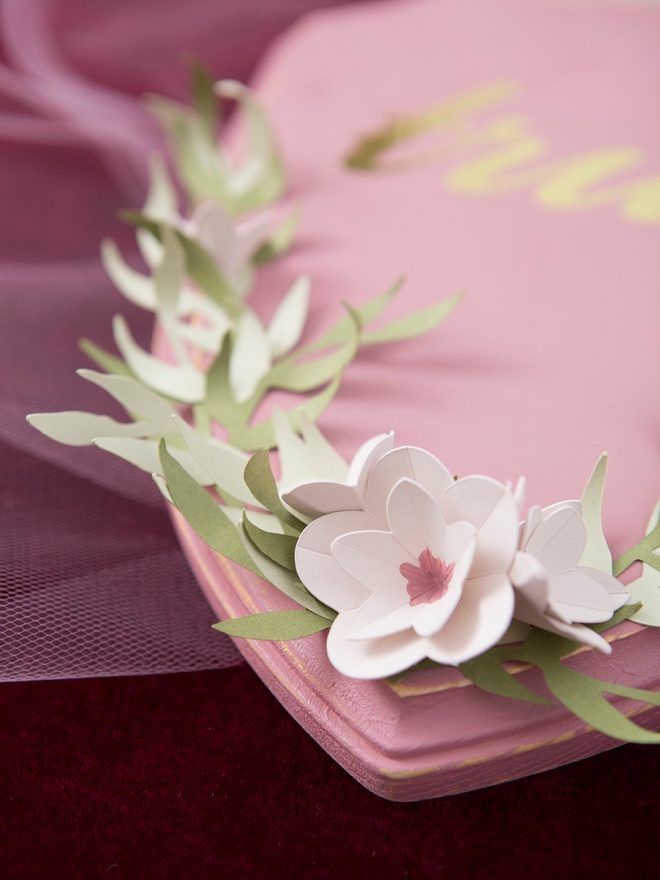
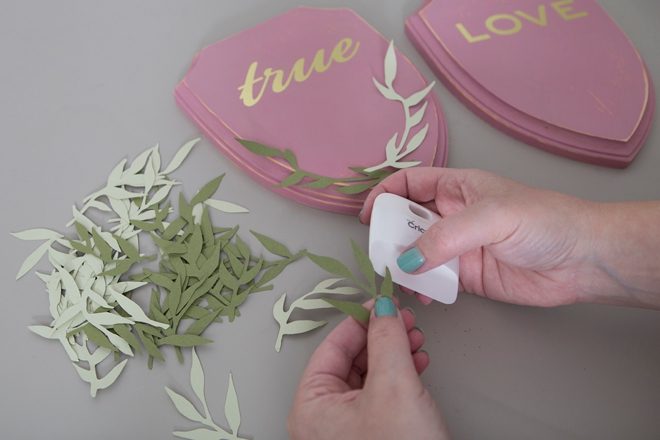
Curl The Leaves
Using your scraping tool, round the edges of the cardstock leaves to give them dimension. Just like you would pull ribbon across a pair of scissors, just much shorter.
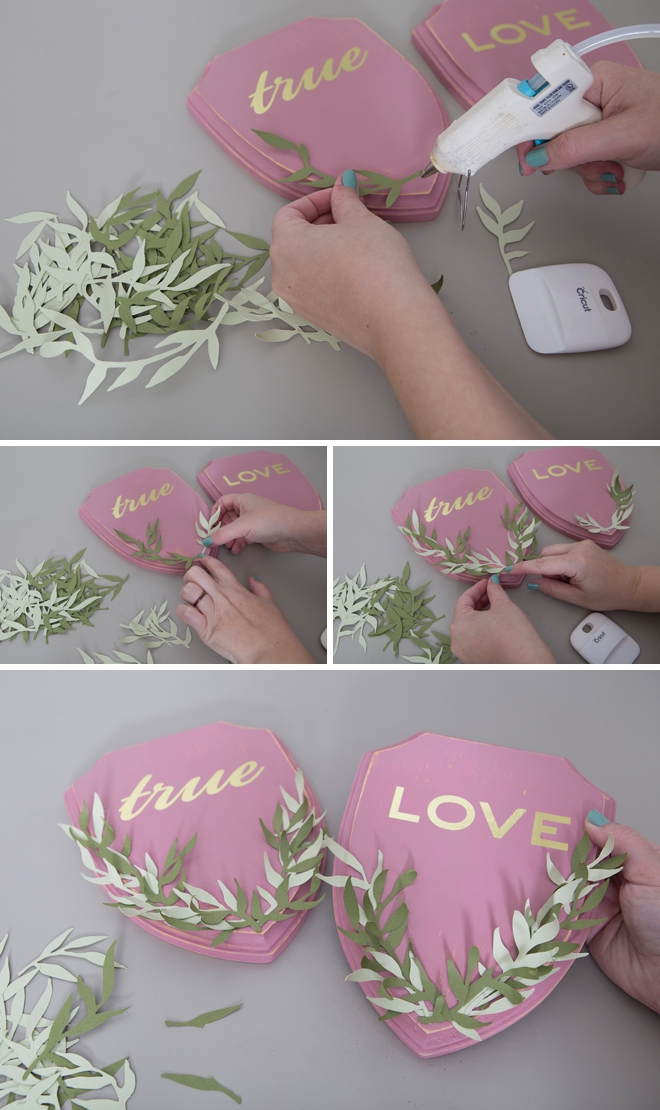
Add The Leaves
Using hot glue, add the leaves to the bottom edges of the plaques. Alternating between colors if you desire!
Add The Flowers
To create the 3D flowers you’ll need to fold and hot glue the ends together, which is super easy. Then add a few into your pretty leaves.
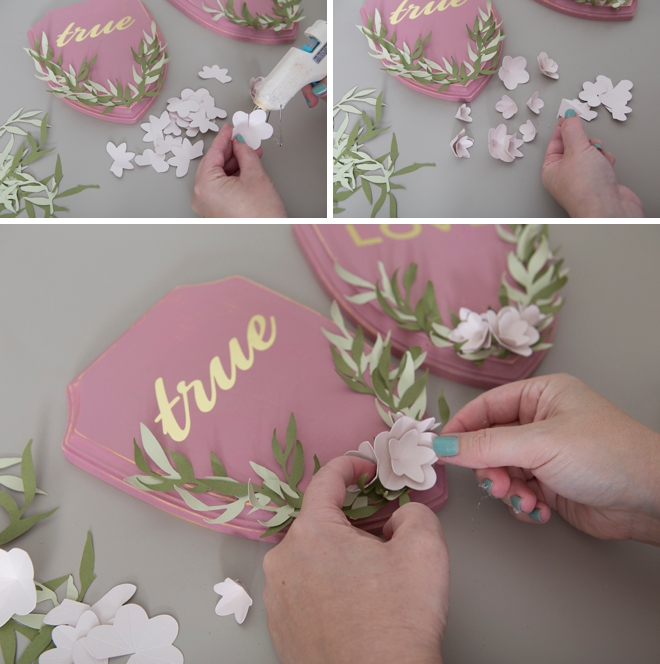
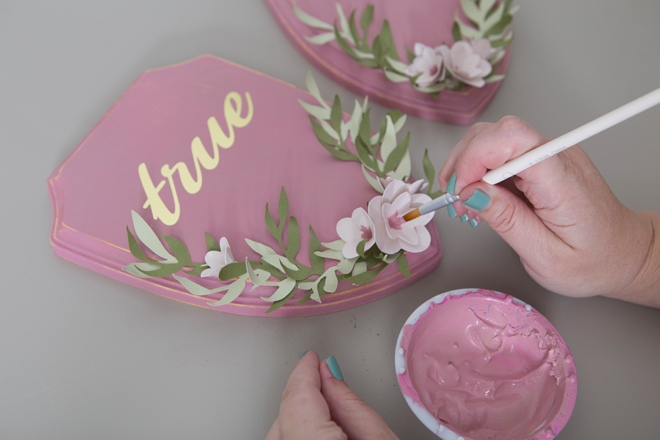
Paint The Centers
The finishing touch is painting a little flower center in each flower. I used left over mauve paint I saved from the plaques.
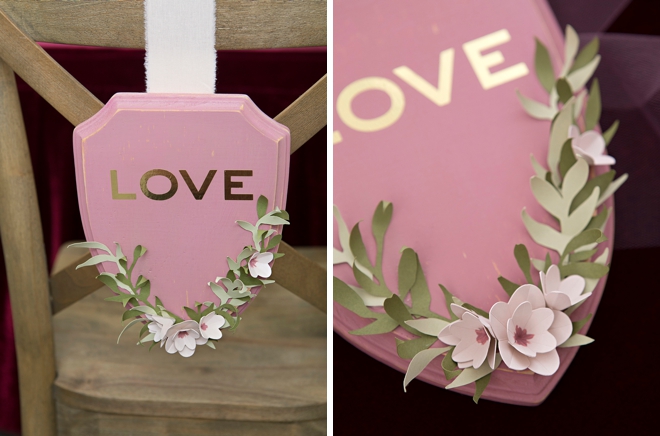
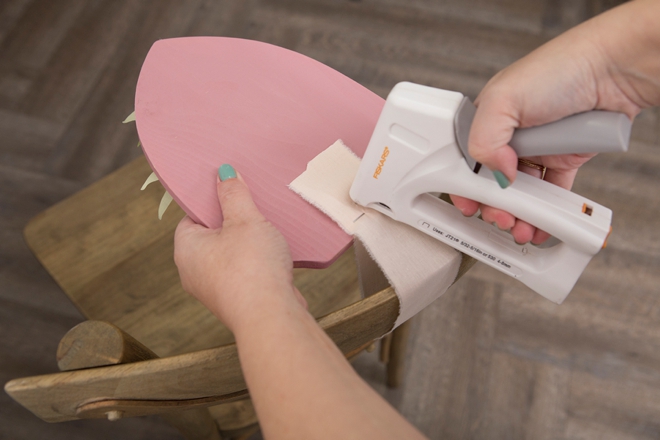
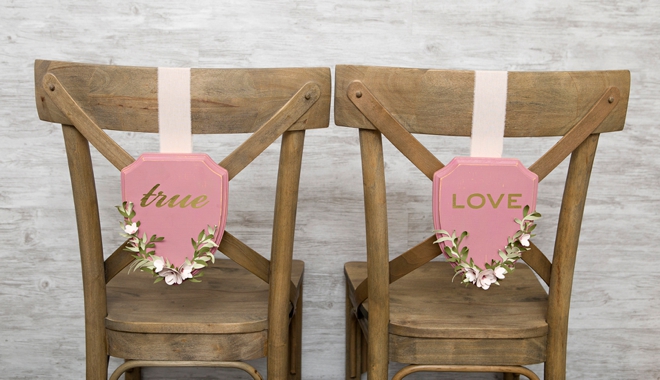
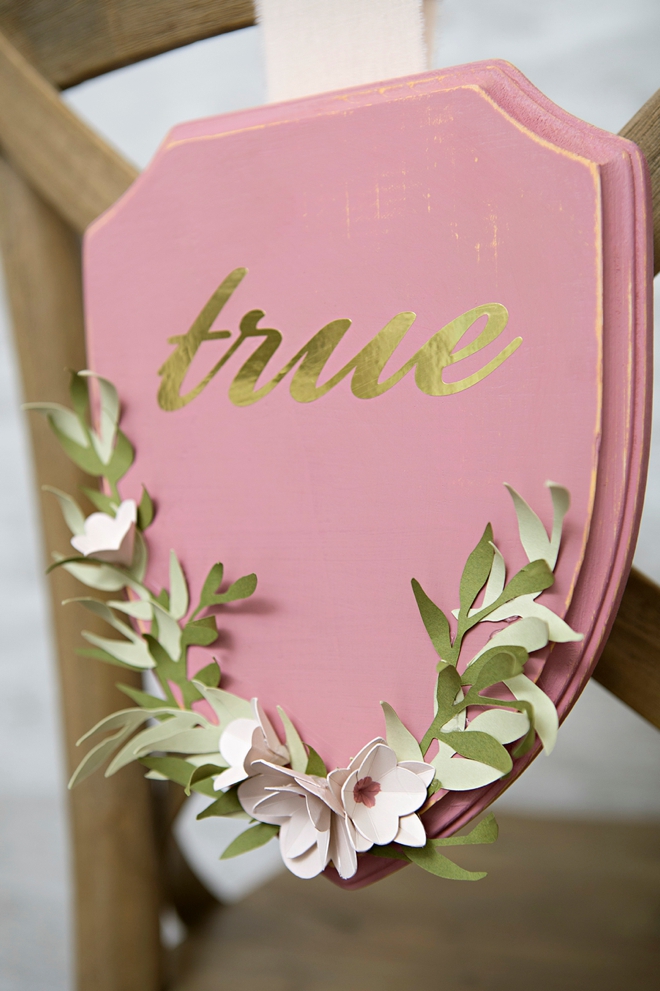
Hang At Your Reception
This detail is OFTEN overlooked. How will you hang your signs on the chairs at your reception? What type of chairs are they? It’s best to figure this out ahead of time. For this style, the easiest way to attach them to the chairs is to simply use a staple gun and ribbon. Then just trim the ribbon at the end of your event. Quick and easy, and no worry of them falling off!
DIY Tutorial Sponsored By:

Cricut is a world-class leader in personal electronic cutting machines that has enabled people to achieve their creative best for over 50 years. Today, millions of people use Cricut products to create unique projects, and they focus on enhancing lives with this power of creativity. Let Cricut help you take your wedding personalization and project creativity to the next level!
As with all our DIY tutorials, if you create one of our projects please send us a picture – We Love Seeing Your Creativity! If you use Instagram or Twitter please use the hashtag #SomethingTurquoiseDIY and it will show up on our Get Social page. Happy Crafting!
DIY Tutorial Credits
Photography + DIY Tutorial: Jen Causey of Something Turquoise // Cricut® Explore Air™ 2 Special Edition, Martha Stewart Machine Bundle and Cricut Supplies: courtesy of Cricut // Martha Stewart Craft Paint: Martha Stewart // Wood Plaques: Amazon // Cardstock: Paper Source // Peach Cotton Ribbon: Amazon // Staple Gun: Fiskars // Nail Polish: OPI – Withstands the Test of Thyme
Shop The Supplies:
Find the supplies you’ll need for this project from our affiliate links below:

Comments