
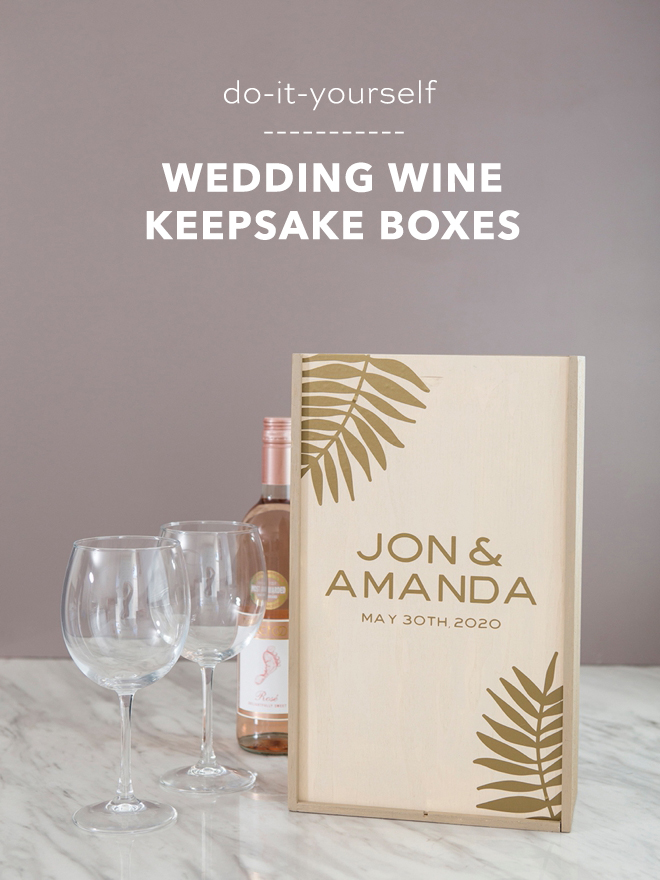
DIY Wedding Wine Keepsake Boxes With Cricut
-Sponsored Post-
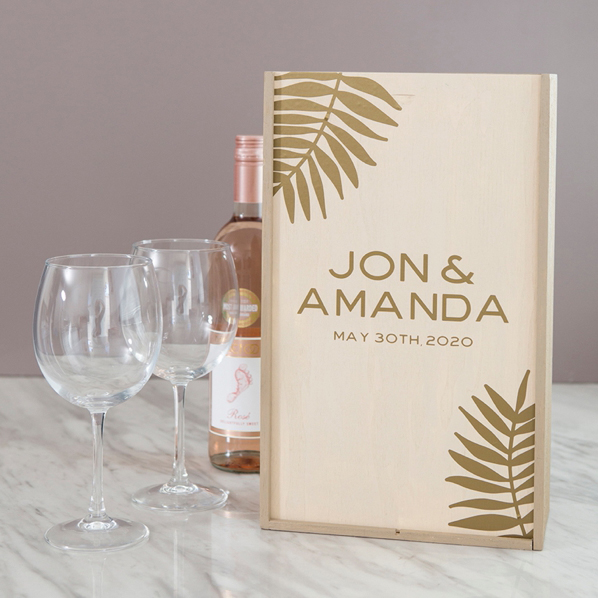
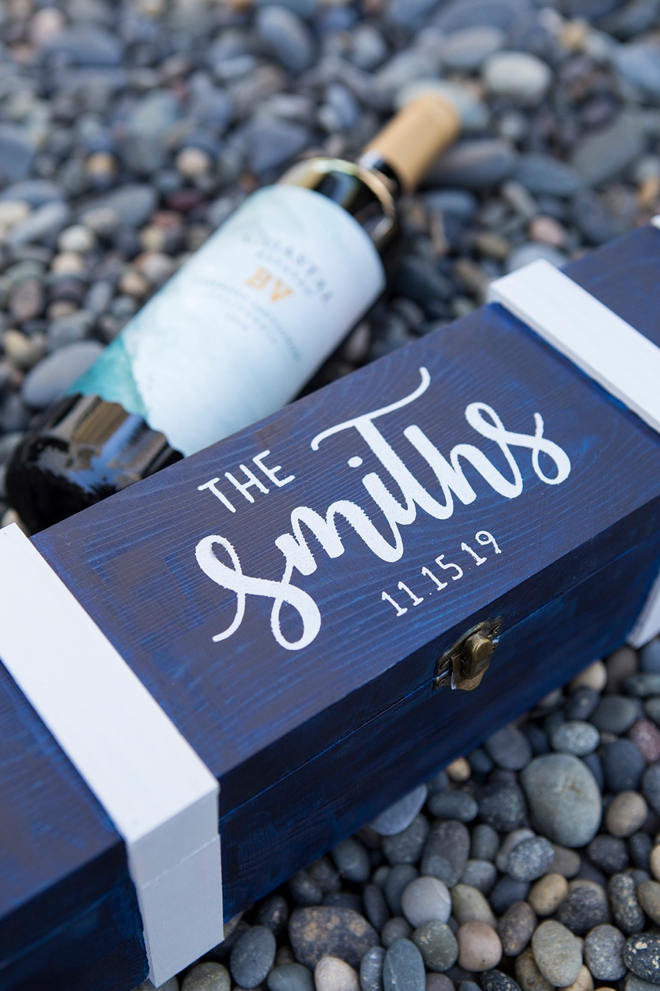
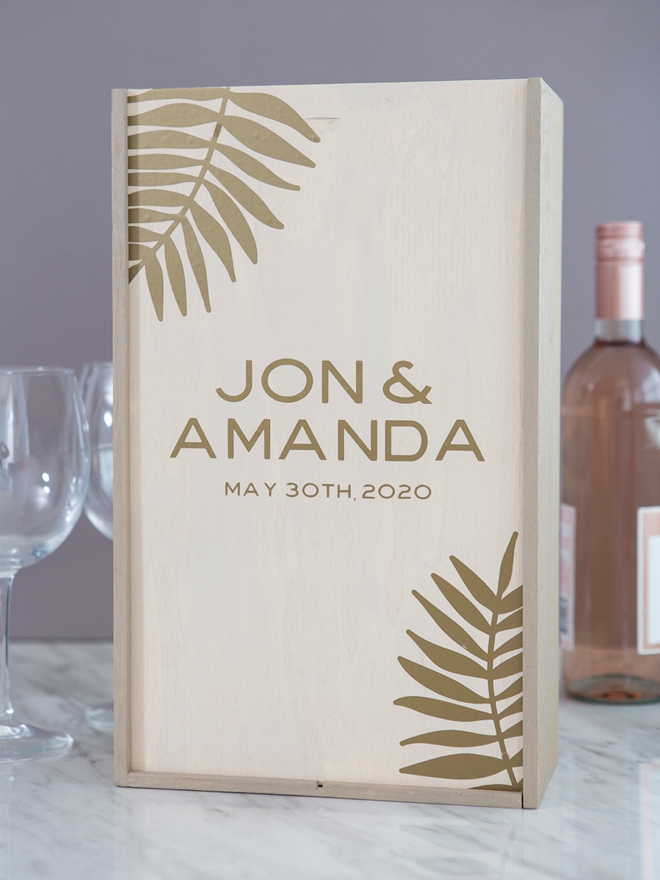
On this beautiful Monday morning, we’re feeling a bit sentimental and romantic because of these handmade wedding wine keepsake boxes! I used my , and loads of Martha’s other supplies like vinyl and paint to turn boring wood boxes into beautiful ways to hold onto special bottles of wine. I’m sharing 3 different techniques below that are made super easy by my Cricut. Seal a special bottle of wine in one of these boxes during your ceremony to open in celebration on your first anniversary!
Cheers!
Seal the box closed on your wedding day, or maybe even buy a special bottle on your honeymoon to save… and then open and enjoy on your first anniversary! Who knows, maybe you’ll enjoy the experience so much that you’ll save a new bottle every year!
***Sorry I didn’t splurge on save-worthy wine for the photo shoot, LOL!
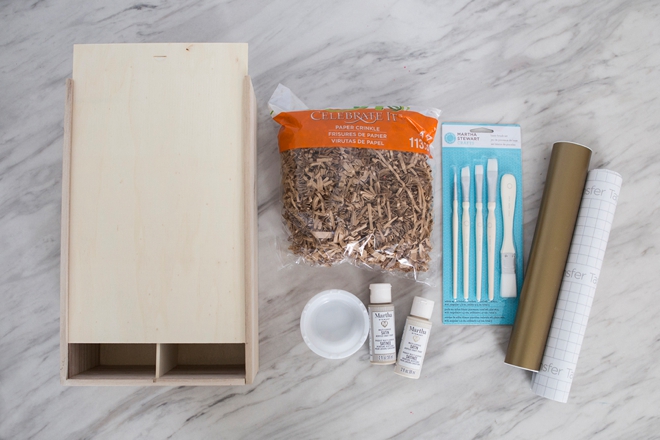
SUPPLIES:
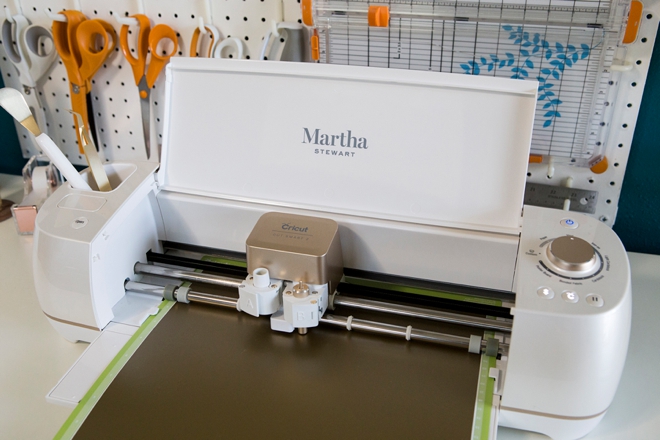
- Cricut® Explore Air™ 2 Special Edition, Martha Stewart Machine Bundle
- Cricut Vinyl
- Cricut Transfer Tape
- Wooden Wine Box
- Martha Stewart Craft Paints, I used Sting Ray Gray, Oat, Pink Raspberry, Dolphin Gray and Deep Sea Blue
- Gift Wrap Shred
- Nice Bottle of Wine
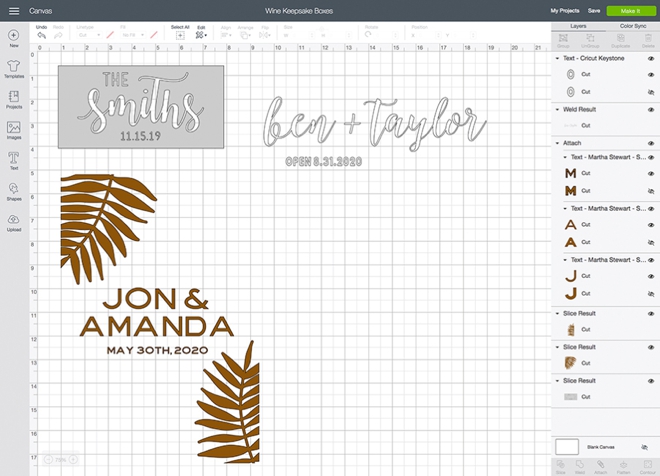
Create In Design Space
The first step is to login to Design Space and start designing your wine box! Click on this link to visit my canvas in Design Space to use my pre-designed cut files, some of the files I used for these designs require a subscription or will cost a few dollars. If you have the Martha Machine Bundle her fonts and graphics (like the leaves I used here) will be free. Prepare your mat and get ready to cut!
Fonts used: Martha Stewart Smart Cookie, Watermelon Script, Mensch, Octavia Script.
Let Your Cricut Work It’s Magic
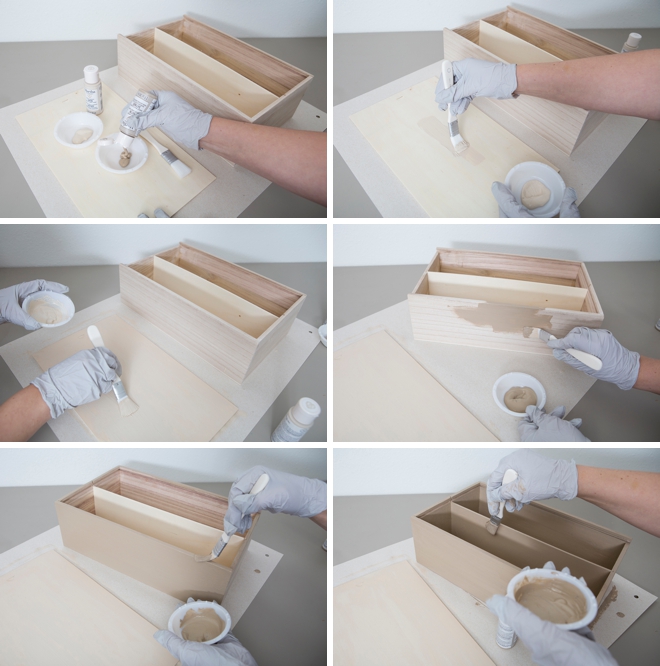
Paint Your Boxes
I love, and have always loved, the Martha Stewart line of craft paint because it’s multi-surface. Here we’re painting wood but you can paint glass, plastic, fabric and more. Paint your wooden wine boxes and let them dry for at least 72 hours before you try to add any vinyl to them. You might need to sand and do an extra coat of paint, depending on your box and paint color.
Weed + Transfer Tape
Weed, (aka. remove) all the excess iron-on material that isn’t a part of your design. Using the Cricut weeding tools makes the removal of intricate pieces super easy. Then trim each design down to size if needed, then apply transfer tape. Transfer tape is the BEST and if you’ve never used it, you must try it. Basically you transfer your new vinyl stickers from their base to a clear film so you can properly position them on their final resting place. Cut a piece of transfer tape just larger than your designs, peel and evenly smooth on top of the vinyl using the scraping tool.
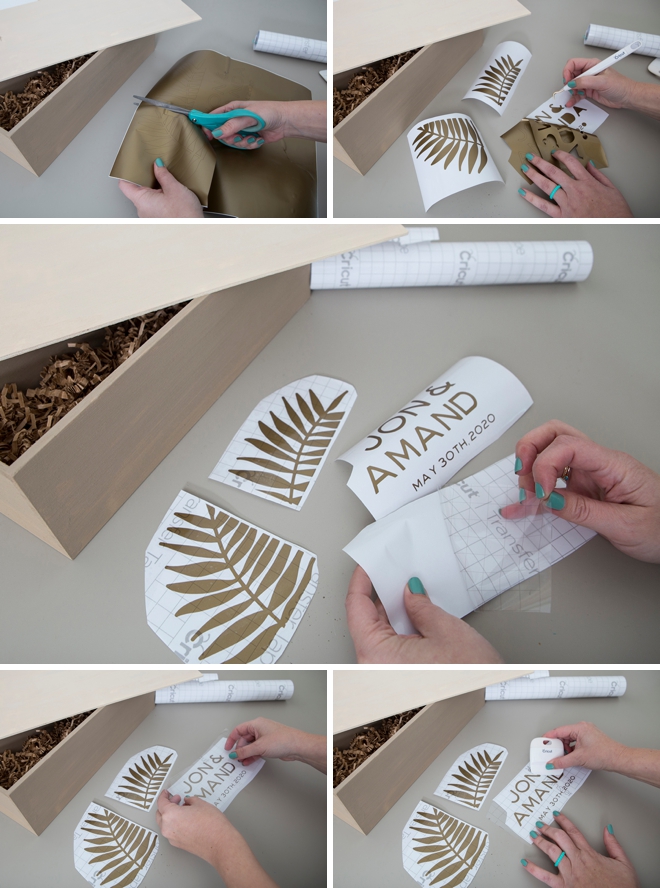
Adhere The Designs
Finally, the fun part. Remove the white vinyl backer sheet leaving just the clear transfer tape and your design. Then place on top of your item and gently burnish with the scraping tool. Next, pull away the transfer tape to reveal your darling personalized wine box!


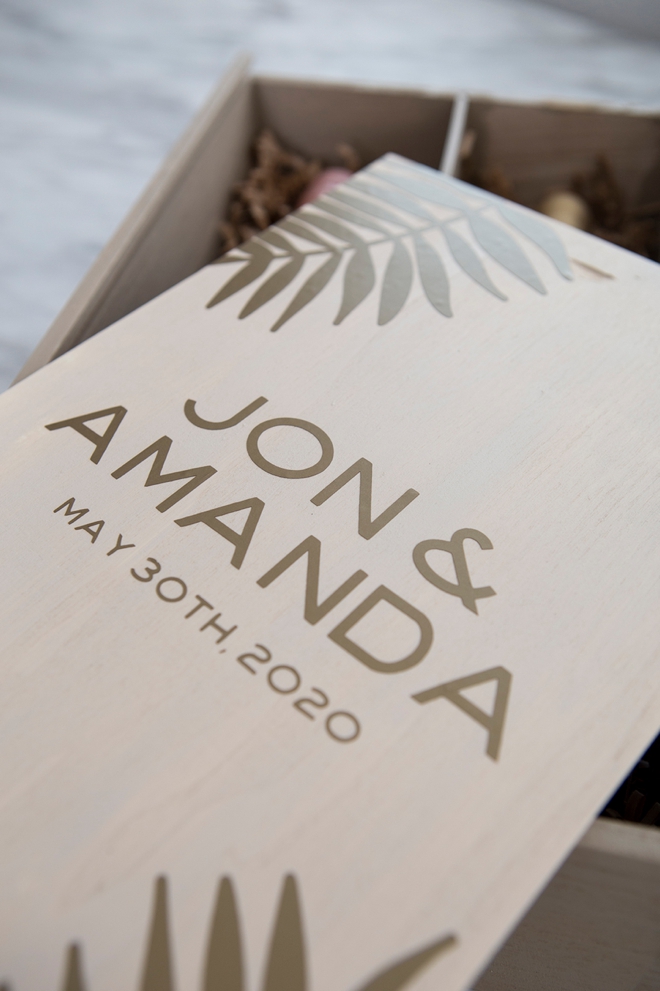
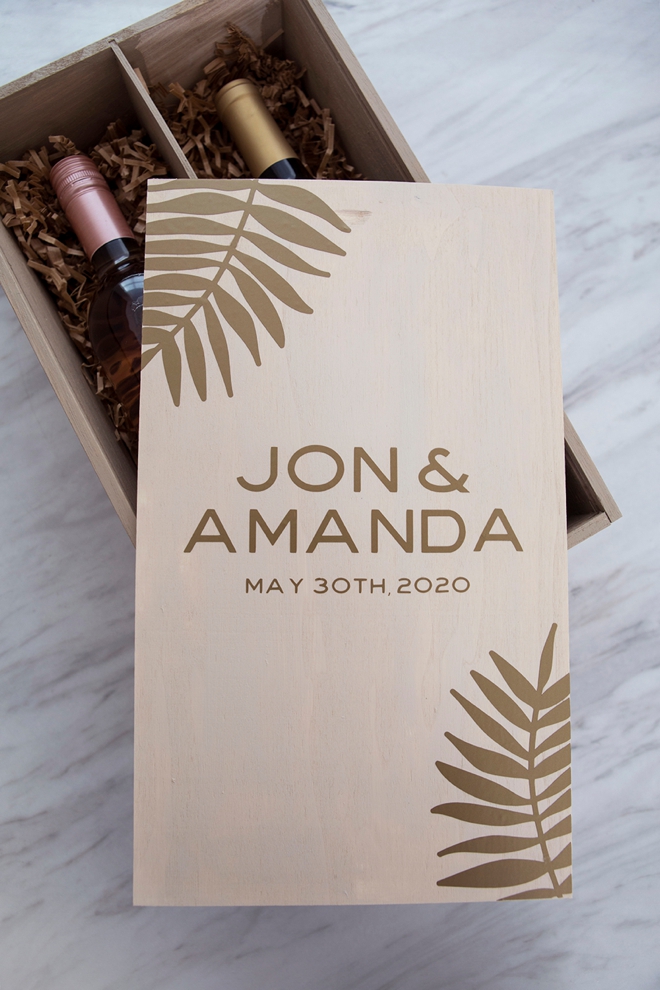
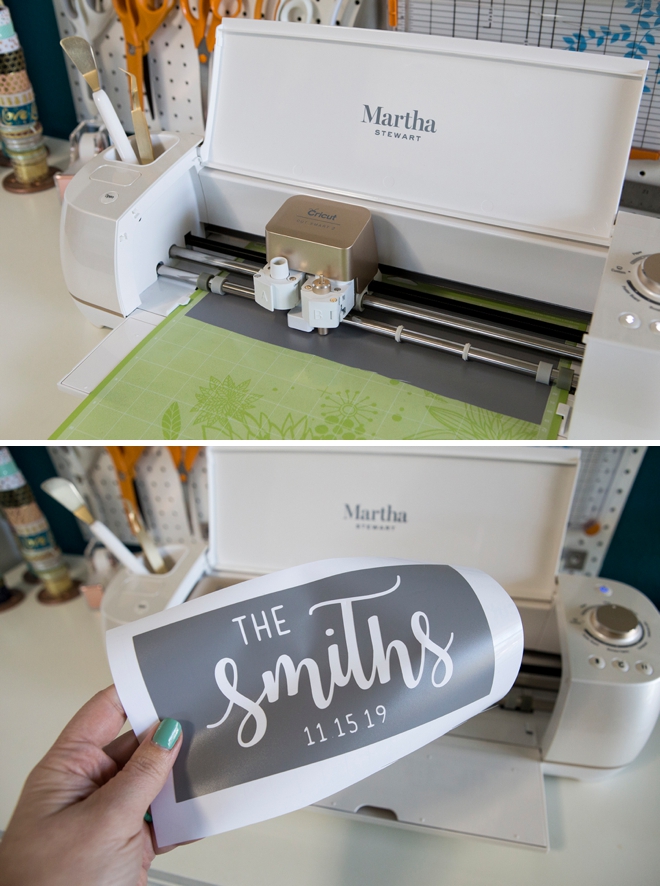
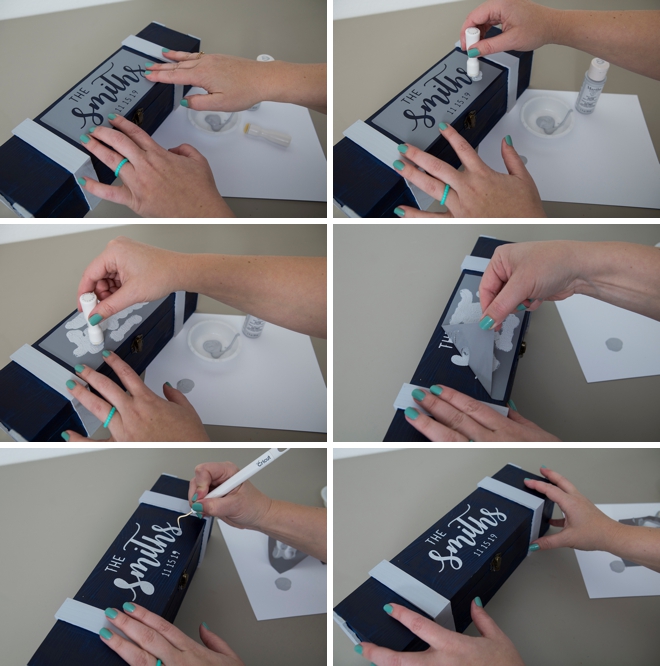
Using Vinyl As A Stencil
I used the Martha Stewart removable vinyl to create a stencil for this box design. First I created my text design and then “sliced” it out of a rectangle the size of the top of the wine box. For the stencil, you’d weed backwards, hahaha. Normally we’re removing everything else, but in this case we’re removing the letters!
Paint
Firmly adhere the vinyl to the top of the wine box. Then using Martha Stewarts paint daubers, gently add paint across the design. Make sure every spot is covered and then carefully remove the vinyl while the paint is still wet. Use your weeding tools to remove the little inside letter bits. Use a small paint brush to touch up any bleeding or mistakes.
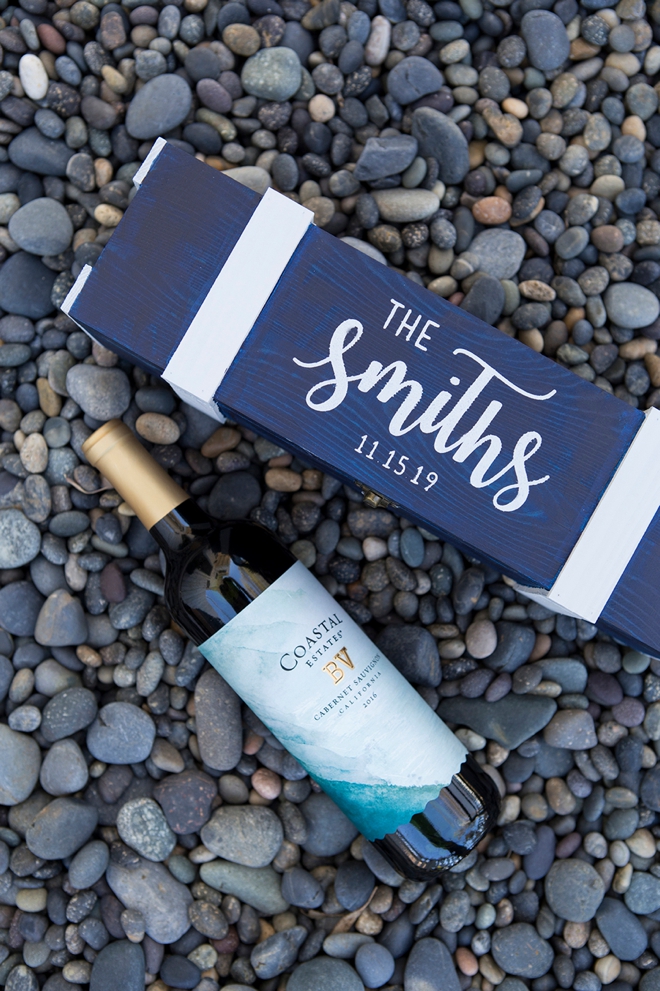
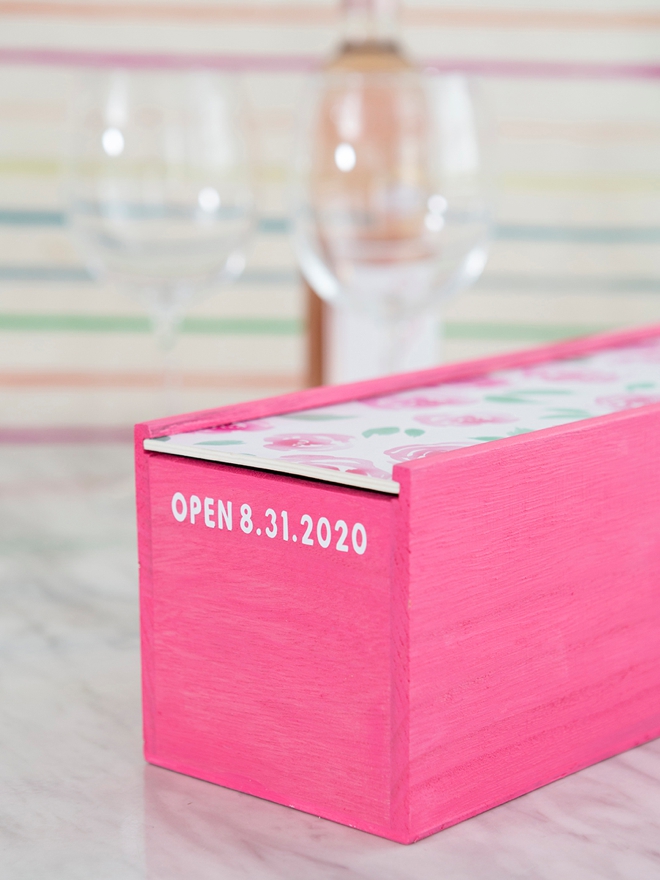
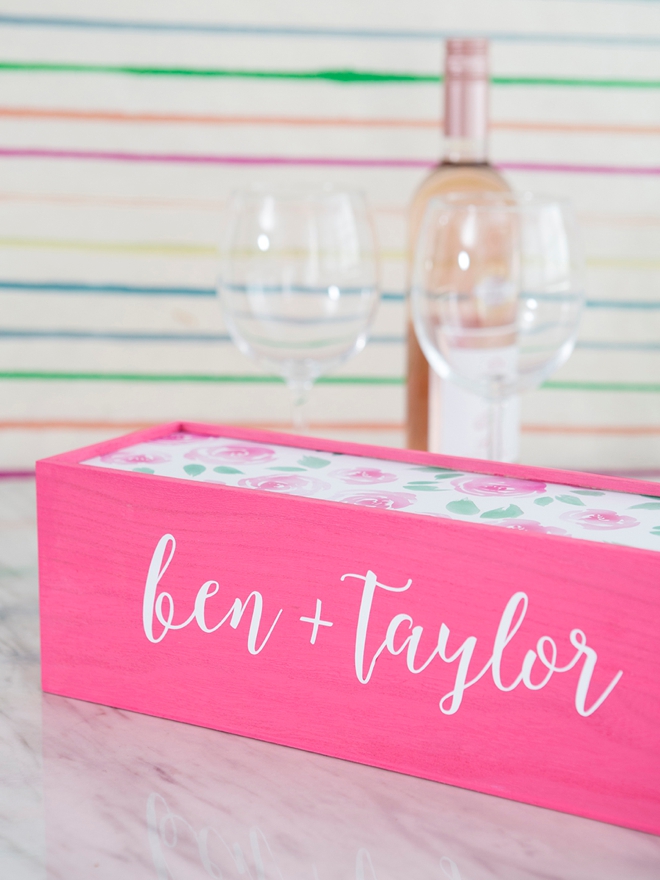
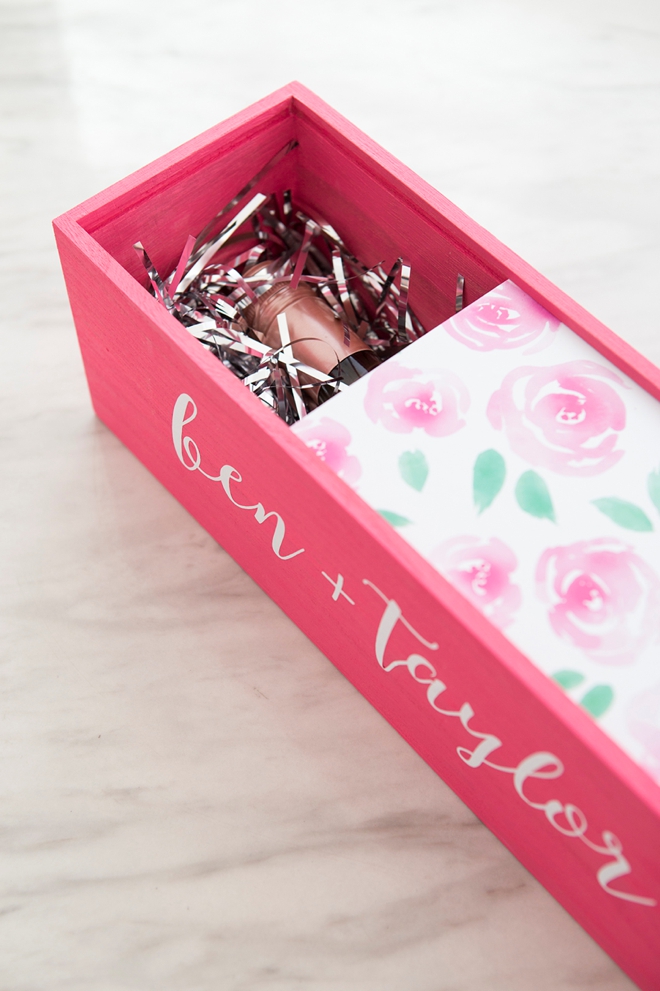
Patterned Vinyl
Martha Stewart has this gorgeous floral patterned vinyl so I decided to cover the box top with it! I cut it using my Cricut craft knife and cutting mat, then applied the vinyl to the top of the box. I also cut vinyl wording for the sides of the box!

Love Notes Optional
In a real wedding we featured a few months back, the bride and groom wrote each other love notes that they also included in their wine box. They sealed both the notes and the wine in their box during the ceremony. So not only do they get to enjoy a very special bottle on their anniversary but they also get to read super special love notes from each other, aawweee!
DIY Tutorial Sponsored By:
Cricut is a world-class leader in personal electronic cutting machines that has enabled people to achieve their creative best for over 50 years. Today, millions of people use Cricut products to create unique projects, and they focus on enhancing lives with this power of creativity. Let Cricut help you take your wedding personalization and project creativity to the next level!
As with all our DIY tutorials, if you create one of our projects please send us a picture – We Love Seeing Your Creativity! If you use Instagram or Twitter please use the hashtag #SomethingTurquoiseDIY and it will show up on our Get Social page. Happy Crafting!
DIY Tutorial Credits
Photography + DIY Tutorial: Jen Causey of Something Turquoise // Cricut® Explore Air™ 2 Special Edition, Martha Stewart Machine Bundle, Vinyl, Transfer Tape, Martha Stewart Paints and Brushes: courtesy of Cricut // Single Wooden Wine Box: Amazon // Double Wooden Wine Box: Amazon // Hinged Wooden Wine Box: Amazon // Nail Polish: OPI – Withstands the Test of Thyme
Shop The Supplies:
Find the supplies you’ll need for this project from our affiliate links below:

Comments