
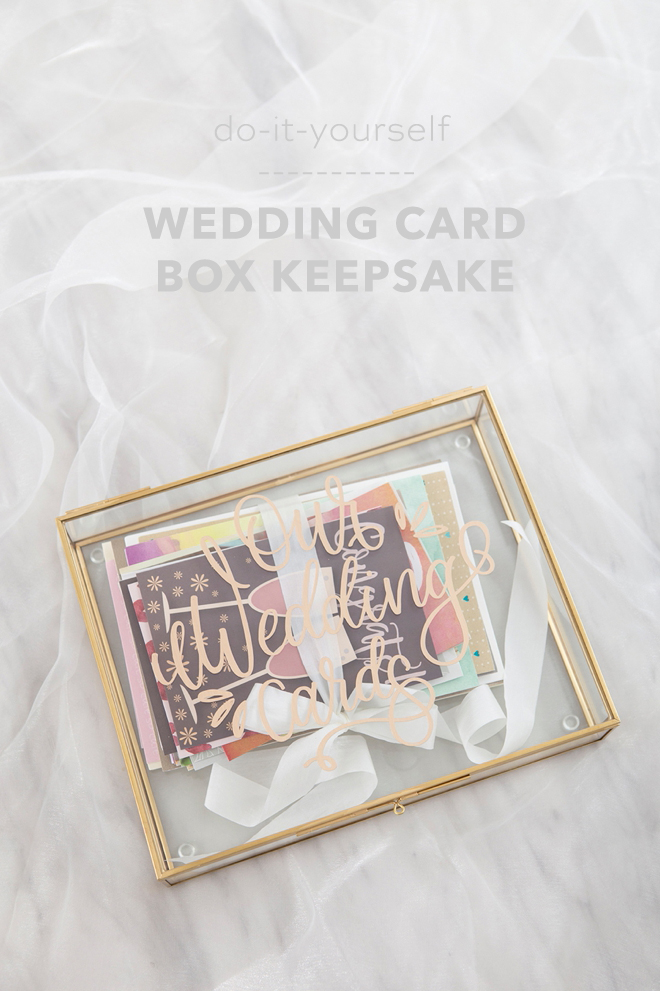
DIY Wedding Card Box Keepsake
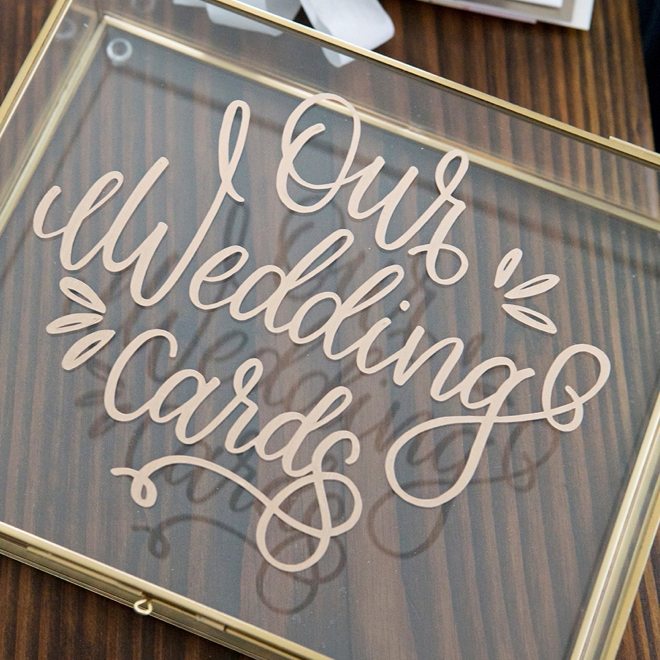
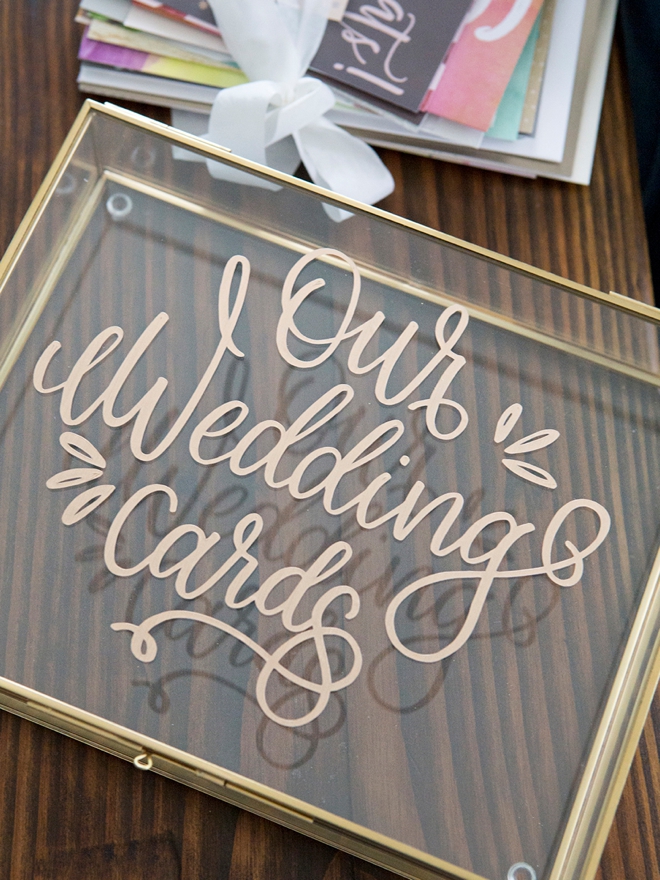
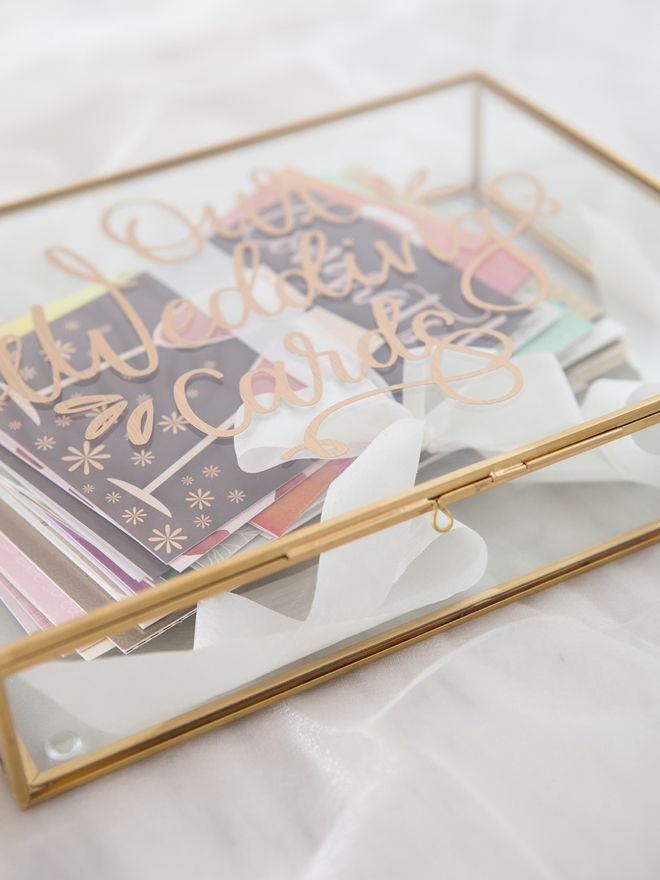
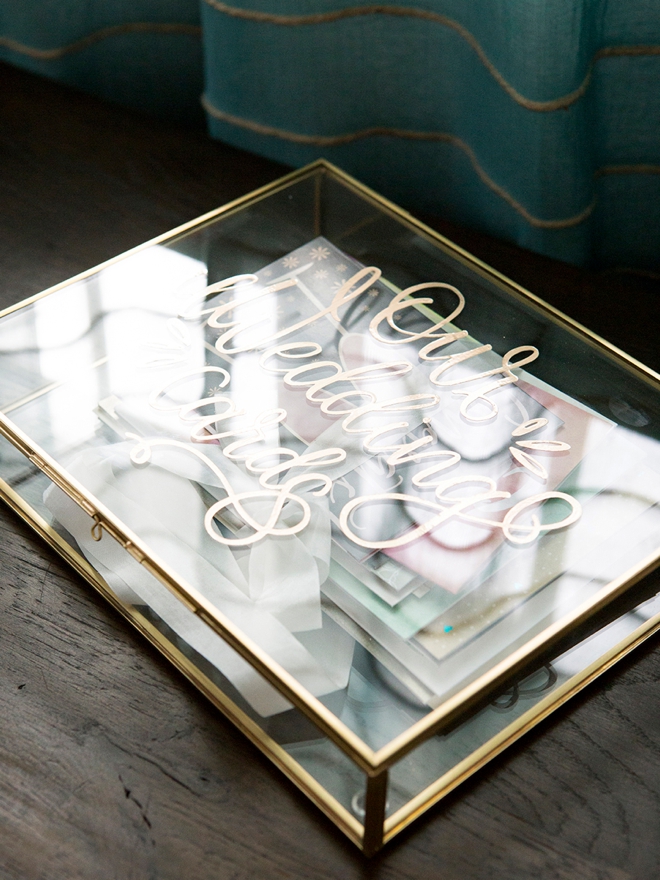
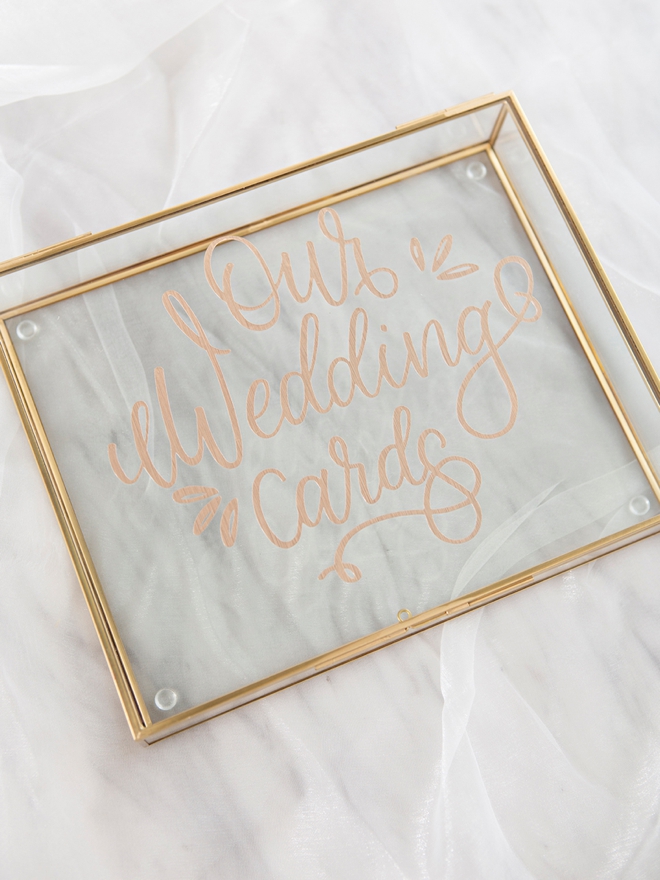
I love greeting cards. I love them so much that I can’t throw them away, any of them, from birthdays to Christmas. I’m right in the middle of watching Tiding Up on Netflix and so instead of feeling like I have to throw them out, I was inspired to create a special box for them! One of our hand-lettering friends, Knoxville Notes created this beautiful custom “our wedding cards” design for us and I used my Cricut and gold vinyl to add it to this beautiful box. Leave it out at your reception to collect your cards and then use it afterward to store them in a way that sparks joy!
Get Creative
Although we have used this custom .SVG file to embellish a beautiful glass box, you could use it in many different ways!
- Cut it out of stencil film and paint it onto a wooden box!
- Iron it onto a velvet box!
- Add it to a frame that sits next to a wire box to collect your cards!
- Put it on this amazing leather folder to hold your cards a different way!
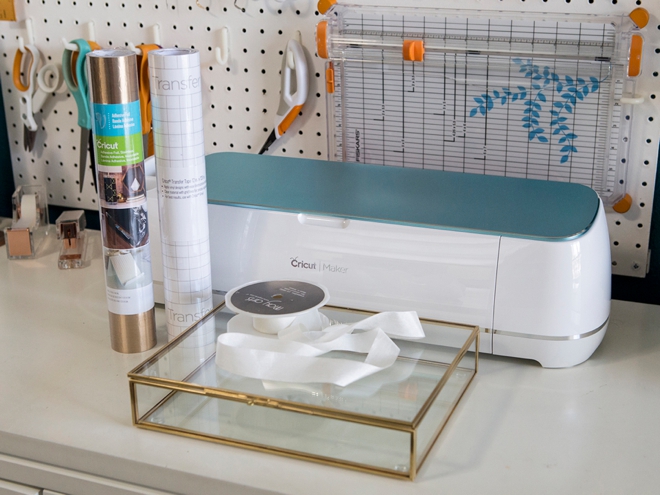
SUPPLIES:
- Cricut Maker or Cricut Explore
- 8” x 10” Glass Photo Box
- Adhesive Foil in Stainless Gold
- Transfer Tape
- Our exclusive, hand-lettered .SVG cut file available in our shop for only $1.99!
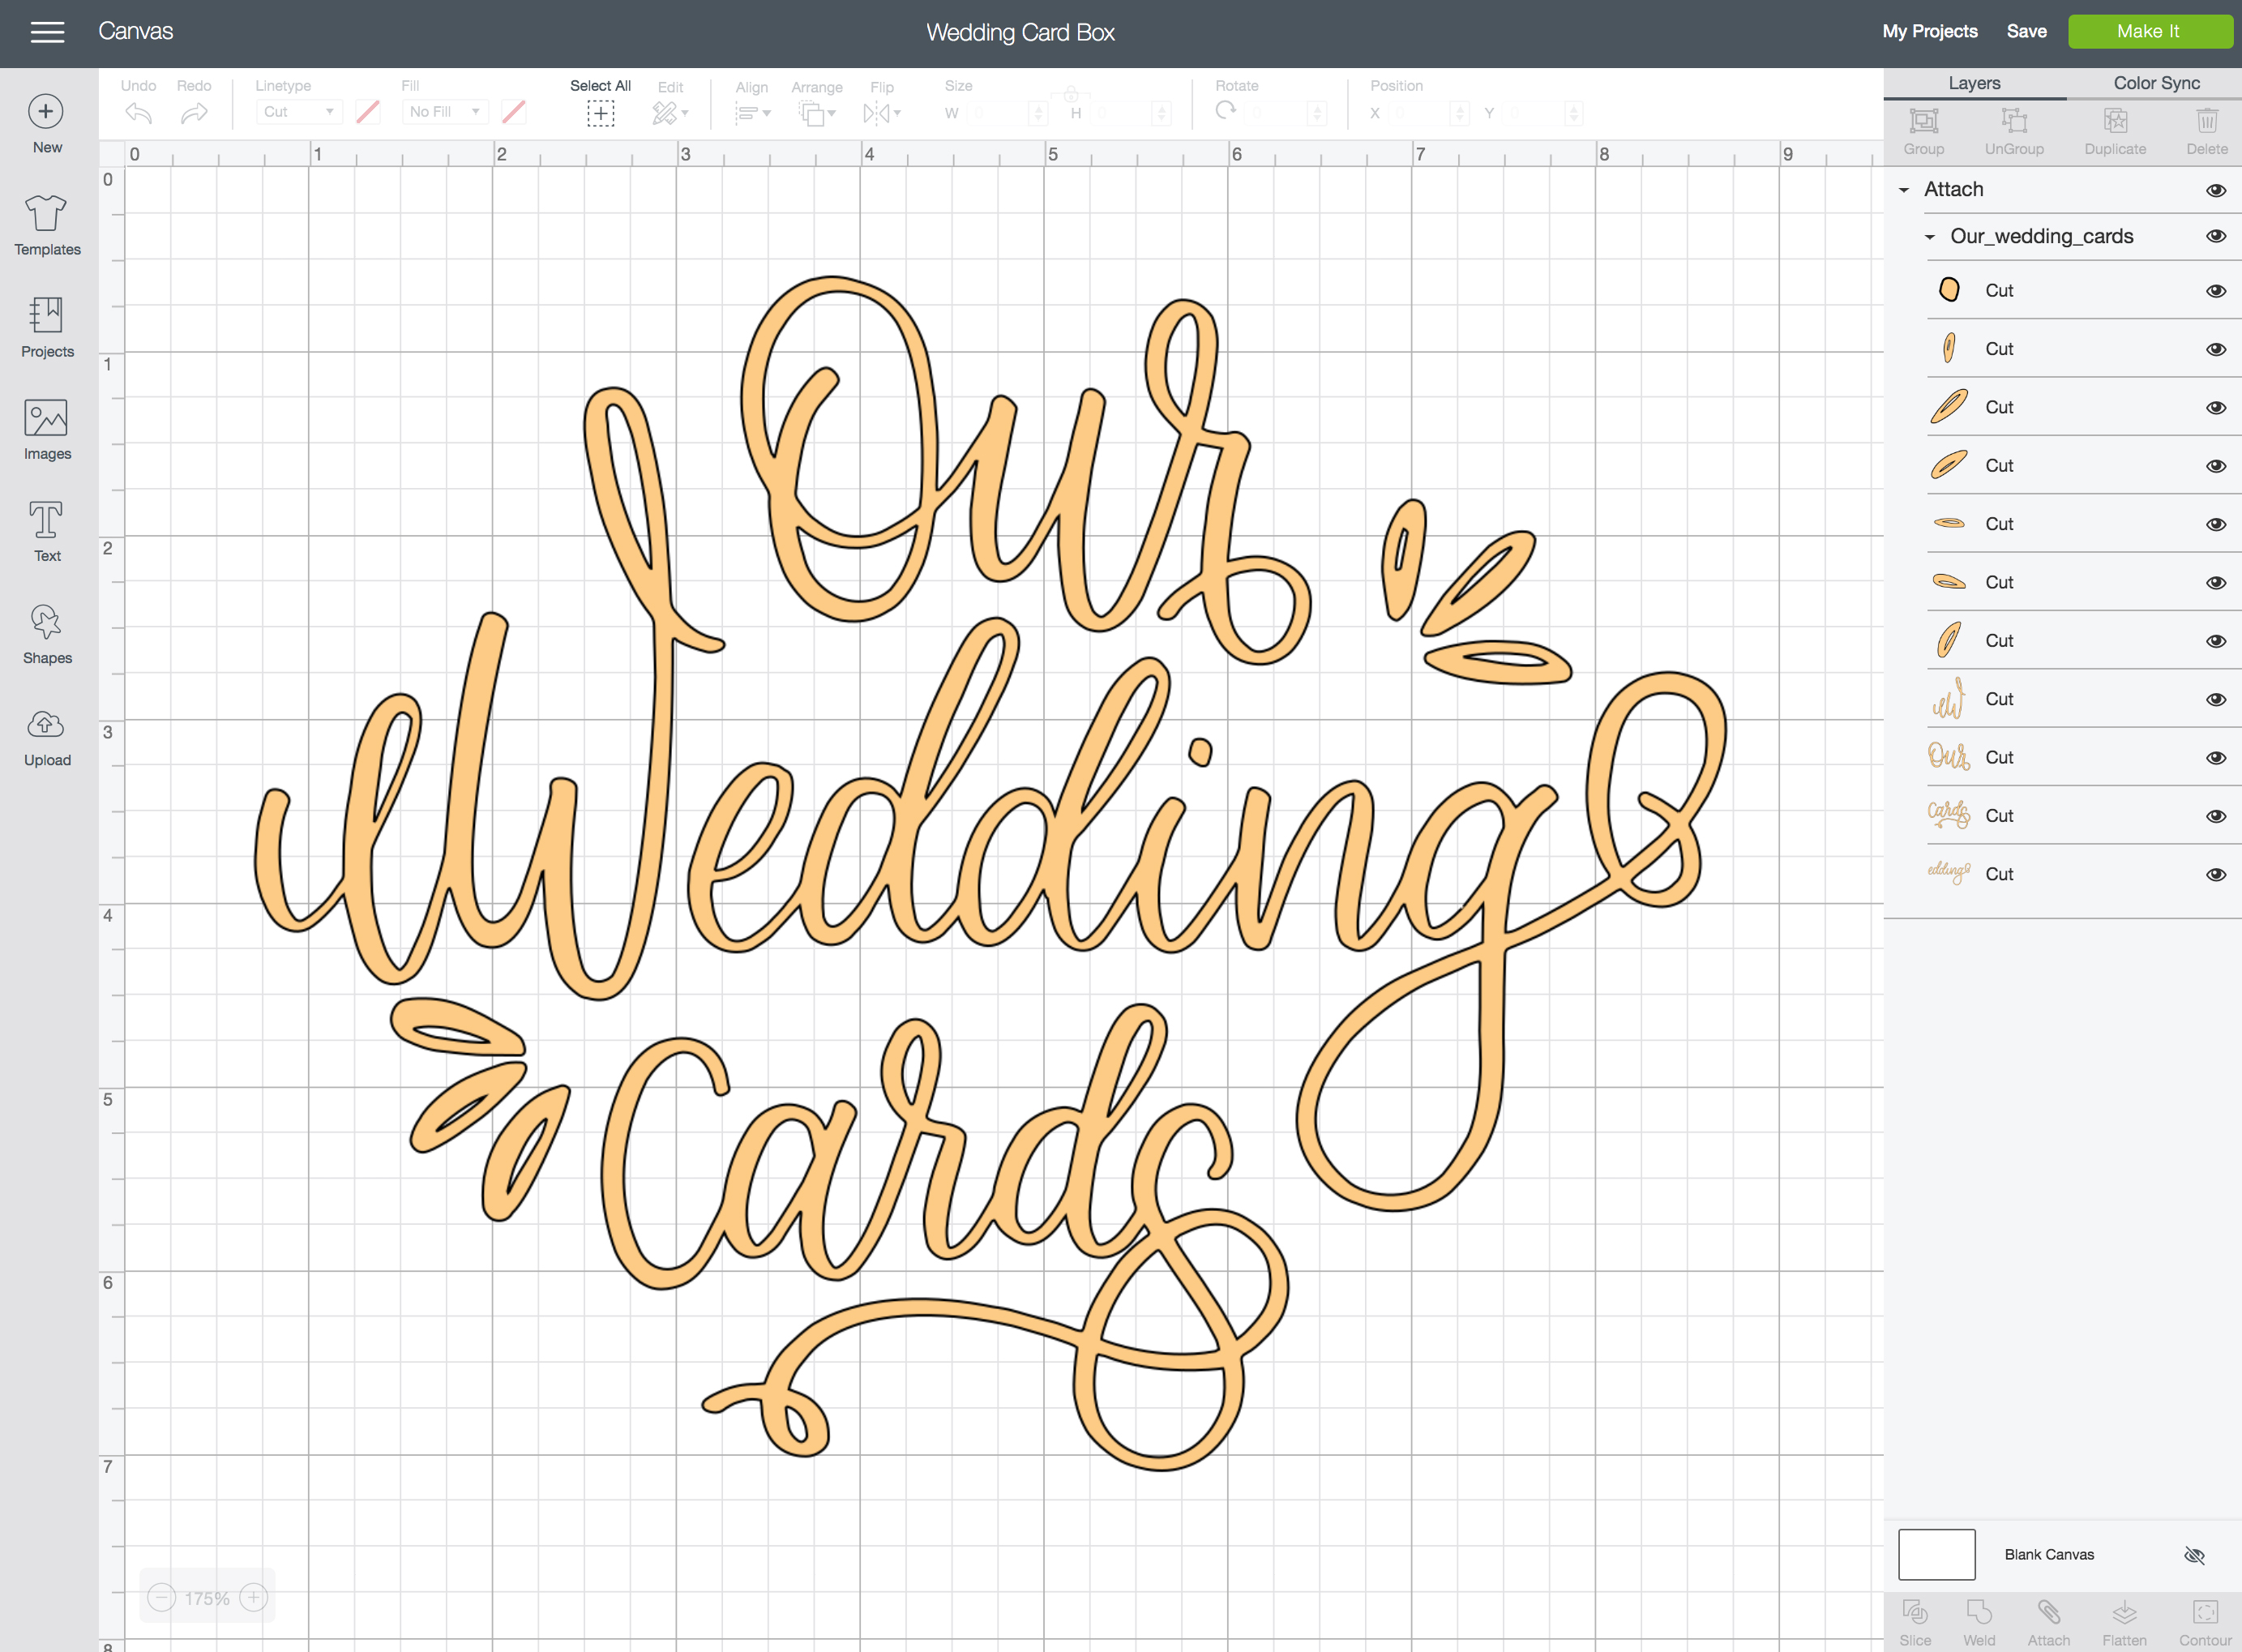
Create In Design Space
The first step is to login to Design Space and start designing your wedding card box! Upload our exclusive Cricut cut file by using the “upload” button on the left tool bar. Locate the file on your computer, then upload and select to add it to your canvas. Then drag, resize, and add personal touches like maybe your names and wedding date. I cut this one at 6.5” x 8”. Prepare your mat and get ready to cut!
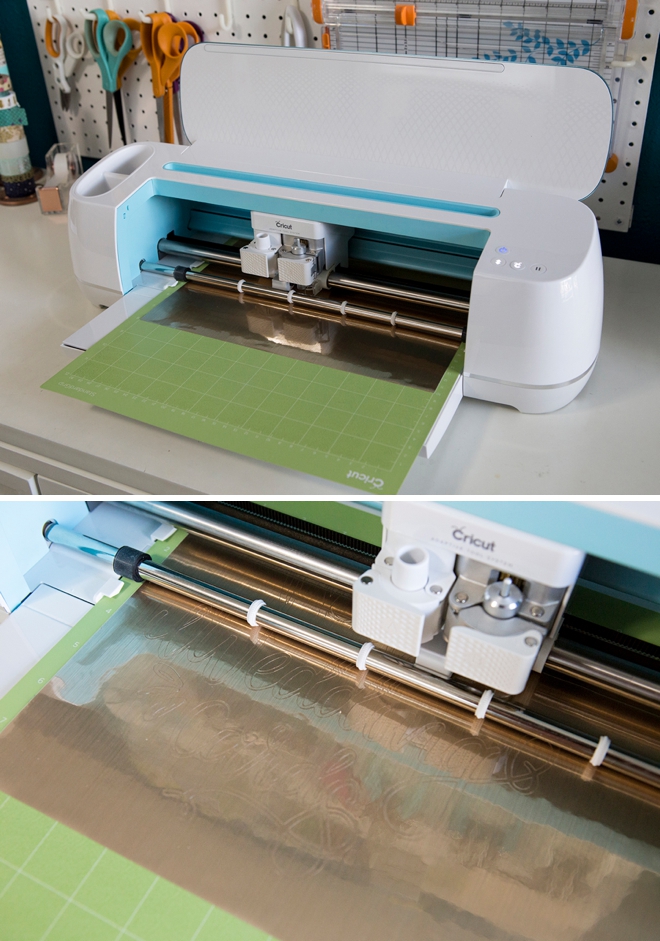
Let Your Cricut Work It’s Magic
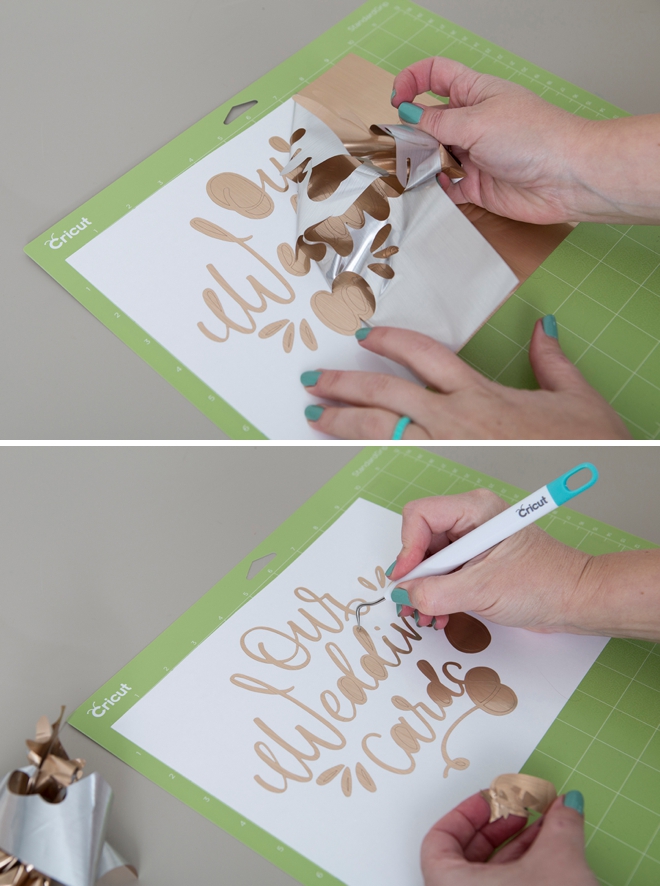
Weed The Designs
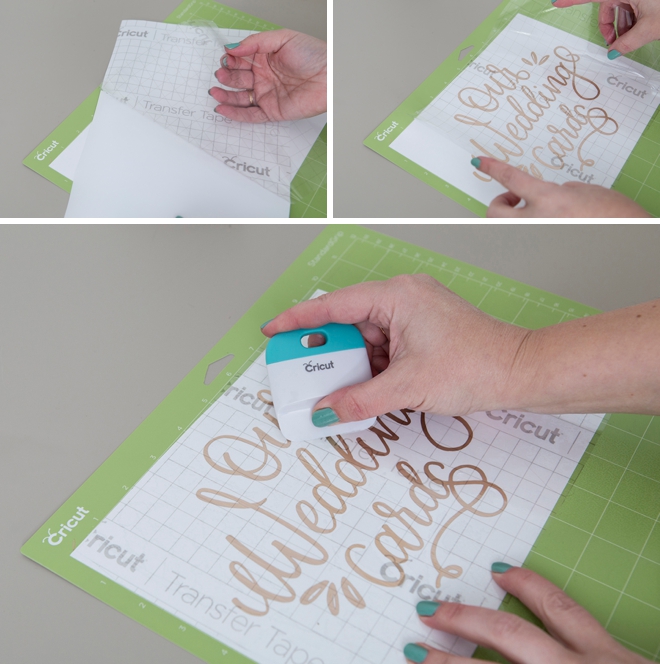
Weed, (aka. remove) all the excess vinyl material that isn’t a part of your design. Using the Cricut weeding tools makes the removal of intricate pieces super easy.
Transfer Tape
Transfer tape is the BEST and if you’ve never used it, you must try it. Basically you transfer your new vinyl stickers from their base to a clear film so you can properly position them on their final resting place. Cut a piece of transfer tape just larger than your designs, peel and evenly smooth on top of the vinyl.
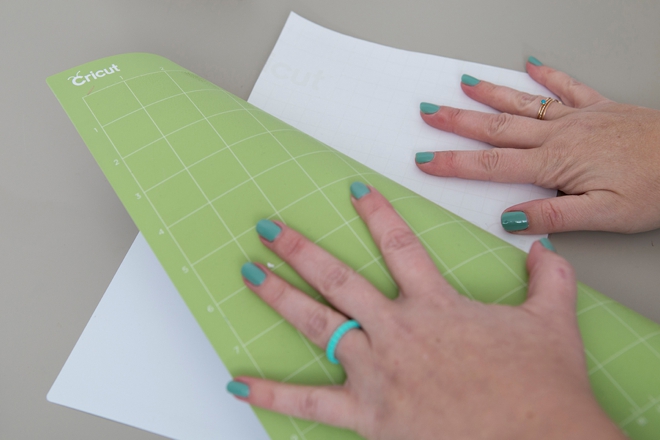
Peeling Backwards
For vinyl projects, I like to turn my mat over and peel it off the project instead of peeling the project off the mat. It reduces the lifting and shifting of the vinyl sticker.
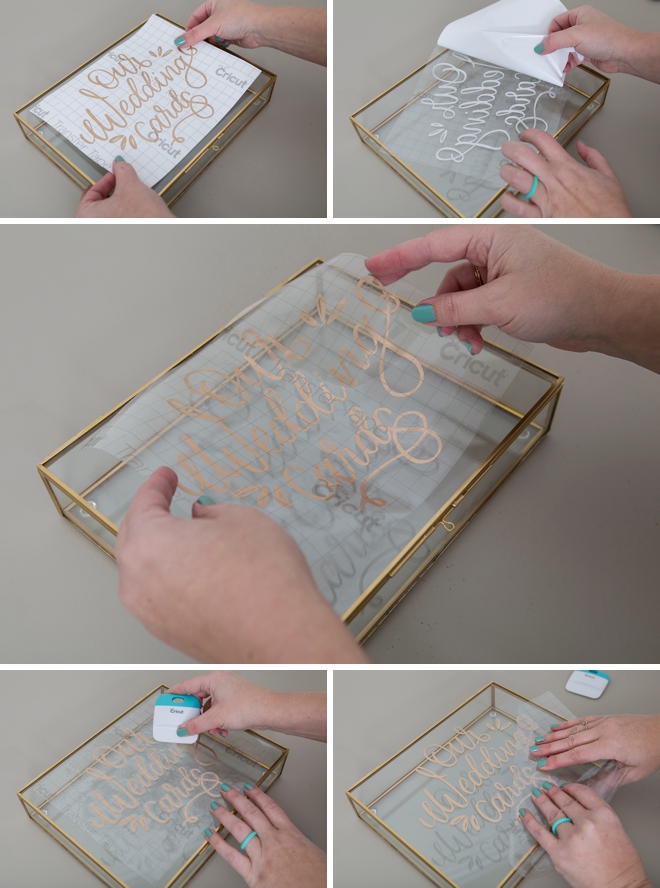
Apply To The Box Top
Carefully remove the backing from the vinyl sticker and transfer tape. Position your sticker and gently burnish with the scraping tool. Then peel the transfer tape from the sticker.
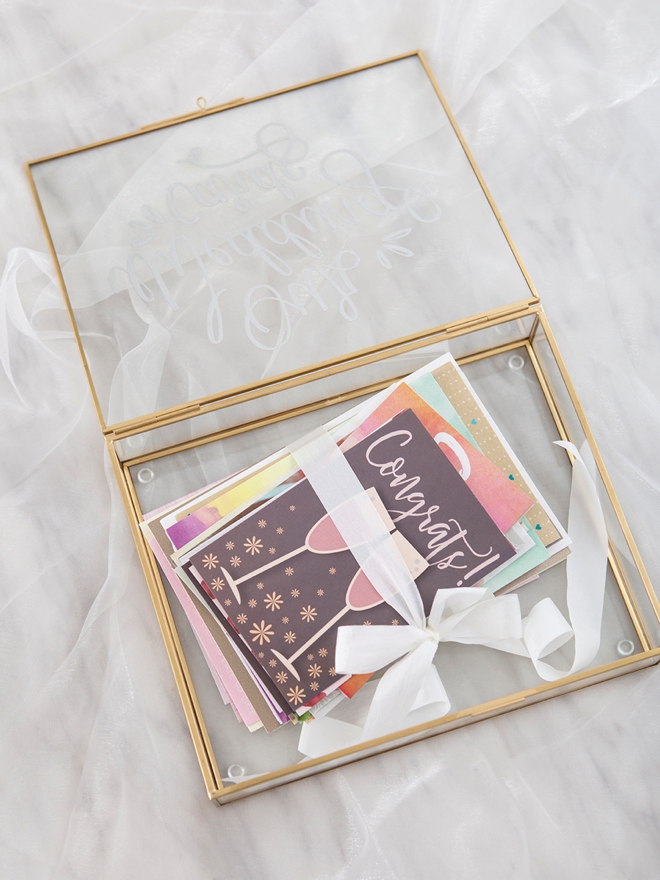
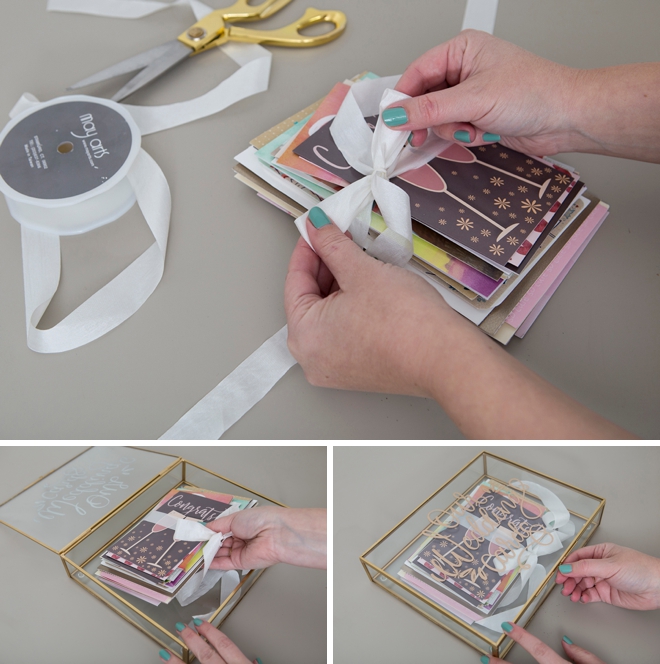
Gather Your Cards
Gather your wedding cards and tie them up with a pretty piece of ribbon to store in your gorgeous new box!
Personalization Made Easy
If you’re on the fence about getting a Cricut, or you need a gentle nudge to make the decision to buy one – our projects are it! Seriously, the sky is the limit when it comes to what you can make for your wedding with the Cricut. From a gorgeous wedding card box like this to a felt flower wedding bouquet and everything in between. It will be your number one wedding crafting tool and after your wedding, you can use it to personalize your home, make fabulous gifts and more!
As with all our DIY tutorials, if you create one of our projects please send us a picture – We Love Seeing Your Creativity! If you use Instagram or Twitter please use the hashtag #SomethingTurquoiseDIY and it will show up on our Get Social page. Happy Crafting!
DIY Tutorial Credits
Photography + DIY Tutorial: Jen Causey of Something Turquoise // Exclusive “Our Wedding Cards” Cut File: Shop Something Turquoise // Cricut Maker and Supplies: courtesy of Cricut // Glass Photo Box: Amazon // 1″ Silk Ribbon: Amazon // Nail Polish: OPI – Withstands the Test of Thyme
Shop The Supplies:
Find the supplies you’ll need for this project from our affiliate links below:

Comments