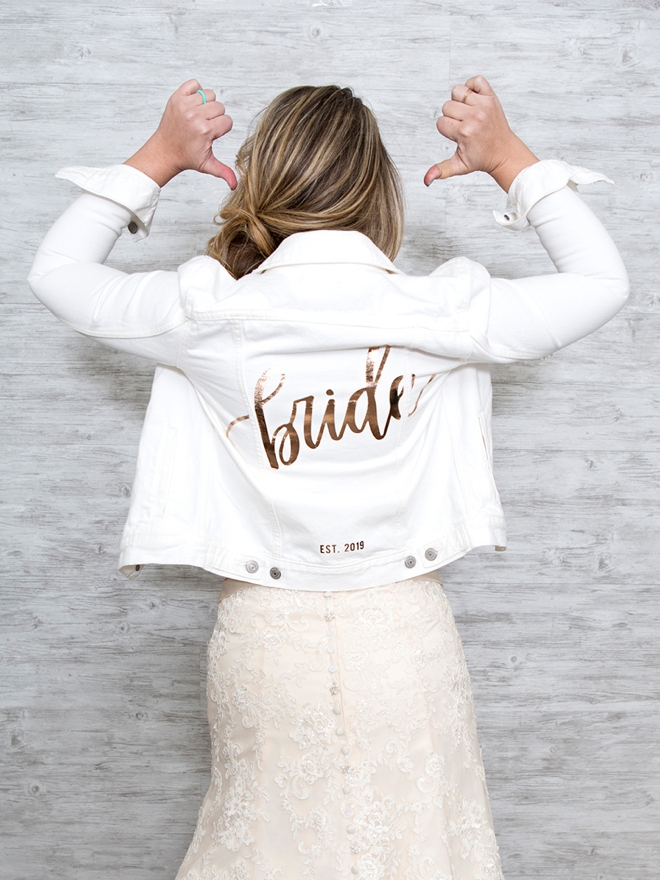
Happy New Year DIY Brides! I’m so excited to be back, I thoroughly enjoyed the holidays, they were wonderful but I love what I do and I love seeing you! Starting off the new year right, we’re customizing jean jackets for all you super cool chicks out there. Within the project, I’ll be sharing how easy it is to upload custom .SVG cut files into Cricut Design Space, a technique worth knowing. I’ve heard from some crafters that uploading custom files can be daunting, so I want to clear that from your thoughts because once you do it, a world of design opportunities opens up. These jackets would make a darling addition to your bridal shower look, a fun flair for your wedding dance floor, or great to throw on any old time!
The hand-lettered bride and wifey designs I’ve used here are our exclusive cut files and are for sale in our shop, both for only $1.99!
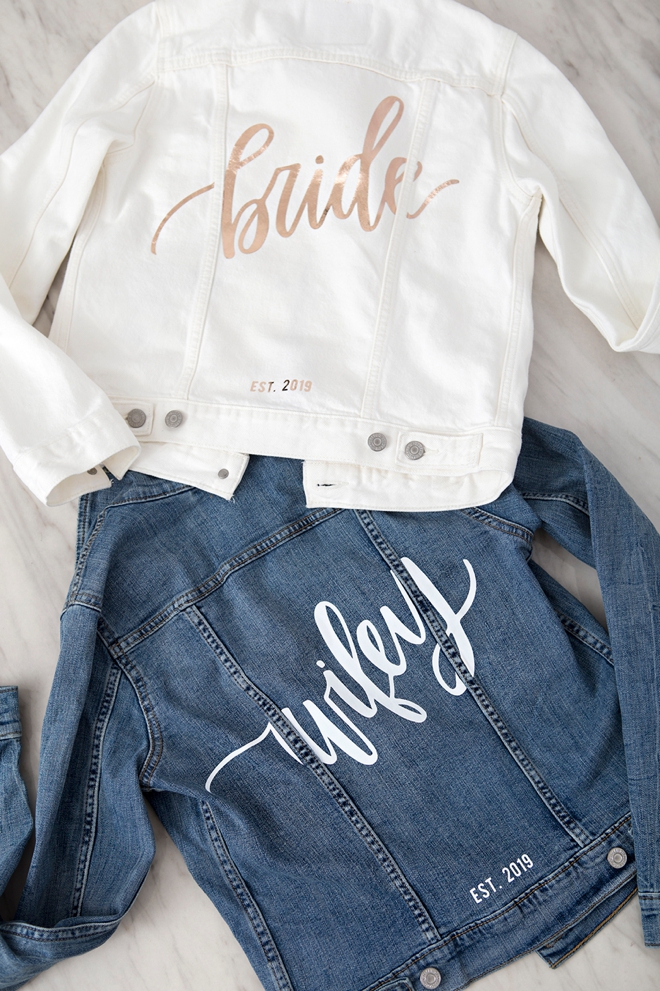
Jean Jackets
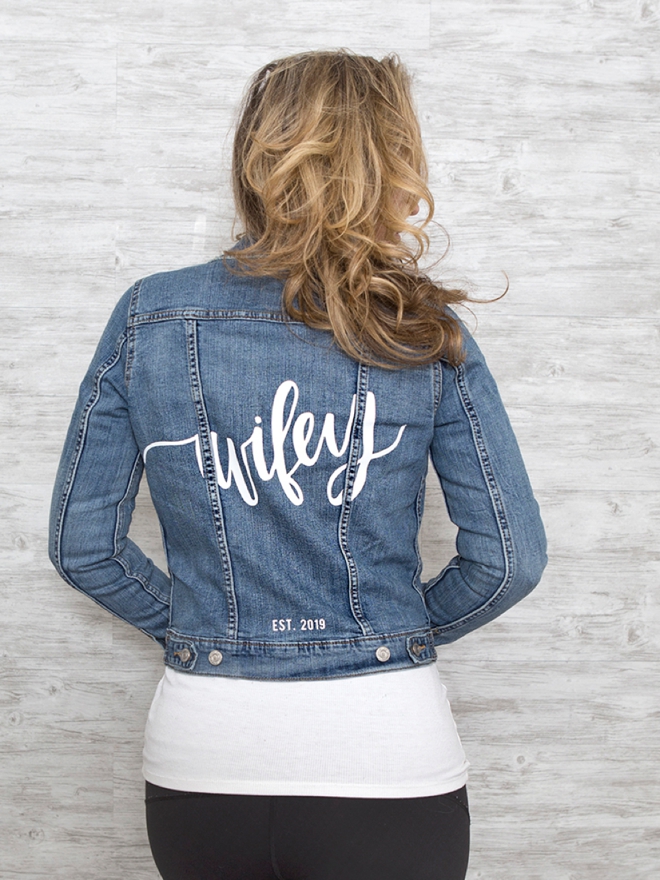
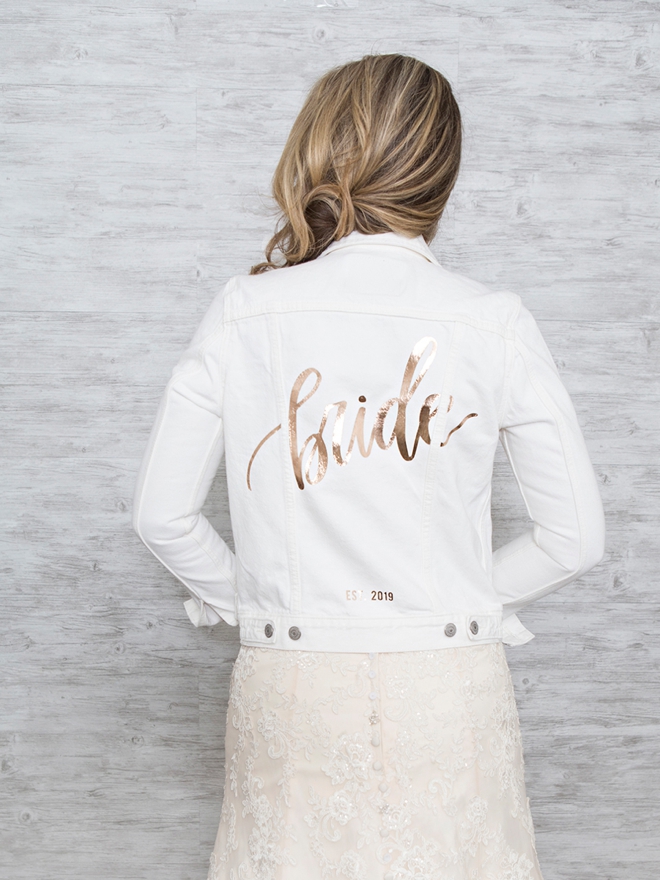
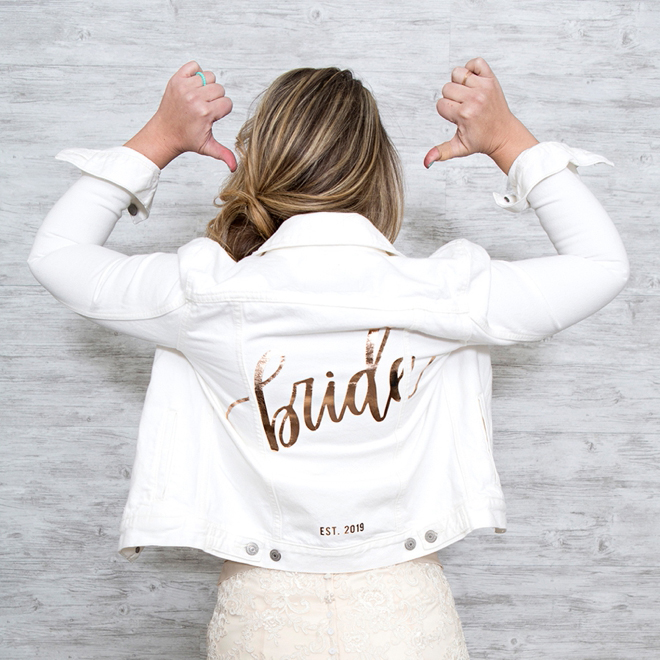
I purchased these classic Levis jean jackets on Amazon and I’m obsessed, they were perfect for this project. The iron-on adhered wonderfully to the jackets, they look super luxe in person, hardly hand-made. My cousin Becky doesn’t know it yet but I’m bringing her the Bride jacket for her wedding… and I’m keeping the Wifey jacket for myself!
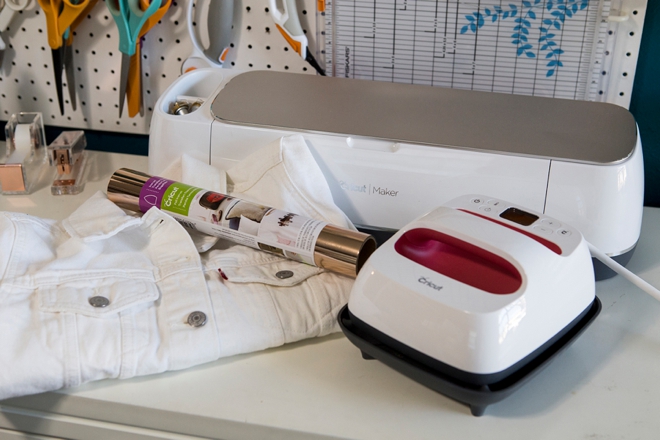
SUPPLIES:
- Cricut Explore or Cricut Maker
- Jean Jacket
- Iron-on (I used rose gold and white)
- EasyPress 2, 6×7″
- EasyPress Mat or Towel
- Scissors
- Craft Knife + Ruler, optional
- Our exclusive, hand-lettered .SVG cut files!
How To Upload Custom Cut Files
There are MANY different places to get custom cut files for your Cricut, our shop is one of them. Etsy is another terrific place to look and some websites offer them for free.
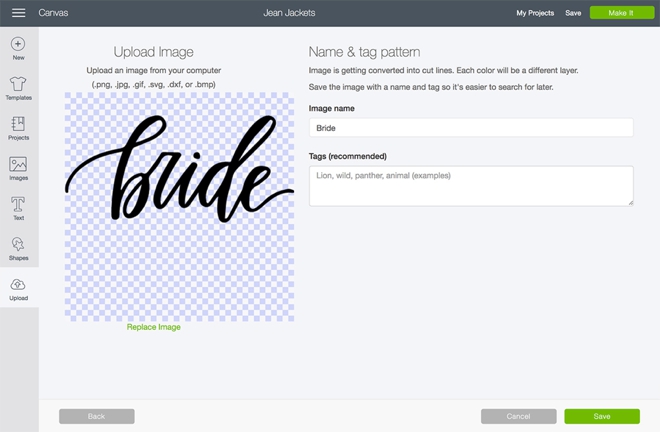
- Login to Design Space and open a new project canvas
- From the tool bar on the left hand side, click “Upload”
- Locate your .SVG cut file from your computer and click to upload
- Then click to add that file to your canvas
- Yes, it’s that simple!
Size To Fit
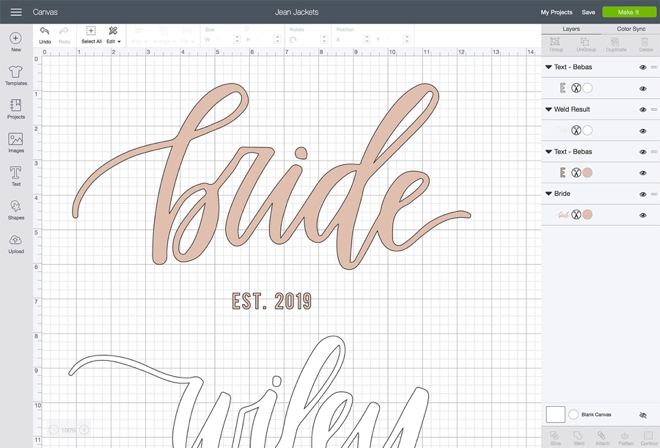
After your custom file has been added to your canvas, you’re ready to customize it. With your cursor, drag it as large as you want it; I cut these at 11.5″ long. I also added the “EST. 2019” using the free font Bebas, for a little extra flair.
Cutting Iron-On
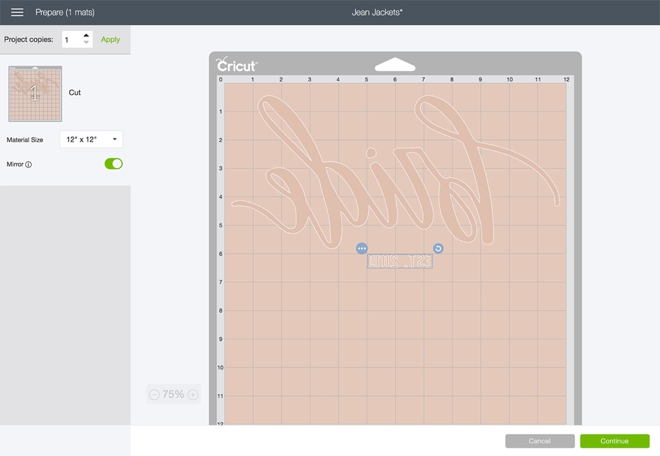
You ALWAYS need to click the “mirror-image” button for iron-on projects, otherwise your lettering will be backwards. Place your iron-on face down on the cutting mat…
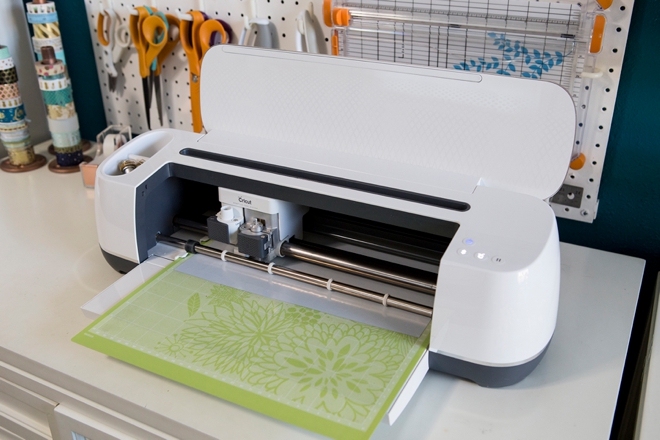
Let Your Cricut Work It’s Magic
Weed The Designs
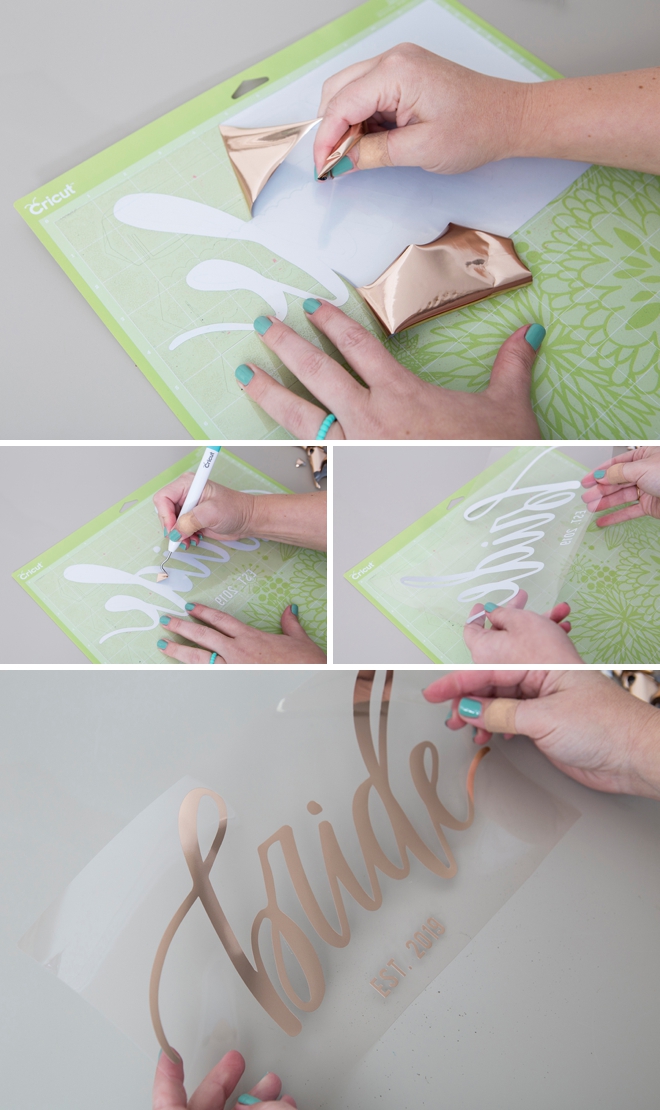
Weed, (aka. remove) all the excess iron-on material that isn’t a part of your design. Using the Cricut weeding tools makes the removal of intricate pieces super easy.
Space Saving
Design Space automatically saves you as much space as possible when cutting items of the same color, so the EST. 2019 ends up being cut close to Bride. Cut the EST. 2019 away from bride to transfer on it’s own.
Jacket Seams
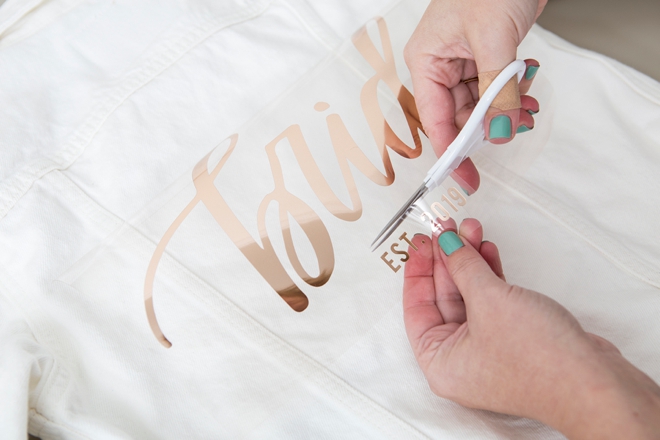
These jean jackets have large, thick seams running down the back. I chose to cut the wording larger than the gap in the middle, knowing I would have to cut and separate the file – but that’s the look I was going for. Here’s how…
Cut The Design
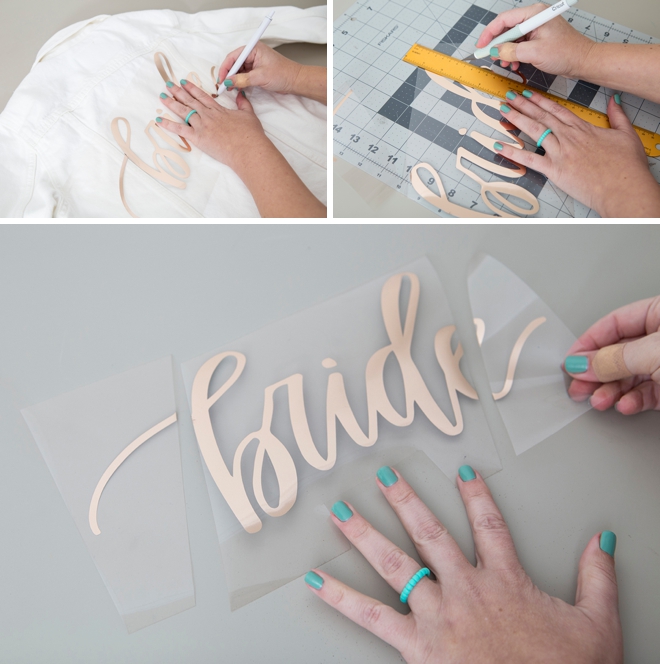
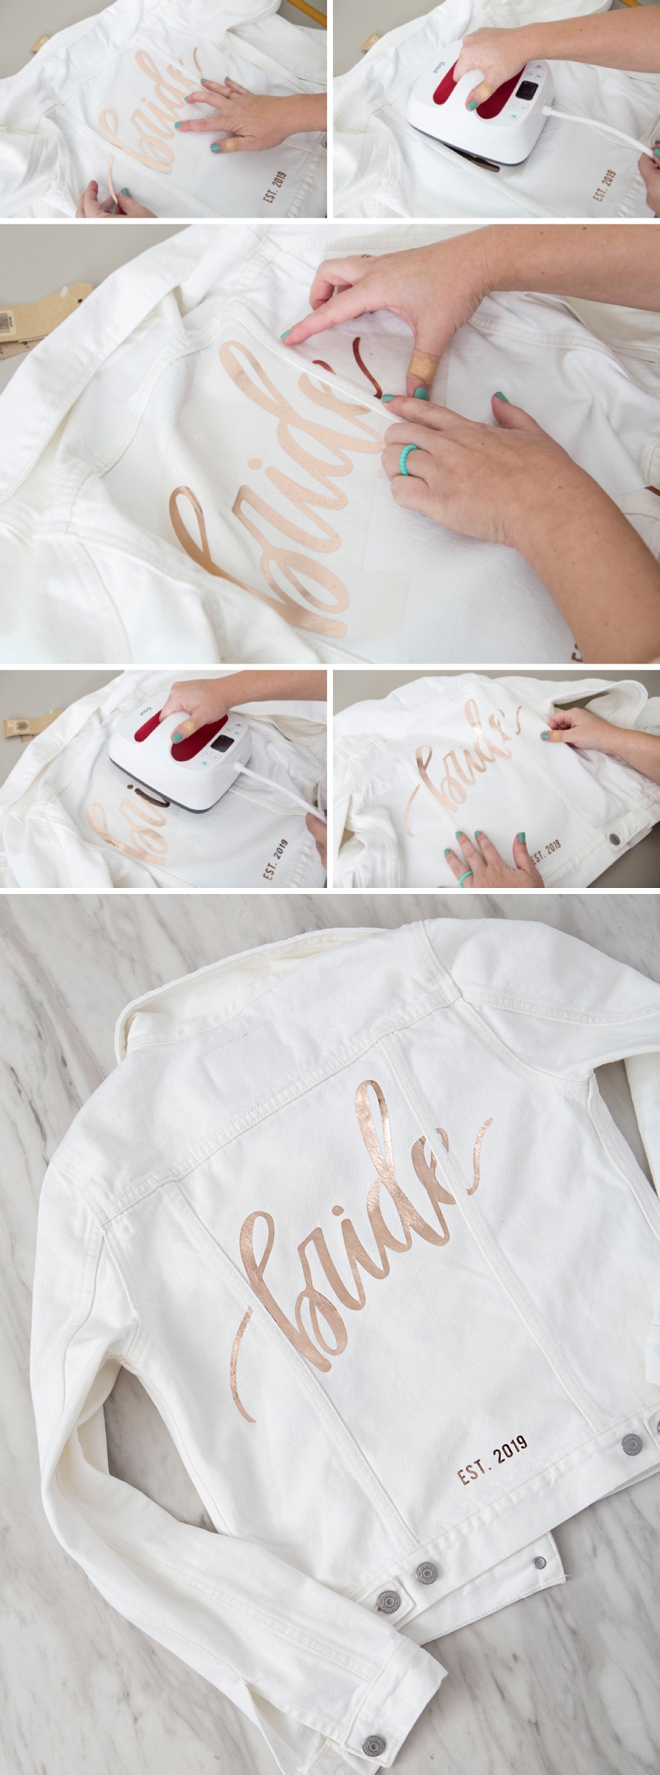
This element is totally optional but one of the reasons the jacket designs look so luxe. Line up the wording across the back of the jacket to decide where you want it. At the areas where the lettering overlaps the seams, draw a line to cut and separate the lettering so you can iron-on the design around the seams. It’s easiest to do this with a ruler and a craft knife on a cutting mat.
Iron-On Settings
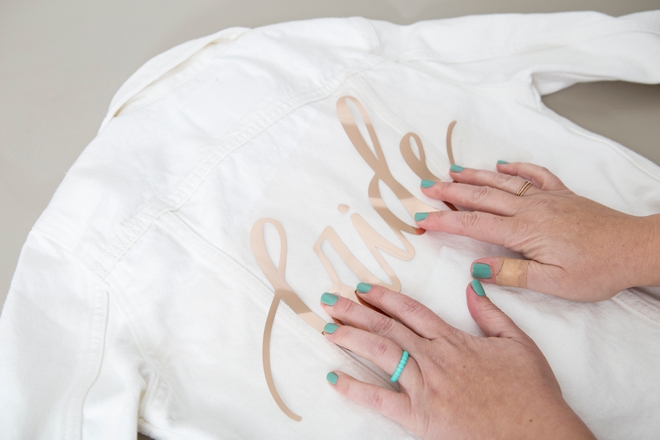
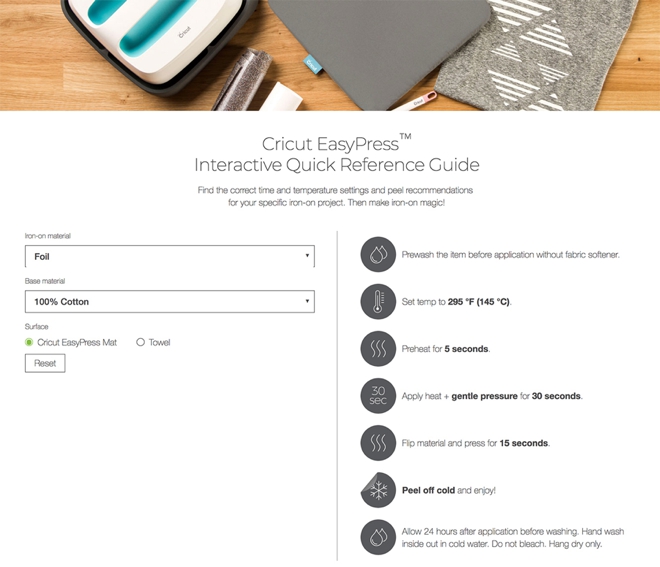
I highly recommend using a Cricut EasyPress for all your iron-on projects. It makes all the difference and you won’t know until you use it, my days of using an iron is far behind me. Cricut recently released this awesome interactive EasyPress heating guide where you pick the material and type of iron-on and it gives you the exact heating time and temperature to plug into your EasyPress – no guessing required!
Adhere The Designs
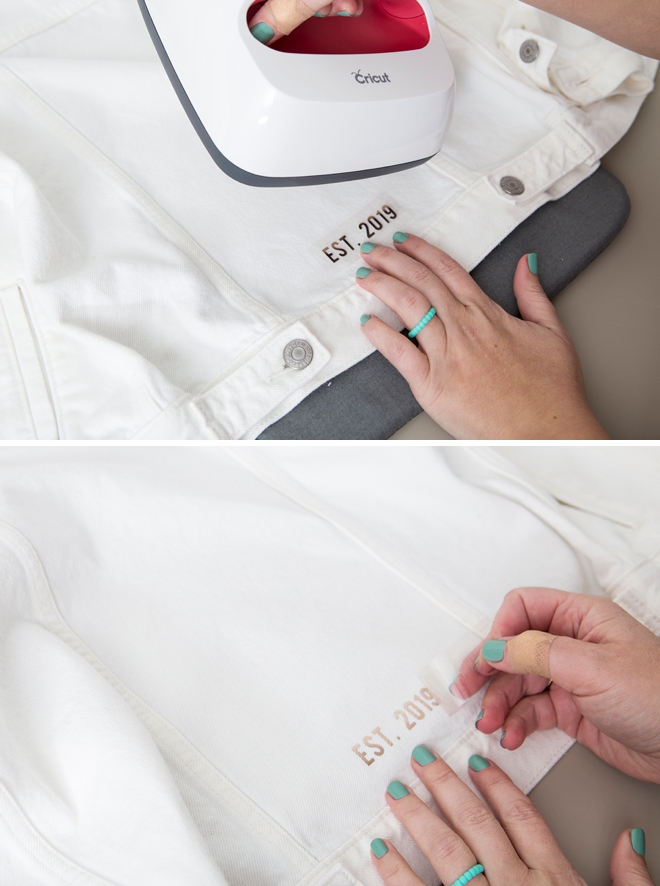
While you’re working with the split design, leave the plastic liner on the part that you’ve already ironed so that when working on the side pieces, the other areas won’t get burned my your iron or EasyPress!
Awesome Gift Idea
If you have a Bride in your life, one of these jackets would make an AWESOME gift!
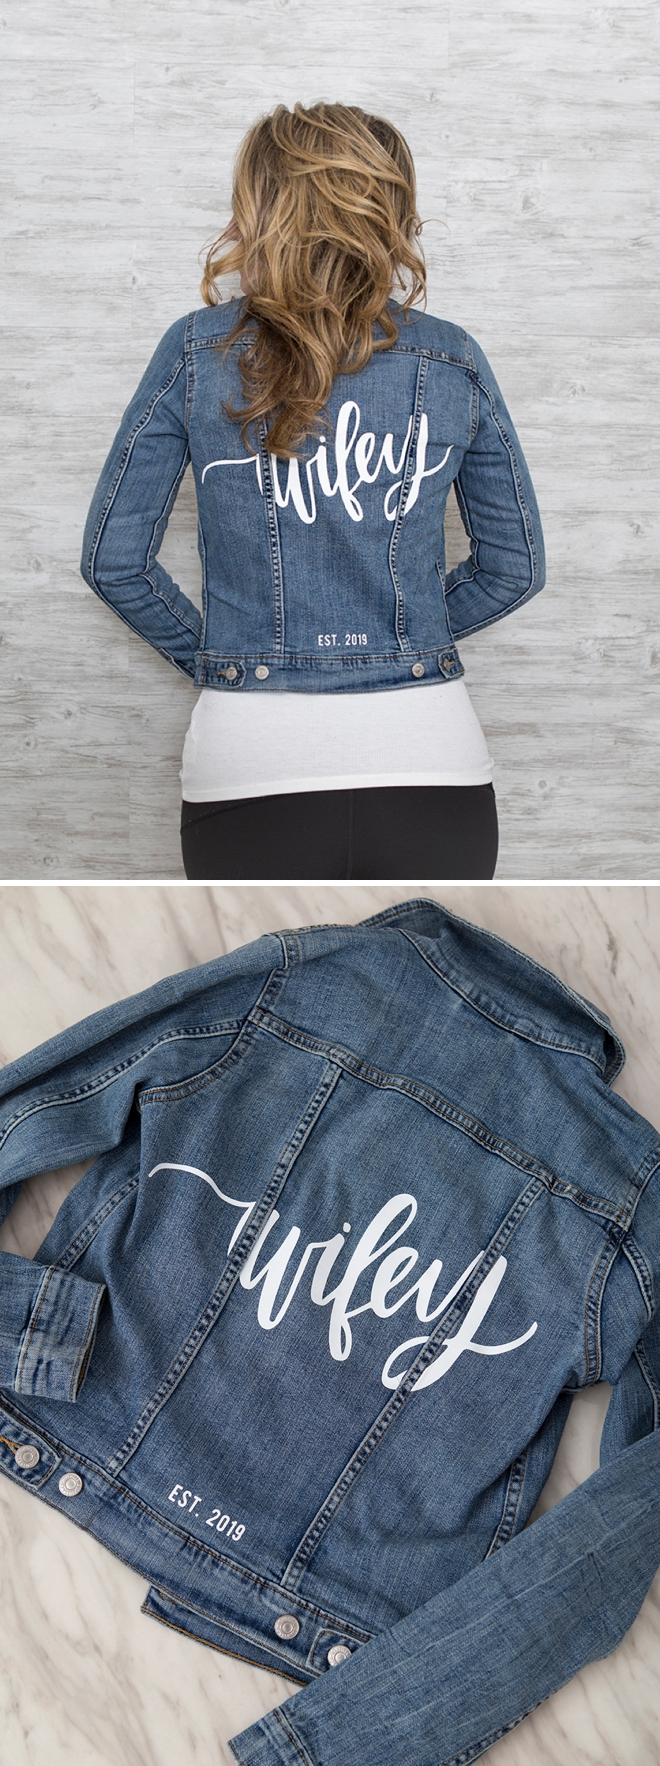
As with all our DIY tutorials, if you create one of our projects please send us a picture – We Love Seeing Your Creativity! If you use Instagram or Twitter please use the hashtag #SomethingTurquoiseDIY and it will show up on our Get Social page. Happy Crafting!
DIY Tutorial Credits
Photography + DIY Tutorial: Jen Causey of Something Turquoise // Bride and Wifey .SVG Cut Files: Shop Something Turquoise // Cricut Maker: Amazon // Cricut Iron-on: Amazon // Levis Jean Jackets: Amazon // Cricut EasyPress: Amazon // Nail Polish: OPI – Withstands the Test of Thyme
Shop The Supplies:
Find the supplies you’ll need for this project from our affiliate links below:



Comments