
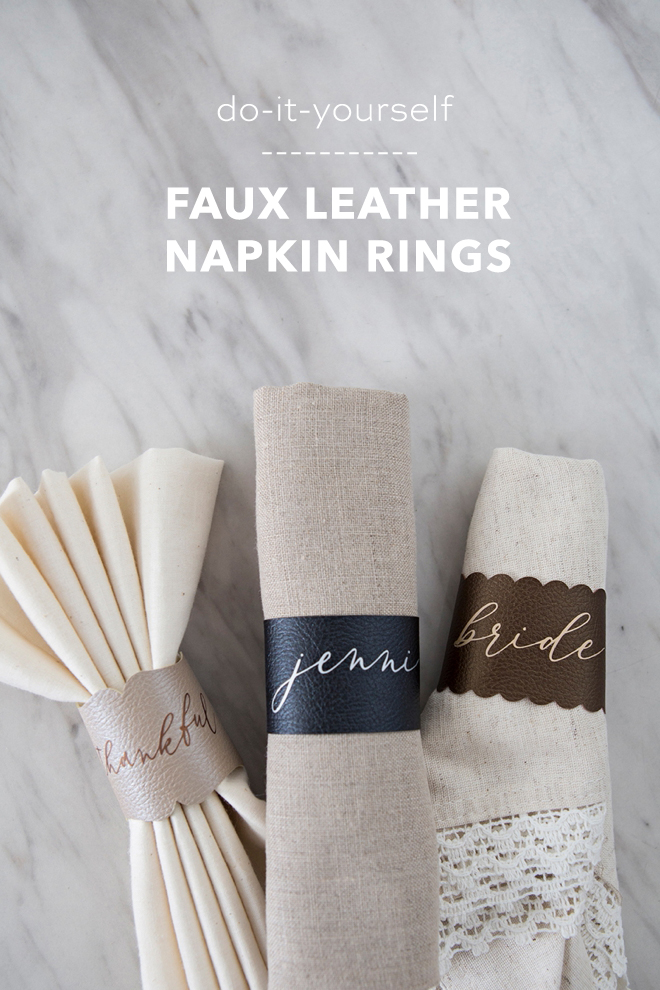
DIY Faux Leather Napkin Rings With Cricut
-Sponsored Post-
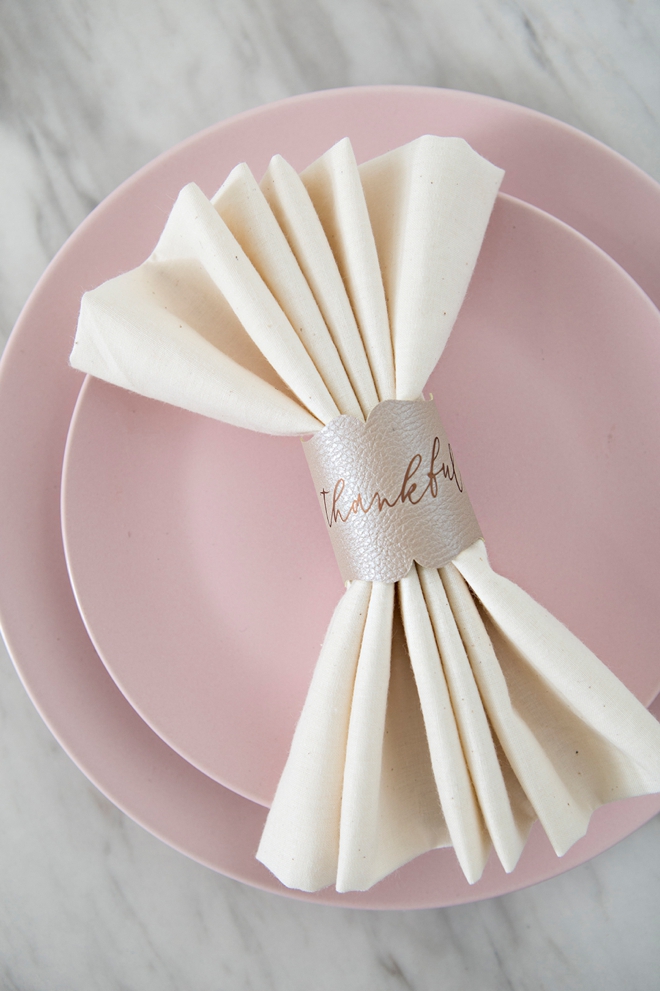
I was thinking about Thanksgiving and how much I have to be thankful for this year, then I started thinking about my Thanksgiving table and what special things I could create for it. When it dawned on me that I’ve never shared a napkin ring project, in fact, I don’t think I’ve ever made napkin rings at all. I was super jazzed when I found this awesome faux leather from Cricut as it’s just the right texture and thickness for napkin rings. Use the napkin ring shapes I designed in Design Space for free and add your own personalized sayings or names. A few months ago Martha Stewart released her very own, stunning, sold exclusively at Michaels, which of course is the most gorgeous shade of gold! Just a few weeks ago she released some gorgeous new iron-on patterns and colors… and if that wasn’t enough her new EasyPress 2 just came out and it’s gold too! Suffice to say that making these napkin rings not only has been made easy by Martha’s new tools, but I looked good making them too!

EasyPress™ 2 Martha Stewart Edition Vanilla
The new Cricut EasyPress 2 Martha Stewart Edition, is the hottest in iron-on essentials and will have you creating right out of the box! It’s beautiful, vanilla pearl finish adds Martha Stewart class to your workroom. It features an advanced heat plate design with a ceramic-coated surface that gives you professional iron-on results in 60 seconds or less. The precise temperature control takes all the guesswork out of iron-on projects. The EasyPress 2 is simple to use, it’s lightweight, portable, and easy to store… in fact, it’s replaced my iron. If you have the Martha Special Edition Cricut Explore, it needs a friend!
SUPPLIES:
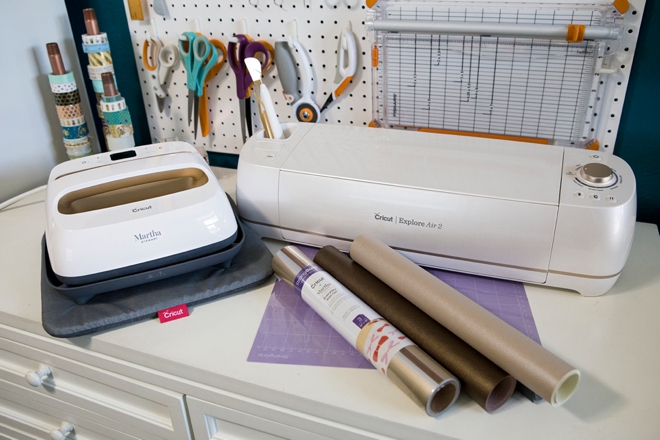
Create In Design Space
The first step is to login to Design Space and start designing your napkin rings! Click on this link to visit my canvas in Design Space to use my pre-designed cut files. I used the free font Melinda Script for these designs. Prepare your mat and get ready to cut!
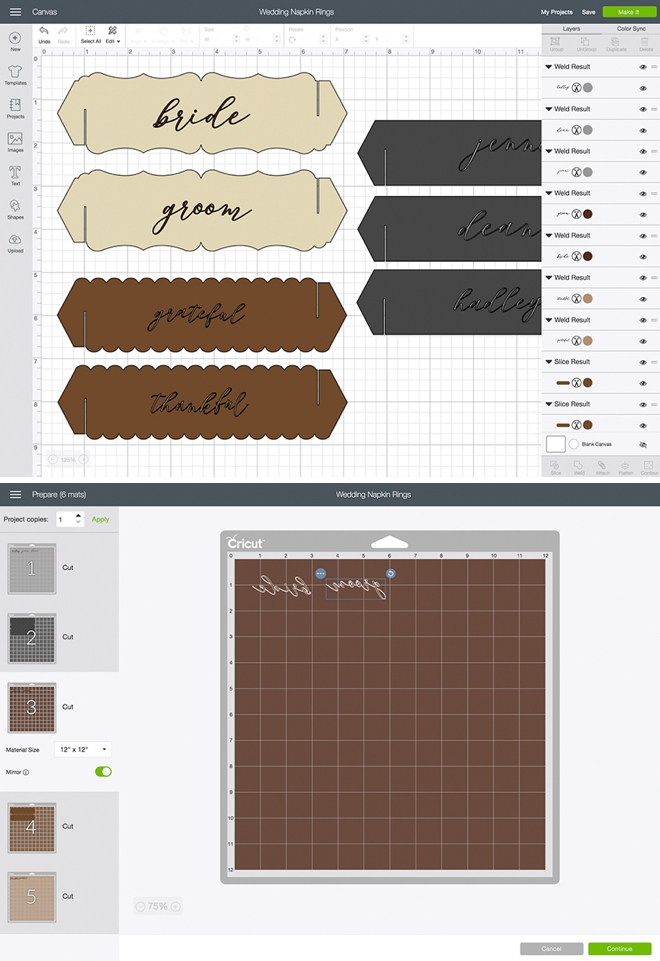
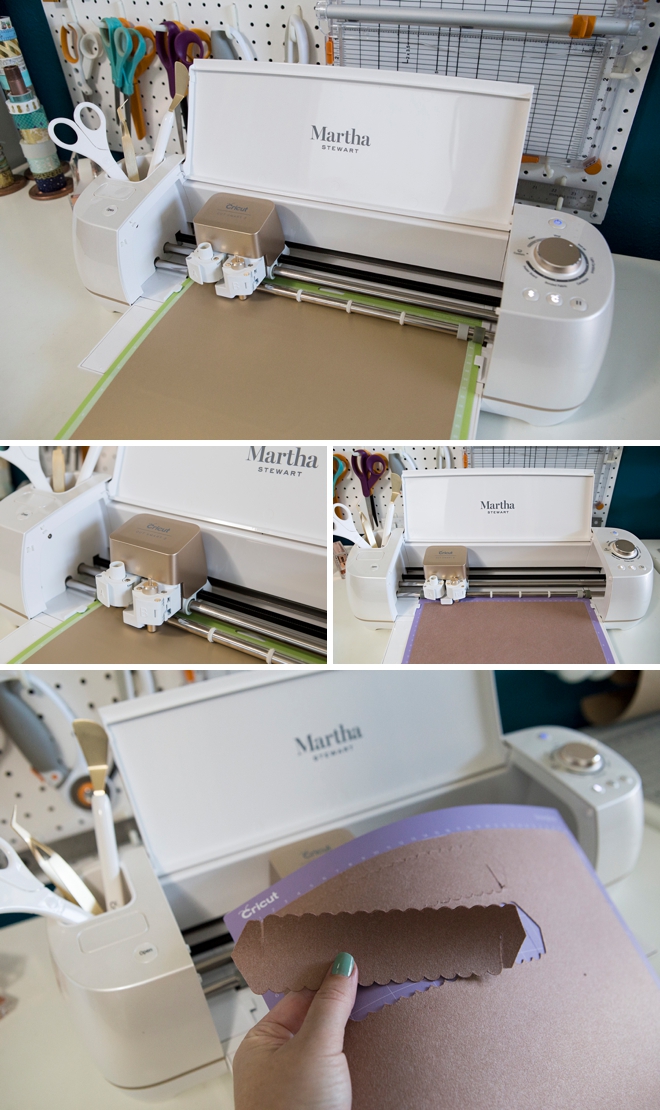
Let Your Martha Cricut Work It’s Magic
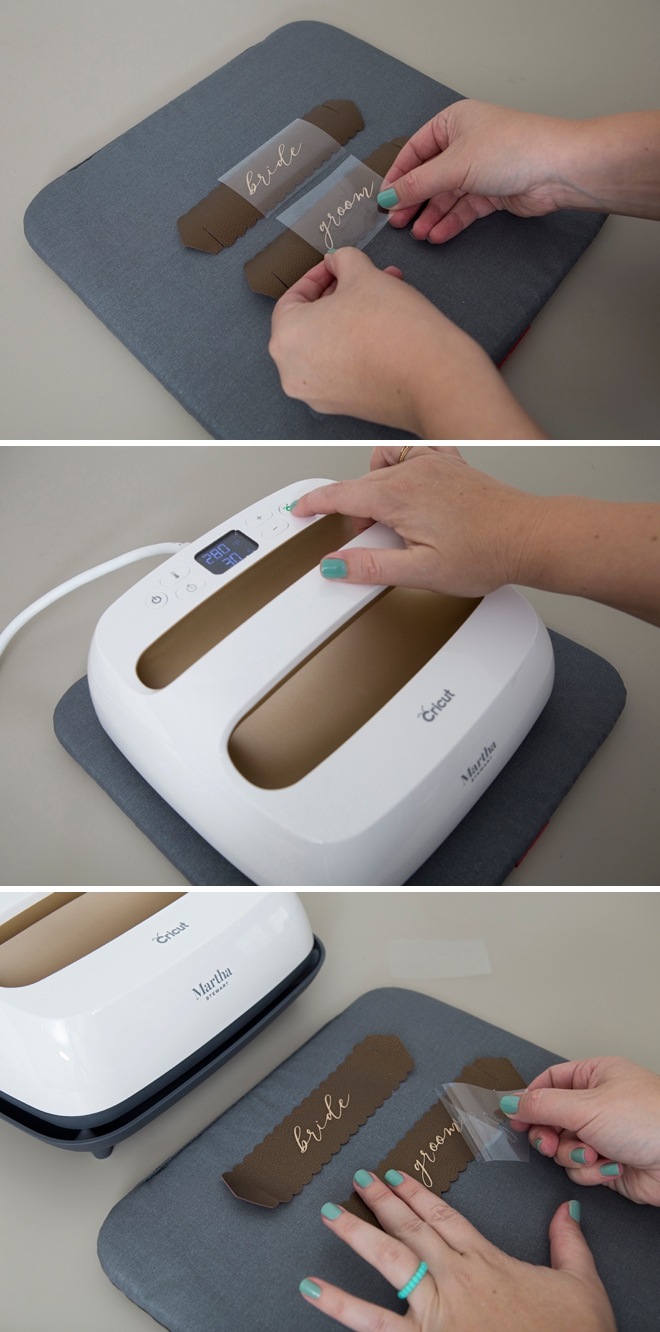
Don’t forget for iron-on designs the backside of the iron-on should be face up and you’ll need to check the “mirror-image” button on the cut screen canvas before cutting, otherwise, your iron-on will be backward!
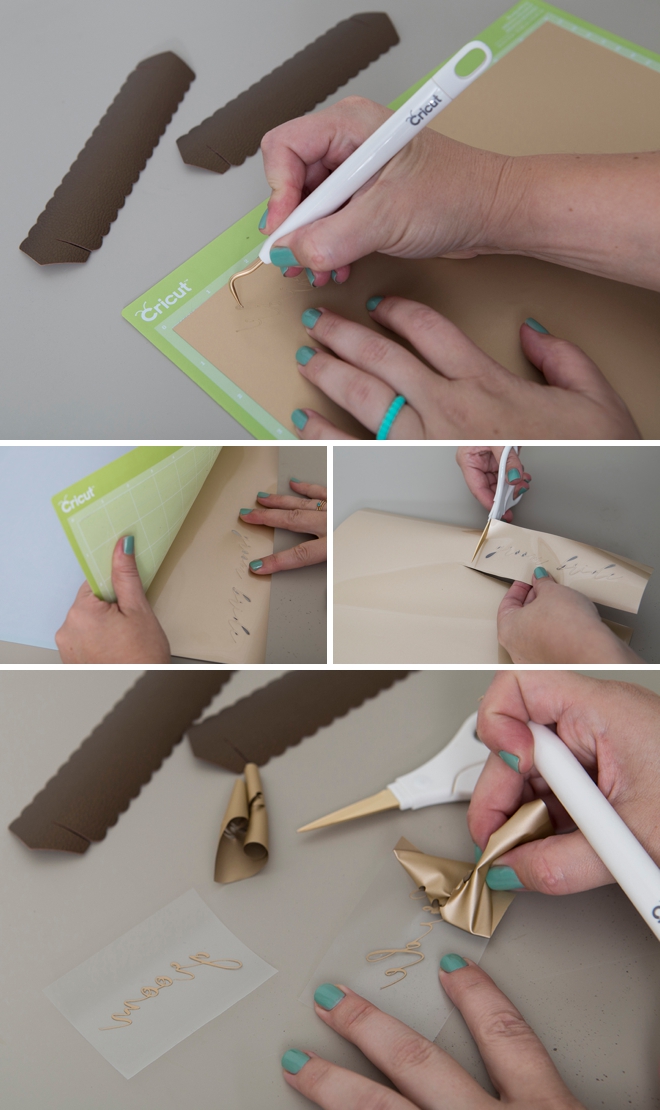
Weed The Designs
Weed, (aka. remove) all the excess iron-on material that isn’t a part of your design. Using the Cricut weeding tools makes the removal of intricate pieces super easy. Watch out for the frilly bits of this font, some of them are delicate.
EasyPress Heat + Time Settings
One of my favorite aspects of using the EasyPress is that Cricut has already created a spreadsheet of heat times and heat temperatures for all fabrics and types of iron-on. So if you’re using metallic iron-on on faux leather like we are here, there is an exact setting for that, which happens to be 280º for 30 seconds, front and back. That’s what I mean by no guesswork. You don’t have to hope that your iron is hot enough or that you’ve held it on the fabric for long enough. Follow this link to find the chart, I printed it out to have it on hand, then simply plug the correct temperature and time per your project into your Easy Press and press away!
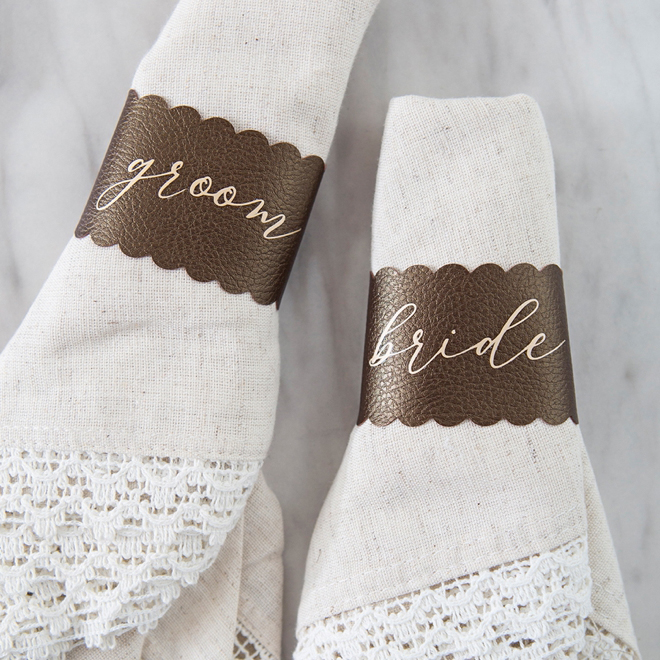
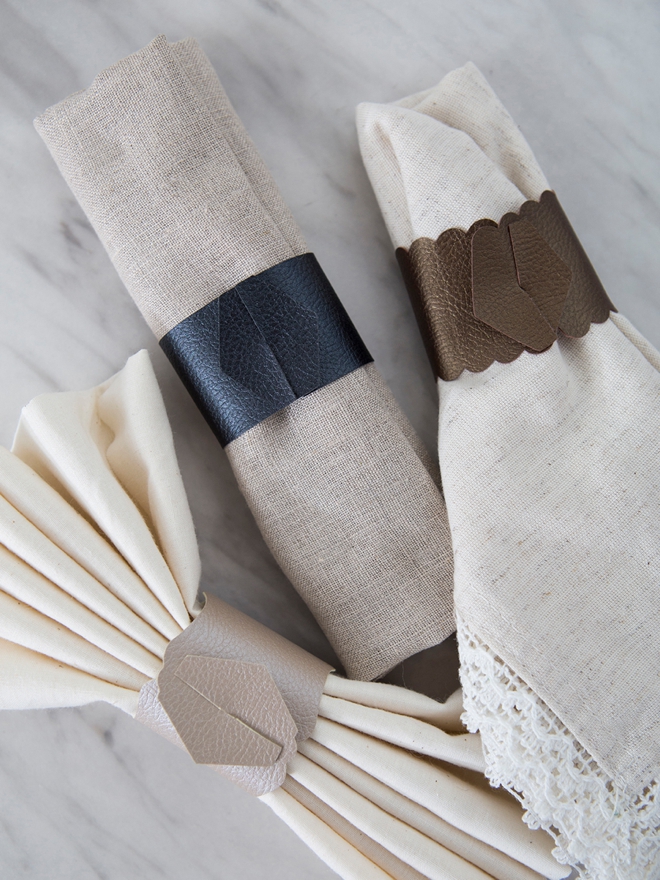
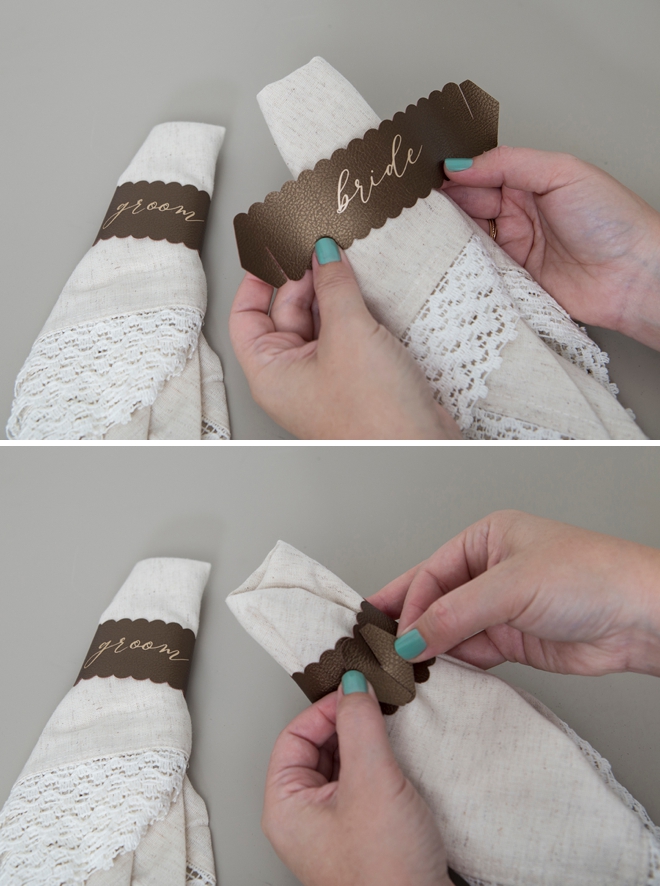
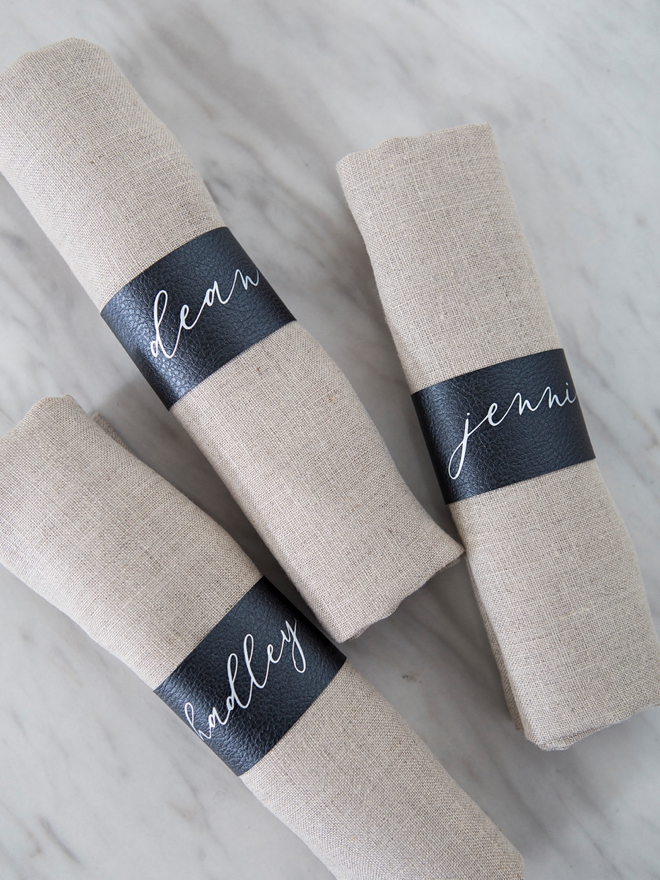
Wrap
On each end of the napkin ring there is a slot to wrap and secure each one around a napkin. Easy peasy!
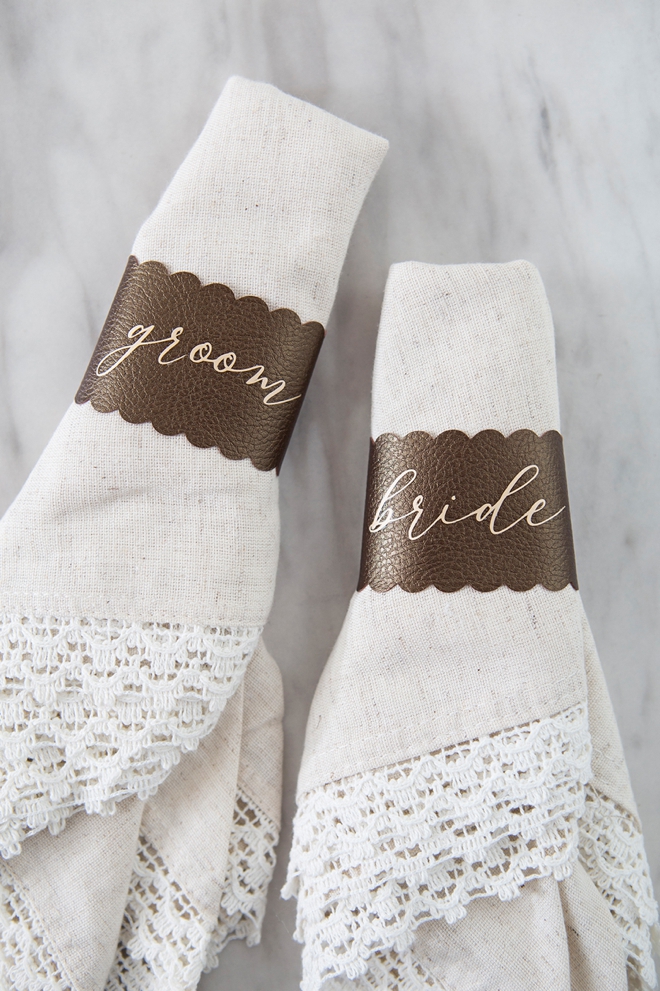

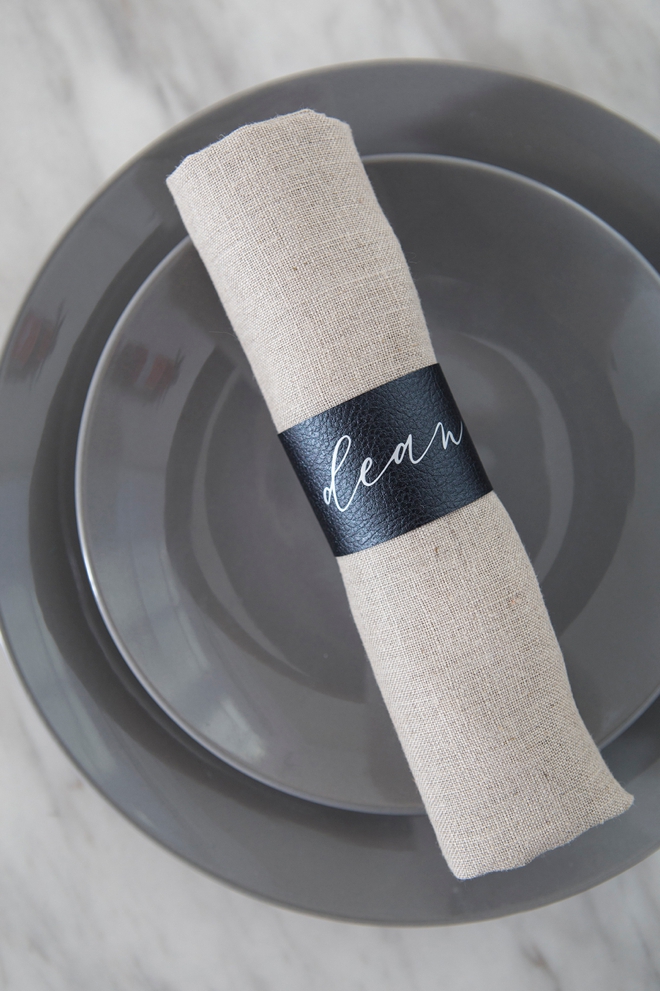
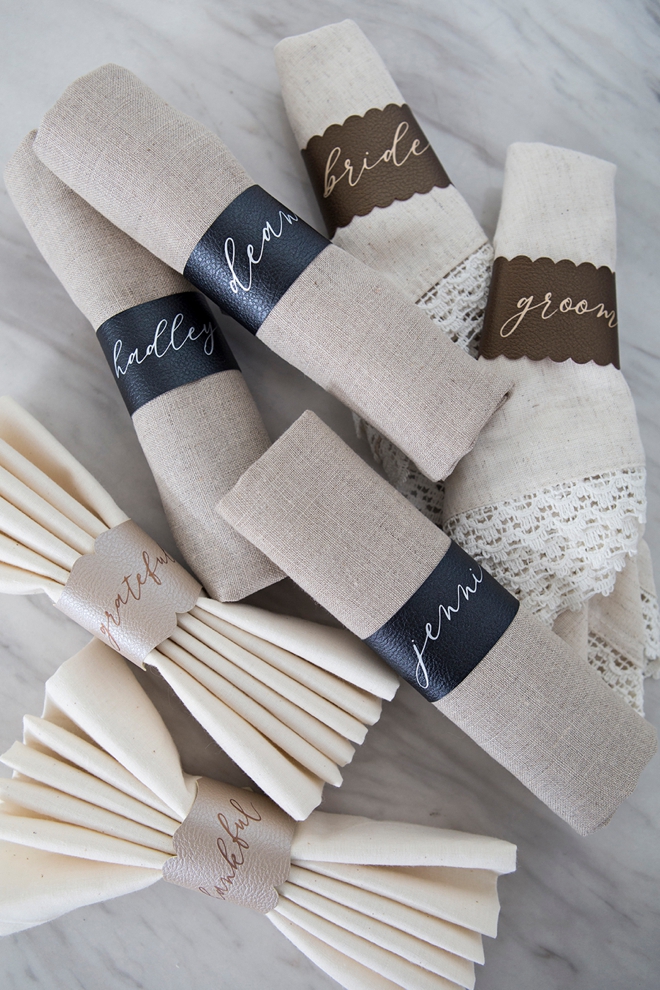
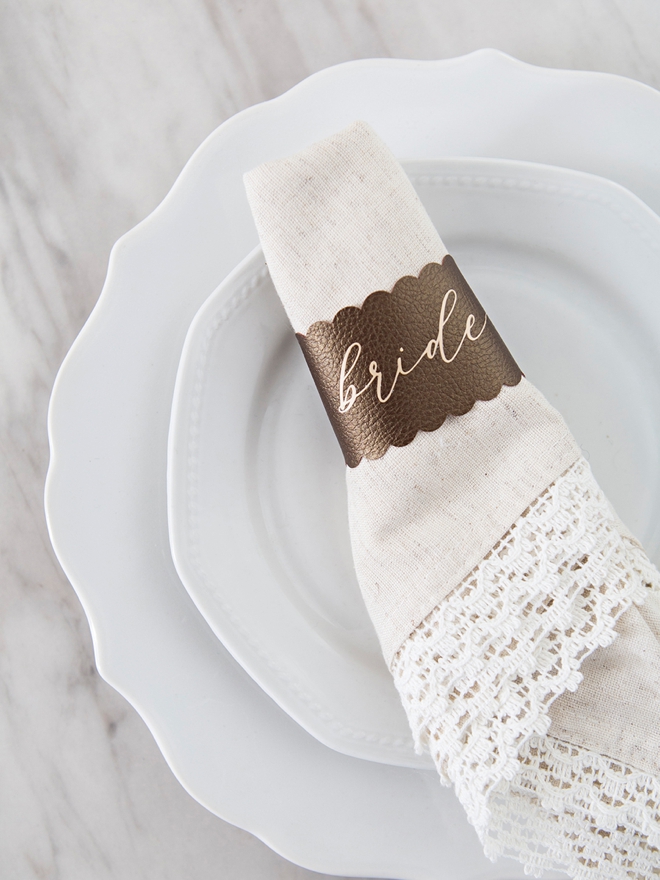
All Occasions
From weddings to Thanksgiving, and from birthdays to everyday meals, these custom napkin rings are sure to spruce up any table setting. They are so pretty in person that your guests might even think you bought them! Using uplifting sayings or even adding your guests’ names could make super sweet take-home gifts too!
DIY Tutorial Sponsored By:

Cricut is a world-class leader in personal electronic cutting machines that has enabled people to achieve their creative best for over 50 years. Today, millions of people use Cricut products to create unique projects, and they focus on enhancing lives with this power of creativity. Let Cricut help you take your wedding personalization and project creativity to the next level!
As with all our DIY tutorials, if you create one of our projects please send us a picture – We Love Seeing Your Creativity! If you use Instagram or Twitter please use the hashtag #SomethingTurquoiseDIY and it will show up on our Get Social page. Happy Crafting!
DIY Tutorial Credits
Photography + DIY Tutorial: Jen Causey of Something Turquoise // Cricut® Explore Air™ 2 Special Edition, Martha Stewart Machine Bundle, Martha Stewart Iron-on Metallics, Martha Stewart EasyPress 2, and Pebbled Faux Leather: courtesy of Cricut // Nail Polish: OPI – Withstands the Test of Thyme
Shop The Supplies:
Find the supplies you’ll need for this project from our affiliate links below:

Comments