
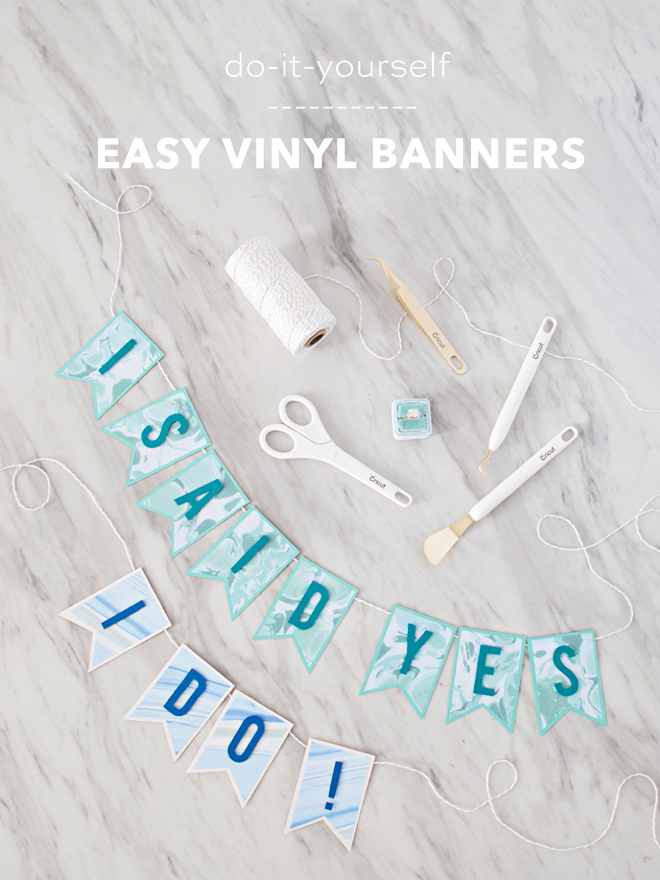
DIY Easy Vinyl Wedding Banners With Cricut
-Sponsored Post-
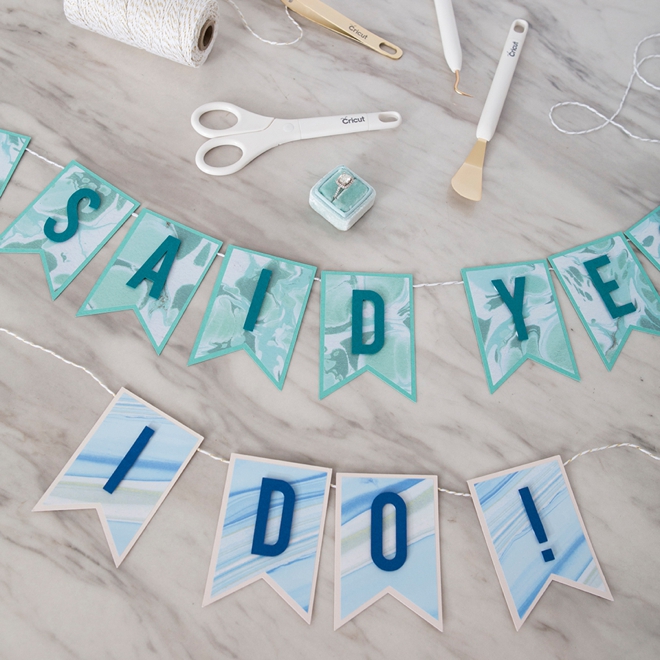
Banners are a wedding necessity. They could be a cute photo prop, a directional cue, or maybe part of a sweet dessert display. When you have a Cricut, creating banners is one of the easiest projects you can make and a must for any party! From your engagement to your grand exit, a custom banner is just a few clicks and a few minutes away. A few months ago Martha Stewart released her very own, stunning, sold exclusively at Michaels, which of course is the most gorgeous shade of gold! She’s now also released her own line of Premium Cricut Vinyl, which I’m excited to be using on this banner today!
Easy Banners
A few weeks ago I was chatting with a new Cricut user about making banners and for some reason they were a project that had her really intimidated. The thought of making sure all the banner tiles and letters matched sizing and the amount of paper needed were really hanging her up.
Banner Tiles: use a Cricut banner cut file or simply add your choice of shape from the tools in Design Space. Drag to your desired size and save your canvas. Then simply duplicate that tile as many times as you need to, then they’ll all be the exact same size. When cutting, Design Space will tell you how much paper you need and will automatically sort them onto the proper amount of mats. You can design and click “make it” so you can see the amount of mats needed, before you buy the paper to make sure you get enough.
Lettering: The easiest way to make sure that all your letters will fit is to start with a “W” as that will normally be the largest letter. Drag to fit the banner tiles, make note of the font size and then save your canvas. Then simply type out your full saying. Same thing with the amount of paper for the letters, Design Space will let you know how much paper you’ll need on the cut screen. For this type of design, you do not need to align the banner tiles and the letters on your canvas before you cut!

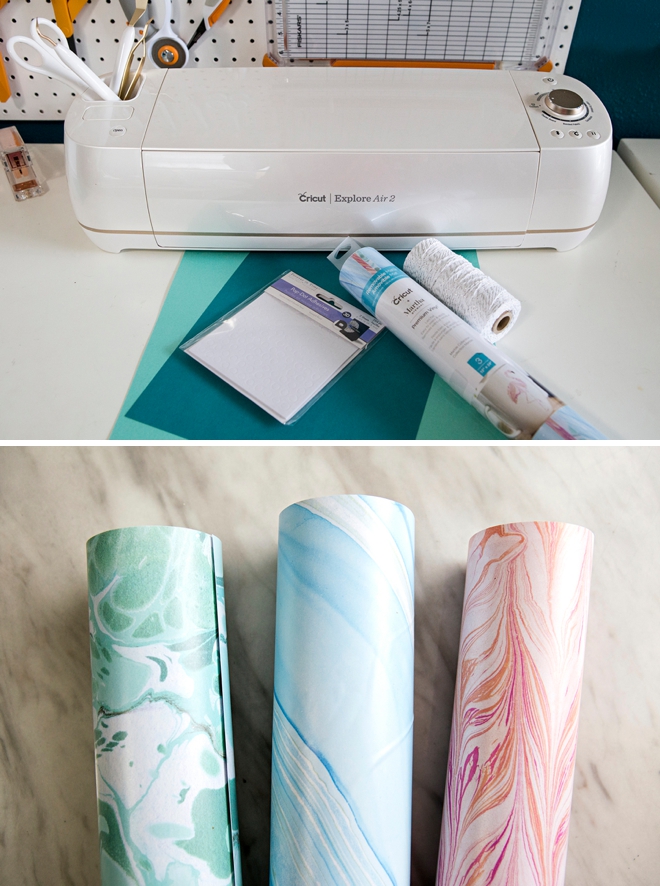
SUPPLIES:
- Cricut® Explore Air™ 2 Special Edition, Martha Stewart Machine Bundle
- Martha Stewart Patterned Premium Vinyl, Marble
- Pop Dots
- Tape
- Cardstock
- Ribbon or Twine
The new marble vinyl from Martha Stewart comes with all three of these patterns and colors in one roll!
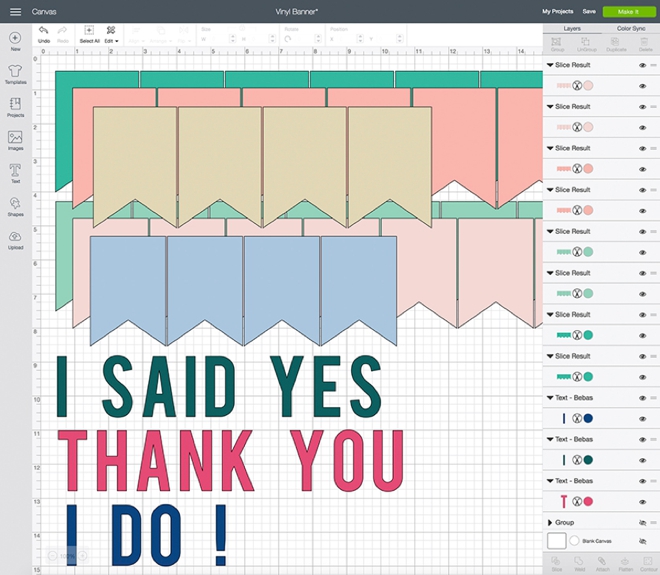
Use Our Files
Follow this link to use these exact cut files that I designed in Design Space, you’ll need to be logged into your Cricut account for the link to work properly. I used a Martha Stewart banner file and the free font Bebas, and customized both using the tools in Design Space. The cut files are color coded to match, feel free to edit and make them fit your banner of choice!
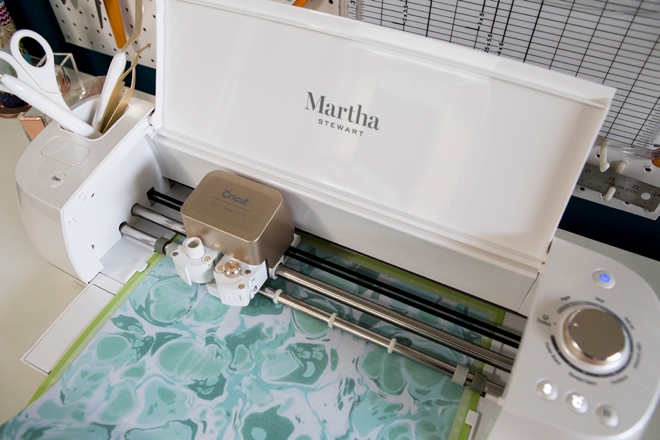
Prepare Your Cutting Mats

Let Your Cricut Work It’s Magic
Cut the larger banner tiles out of cardstock, the smaller banner tiles out of vinyl and the letters out of darker cardstock to make the words pop!


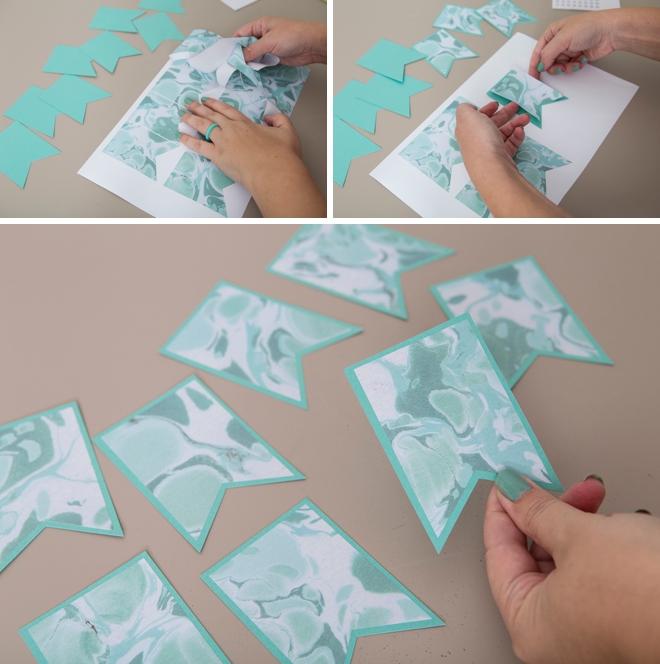
Apply The Vinyl
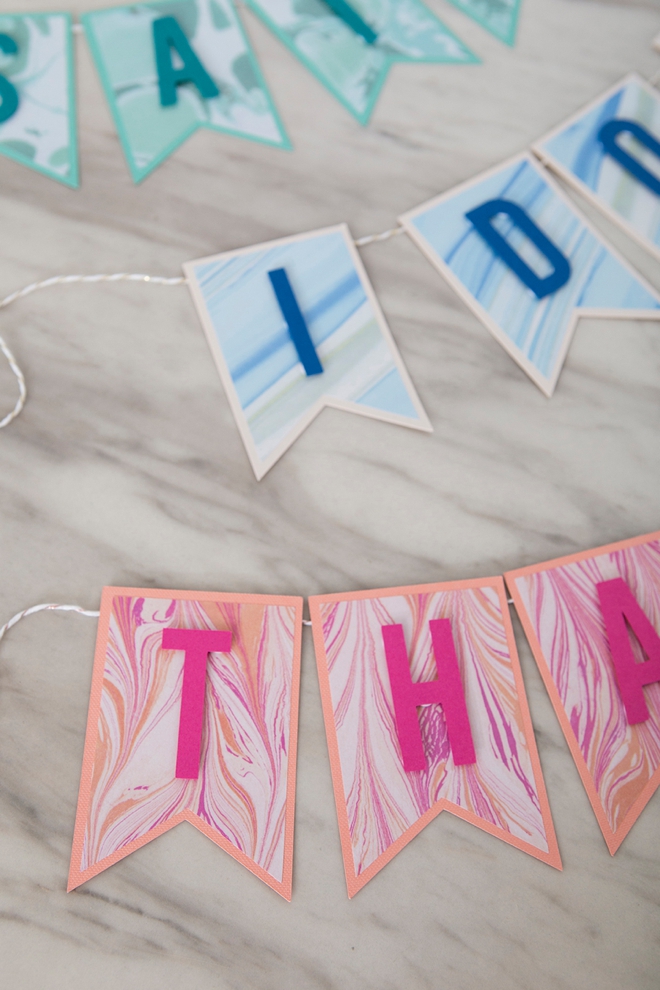
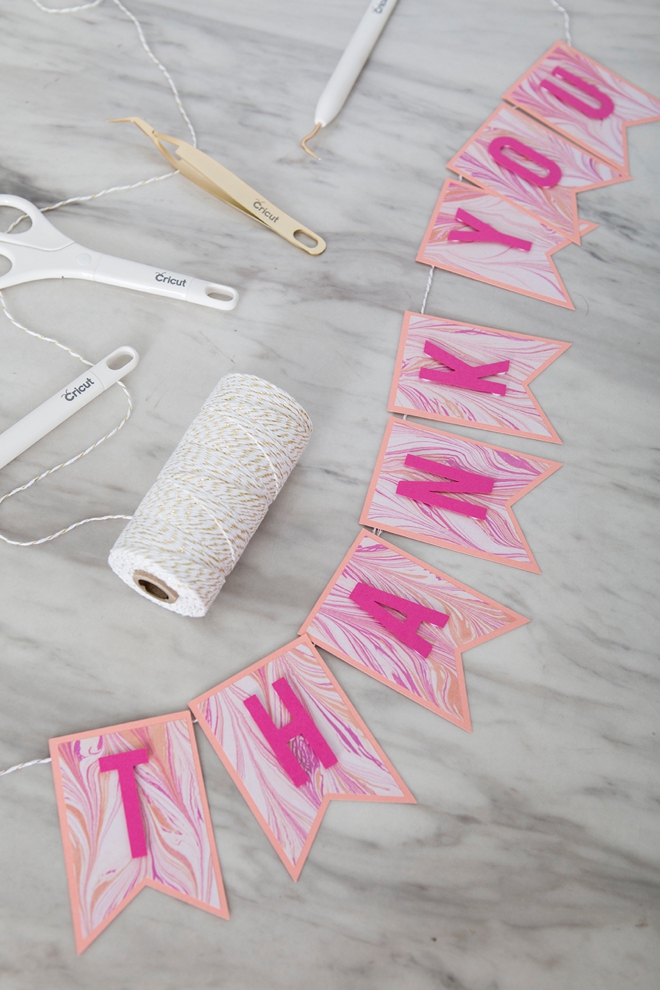
I designed the banners to showcase the beautiful patterns of the new vinyl and matched the colors of each accordingly. Apply the vinyl banner tile stickers to the top of the cardstock banner tiles, they are just slightly larger with about a 1/4″ boarder to back the vinyl.
Add The Letters
Carefully remove the letters from the cutting mat and add them to each banner tile using Pop Dots to give a little dimension to the letters.

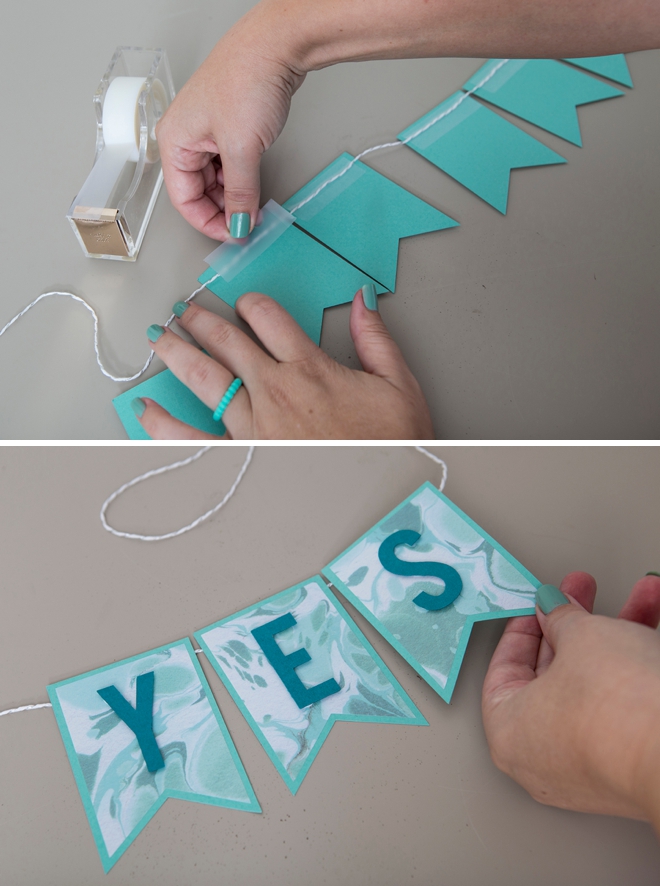
String
Using tape or something similar, add each banner tile to ribbon or twine… and that’s all there is to it!
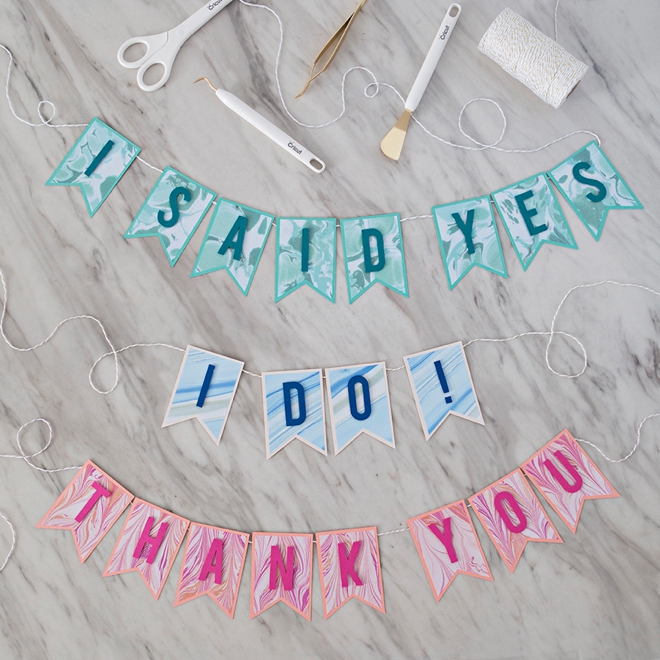
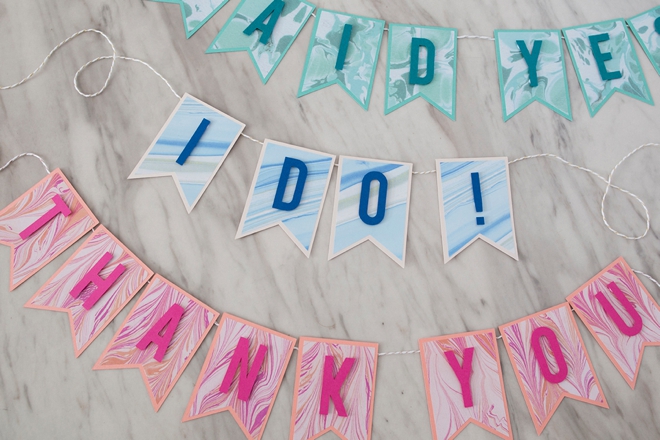
Say What You Want
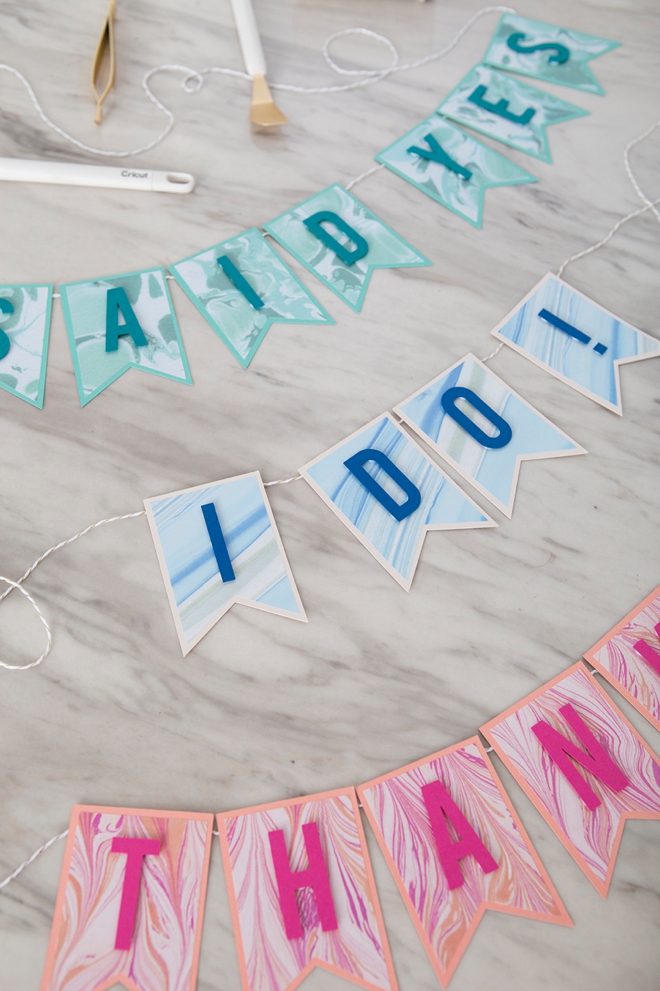
From “I Said Yes”, to “I Do”, to “Thank You” and everything in between… having a Cricut means you can easily make a banner that says anything you want! In any shape you want, in any color you want! A DIY Brides dream come true!
DIY Tutorial Sponsored By:
Cricut is a world-class leader in personal electronic cutting machines that has enabled people to achieve their creative best for over 50 years. Today, millions of people use Cricut products to create unique projects, and they focus on enhancing lives with this power of creativity. Let Cricut help you take your wedding personalization and project creativity to the next level!
As with all our DIY tutorials, if you create one of our projects please send us a picture – We Love Seeing Your Creativity! If you use Instagram or Twitter please use the hashtag #SomethingTurquoiseDIY and it will show up on our Get Social page. Happy Crafting!
DIY Tutorial Credits
Photography + DIY Tutorial: Jen Causey of Something Turquoise // Cricut® Explore Air™ 2 Special Edition, Martha Stewart Machine Bundle and Vinyl: courtesy of Cricut // Pop Dots: Amazon // Metallic Twine: Amazon // Cardstock: Personal Stash // Nail Polish: OPI – Withstands the Test of Thyme
Shop The Supplies:
Find the supplies you’ll need for this project from our affiliate links below:

Comments