
DIY Bachelorette Party Swag With Cricut EasyPress 2
-Sponsored Post-
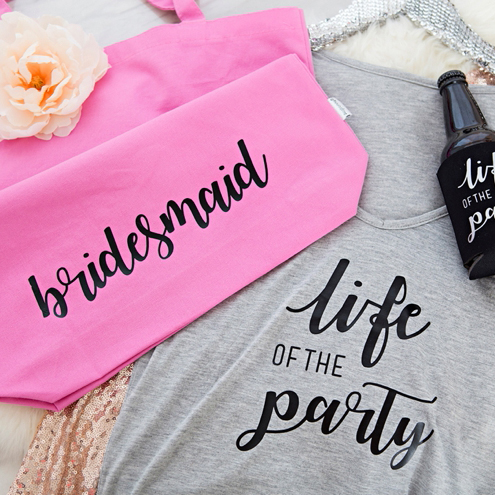
If there was ever a reason to be ultra-extra and personalize all the things when it comes to your wedding, it’s for your bachelorette party. Am I right? Girls gotta tell the world that they’re out celebrating something special and that’s a big part of the fun. So put your Cricut to work and whip up some fabulous bachelorette swag in literally no time at all!

The EasyPress 2 Is Here!
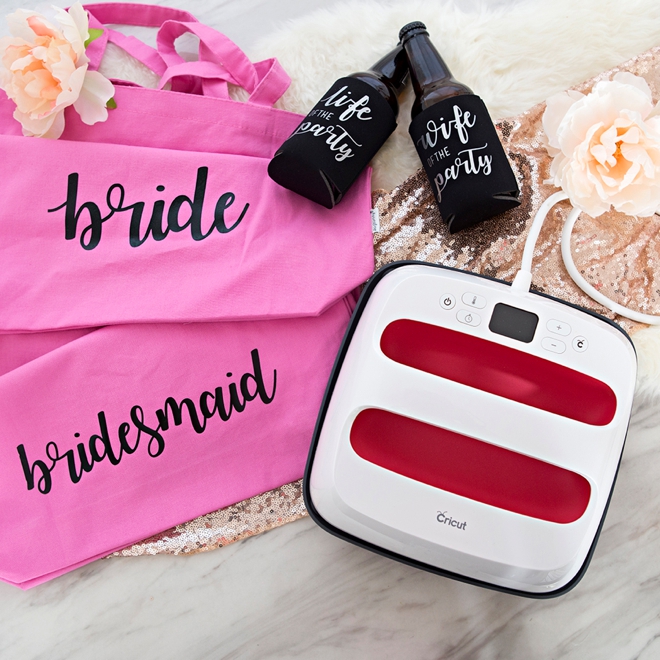
With the speed of a heat press and the convenience of an iron, the Cricut EasyPress has been a must for all your Cricut iron-on projects since it’s debut a little over a year ago. But they had to go and make it better! The Cricut EasyPress 2 now comes in three sizes, 6×7, 9×9, and 12×10, to suit every possible project. They also have the mats to match. OMG, I cannot wait to get the smallest one! It has a ceramic-coated heat plate which produces dry, even heat for flawless transfers. The precise temperature and time controls are my favorite aspect and I’ll get into later in the post. Using the EasyPress 2 takes all the guesswork out of iron-on projects and will give you a unique confidence in them because the bond it makes will actually last.

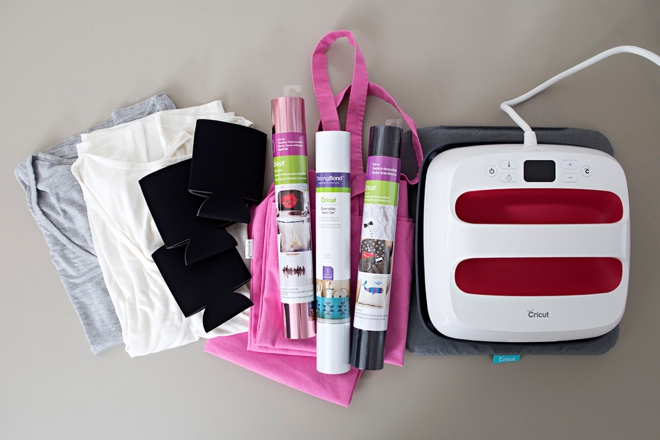
SUPPLIES:
- Cricut Maker or Cricut Explore
- Cricut EasyPress 2, available soon!
- Cricut EasyPress Mat
- Cricut Iron-on
- Shirts, Tote Bag, Beer Koozies, etc..
Design Your Swag
Open up a new canvas in Design Space, use your favorite fonts, upload custom files, design something yourself… the sky is the limit. You can also follow this link to be taken to my canvas to use these exact designs I created. I used Watermelon Script and Mensch for the fonts.
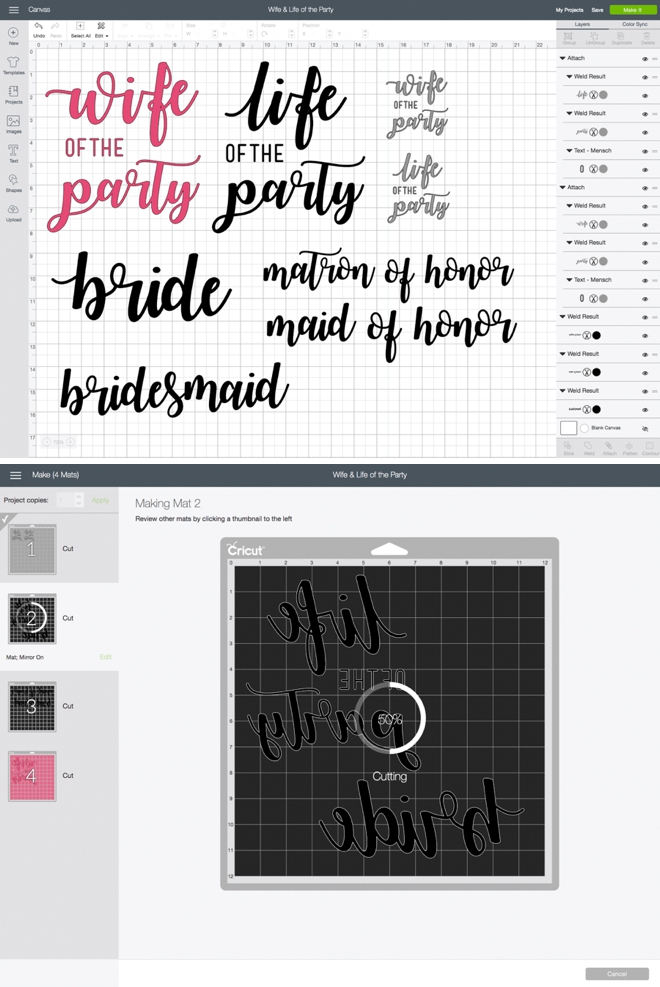
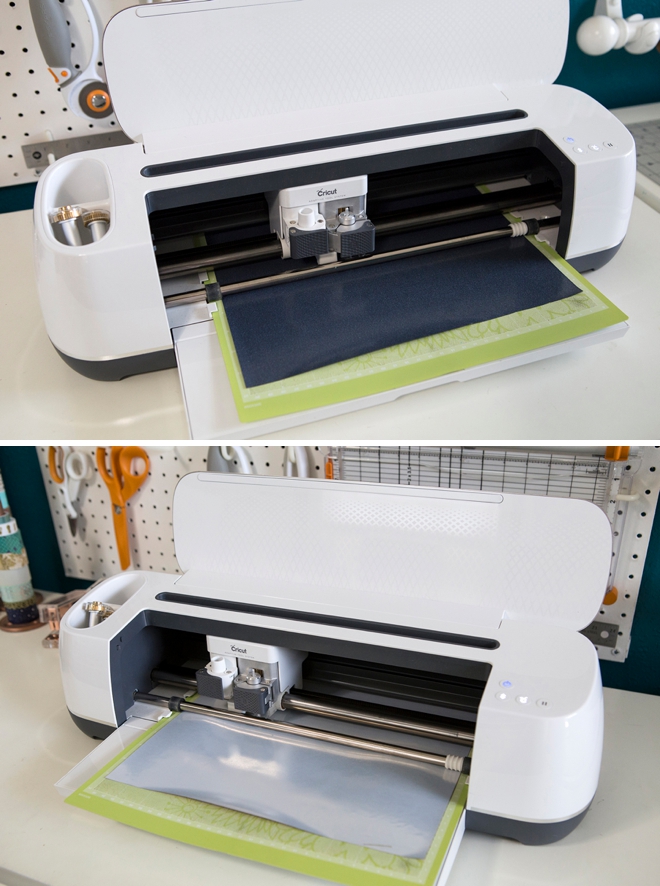
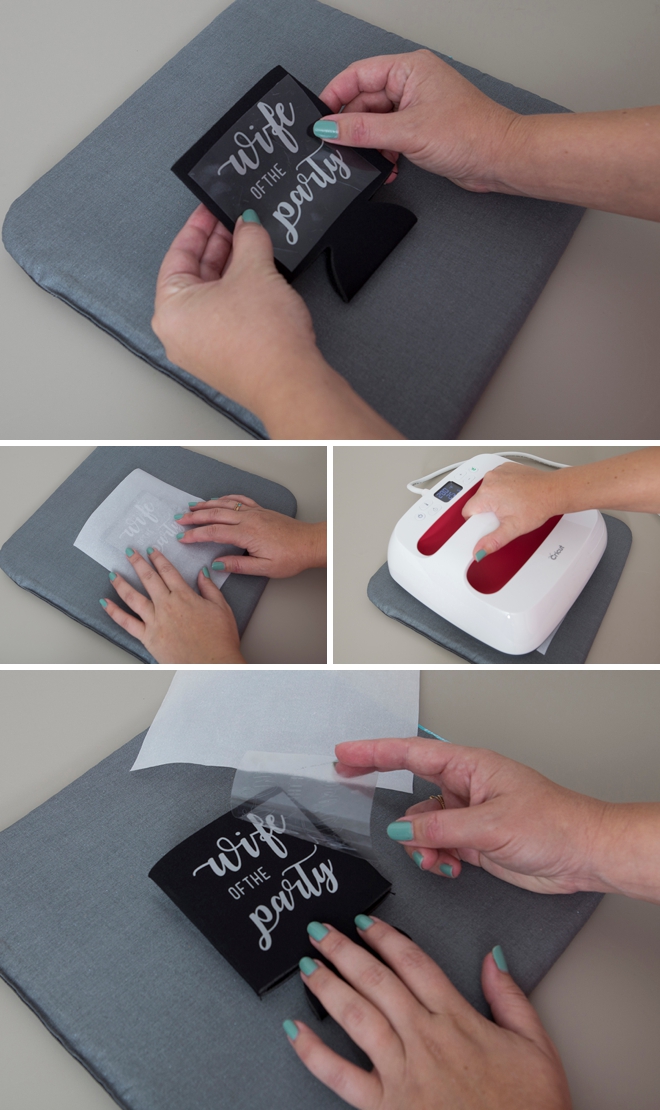
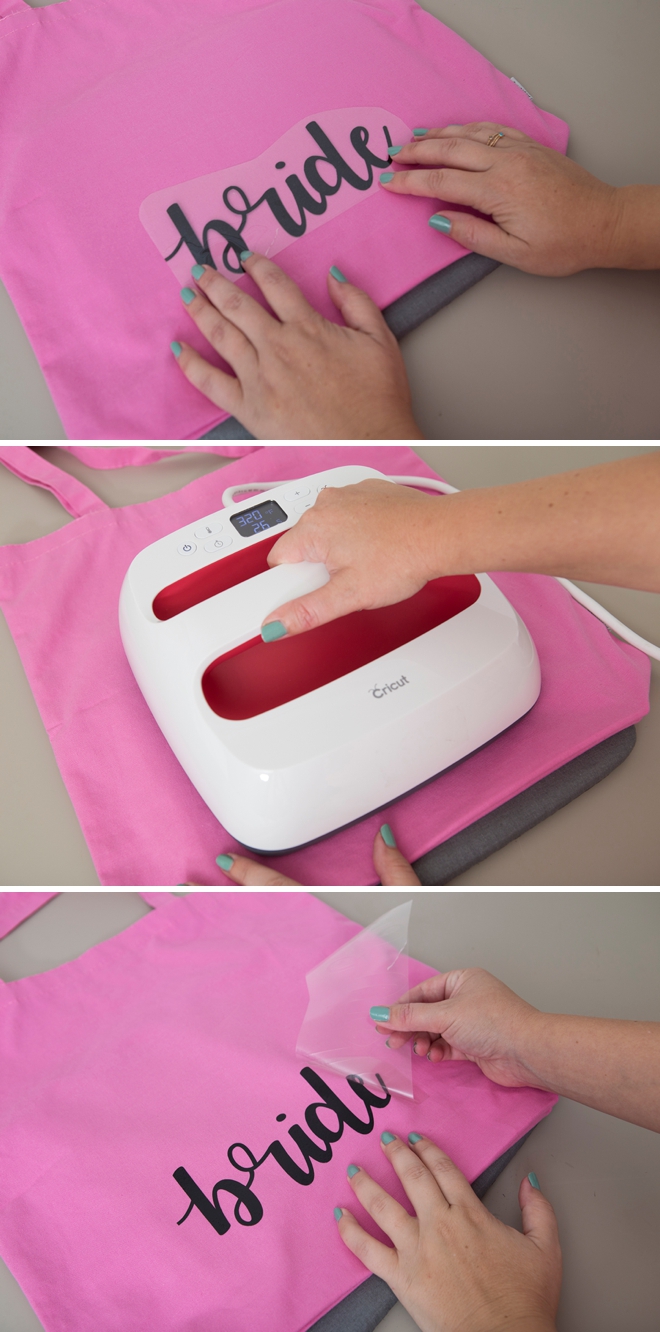
Let Your Cricut Work It’s Magic
Don’t forget for iron-on designs the backside of the iron-on should be face up and you’ll need to check the “mirror-image” button on the cut screen canvas before cutting, otherwise your iron-on will be backwards!
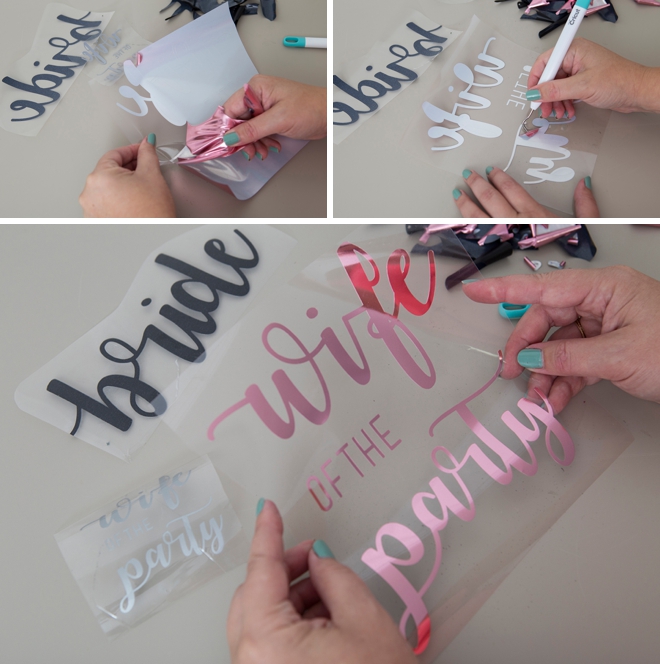
Weed The Designs
Weed, (aka. remove) all the excess iron-on material that isn’t a part of your design. Using the Cricut weeding tools makes the removal of intricate pieces super easy.
EasyPress Heat + Time Settings
One of my favorite aspects of using the EasyPress is that Cricut has already created a spreadsheet of heat times and heat temperatures for all fabrics and types of iron-on. So if you’re using iron-on foil on a cotton shirt, there is an exact setting for that. No guess work. If your using iron-on light on canvas, there is a setting for that. Follow this link to find the chart, I printed it out to have it on hand, then simply plug the correct temperature and time per your project into your Easy Press and press away!
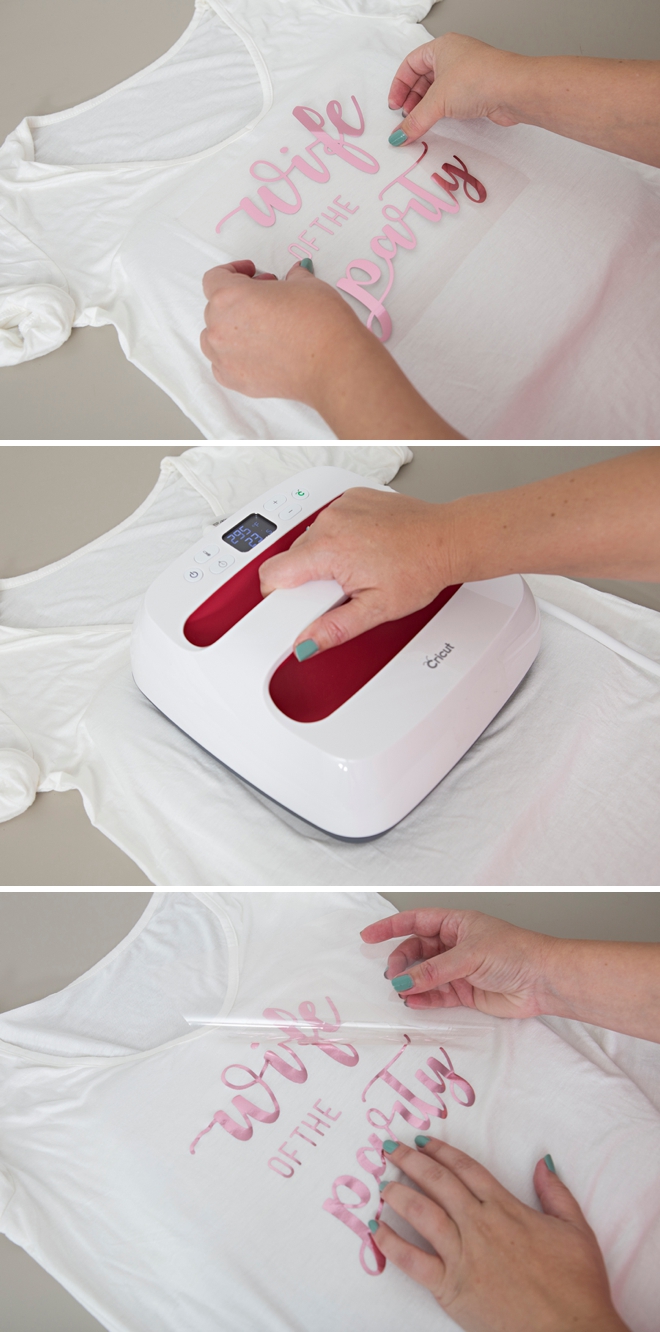
Project Heat + Time Settings
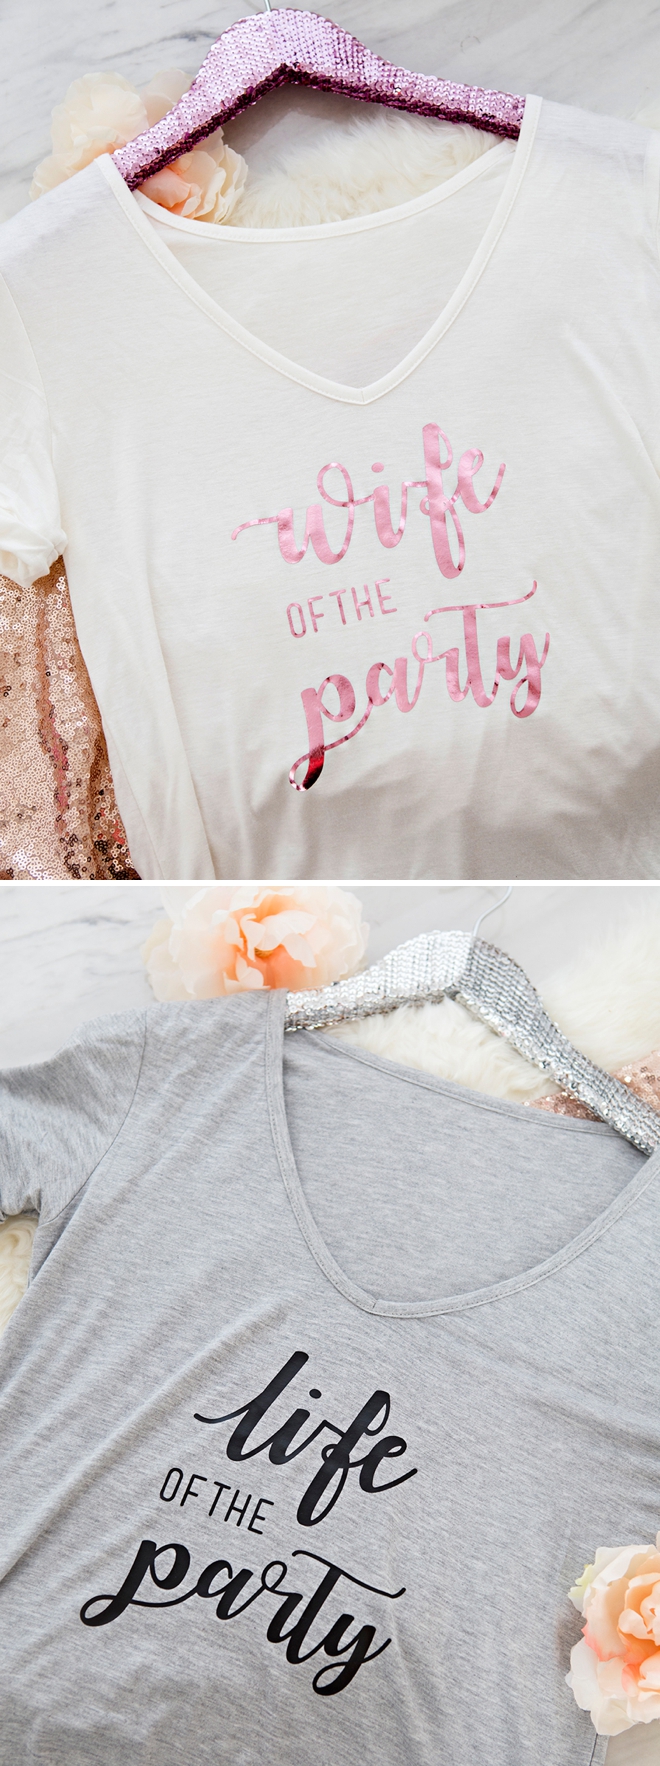
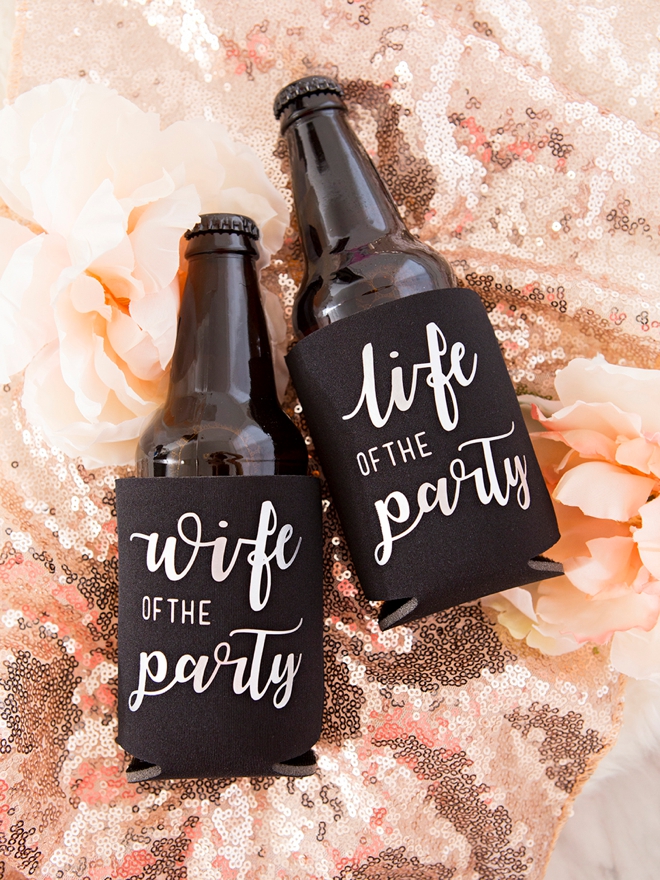
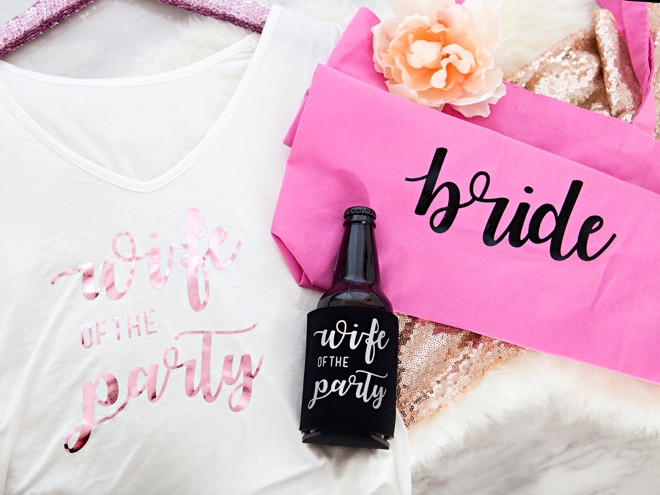
Transfer all your fun cut designs onto the t-shirt, tote bags and beer koozies:
T-shirts: Cotton + Foil Iron-on =
– 295°F / 146°C
– Pre-heat: 5 sec
– Apply: 30 sec
– Post-heat back (leave liner on): 15 sec.
– Cold Peel
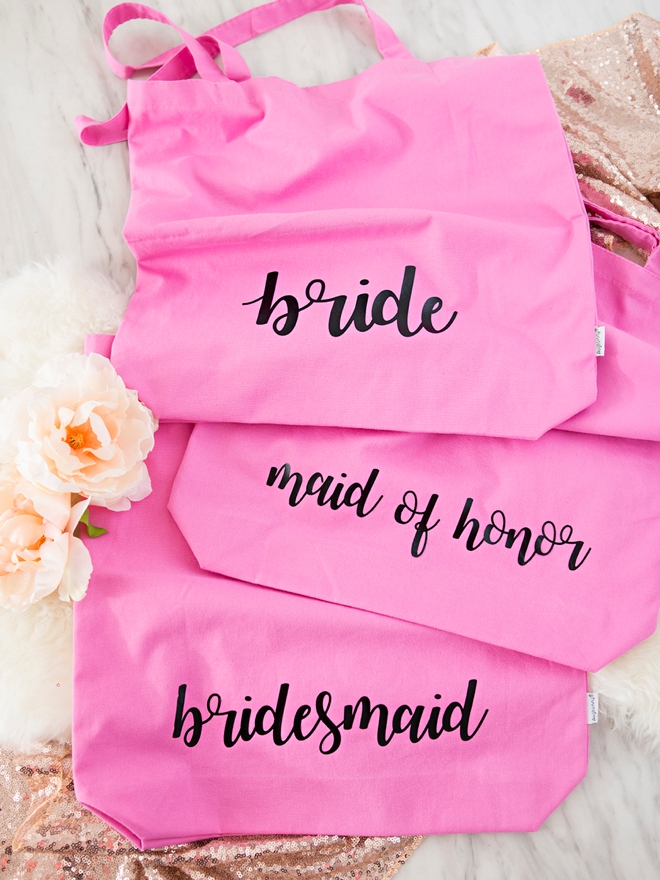
Tote Bags: Canvas + Everyday Iron-on =
– 340°F / 171°C
– Pre-heat: 5 sec
– Apply: 30 sec
– Post-heat back (leave liner on): 15 sec
– Warm Peel
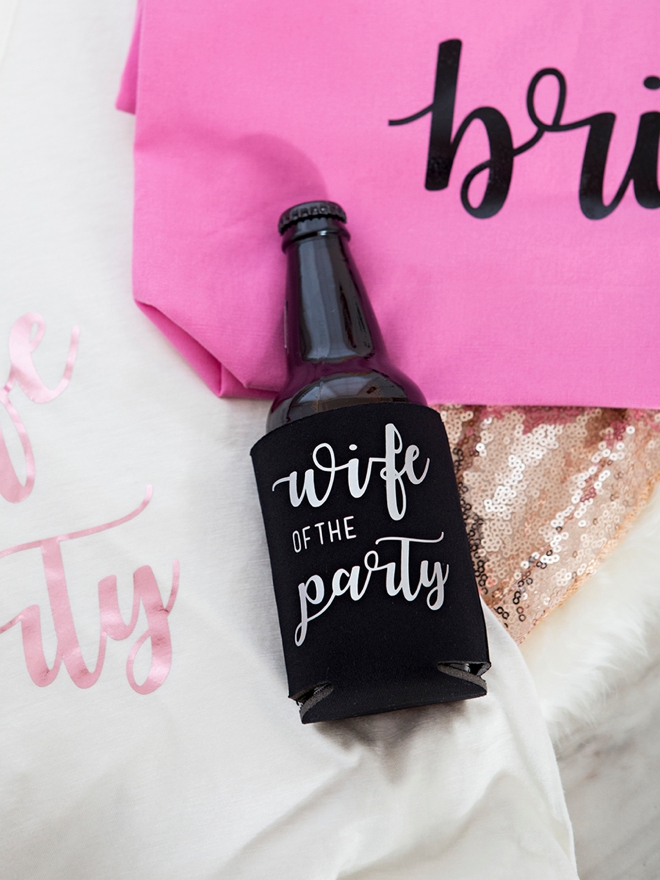
Beer Koozies: Polyurethane Foam + Metallic Silver Iron-on =
– 280°F / 137°C
– Pre-heat: 5 sec
– Apply: 30 sec (use Teflon sheet or parchment paper barrier)
– Post-heat back (leave liner on): 15 sec
– Warm Peel
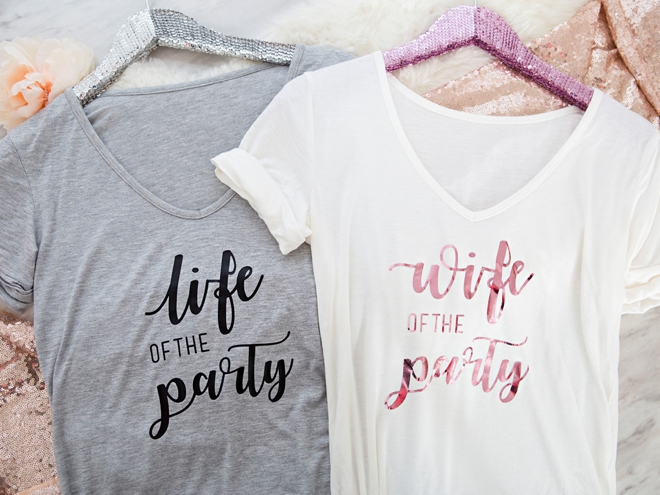
Iron-On All The Things
A simple t-shirt, tote bag, and beer koozie are just the beginning of what you can personalize with your Cricut and an EasyPress 2. If it’s made of fabric, you can iron something special onto it! Just think of all the fun options for you and your girls…
- Sweatpants
- Robes
- Beach Cover-ups
- Towels
- Pillow Cases
- Shoes
- Hats
- Underwear
- Blankets
- Lingerie Bags
- Pashminas
- Scarves
- Sleep Masks
DIY TUTORIAL PARTNER:

Cricut is a world-class leader in personal electronic cutting machines that has enabled people to achieve their creative best for over 50 years. Today, millions of people use Cricut products to create unique projects, and they focus on enhancing lives with this power of creativity. Let Cricut help you take your wedding personalization and project creativity to the next level!
As with all our DIY tutorials, if you create one of our projects please send us a picture – We Love Seeing Your Creativity! If you use Instagram or Twitter please use the hashtag #SomethingTurquoiseDIY and it will show up on our Get Social page. Happy Crafting!
DIY Tutorial Credits
Photography + DIY Tutorial: Jen Causey of Something Turquoise // Cricut Maker, Cricut EasyPress 2, EasyPress Mat, and Iron-on supplies: courtesy of Cricut // T-shirts: Amazon // Tote Bags: Amazon // Beer Koozies: Amazon // Nail Polish: OPI – Withstands the Test of Thyme
Shop The Supplies:
Find the supplies you’ll need for this project from our affiliate links below:

Comments