

DIY Destination Wedding Save the Date Luggage Tags
Since it’s summer and we’re dreaming of a fabulous, far-off vacation… today we’re making the most darling Luggage Tag style save the dates for your destination wedding! No matter if you’re planning to say I DO in a tropical beach locale or a romantic setting in the mountains, our newest printable file will be the perfect way to get your guests excited about their upcoming need to travel. Simply edit, print, cut, and send… that’s almost all there is to this project which makes it quick and easy on the pocketbook. Get your besties together for a night of wine and wedding crafting to thoroughly enjoy the making process!
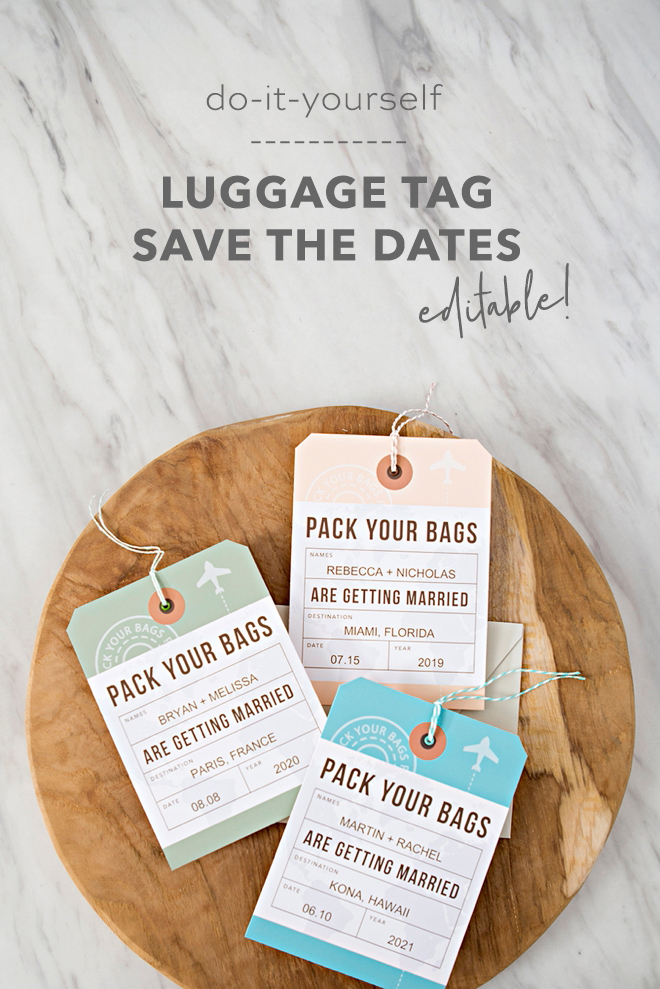
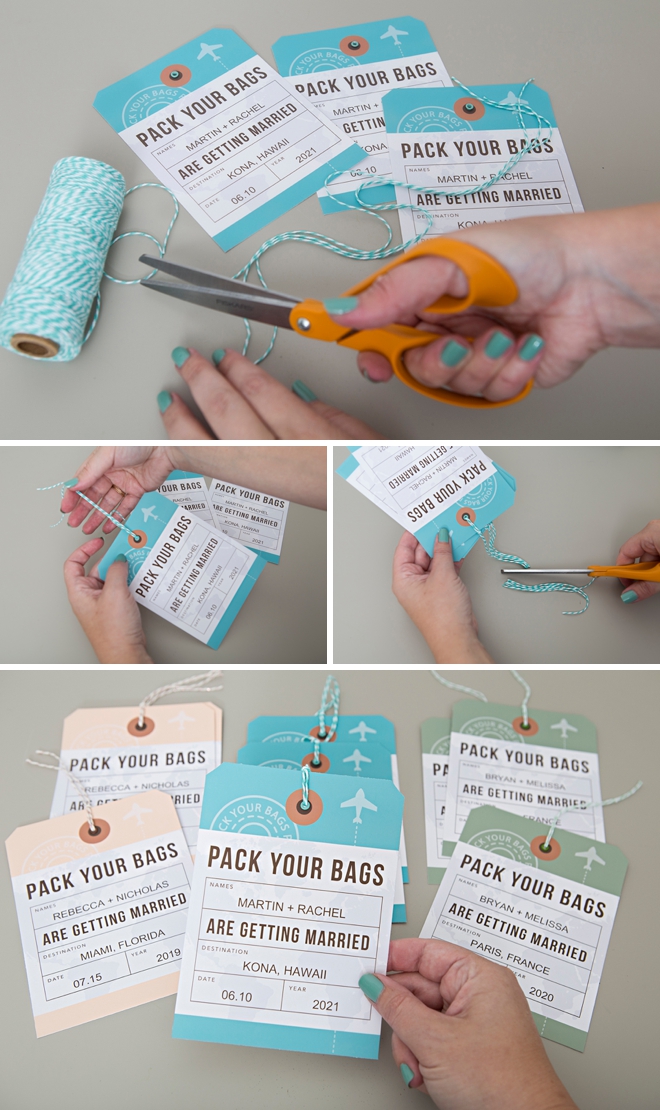
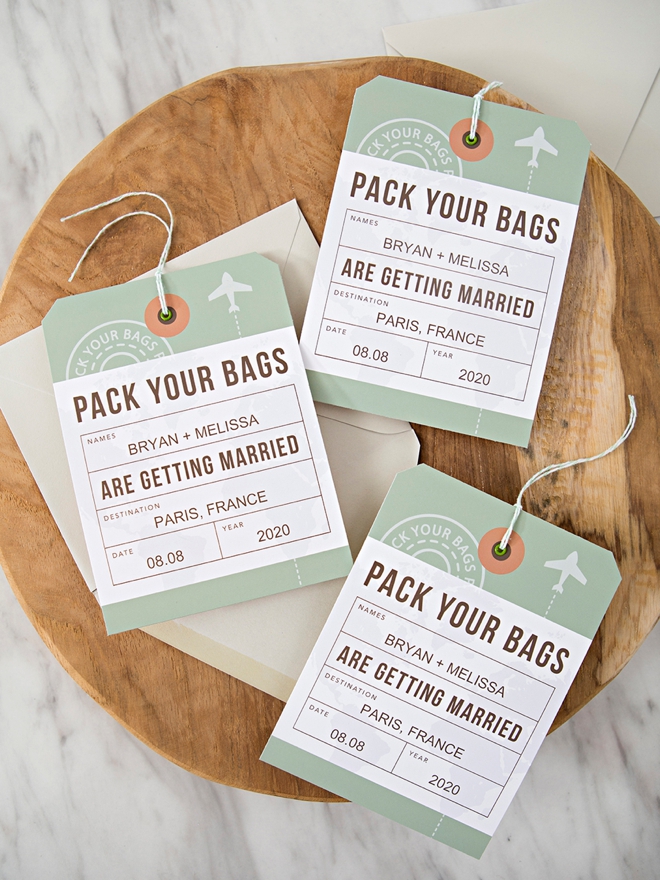
3 Colors
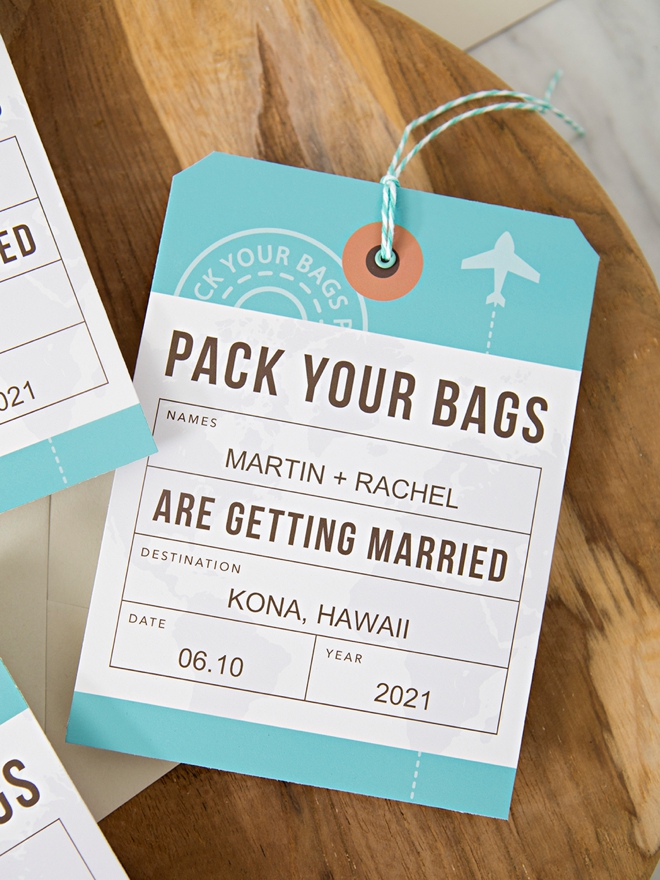
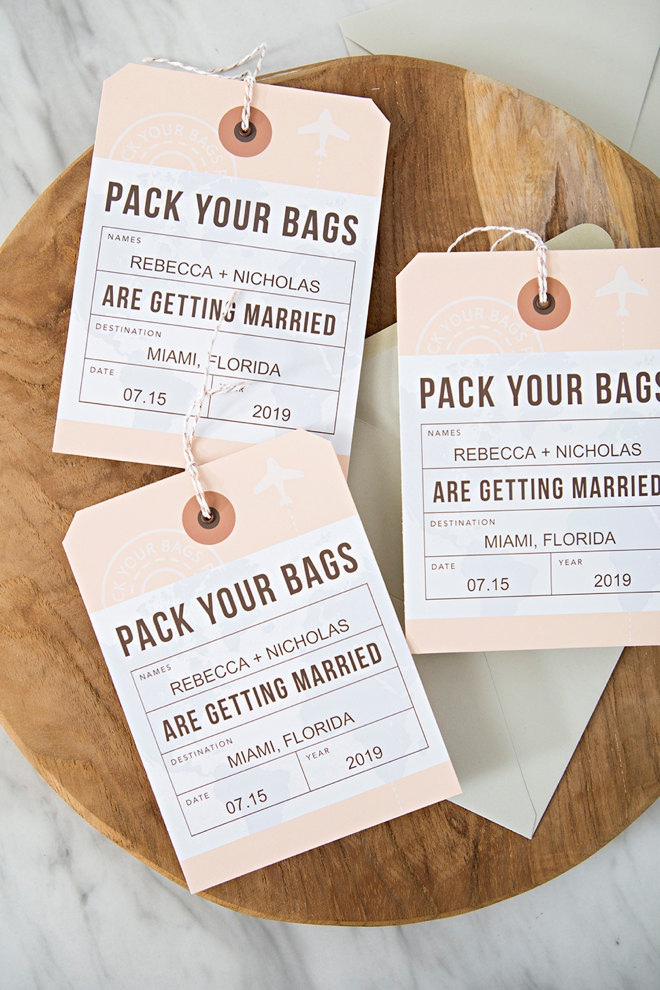
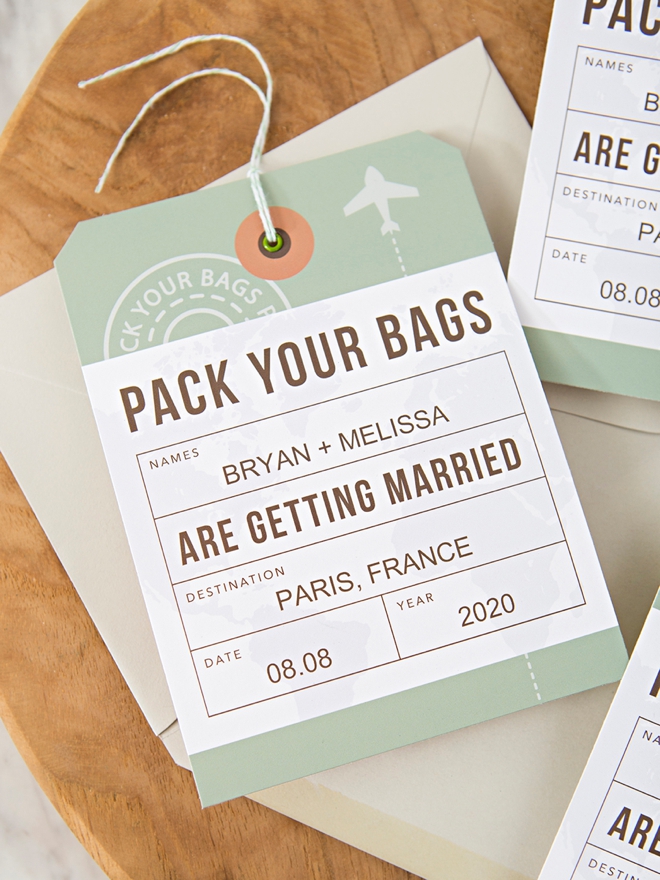
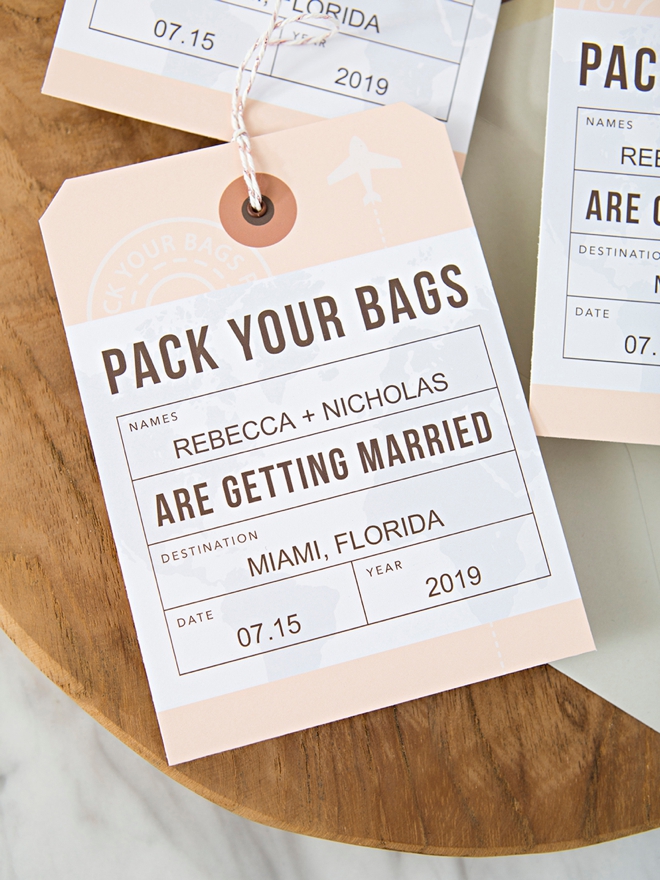
Our Luggage Tag Save the Dates are available in three colors; aqua, sage and peach! Hopefully one of those colors will perfectly fit your destination event theme!
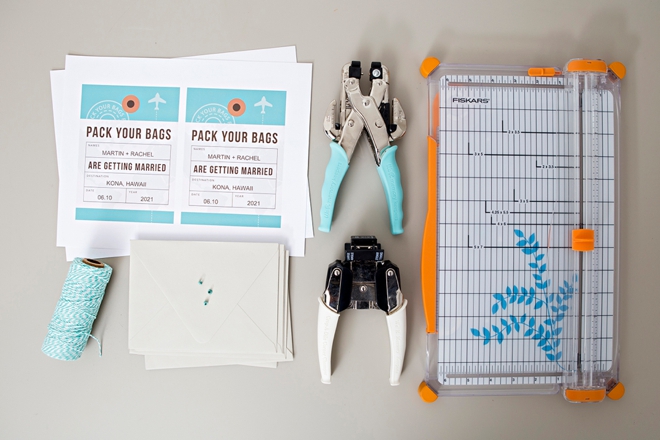
SUPPLIES:
- 8.5″ x 11″ White Cardstock or Photo Paper
- A6 Sized Envelopes
- Corner Punch
- Hole Punch
- Eyelets
- Twine
- Our Luggage Tag Save The Date Designs available in our Shop! Only $1.99 for all 3 colors!

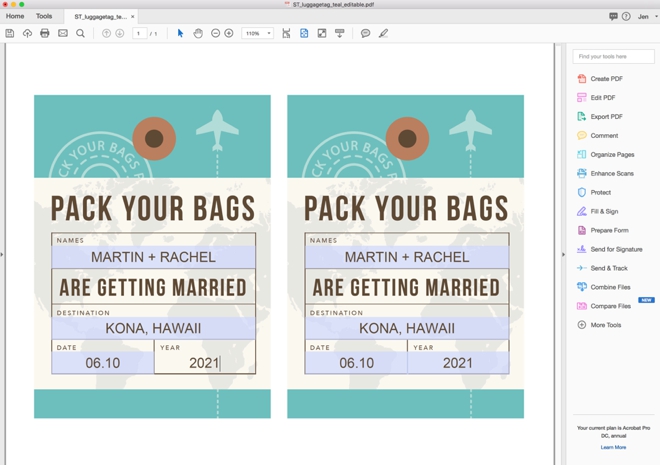
Edit The Design
You’ll need to download either Adobe Reader or Adobe Acrobat to edit this printable file. The fonts we used are Avenir Next and Bebas Neue. Click each box to add your personal information and then save the file.
Print + Cut
Print the design using your home printer and 8.5″ x 11″ white cardstock or white photo paper. I used Canon Matte Photo Paper, it’s my favorite for things like this. Trim using scissors or a paper trimmer. There are two A6 sized cards per sheet at 4 5/8″ x 6 1/4″ each.
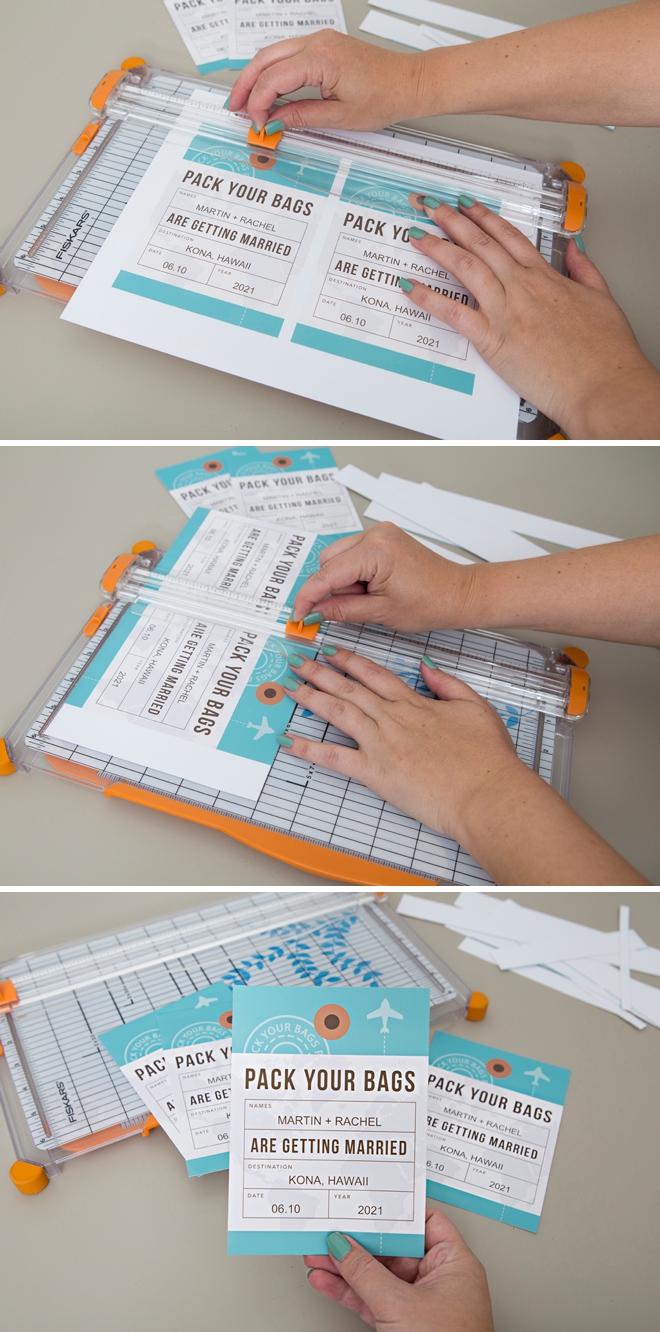
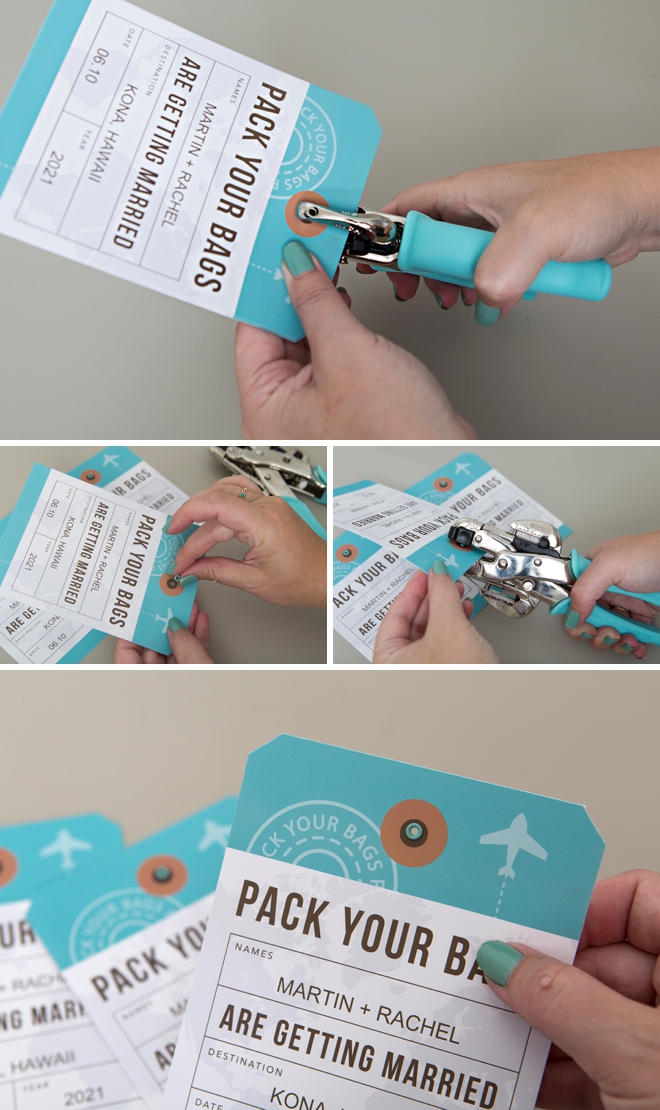
Corner Punch
To really make it look like a luggage tag I added a little corner punch to the top two corners.
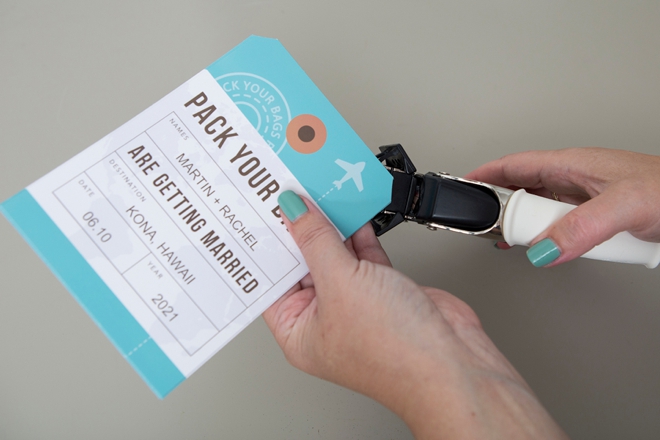
Eyelets
This step is optional, but for a little extra embellishment you can add an eyelet to the tag hole. Hole punch, add an eyelet to the hole and set it using a setting tool like the Crop-A-Dile. Eyelets add color and protect holes from being ripped.
Twine To Finish
Add a bit of twine or ribbon to finish off your save the date!
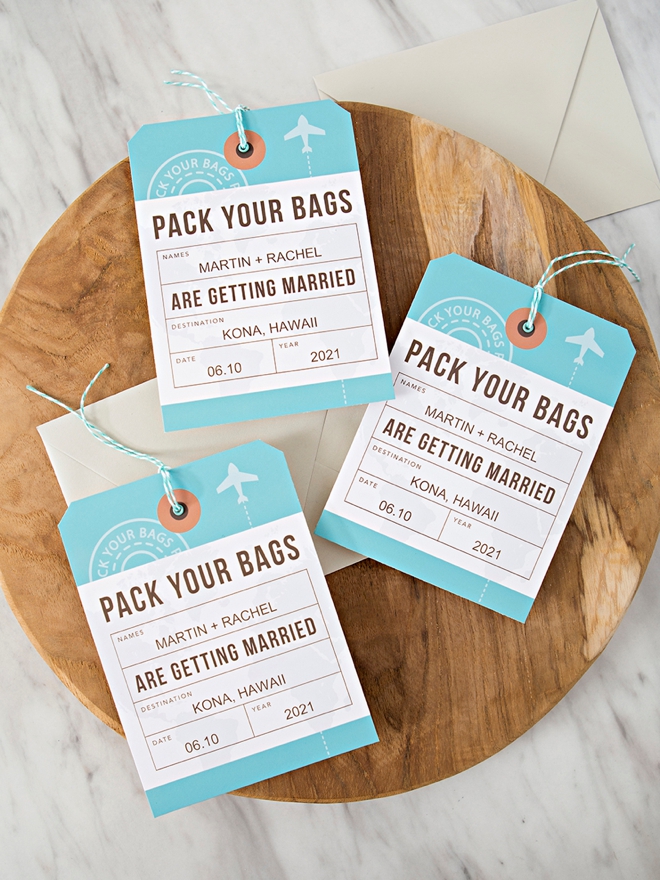
A6 Size Cards + Envelopes
These printable cards are A6 sized greeting cards at 4 5/8″ x 6 1/4″ each and will fit inside an A6 sized envelope for mailing! A6 sized envelopes can easily be found online or in your local stationery store.
As with all our DIY tutorials, if you create one of our projects please send us a picture – We Love Seeing Your Creativity! If you use Instagram or Twitter please use the hashtag #SomethingTurquoiseDIY and it will show up on our Get Social page. Happy Crafting!
DIY Tutorial Credits
Photography + DIY Tutorial: Jen Causey of Something Turquoise // Printable File: Shop Something Turquoise // Save the Date Design: Julia Ensign // Corner Chomper Angle Punch: Amazon // Crop-a-Dile: Amazon // 8.5″ x 11″ White Matte Photo Paper: Canon // Paper Trimmer: Fiskars // Twine: Amazon // A6 Envelopes: Amazon // Nail Polish: OPI – Withstands the Test of Thyme
Shop The Supplies:
Find the supplies you’ll need for this project from our affiliate links below:

Comments