
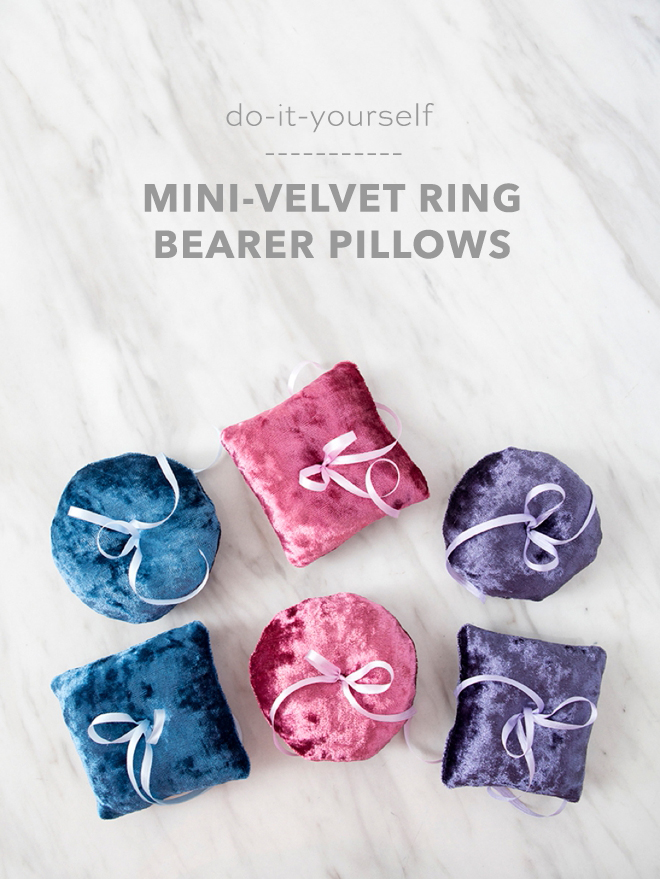
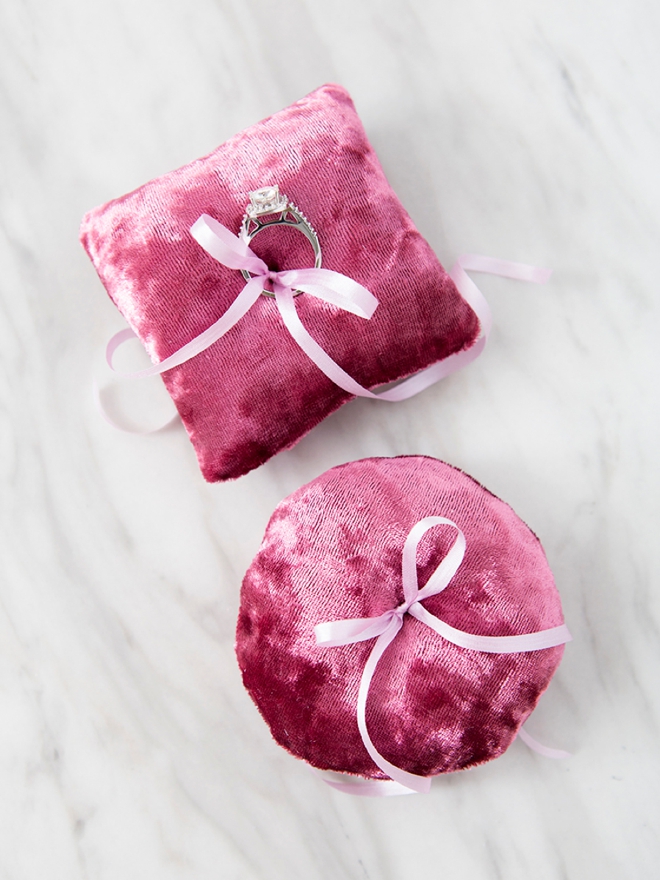
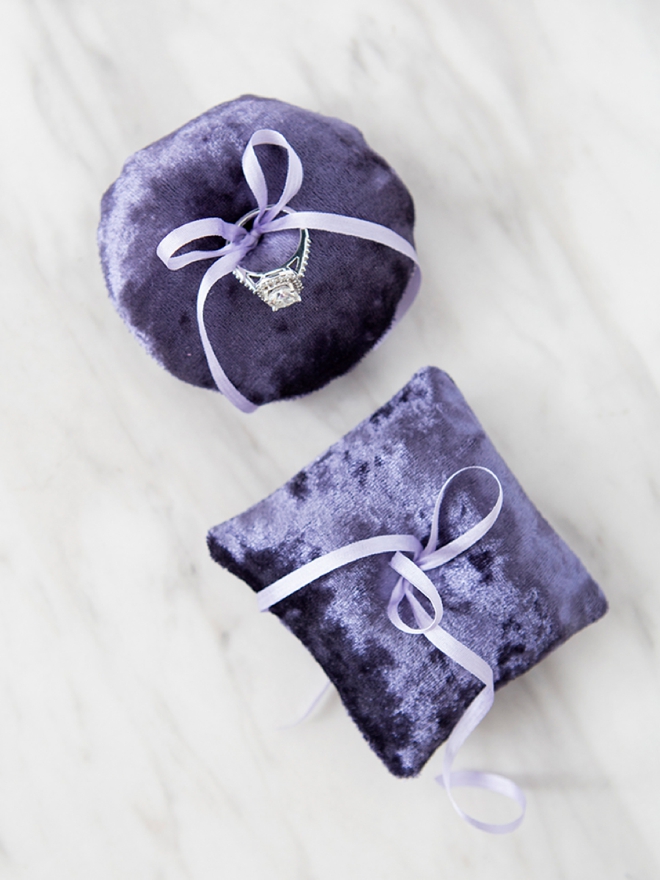
DIY Mini-Velvet Ring Bearer Pillows
Velvet jewel tones have been super popular in weddings recently and I’d been wanting to share a project like this but kept hitting a snag (no sewing-pun intended) with sourcing the perfect velvet fabric. Until I found these shirts on Amazon, score! Turn any velvet, or other fabric you fancy, into these darling mini ring bearer pillows! Make one or make two, the choice is up to you. We’re sharing both patterns at the end of the post and even if you are the most beginner seamstress, you’ll be able to nail this project for your special day!
Shirts For Fabric
New shirts, old shirts, something blue shirts. These cheap velvet shirts from Amazon were the perfect color and price for this project. Have an old velvet shirt in your closet? Use it. Have a piece of fabric in your stash already? Use it. Find the perfect shade on a bolt at the fabric store? Use it. You pick the fabric!
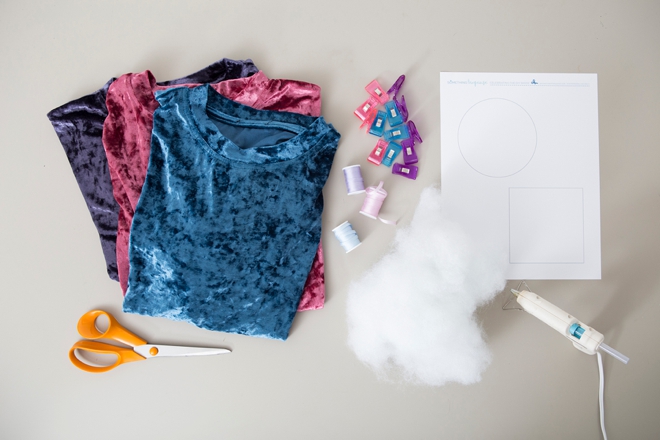
SUPPLIES:
- Velvet Material (or shirts like I’m using!)
- Sewing Machine
- Sewing Clips and Pins
- Fiber Fill
- Thin Silk Ribbon
- Fabric Scissors
- Glue Gun
- Needle
- Our FREE patterns at the end of the post!
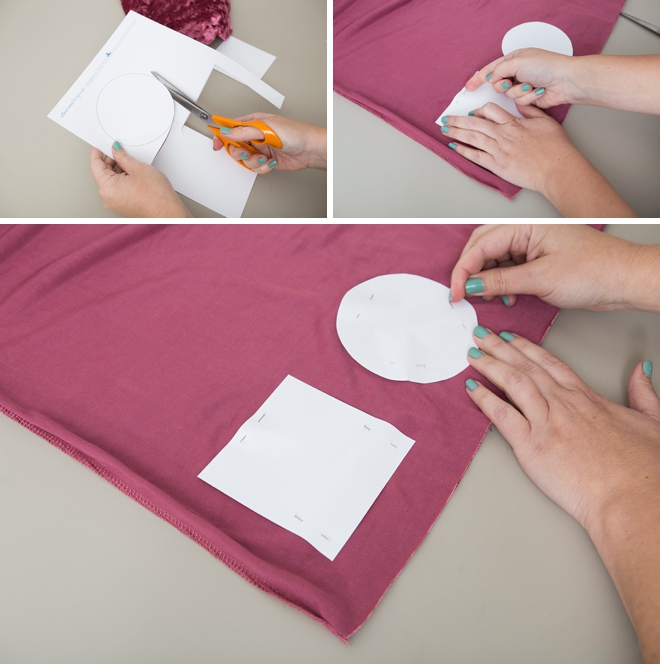
Download + Cut
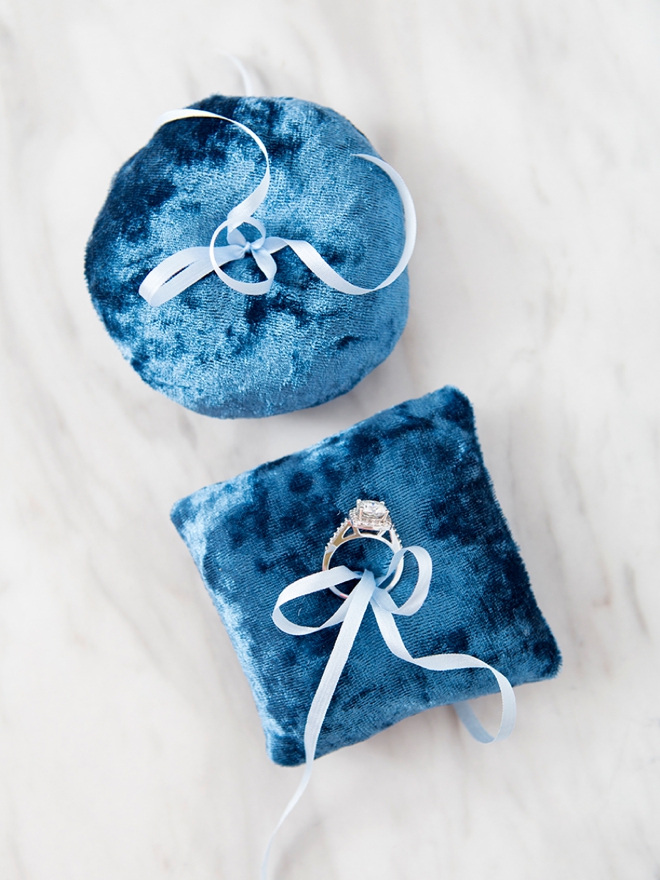
At the end of the post you can download and print the pattern for both the circle and the square mini pillows. Cut out both or just the one you’re going to use. Pin the pattern(s) to the fabric.
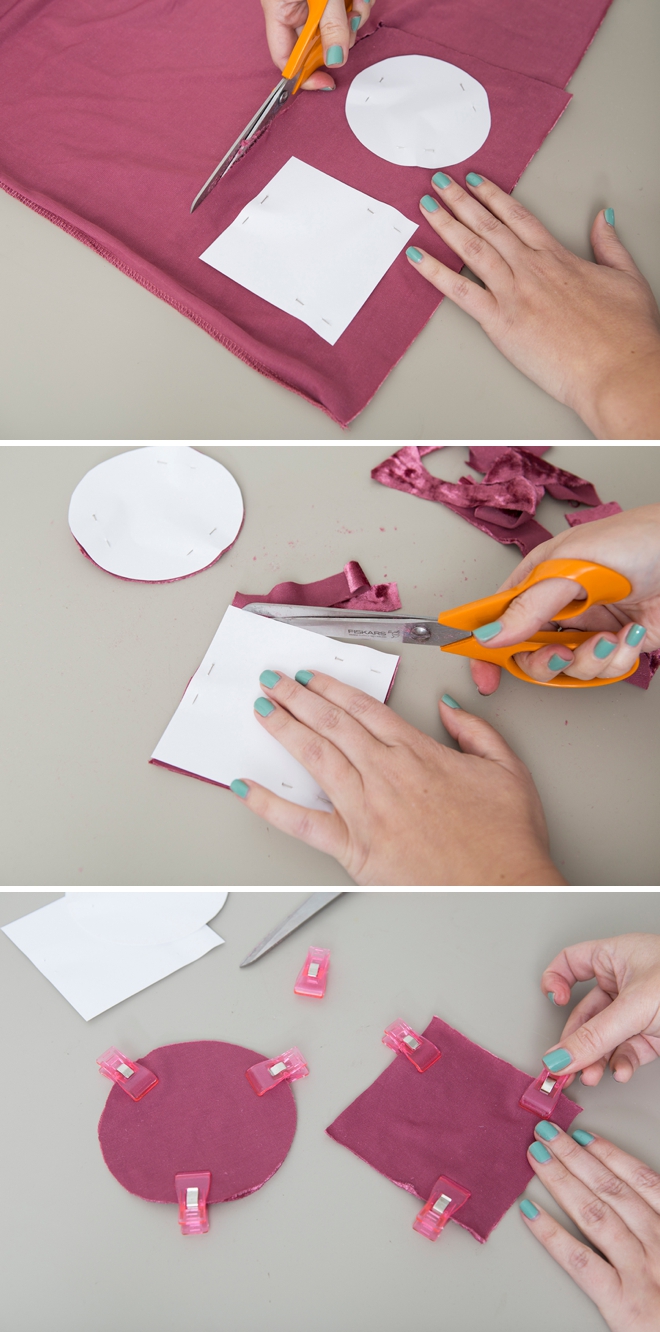
Cut Two
To save time, I placed the right sides of the velvet fabric together before I pinned the patterns down. Then I cut out each shape. Remove the pins and pattern and replace pins with fabric clips. Now you’re ready to sew!
Sew
Using 3/8″ seam allowance stitch around the outside of each shape, leaving about a 3/4″ opening to turn the fabric right-side out.
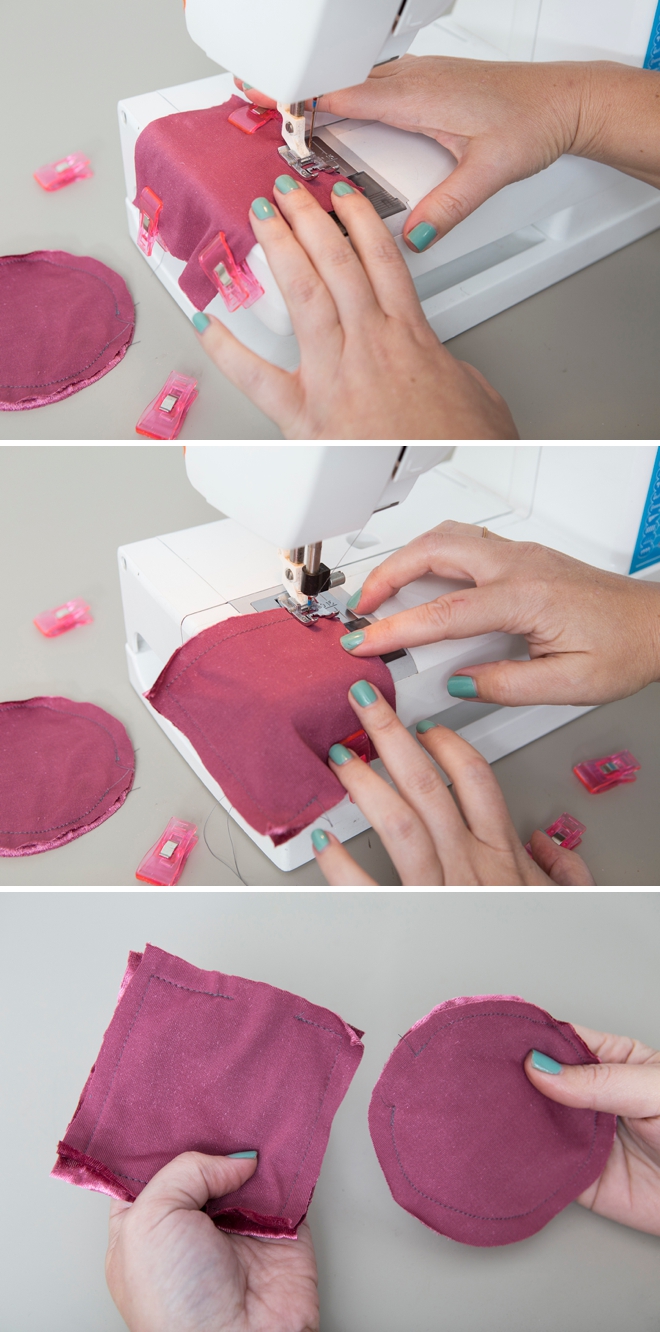
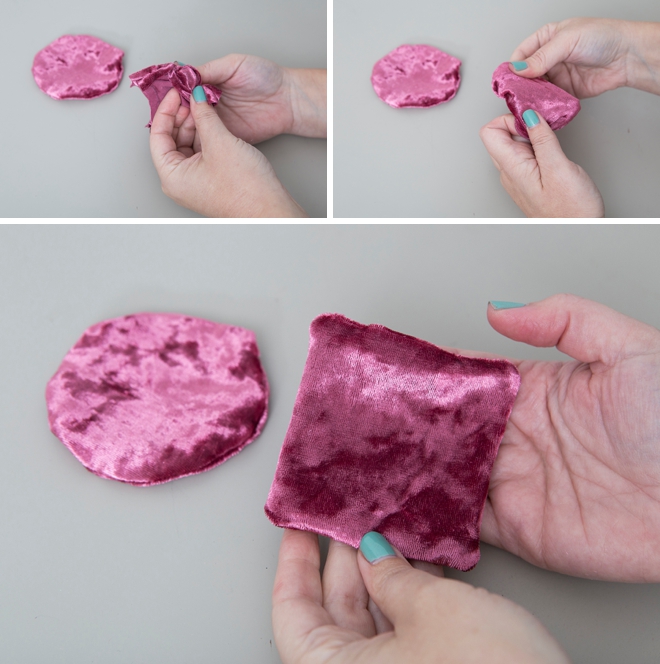
Turn
Push the right side of the fabric out through the hole. Push out all corners and seams.
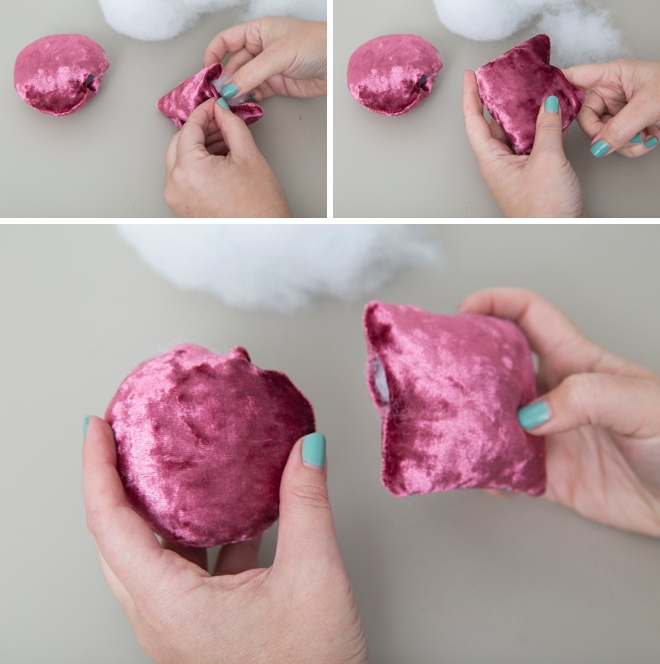
Stuff
Now stuff you pillows full of Fiber Fill! Really stuff them so they have a beautiful, full look.
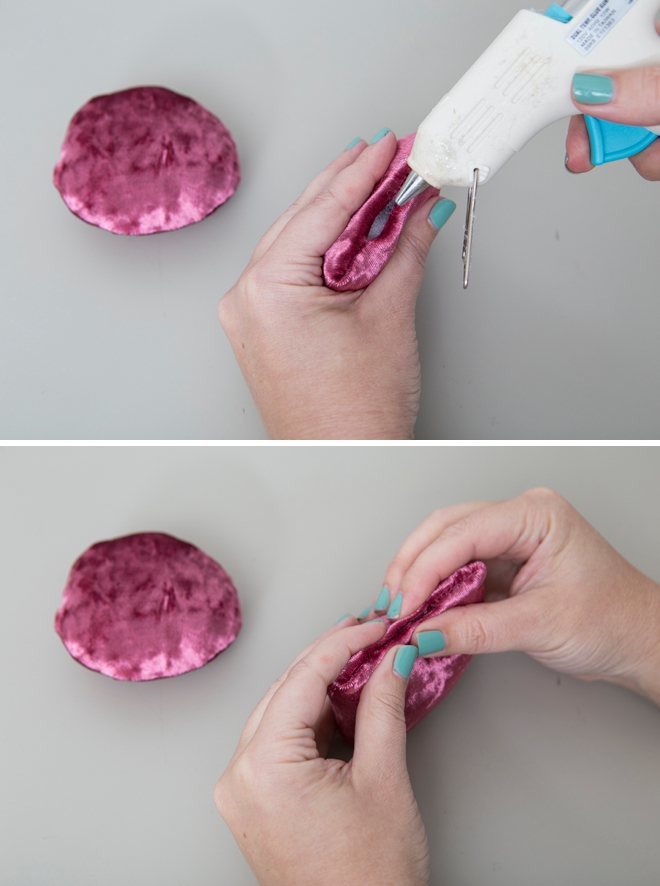
Glue
Instead of hand stitching, you can close up the hole with a tiny bit of hot glue!
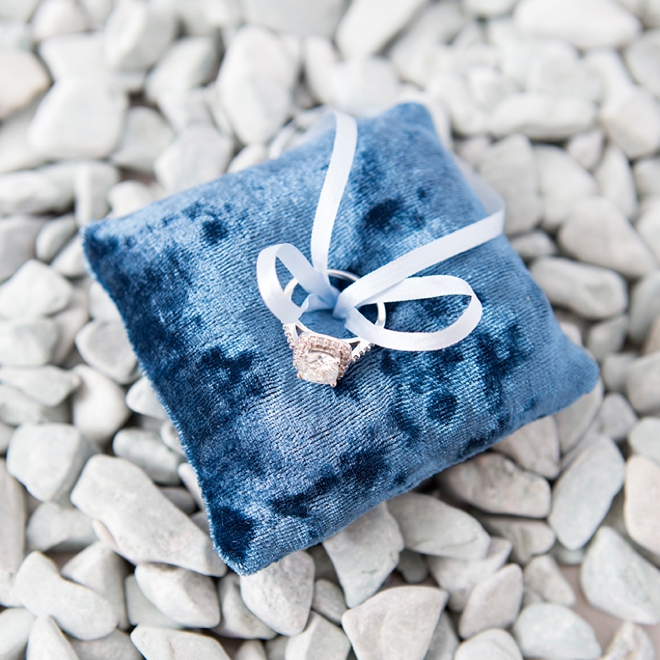
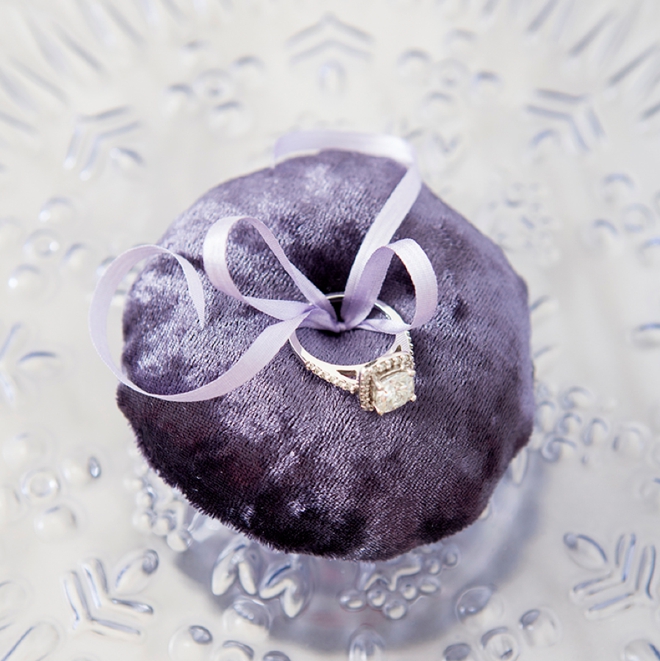
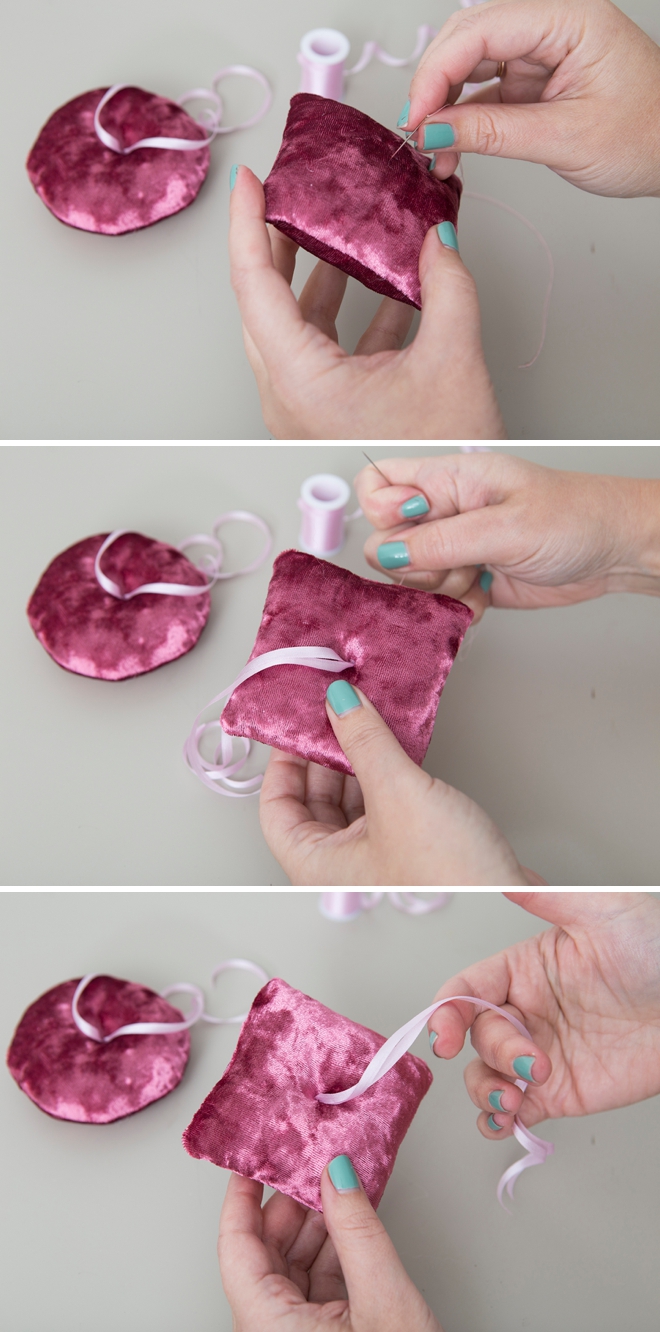
Add Ribbon
Add a piece of ribbon or twine to your darling little pillow so that you can tie the rings onto them. Hand stitch ribbon to the middle of the pillow, sewing all the way through the pillow will make the dent in the middle! That’s it!
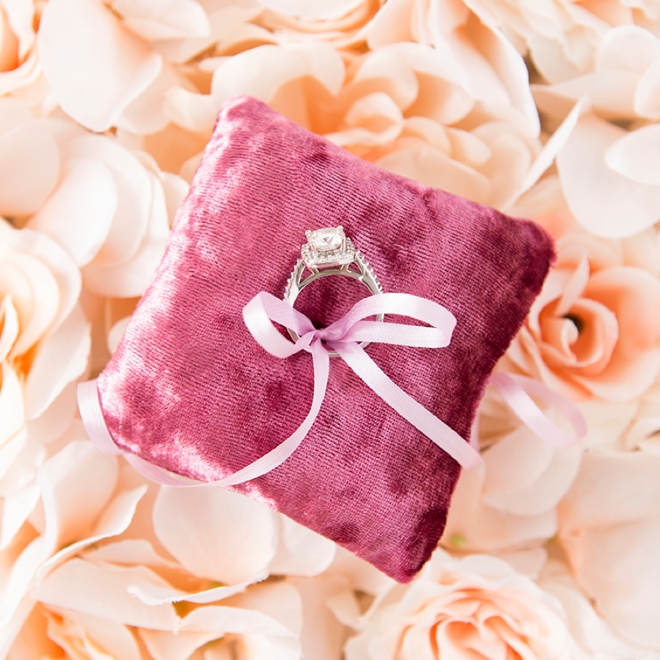
Easy Does It
This project is quick and easy, even if you aren’t really a sewer. Just a few quick steps is all it takes to create darling mini-pillows that your guests will think you bought at BHLDN!


As with all our DIY tutorials, if you create one of our projects please send us a picture – We Love Seeing Your Creativity! If you use Instagram or Twitter please use the hashtag #SomethingTurquoiseDIY and it will show up on our Get Social page. Happy Crafting!
DIY Tutorial Credits
Photography + DIY Tutorial: Jen Causey of Something Turquoise // Velvet Shirts in Purple, Green, Pink: Amazon // Thin Silk Ribbon: Amazon // Sewing Scissors: Fiskars // Fiber Fill: Amazon // Sewing Clips: Amazon // Glue Gun: Amazon // Nail Polish: OPI – Withstands the Test of Thyme
Shop The Supplies:
Find the supplies you’ll need for this project from our affiliate links below:

Comments