
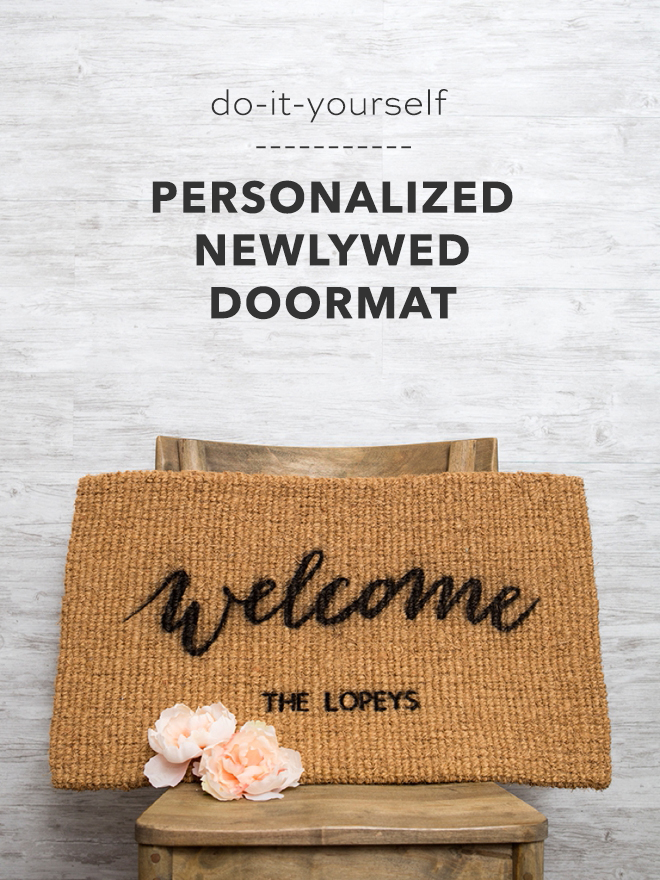
DIY Personalized Doormats With Cricut Maker
-Sponsored Post-
Today’s project is perfect for spring! Everyone’s door could use a little refresh right about now… especially if you’re a newlywed or about to be! In this post, I’m sharing a deep dive into my process of using Cricut’s Design Space to create custom projects. If you’re ready to take your Design Space skills to the next level, you’ll want to fill up your coffee and take a few minutes to watch my little screen video below. The longest part of this project will be designing your doormat stencil and properly taping it off, the spray painting takes like 1 minute. All in all, this project can easily be completed in 2 hours or less. It would be the perfect gift for a friend who just said I DO, or the perfect project to chase away your post-wedding blues!
Happy Wedding Day!
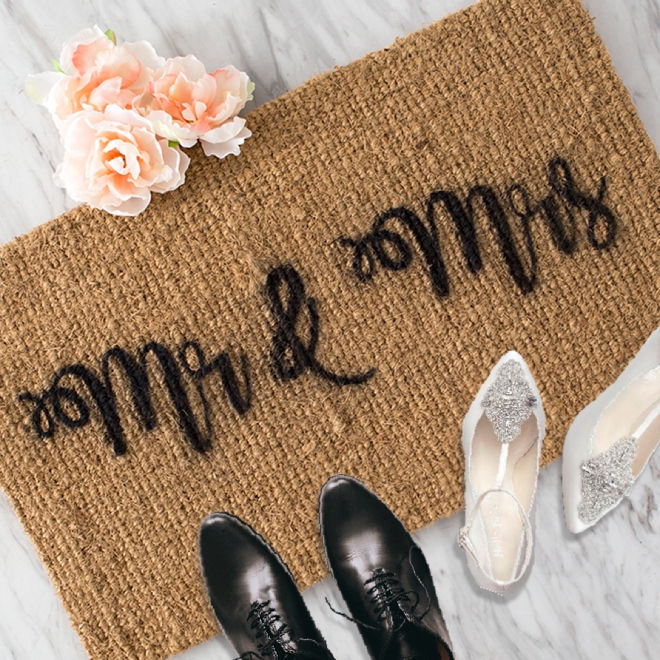
Today my good friends Jamin and Vita are getting married and I created this doormat as their wedding gift! I can’t wait to celebrate with you both today! xo
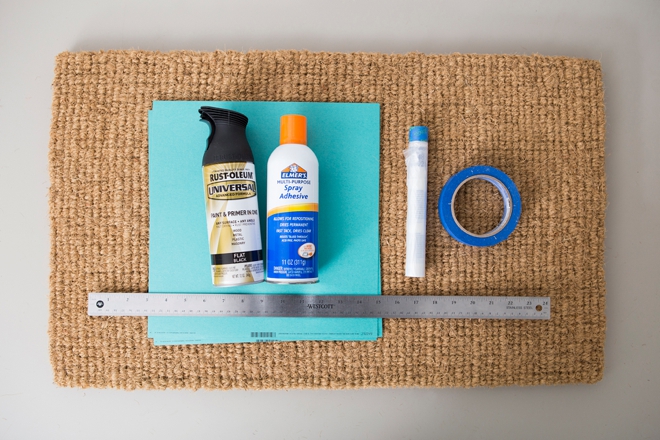
SUPPLIES:
- Cricut Maker or Cricut Explore
- Scrap Cardstock
- Spray Adhesive
- Spray Paint
- Painters Tape
- Painters Plastic
- Ruler
Looking to create designs similar to mine? Follow the links below to each Design Space canvas to copy our designs for yourself. You won’t be able to edit them, but the sizing and fonts are there for you to see!
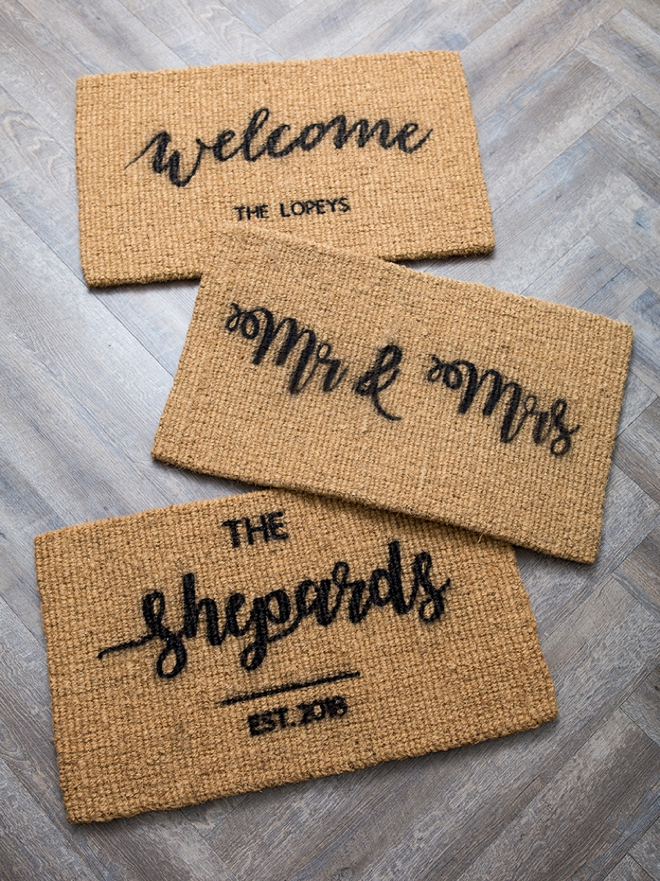
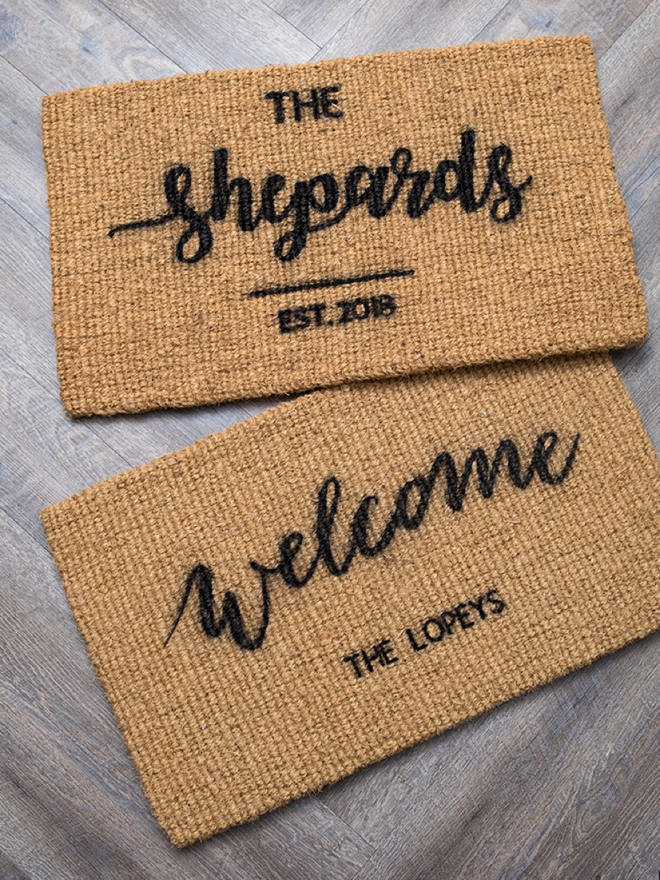
- Welcome, fonts: Bombshell and Dear John
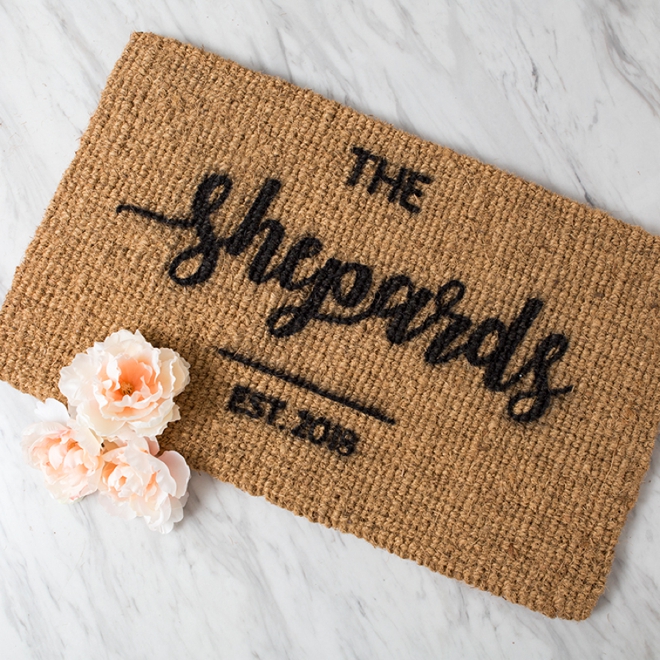
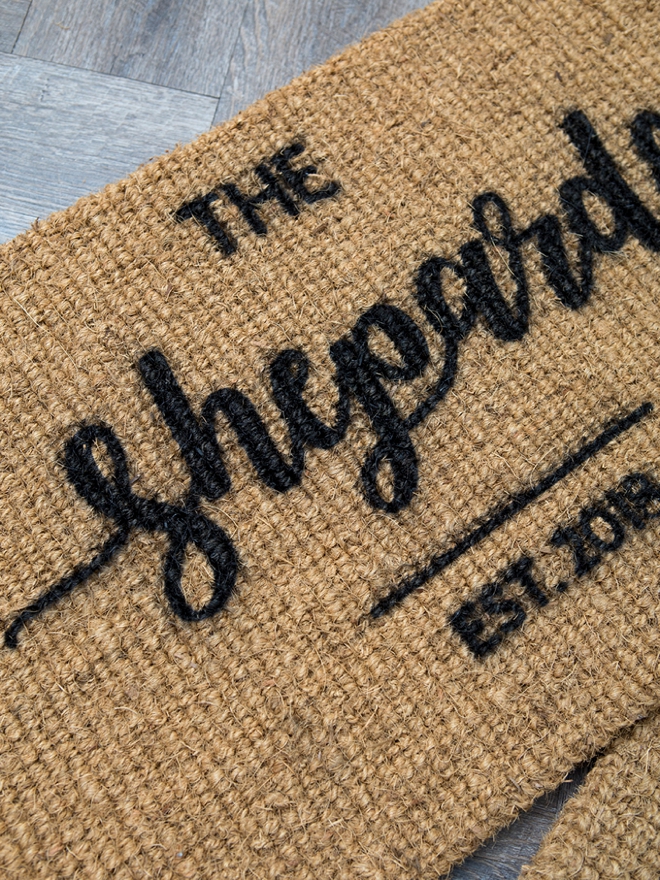
- The Shepards, fonts: Watermelon Script and Cricut Sans
- Mr & Mrs, font: Watermelon Script
How-To Design Your Doormat Stencil:
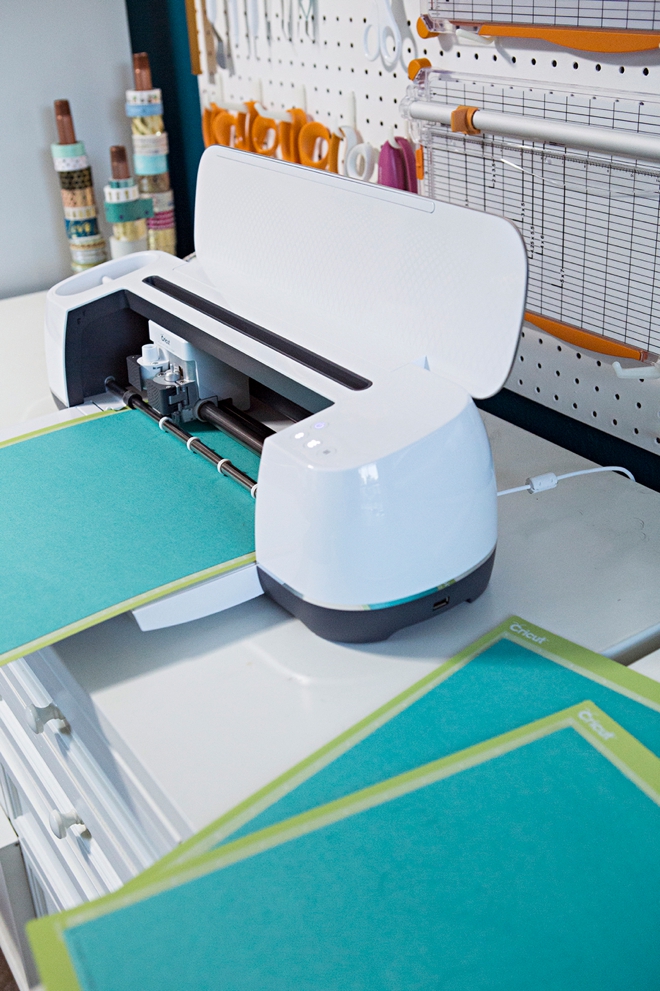
Then Let Your Cricut Work It’s Magic
Follow the prompts in Design Space to cut all the elements of your doormat stencil. I used 3 separate cutting mats to keep myself organized, so that I didn’t have to remove the spare letter bits (like the inside of the s’s, o’s, a’s, etc) until I needed them.
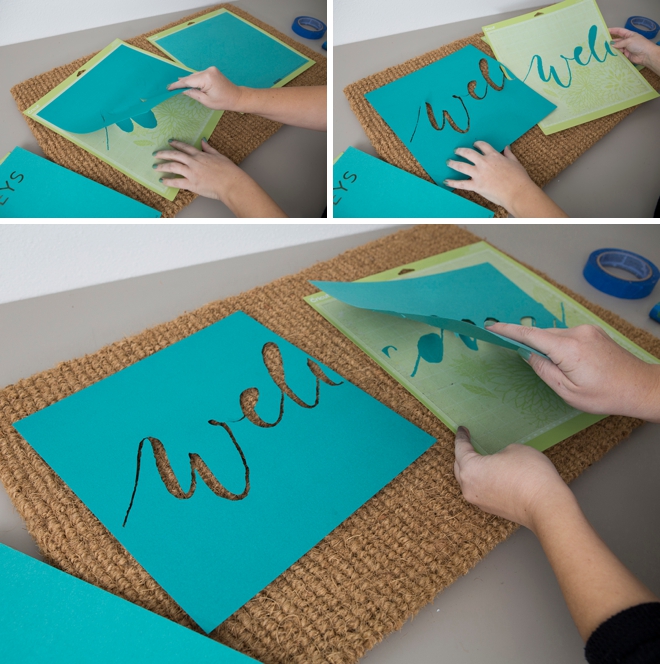
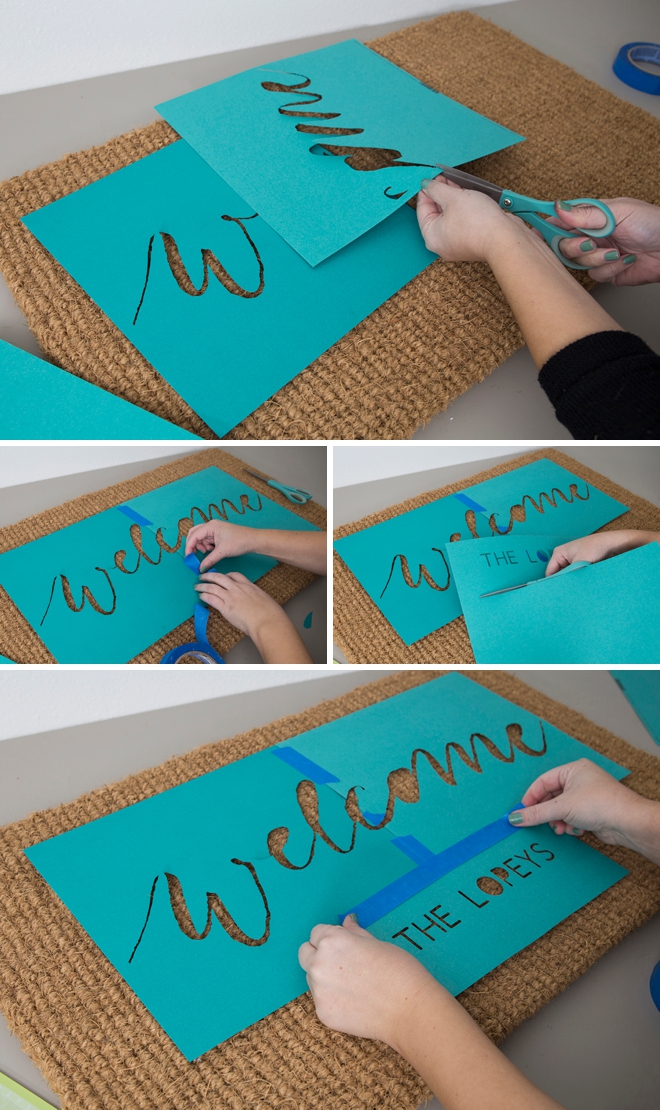
Assemble Your Stencil
Since we created a stencil larger than the Cricut cutting mat, we have to re-assemble it with tape… cut areas that you need and measure with a ruler to make sure all is aligned properly. Set the mats with the spare letter bits off to the side.
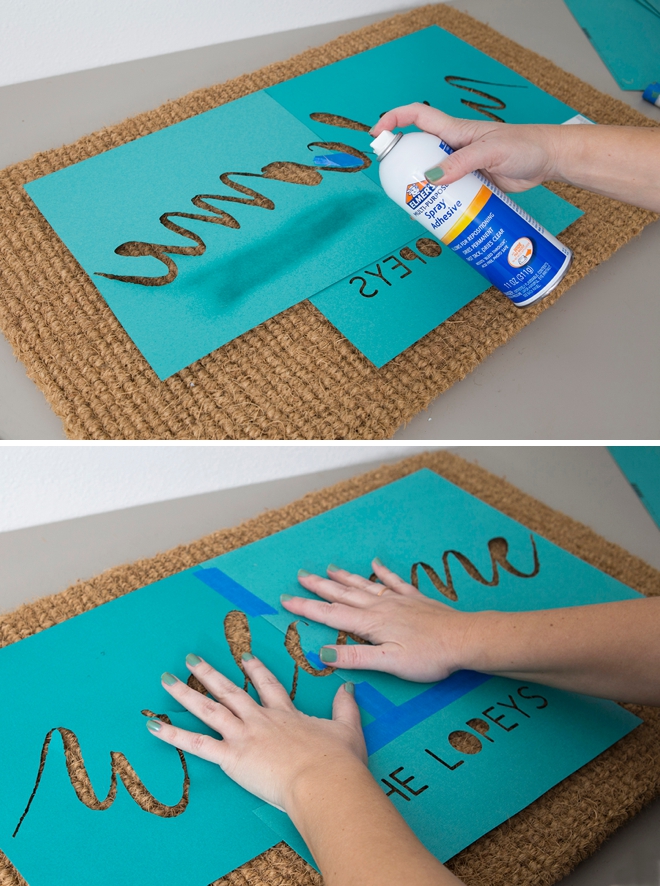
Adhere
Flip your giant stencil over and cover with spray glue. It’s best to do the spraying part outside because of the glue fumes. Then press firmly to adhere to the doormat. Because of the doormat texture, it won’t perfectly adhere but it will be enough.
Crafters Tip: once you do this, you don’t want to move the doormat or the stencil will lift up, so do it where you plan to spray paint!
Beauty Tip: you gals know that my manicure is always on point. However, this spray glue will ruin your manicure in 1 spray, so get your nails done after you’ve completed this project. My appolgies for the hideous mani, lol!
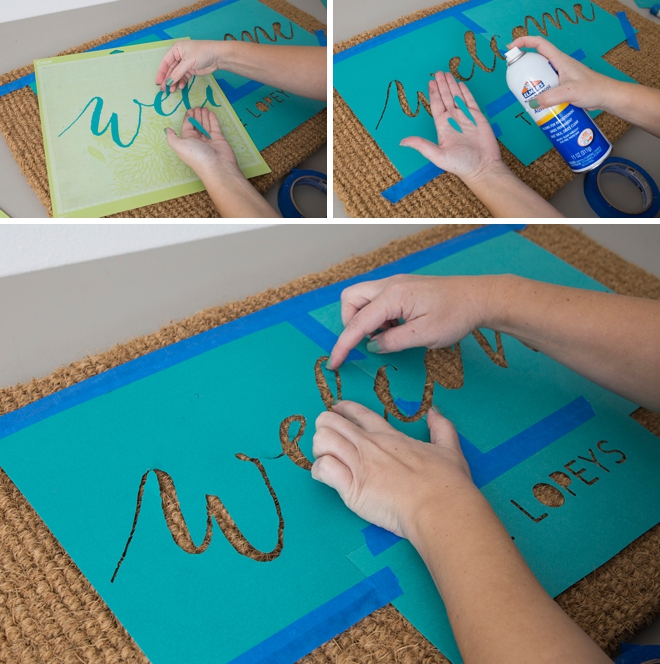
Add Spare Letter Bits
Go back to your cutting mats and carefully remove the spare letter bits and glue them to the mat to complete your stencil.
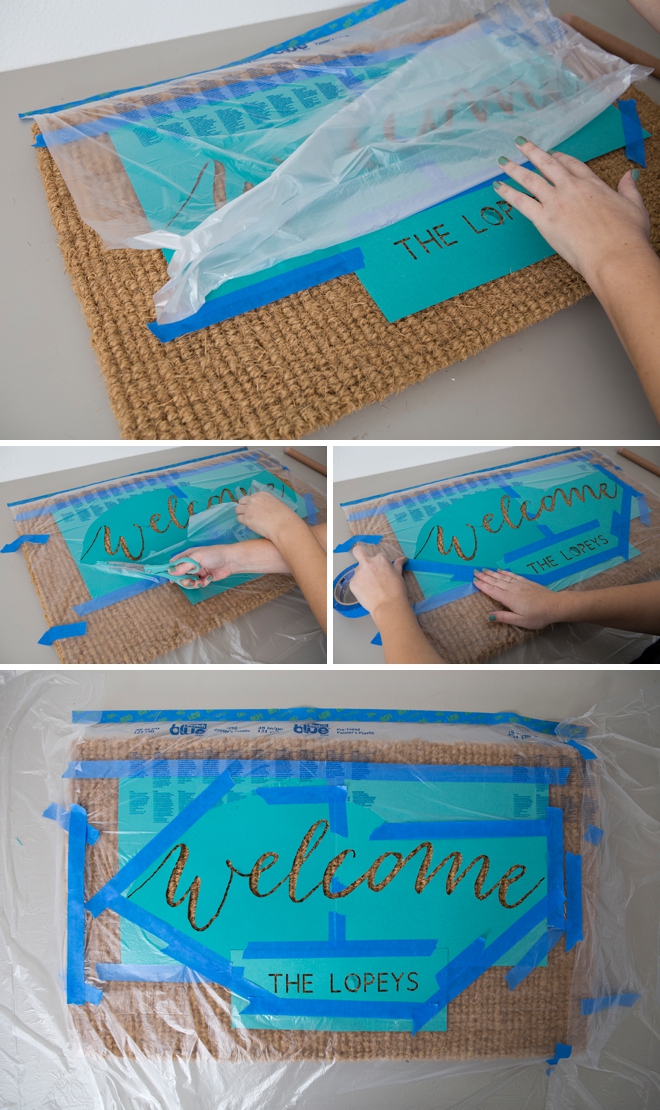
Mask Off The Rest
Using painters tape and painters plastic, or whatever you have that works, carefully tape off all the areas of the doormat that you don’t want spray painted. I’m using this awesome pre-taped painters plastic that I bought for painting my house, and it’s fabulous for masking off spray painting projects!
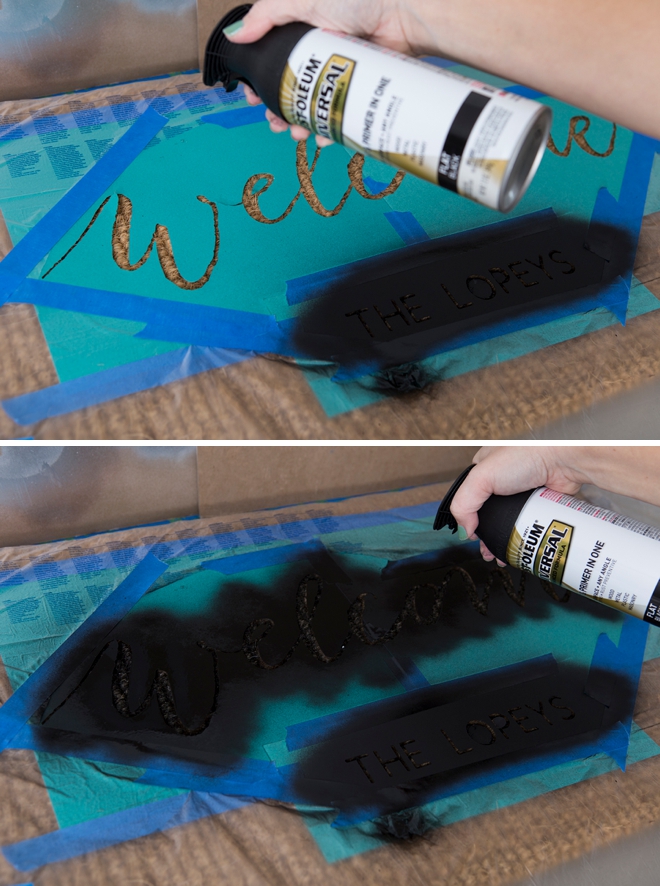
Spray Paint
Spray your stencil! Keep paint can about 5-6″ from the door mat, straight up and down, don’t spray at an angle. This will help the paint only fall onto the open areas of the stencil and not blast under it. Do 2-3 passes with the paint to make sure you have an even coverage across the design
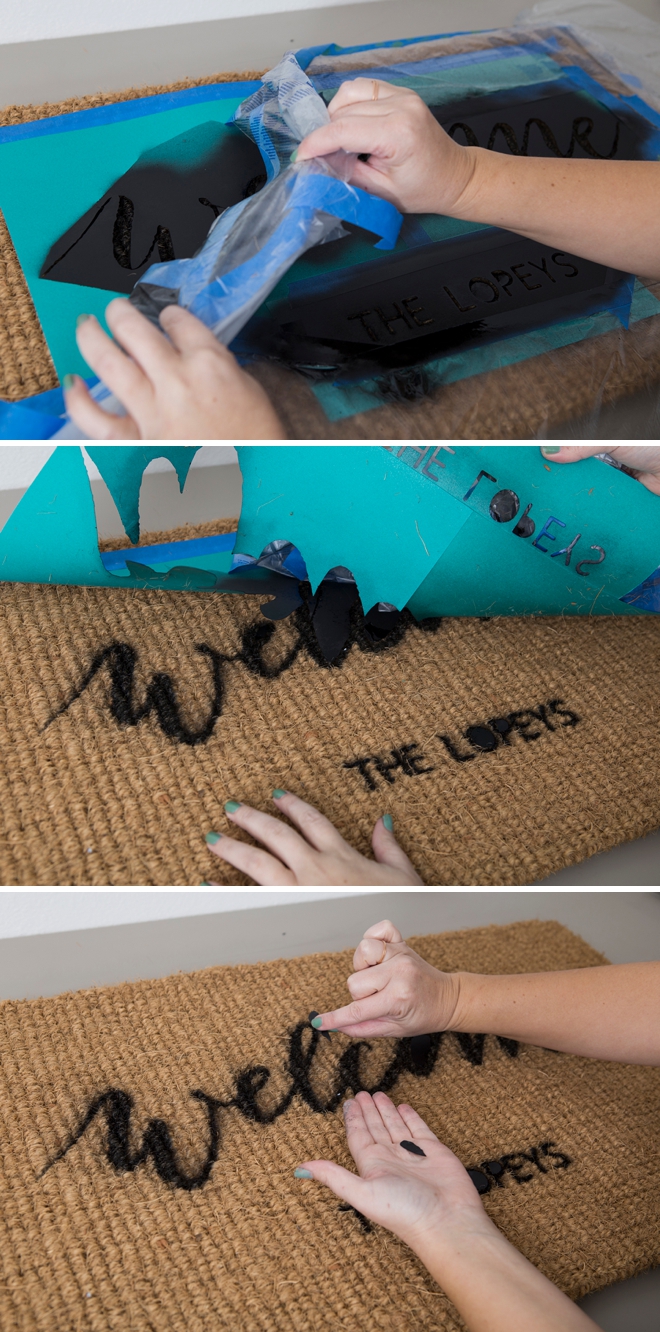
Remove The Stencil
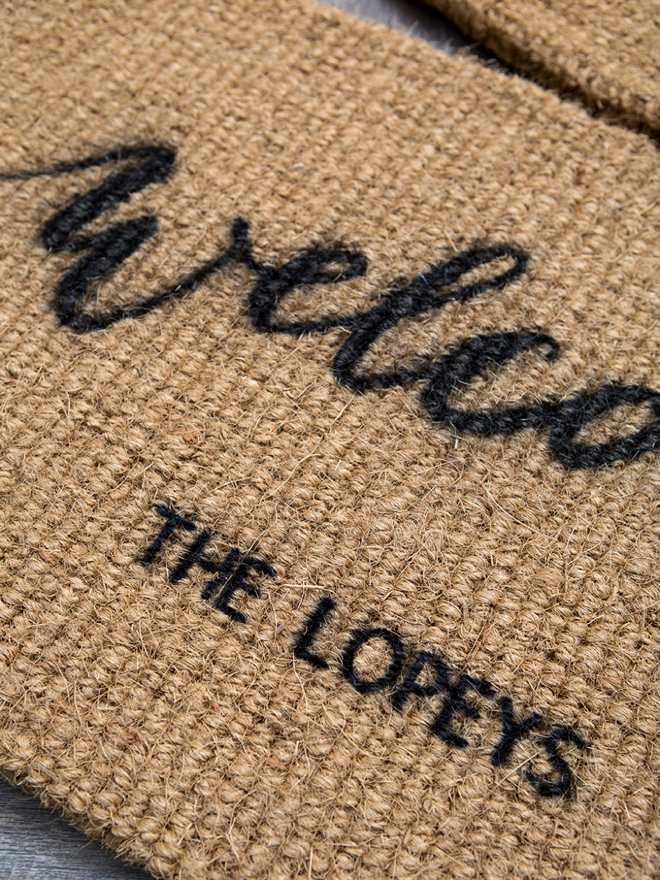
As soon as you are done painting, remove your stencil and masking plastic to reveal your gorgeous new doormat! Let dry for about an hour before placing at your door!
How To Pluralize Your Last Name
Just a friendly grammar reminder: your last name does not require an apostrophe on personalized items like this!
When you’d like to pluralize a family name (a proper noun), in most cases we just add an “s” to the end. For example: The Kidders, The Shoemakers, and The Smiths.
However, when a family name ends in s, x, ch, sh, or z; we form the plural by adding an “es” to the end. For example: The Joneses, The Churches, and The Therouxes.
Newlyweds or Oldlyweds
You definitely don’t have to be a newlywed to make one of these super cute doormats for your home. Whether you got married yesterday or 40 years ago, your doorstep will love to be adorned with a personalized touch like this. Keep it classy or get cheeky, you now know how to make them – the design is fully up to you!
DIY TUTORIAL PARTNER:

Cricut is a world-class leader in personal electronic cutting machines that has enabled people to achieve their creative best for over 50 years. Today, millions of people use Cricut products to create unique projects, and they focus on enhancing lives with this power of creativity. Let Cricut help you take your wedding personalization and project creativity to the next level!
Love This Project?
If you’re in love with this Cricut wedding project, you’ll be happy to hear that we now sell exclusive .SVG cut files for your Cricut in our shop! Most files are only $1.99 and they download instantly… so you can be crafting in minutes!

As with all our DIY tutorials, if you create one of our projects please send us a picture – We Love Seeing Your Creativity! If you use Instagram or Twitter please use the hashtag #SomethingTurquoiseDIY and it will show up on our Get Social page. Happy Crafting!
DIY Tutorial Credits
Photography + DIY Tutorial: Jen Causey of Something Turquoise // Cricut Maker: courtesy of Cricut // 18 x 30 Natural Doormats: Amazon // Black Spray Paint: Amazon // Spray Glue: Amazon // Painters Tape: Amazon // Pre-Taped Painters Plastic: Amazon // Nail Polish: OPI – Withstands the Test of Thyme
Shop The Supplies:
Find the supplies you’ll need for this project from our affiliate links below:

Comments