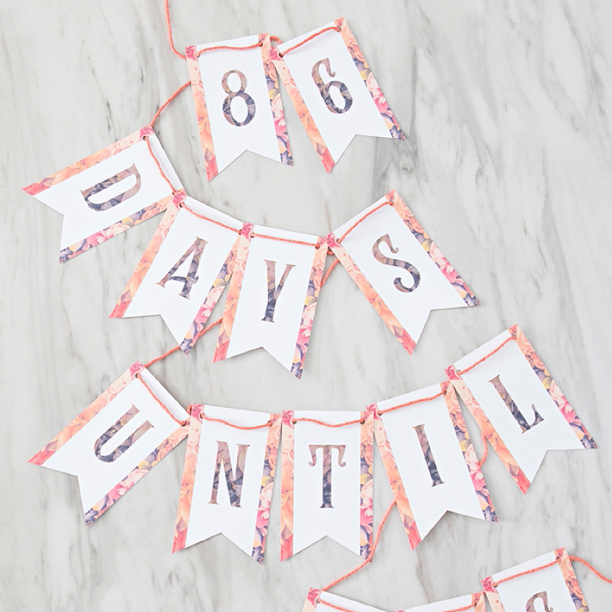

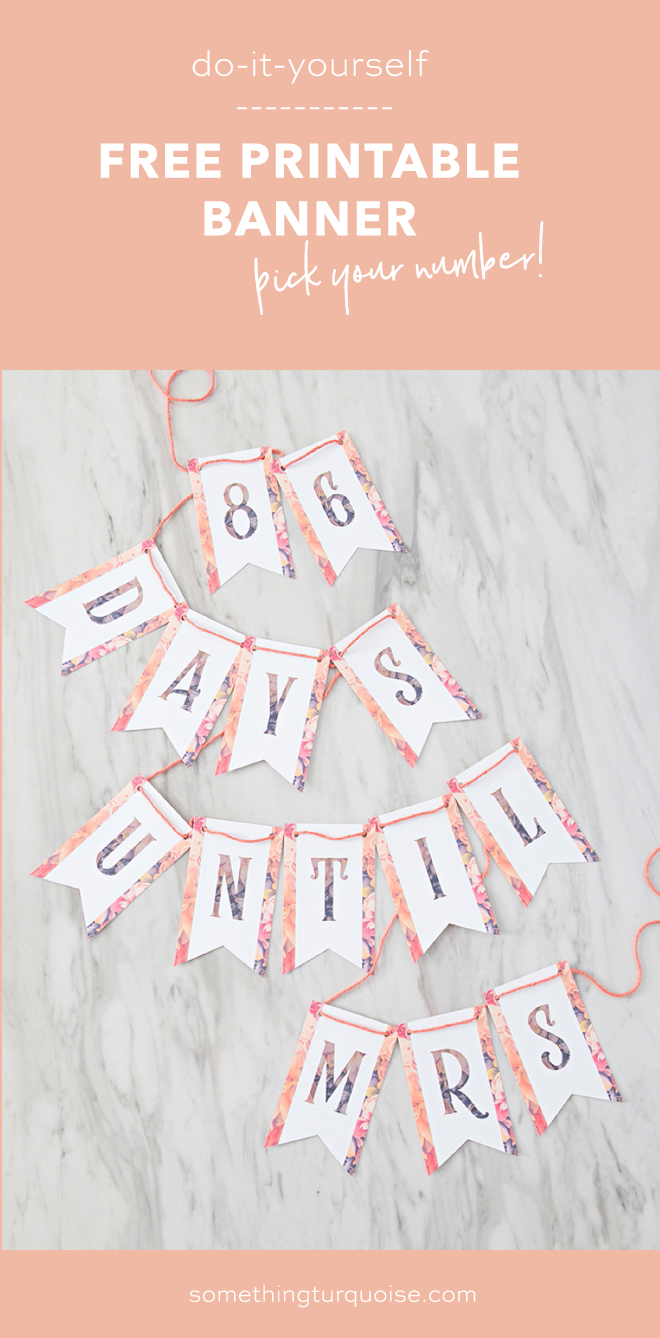
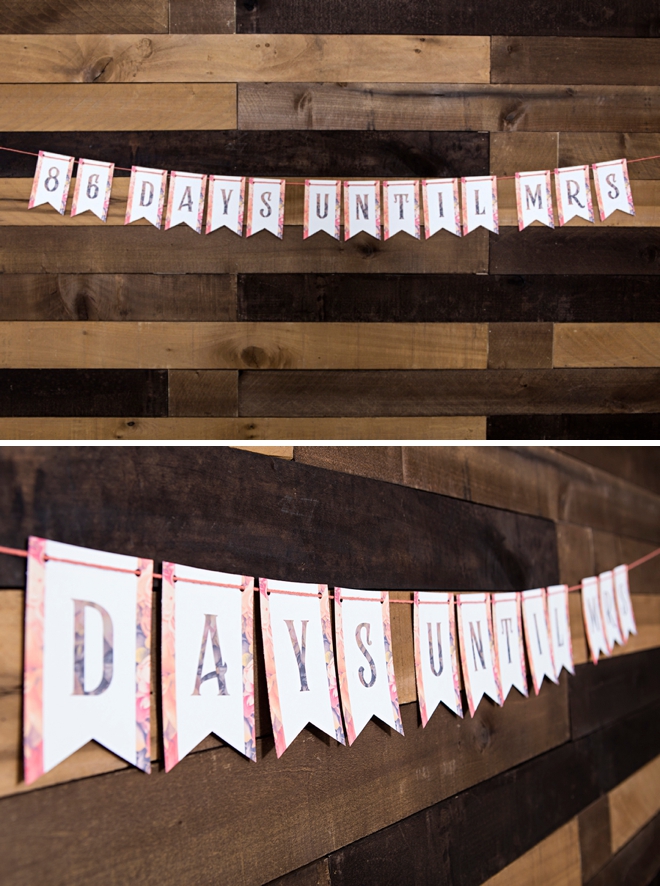
Free Printable “123 Days Until Mrs” Banner
Every month here on the blog we’re going to be sharing a fun + fresh new printable banner design. Simply download, cut and hang! Get creative with how you use them, what you string them on, and what color paper you use. Cheers to chic + free wedding decor!
SUPPLIES:
- 8.5″ x 11″ White Cardstock
- Scissors or Paper Trimmer
- Hole Punch
- Yarn or Ribbon
- Home Printer
- Our FREE banner files at the end of the post!
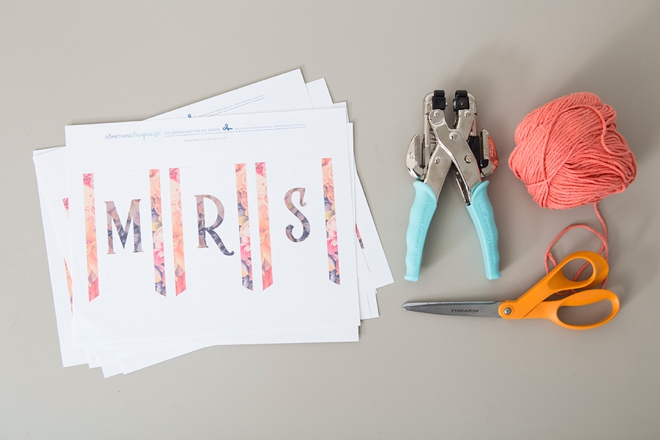
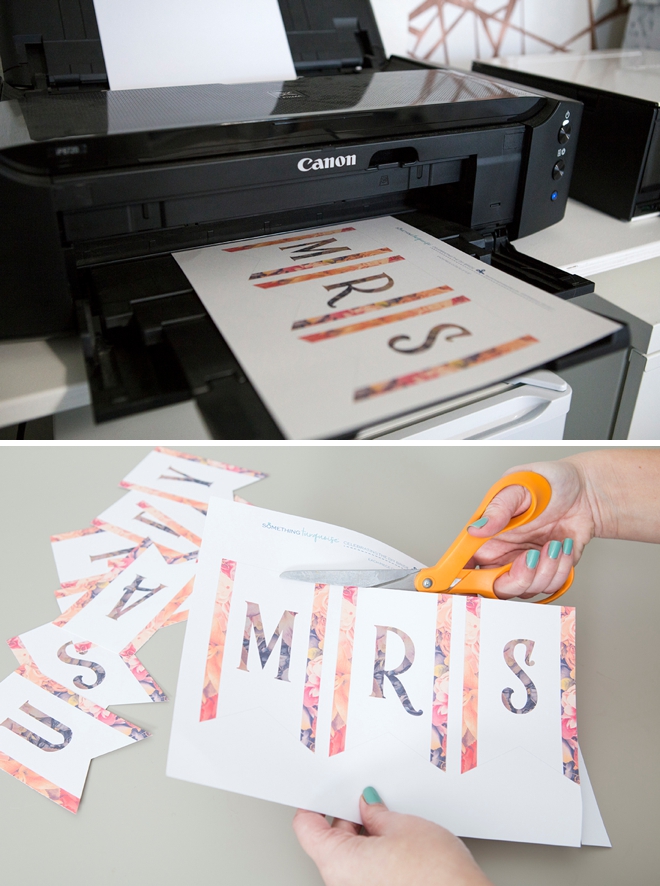
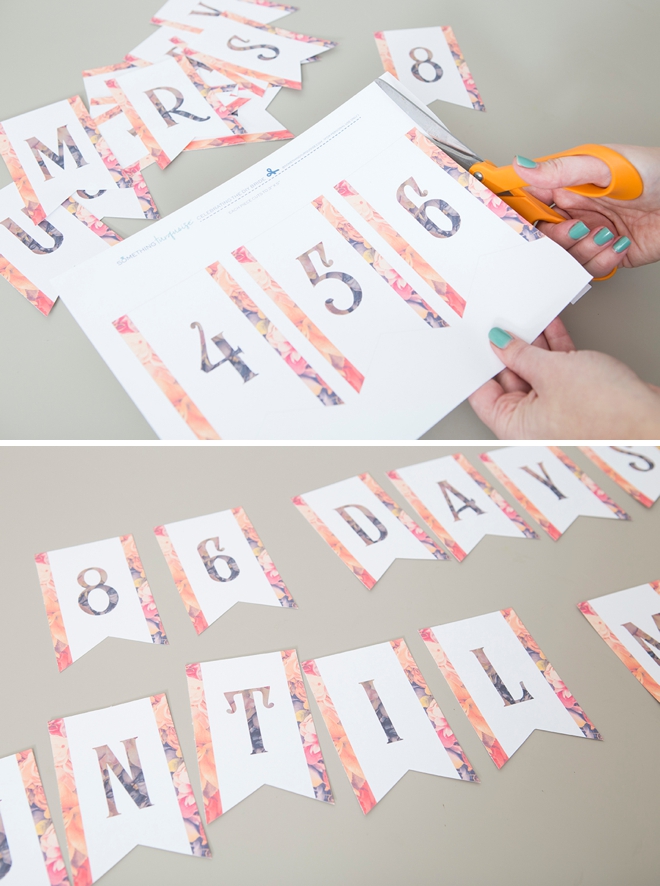
Download, Print, Cut
Download the free banner design at the end of the post by clicking on the graphic. Print onto 8.5″ x 11″ white cardstock, then cut each banner tile out using scissors or a paper trimmer.
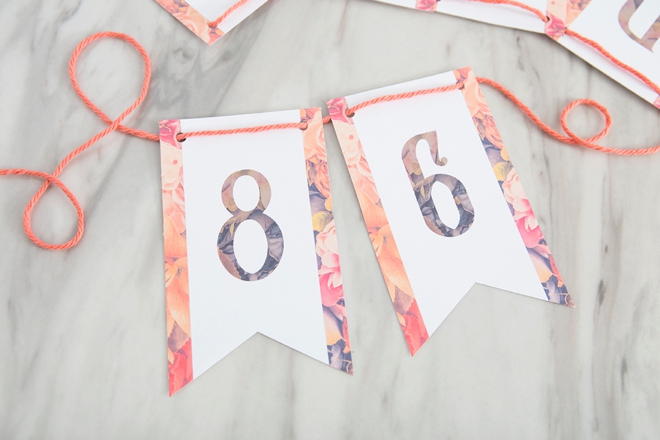
Pick Your Number
We’re sharing all the numbers you need to create your unique number of days until you’re a MRS!
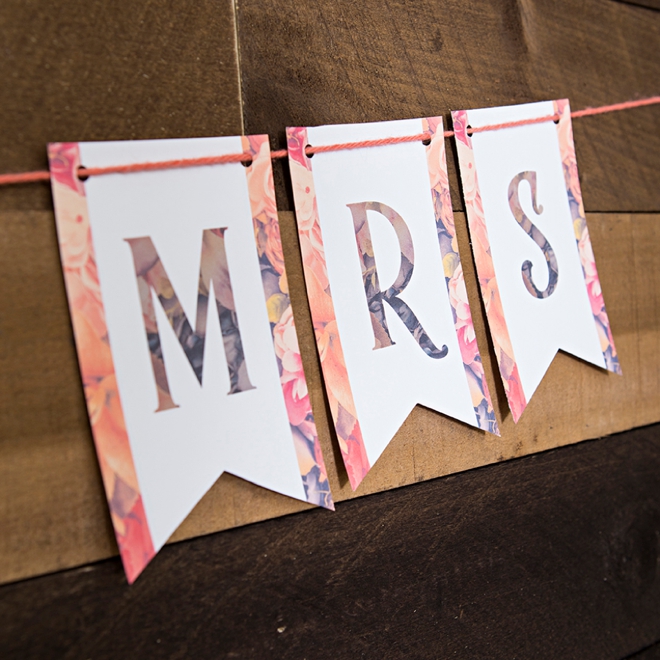
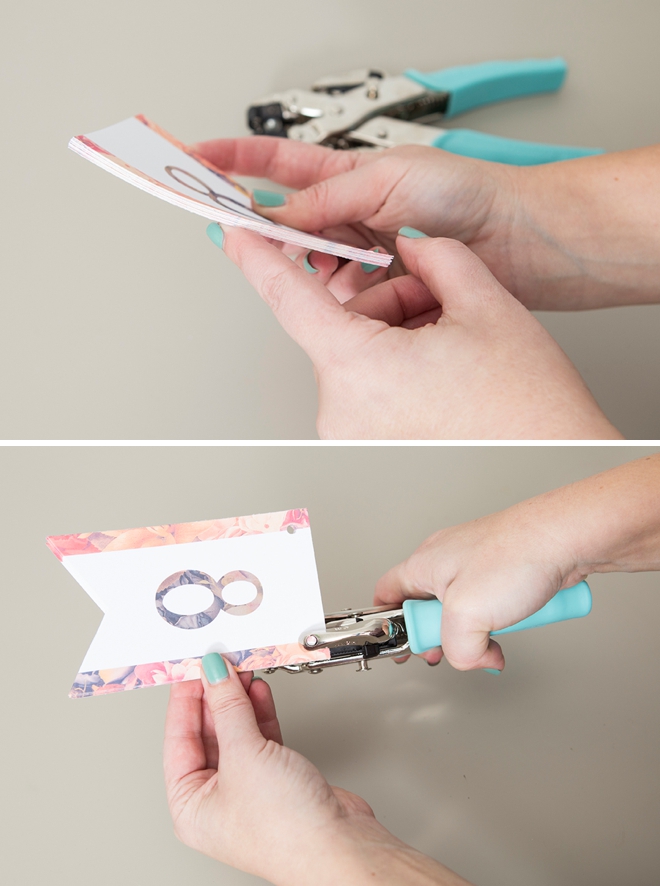
Hole Punch
If you’re using the fabulous Crop-a-Dile hole punch you’ll be able to punch holes through all of the tiles at one time! Add holes right on the floral/white line.
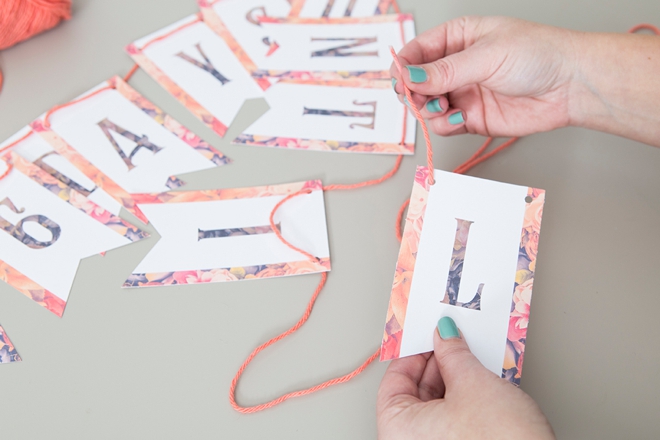
String On Yarn Or Ribbon

As with all our DIY tutorials, if you create one of our projects please send us a picture – We Love Seeing Your Creativity! If you use Instagram or Twitter please use the hashtag #SomethingTurquoiseDIY and it will show up on our Get Social page. Happy Crafting!
DIY Tutorial Credits
Photography + DIY Tutorial: Jen Causey of Something Turquoise // Banner Design: Julia Ensign // 8.5″ x 11″ White Cardstock: Amazon // Crop-a-Dile Hole Punch: Amazon // Scissors: Fiskars // Nail Polish: OPI – Withstands the Test of Thyme
Shop The Supplies:
Find the supplies you’ll need for this project from our affiliate links below:

Comments