
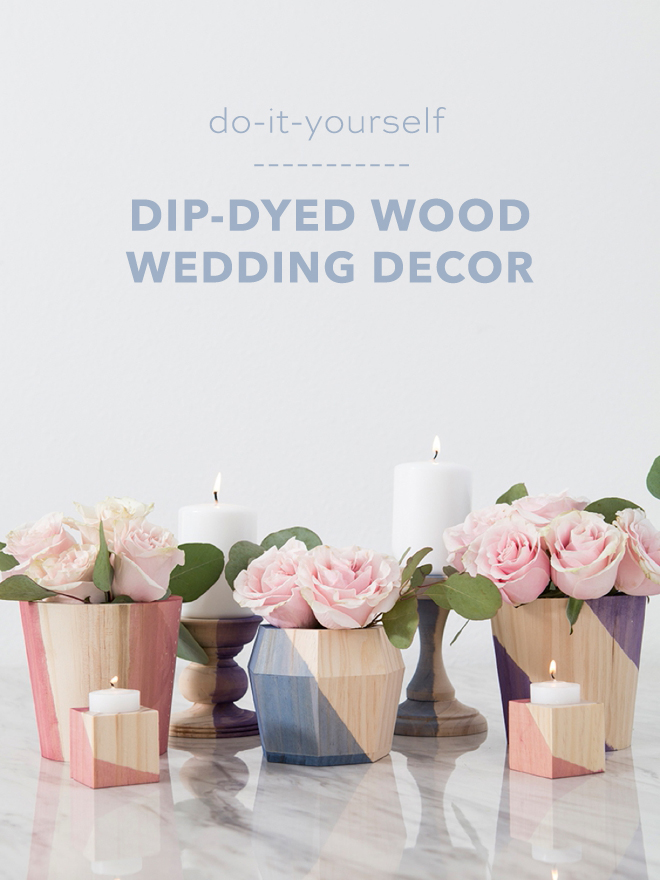
How To Dip-Dye Wood Wedding Decor With Rit Dye
– Sponsored Post –
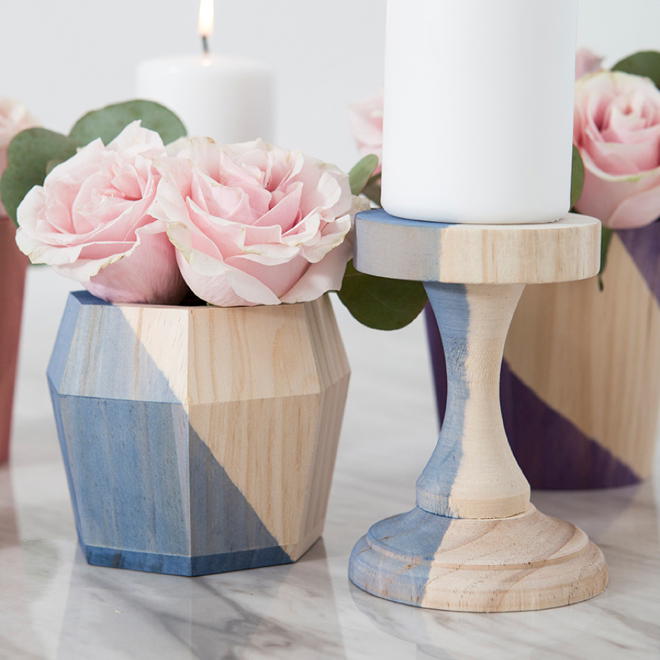
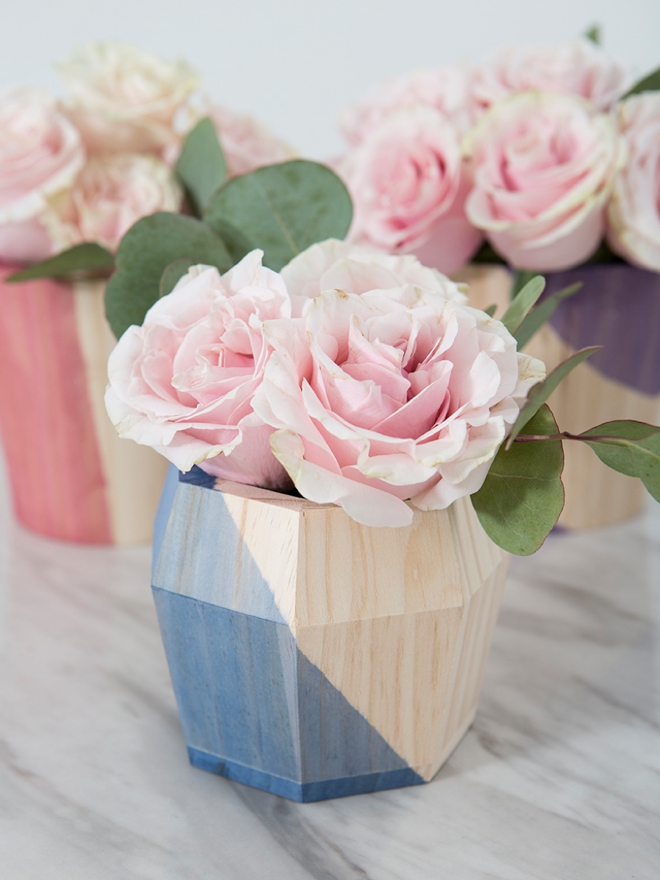
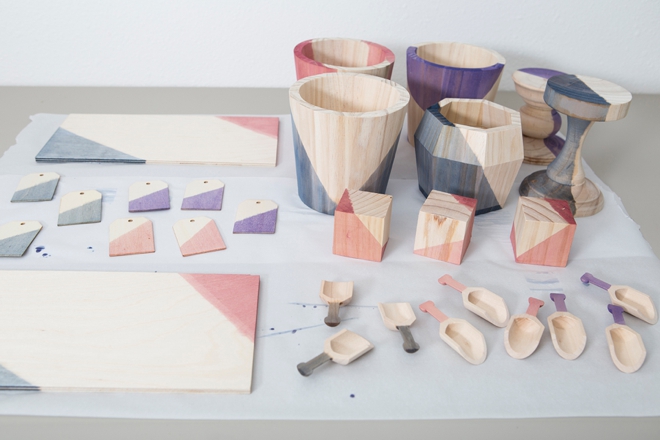
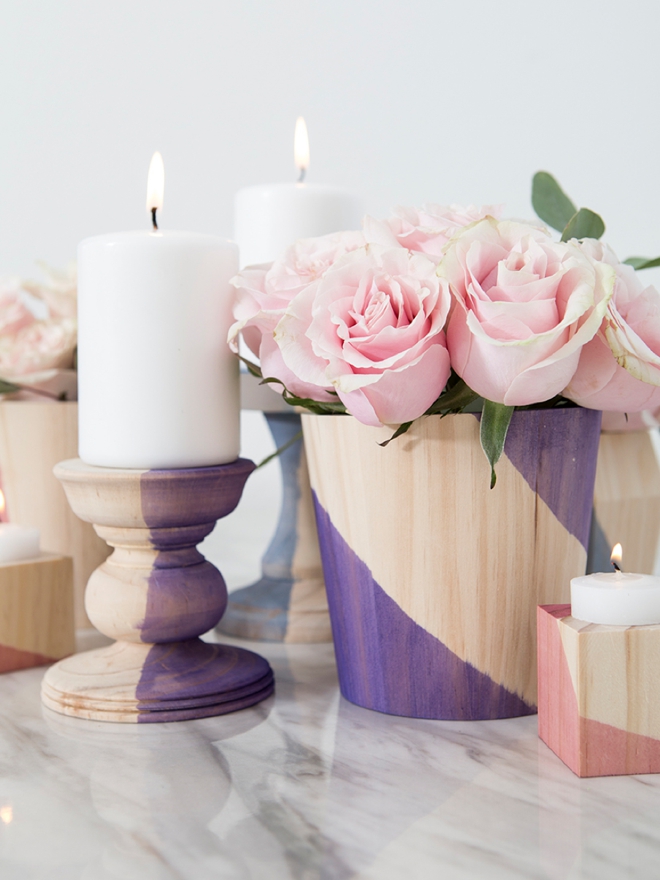
Today I’m excited to be playing with Rit Dye and unfinished wood to create romantically rustic dip-dyed wedding decor! While the process is super easy, it yields a remarkable result. You’ll be able to achieve the perfect combination of color and raw wood, making it ideal for a spring or outdoor wedding. Create your own custom shades or use Rit’s amazing blends to add the perfect hue to your wedding decor. From wood vases to seating cards, favors and even table numbers… if it’s made of wood – you can dye it.

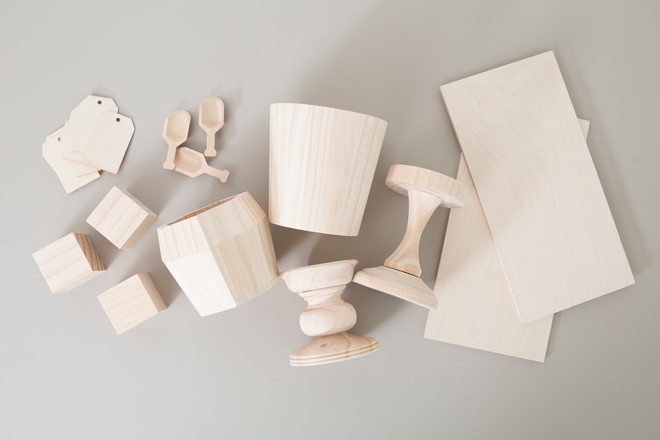
Unfinished Wood Is A Blank Slate
I love unfinished wood. There are so many ways you can decorate it to fit your unique wedding style. Unfinished wood soaks up the dye perfectly and adds a natural, relaxed look to your wedding decor. Perfect for any spring or outdoor event!
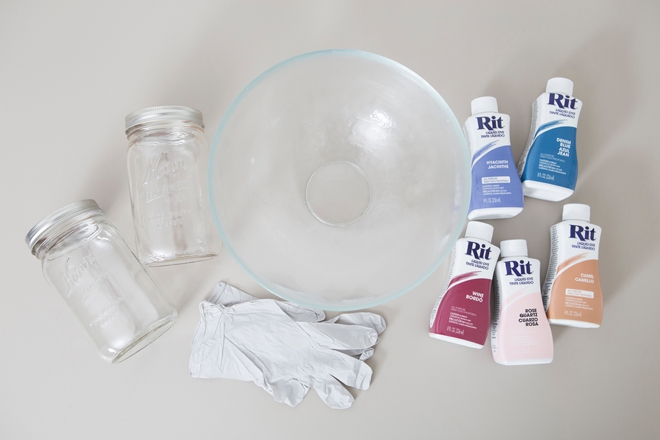
SUPPLIES:
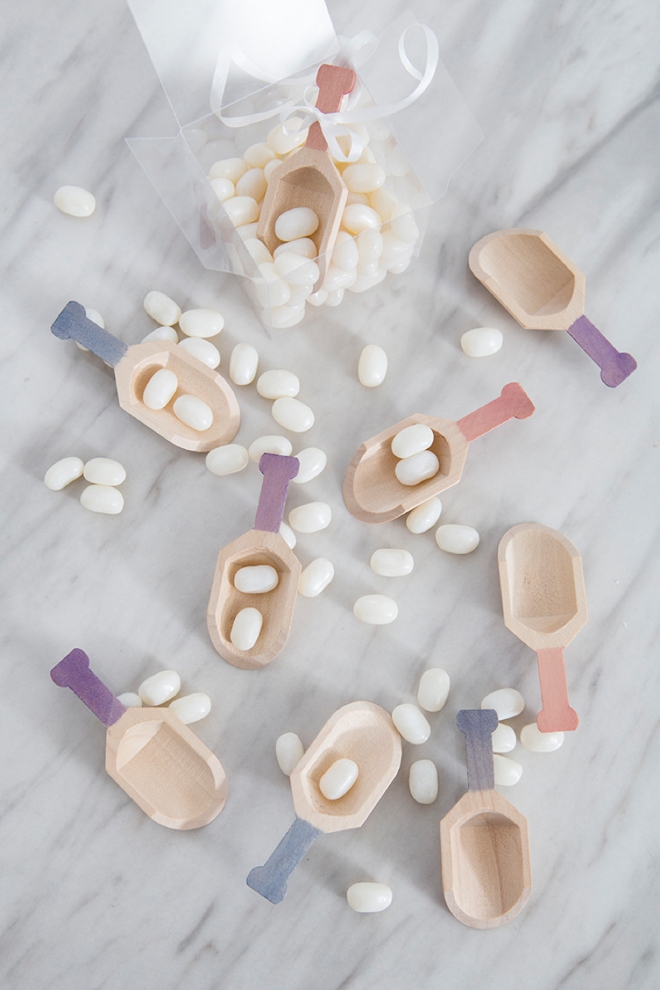
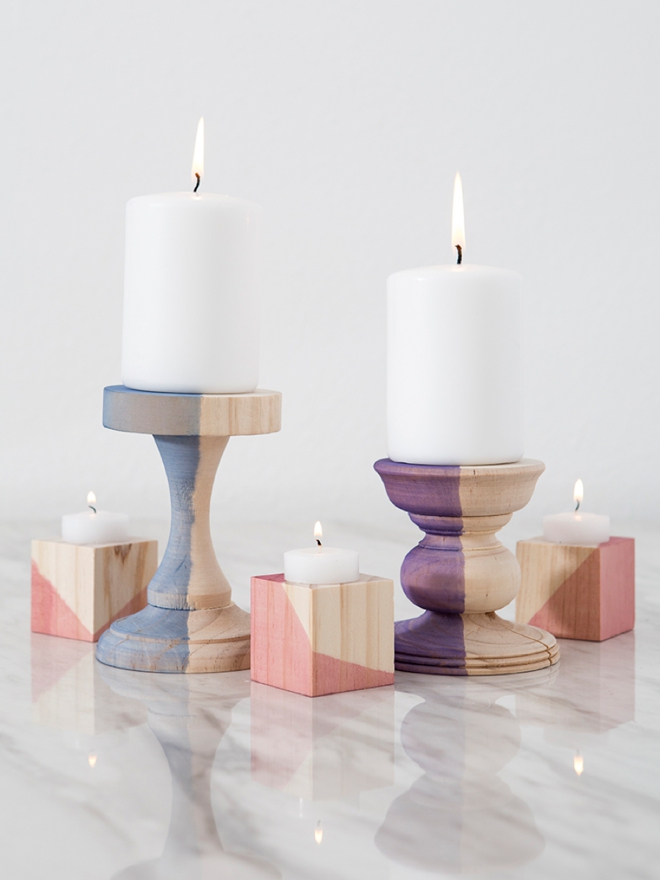
- Cute Unfinished Wood Decor Items! Candy scoops, tags, planters, candle holders, plaques and more!
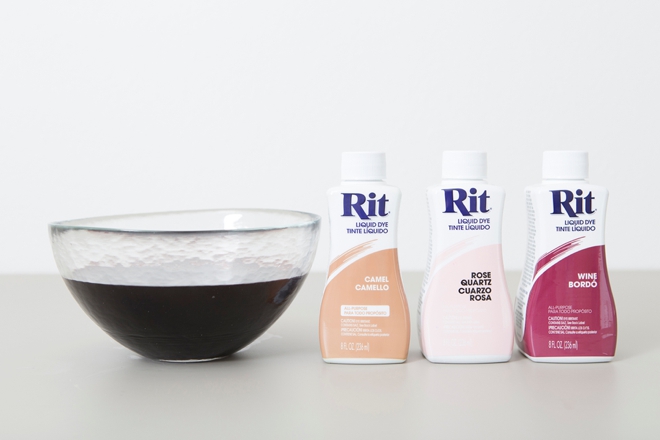
- Rit All-Purpose Liquid Dye, in your choice of colors (I used Hyacinth, Denim Blue, Camel, Wine, Rose Quartz)
- Large Glass Bowl
- Plastic Table Cover
- Plastic Gloves
- Paper Towels
- Hot Water
- Mason Jars (to save your dye)
- Clear Polyurethane. optional (to protect your dyed wood)
Set Up Your Workstation
Cover your workspace with parchment paper or a giant plastic tablecloth to protect it from possible stains. Have your Rit Dye, gloves, glass bowl, and items to dye ready to go.

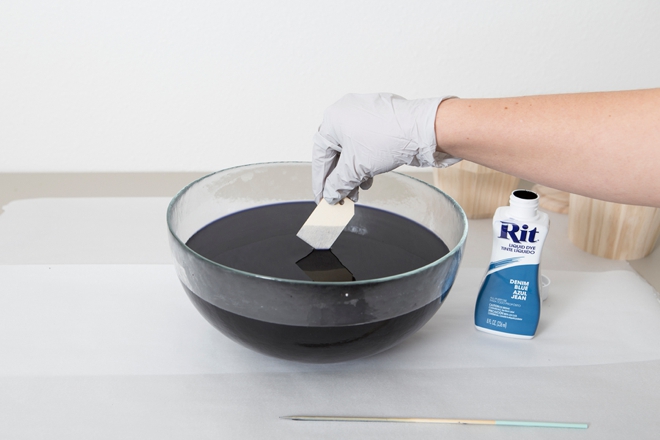
Mix Your Dye
Fill up your glass bowl using the hottest water from the tap. Pour a small amount of Rit Dye into the water and stir. You can always add more dye so start with a little. Here I did about 1/4 of the bottle.

Test Your Color
Have a few pieces of scrap wood that you can test the color with. Dip it in for about 10-15 seconds, then pull it out. The color gets much more vibrant once it’s dry. Hit it with a blow dryer to get a better feeling of the color. Add more dye if it’s not dark enough, add more water if it’s too dark.
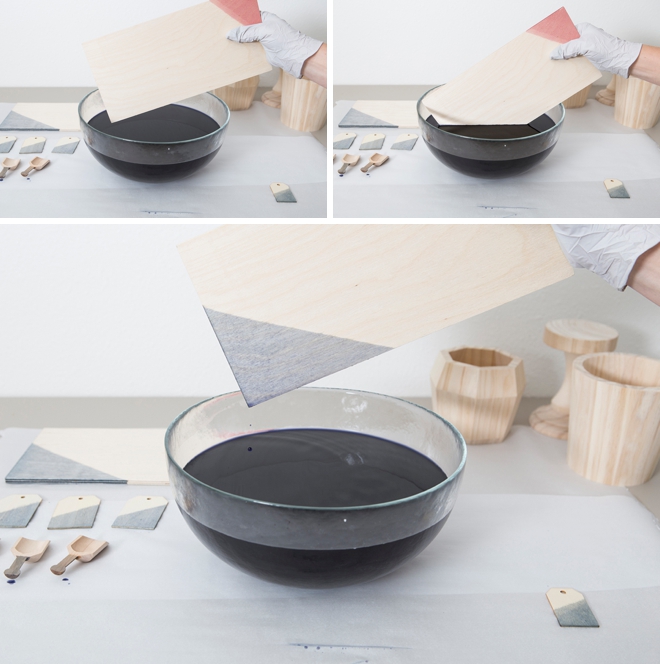
Dip Your Items
After you’ve found your perfect color and dip time, start dipping all your fabulous wedding decor items! Make sure you have enough space on your table to properly let them dry.
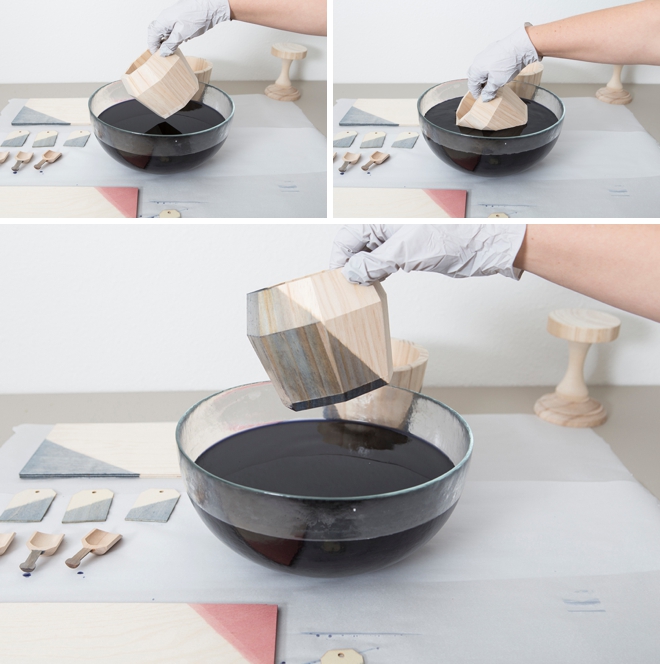
Dip Time
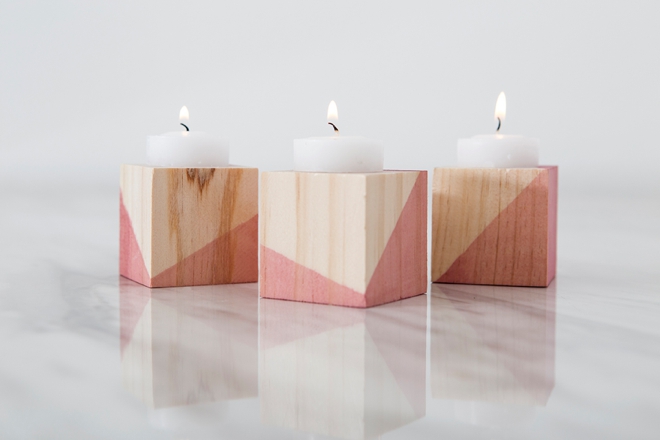
The less amount of time you hold the wood in the dye, the lighter the color… and the longer you hold the wood in the water the darker the color. Meaning if you hold your piece in stages, you could make it look ombré.
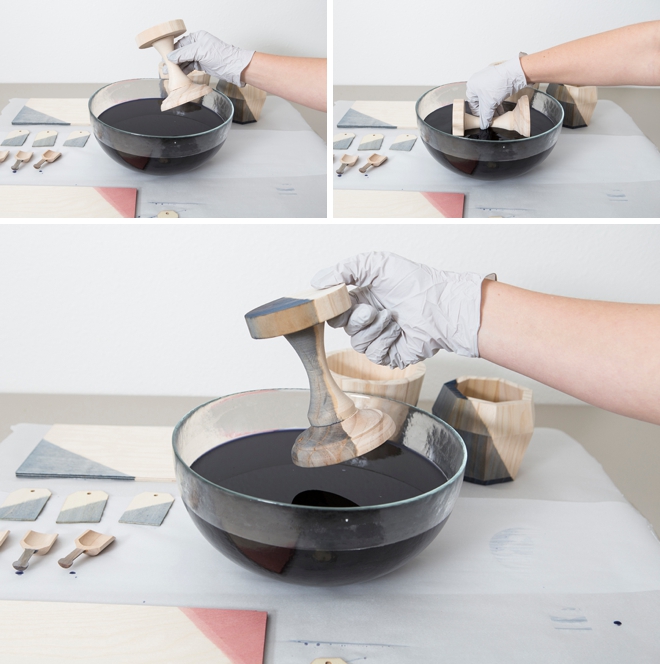
Double Dip
You can always dip, re-dip and double dip your pieces! Make sure you try out your double dip ideas on scrap pieces before you commit.
Let Dry
Let your dip-dyed wood pieces fully dry before you work with them. Should take between 4-8 hours.
Mixing Colors
There are many different shades of Rit Dye that you can create by mixing their original shades! For their best recipes visit this page. For the mauve color I mixed:
- 1 TBLS Camel
- 1 TBLS Rose Quartz
- 1 Teasp Wine
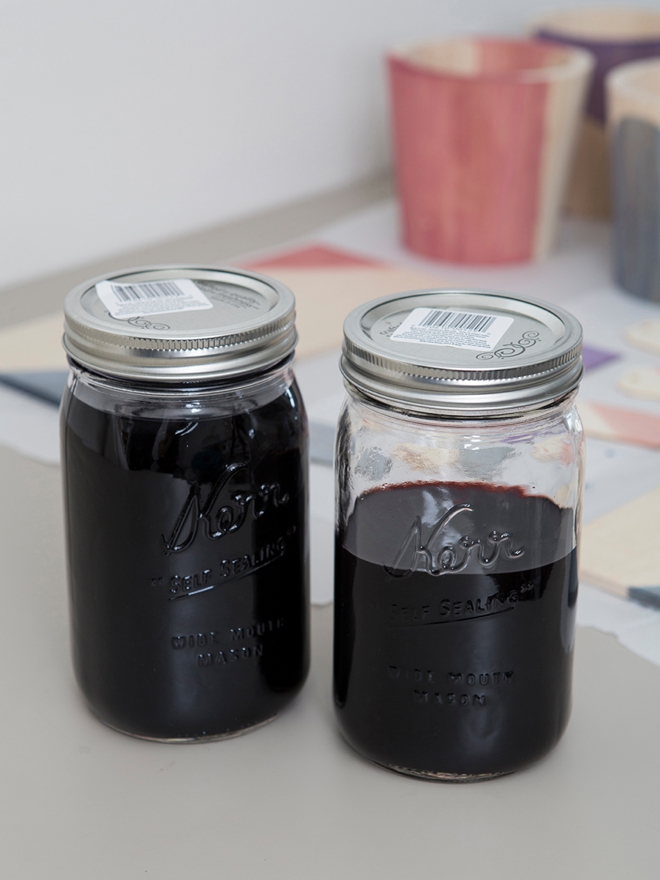
Saving Your Dye
After you’ve mixed up the perfect shade – you can save it! Simply pour into a mason jar and seal until you’re ready to use again. Place in a glass bowl and warm in the microwave to reuse.

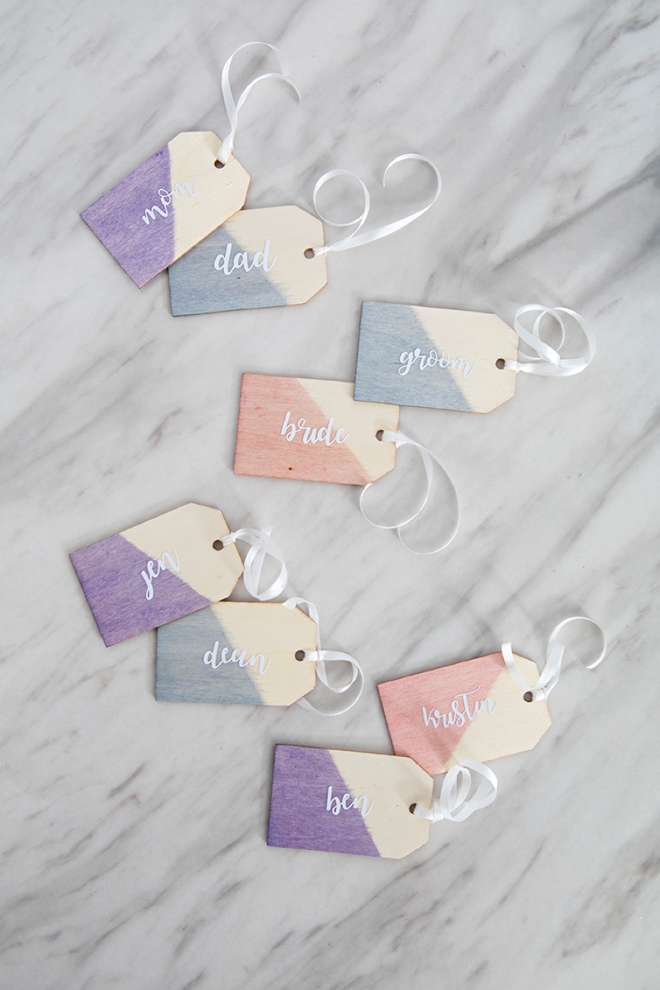
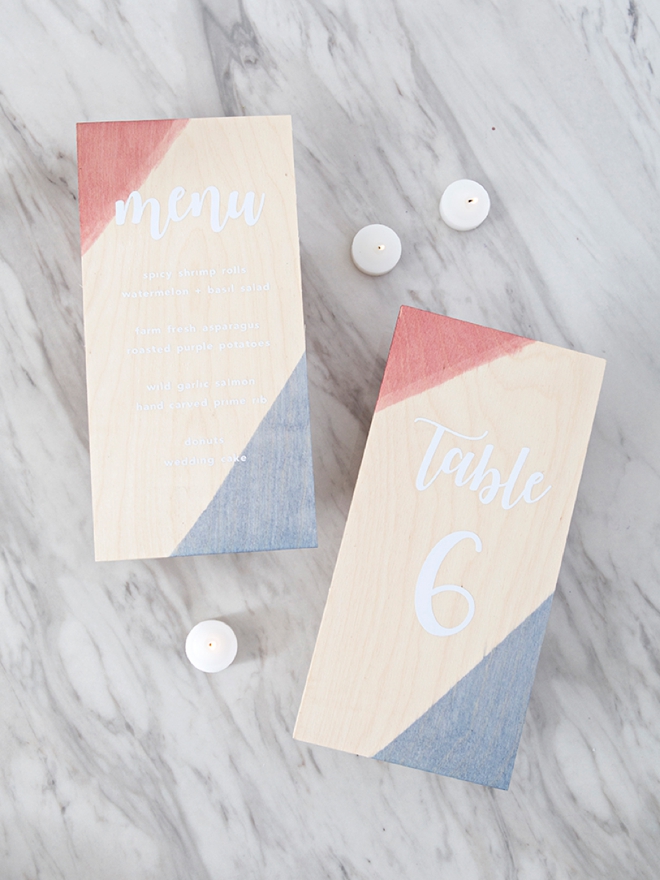
Personalize Your Items
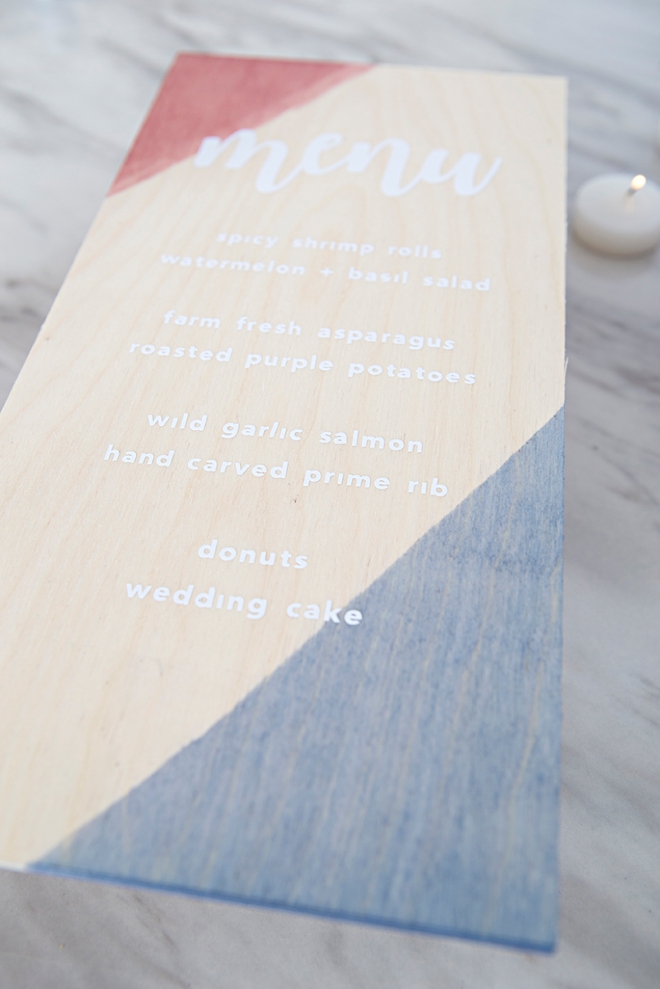
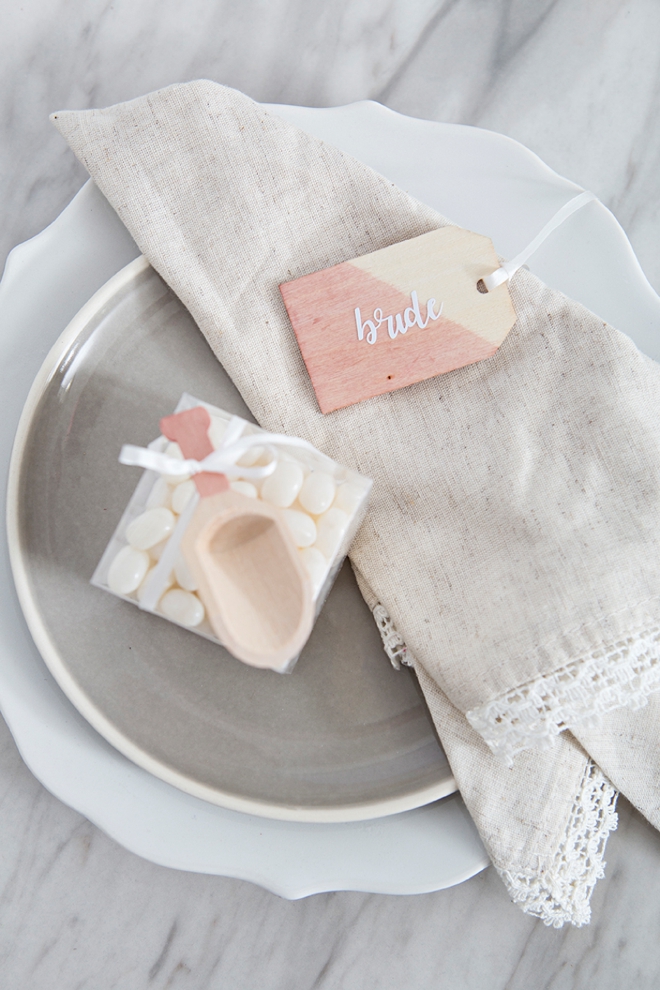
I used my Cricut and white vinyl to personalize the tags, the table number and this menu! You can easily do the same. You can write on the wood with a marker, adhere a print on top, or maybe make a stencil and brush the dye over it.
DIY Tutorial Sponsored By:

This is a sponsored post written by Something Turquoise on behalf of Rit Dye. The opinions and text belong to the author. Rit Dye make dyes to customize your world. Non-toxic DIY color for your wardrobe, home décor, crafts and more!
As with all our DIY tutorials, if you create one of our projects please send us a picture – We Love Seeing Your Creativity! If you use Instagram or Twitter please use the hashtag #SomethingTurquoiseDIY and it will show up on our Get Social page. Happy Crafting!
DIY Tutorial Credits
Photography + DIY Tutorial: Jen Causey of Something Turquoise // Rit Dye in Hyacinth, Denim Blue, Camel, Wine, Rose Quartz: courtesy of Rit Dye // Wood Planters: Target // Wood Candy Scoops: Amazon // Wood Pedestals and White Candles: Michaels // Nail Polish: OPI – Withstands the Test of Thyme
Shop The Supplies:
Find the supplies you’ll need for this project from our affiliate links below:

Comments