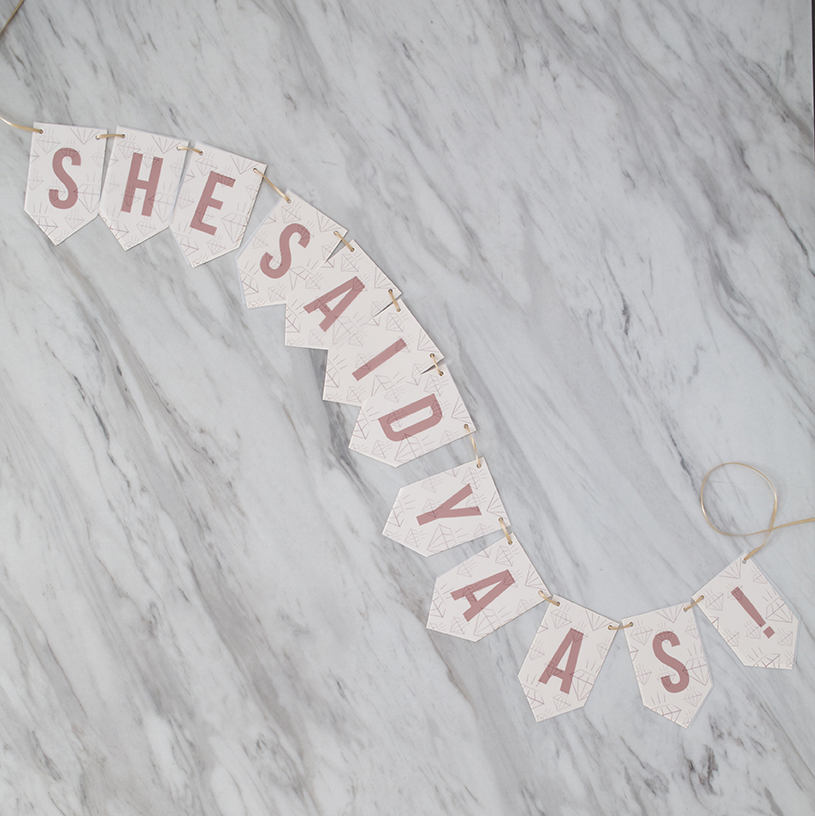

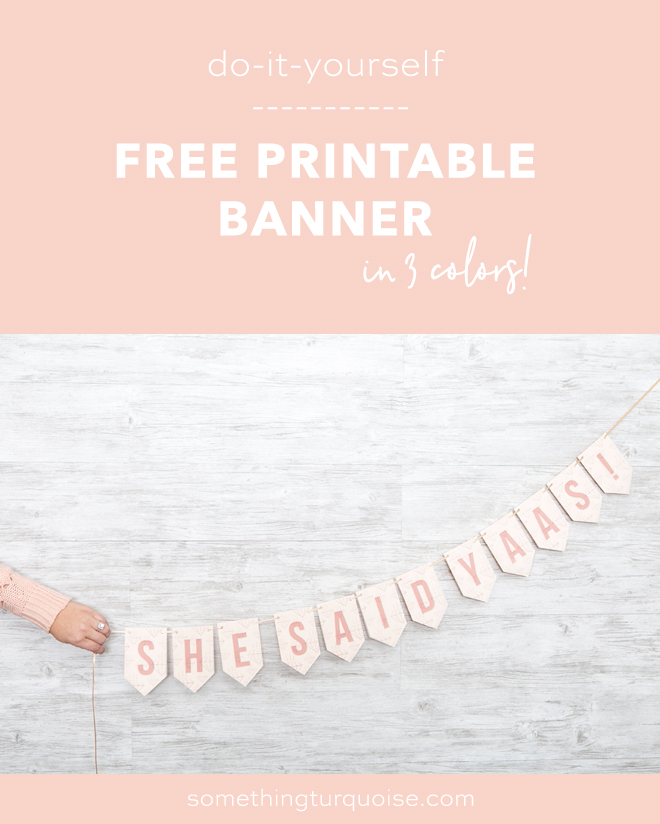
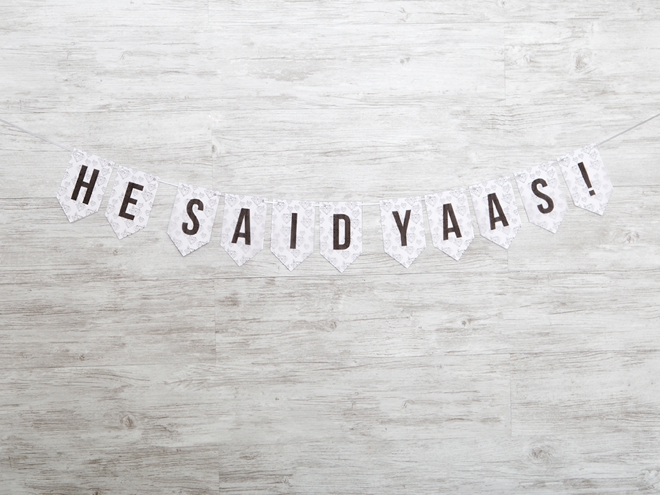
DIY – Free Printable “She Said Yaas” Banner
Happy New Year!!! We’re so excited to be back, refreshed and ready to inspire you on your wedding crafting journey! I’m assuming that many of you got engaged over the holidays and we’re thrilled that you’re here! Today we’re celebrating your big news with our first free printable banner of the year. Last year we shared free printable table numbers once a month and so this year we’re switching it up with super sweet wedding sayings in banner form. This “She, I, or He Said Yaas!” banner is the perfect way to snap a photo and share your new fiancé status!
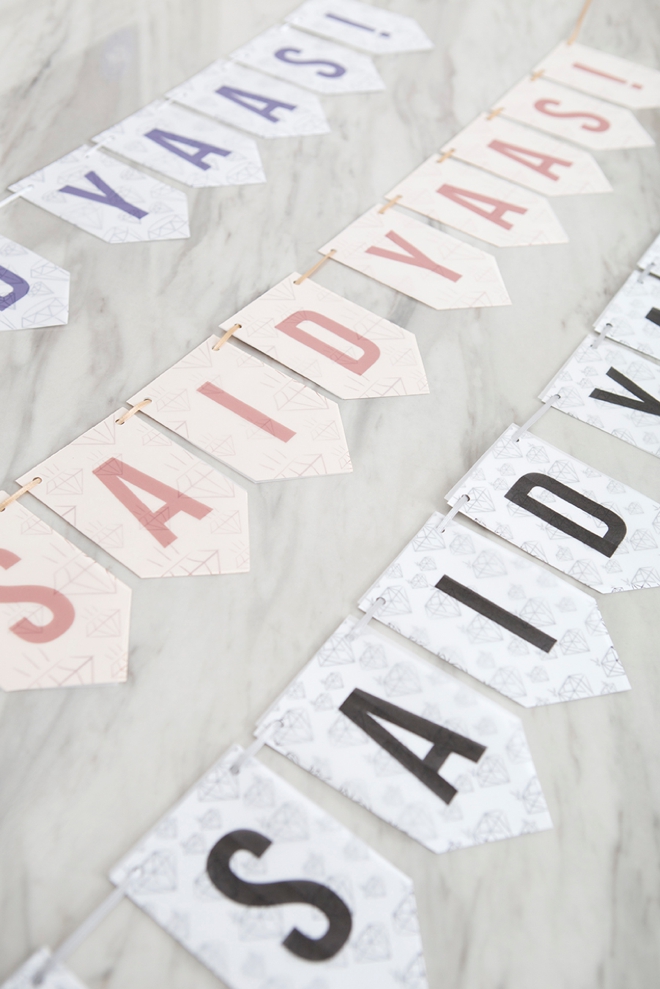
Three Colors
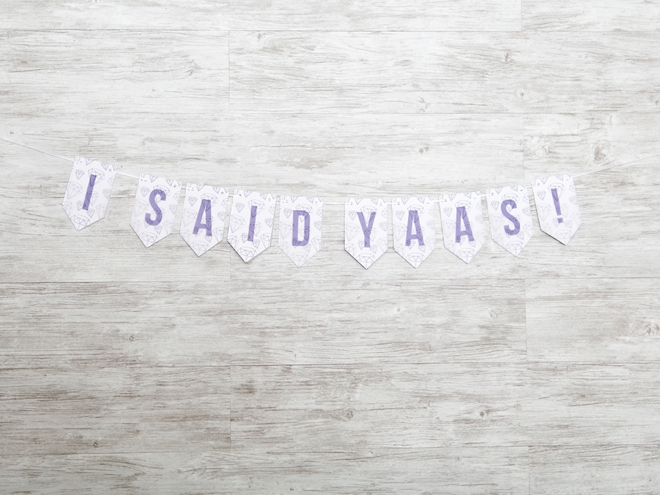
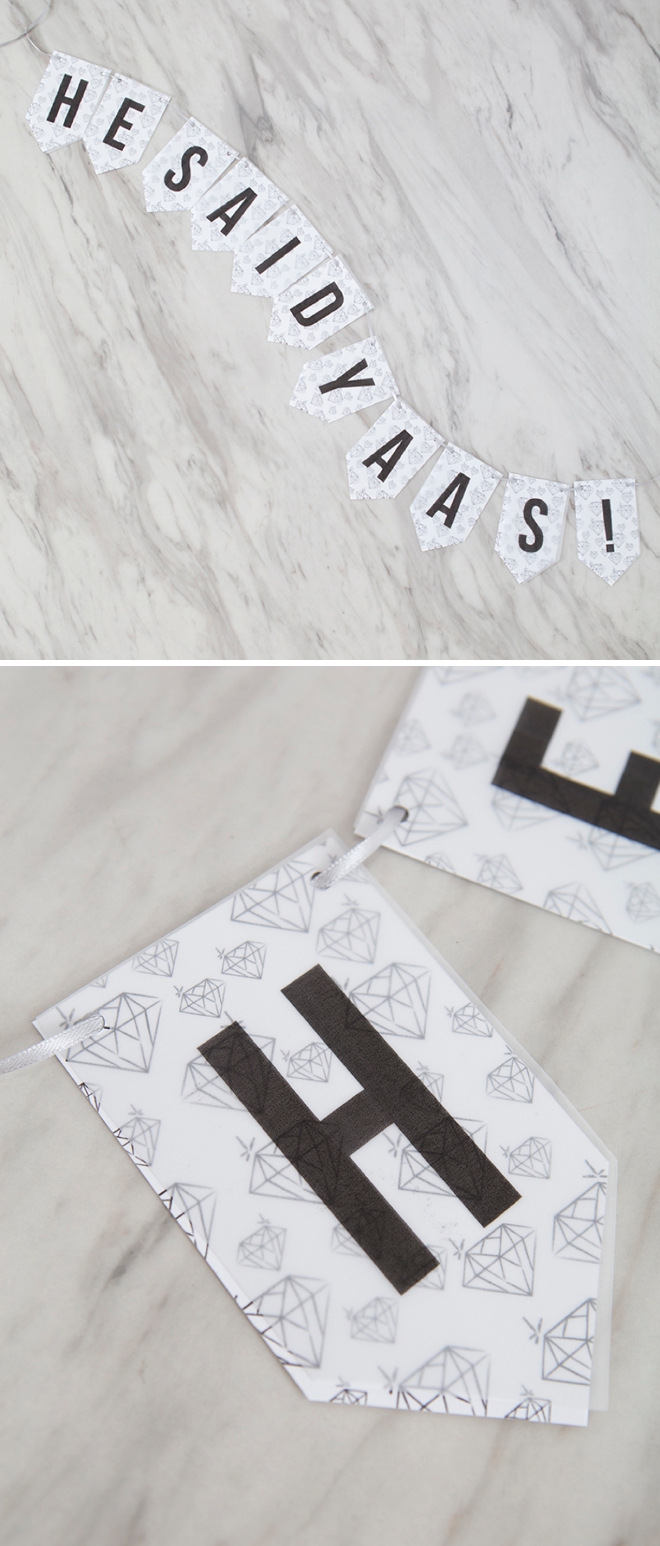
We’re sharing three colors of banner for you today, a dusty pink, ultra violet (the color of the year) and black! All three colors have all three saying options that include “She, I, and He”… pick your crafty poison!
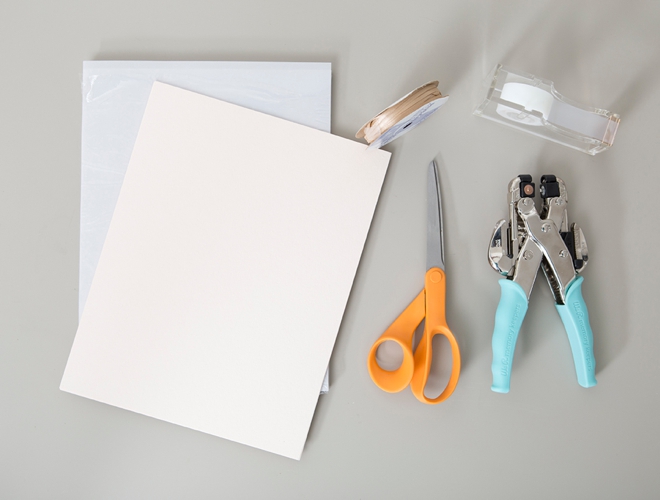
SUPPLIES:
- 8.5″ x 11″ Inkjet Vellum
- 8.5″ x 11″ Cardstock
- Scissors or Paper Trimmer
- Hole Punch
- Tape
- 1/8″ Ribbon
- Home Printer
- Our FREE banner files at the end of the post!
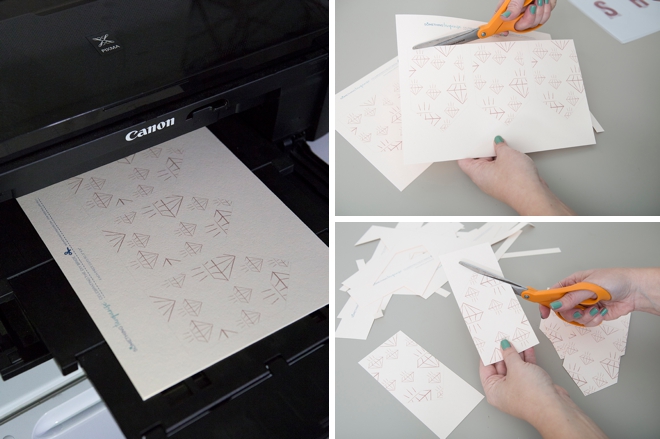
Print The Backgrounds
Print the background design on your choice of 8.5″ x 11″ cardstock, colored or white. You’ll need four copies. Then cut out each tile using a paper trimmer or scissors.
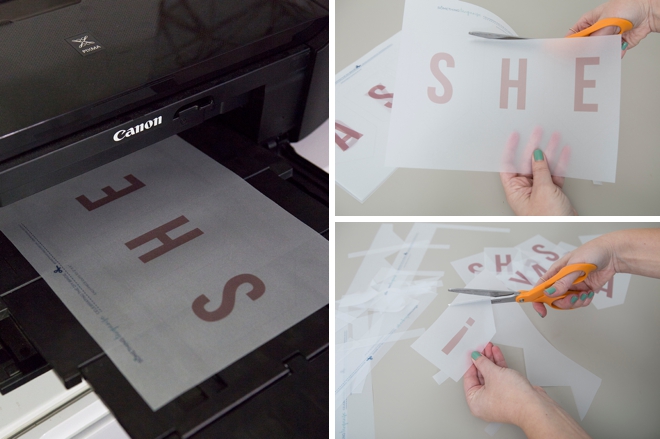
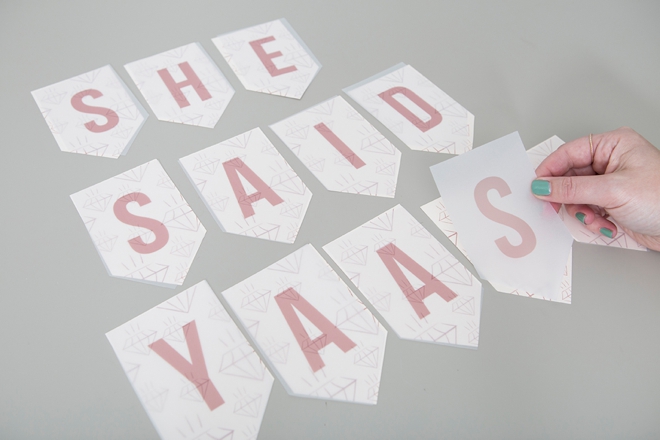
Print The Letters
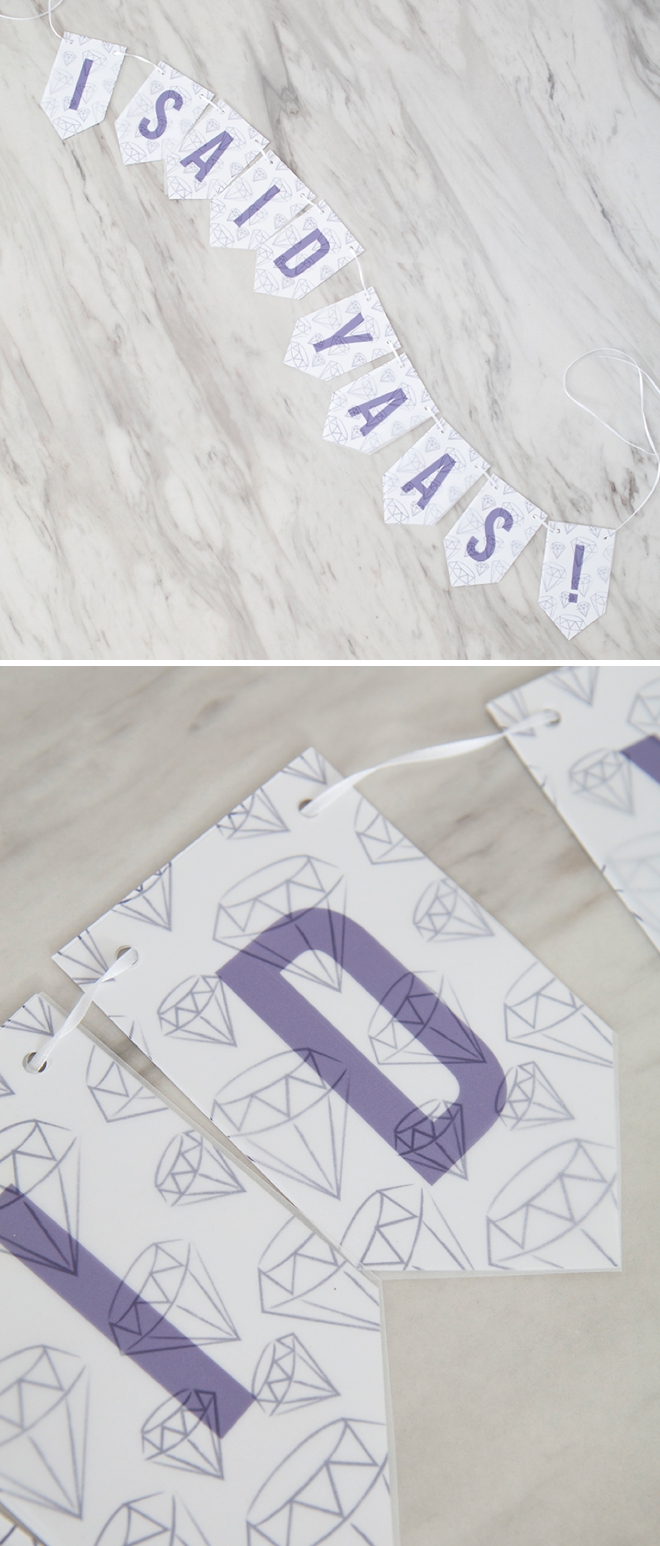
Print the letter designs onto 8.5″ x 11″ inkjet vellum. Then cut out each tile using a paper trimmer or scissors.
Letters + Backgrounds
Vellum is an awesome transparent paper that has a sea-glass type finish to it, so the cool diamond backgrounds show through the letter tiles!
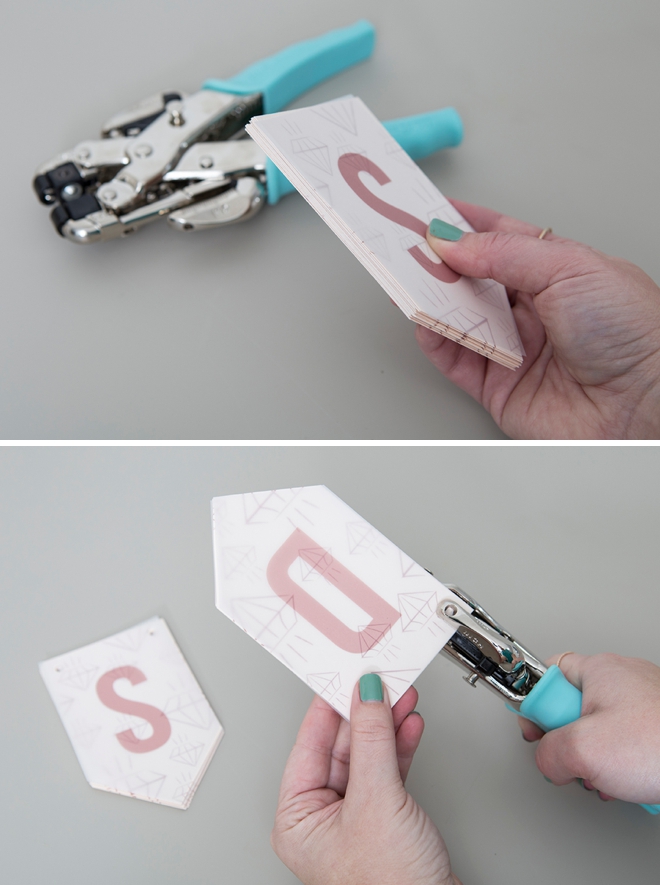
Hole Punch
Using a strong hole punch like the Crop-a-dile, add two holes to the top of all tiles. This hole punch can handle doing half the stack at one time! Great time saver!
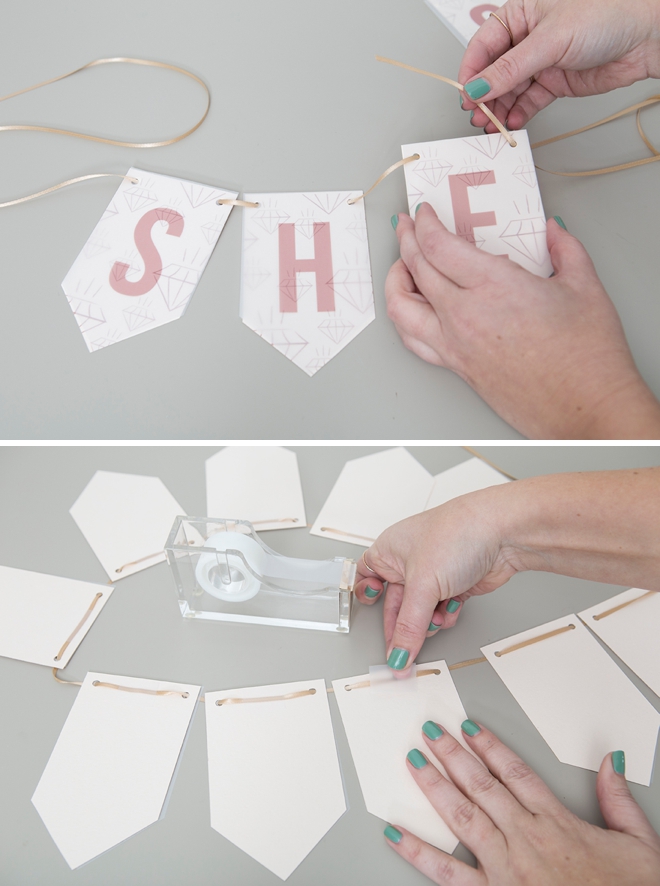
String + Tape
String the tiles onto your choice of ribbon, here I’m using 1/8″ wide. Then on the backside, tape the ribbon to the tile to hold it in place ~ done!
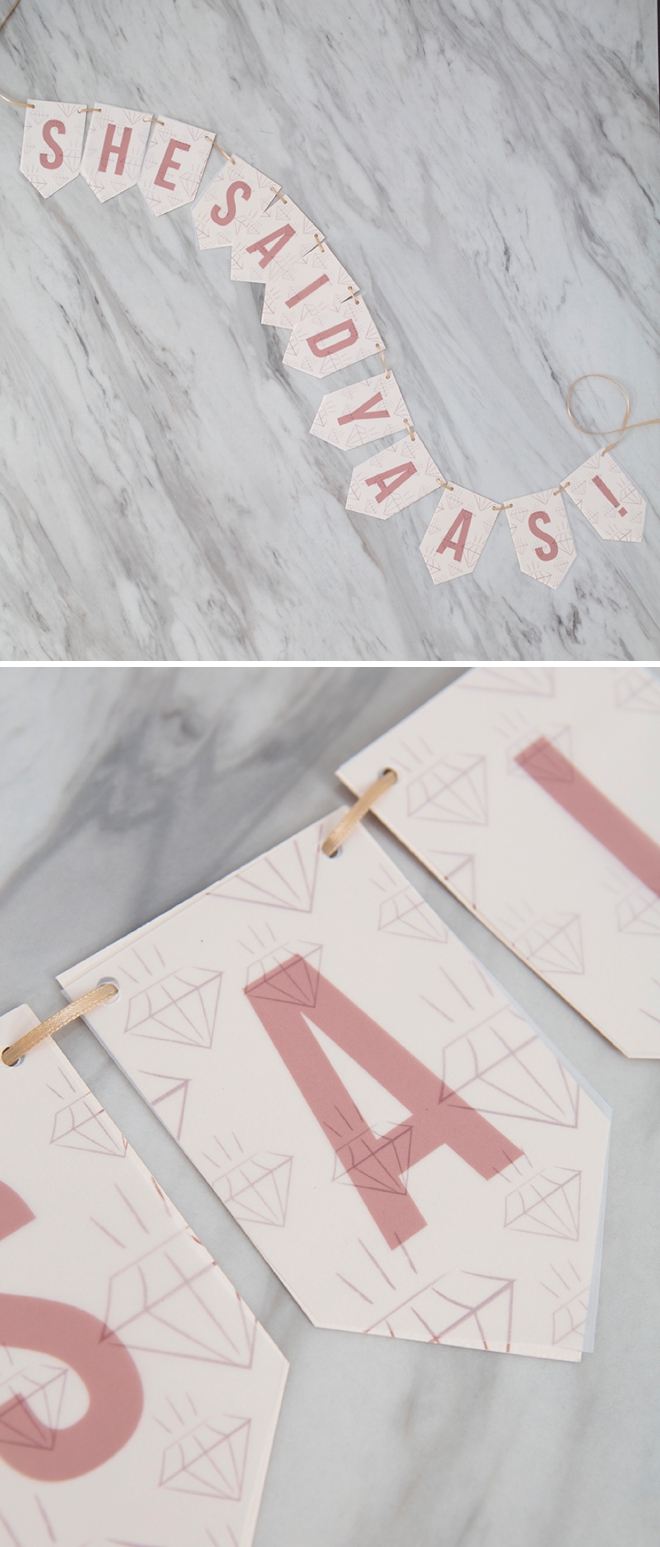
The Perfect Photo Prop
Print and make this banner for your engagement shoot… or maybe if you’re the one helping plan a secret proposal – you should make it and bring it along!


As with all our DIY tutorials, if you create one of our projects please send us a picture – We Love Seeing Your Creativity! If you use Instagram or Twitter please use the hashtag #SomethingTurquoiseDIY and it will show up on our Get Social page. Happy Crafting!
DIY Tutorial Credits
Photography + DIY Tutorial: Jen Causey of Something Turquoise // Banner Design: Julia Ensign // Printable, Inkjet Vellum: Paper Source // White Cardstock: Amazon // Scissors: Fiskars // Crop-a-dile Hole Punch: Amazon // Ribbon: Michaels // Nail Polish: OPI – Withstands the Test of Thyme
Shop The Supplies:
Find the supplies you’ll need for this project from our affiliate links below:

Comments