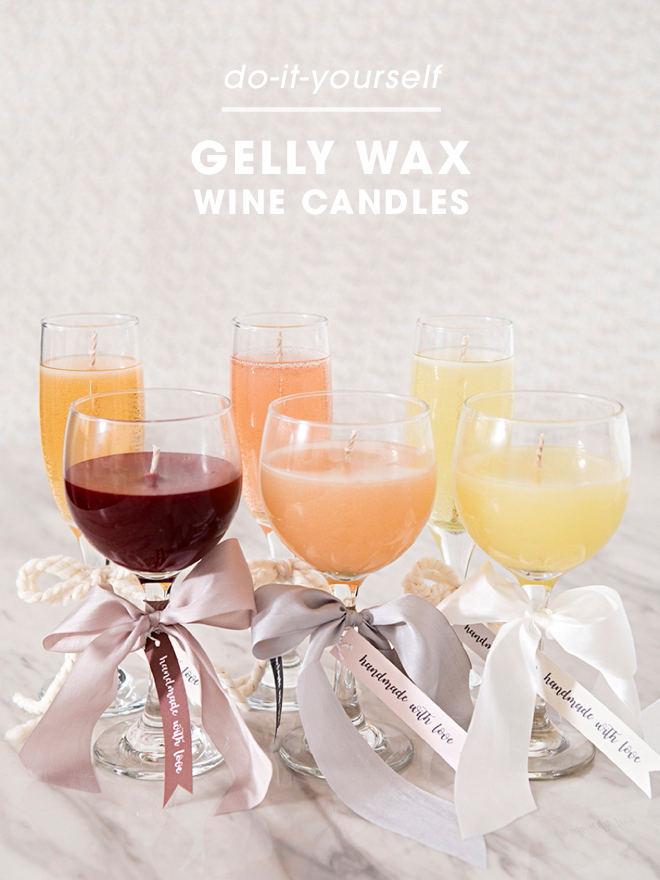
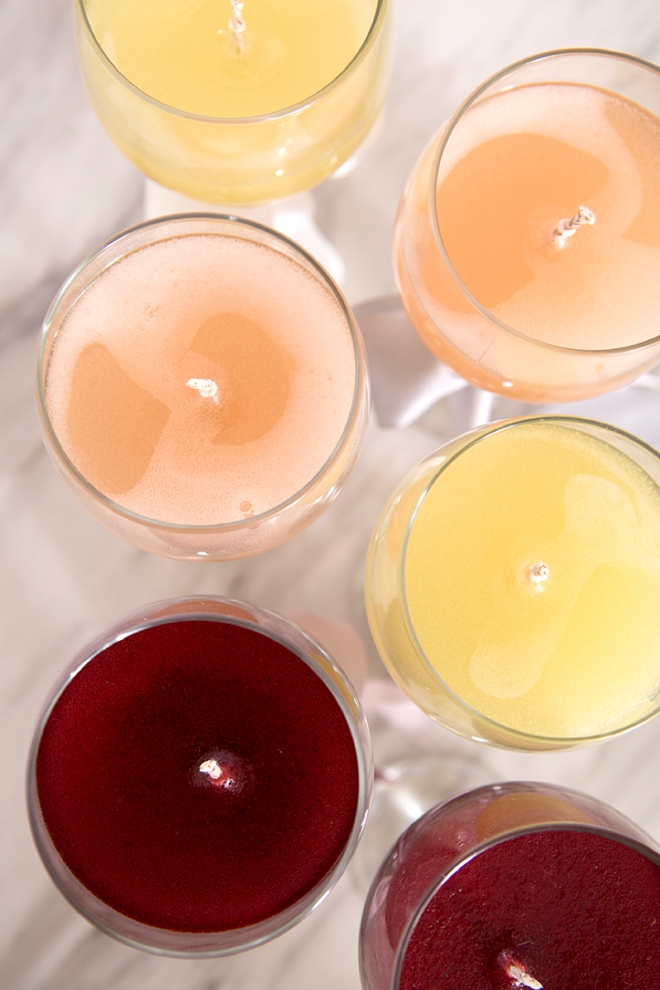
It’s DIY Friday and our last day of Favor Week 2017 so we’re going to end with a bang! Today I’m going to teach you how to make the easiest and the prettiest wine candles, even if you have literally never made a candle before, seriously, these are easy and awesome. Unlike beeswax or soy wax, gelly wax doesn’t crack or separate and doesn’t require being poured at a specific temperature. Simply melt, color, add scent and pour into your container of choice. Our containers of choice are going to be wine glasses or champagne glasses, with candles colored to match of course. Perfect for bridesmaid gifts or holiday gifts… and maybe even favors for your vineyard wedding. Pick your vino poison (then pour some real vino for yourself) and warm that stove up because we’re getting crafty!
Wedding or Holiday
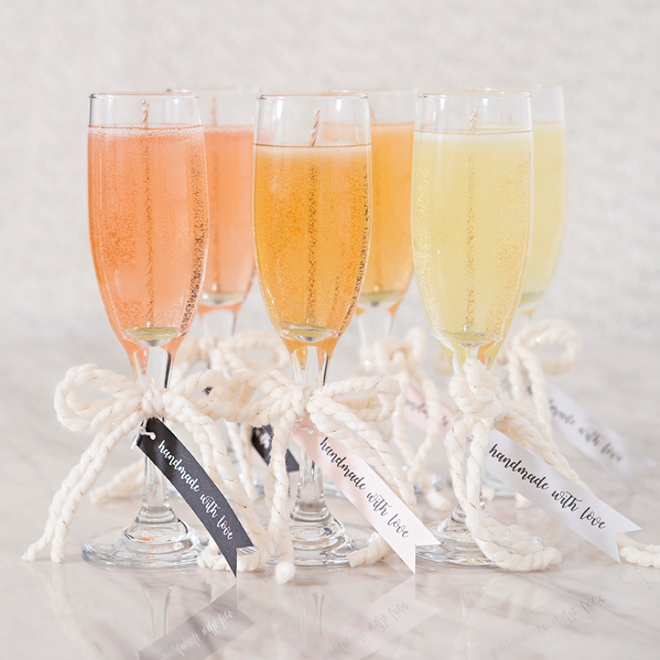
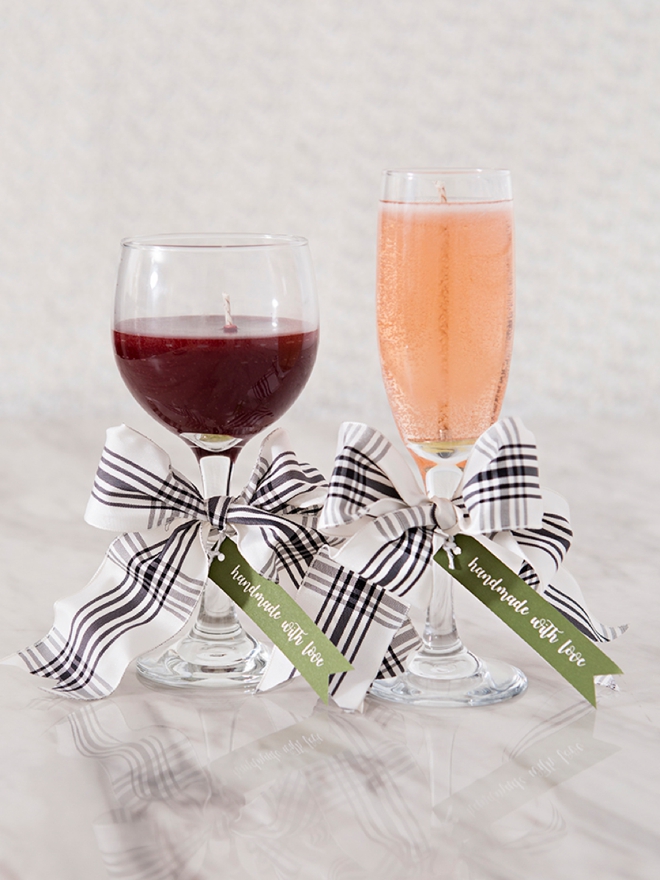
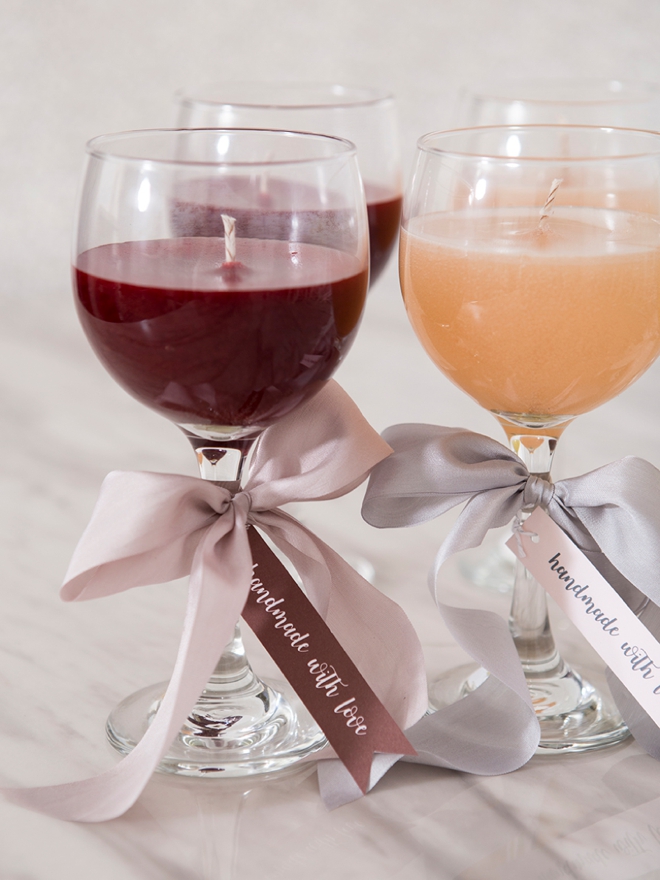
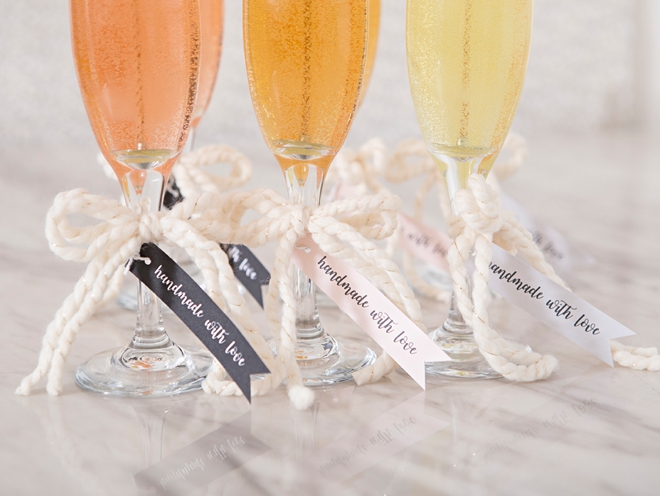
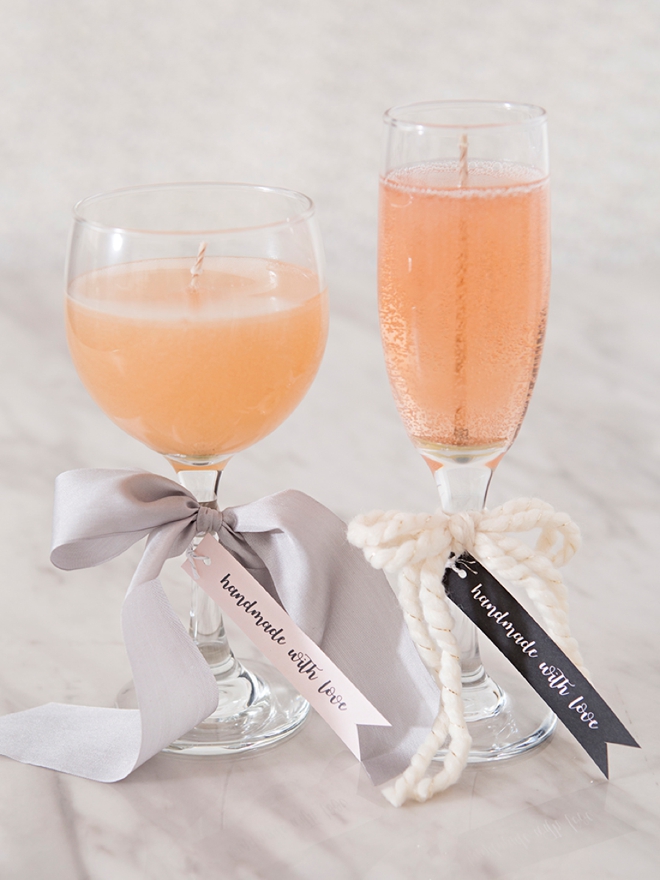
It’s easy to swap ribbon and tag colors to make these vino candles wonderful bridesmaid gifts or handmade holiday gifts. If you’re getting married at a vineyard or winery, these would make fabulous bridal party gifts or vendor gifts. And for the candle or wine lover on your holiday list, these would be the perfect handmade present!
SUPPLIES:
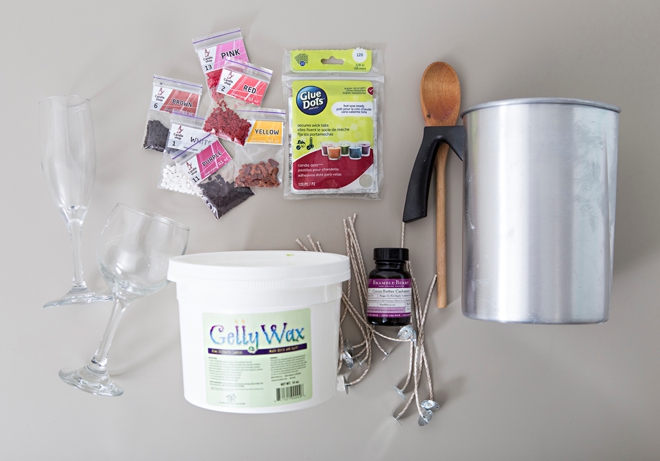
- Wine and/or Champagne Glasses
- Gelly Candle Wax (mine is from Amazon)
- Candle Dye Chips
- Candle Melting Pot
- Candle Wicks
- Fragrance Oil
- Glue Dots Candle Dots
- Wooden Spoon
- 8.5″ x 11″ White Cardstock
- Hole Punch
- Ribbon
- Home Printer
Get To Melting
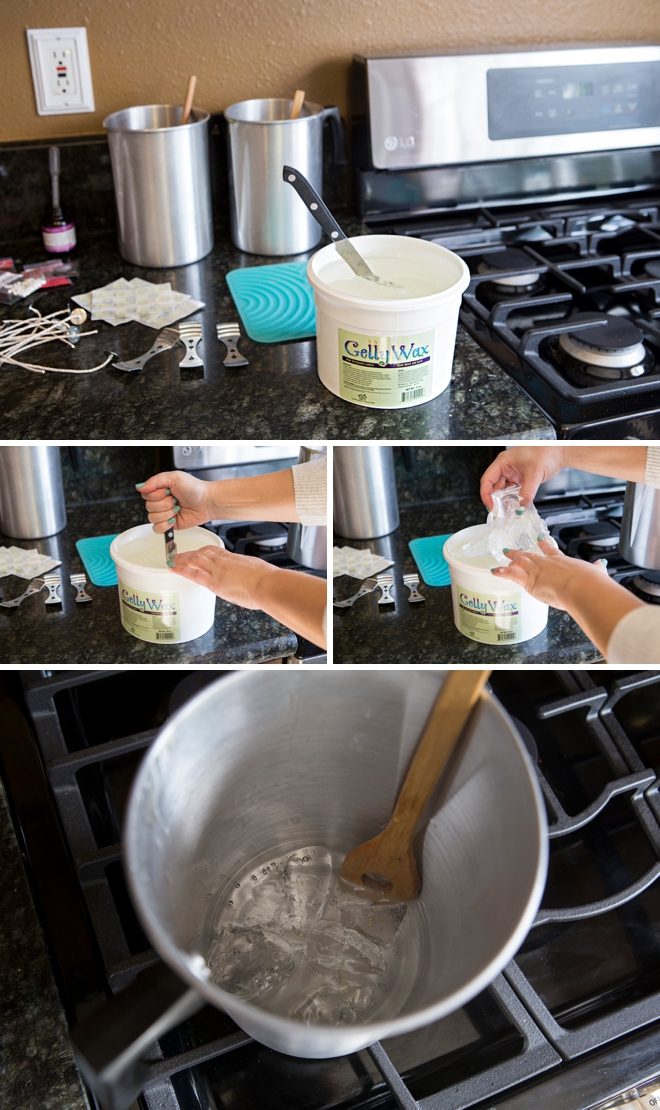
This gelly wax is a bit funny to work with at first… it’s like a gelatinous slime. Cut a 1/4″ of the wax from the tub and add it to your melting pot. Warm the wax on medium to low heat, stirring with a wooden spoon, being careful to not let it boil.
Prepare The Wicks
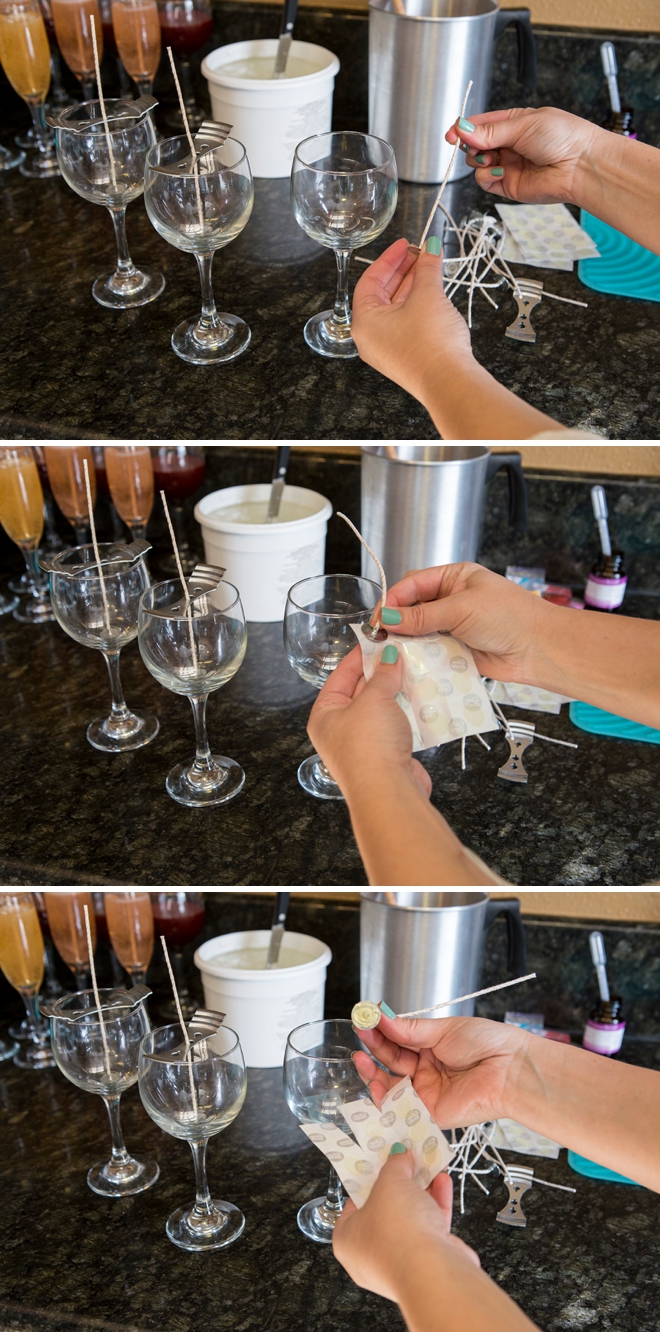
As your wax is melting, prepare the wicks. Pull them from the base to the tip, to straighten each one out. Add 4-5 Glue Dots Candle Dots on top of each other to the bottom of each wick.
CRAFTERS TIP: Normally you wouldn’t pile up 4-5 candle dots but because the bottom of wine glasses have that divot in them, you need that many to really hold it to the bottom.
Add To The Glass
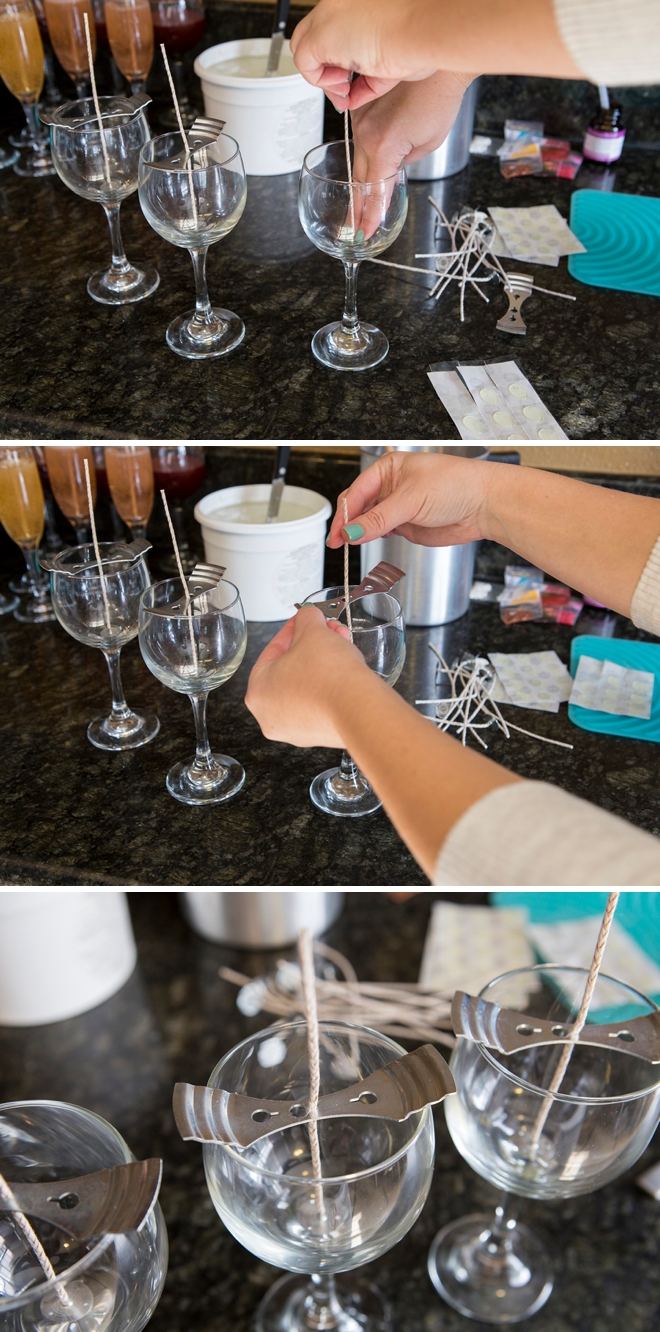
Firmly press the wick into the bottom of each glass to adhere. Then place the wick through the wick holder and press it firmly into the little slot on the side to hold it in place.
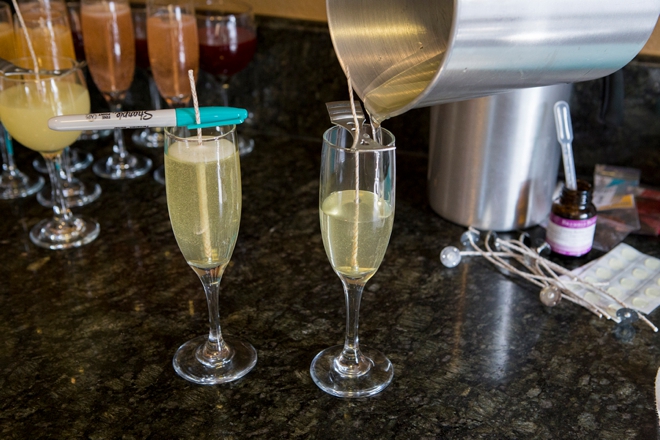
CRAFTERS TIP: Since the wick kit only comes with 3 wick holders, you can also use Sharpies to hold your wicks in place, ***see in the photo of pouring into the champagne glass.
Add The Color
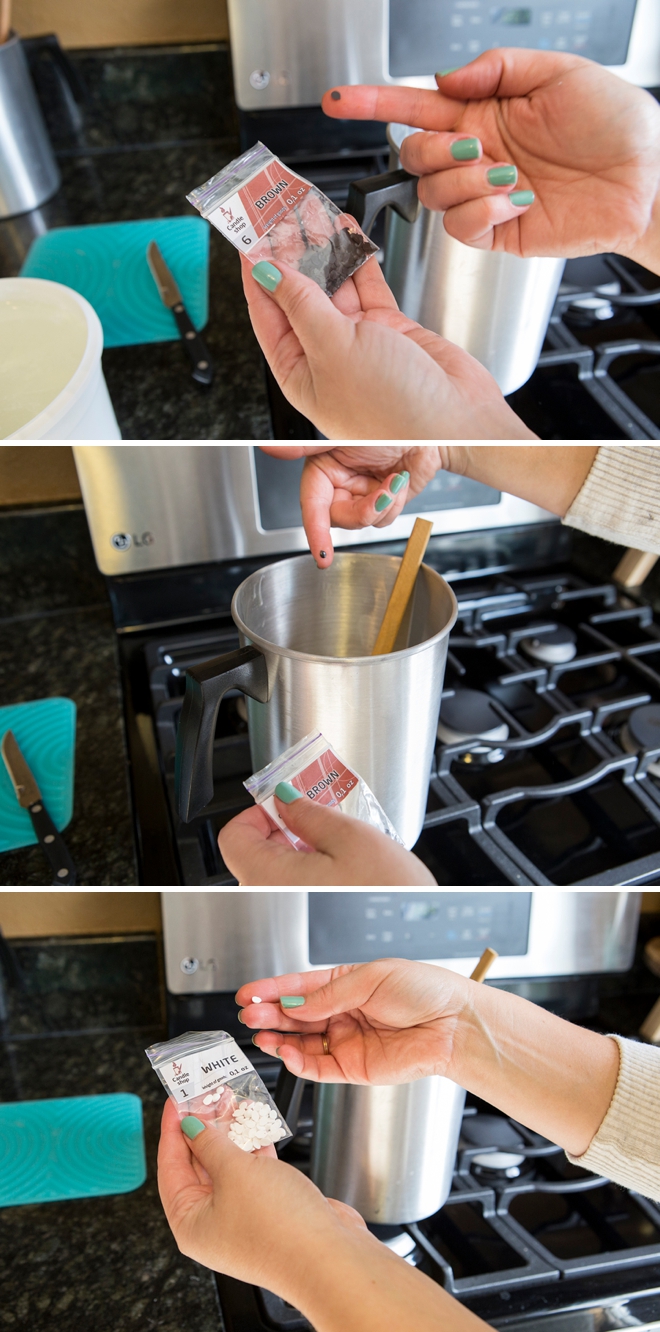
It doesn’t take much to color these candles, like I mean it hardly takes anything! Once your wax is almost fully melted add one flake of color dye at a time. Remember you can ALWAYS add more colorant, but you can’t remove it. Stir to fully incorporate. Note, the white colorant makes the candles more opaque, I only added the white to the wines.
The exact color formulas I used are below!
Add The Fragrance
I used two droppers of fragrance oil for each 1/4 of the container of wax. You can use a little less or a little more, it’s totally up to you. My favorite fragrance oils are from Bramble Berry and here I used the yummy Cocoa Butter Cashmere but you can use any fragrance you’d like!
CRAFTERS TIP: I personally would stay away from using essential oils for candle scent, as they aren’t meant to be burnt in this way. You can use any fragrance oil labeled for use with candles.
![#### [center]Add The Color[/center]](https://somethingturquoise.com/wp-content/uploads/2017/12/ST-DIY-Gelly-Wine-Champagne-Candle-Favors_0012.jpg)
Pour
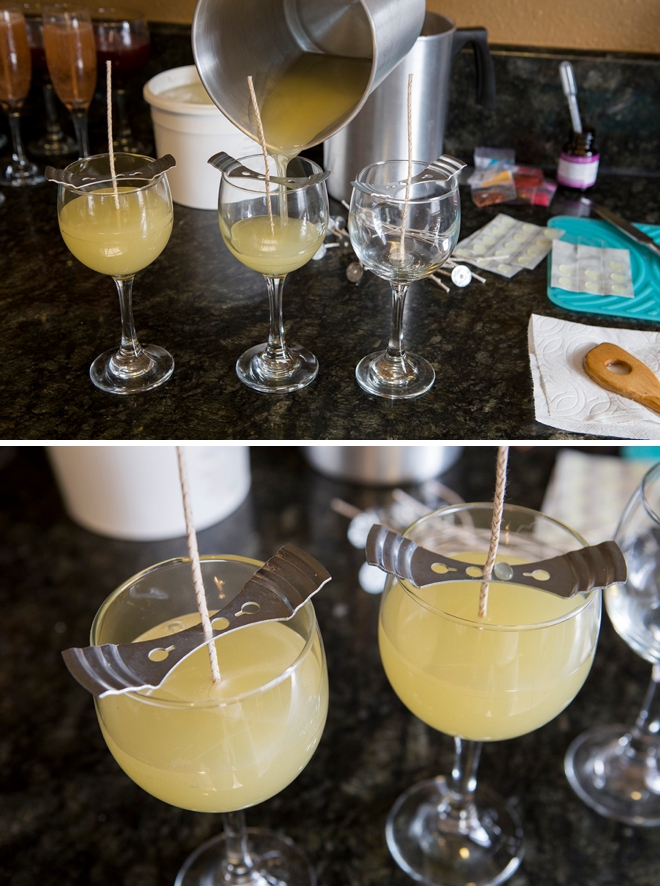
Once your color and fragrance are added and the wax is fully melted, you’re ready to pour! No need to worry about temperature or anything technical with this gelly wax. Carefully pour until your desired height.
YEILD: I was able to make 11 candles with each 55oz wax container.
Mind Your Wick
Keep an eye on your wicks. Make sure they are holding straight and staying where you want them as the candle wax cools. Just like I said earlier, if you need extra wick holders – just use Sharpies!
Trim The Wick
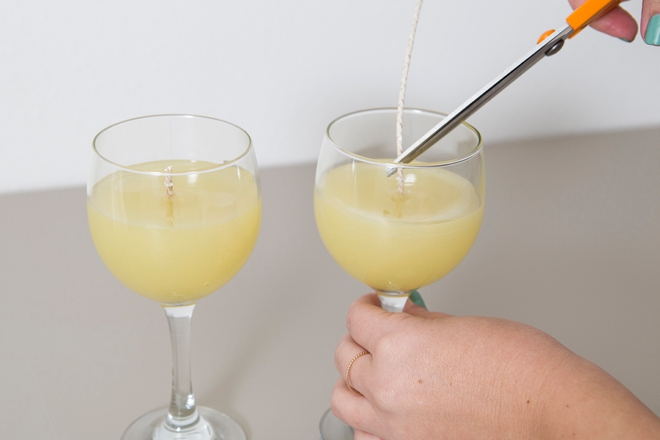
Trim the wick down to about 1/3″ once the candle has set up for at least 4 hours.
Set For 72
Make sure to let your candles set for 72 hours before you burn them!
Make The Tags
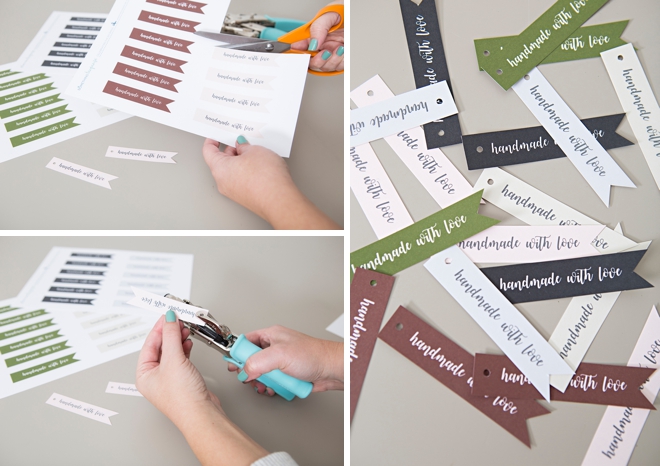
At the end of the post I’m sharing 6 different tag colors, all that say “handmade with love”. Download and print onto 8.5″ x 11″ white cardstock, trim and then hole punch.
Add The Tags + A Bow
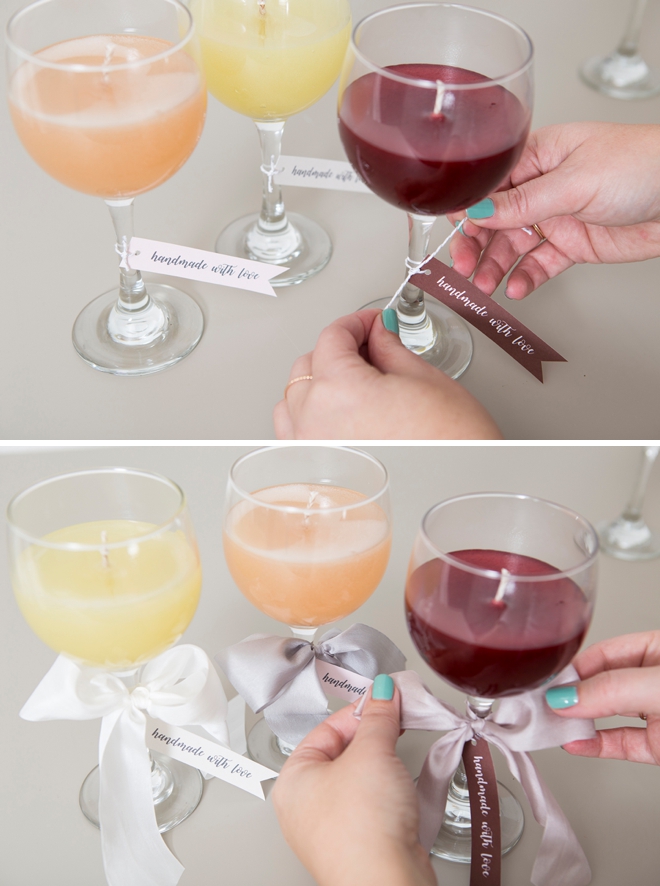
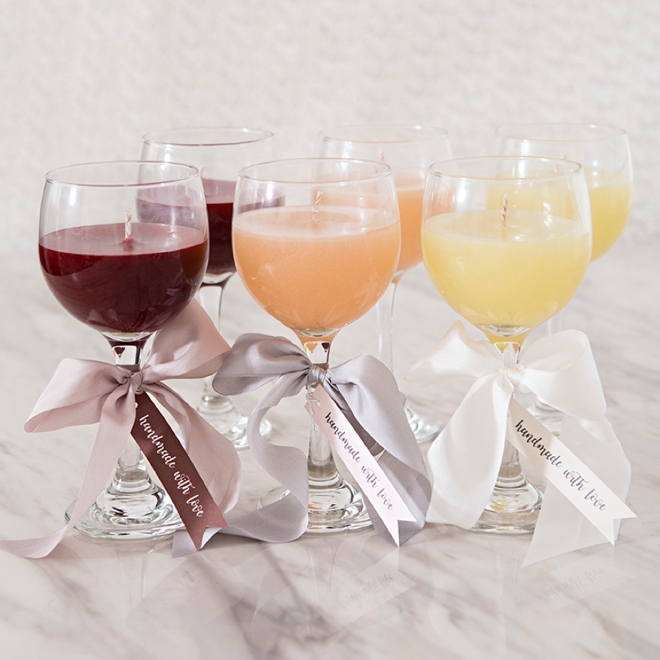
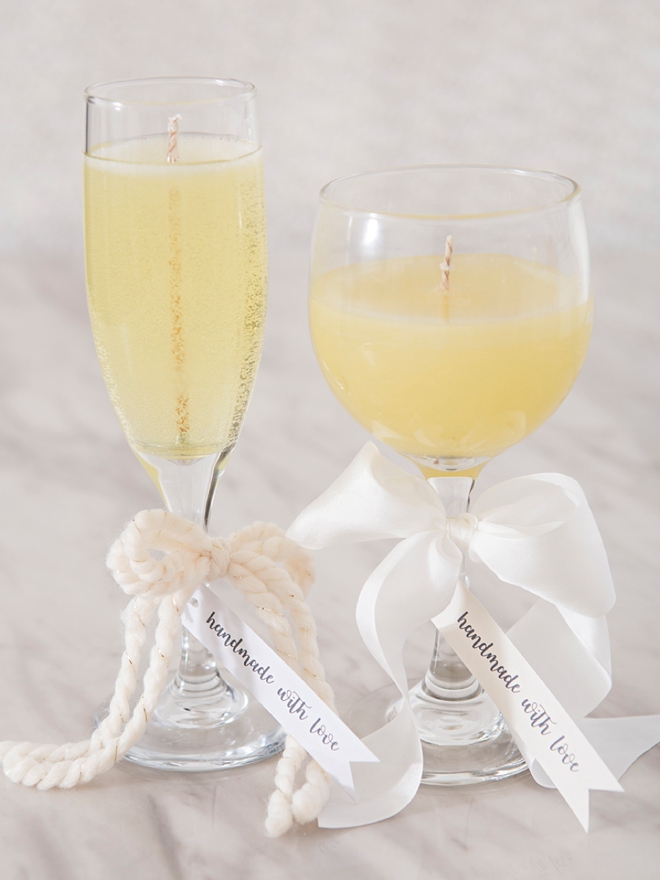
White Wine + Champagne
Remember I mentioned that it hardly takes anything to color these candles! Here are the colorant recipes:
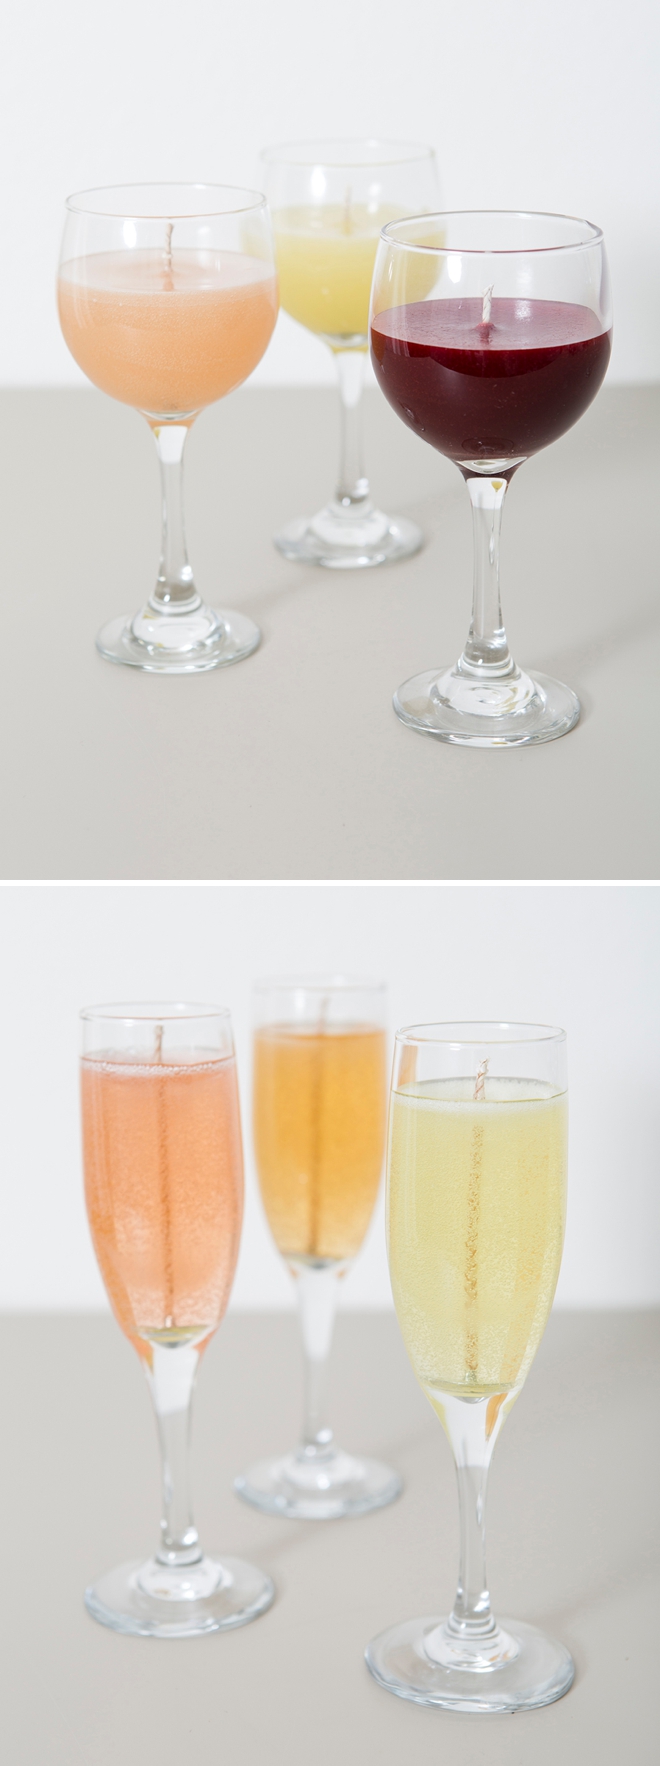
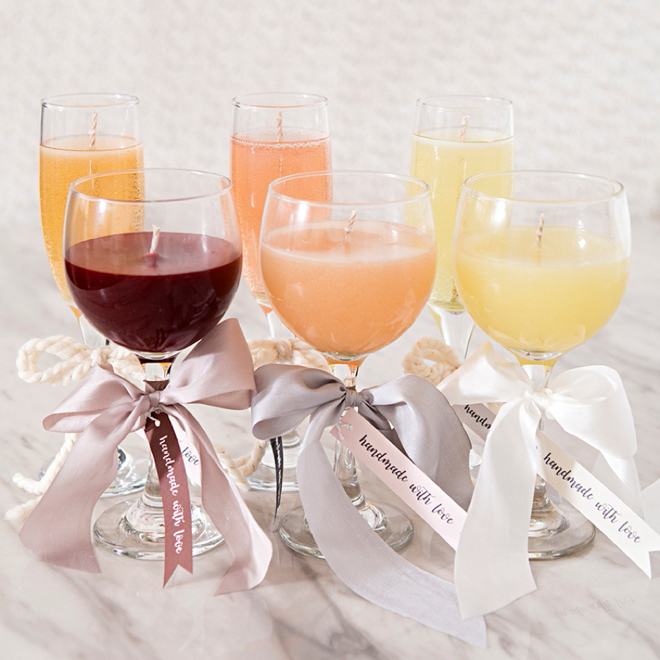
White Wine: 1 brown flake + 1 white flake
Champagne: 1 brown flake
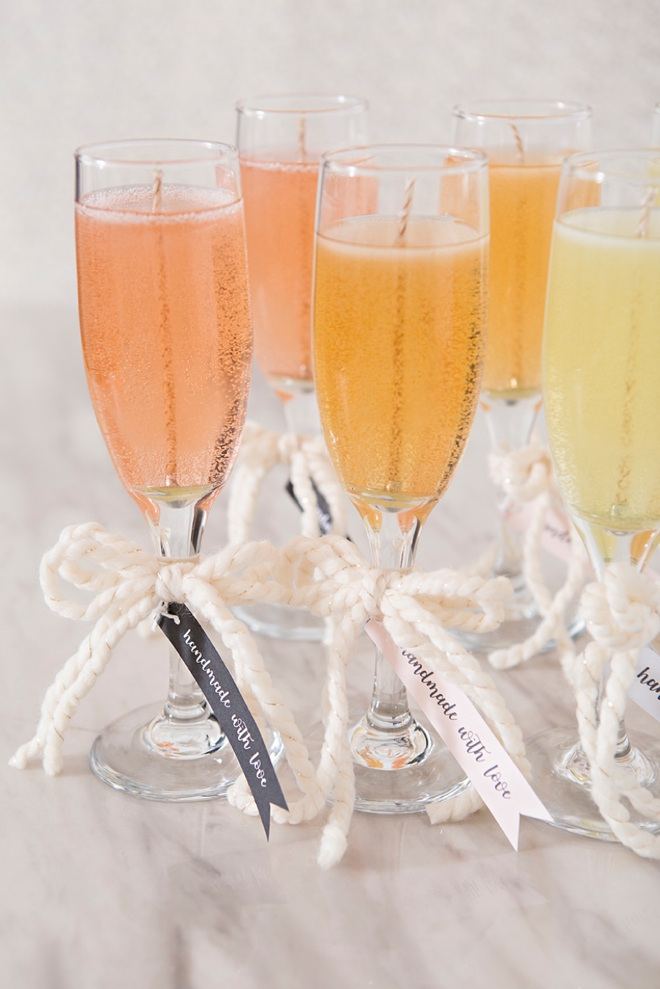
Rosé
Remember I mentioned that it hardly takes anything to color these candles! Here are the colorant recipes:
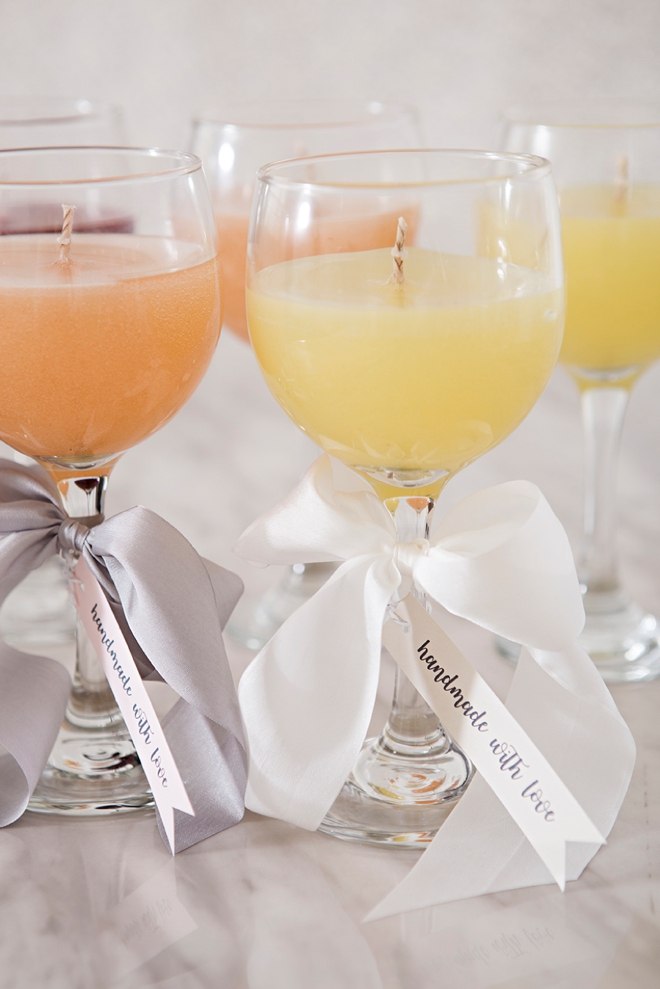
Rosé Wine: 2 pink flakes + 1 brown flake + 1 white flake
Rosé Champagne: 2 pink flakes + 1 brown flake
Mimosa: 1 brown flake + 1 yellow flake
Red Wine
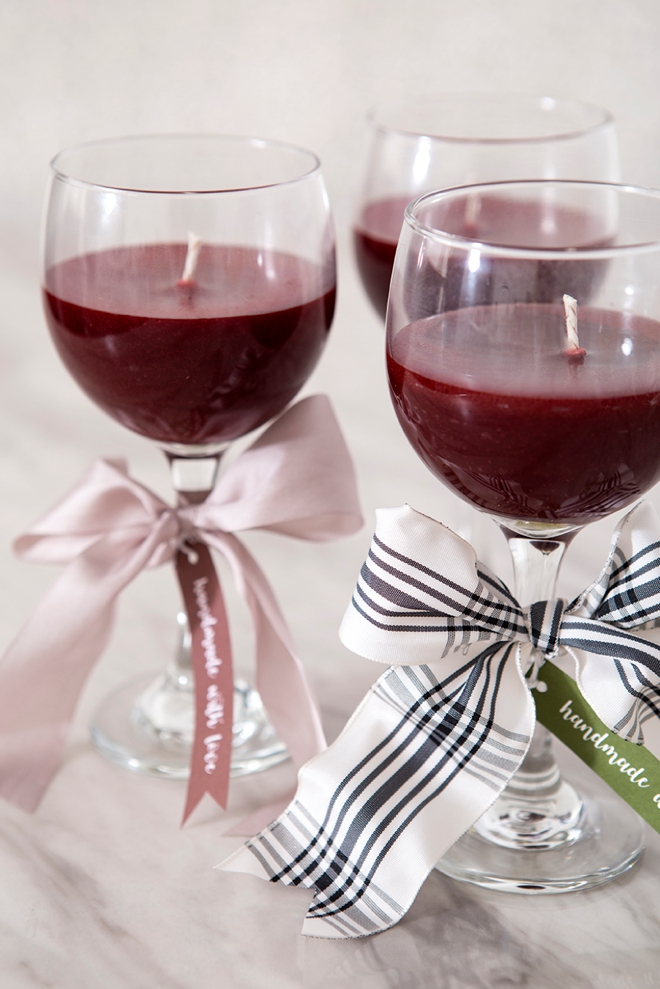
Remember I mentioned that it hardly takes anything to color these candles, but it takes a bit more to make the red wine. Here is the colorant recipe:
Red Wine: 2 pink flakes + 2 red flakes + 2 white flakes + 4 brown flakes
Turquoise Champagne, Yaasss
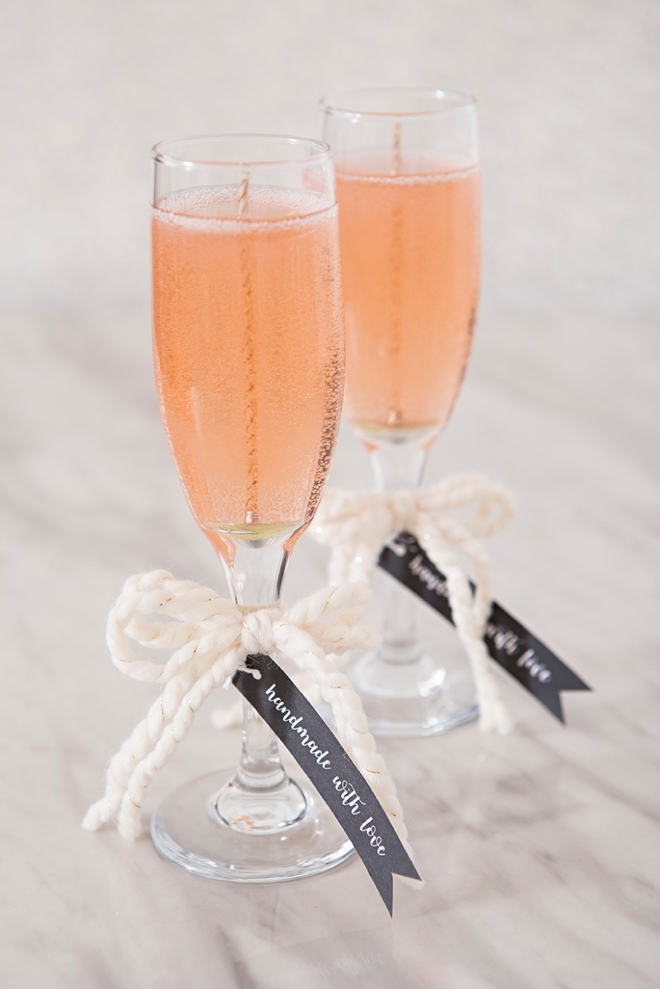
In case you take after me and prefer that your champagne is turquoise, then, by all means, make your champagne candles turquoise! The same coloring for these apply as the direction above, just a few flakes of aquamarine colorant will do the trick.
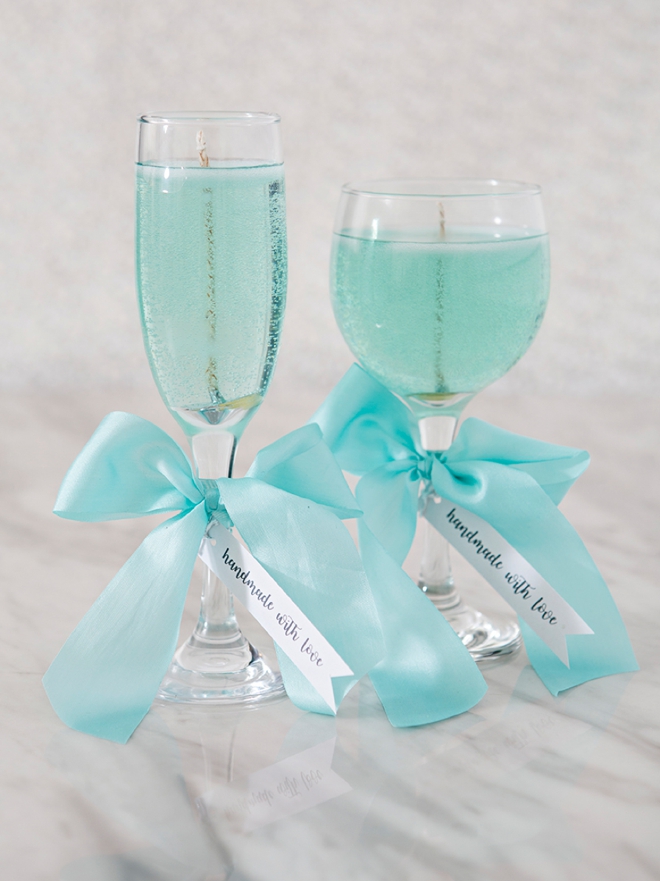
As with all our DIY tutorials, if you create one of our projects please send us a picture – We Love Seeing Your Creativity! If you use Instagram or Twitter please use the hashtag #SomethingTurquoiseDIY and it will show up on our Get Social page. Happy Crafting!
DIY Tutorial Credits
Photography + DIY Tutorial: Jen Causey of Something Turquoise // Gelly Candle Wax: Amazon // Wine Glasses: Amazon // Champagne Glasses: Amazon // Candle Wax Dye Chips: Amazon // Candle Fragrance Oil: Bramble Berry // Candle Wicks: Amazon // Wooden Spoons: Amazon // Candle Pouring Pot: Amazon // Glue Dots Candle Dots: Amazon // Silk Ribbon: Amazon // Hole Punch: Amazon // 8.5″ x 11″ White Cardstock: Amazon // Nail Polish: OPI – Withstands the Test of Thyme
Shop The Supplies:
Find the supplies you’ll need for this project from our affiliate links below:



Comments