
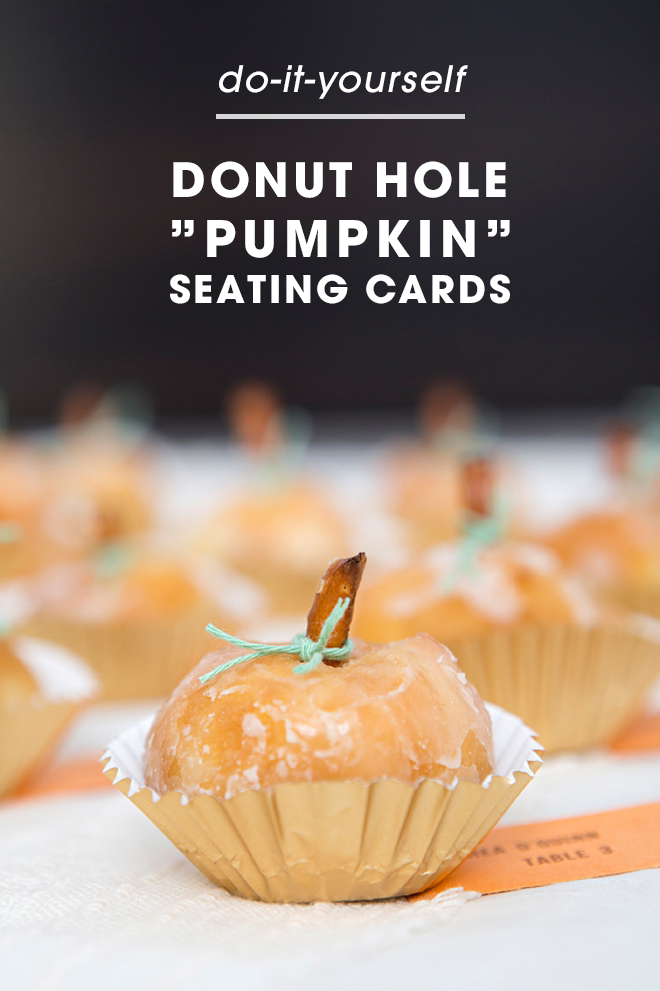
DIY | Pumpkin Donut Hole Seating Cards
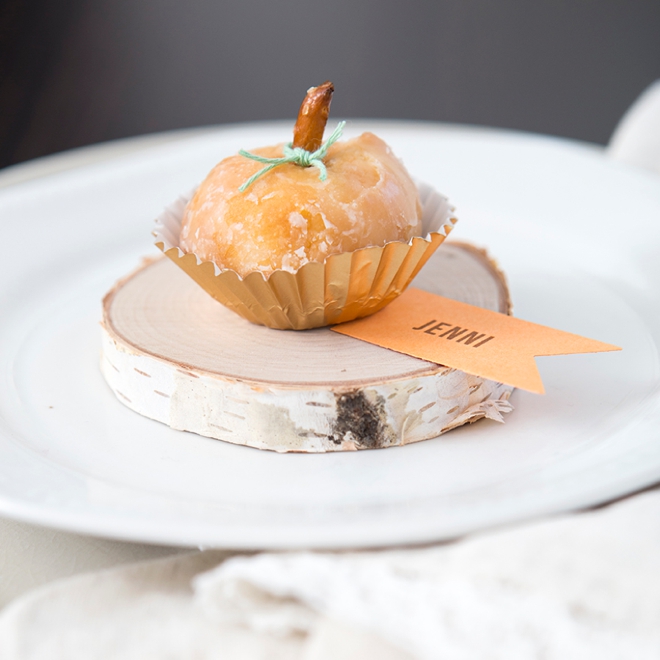
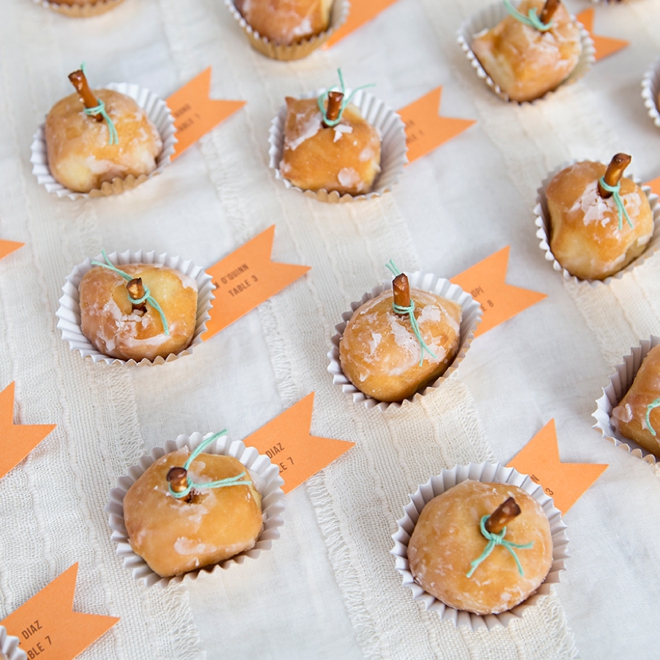
We’re playing with donut holes today and I couldn’t be more excited because I’ve turned them into the cutest mini pumpkins ever! This would be the perfect detail for your fall wedding or fall bridal shower because your guests get a treat and find their seat, all at the same time. Let me be clear, these are just regular old donut holes, not pumpkin spice flavored or anything, but you can use any kind you’d like!
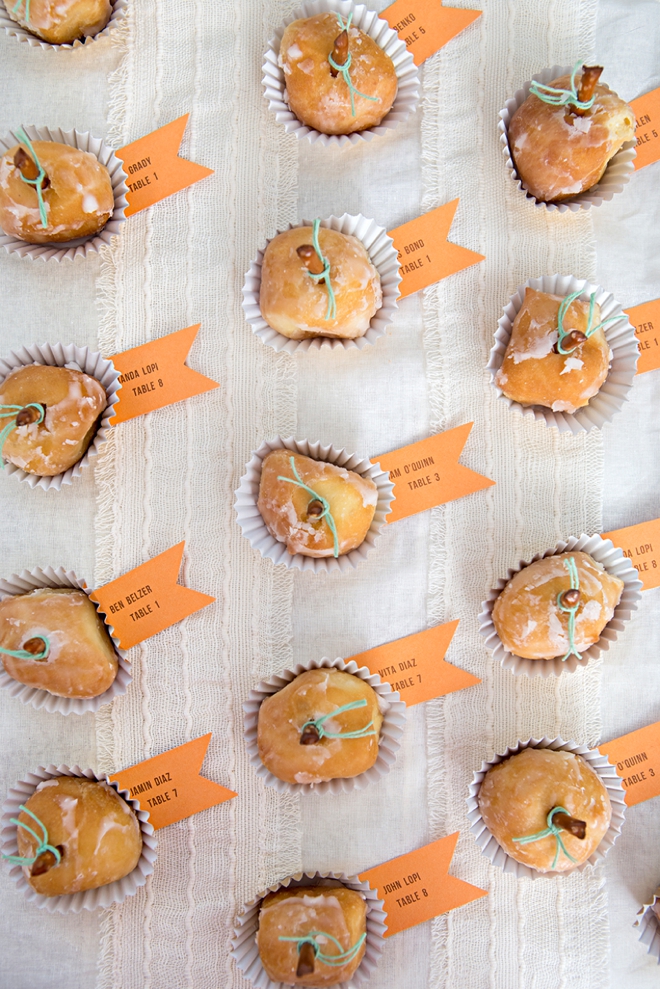
Escort Cards -or- Seating Seating
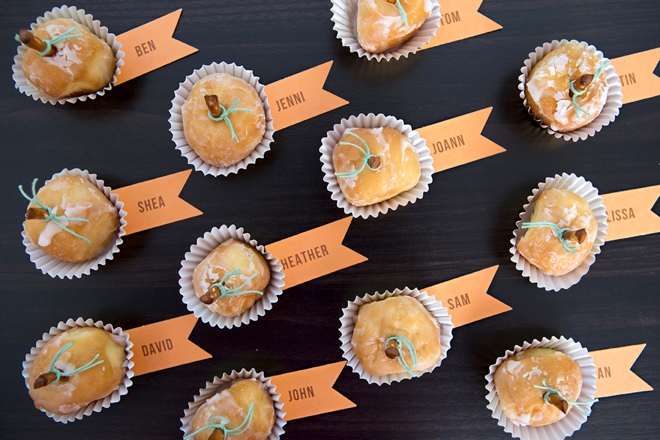
These darling little “pumpkin” treats would make terrific escort cards or seating cards. What’s the difference you ask? Escort cards are usually displayed on a large table at the entrance to your reception, and your guests would take their treat and table info, and walk into their table. Seating cards would be at each place setting, telling each guest where their exact seat is, no table number necessary because they are already there!
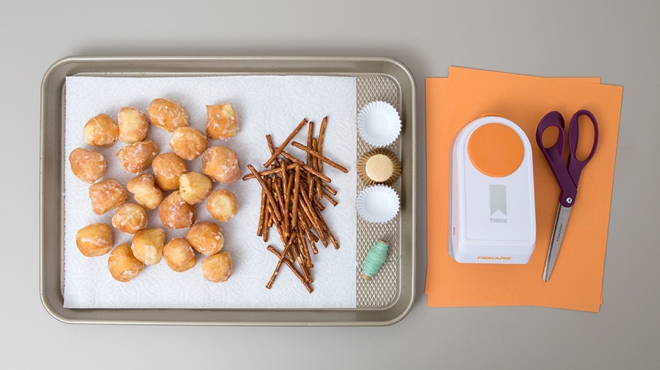
SUPPLIES:
- Fresh Donut Holes
- Pretzel Sticks
- Mini Cupcake Liners
- Tag Punch
- Cardstock
- Twine
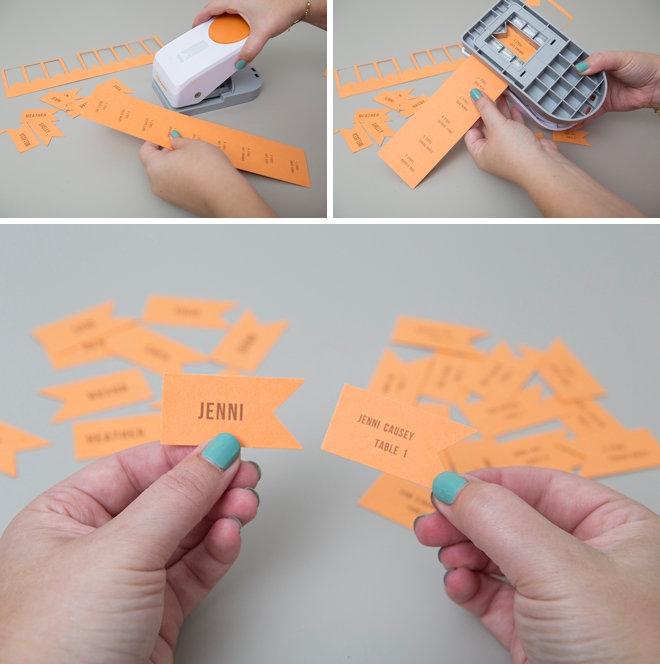
Make The Tags
Using a cute tag punch, create your seating cards or escort cards. I used Pages to create this text layout, printed it onto 8.5″ x 11″ cardstock and then trimmed the paper down to punch out each tag.
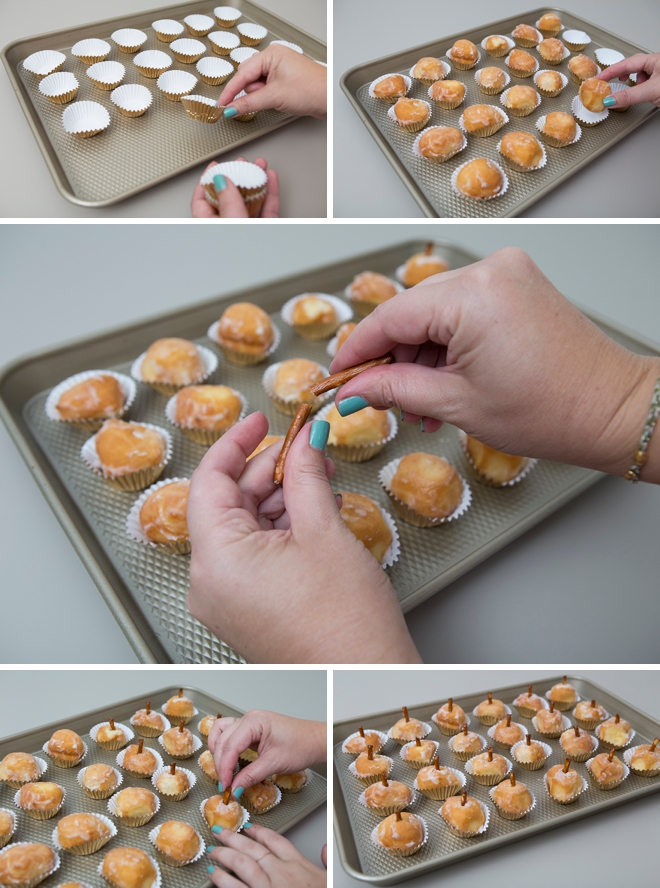
Add The Pumpkin “Stem”
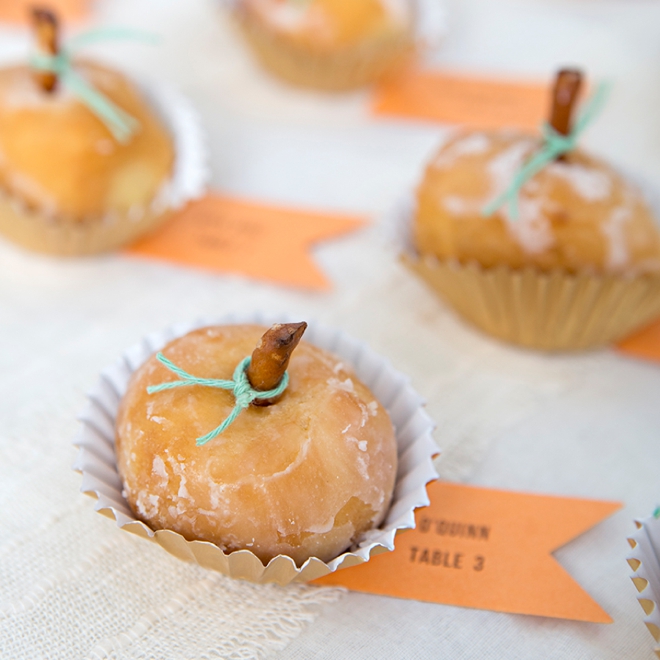
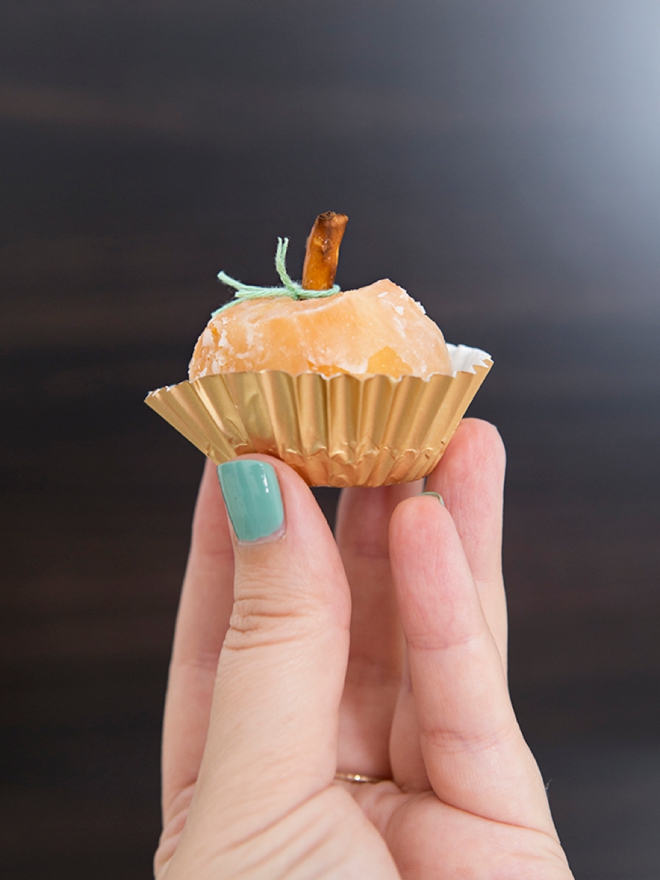
On a baking sheet, layout as many mini cupcake wrappers as you can. Then add a donut hole to each one. For the pumpkin “stem” break a pretzel stick in half and press into each donut!
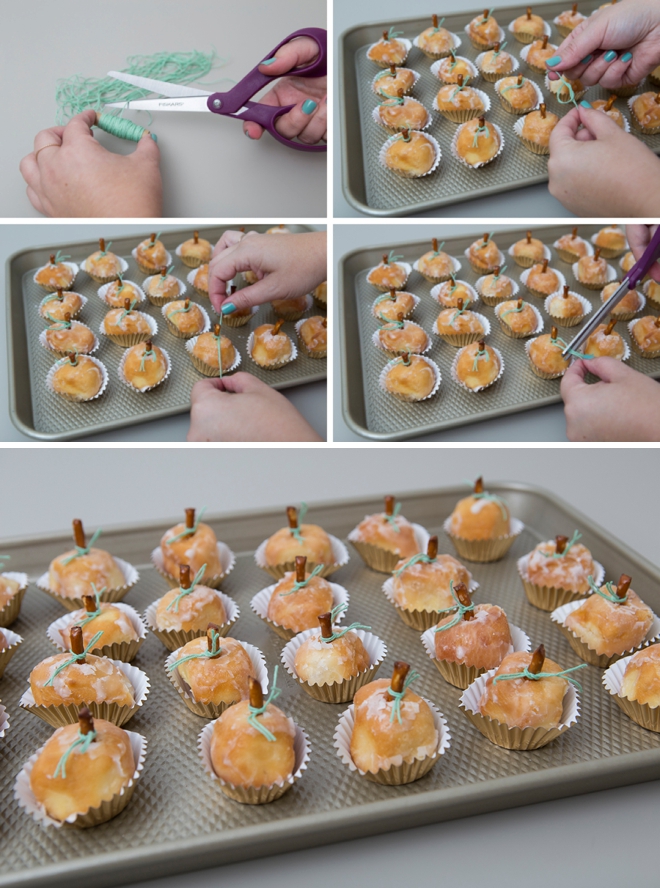
Add The Pumpkin “Leaf”
Cut some pale green twine and tie a little knot around each pumpkin “stem” for a cute little leaf look. You could also add a little leaf with pale green frosting instead!
The Morning Of
Since you’ll want these donut hole treats to be fresh for your guests, you’ll need to assemble them the morning of your event. If you can’t do that, the night before will work but you’ll need to store them in an airtight container.

As with all our DIY tutorials, if you create one of our projects please send us a picture – We Love Seeing Your Creativity! If you use Instagram or Twitter please use the hashtag #SomethingTurquoiseDIY and it will show up on our Get Social page. Happy Crafting!
DIY Tutorial Credits
Photography + DIY Tutorial: Jen Carreiro of Something Turquoise // Mini Cupcake Liners: Amazon // Tag Banner Punch: Fiskars // Green Twine: Amazon // 8.5″ x 11″ Cardstock in Papaya: Paper Source // Threshold Baking Sheet: Target // Nail Polish: OPI – Withstands the Test of Thyme
Shop The Supplies:
Find the supplies you’ll need for this project from our affiliate links below:

Comments