
Simple DIY – “Mint To Be” Tiny Treats
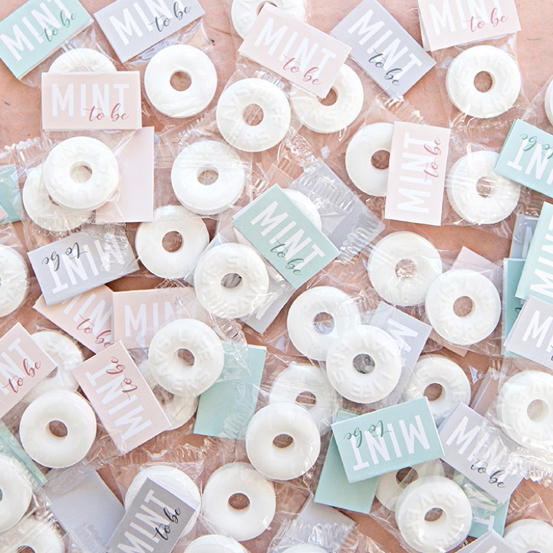
I think that you’re MINT to be here and MINT to make these darling tiny treats for your wedding! These DIY Mint To Be mint favors are the perfect little detail for your engagement party, bridal shower, or wedding alike. They’re such an easy project that will make a super sweet impact on your guests, no matter what the event. Cheers to having fresh breath, the cute way!
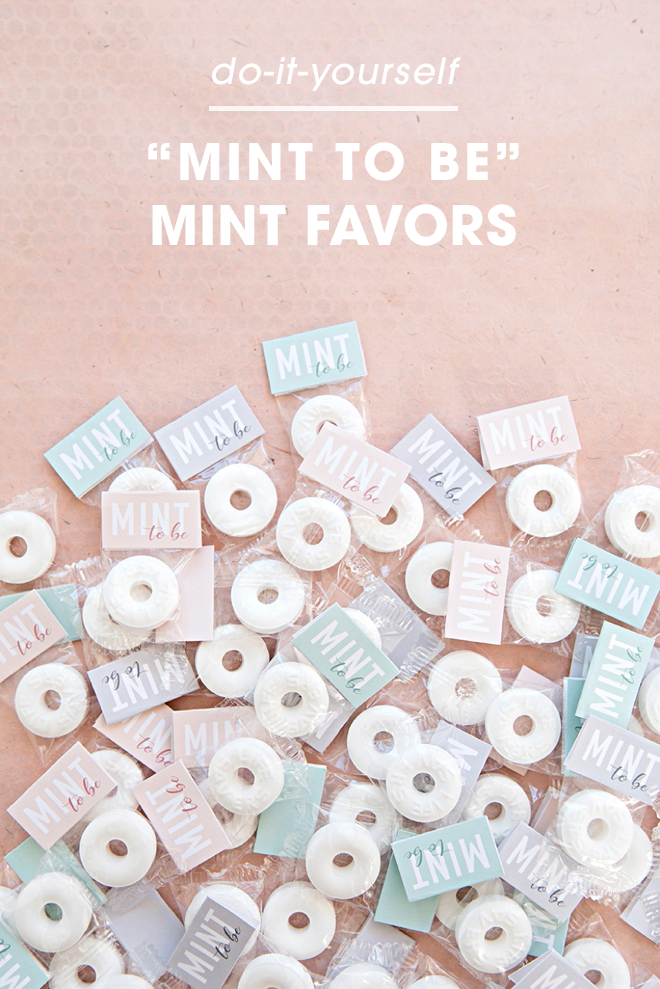
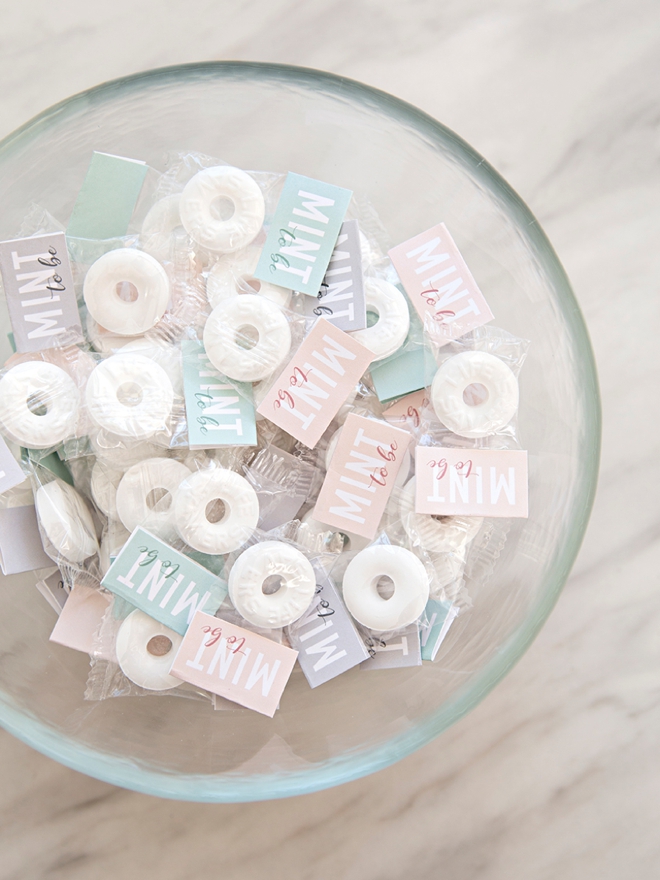
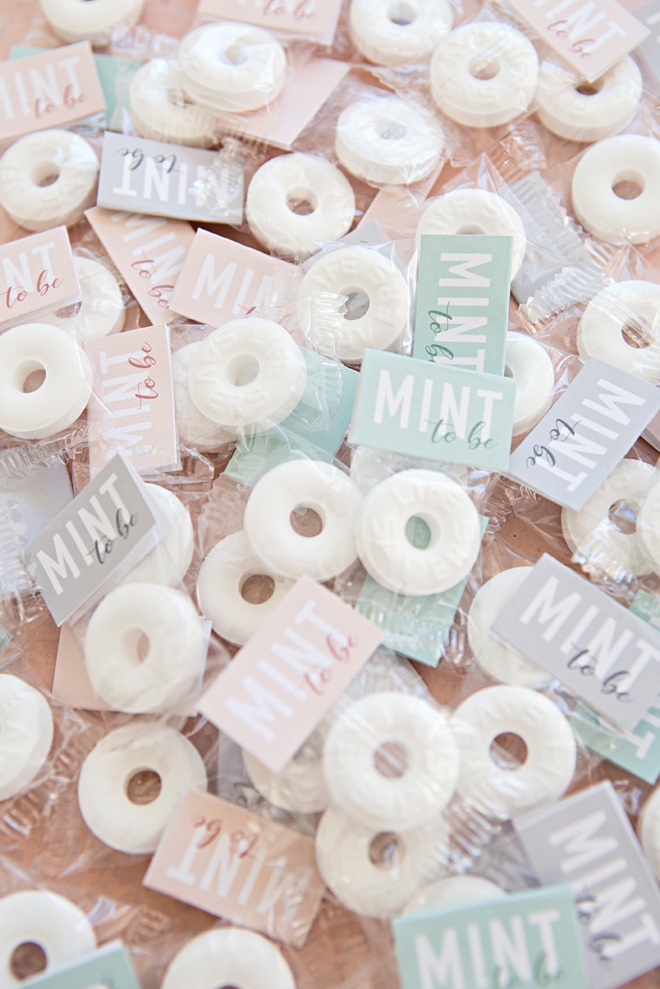
Mint + Blush + Gray
At the end of the post I’m offering these free printable tags in mint, blush and gray… which should cover any theme event!
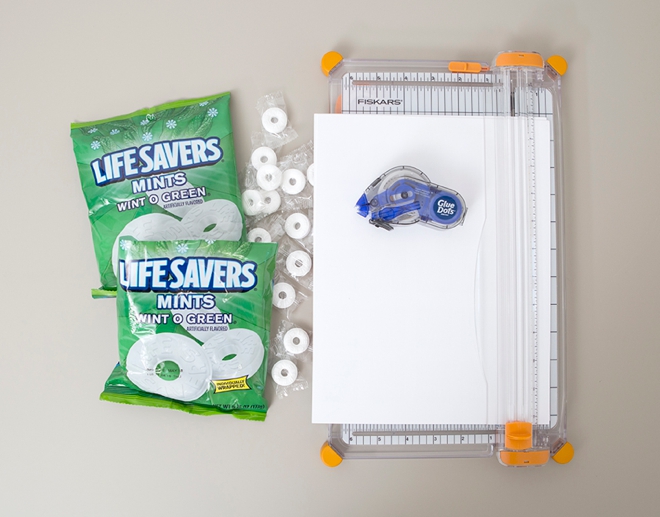
SUPPLIES:
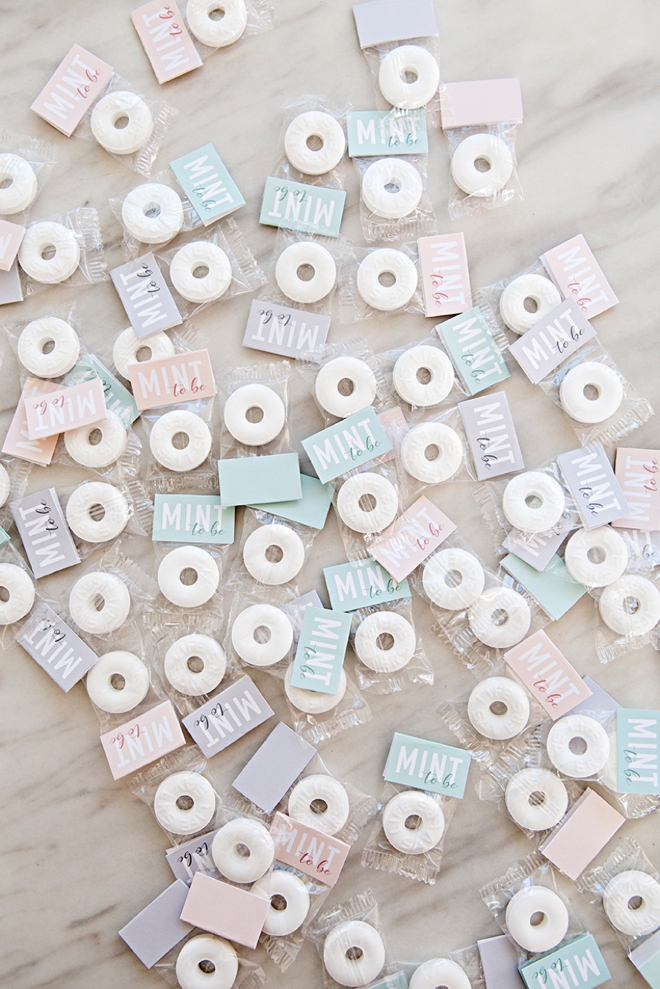
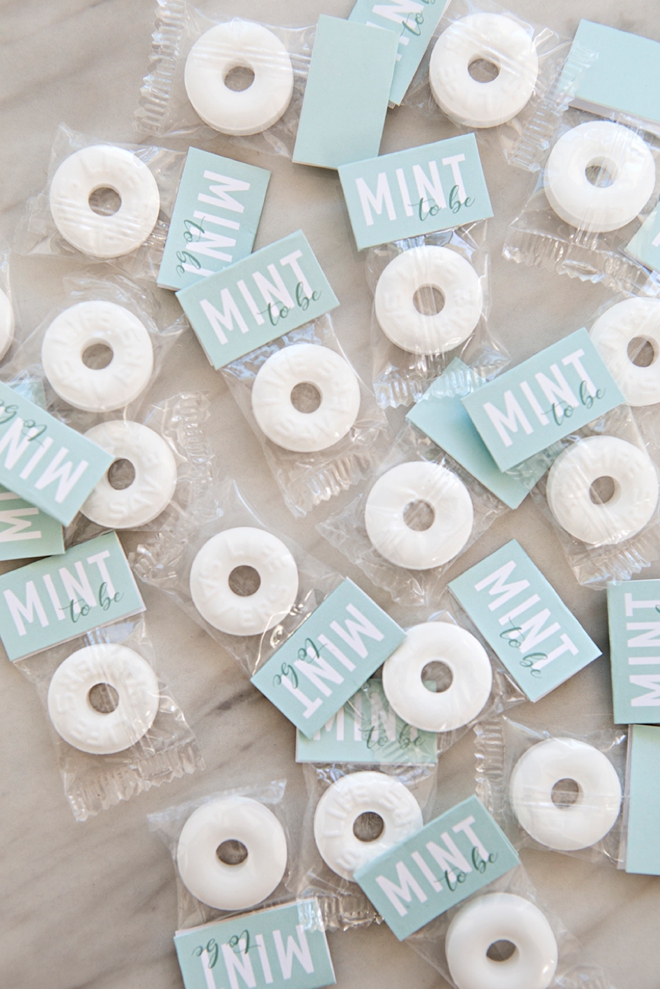
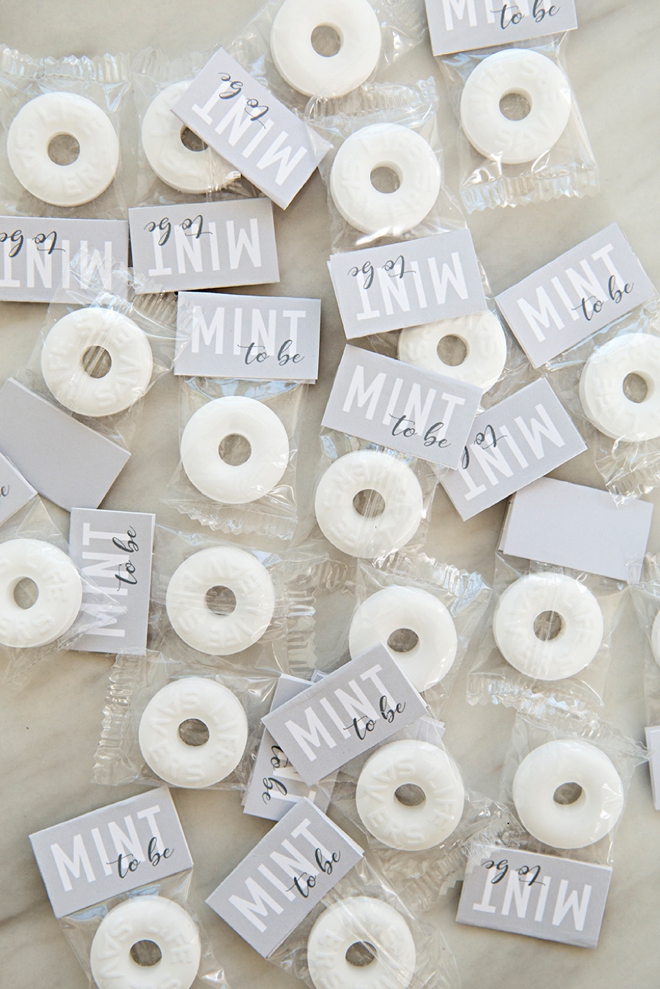
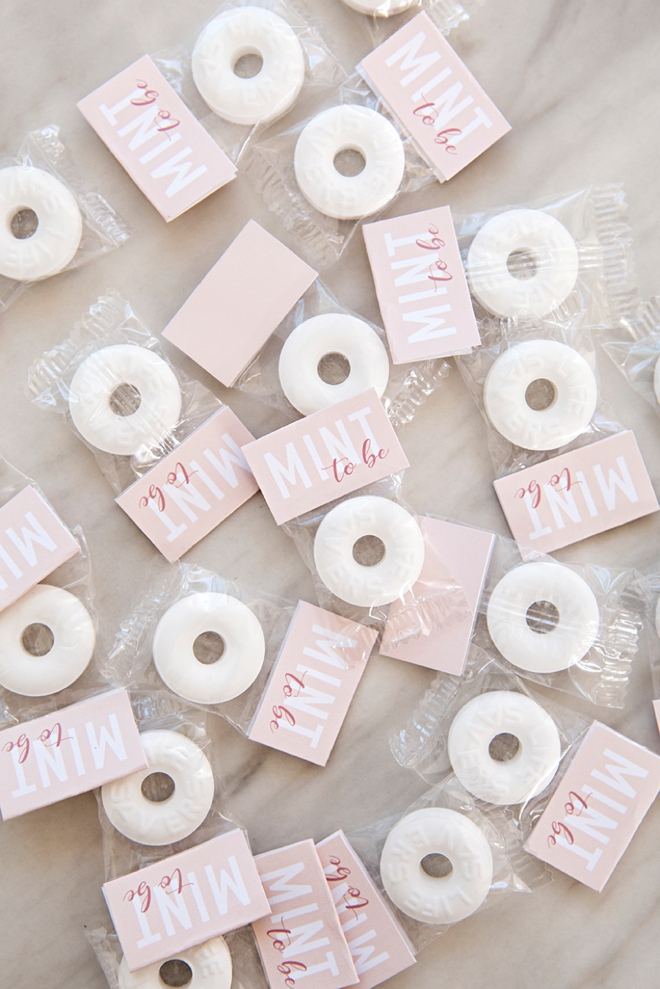
- Individually Wrapped Lifesaver Mints
- 8.5″ x 11″ White Cardstock
- Glue Dots Glue Tape Runner
- Paper Trimmer
- Our free printable tags below!
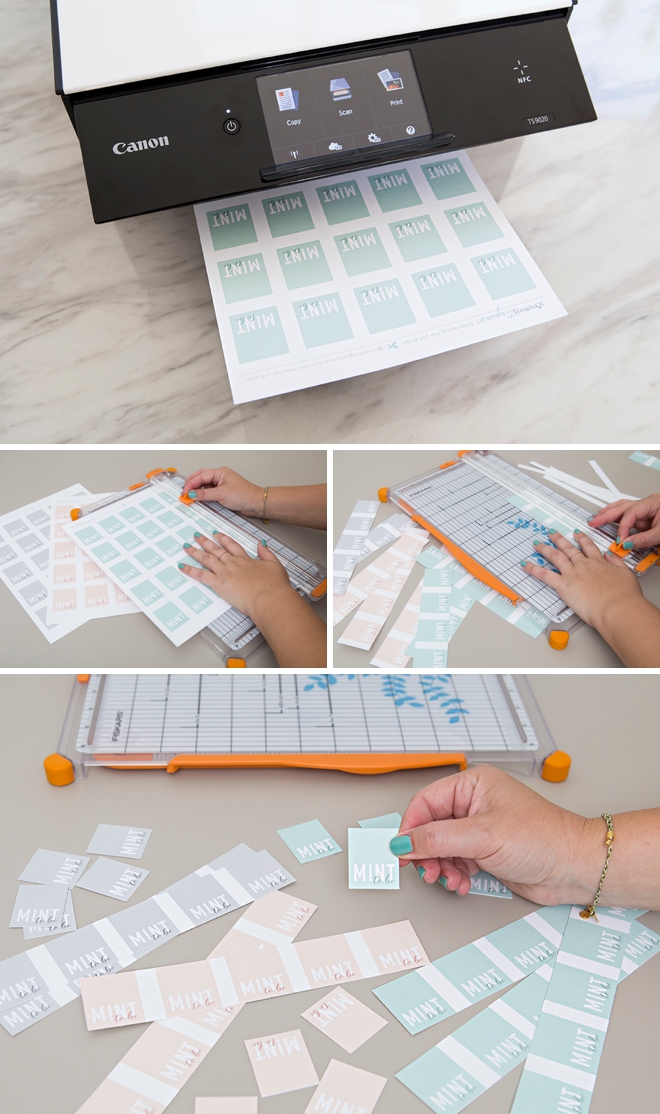
Download + Print + Trim
Download the tags at the end of the post and print onto 8.5″ x 11″ white cardstock. Then trim each tag using a paper trimmer. They cut to 1.5″ x 1.25″, perfectly sized for these individually wrapped mints!
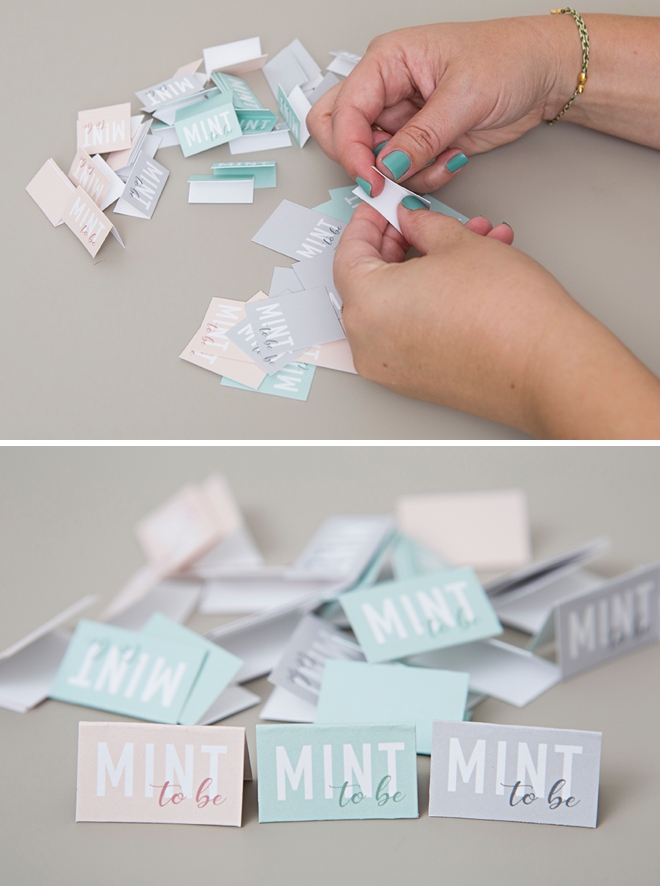
Fold Each Tag In Half
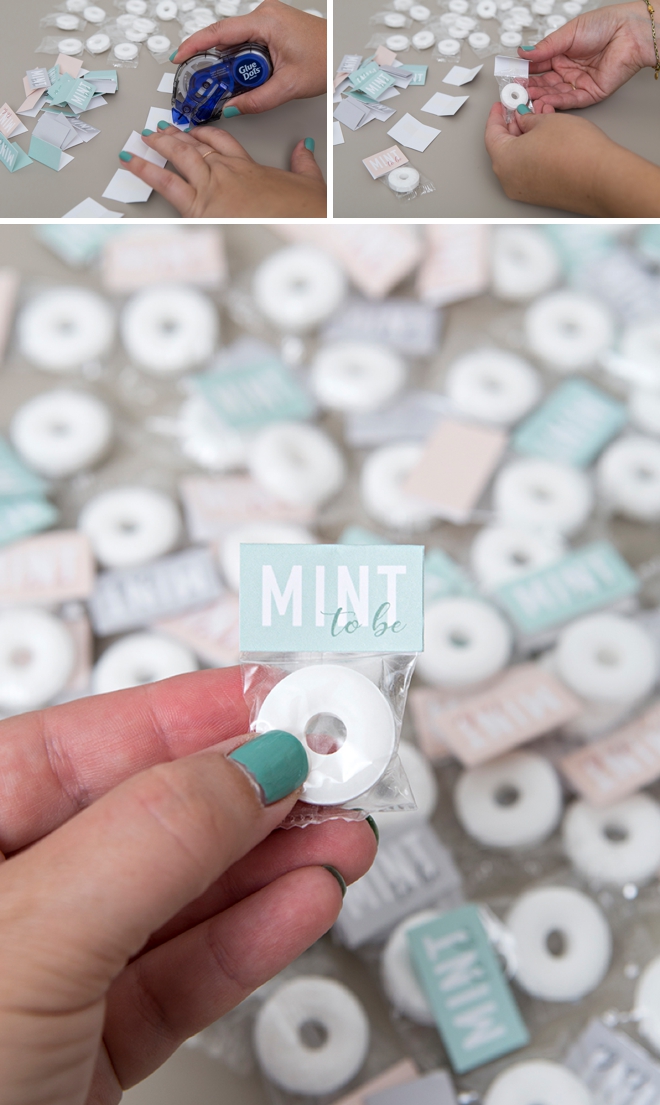
Adhere
Using your favorite tape style adhesive, run a line down the inside/middle of each tag. Then wrap around the mint wrapper and press to adhere. Done! Crazy easy right… and beyond adorable!
Reception Bathroom
These little cuties would be the absolute perfect element to put in the bathrooms at your reception… help your guests out and make sure they have great breath, all event long!

As with all our DIY tutorials, if you create one of our projects please send us a picture – We Love Seeing Your Creativity! If you use Instagram or Twitter please use the hashtag #SomethingTurquoiseDIY and it will show up on our Get Social page. Happy Crafting!
DIY Tutorial Credits
Photography + DIY Tutorial + Free Printables: Jen Carreiro of Something Turquoise // 8.5″ x 11″ White Cardstock: Amazon // Lifesaver Mints: Amazon // Paper Trimmer: Fiskars // Glue Dots: Amazon // Nail Polish: OPI – Withstands the Test of Thyme
Shop The Supplies:
Find the supplies you’ll need for this project from our affiliate links below:

Comments