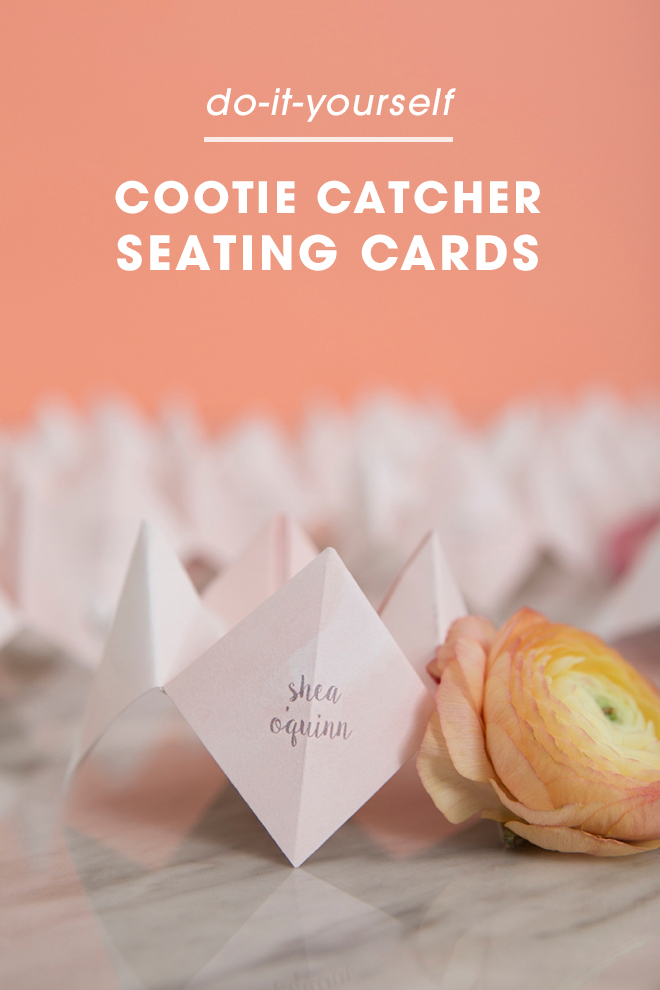
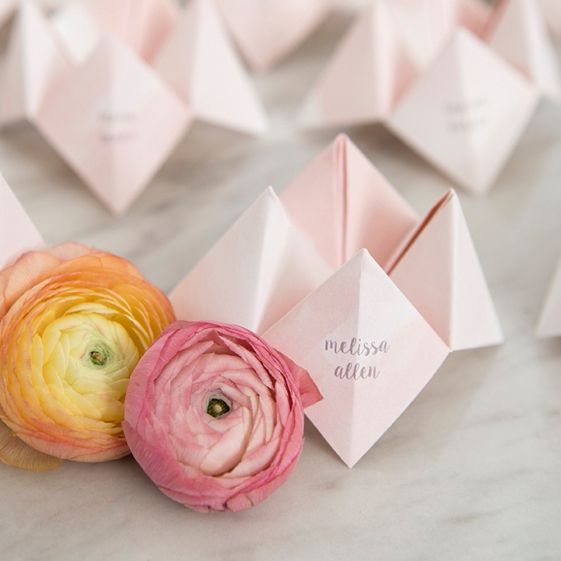
I don’t know about you, but all through junior high I was the queen of folding + making cootie catchers… and I’m pretty sure that I caught plenty of cooties, LOL. We’re having some old school fun today with this seating card project and I hope your game. Who wants a boring seating card anyway!? They are super easy to make but will take you some time if you have a large guest list. How fun would this be if you actually met your fiancé in junior high!?!
Fun Is In
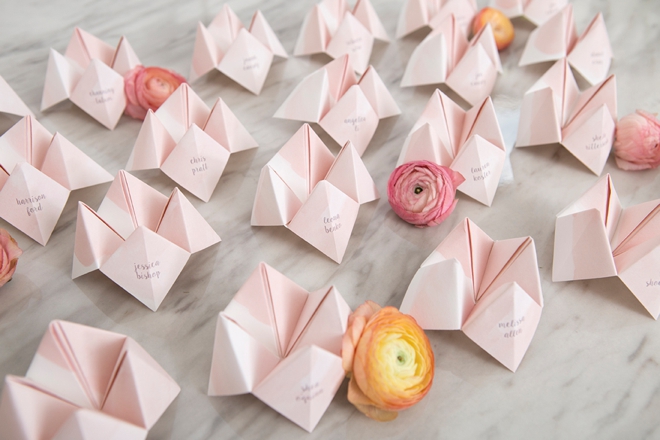
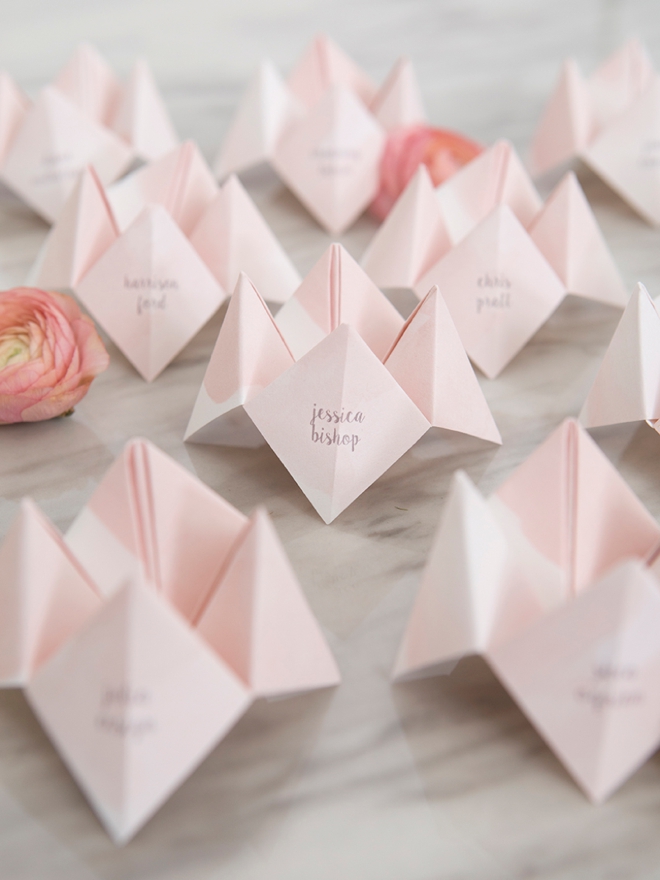
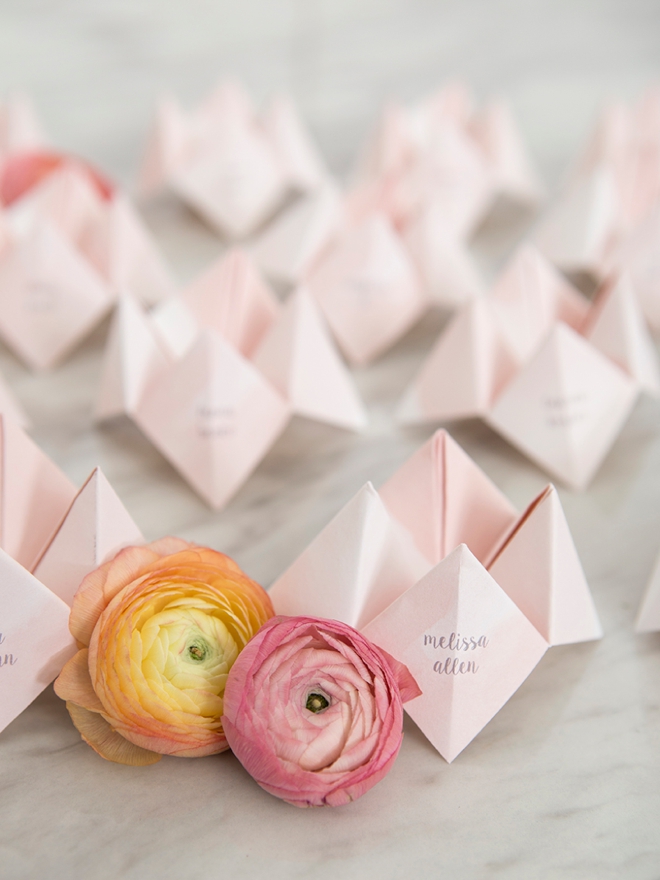
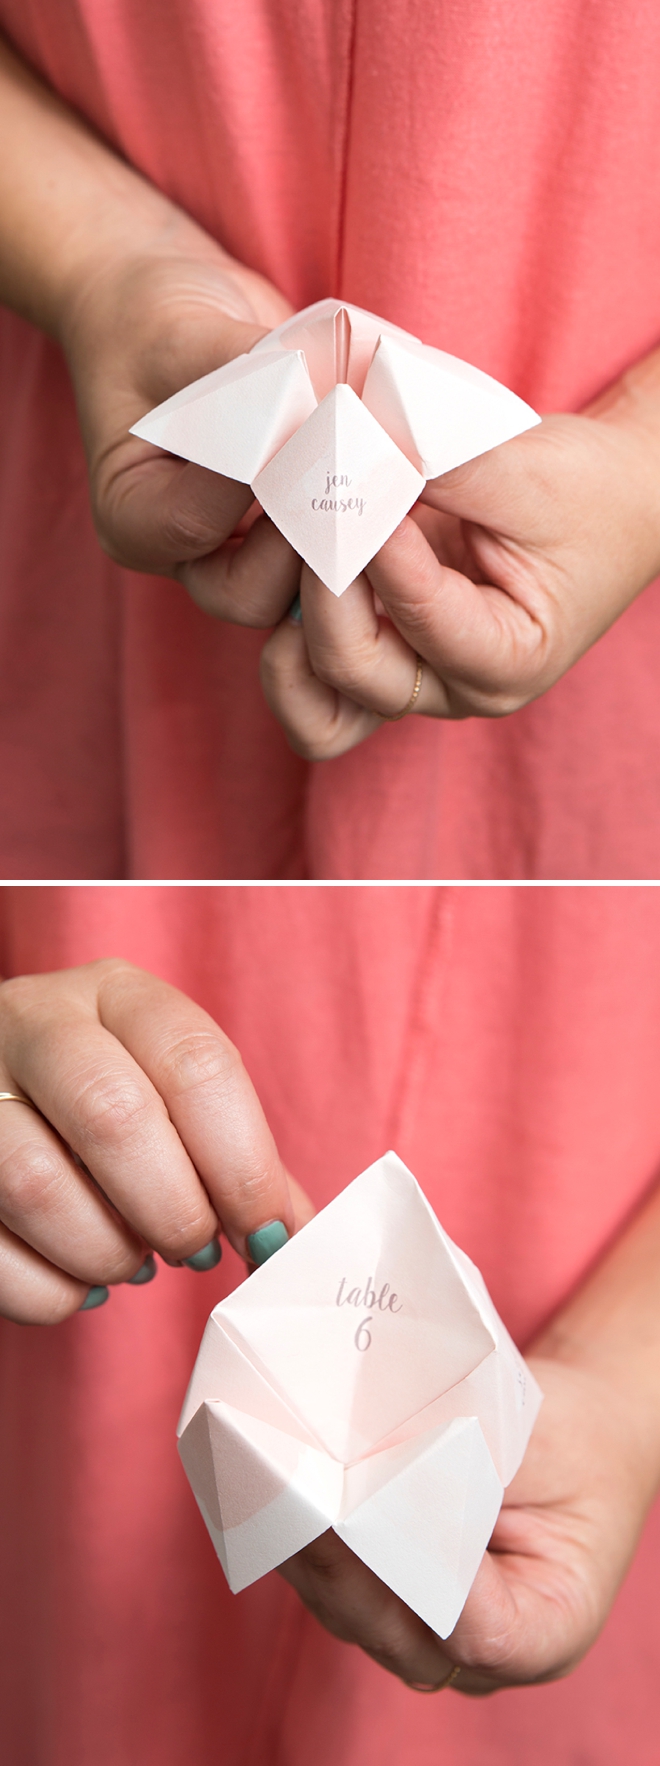
Why not give your guests a little something fun to do… like opening up these cuties to find out where they are sitting!? It’s sure to give them a laugh and a blast from the past!
SUPPLIES:
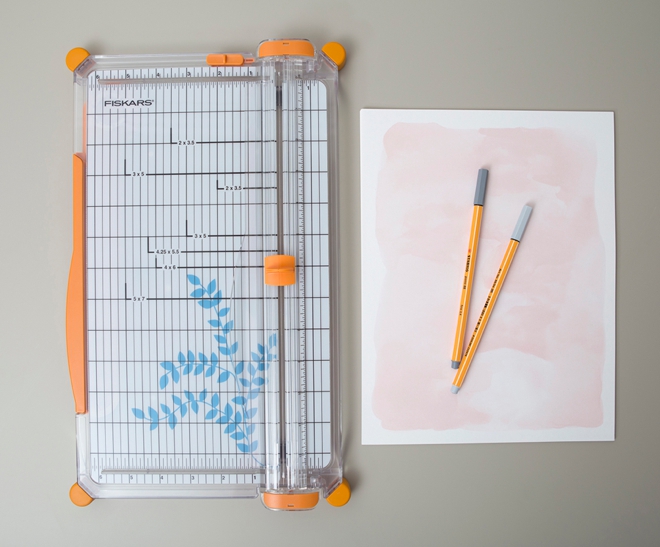
- Pretty Paper
- Paper Trimmer
- Pens or Printer
- Guest List
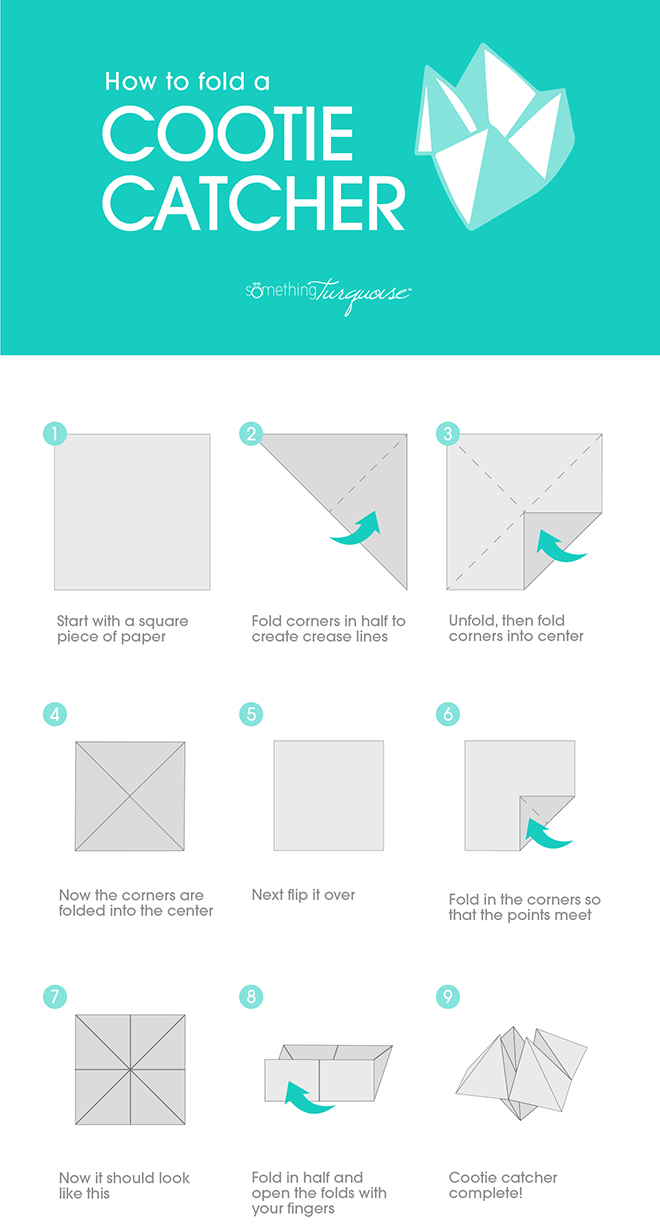
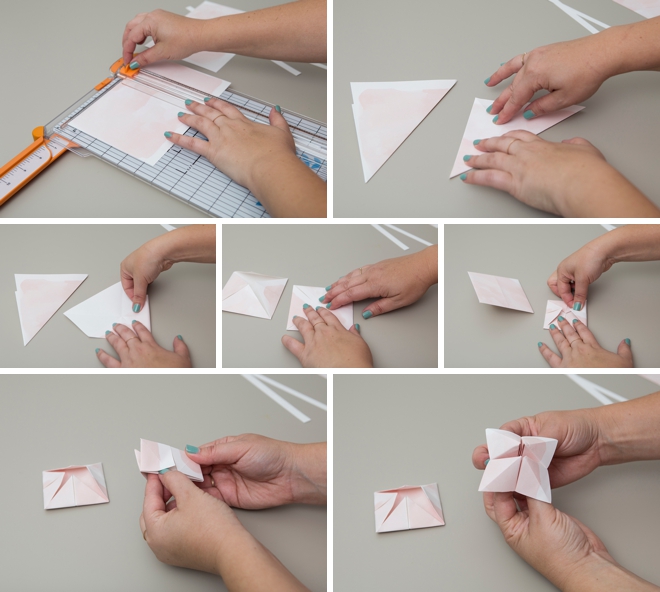
Me Folding A Cootie Catcher
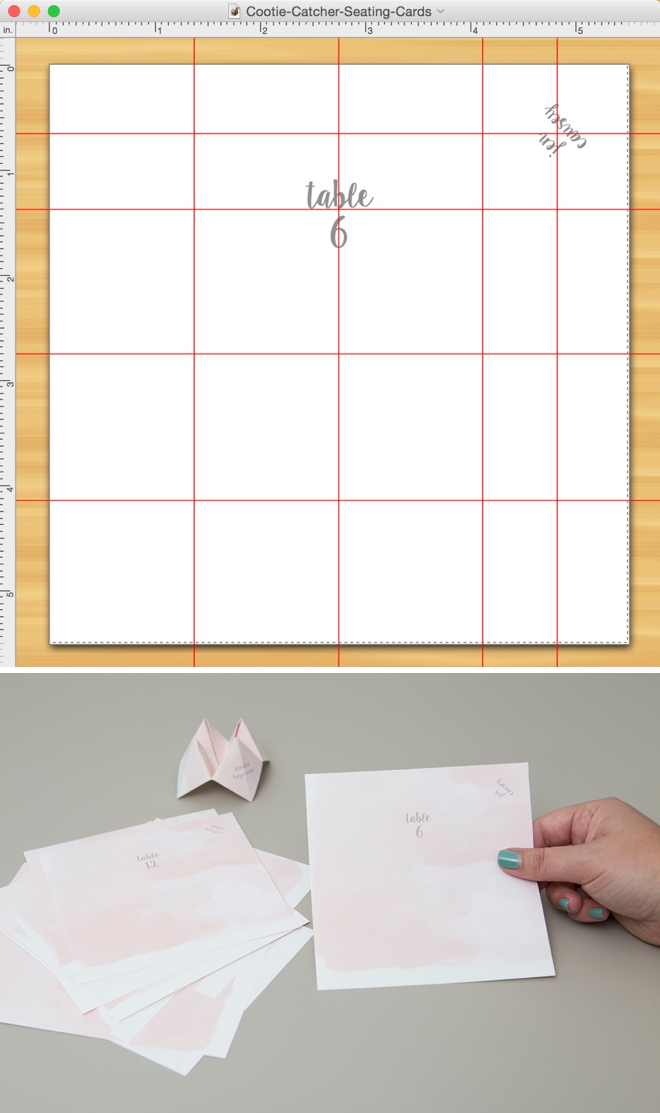
You can create these cuties in ANY size that you’d like – you just have to start with a square piece of paper. I did 5.5″ square.
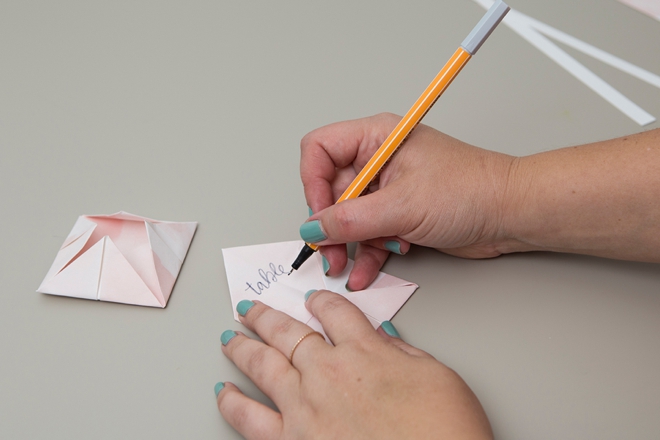
Write The Names
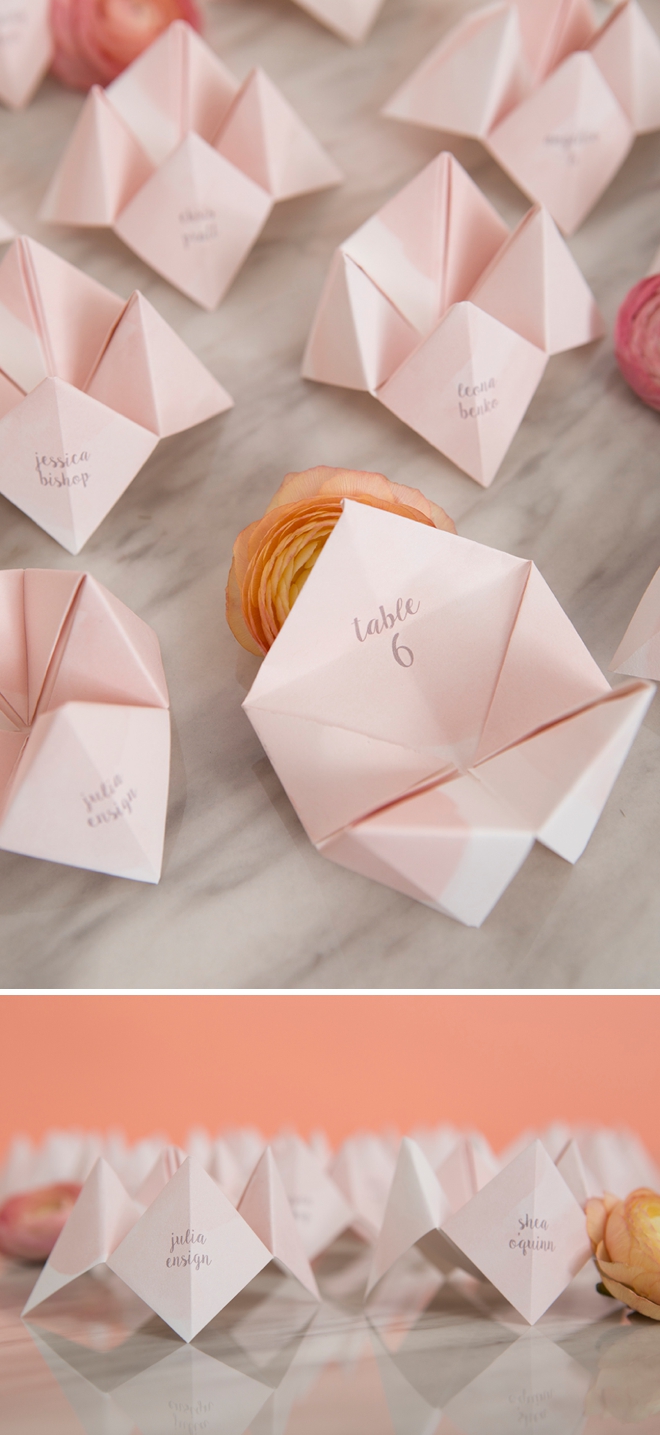
If you have nice writing, hand letter your guests names and table assignments!
Print The Names
If you’re computer savvy, design a printable based on the size of paper you’re using and print your guests names and seating. The program I used is called Print Shop 3 for Mac, but you can use any program you’re comfortable with.
Write vs. Print
If you print them, you’ll need to fold them afterwards. If you write the names in, you’ll want to fold them first! Personally I think printing is easier, but it’s totally up to you!
As with all our DIY tutorials, if you create one of our projects please send us a picture – We Love Seeing Your Creativity! If you use Instagram or Twitter please use the hashtag #SomethingTurquoiseDIY and it will show up on our Get Social page. Happy Crafting!
DIY Tutorial Credits
Photography + DIY Tutorial: Jen Carreiro of Something Turquoise // Paper Trimmer: Fiskars // 8.5″ x 11″ Watercolor Paper: Paper Source // Pens: Amazon // Nail Polish: OPI – Withstands the Test of Thyme
Shop The Supplies:
Find the supplies you’ll need for this project from our affiliate links below:


Comments