
DIY – Floral Iron-on Alphabet Banner
-Sponsored Post-
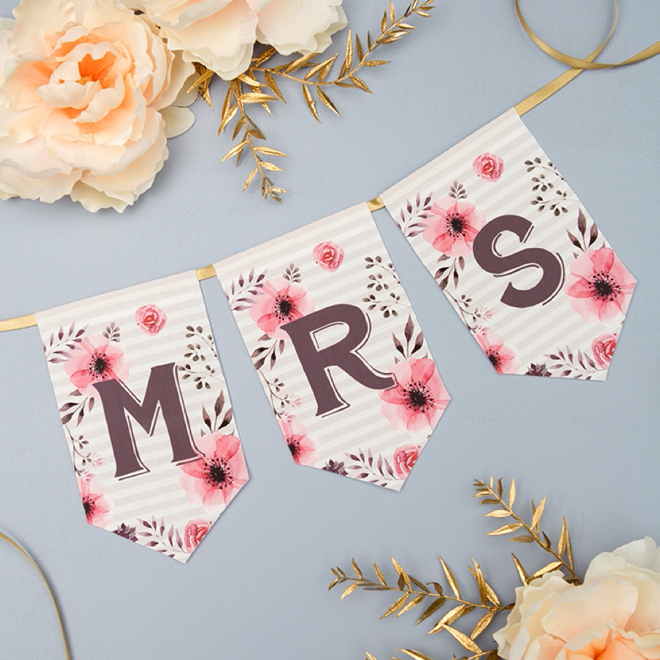
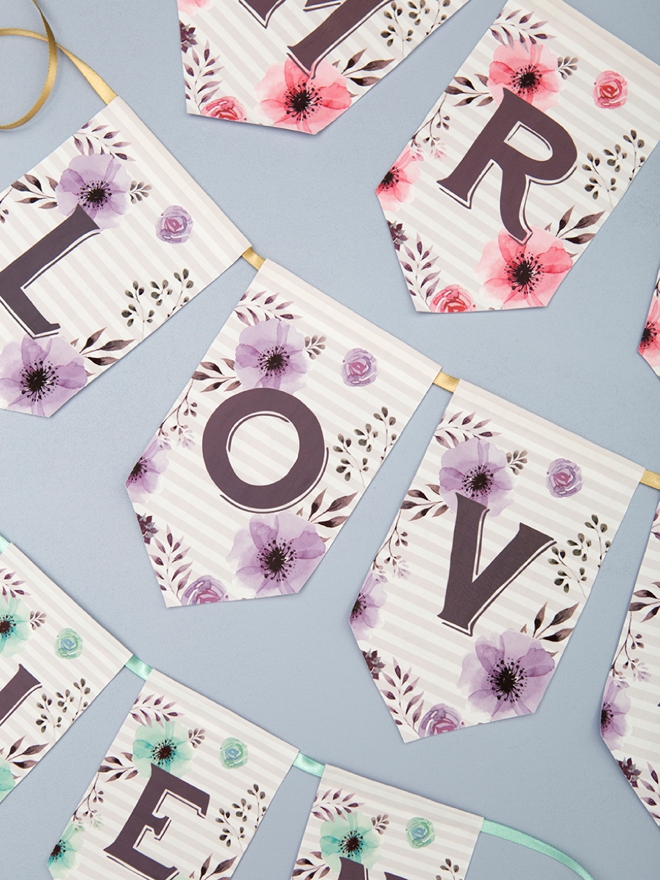
Banners are fabulous. Fabulous for bridal showers, weddings, birthdays, holidays and Fridays. This DIY banner project might look like it’s printed on paper – but it’s actually printed on iron-on material – which means the banner letters are fabric! Hang, wash, reuse and know that water isn’t a worry for this decor element. I’m using my favorite crafting printer, the Canon PIXMA iP8720 to tackle this job because it was created to print on thicker materials. The alphabet files I’m sharing for free can be printed without wasting paper or material, and you get to decide exactly what your banner says!
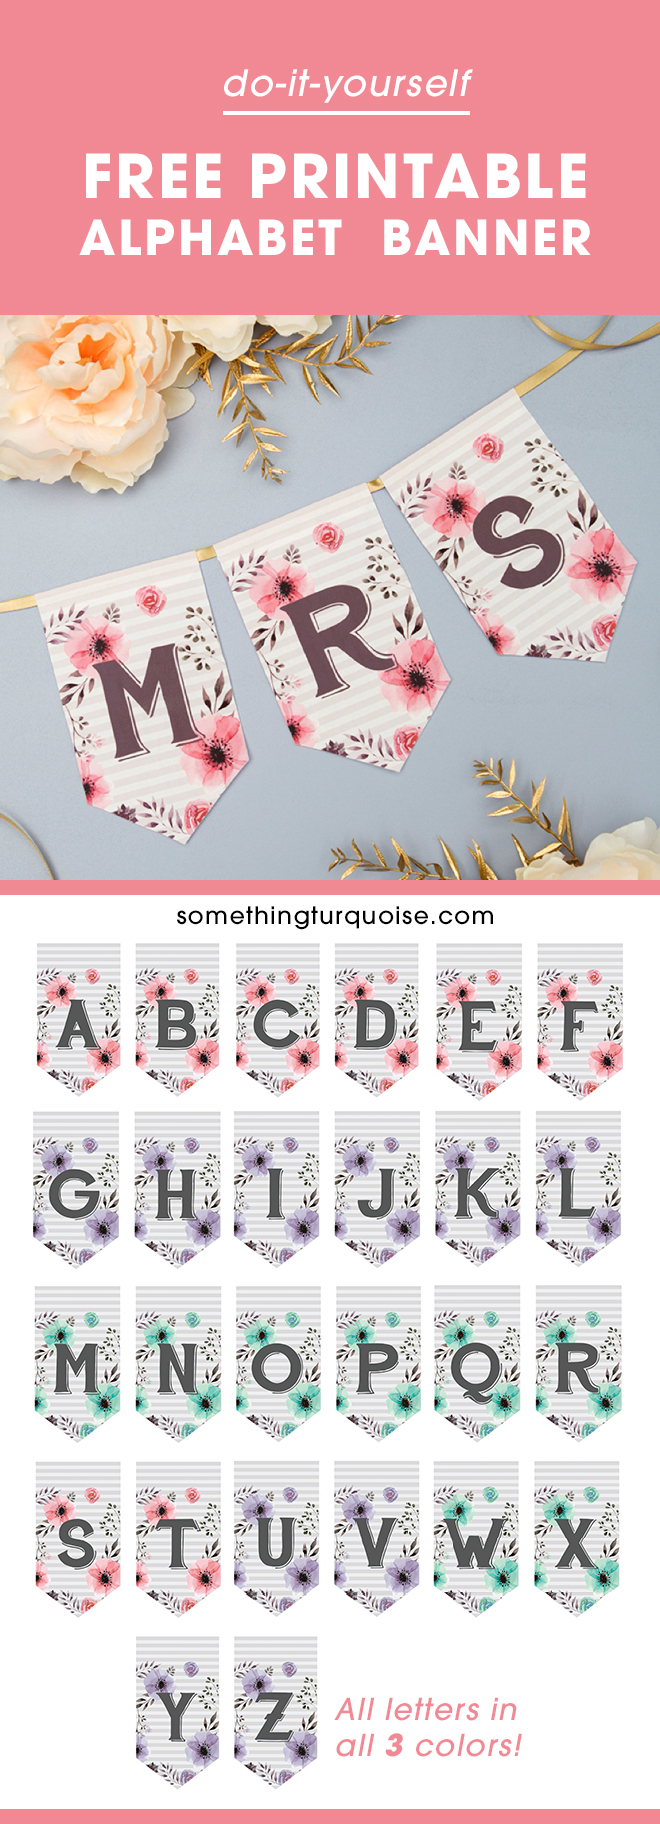
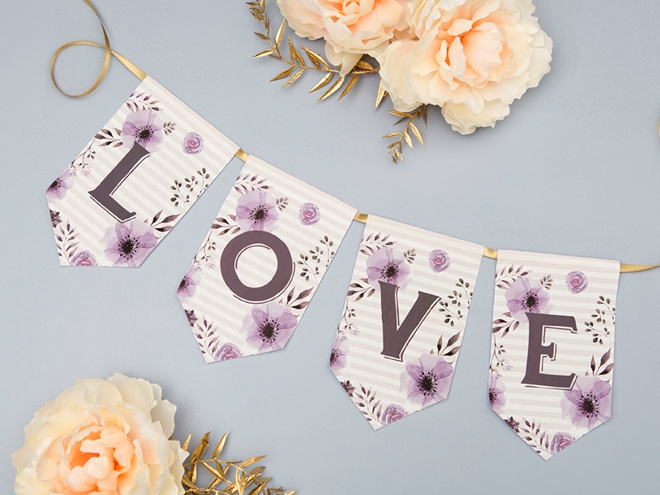
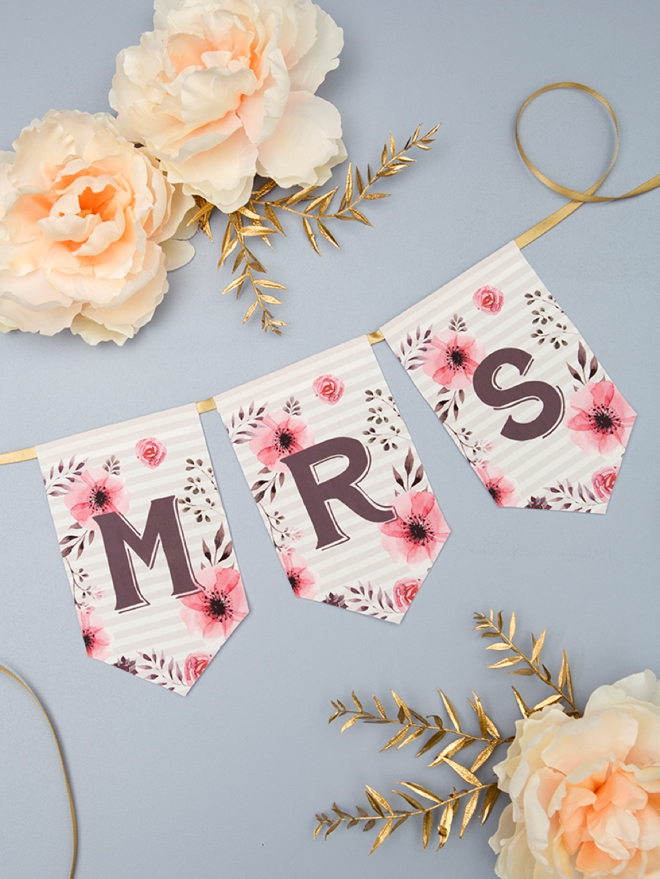
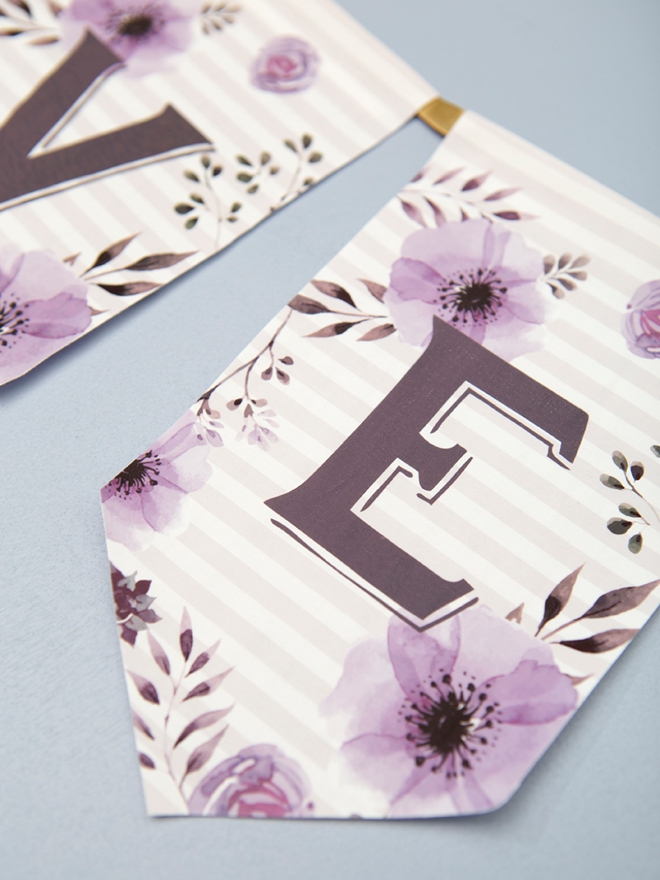
Pink + Lavender + Aqua
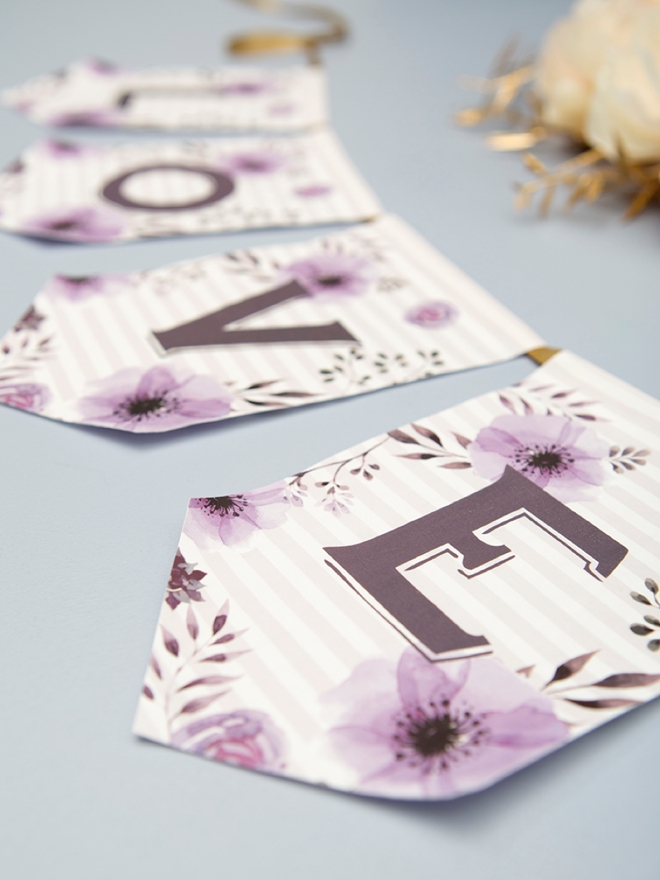
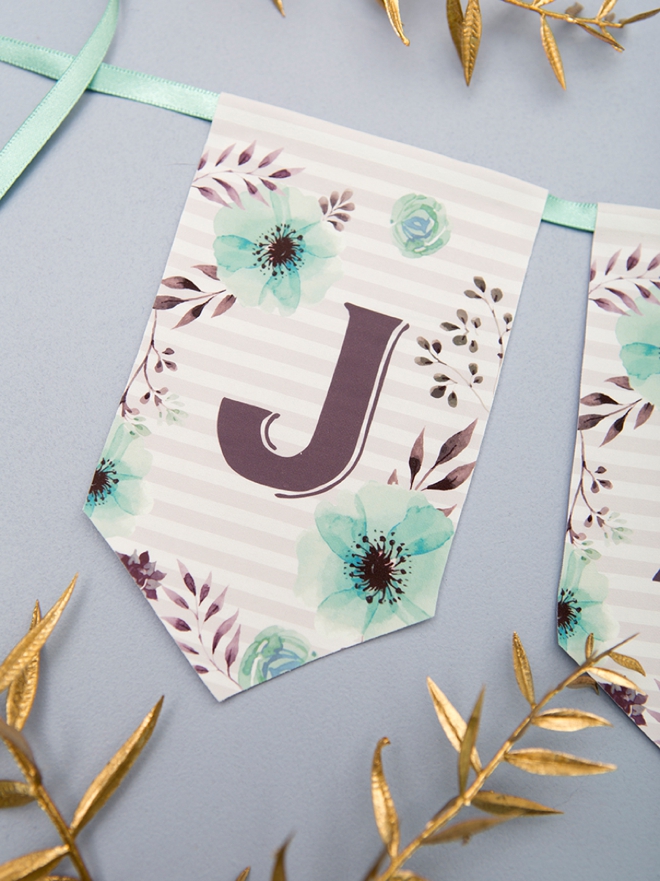
We’ve got three colors for you to choose from: pink, lavender and aqua! Use just one or feel free to mix and match!
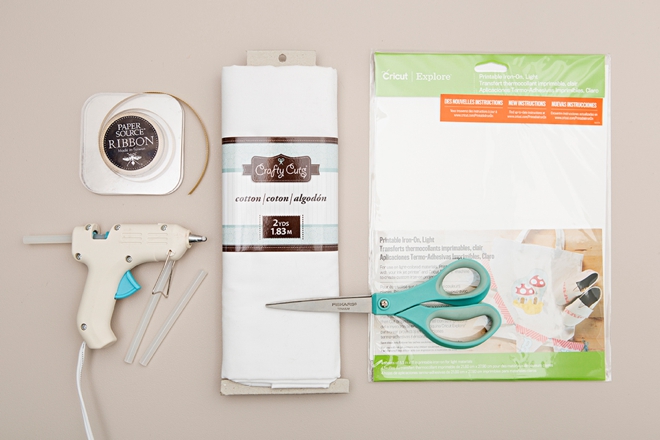
SUPPLIES:
- Canon PIXMA iP8720 Crafting Printer
- Cricut Printable Iron-on Material
- White Cotton Fabric, washed
- Iron + Ironing Board
- Hot Glue Gun
- 1/4″ Ribbon
- Scissors
- Our FREE printable designs at the end of the post!
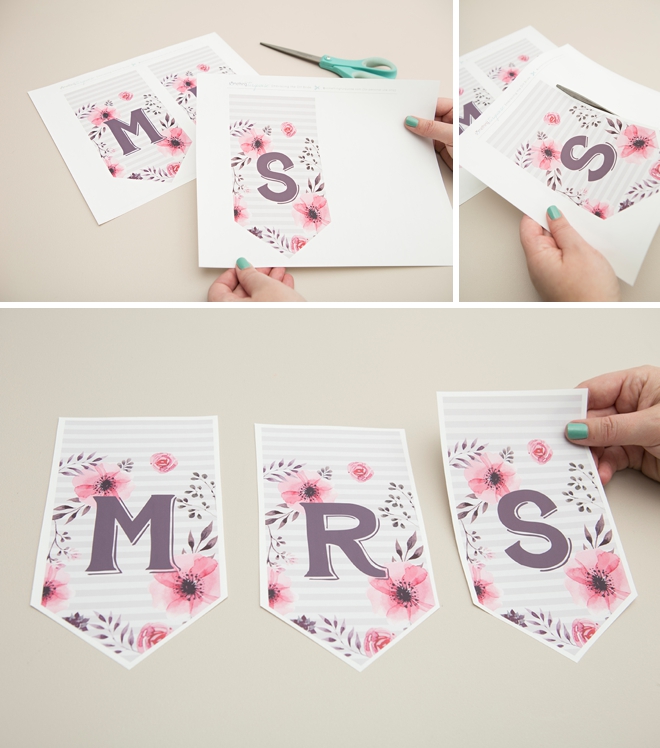
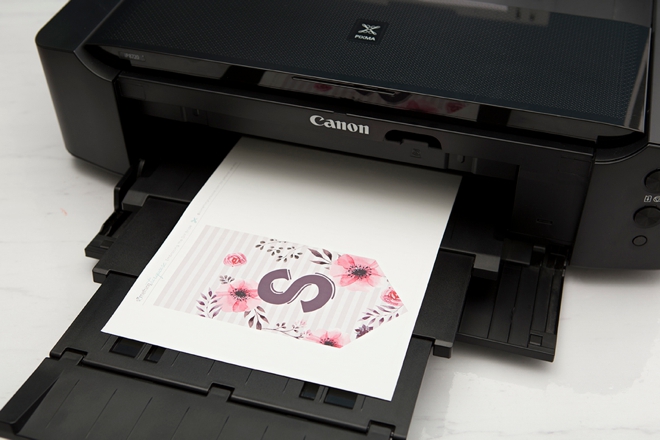
Download + Print
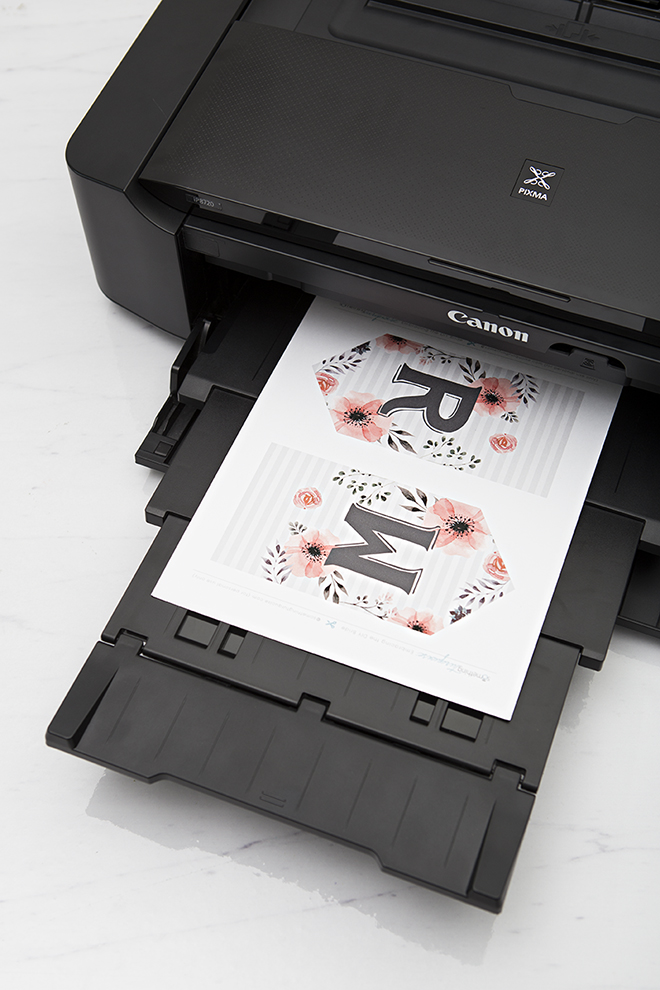
Download your choice of banner at the end of the post and then decide what letters you need. Print them out one by one, by printing one and then flipping the iron-on around and printing another. Here I’m using my trusty Canon Crafting Printer to print these darling letters onto Cricut Printable Iron-on, so that we can iron the letters onto fabric, yay! I love this printer because it’s actually made to handle thicker materials just like iron-on, a crafter’s dream.
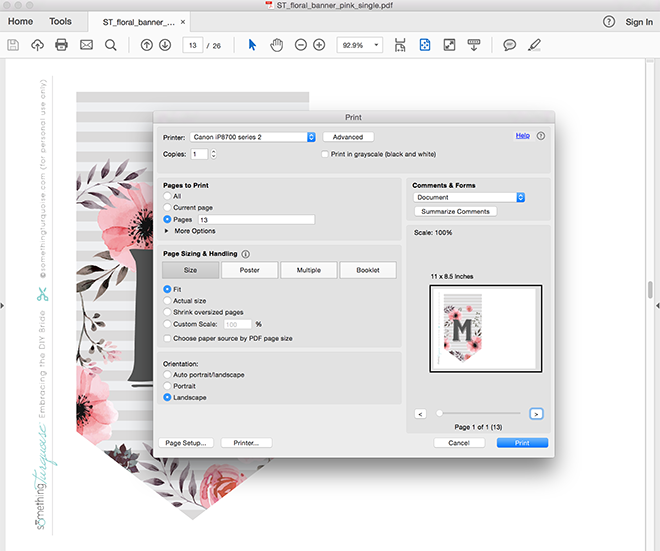
If using typical iron-on material you will have to “mirror” the banner design!
No Waste Banner Files
I hate wasting supplies and iron-on material is expensive so I figured out a way to print these banner letters individually! Simply choose to print one letter at a time, once printed you’ll have an entire half sheet empty. Turn the paper around, re-insert into the printer and then print the next letter you need! See picture above for example.
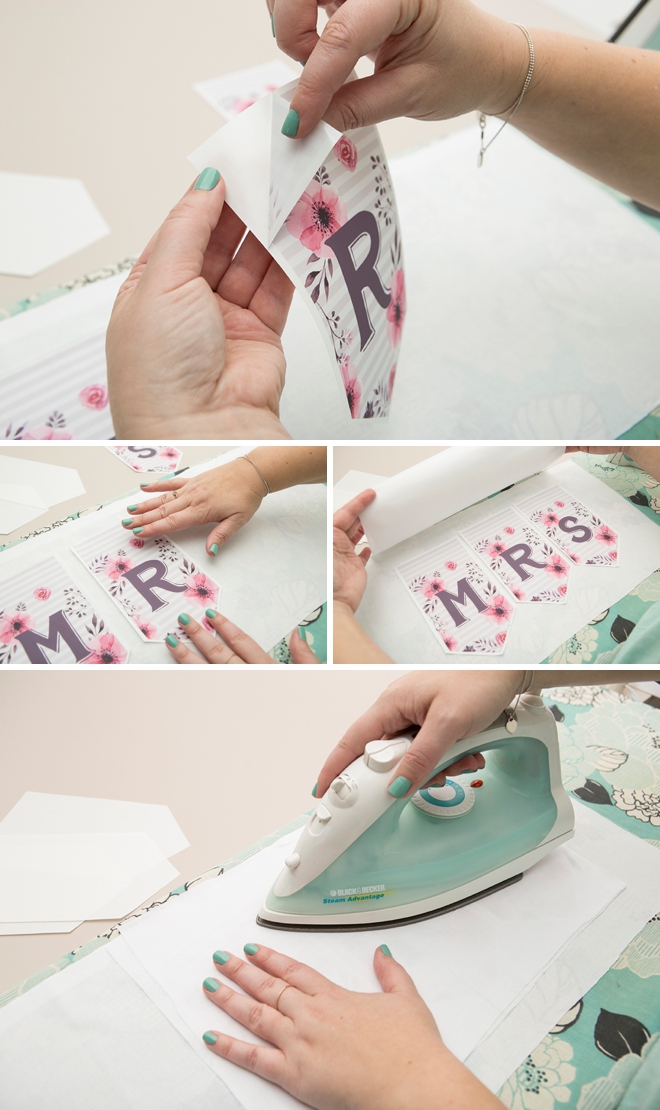
Trim The Iron-on
Trim around the outside of each letter, doesn’t need to be perfect as we’ll be doing it again.
Peel + Iron
Gently peel the iron on from it’s backing and place on to clean, ironed white cotton material. Cover with two layers of the same material and iron on low for up to 3 minutes. More iron-on instruction can be found on the package.
Do not allow the iron to touch the printed design or it will BURN it to your iron!
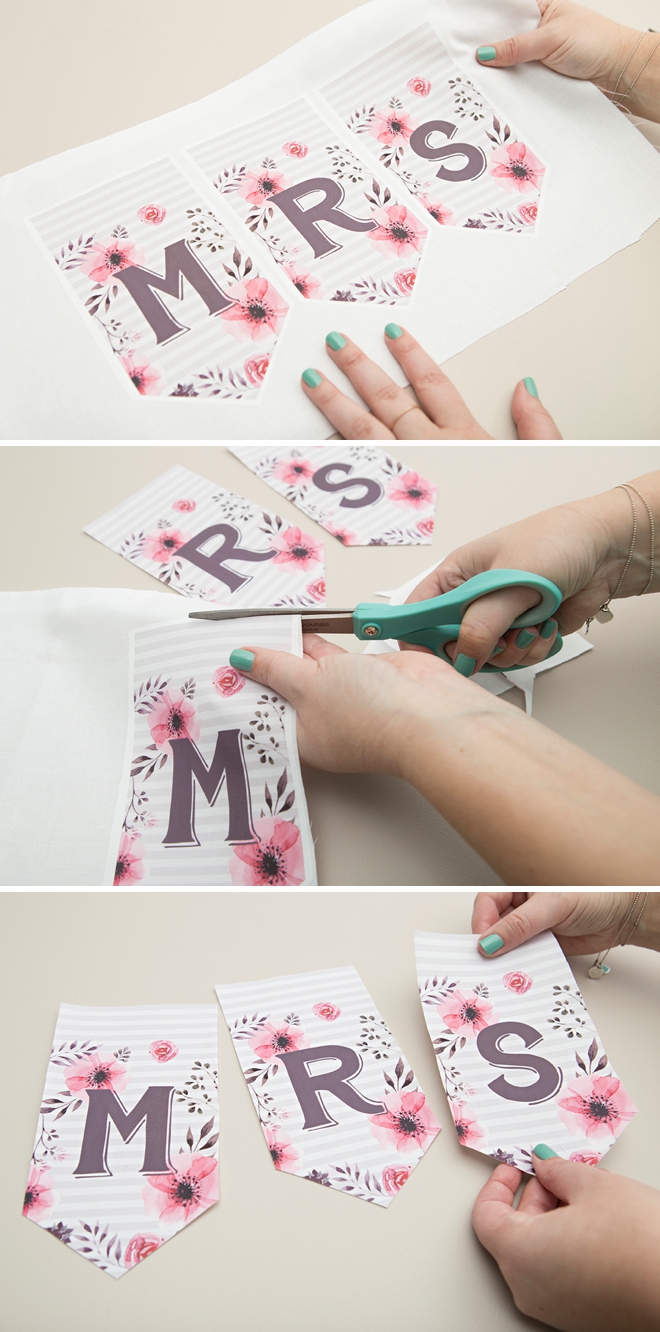
Cut Out Each Letter
Now carefully cut out each new fabric banner letter along the design line. You’ll need a good sharp pair of scissors for this because remember, you’re now cutting fabric!
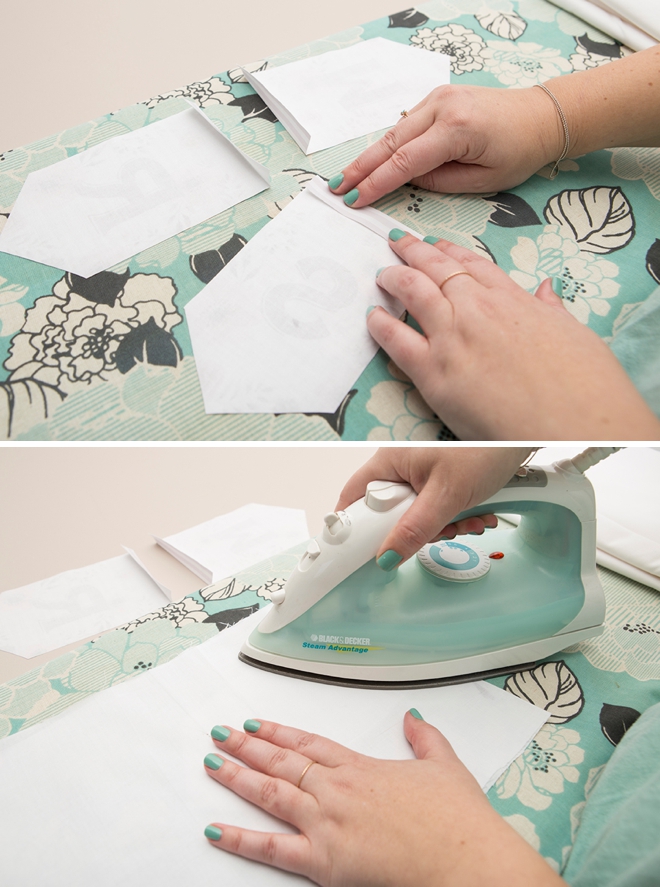
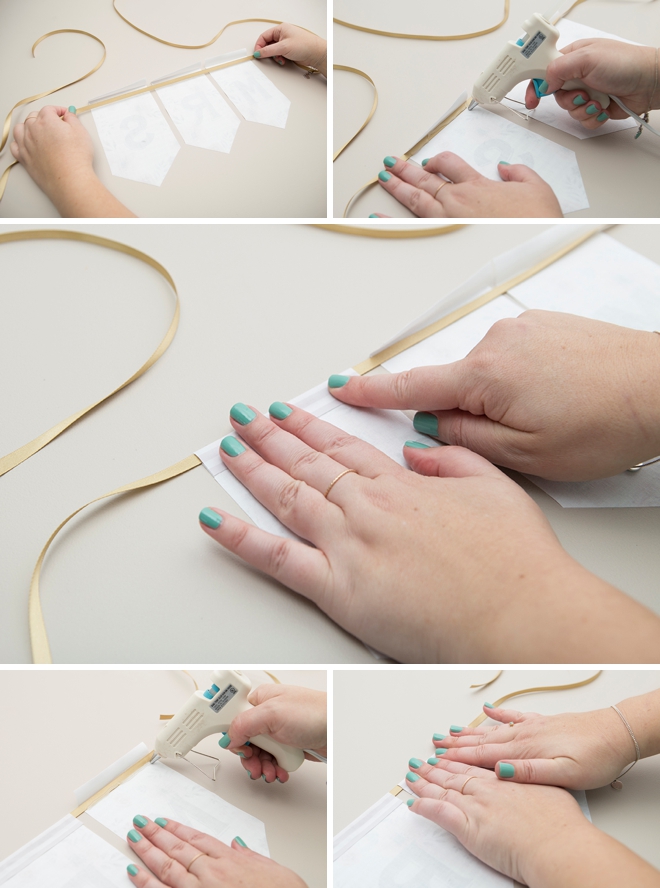
Make The Fold
Fold about 1/2″ of the top of each letter, backwards to make a home for the ribbon. I quickly ironed mine (covered again by the cloth) for a crisp line.
Add Ribbon
Using your choice of 1/4″ ribbon, hot glue it in place inside the fold on the backside of each letter. Mind your spacing!
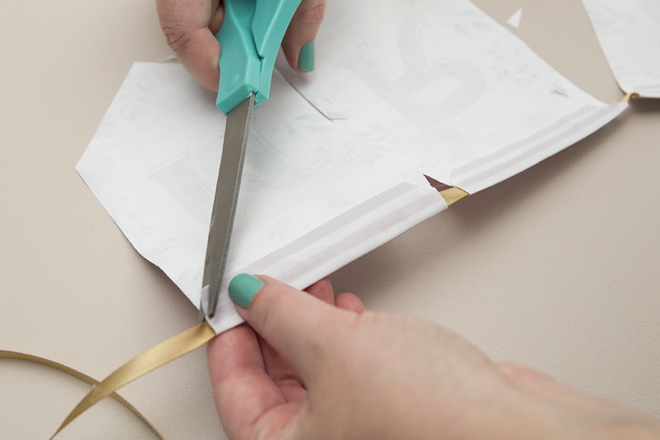
Trim Excess
If there is excess material hanging off over the fold, just trim it away.
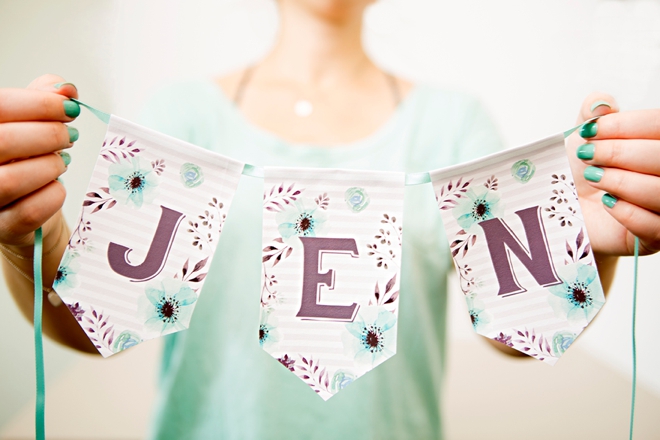
Voila!
Banner Options
You can use these banner designs to of course make these awesome fabric banners… but there are many other ways to use them! You can print them onto paper and make a regular banner or maybe even print them onto shrinky dink material and shrink them down to create personalized key chains, I’m actually thinking about doing that myself!
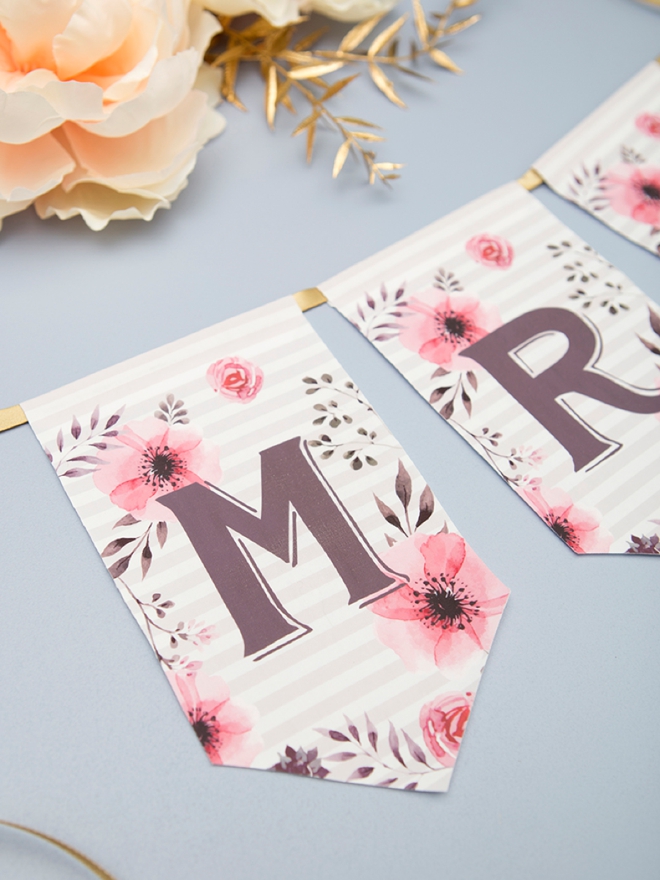
Perfect Wedding Decor
This darling floral banner would be the perfect decor addition to you bridal shower, bachelorette party, wedding or possibly even your post-wedding brunch! From bubbly bars to head tables, this banner fits the ticket!
DIY Tutorial Sponsored By:
Canon U.S.A., Inc. prides itself on allowing consumers to create and preserve beautiful imagery, from capture to print. With wireless technology and seamless printing capabilities, you can print your photos and printables with precision and ease.


As with all our DIY tutorials, if you create one of our projects please send us a picture – We Love Seeing Your Creativity! If you use Instagram or Twitter please use the hashtag #SomethingTurquoiseDIY and it will show up on our Get Social page. Happy Crafting!
DIY Tutorial Credits
Photography + DIY Tutorial: Jen Carreiro of Something Turquoise // Canon PIXMA iP8720 Crafting Printer: courtesy of Canon // Banner Design: Julia Ensign // Cricut Printable Iron-On Material: Amazon // White Fabric: Michaels // 1/4″ Ribbon in Gold and Pool: Paper Source // Martha Stewart Hot Glue Gun: Amazon // Nail Polish: OPI – Withstands the Test of Thyme
Shop The Supplies:
Find the supplies you’ll need for this project from our affiliate links below:

Comments