
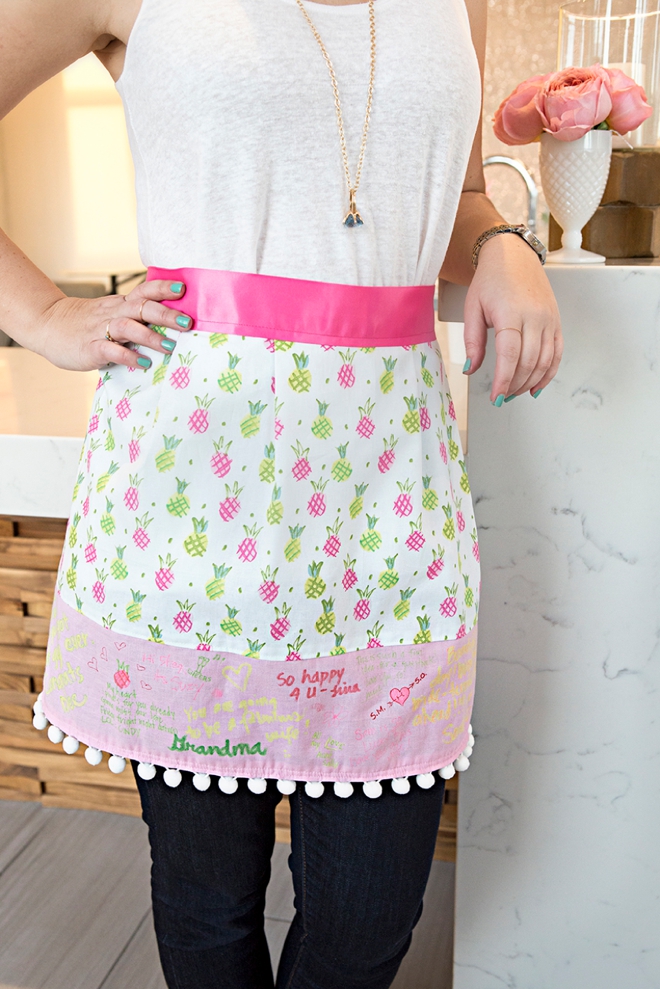
DIY – Bridal Shower Apron Guest Book
About a month ago I saw a bridal shower where the guests signed an apron as a guest book and I fell in love! So naturally I had to design a simple and cute apron pattern, specifically for this darling idea! No matter what your sewing skill level, you can make this apron and it probably won’t take you more than an hour, it’s that simple. Choose the patterned and colored fabric to match the event theme or even better to match the brides kitchen or personal style. This handmade and heartfelt gift will be a wonderful keepsake for the bride who enjoys spending time in the kitchen!

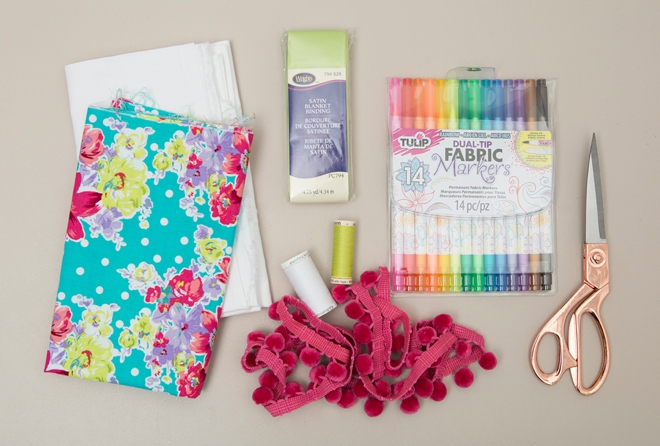
SUPPLIES:
- 1/2 yard of Patterned Fabric
- 1/4 yard of Solid Colored Fabric
- 1 Package Shiny Blanket Binding
- 40″ of Pom-Pom Trim
- Matching Thread
- Fabric Markers
- Scissors or Rotary Cutter
- Sewing Machine
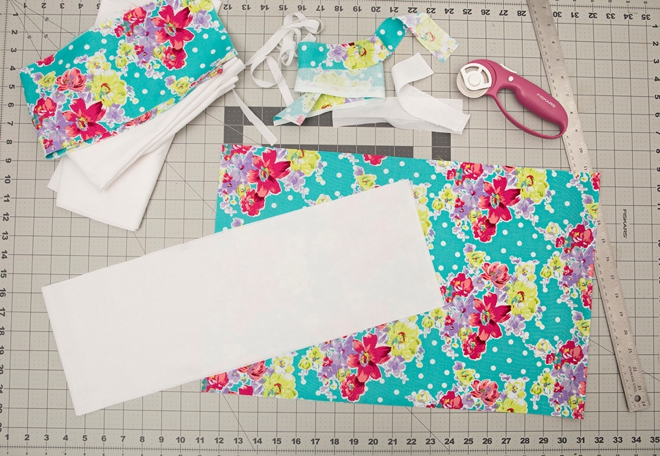
Wash + Iron + Cut
Wash the material before you start and iron smooth, then cut your fabric (I used a rotary cutter and cutting mat). The pieces shown in the picture are folded in half. The numbers below can be customized and made smaller or larger to fit the bride you’re making the apron for:
Patterned Piece: 40″ x 13″
Solid Piece: 40″ x 7″
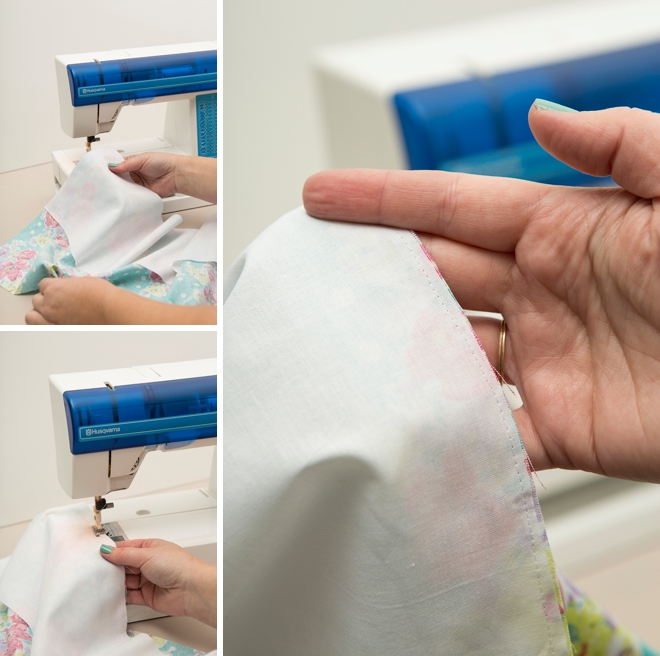
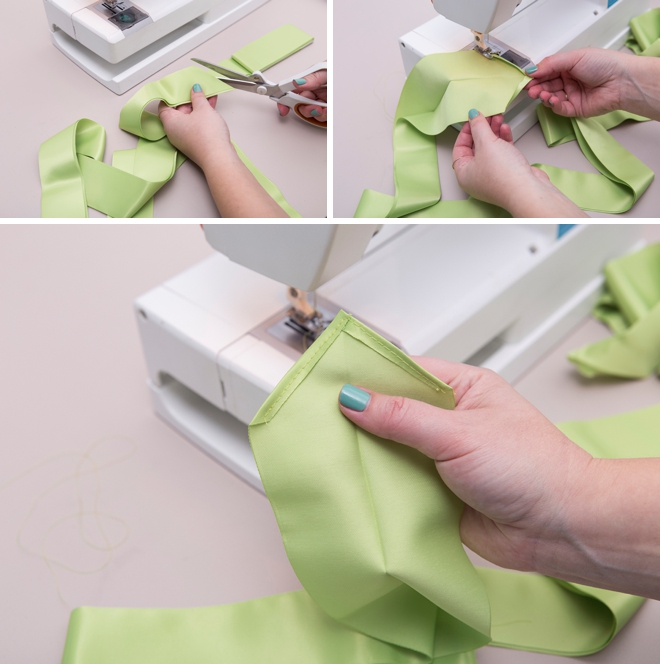
French The Seam
We’re going to start off by sewing the solid color material to the patterned material, using a French Seam. Which is a seam that has it’s raw edges enclosed in another seam, it’s fabulous and will make this apron look professional.
To start, place the wrong sides of the fabric together and simply sew the length of the fabric, combining the two pieces.
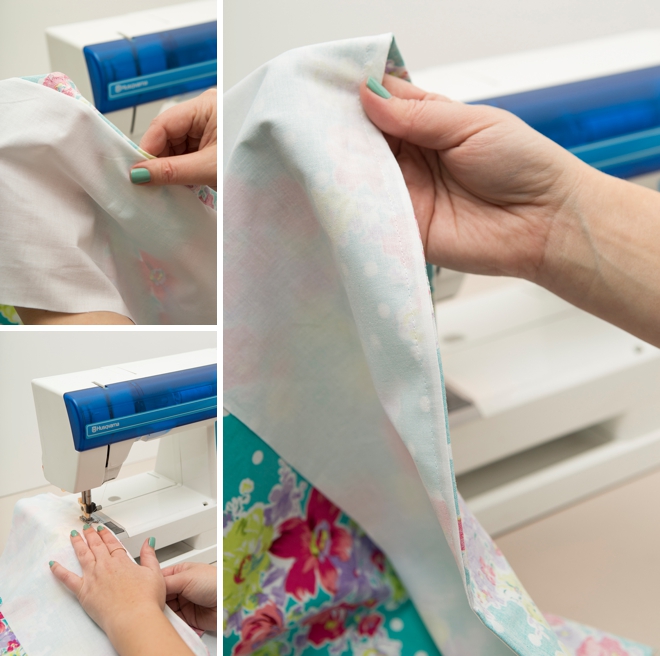
French The Seam Part 2
Fold the material and push out the fresh new edge of that seam, now making the right sides of the fabric touch. Then sew the length of the fabric again, enclosing the raw edge of the other seam! The most important part here is to make sure that you’re sewing a seam larger than the frayed edges of the other seam, to fully encompass it in this new seam – essentially trapping that frayed edge.
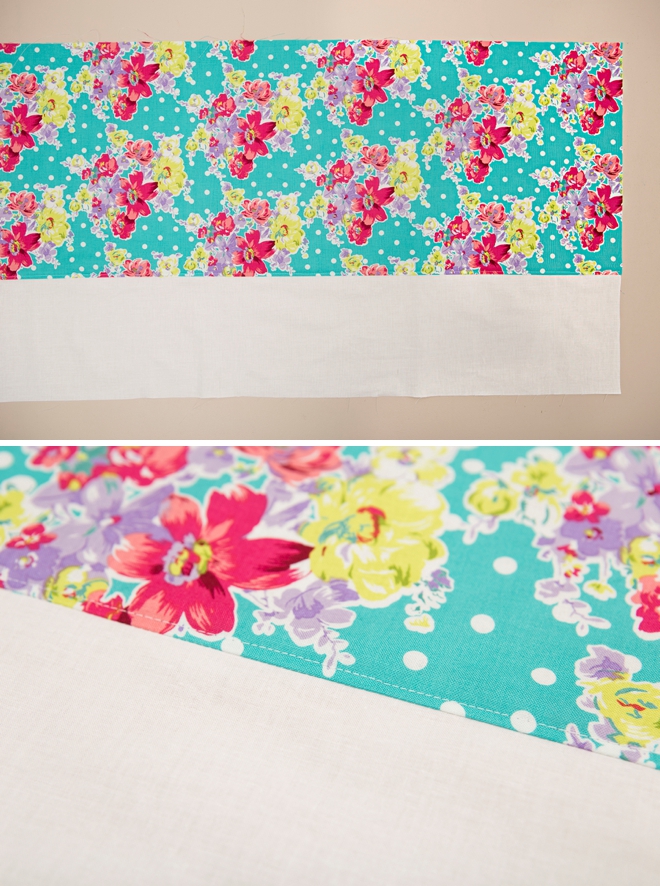
Sew The French Flap Down
Now on the backside of your apron you’ll have a beautifully enclosed seam flap, we want to sew that down. So iron to press it to one side, I did up so that you wouldn’t see the seam flap through the solid color material.

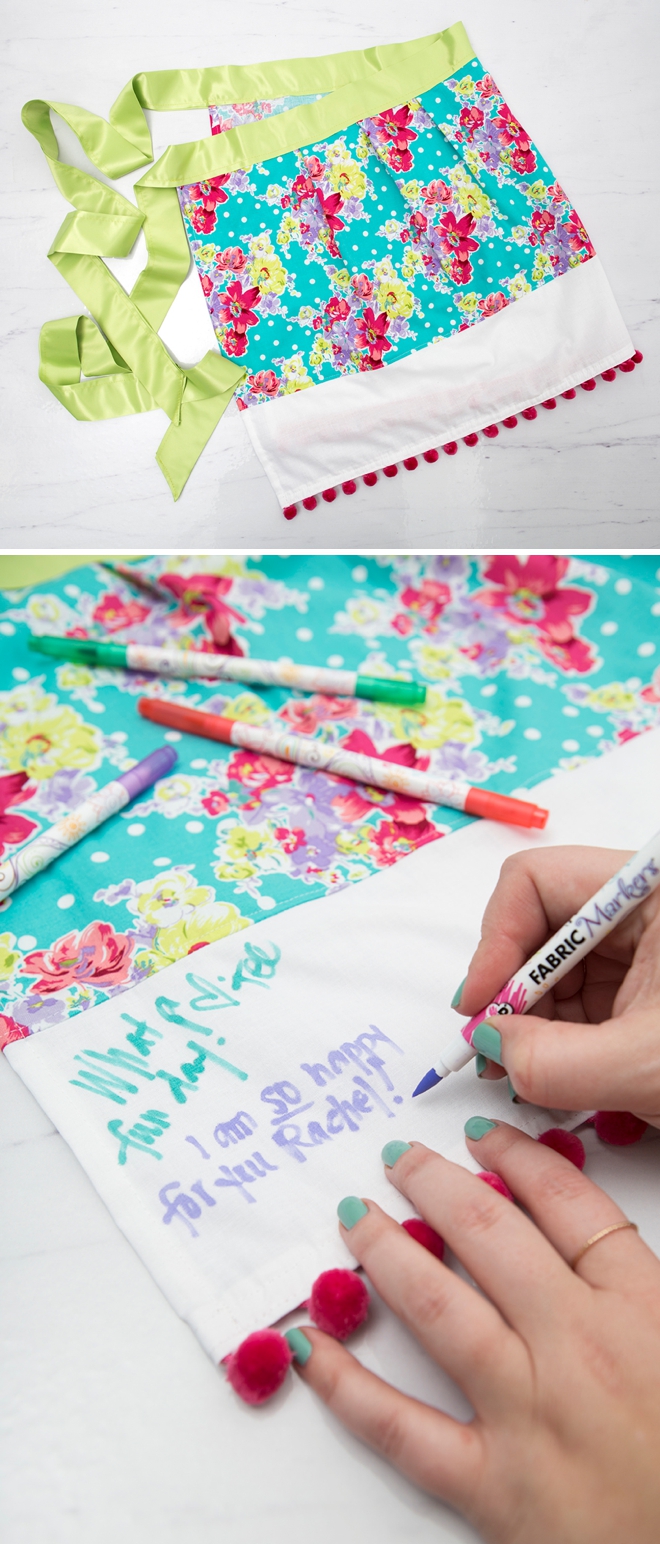
Two Fabrics Combined + Ready For Finishing
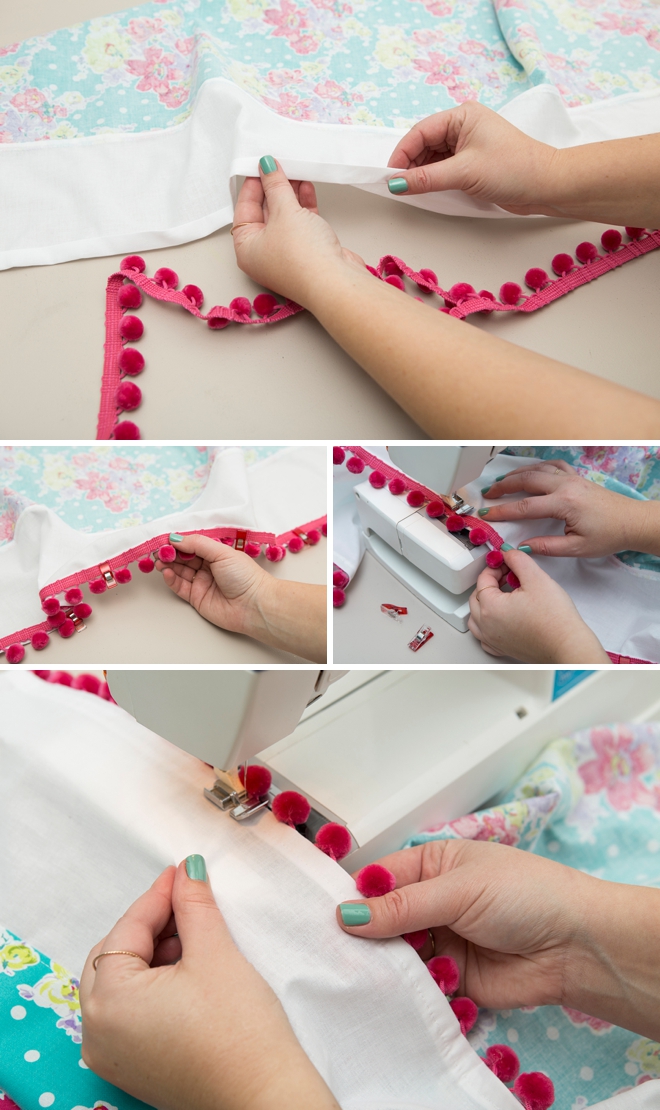
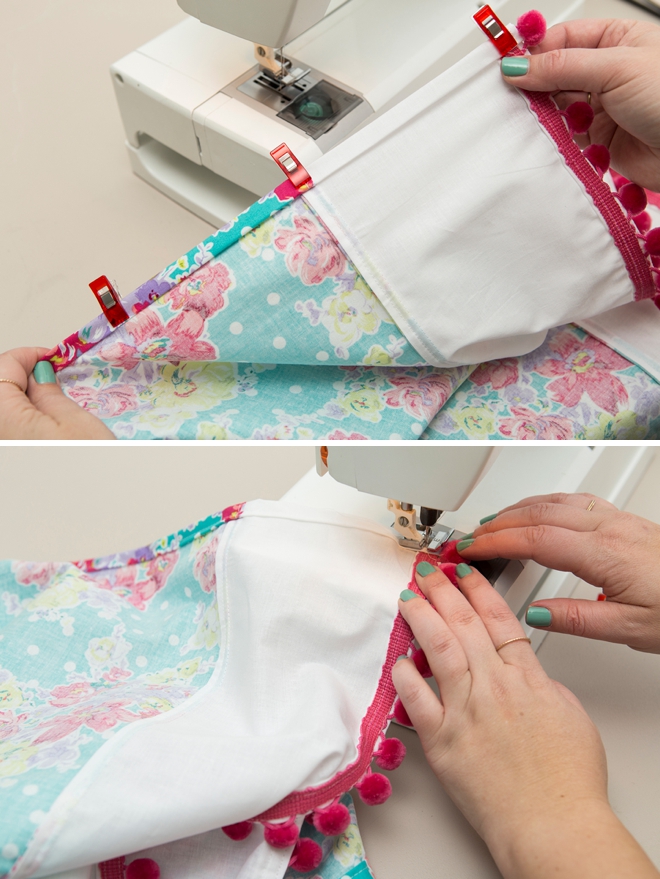
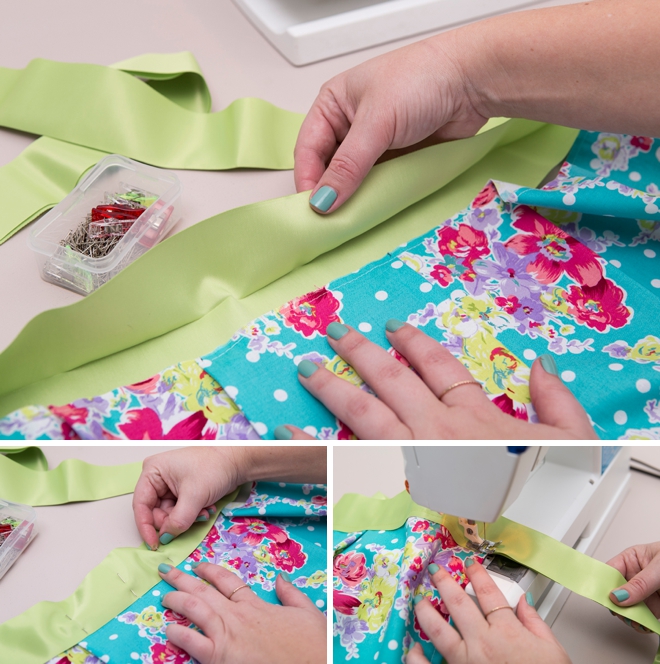
Hem + Trim
Next, hem the bottom edge of the apron and add the trim at the same time. The easiest way to do this is to first iron the hem seam, fold and then fold again and iron it flat. Then pin the trim across the length of the apron and sew twice, about a 1/4″ apart. Make sure to leave a space of about 3/4″ on each end of the apron with no trim for hemming the sides.
Hem Both Sides
Next up fold, iron and pin each of the sides to hem, wrapping around the trim on the corners.
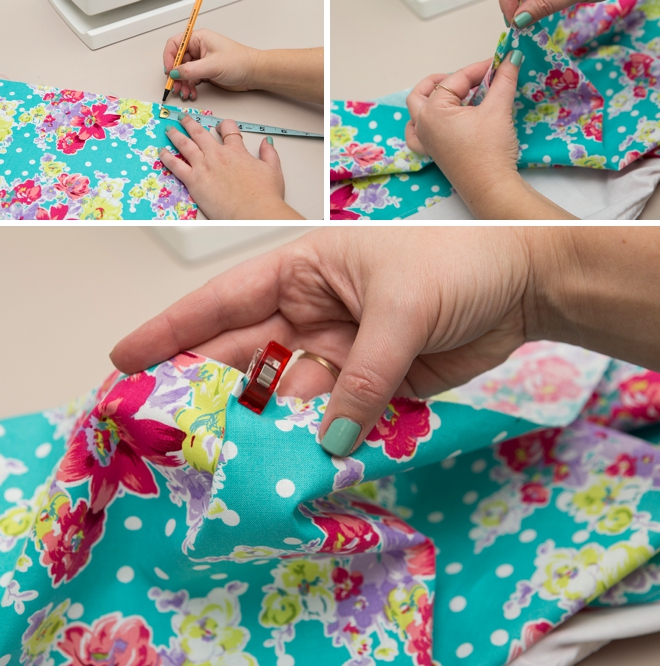
Folded Darts
To add volume to the apron we’re going to make super simple folded darts. Start by folding the apron in half, from the fold measure 2.5″ and mark on each side. Folding the apron in half finds the exact middle. Then at each of those marks, on each side, take the fabric and make a “Z” shaped fold of about 1/2″ and pin (or clip) to hold. Fold the darts outward, one facing the left and one facing the right.
Folded Darts Part 2
After you have the first two darts complete, measure 3″ from each dart and add another. Do this twice, making 6 folded darts total.
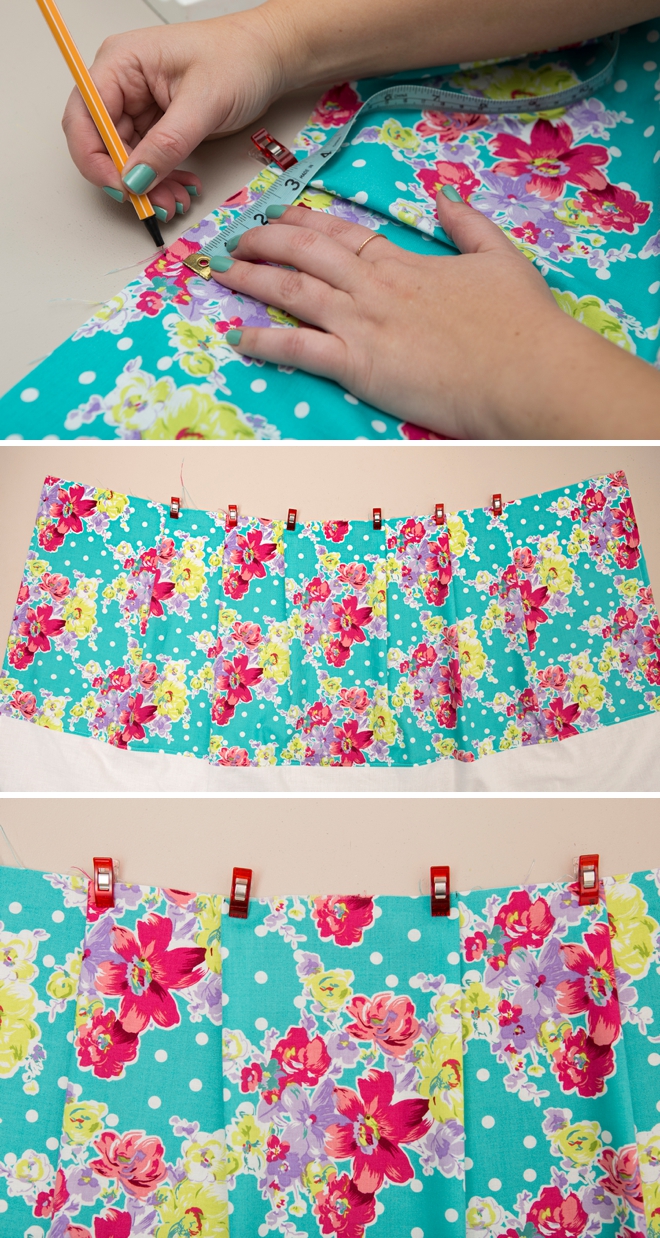
Stay Stitch
Sew along the top length of the fabric, securing all six folded darts.
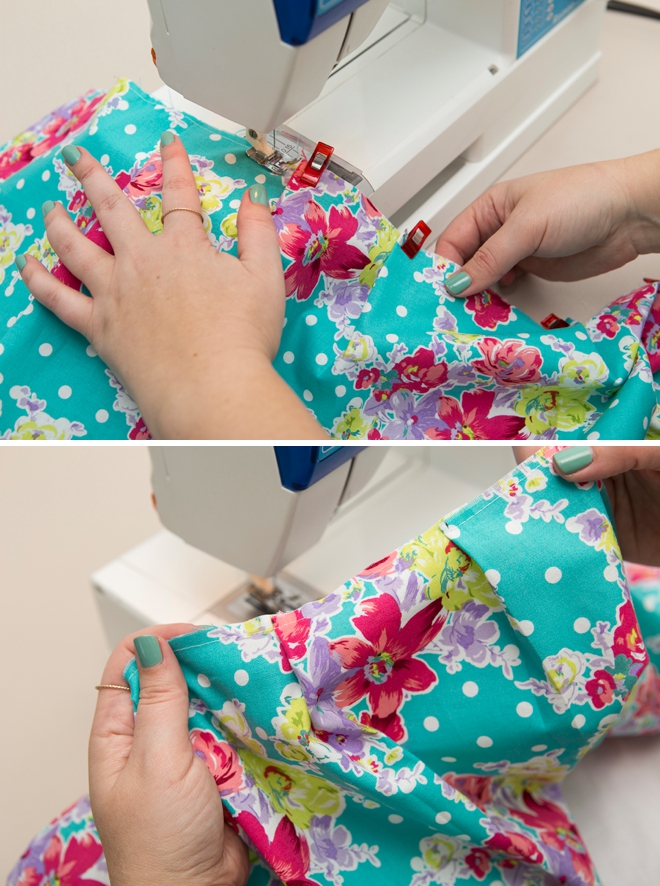
Prep The Apron Tie
I love using blanket binding as apron ties. Since it’s thick and shiny it makes the cutest large bow when tied. Cut about 80″ of binding with diagonal cuts on the edges. Fold to hem the cut edges before you add it to the apron.
Add The Apron Tie
Pin the blanket binding onto the top edge of your apron. To find the middle of both, simply fold the apron and the binding in half and put them together at that point. Then sew the length of the apron and the binding ties. Remember, the binding is open so you need to sew it together as well. That’s it, you’re done!
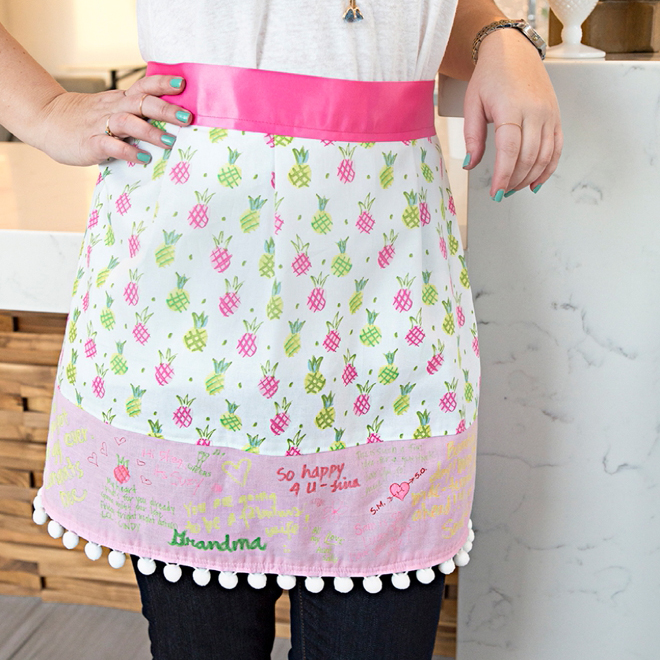
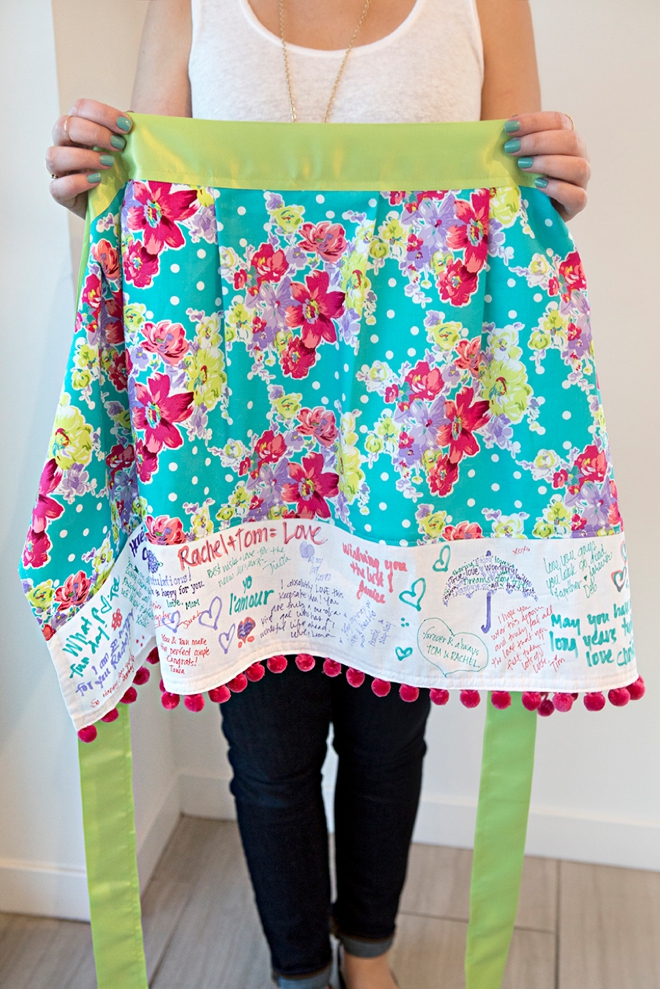
Have Your Guests Sign
During the bridal shower encourage all the guests to sign the solid color fabric to create a super special keepsake for the bride! These fabric markers require no heat setting and won’t wash off!
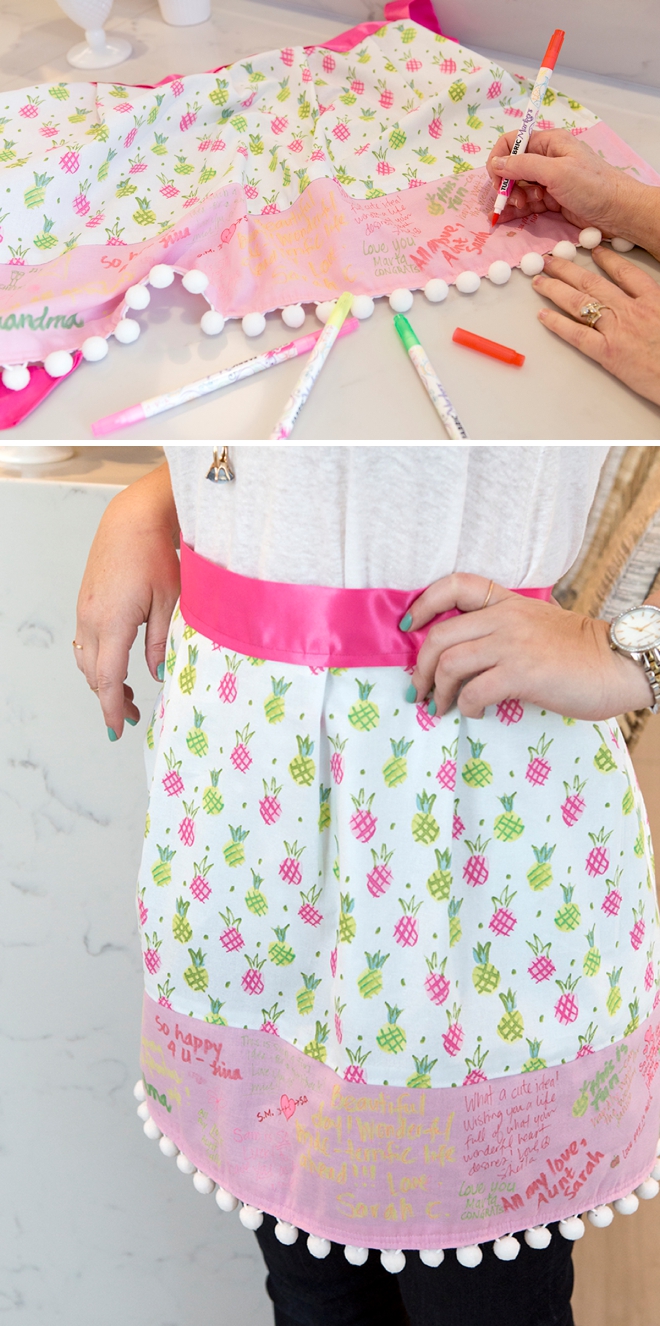
Markers That Match
Only put out the fabric markers that match your choice of fabric so that the signatures go with the look of the apron!
As with all our DIY tutorials, if you create one of our projects please send us a picture – We Love Seeing Your Creativity! If you use Instagram or Twitter please use the hashtag #SomethingTurquoiseDIY and it will show up on our Get Social page. Happy Crafting!
DIY Tutorial Credits
Photography + DIY Tutorial: Jen Carreiro of Something Turquoise // All fabric and trim from: JoAnn // Scissors: Amazon // Fabric Markers: Amazon // Nail Polish: OPI – Withstands the Test of Thyme
Shop The Supplies:
Find the supplies you’ll need for this project from our affiliate links below:

Comments