
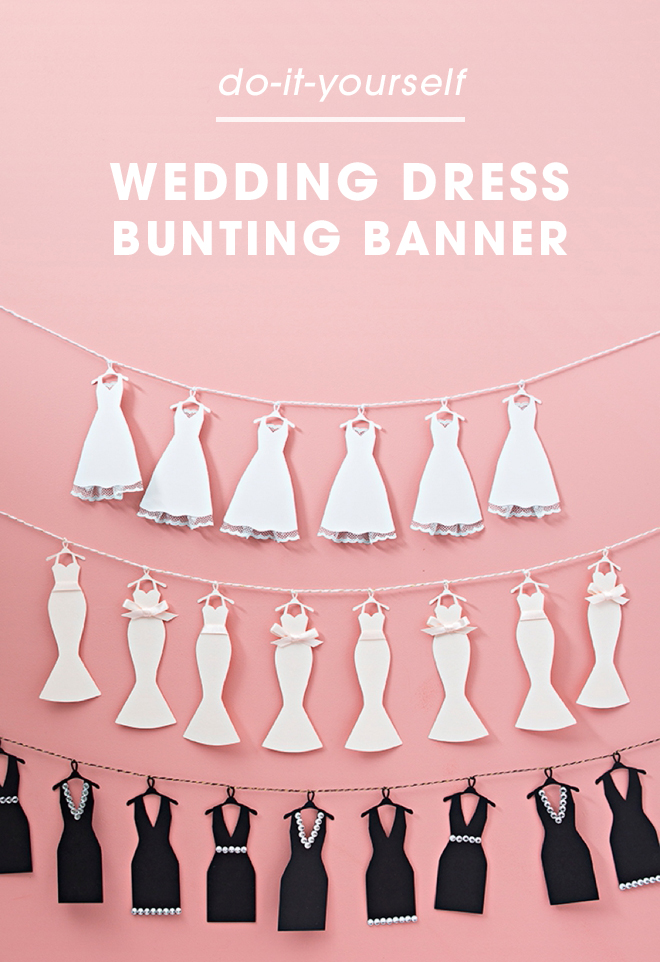
DIY | Wedding Dress Bunting Banner with Cricut
-Sponsored Post-
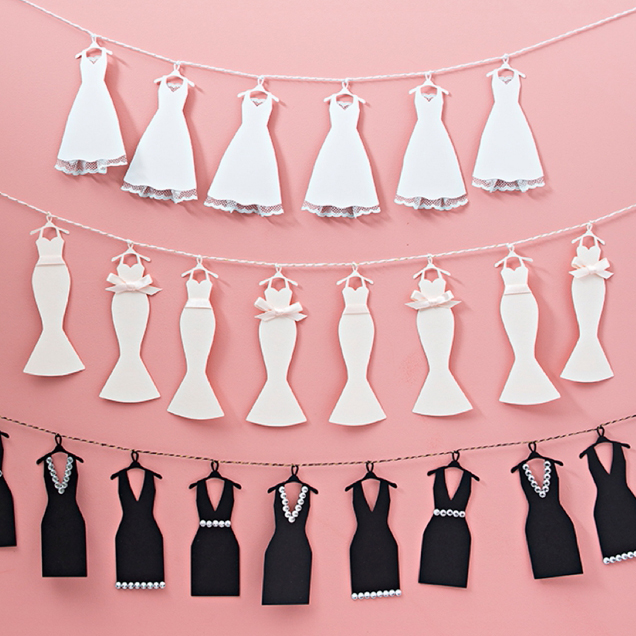
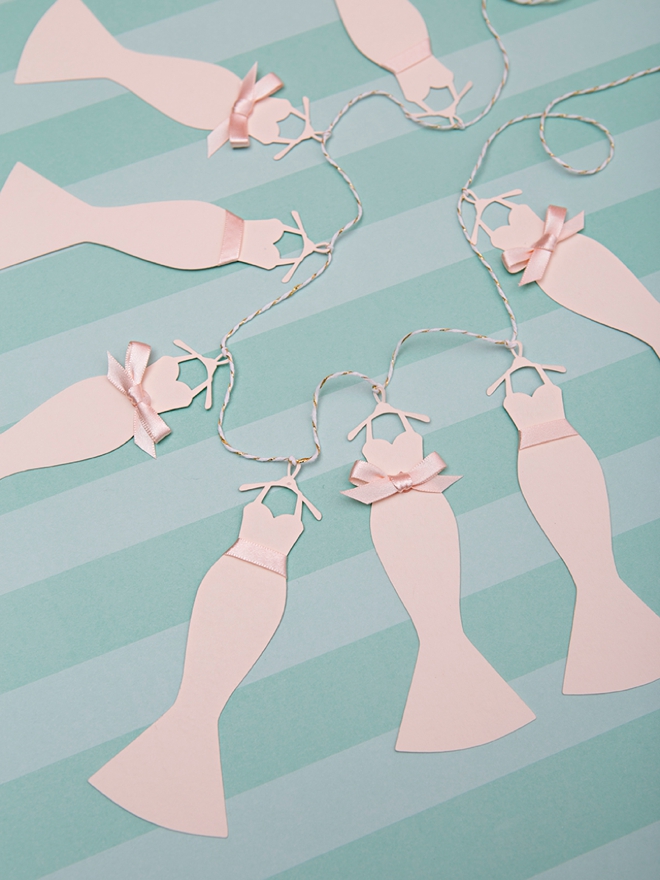
Creating custom party decor, to me, is one of the best parts of hosting a party! If you agree, you’re going to fall head over heels for this months Cricut project! Today we’re cutting out mini-wedding dresses and turning them into the most darling bunting banners, which would be the perfect addition to any bridal shower or bachelorette party decor. These little cuties would also make terrific gift tags for the bride-to-be!
Saying Yes To The Dress
How sweet would it be to bring this cute banner to your besties wedding dress fitting! A super fun photo-prop idea for when she actually says yes to the dress!
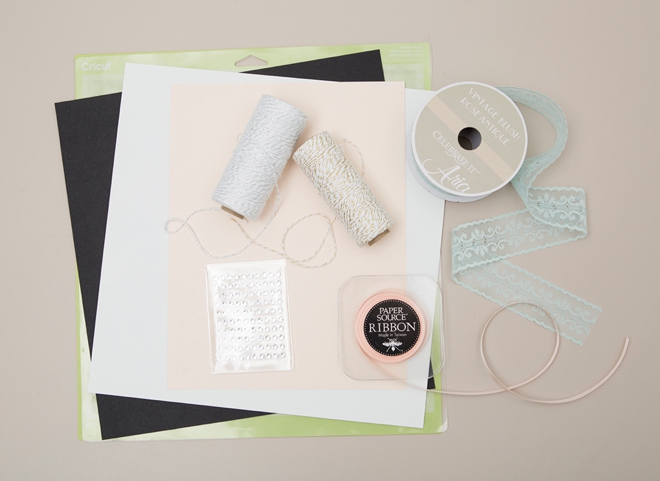
SUPPLIES:
- Cricut Explore Air2, mine is mint!
- Regular Cutting Mat
- Cardstock in your choice of color
- Ribbon, lace, sequins; for embellishing
- Twine; for hanging
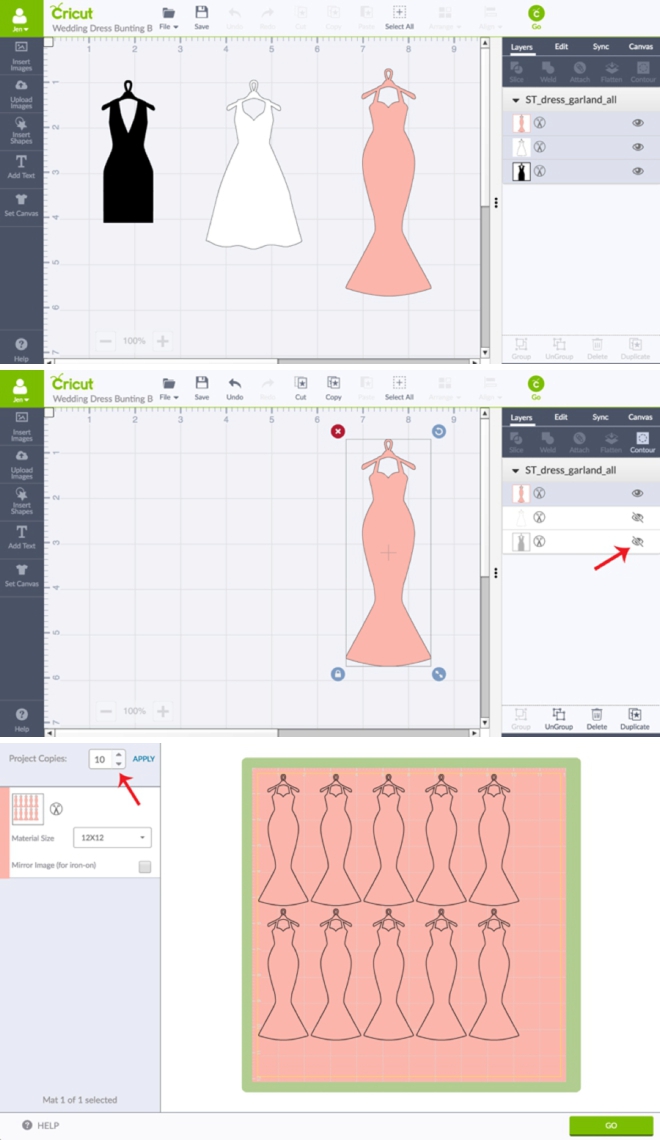
Upload + Personalize
- Download our free SVG cut file at the end of the post and upload into Cricut Design Space.
- In the layers panel, click to turn “off” the dresses you don’t want.
- Choose the amount of dresses you want to cut by using the Project Copies toggle.
- Then cut!
Cut Your Dresses
Add your paper to the cutting mat, select the type of paper, press GO and watch the magic happen!
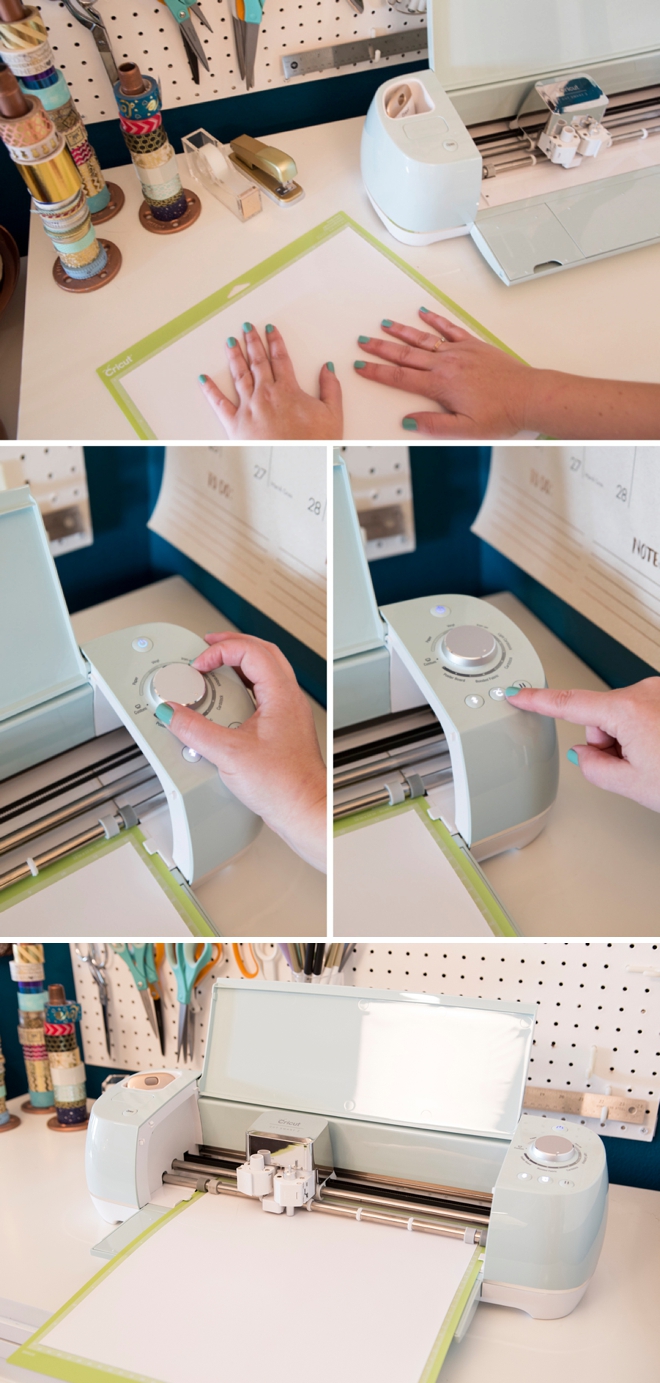
Carefully Remove Your Dresses From The Mat

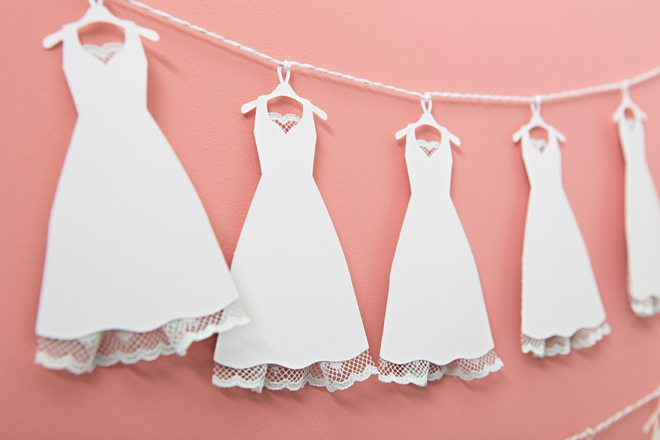
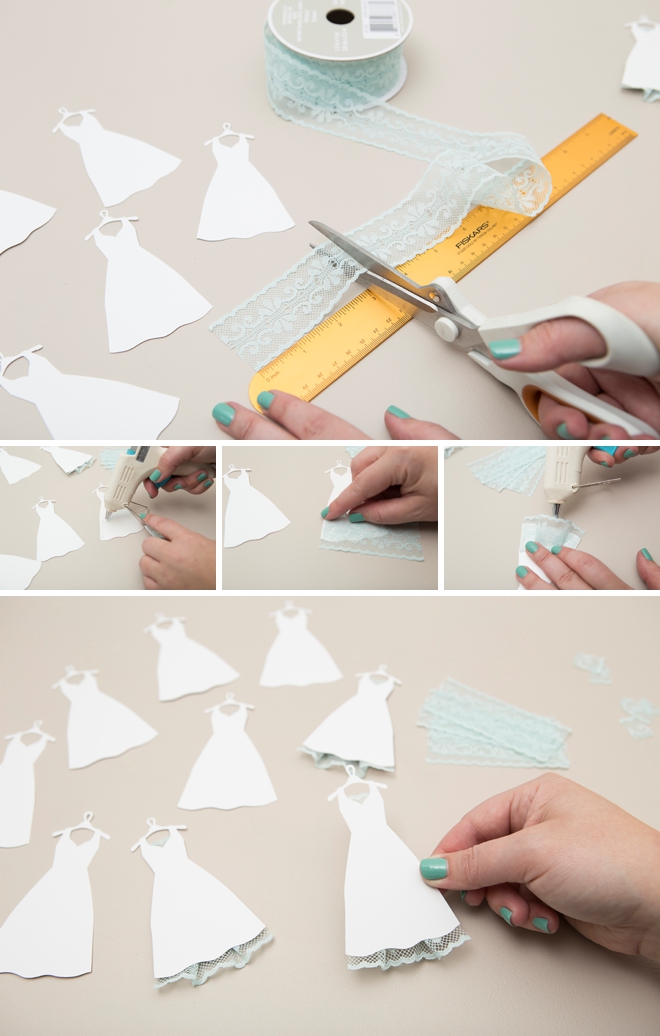
Add Some Lace
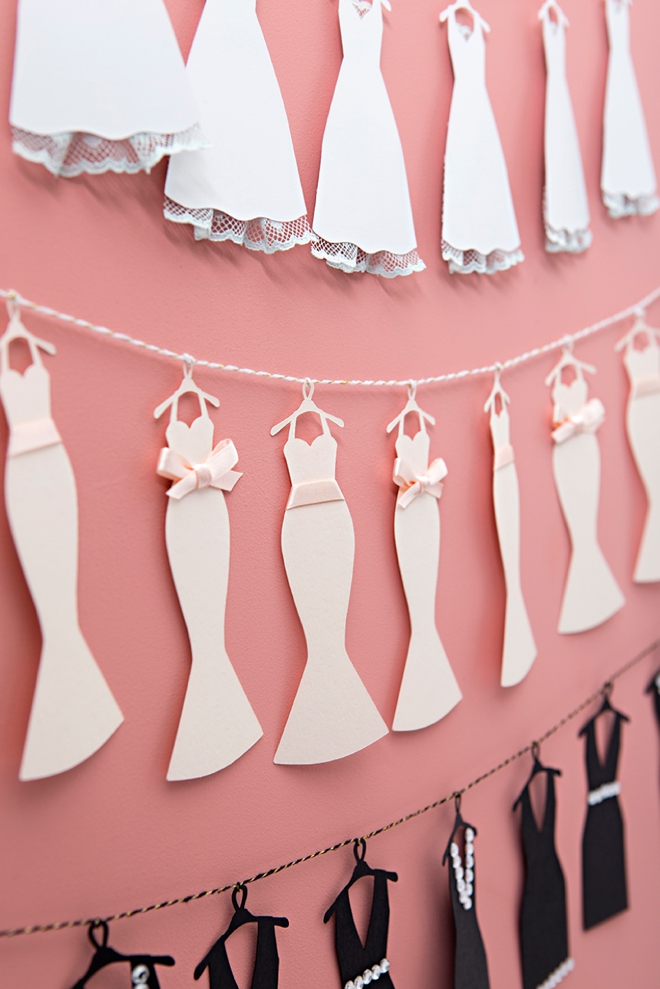
Embellishing these darling little dresses is totally up to you! Here I hot glued some light blue lace onto the the white dresses for a fun something blue!
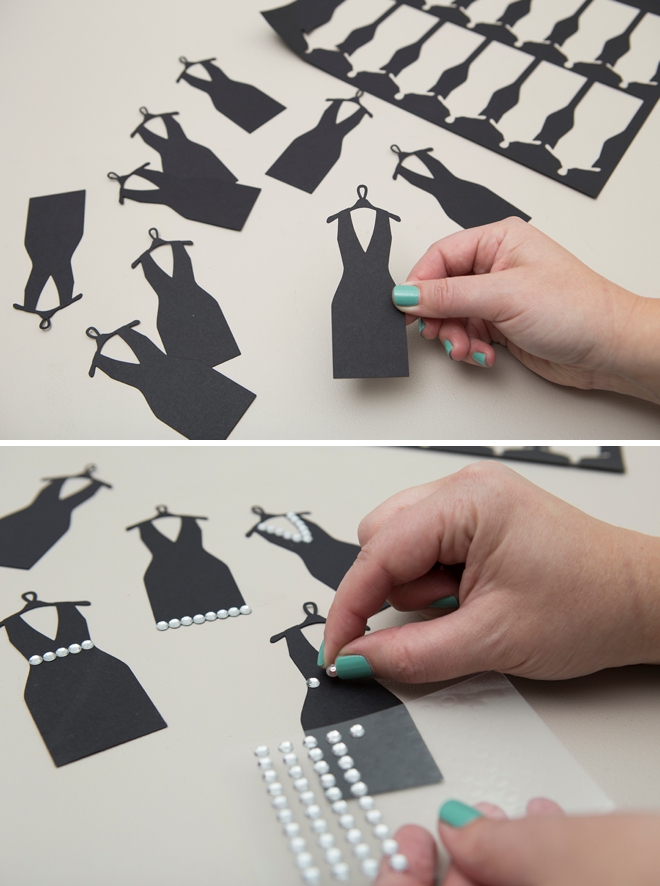
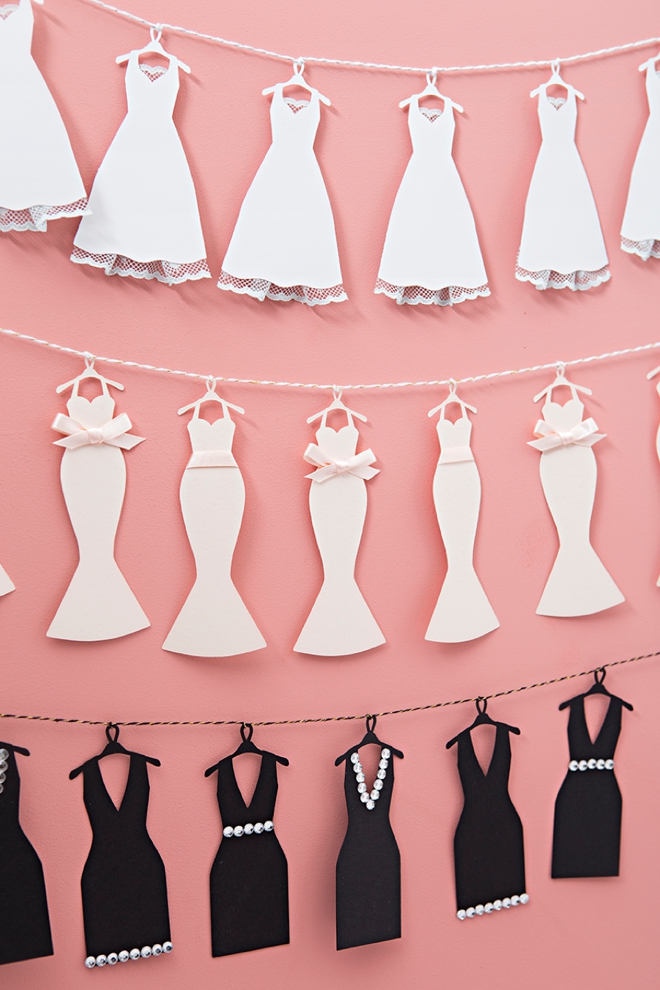
These Dresses Can Be Any Color You Want
Use any color or type of cardstock to cut out these mini-dresses, including glitter cardstock!

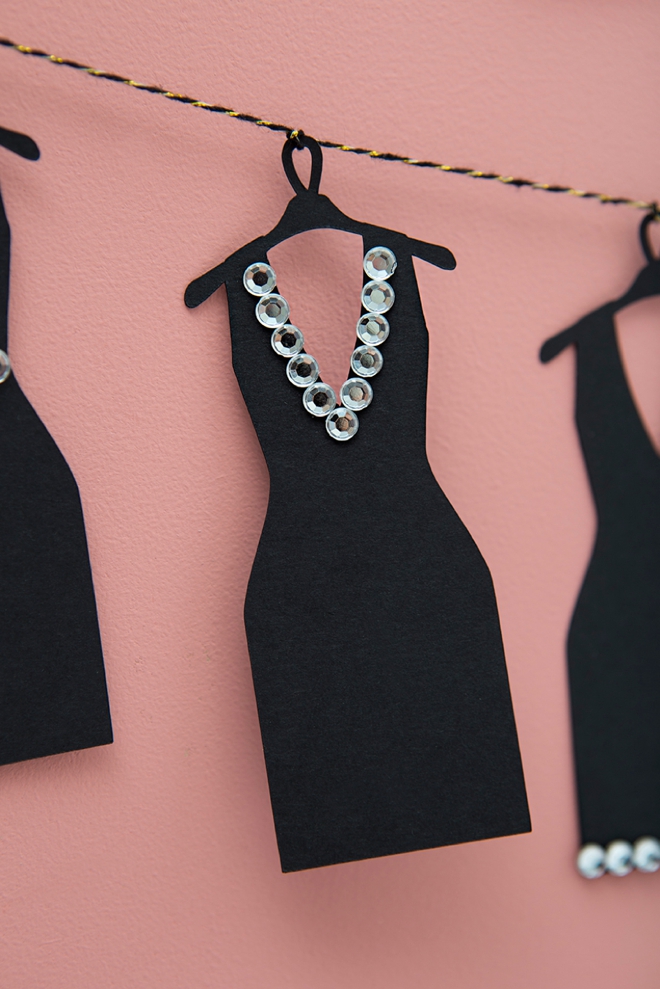
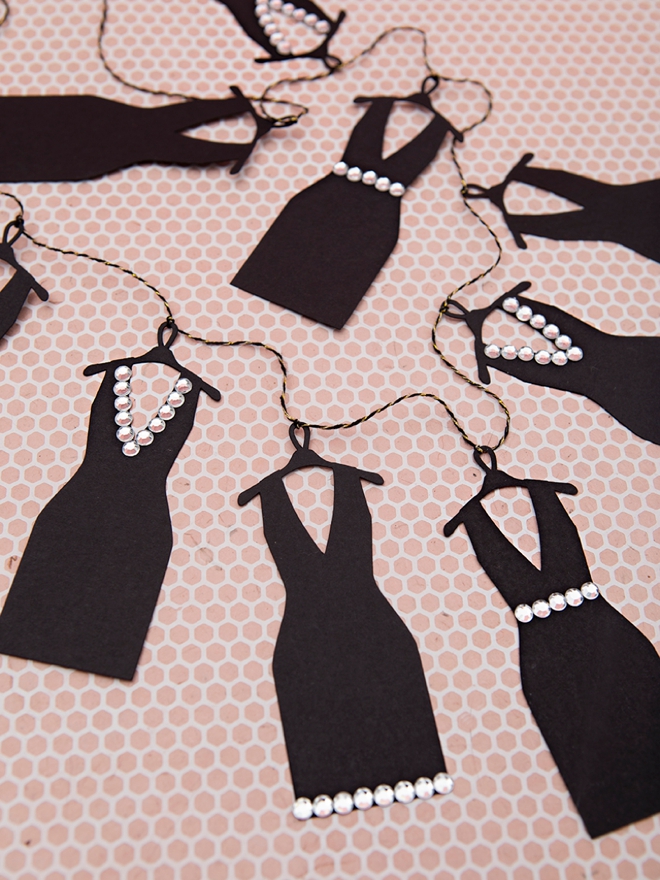
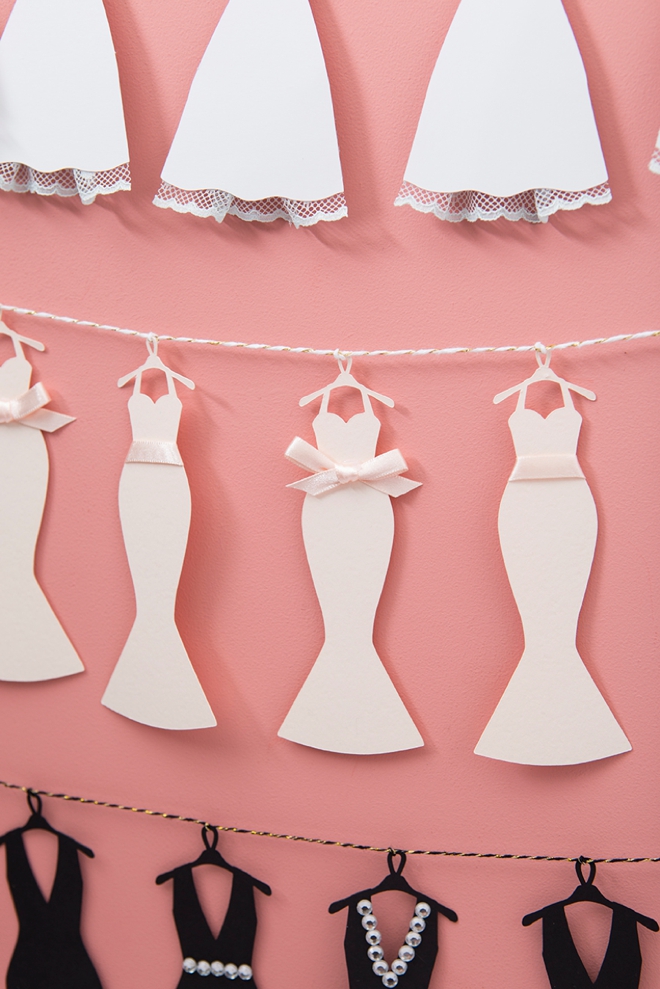
Embellish With Some Sequins
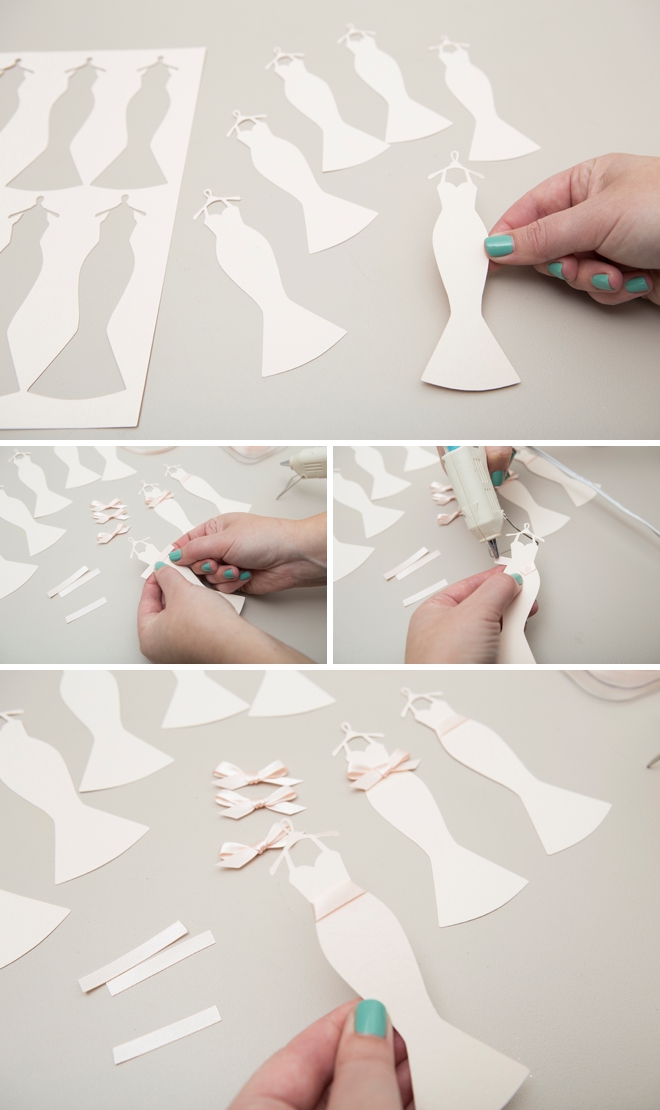
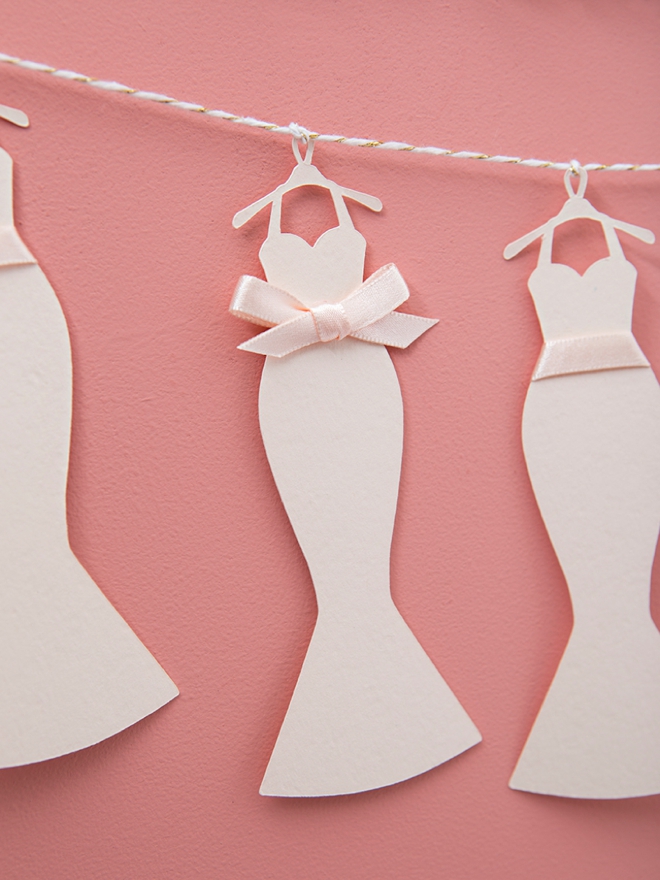
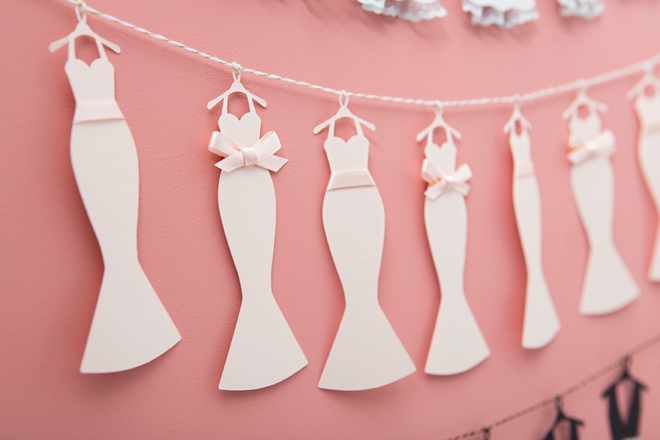
Embellish With Some Ribbon + Bows
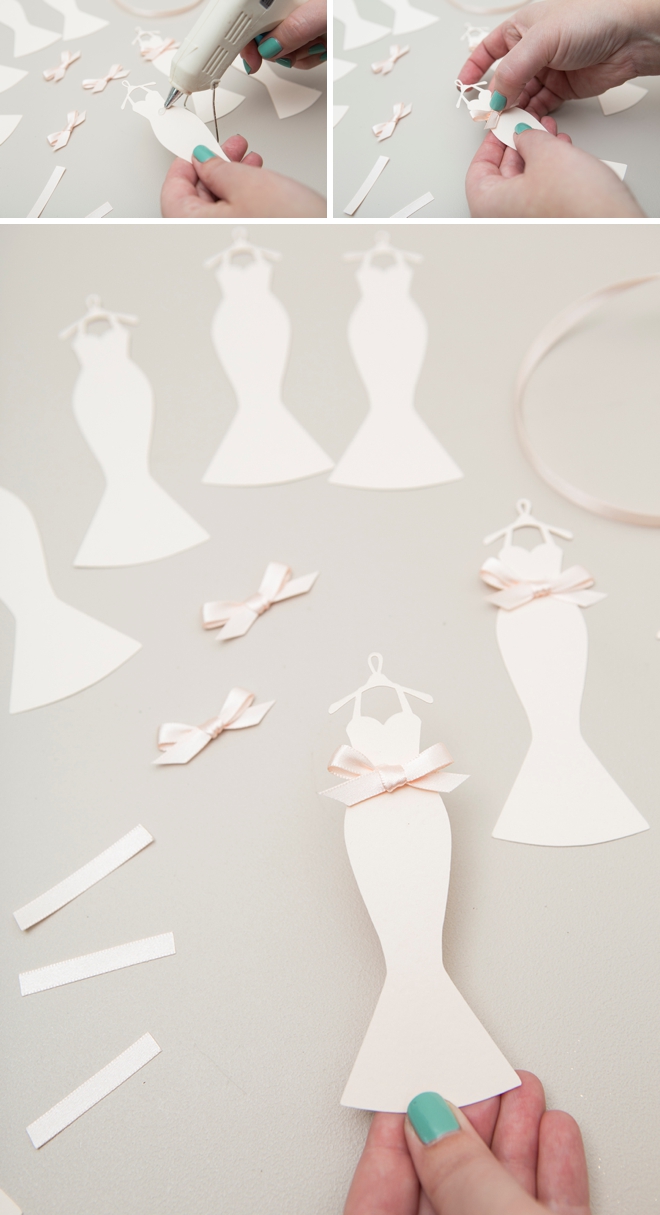
Knot As You Go
Using a piece of twine (because it will fit through the hanger hole) knot to add each dress to the banner. I used a ruler to make sure my spacing stayed similar.

Mini-Dresses For Days
These mini-cuties have so many uses beyond just a banner, from gift tags to greeting cards and even iron-on appliqués. So what will you use our cute files for!?!

DIY TUTORIAL PARTNER:

Cricut is a world-class leader in personal electronic cutting machines that has enabled people to achieve their creative best for over 50 years. Today, millions of people use Cricut products to create unique projects, and they focus on enhancing lives with this power of creativity. Let Cricut help you take your wedding personalization and project creativity to the next level!

As with all our DIY tutorials, if you create one of our projects please send us a picture – We Love Seeing Your Creativity! If you use Instagram or Twitter please use the hashtag #SomethingTurquoiseDIY and it will show up on our Get Social page. Happy Crafting!
DIY Tutorial Credits
Photography + DIY Tutorial: Jen Carreiro of Something Turquoise // Cricut Explore Air2: courtesy of Cricut // Dress Cut File Designs: Julia Ensign // Cardstock, lace, and twine: Michaels // Ribbon: Paper Source // Nail Polish: OPI – Withstands the Test of Thyme
Shop The Supplies:
Find the supplies you’ll need for this project from our affiliate links below:

Comments