
Simple DIY | She Said “Yes” Sign
-Sponsored Post-
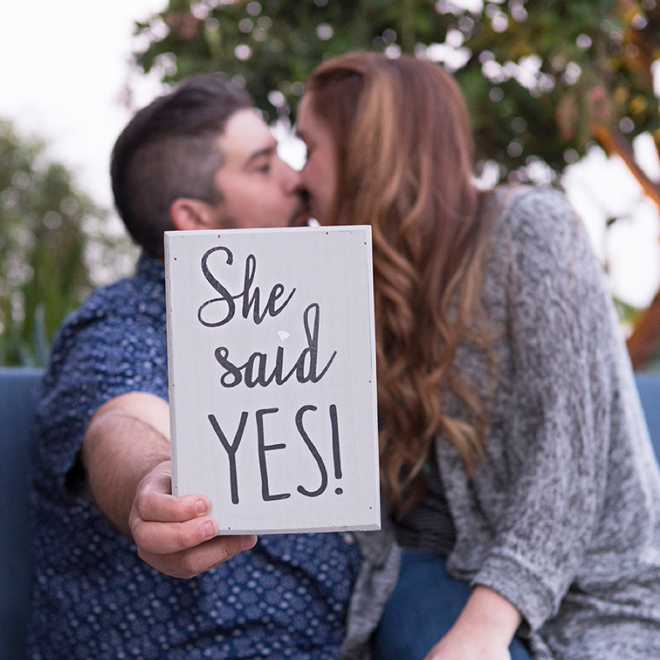
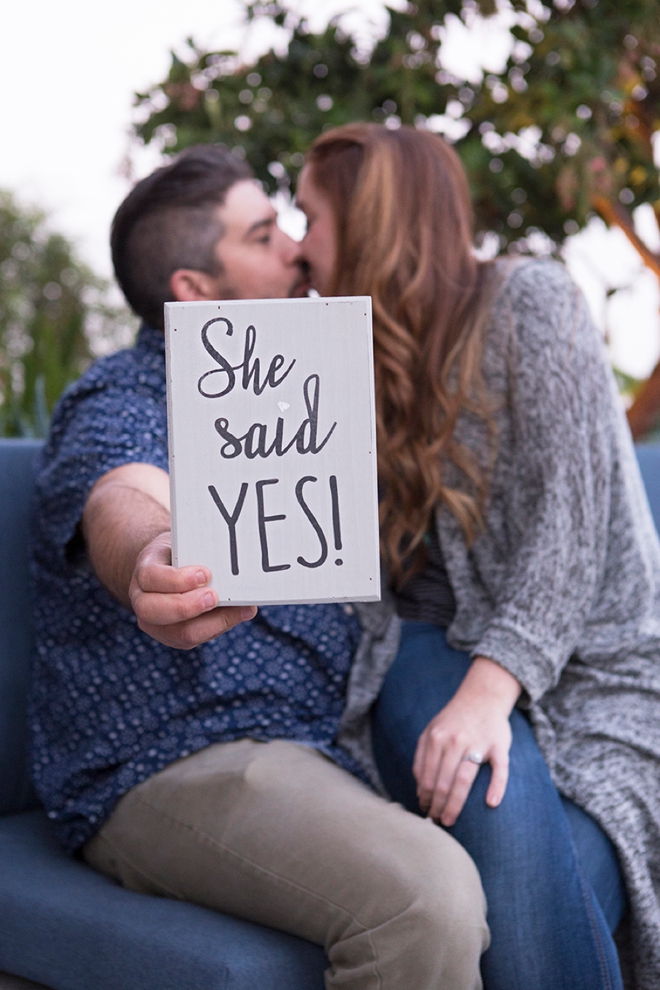
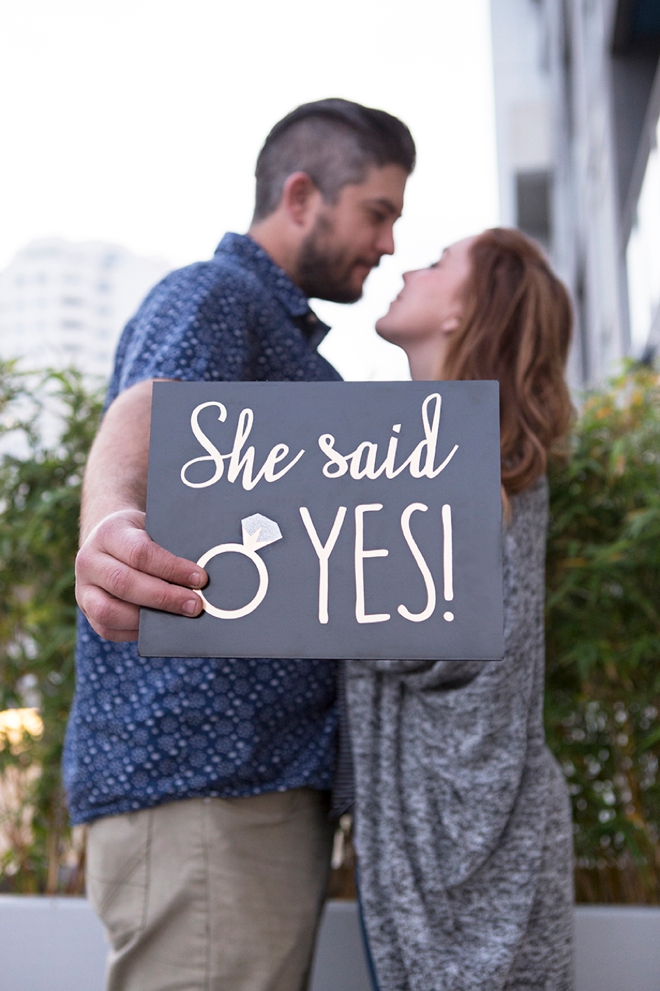
We’re right in the midst of engagement season (the time between Thanksgiving and Valentines Day, when guys most often pop the question) and so in celebration, I wanted to remind all the guys out there to go a step further if possible, and give your special gal the perfect photo op to share your exciting news! You might have to get the mother-of-the-groom-to-be or the best girlfriend in on this one, but the idea is still the same. Using your Cricut Explore Air 2, quickly and easily whip up a darling She Said “Yes” Sign for your favorite Mr to bring along with him to his proposal. Trust me, the Mrs-to-be will love you for it… and the sign becomes a keepsake!
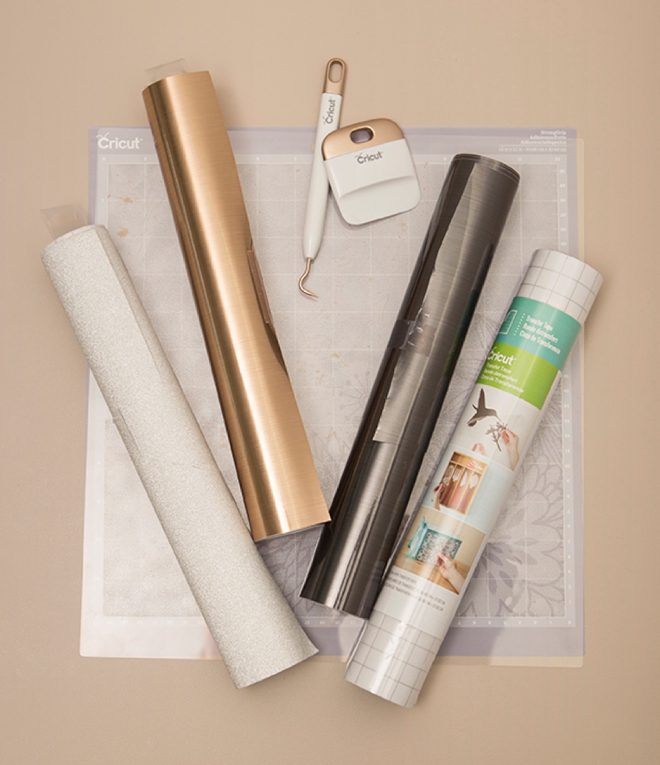
SUPPLIES:
- Cricut Explore Air 2 (I just got mine and it’s gorgeous!)
- Your Choice Of Vinyl (I used stainless gold foil, dark silver foil and silver glitter vinyl)
- Transfer Tape
- 12 x 12 Cutting Mat
- Weeding and Scraper Tool
- Surface For The Sign, can be anything!
Use the link at the end of the post to edit our exact design within Cricut Design Space!
Design Your Own Files Using Design Space
Cut Your Design
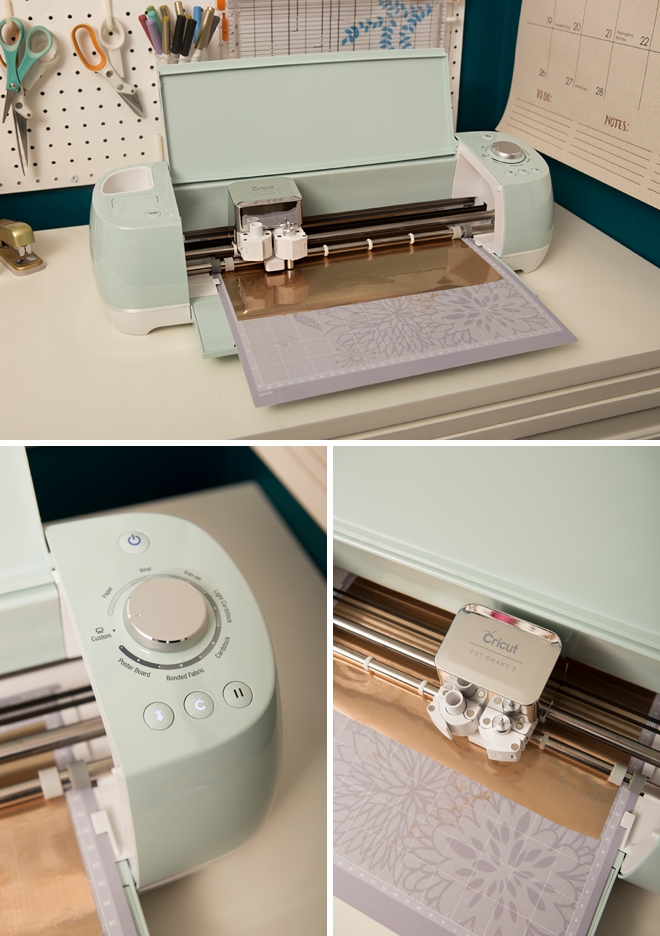
This is my debut project using the brand new Cricut Explore Air 2… isn’t the mint/silver color combo just gorgeous!?! Aside from it being sparkly and beautiful it actually cuts and writes 2x faster on certain materials. Shea and I were really shocked at the speed!
The adhesive foil can be a bit strong so I prefer to use the strong grip mat with it.
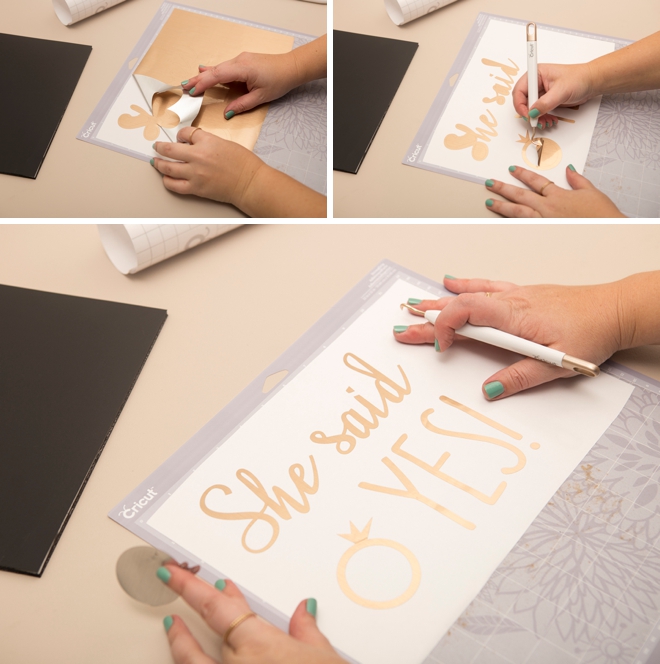
Weed Your Decal
Remove all the excess foil or vinyl from your design using the weeding tool until you are left with only your decal.
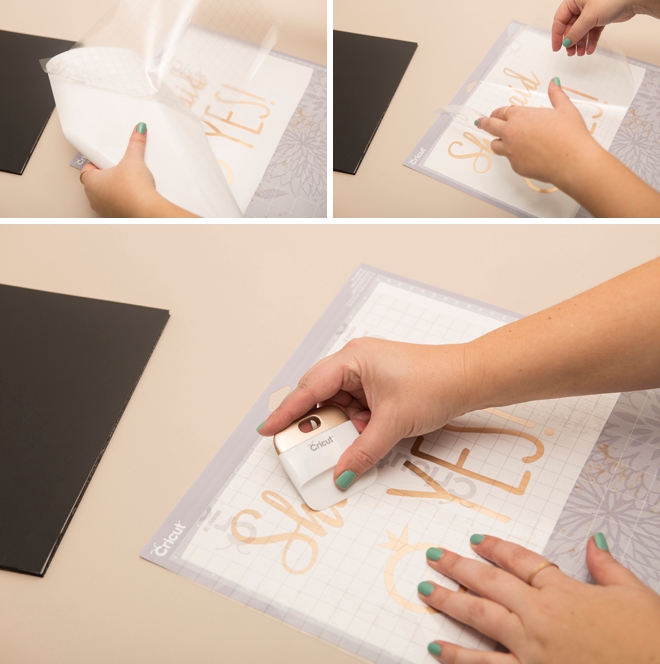
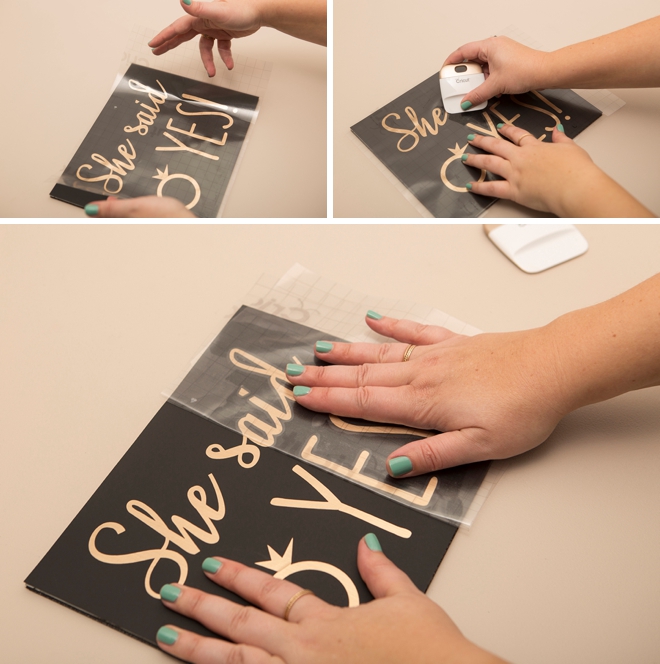
Add The Transfer Tape
To easily transfer your new decal to it’s intended surface, cut, peel and adhere the transfer tape over the decal and smooth.
Prepare The Decal
When you’re ready, remove the backing from the decal, leaving the design on the transfer tape…
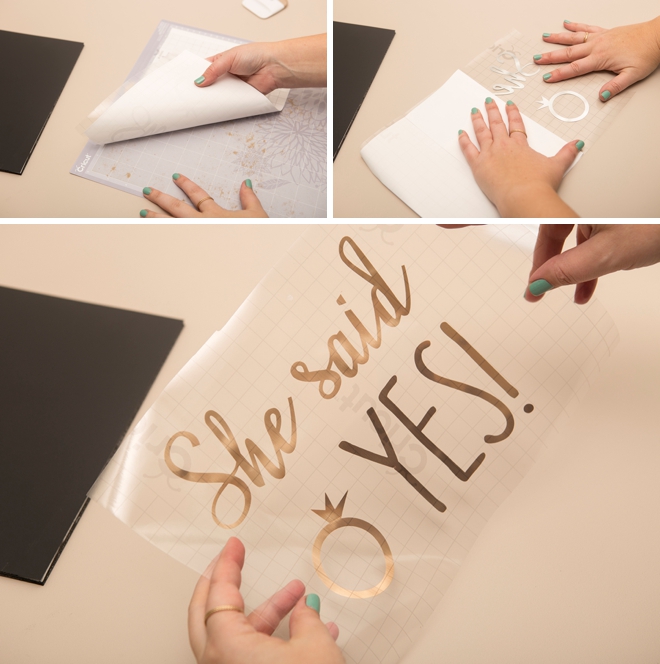
Add To A Surface
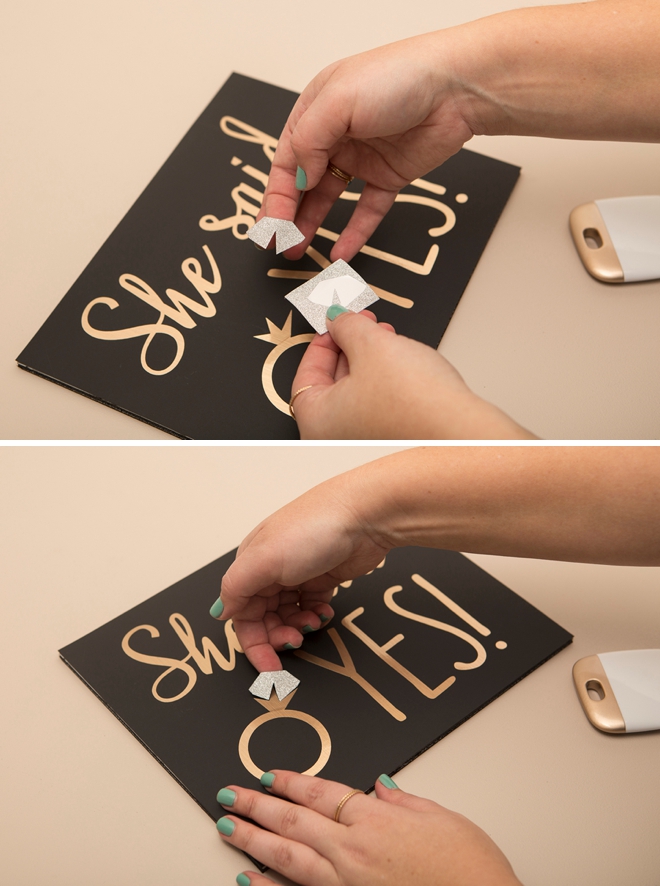
…and carefully smooth onto poster board, wood, glass, a frame, paper – or any surface you’d like! Don’t forget the sparkly diamond layer!
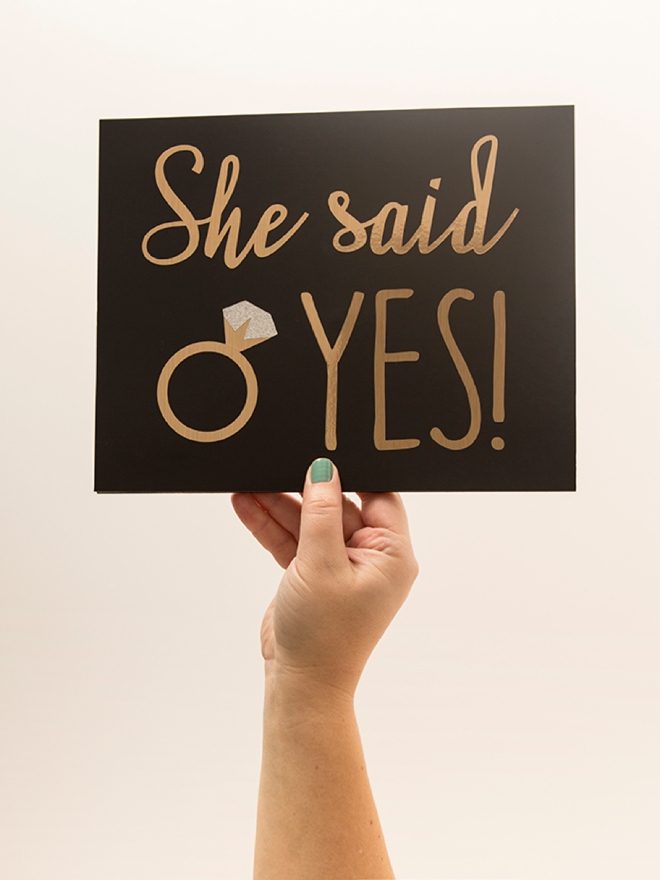
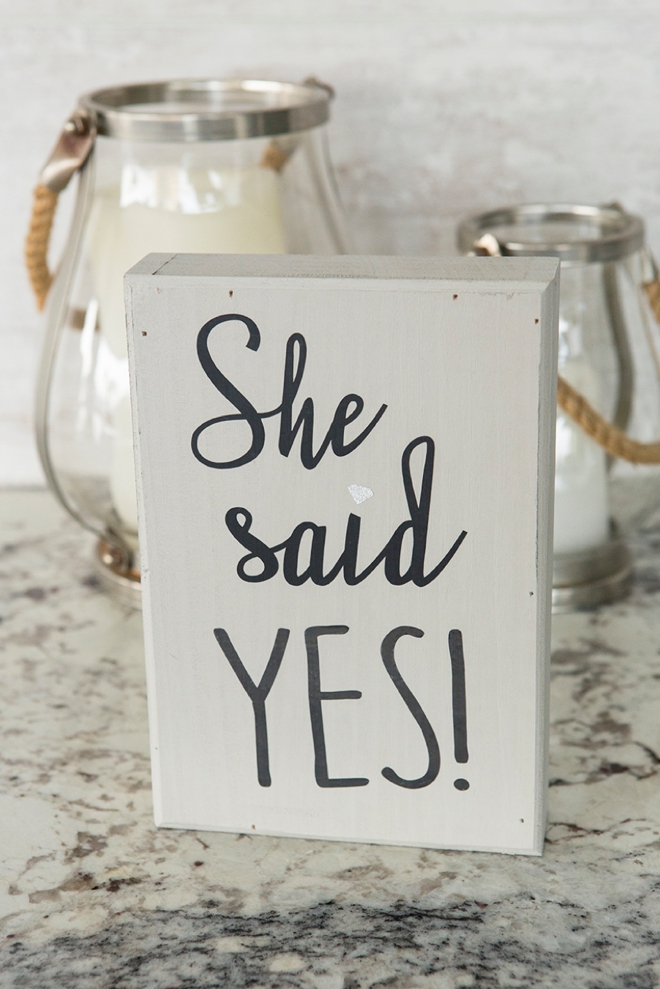
Any Surface Will Do
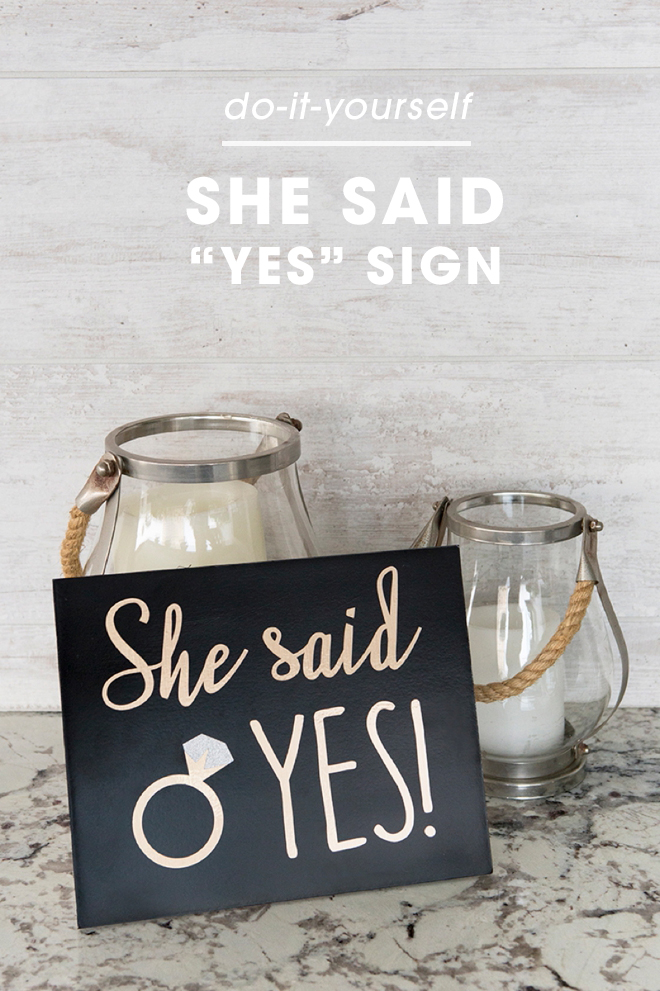
I used black foam core board and a wood canvas that I painted gray. You can use and surface that would make for a great sign, from a frame to paper, to glass or acrylic… any surface will do!
DIY TUTORIAL PARTNER:

Cricut is a world-class leader in personal electronic cutting machines that has enabled people to achieve their creative best for over 50 years. Today, millions of people use Cricut products to create unique projects, and they focus on enhancing lives with this power of creativity. Let Cricut help you take your wedding personalization and project creativity to the next level!

As with all our DIY tutorials, if you create one of our projects please send us a picture – We Love Seeing Your Creativity! If you use Instagram or Twitter please use the hashtag #SomethingTurquoiseDIY and it will show up on our Get Social page. Happy Crafting!
DIY Tutorial Credits
Photography + DIY Tutorial: Jen Carreiro of Something Turquoise // Cricut Explore Air 2, Cricut Glitter and Foil Vinyl, Cricut 12 x 12 Cutting Mat and Tools: courtesy of Cricut // Nail Polish: OPI – Withstands the Test of Thyme // Huge thanks to Sam + Shea for being our models!
Shop The Supplies:
Find the supplies you’ll need for this project from our affiliate links below:

Comments