
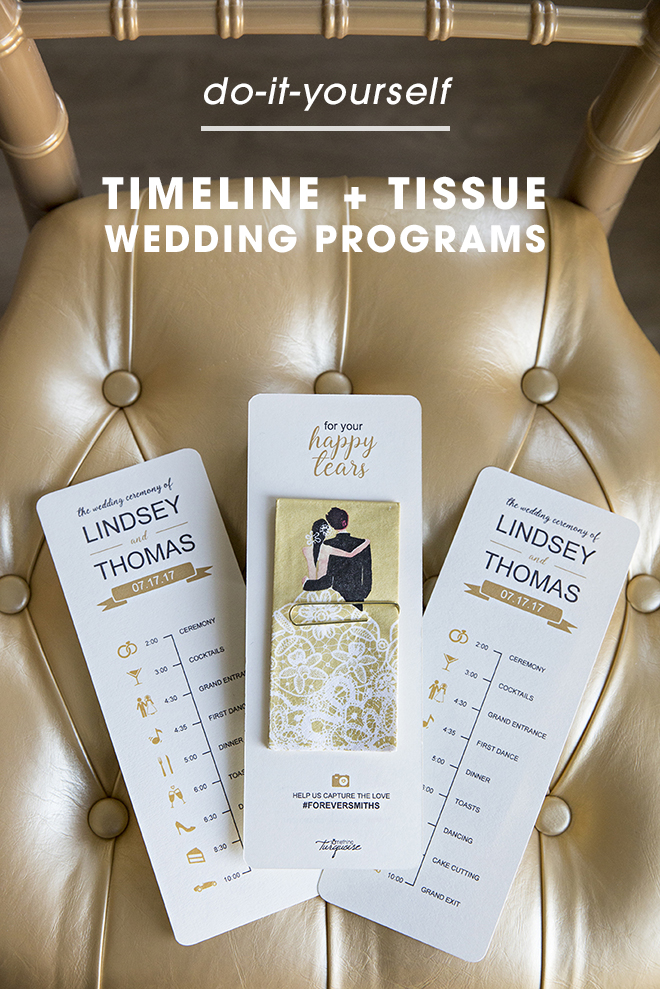
DIY | Timeline + Tissue Wedding Programs
-Sponsored Post-
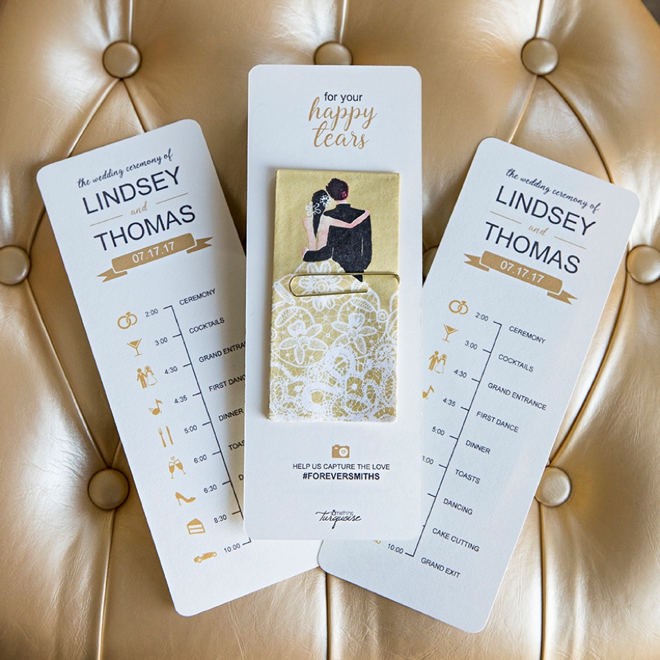
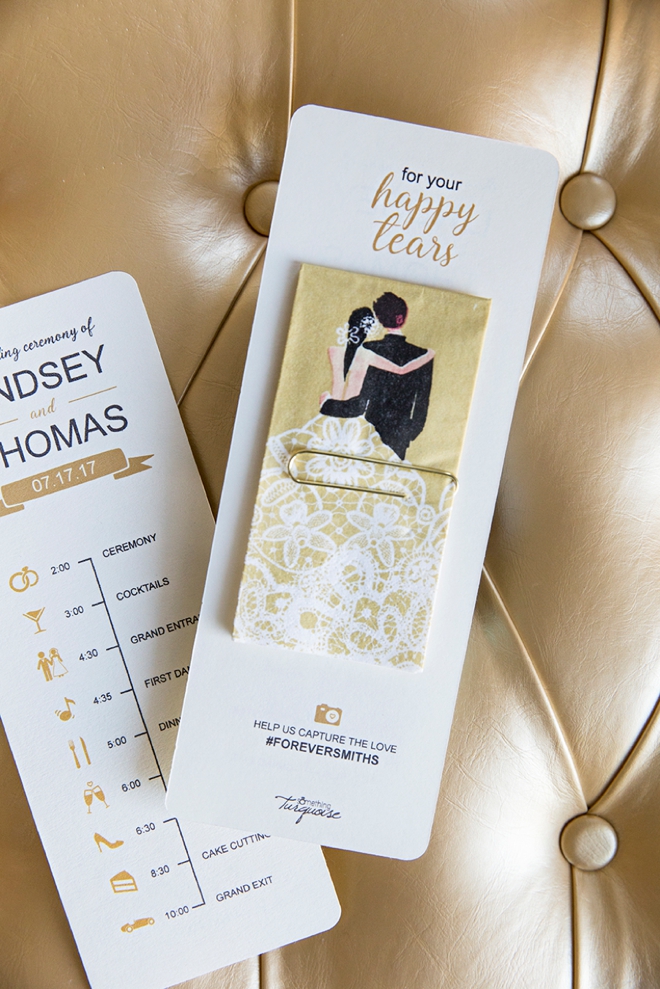
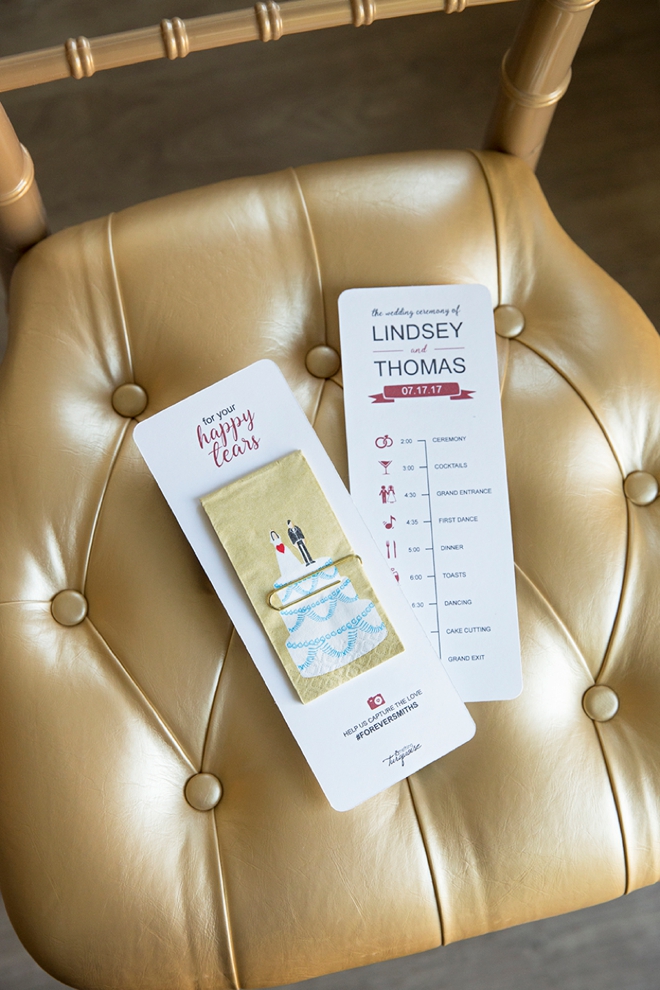
As a wedding guest, I absolutely love receiving a timeline style program. Maybe that’s just the planner in me, but I’m sure a lot of you feel the same. It clues you into the special festivities ahead and gives you elements to look forward to. Today’s DIY Timeline + Tissue Wedding Programs project goes a step further, because just like the name says, each one has a tissue! Adorable right? Download, edit and print our file for free using your favorite Canon printer, like my trusty PIXMA iP8720. Embellish our simple design with the pale paper color of your choice, a corner punch, and themed tissues to fit your unique soirée!
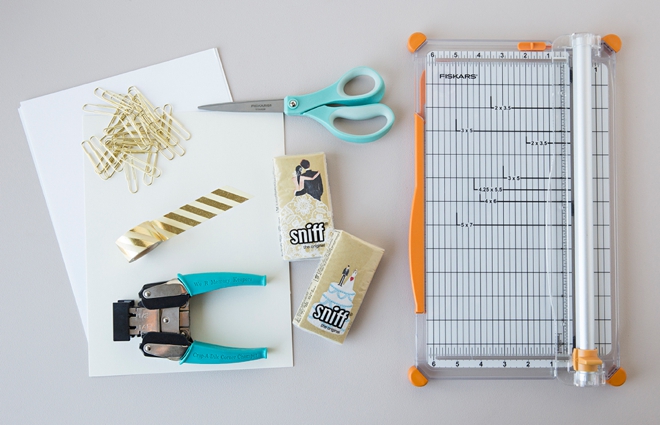
SUPPLIES:
- Canon PIXMA iP8720 Crafting Printer
- 8.5″ x 11″ Cardstock
- Cute Wedding Tissues
- Oversized Paper Clips
- Paper Trimmer
- Washi Tape
- Scissors
- Corner Rounder
- Our FREE editable file at the end of the post!
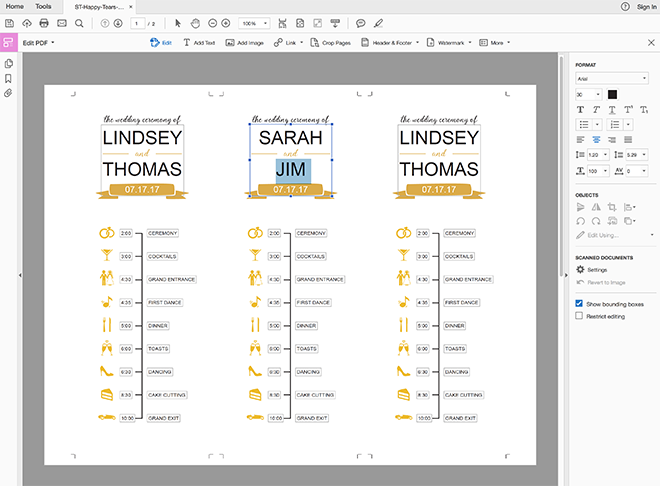
Edit With Adobe
You’re going to need to bust out your tech-savvy skills for this project. Download your choice of gold or red file at the end of the post and open using Adobe Acrobat or Reader and click “edit” file. Then double click on each box to update it with your wedding information. Keep in mind, older versions of these programs won’t edit these files as easily. The font we used is Arial, so no need to download anything special. Make sure to save your version and get ready to print!
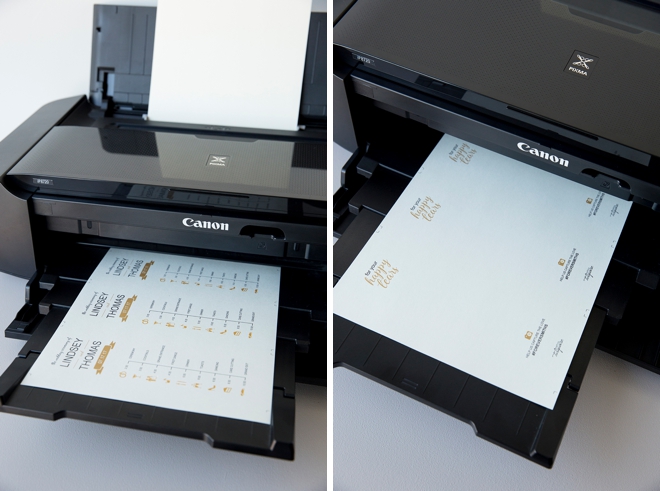
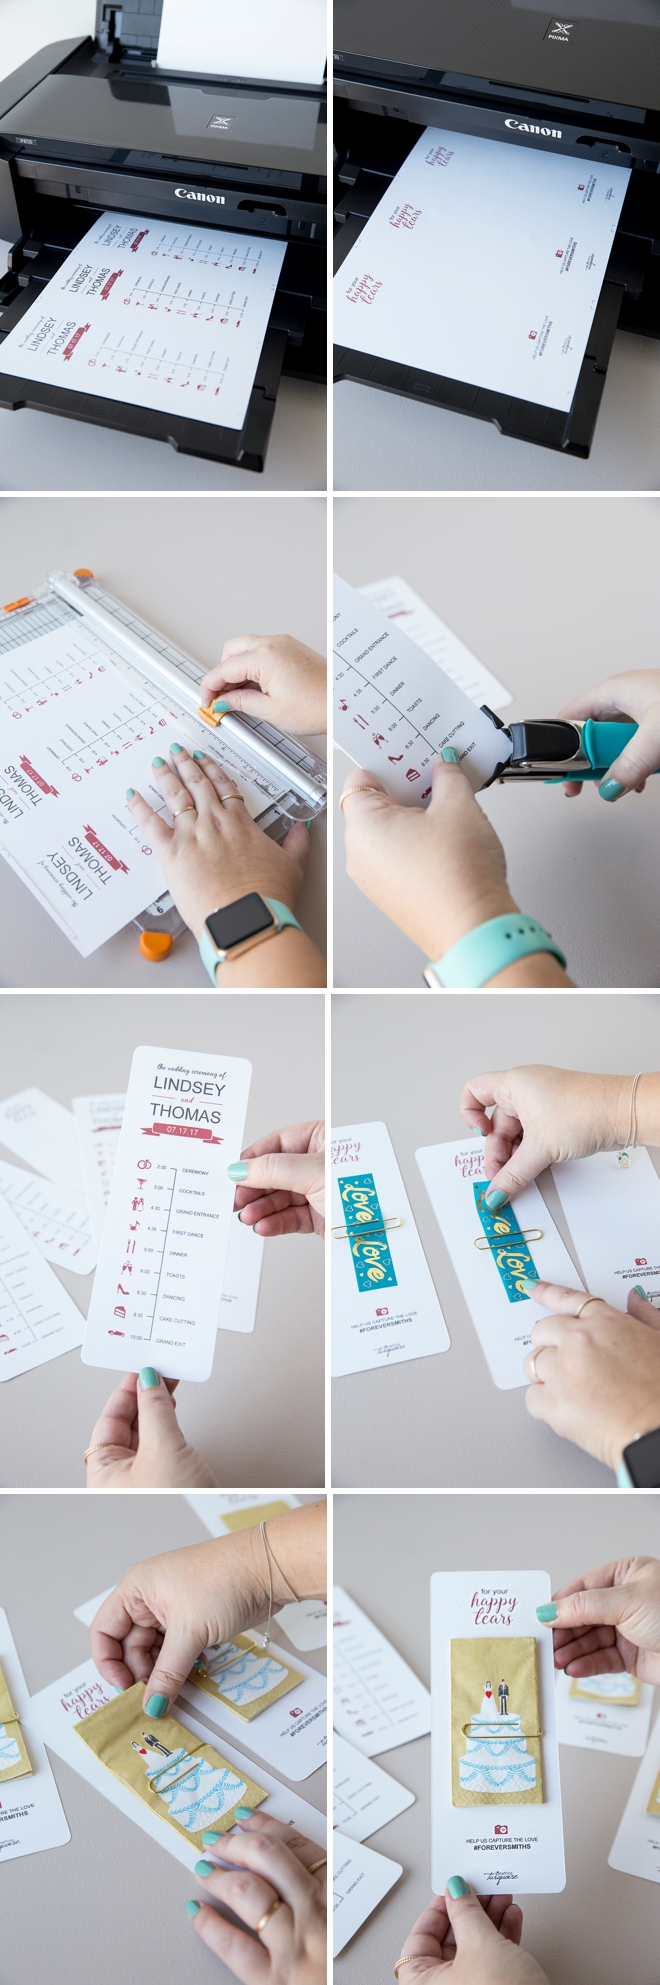
Print Front + Back
Using your home printer, print the timeline design on the front and then reload the printer to print the happy tears design on the backside. As you might have heard, my Canon iP8720 is my go-to printer of choice. It can print from 4×6 all the way up to 13×19, including 12×12 scrapbooking paper! My dream come true. The fine detail and amazing color range is what makes all our printed projects look fabulous!
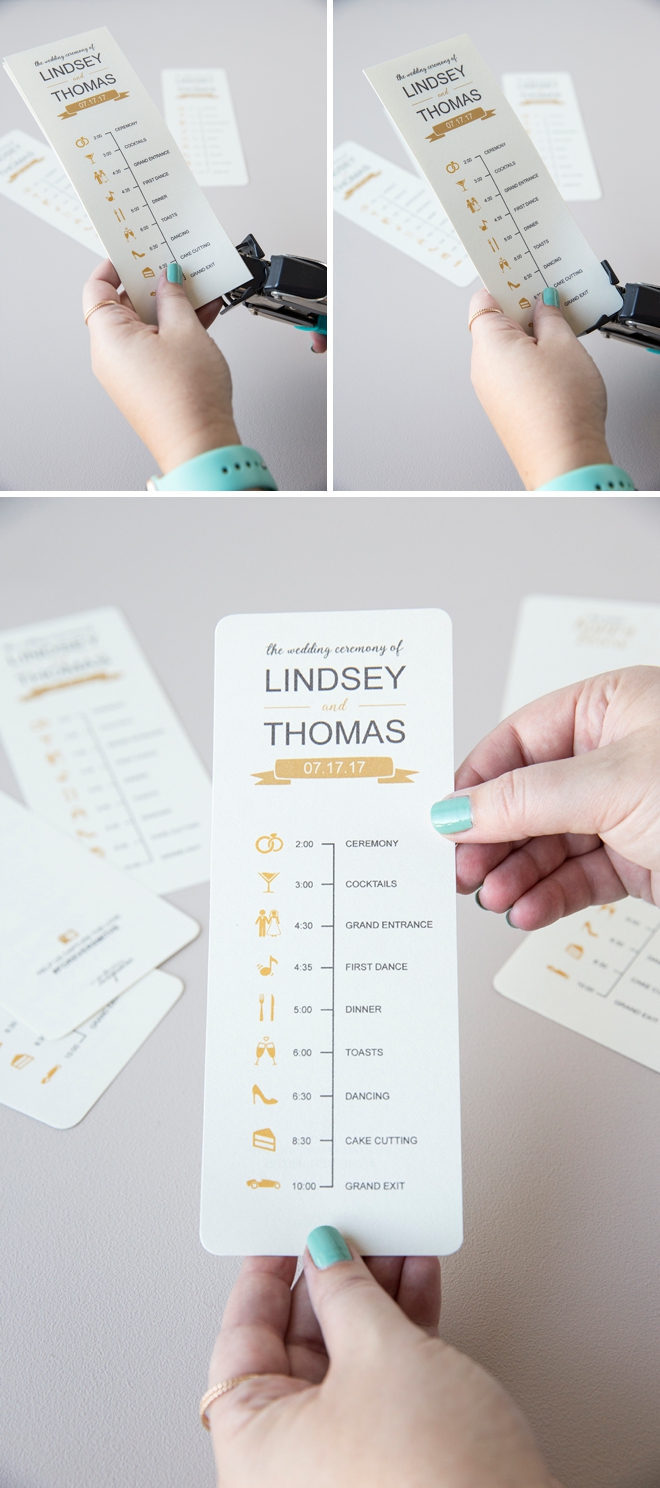
Trim Into Three
There are 3, 3″ x 8″ program designs on each 8.5″ x 11″ paper; trim each one down to size following the crop lines provided.
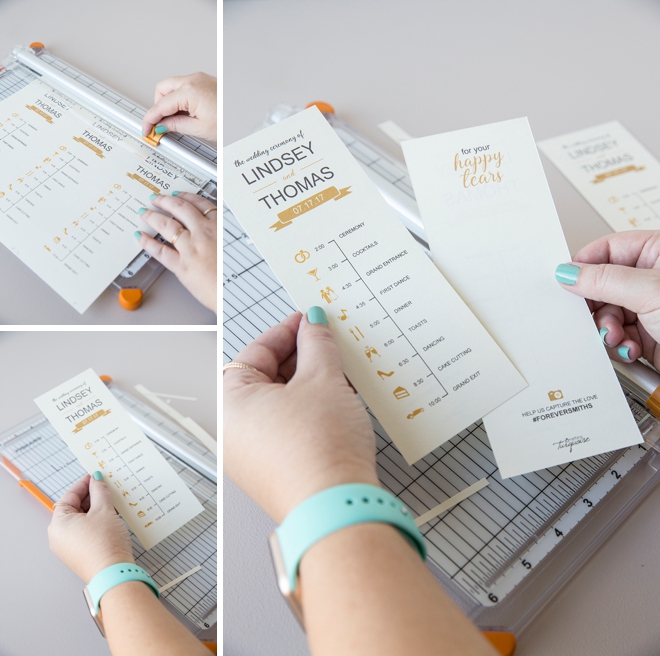
Round The Corners
Rounding the corners is optional but I love the little accent it provides…
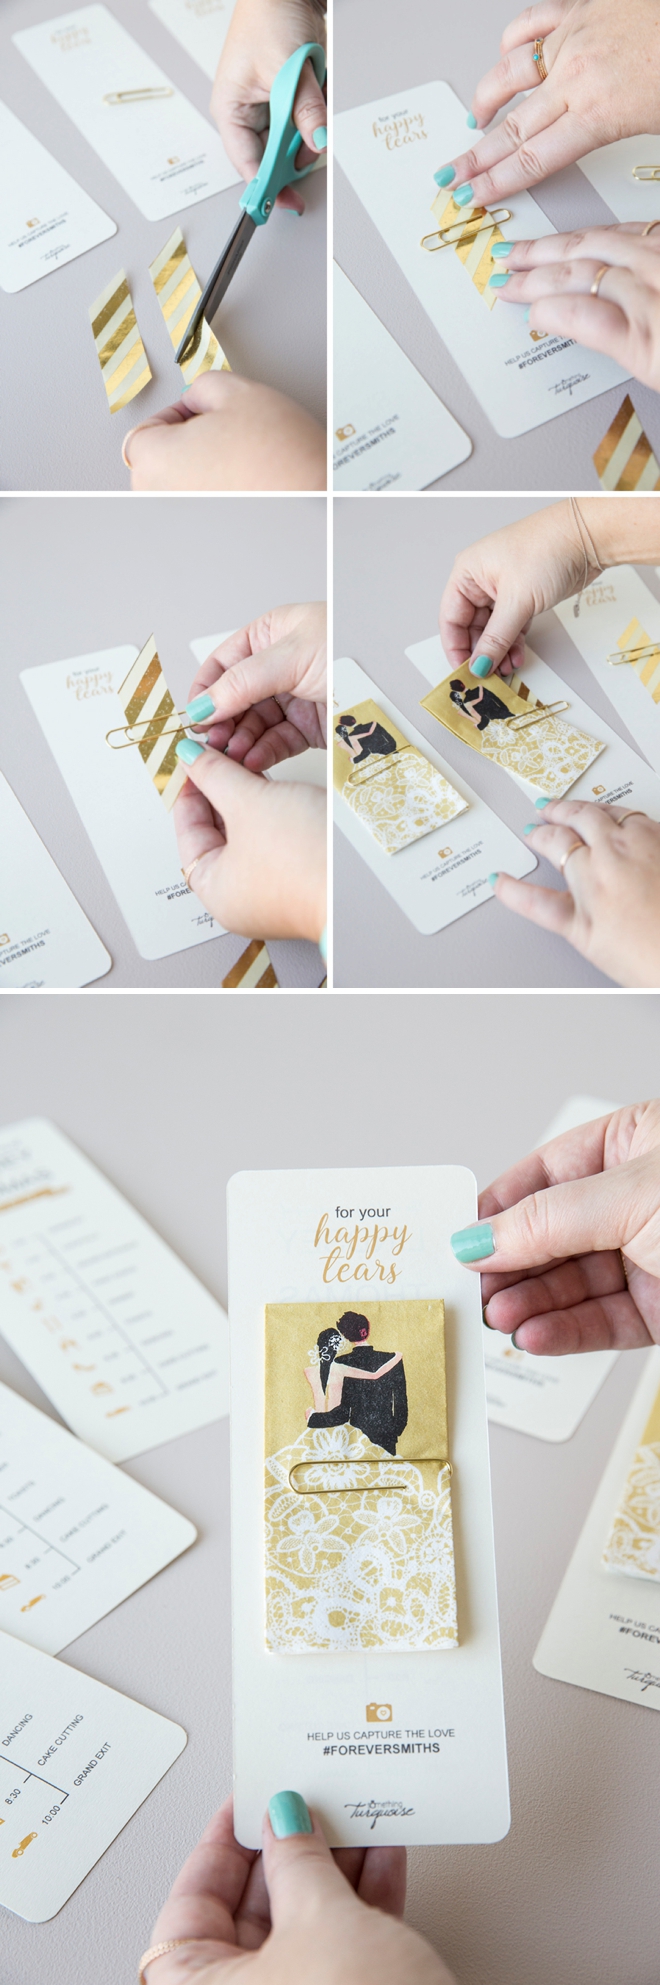
Attach The Tissue
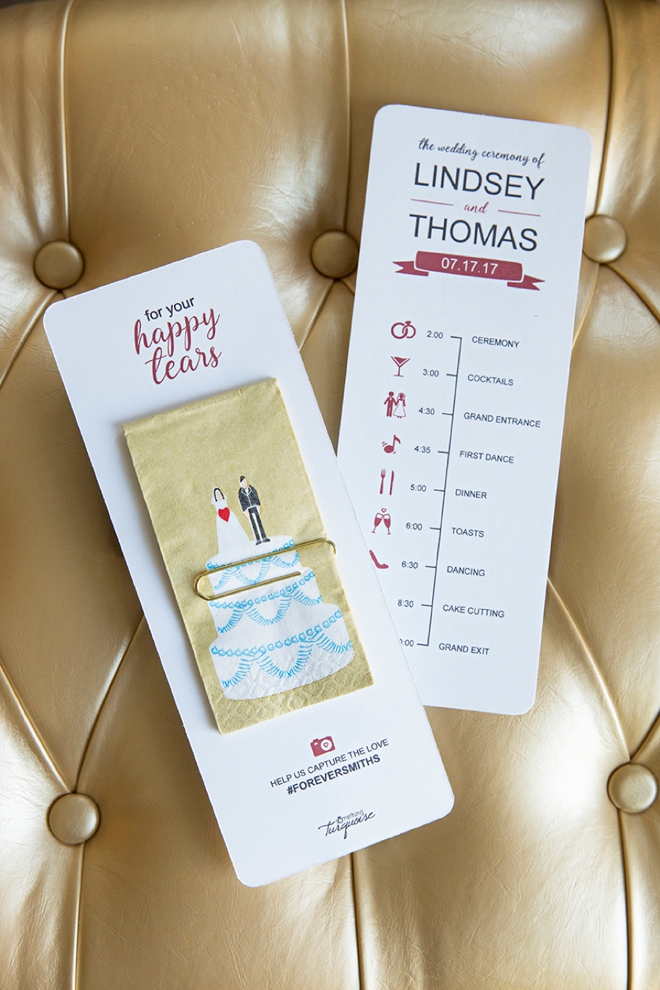
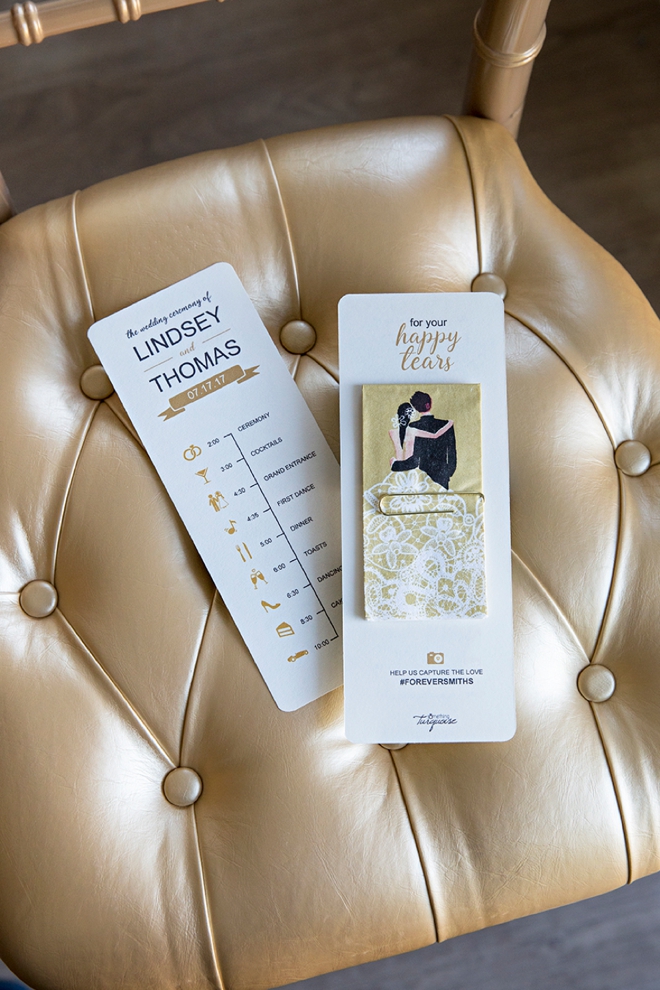
I’m obsessed with this. Using a jumbo gold paper clip and a piece of washi tape, tape a paper clip to the back of each program and insert a cute, themed wedding tissue! Your guests will go crazy for this and the cryers will surely thank you!
Just A Few Simple Steps
In just 5 quick steps you’ll have created an informative and adorable wedding timeline program! Place a program on each chair at your ceremony or put them in a basket on display for your guests to take as they walk in!
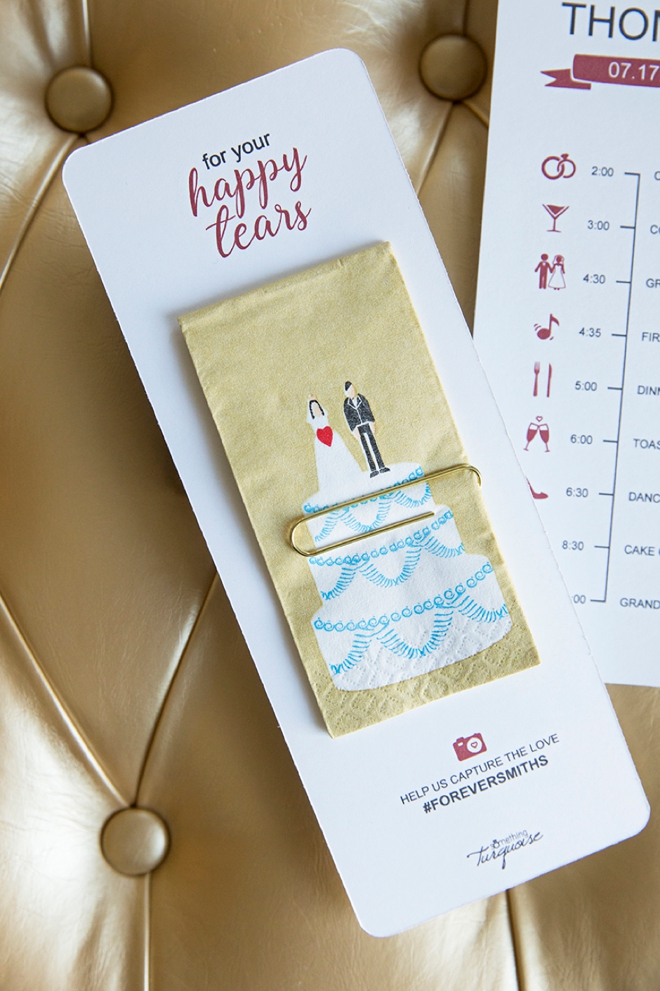
Too Cute!
I love this modern bride and groom tissue in gold, but it also comes in silver! Use any themed tissue for this project, wedding or other as there are many different designs available online.
DIY TUTORIAL SPONSORED BY:
Canon U.S.A., Inc. prides itself on allowing consumers to create and preserve beautiful imagery, from capture to print. With wireless technology and seamless printing capabilities, you can print your photos and printables with precision and ease.


As with all our DIY tutorials, if you create one of our projects please send us a picture – We Love Seeing Your Creativity! If you use Instagram or Twitter please use the hashtag #SomethingTurquoiseDIY and it will show up on our Get Social page. Happy Crafting!
DIY Tutorial Credits
Photography + DIY Tutorial: Jen Carreiro of Something Turquoise // Canon PIXMA iP8720 Crafting Printer: courtesy of Canon // Program Design: Julia Ensign // Wedding Tissues by Sniff: Amazon // 8.5″ x 11″ Cardstock in Superfine Soft White and Eco White: Paper Source // Washi Tape in Gold Stripe and Blue Love: Little B // Jumbo Gold Paper Clips: Amazon // Nail Polish: OPI – Withstands the Test of Thyme
Shop The Supplies:
Find the supplies you’ll need for this project from our affiliate links below:

Comments