
DIY | Personalized Vinyl Wedding Cake Plate
-Sponsored Post-
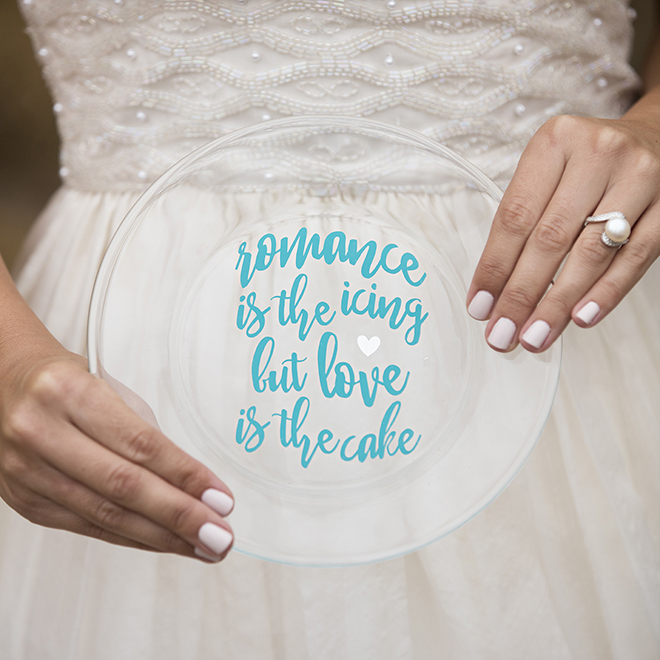
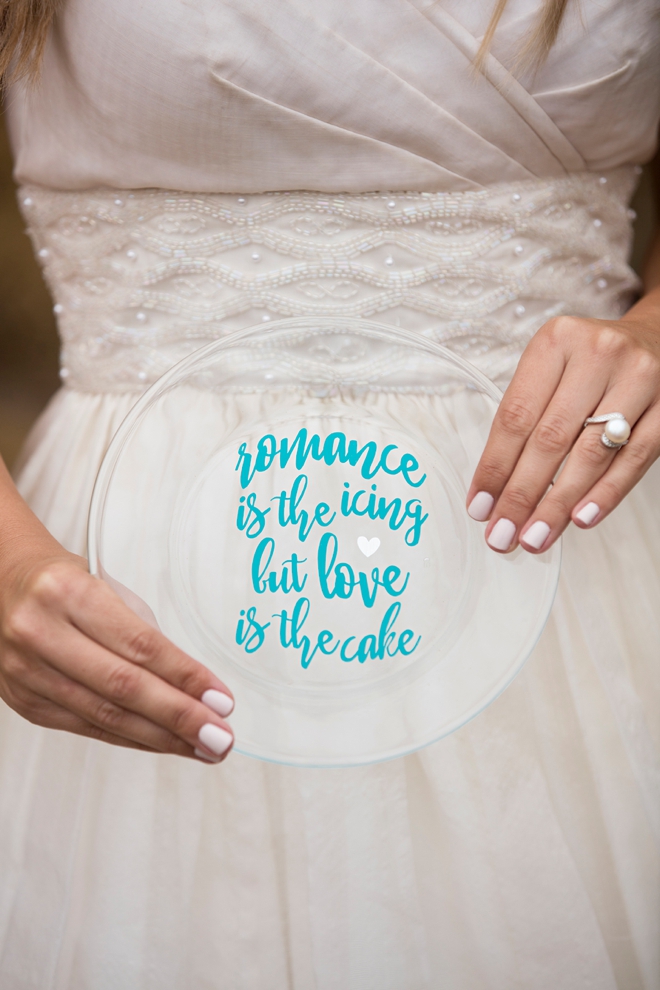
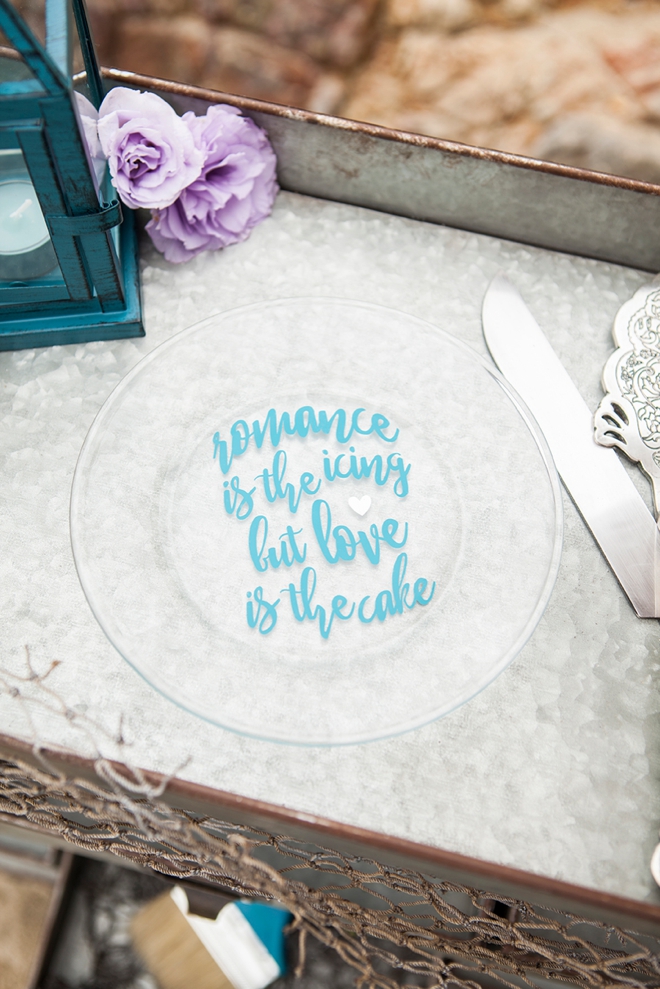
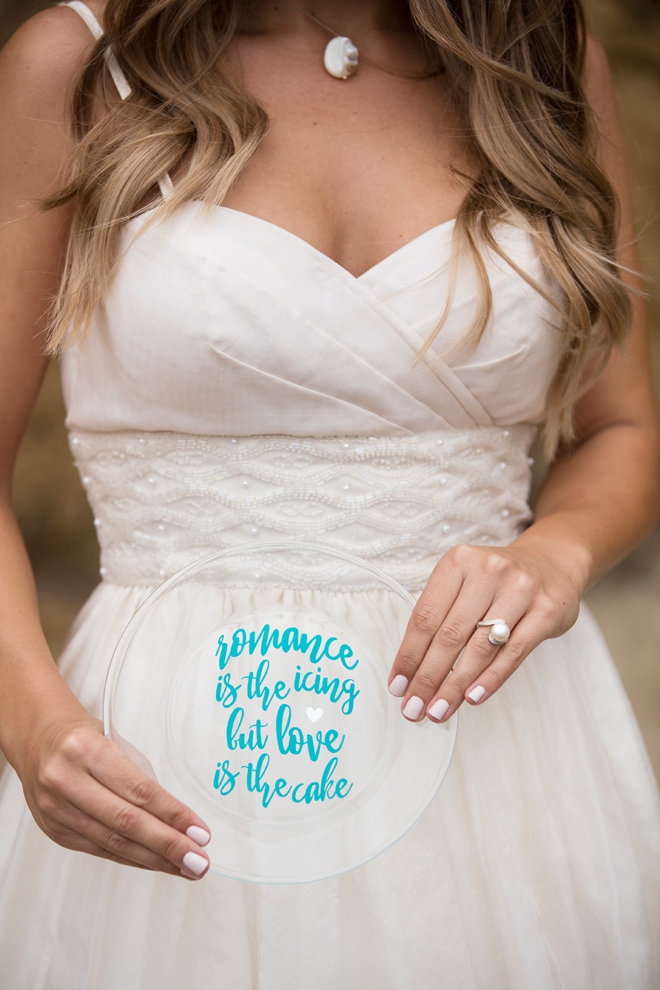
I absolutely adore this idea! Make your own Personalized Wedding Cake Plate to use when you cut the cake at your reception! Then each year on your anniversary, pull out the plate and share a piece of cake! Embellish your plate with our free SVG file that reads, “romance is the frosting, but love is the cake”… a quote from the lovely Julia Child – or create your own. To make this plate food safe we’re placing the vinyl decal on the underside of a clear plate to show through. Using the Cricut Explore Air for this project truly means the sky is the limit when it comes to creativity!
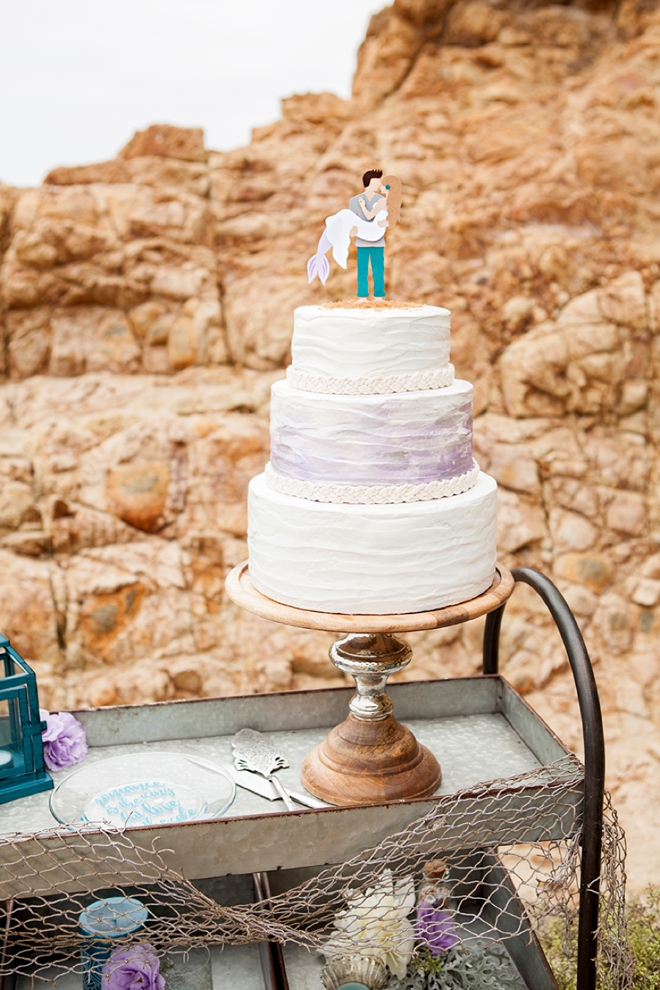
Click HERE to find the full styled wedding inspiration shoot that this project is from!
SUPPLIES:
- Cricut Explore Air
- Premium Vinyl (in your choice of color, I used Teal and Silver)
- Transfer Tape
- 7.5″ Clear Salad Plate
- Our free SVG file below!
Import Into Design Space
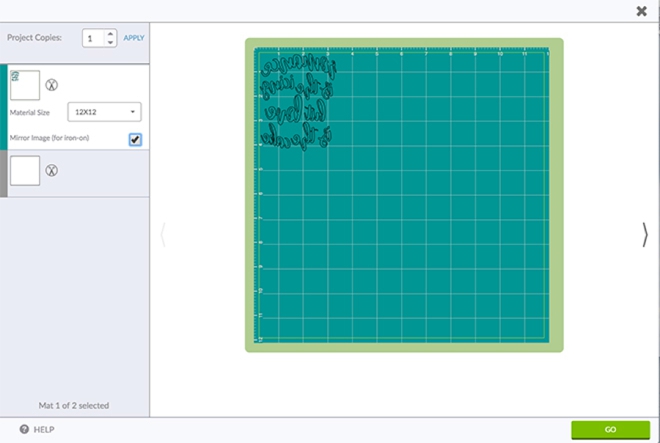
Download our free SVG file at the end of the post and upload it into Cricut Design Space. Then drag the file to fit the size of the item that you’re going to place the design on.
You need to mirror the design for cutting, because we are placing the decal on the UNDERSIDE of the plate!
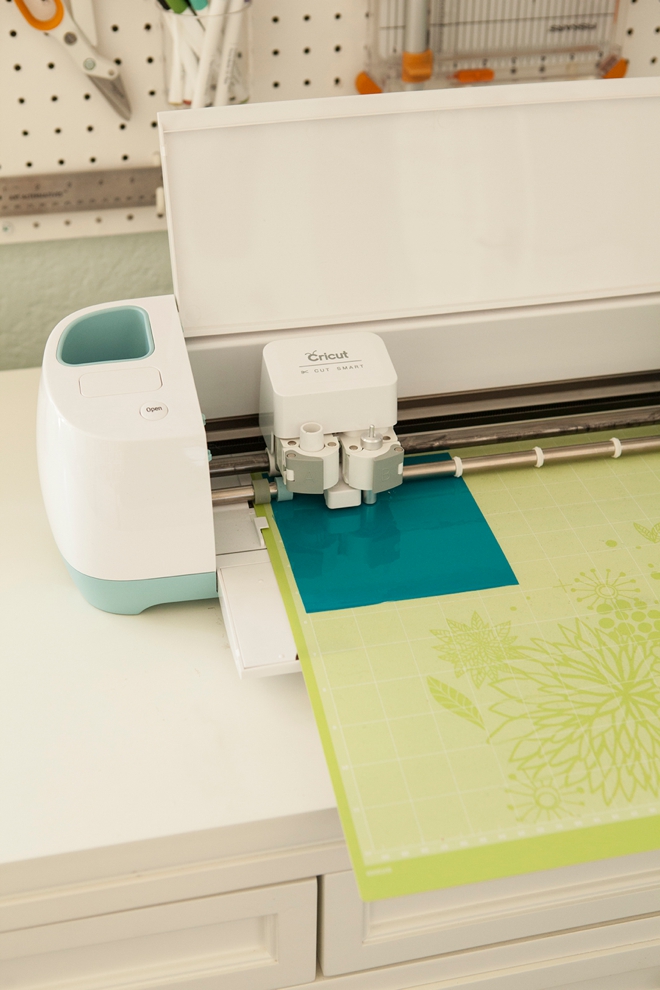
Cut The Design
Using a regular mat with your Cricut dial set to “vinyl”, press GO and watch the magic!
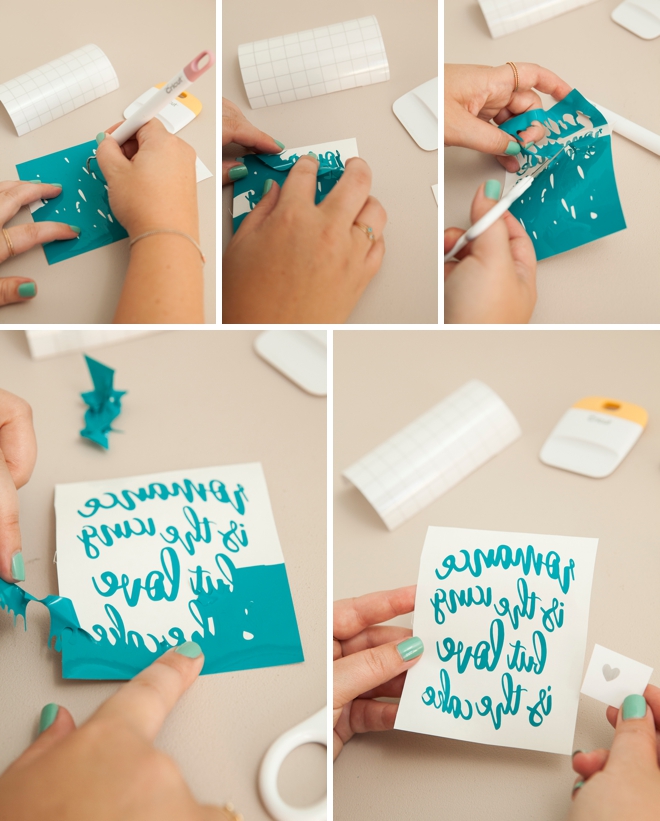
Weed The Design
Using the weeding tool, carefully remove all the non-design areas from the vinyl. Most vinyl is the same color on the front and the back – which is exactly what we need for this project!
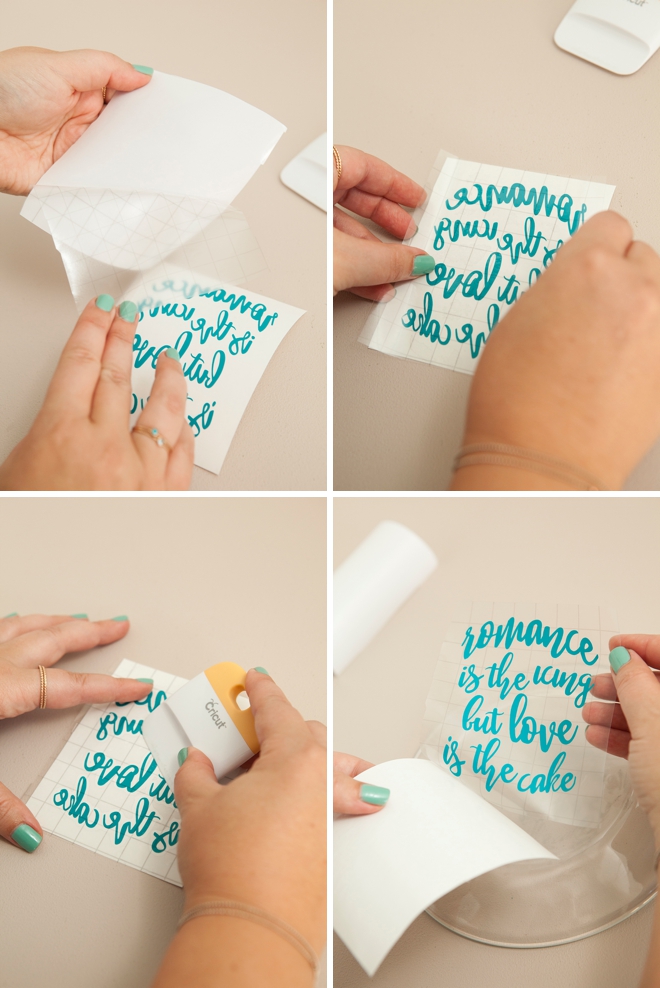
Apply Transfer Tape
Carefully apply the transfer tape on top of the design and burnish. Then remove the transfer tape backing, leaving the decal perfectly stuck to the front clear plastic.
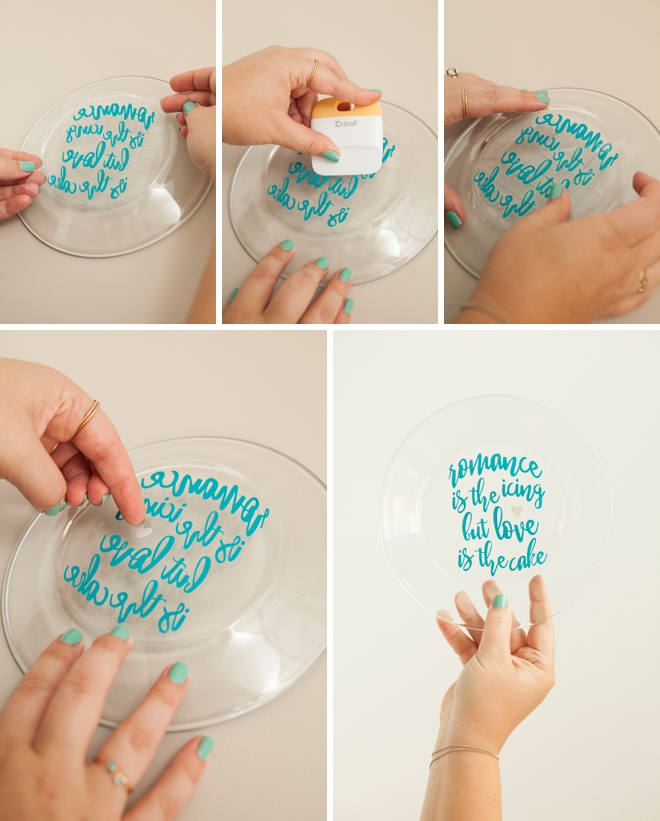
Apply To Your Item
Hover the decal over the backside of your plate and once happy with the arrangement, burnish onto the surface. Gently remove the clear transfer tape and you’re done!
By placing the vinyl on the underside of the plate, it’s 100% FOOD SAFE. You can also wash it by hand, just be careful.
Get Creative
I love this sweet saying from Julia Child and you might too… but keep in mind that using the Cricut, you can make your cake plate say anything you want!
Click HERE to find the full styled wedding inspiration shoot that this project is from!


—–> Huge Wedding Giveaway <—–
Throughout the ENTIRE month of September, Cricut has partnered with amazing brands to bring you over $10,000 in prizes for your dream wedding! They have also partnered with amazing wedding and craft bloggers to bring you fabulous DIY wedding tutorials and inspiration! Seriously gals, this month is going to be craft-fabulous! Here’s what you could win:
- Week One (this week): $1500 towards a gorgeous, eco-friendly Celia Grace wedding dress!
- Week Two: $1500 “DIY Dream Wedding Bundle” including a Cricut Explore Air & Canon iP8720 Crafting Printer and SO much more!
- Week Three: $1500 in wholesale wedding flowers from FiftyFlowers.com!
- Week Four: Grand Prize. All the prizes above + a romantic Sandals Honeymoon to your destination of choice!
Click HERE to enter to win! Your friends can also “nominate” you to win!*
As with all our DIY tutorials, if you create one of our projects please send us a picture – We Love Seeing Your Creativity! If you use Instagram or Twitter please use the hashtag #SomethingTurquoiseDIY and it will show up on our Get Social page. Happy Crafting!
DIY Tutorial Credits
Photography + DIY Tutorial: Jen Carreiro of Something Turquoise // Project Created Using The: Cricut Explore Air // Design Files: Julia Ensign // Wedding Dress: Celia Grace // Premium Teal Vinyl: Amazon // Clear Cake Plate: Target // Cricut Transfer Tape: Amazon // Font Used: Overture // Nail Polish: OPI – Withstands the Test of Thyme
Shop The Supplies:
Find the supplies you’ll need for this project from our affiliate links below:

Comments