
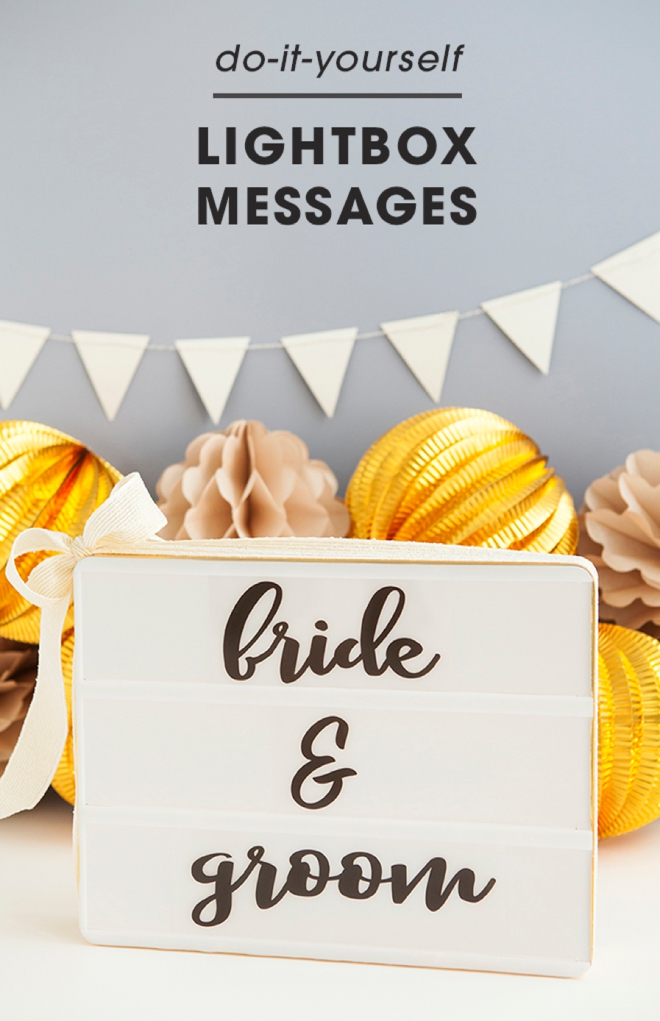
Simple DIY | Printable Lightbox Wedding Signs
Back in the day, I was a HUGE scrapbooker. I mean big time obsessed, tried to open my own store kind of obsessed. So naturally I’m a giant Heidi Swapp fan. She continues to make the most darling crafty items and her latest product release is in keeping with her normal fabulousness; a lightbox that’s begging to be personalized. Of course, she also sells little items to use with the box, including washi tapes, alphabets and sayings. But sometimes you need extra letters or the font doesn’t fit what you’re trying to create, so today I’m sharing how you can easily make your own DIY Lightbox Wedding Signs… or any old signs for that matter. I have been having so much fun with this lightbox at home, even made a welcome sign for the termite company that came a few weeks back – so now that I figured out how to make my own sayings for it – I’m going to have even more fun!
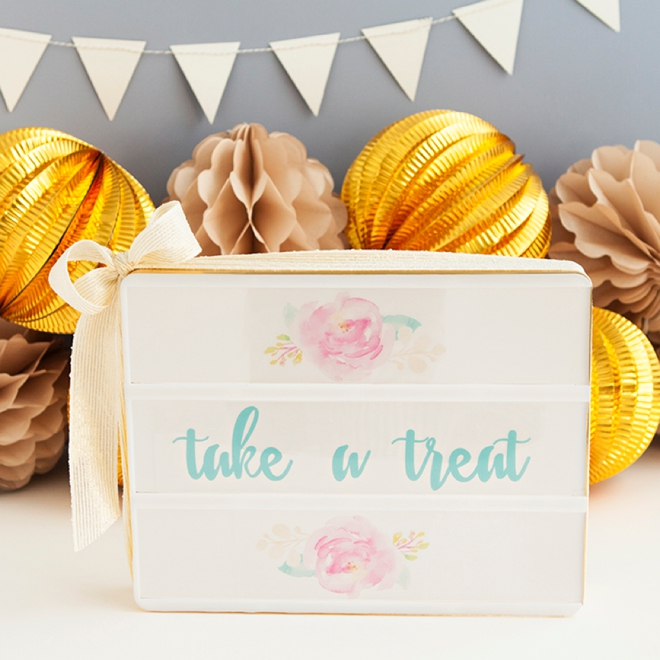
Heidi Swapp Lightbox
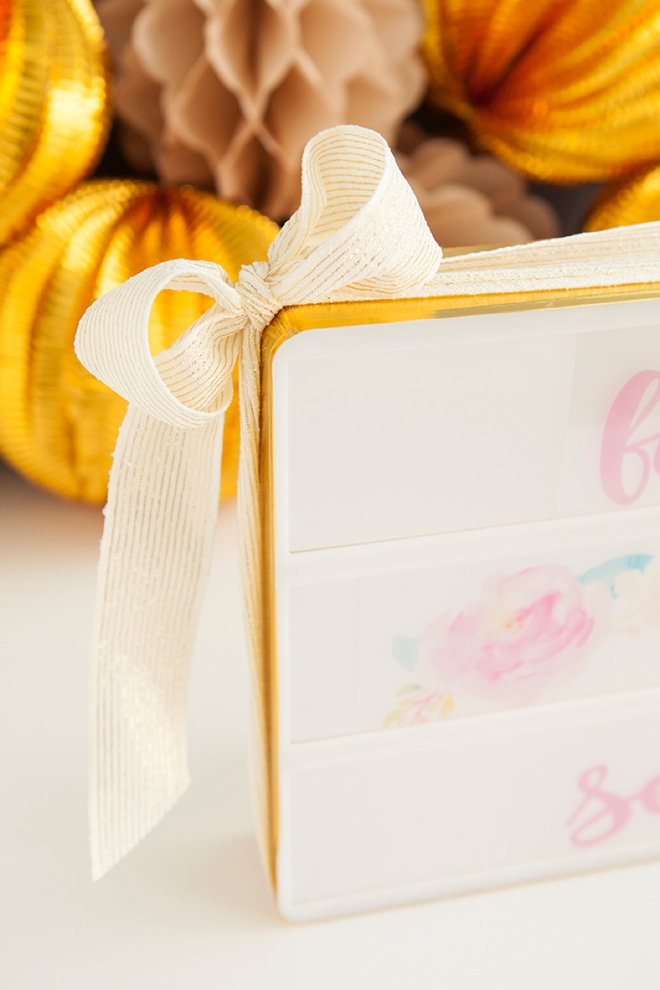
The box comes by itself, all white and with no letters or sayings. Then you get to purchase all the different optional elements to personalize it. I used the gold washi tape to line my box and then also wrapped it with a ribbon. To hear Heidi talk about the lightbox and share all the fabulous things you can do with it, watch this YouTube video!
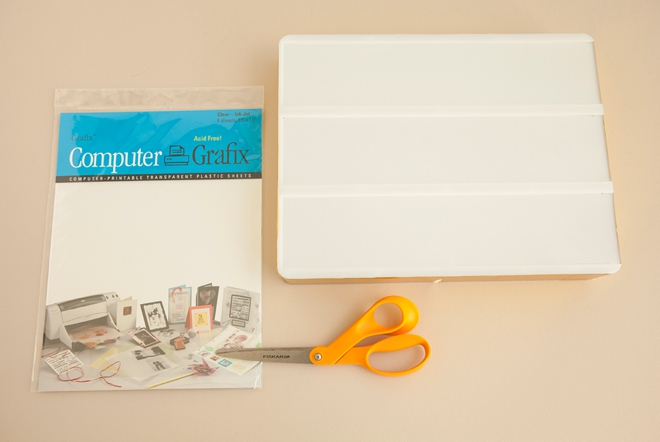
SUPPLIES:
- Heidi Swapp Lightbox
- 8.5″ x 11″ Inkjet Transparency Sheets
- Home Printer
- Scissors
- Our free printable designs at the end of the post!
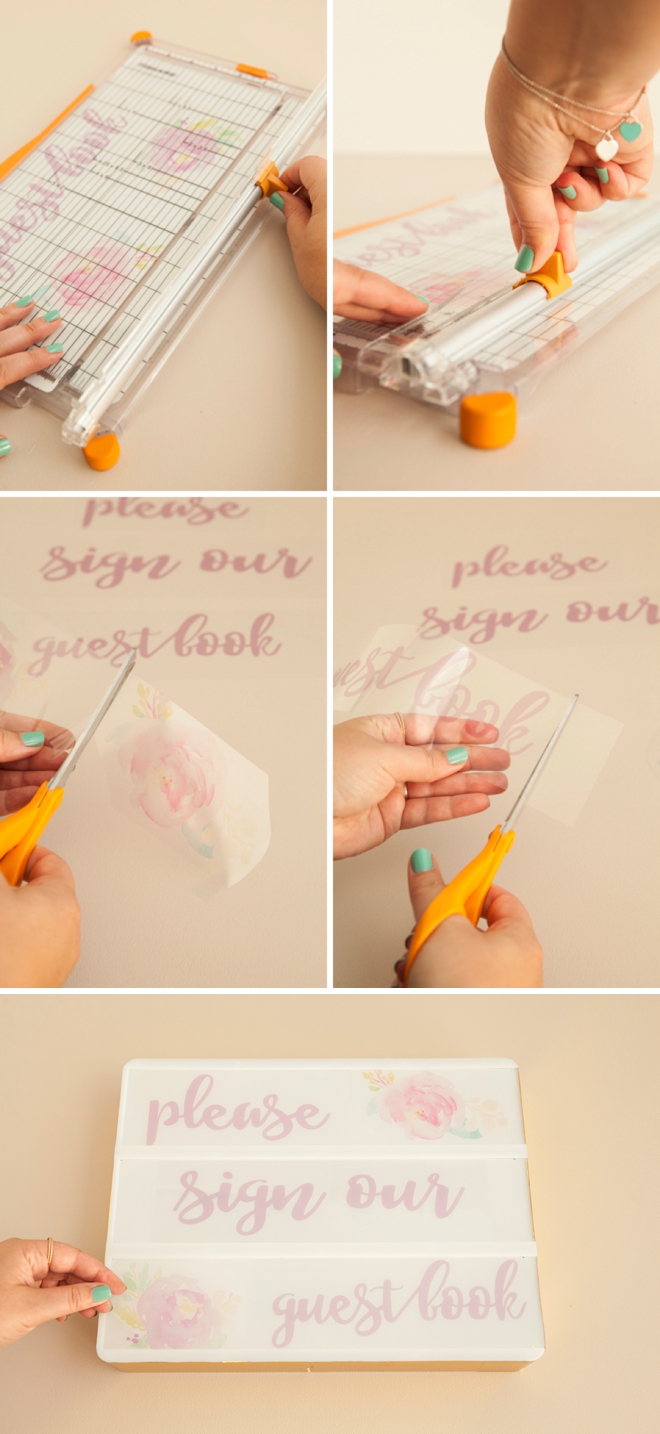
Design & Print
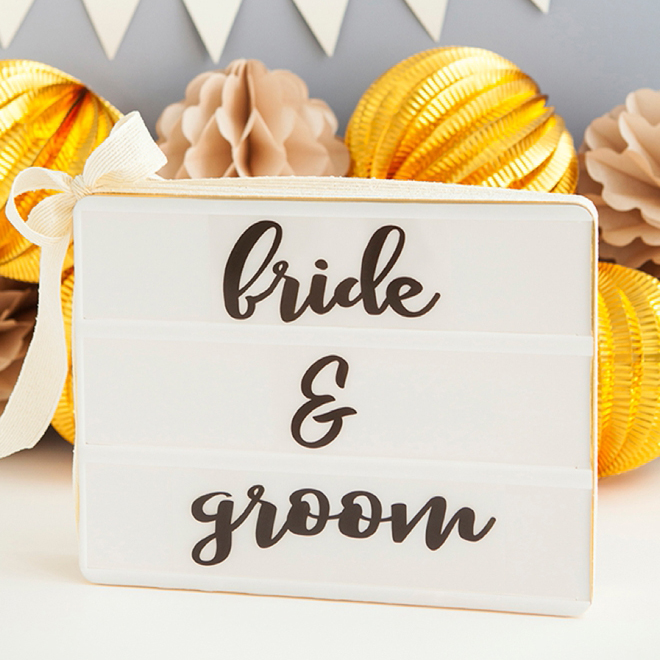
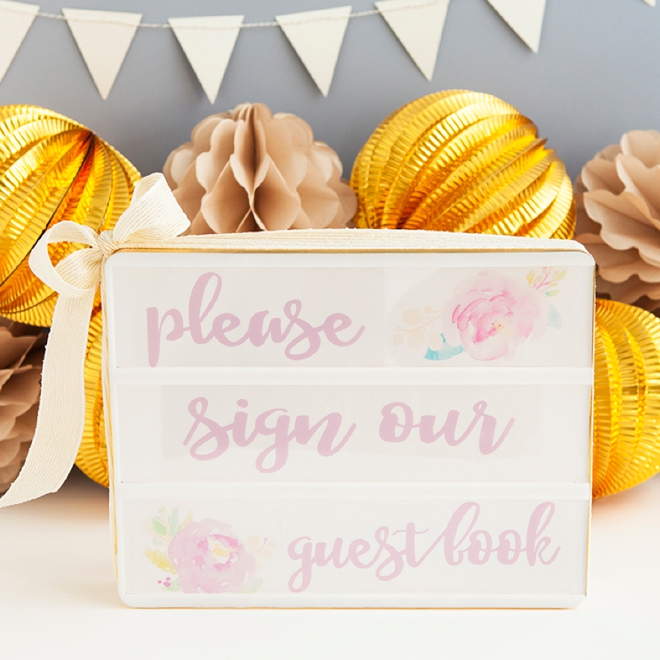
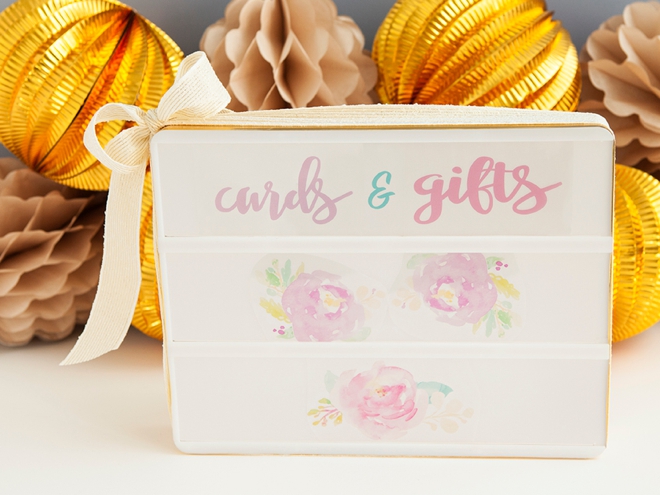
I’ve already designed a few wedding signs for you and I’m sharing them all for free in both black/grey and the colorful palette you see here. But like I mentioned in the beginning, this style or the styles you can buy might not fit your unique theme. So please feel free to design your own using your favorite software; Word, Photoshop, Illustrator, or maybe even Print Shop Deluxe. The height of each slide needs to be 2-13/16″, which I know sounds crazy but really it’s just one notch past 2-3/4″. I found it’s the perfect height to allow enough room for the sheet to fit properly into the box without bulging or sliding out. I’m also offering a blank template design which you can print out and use with Sharpies or Chalk Ink Markers!
If you have an inkjet printer, use inkjet transparency sheets like the one I used here. If you have a laser printer you’ll need to use laser transparency sheets. Print on the “rough” textured side of the sheet using the “photo” setting on your printer and try not to touch the printed area for at least 10 minutes after printing. That’s all there is to it really, design and print!

Cut & Arrange
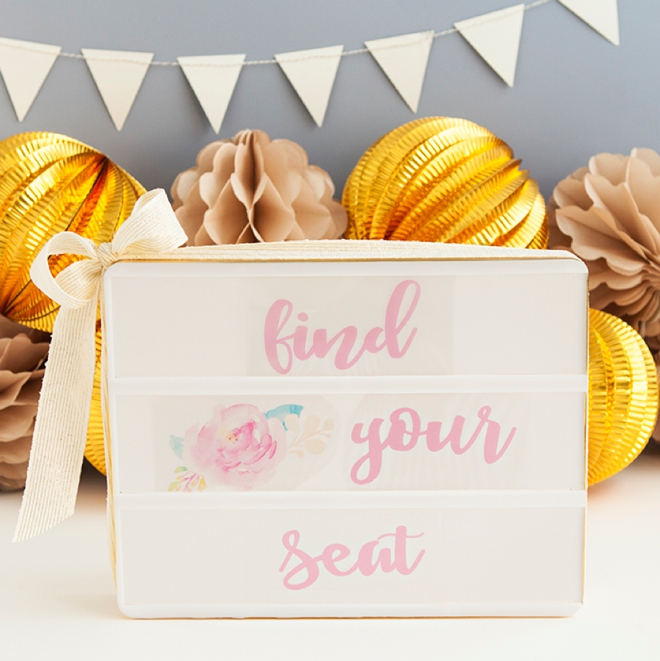
Trim your new sayings down to fit the box using the lines provided on my printables and then arrange. When sized correctly they’ll fit into the grooves of the box just like the sayings that are made for it!
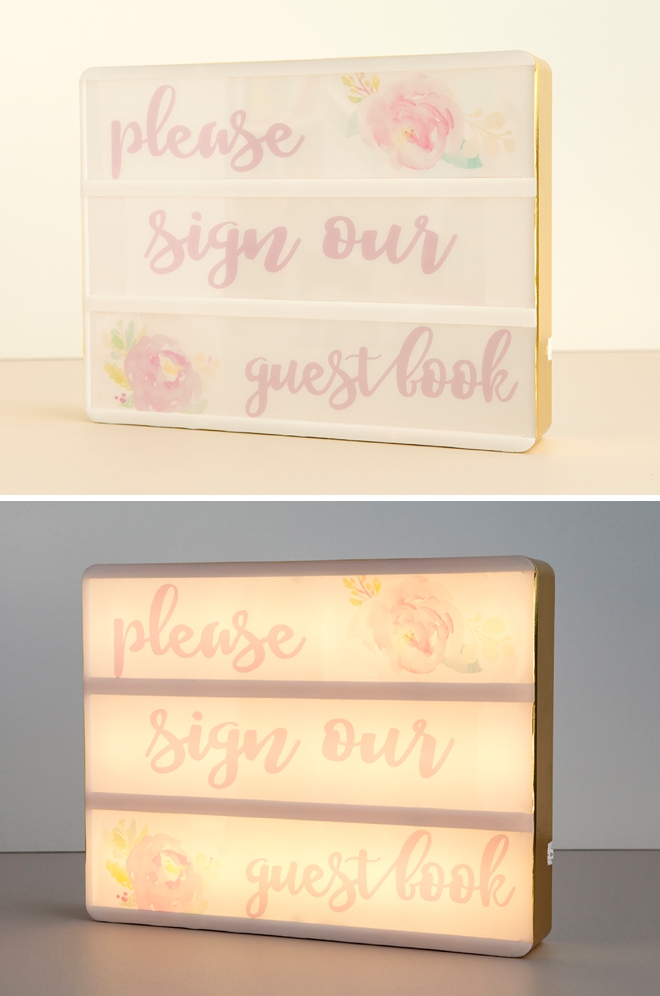
Off & On
This is what the sign looks like with the light off and on ~ so fun! The lightbox doesn’t need to be plugged in, it runs off batteries and has a little switch on the side that is easy to turn on.
Embellish The Box To Fit Your Theme
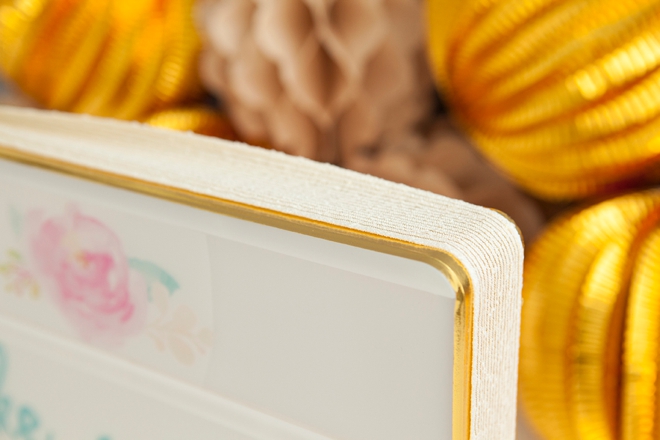
Like I mentioned before, I used the Heidi Swapp gold washi tape around the edges and then added a bow… but you can paint it, leave it blank or even frame it!
Another Off & On Example
All black signs seem like they might be boring but they look rad all lit up!


As with all our DIY tutorials, if you create one of our projects please send us a picture – We Love Seeing Your Creativity! If you use Instagram or Twitter please use the hashtag #SomethingTurquoiseDIY and it will show up on our Get Social page. Happy Crafting!
DIY Tutorial Credits
Photography + DIY Tutorial: Jen Carreiro of Something Turquoise // Heidi Swapp Lightbox: Amazon // 8.5″ x 11″ Inkjet Transparency Sheets: Amazon // Scissors: Amazon // Paper Lantern Decor: Oriental Trading // Nail Polish: OPI – Withstands the Test of Thyme
Shop The Supplies:
Find the supplies you’ll need for this project from our affiliate links below:

Comments