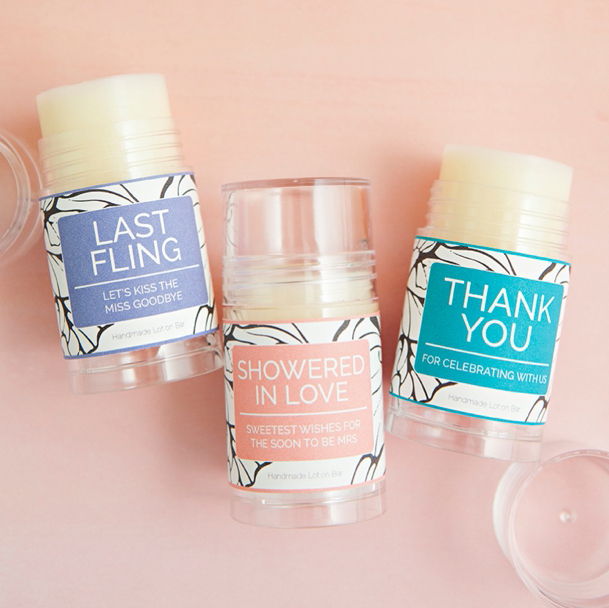

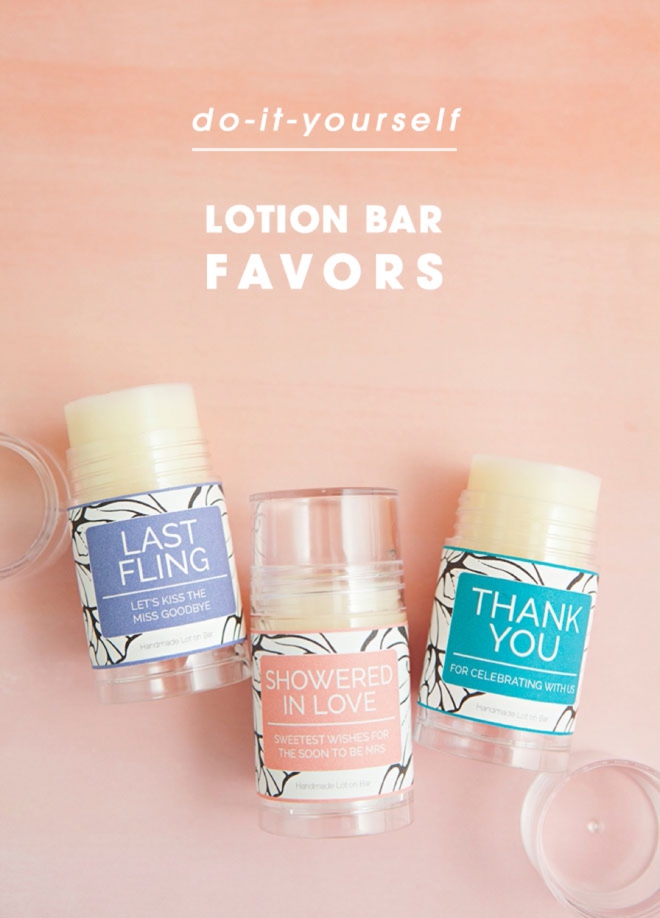
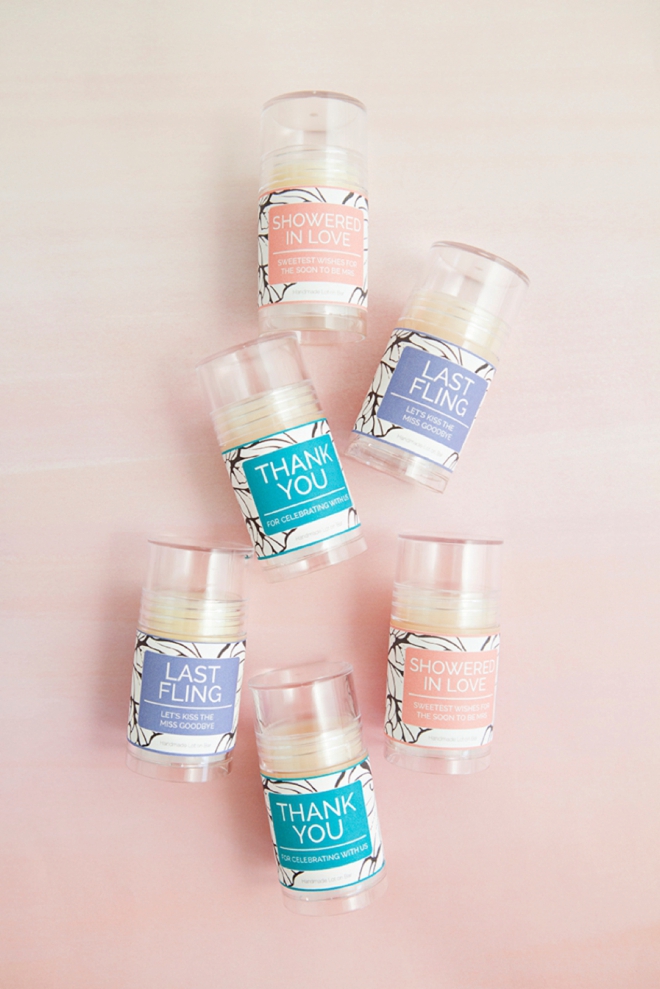
DIY | Push-Pop Lotion Bar Favors
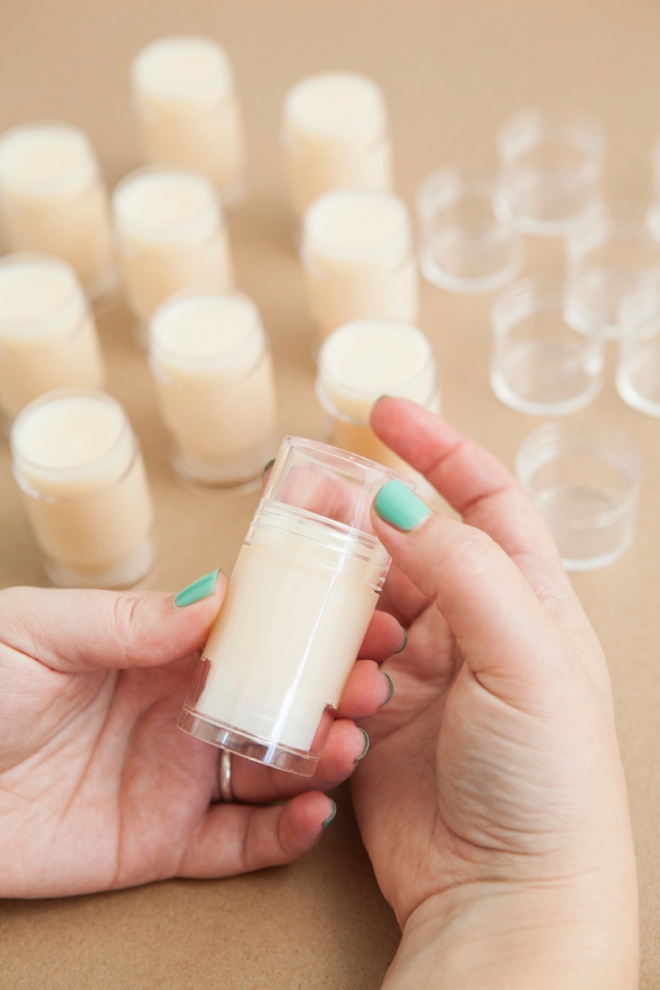
I feel like I am always talking about “favors your guests will actually want” because who wants to waste money on giving your most favorite people something they are literally going to throw away? Whose idea was it to give little sachets of jordan almonds anyway? If you are going to give favors, spend a tiny bit more and make them count – otherwise forget it and put the money towards more booze. That being said, beauty DIY projects for bridal shower favors, bachelorette party favors and bridesmaids gifts are always a good idea! So today I’m sharing this unique project for DIY Push-Pop Lotion Bar Favors that are seriously amazing. You might be thinking, lotion bar, what? Imagine a luxurious giant lip balm that is made especially for nourishing your skin. Yep. Amazing. These beauties are my most favorite beauty diy ever. Forget the lip balm, bath salts and bombs – the lotion bar is where it’s at. These would make a terrific addition to your day-of bridesmaids gifts so your gals can stay perfectly moisturized throughout the day… and they won’t leak in their purses! So the only questions are, what event could you make these for and what scent would you choose? Ahh, so fun… and of course we all know that these would make fantastic handmade gift for the holidays!
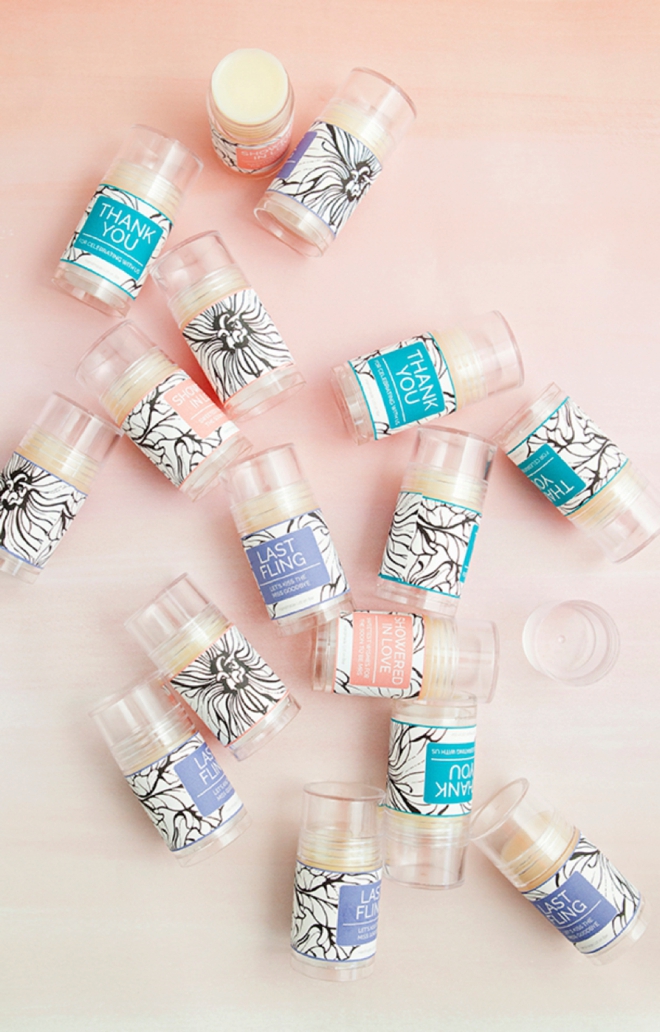
These little beauties would make the most wonderful bachelorette or bridal shower favors! They make your skin feel and smell so wonderful that your guests will talk about these gifts for months to come!
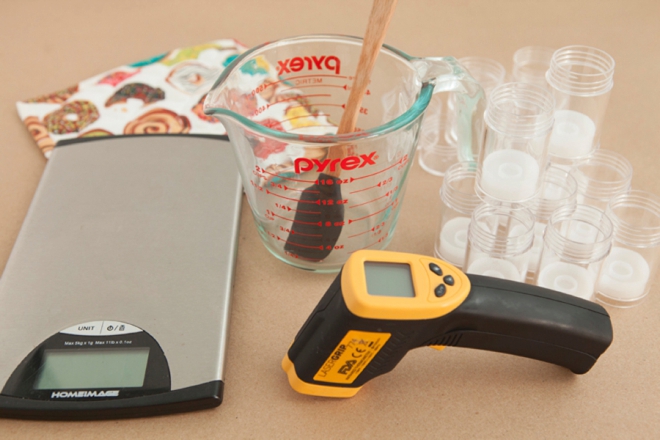
CRAFT SUPPLIES:
- Glass Jar
- Digital Scale
- Small Spatula
- 20 Push-Pop Tubes
- Sticker Paper
- Infrared Thermometer (optional)
- Heat Gun (optional)
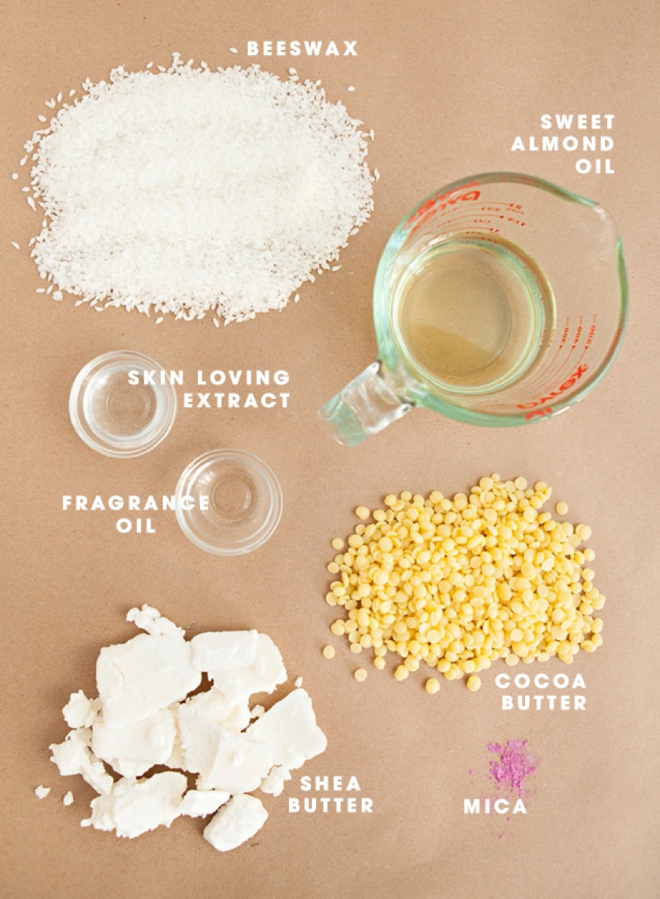
LOTION BAR SUPPLIES:
- White Beeswax
- Sweet Almond Oil
- Shea Butter
- Cocoa Butter
- Skin Loving Extract (any will do!)
- Fragrance Oil
- Mica (optional)
I know it seems like a long list but it really isn’t. The lotion bar supplies will run you about $70 to make 20 push tubes (including fragrance oil and mica) which makes each favor $3.50. If you make more tubes the price will go down because you’ll have extra amounts of some supplies. You couldn’t buy a high quality bottle of lotion for that price anywhere!
Lotion Bar Recipe:
- 5 oz. White Beeswax
- 8 oz. Sweet Almond Oil
- 5 oz. Shea Butter
- 3 oz. Cocoa Butter
- 1 oz. Mallow Extract or Avocado Extract
- .25 oz. Crisp Cotton or Warm Vanilla Sugar Fragrance Oil
- 2-6 scoops Red Blue Lip Safe Mica
Makes 20, 1oz push-pop lotion bars. If wanting to make different colors and scents you can always make a half batch, which is what I’m making here in the tutorial.
Let’s Talk About Beeswax
If you live in a warm, humid climate like I do in beautiful Southern California, you can follow my recipe above. If you live in a colder climate, like Washington for example – you’ll need much less beeswax for your recipe. Warmer weather means you’ll need more beeswax for your bar to harden up, and vise versa. I wish I could say the following for certain, but here is a guide for you to start with:
- 5 oz Beeswax: Southern California type weather
- 3.5 oz Beeswax: Anywhere in between
- 2 oz Beeswax: Washington State type weather
The amount of Beeswax you add will only effect the hardness of your lotion bar. It’s great for the skin so no matter 2 or 5 ounces – your lotion bars will be equally as fabulous.
If your bars fail to set up overnight, you need more beeswax. Melt more beeswax, push the bars all the way out, scape them into the wax and remake them! I say overnight because I made them on a hot day and they didn’t fully set up until my house finally cooled down overnight. Your experience might be different.
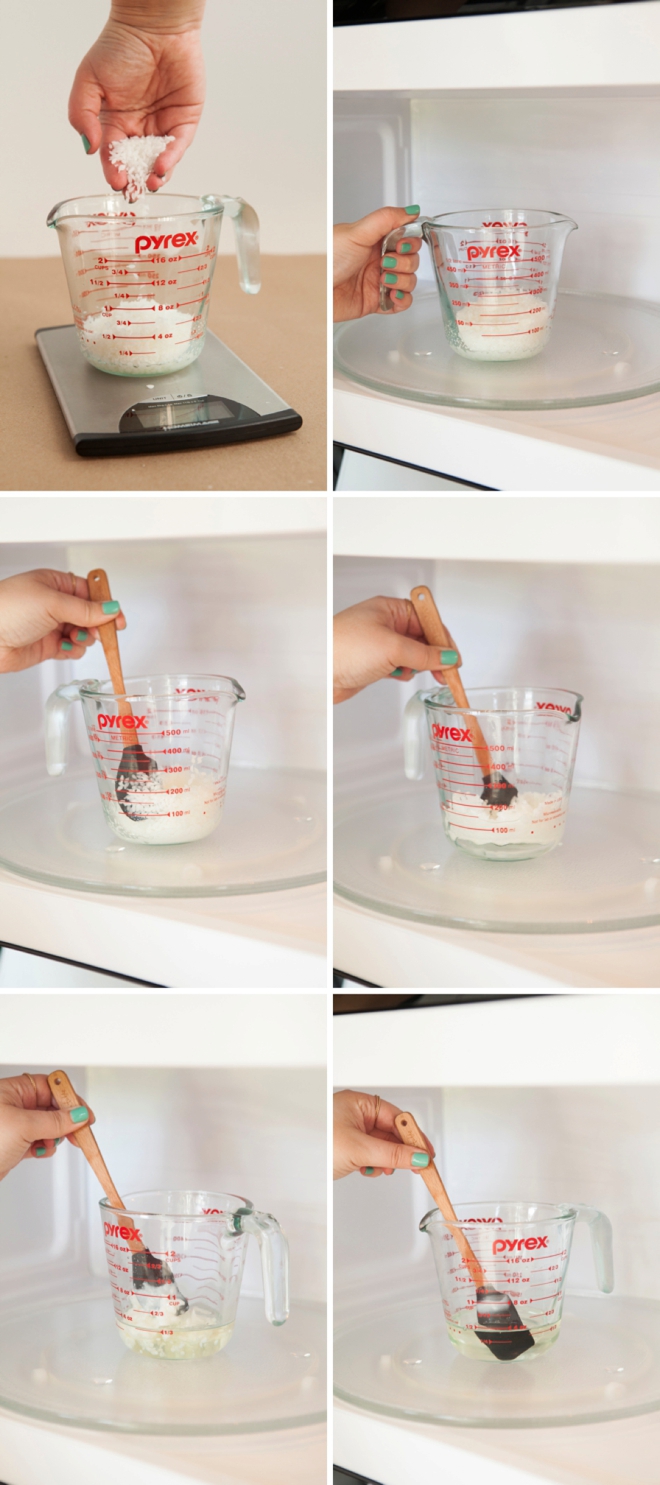
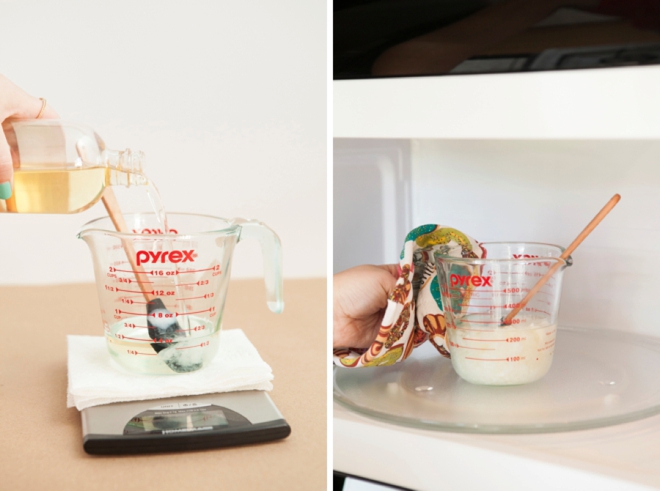
Melt The Beeswax
- In a heat safe container, microwave your beeswax for 1 minute
- At 1 minute stir. It might look like nothing melted but stir anyway
- Heat for another minute and stir again
- Repeat until your wax is completely liquid
Note: I’m making these as gifts for my friends, not to sell. If making these to sell you need to be wearing gloves.
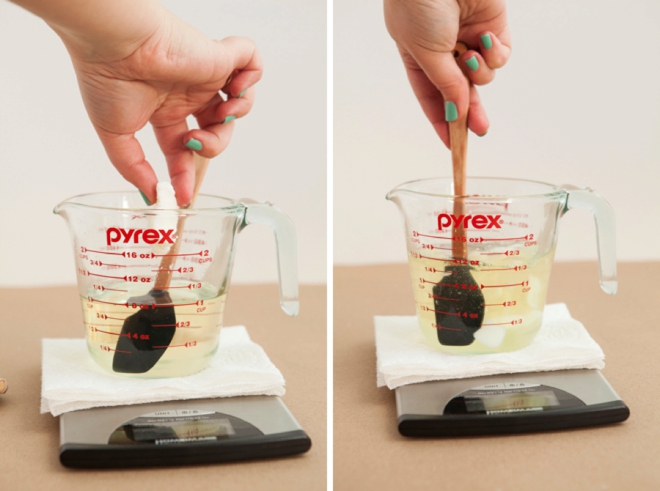
Add The Sweet Almond Oil
Add the sweet almond oil to the beeswax. When you do this the beeswax will miraculously harden up a bit, it’s awesome. Keep in mind your glass container is going to be pretty hot by now, so protect yourself with a pot holder.
- Microwave for 2-3 minutes (or until completely clear and liquid again)
- Stir at each minute interval
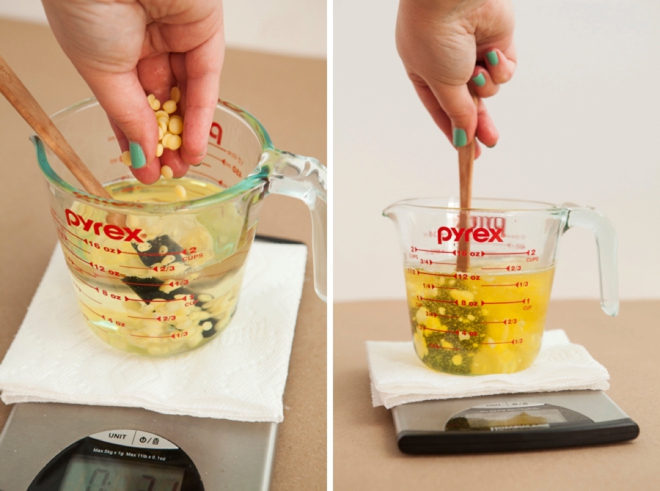
Add The Shea Butter
Carefully add the shea butter to your hot mixture and stir. The liquid should be hot enough to completely melt the shea butter, but if not you can pop it in the microwave for 30 seconds or so.
Add The Cocoa Butter
Carefully add the cocoa butter to your hot mixture and stir. Again, the same thing… the liquid should be hot enough to melt the cocoa butter, but if not you can pop it in the microwave for 30 seconds or so.
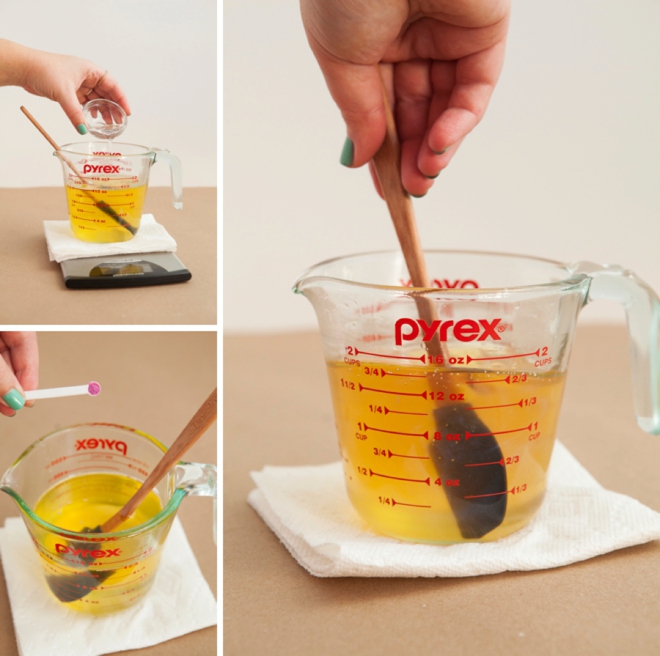
Add The Extract, Fragrance Oil and Mica
Skin Loving Extracts: add your choice of skin loving extract to your mixture and stir.
Fragrance Oil: add your favorite fragrance oil and stir to incorporate.
Mica: if you would like to color your lotion bar, now is the time. Less is better when it comes to adding mica to these bars as you don’t want your lotion to actually have a color to it! If the mica color you choose is lip safe, then you can use this lotion bar as lip balm in a pinch!
I used Mallow Extract which is great for softening dry and sensitive skin combined with the Crisp Cotton scent and no mica color for a separate batch; see comparison shot closer to the end of the post.
For the batch I made here, I used Avocado Extract which has wonderful moisturizing properties combined with the Warm Vanilla Sugar Cybilla Fragrance Oil; with 2 small scoops of Red Blue Lip Safe Mica. Remember, I only made a half-batch here.
If after you are finished adding all the ingredients and the liquid isn’t clear or is starting to harden, simply pop it back in the microwave at 15 second intervals.
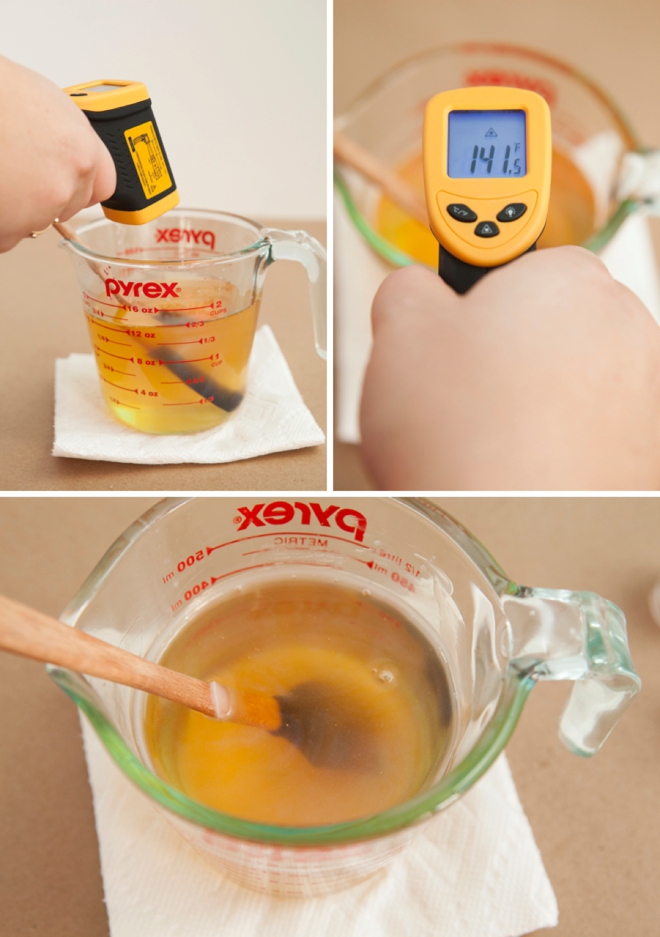
Let It Cool
After incorporating all the ingredients, the heat of my mixture registered at 141.5° F. The best temperature to pour this mixture is between 125° – 135°; hotter for the formulas with more beeswax. I like to keep stirring my mixture until it reaches the desired temperature to keep an even solution.
If you don’t own a thermometer or don’t want to buy one, you can keep a close eye on your mixture and when you start to see it hardening on the sides of the container and on the handle of your spatula – it’s ready.
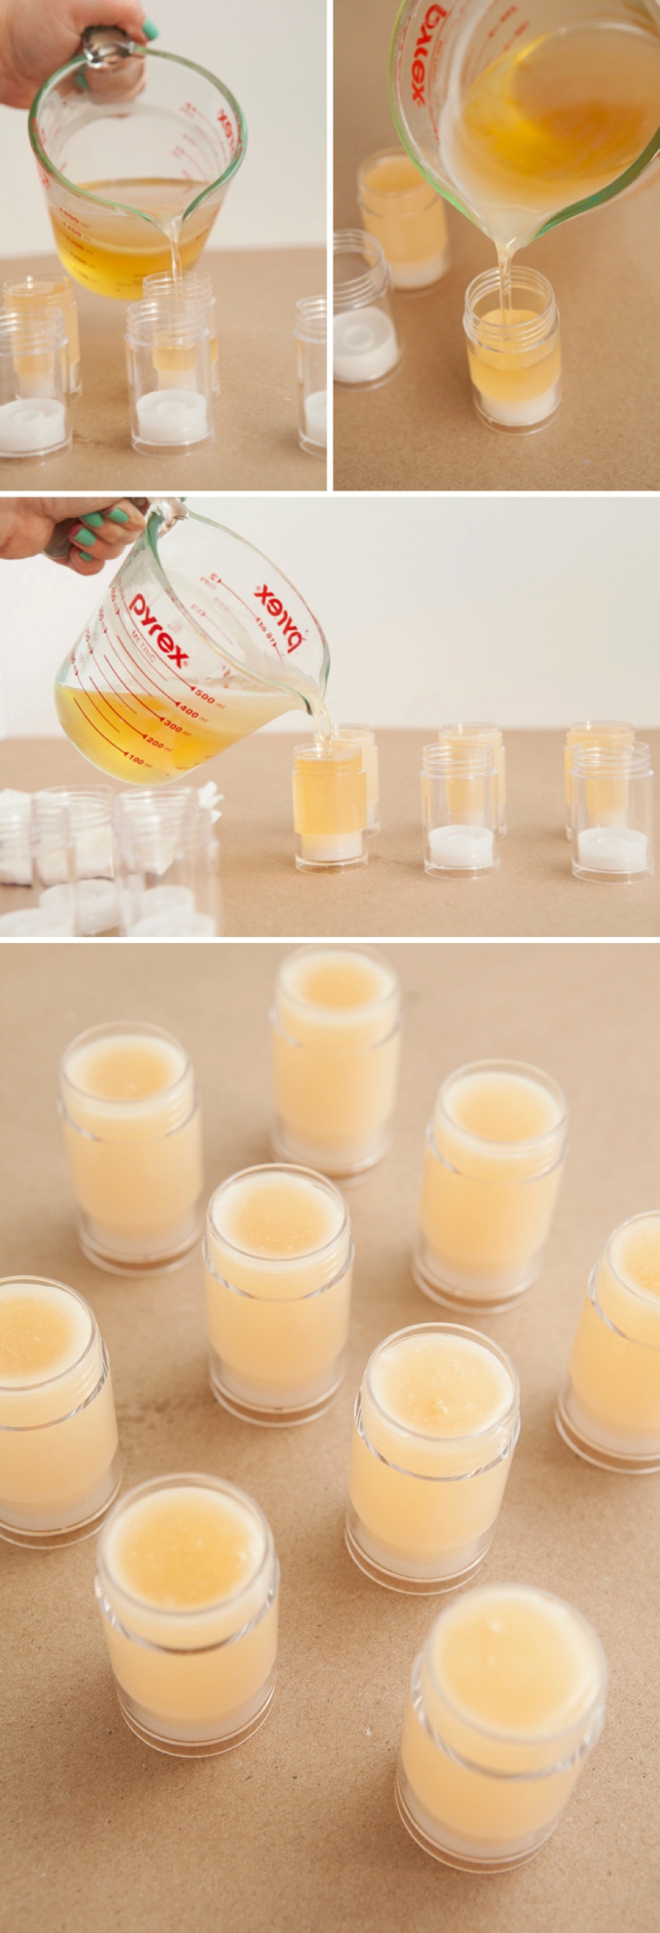
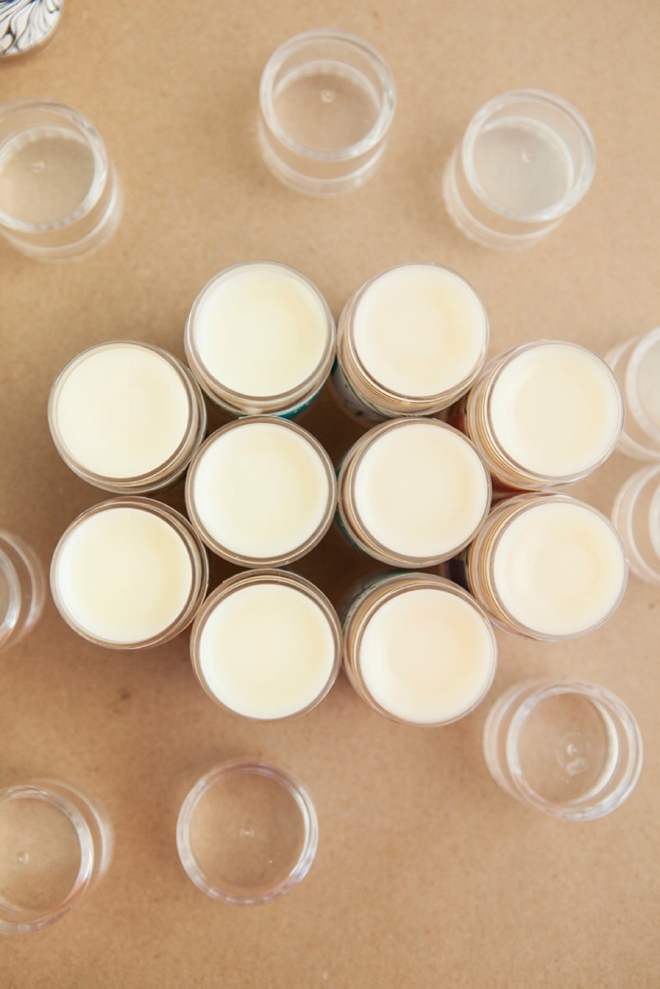
Pour Into The Push Tubes
Pour your mixture into each tube and stop about 1/4″ before the lip. Your mixture will start to harden up in the container as you pour, but you can always pop it back in the micro for a few seconds to melt it back down.
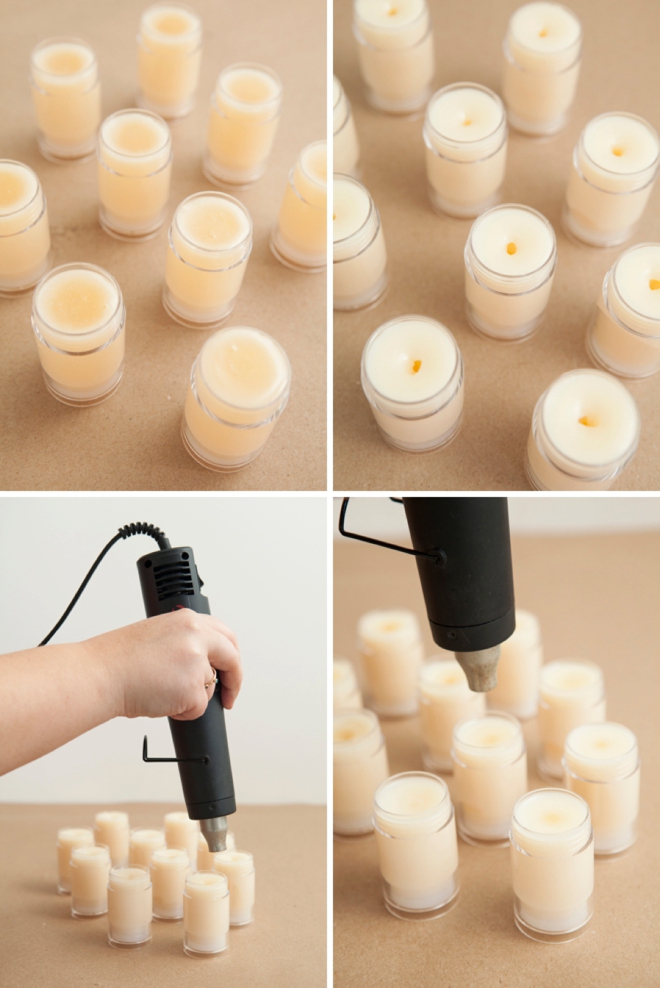
Picture Perfect Tops
Your bars WILL cool with cracks. This is not based on temperature poured, this is because beeswax shrinks as it cools. If you are a perfectionist like I am, using an embossing gun or heat gun, hit each lotion bar top until it becomes liquid again. Do it twice and the tops of your push pops will look picture perfect!
Add The Lids
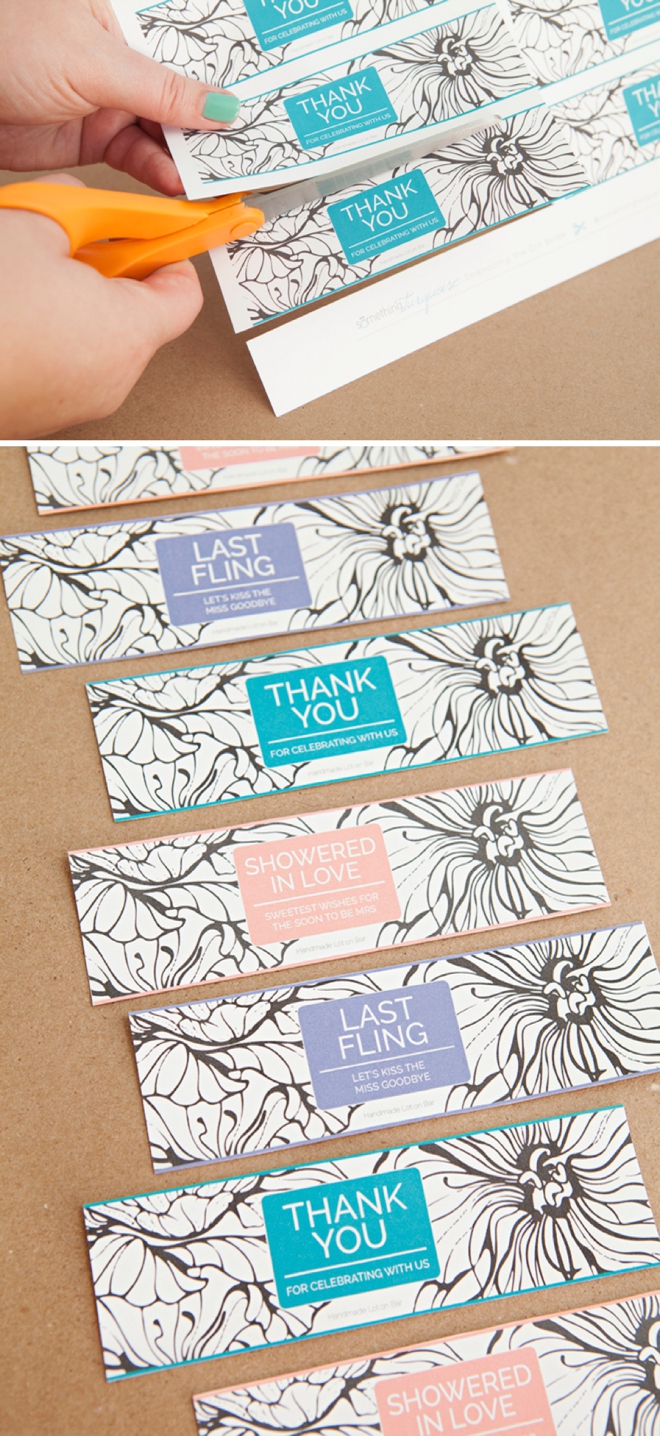
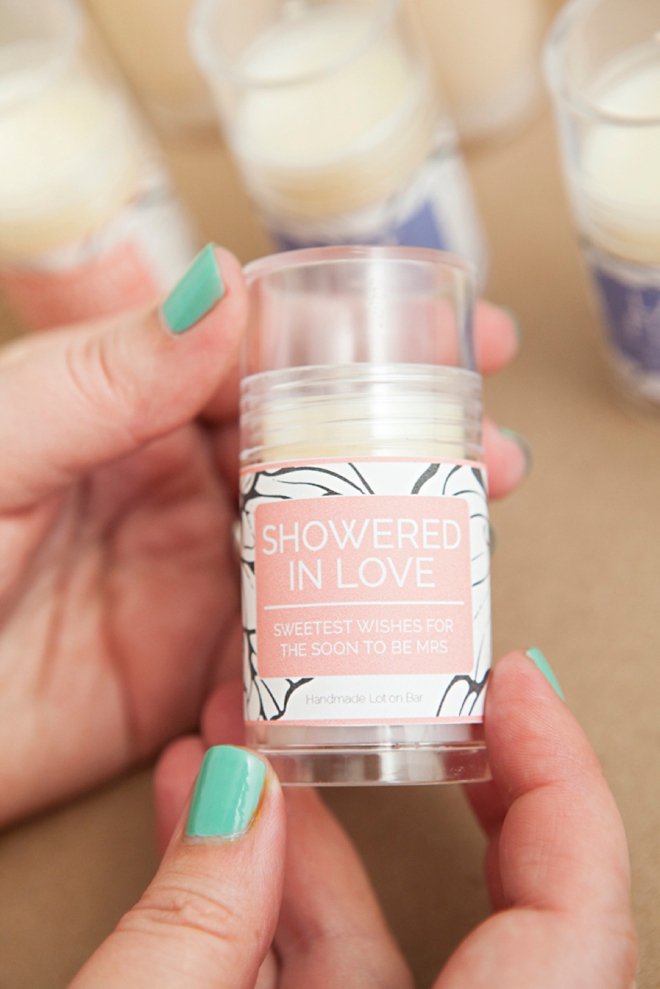
Print Your Labels
I designed 3 different labels for you to choose from. Download your favorite at the bottom of the post and print onto 8.5″ x 11″ sticker paper. Cut out each label.
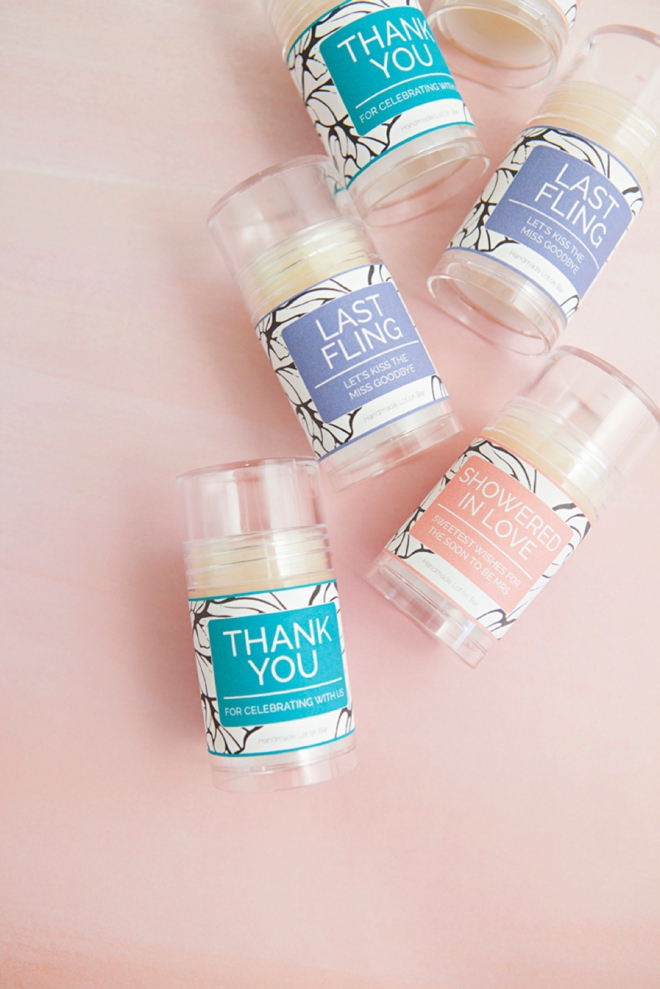
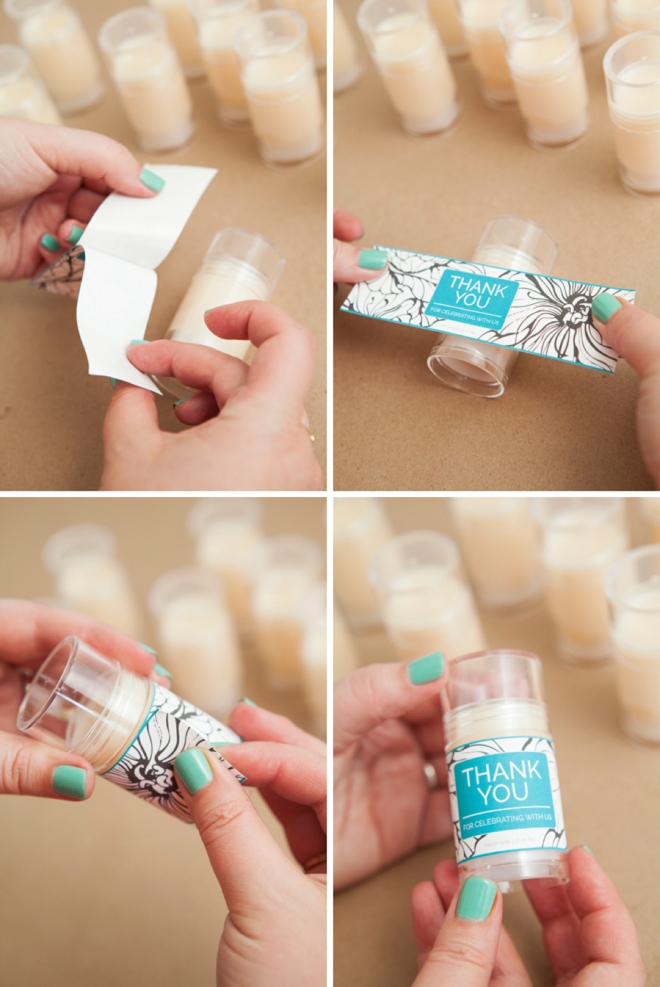
Adhere The Labels
Peel the sticker backing from each label and adhere to the tube! If you were a bit messy in your crafting and maybe got the sides of your tubes greasy with lotion, wipe them down with alcohol before adding the label.
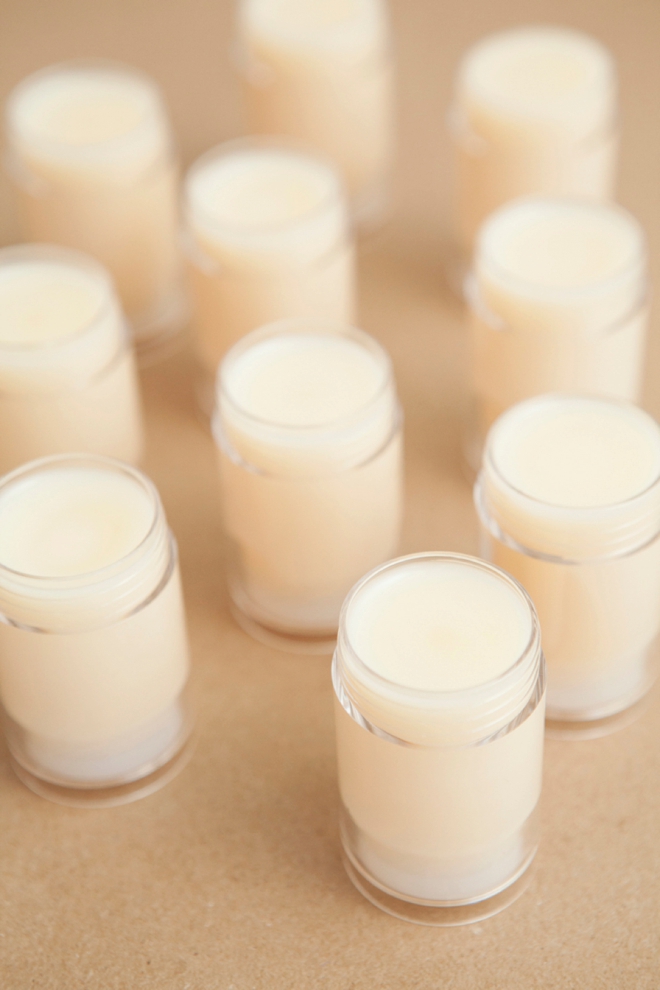
Adorable!
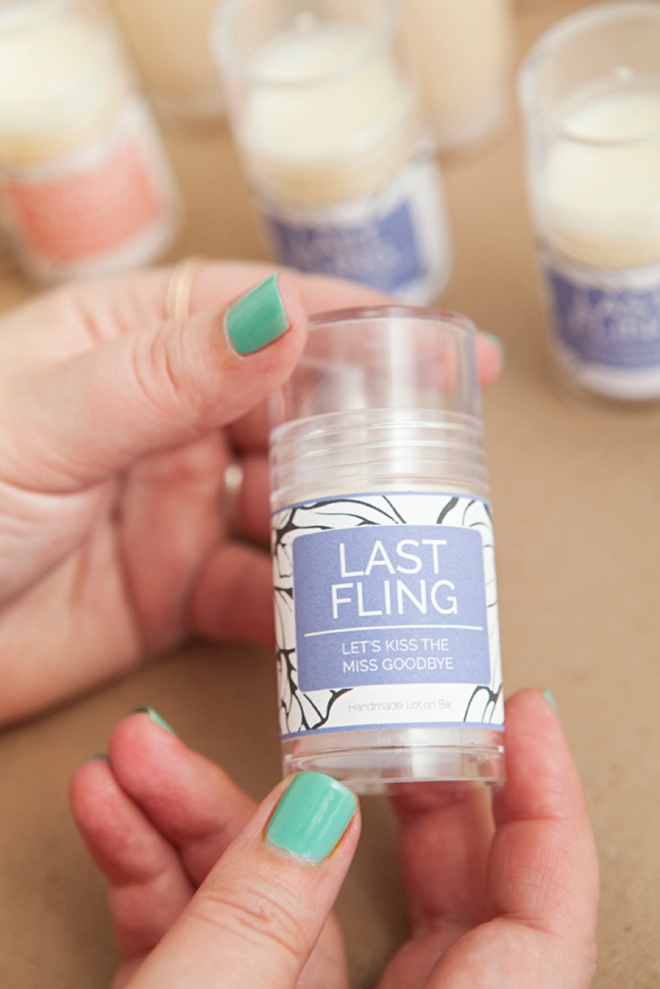
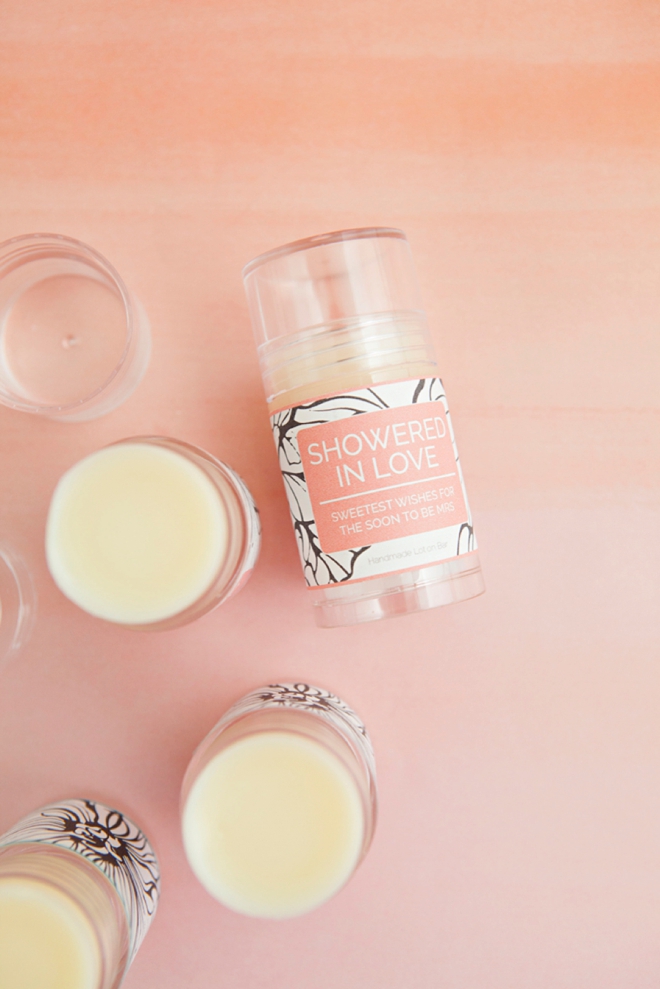
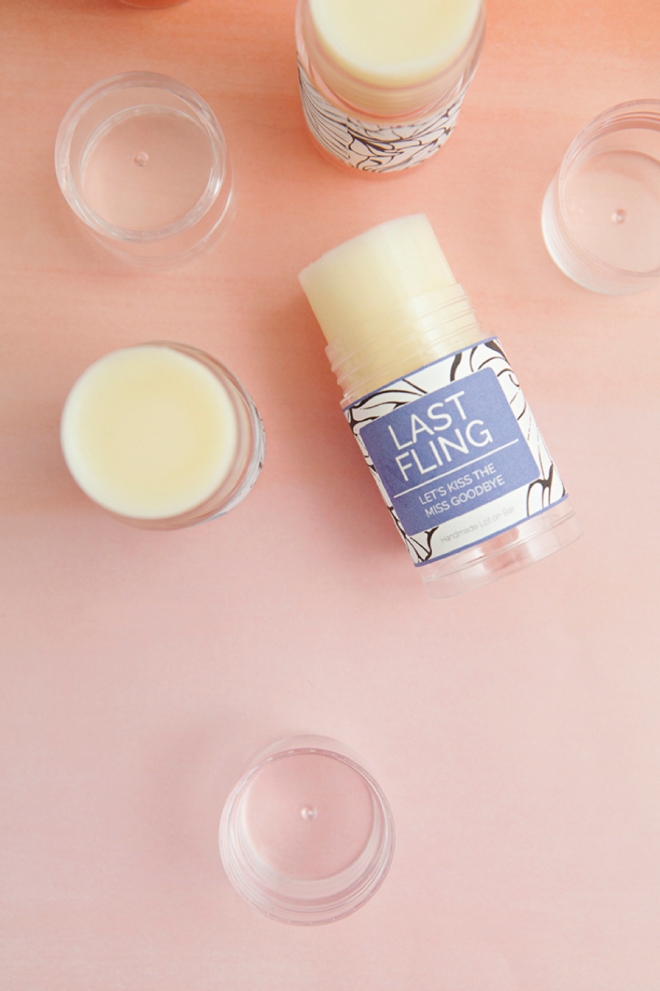
Color Difference
The color difference isn’t huge here on camera, or really in person – but it’s there. The bars on the left side have no mica colorant added to them. The bars on the right only have 2 small scoops of the red blue mica added to them. Looking at them in person, I can tell the difference and I prefer the ones with color. They look a bit more finished and professional. Color is totally up to you!
What Event Would You Make These For?
PS: for those of you who work all day at a computer on a wooden desk, you might be familiar with the constant dry elbow and forearm – these bars are the fix! Keep one at your desk and apply in the morning and after lunch to keep the dry far away!


As with all our DIY tutorials, if you create one of our projects please send us a picture – We Love Seeing Your Creativity! If you use Instagram or Twitter please use the hashtag #SomethingTurquoiseDIY and it will show up on our Get Social page. Happy Crafting!
DIY Tutorial Credits
Photography + DIY Tutorial: Jen Carreiro of Something Turquoise // Label Design: Julia Ensign // All lotion bar supplies: courtesy of Bramble Berry // Sticker Paper: Amazon // Digital Scale: Amazon // Heat Gun: Amazon // Font Used: Raleway // Donut Pot Holder: Paper Source (sorry, they don’t sell it anymore) // Mini Spatula: Sur La Table (don’t sell them anymore but Amazon has the exact same one) // Nail Polish: OPI – Withstands the Test of Thyme
Shop The Supplies:
Find the supplies you’ll need for this project from our affiliate links below:


Comments