
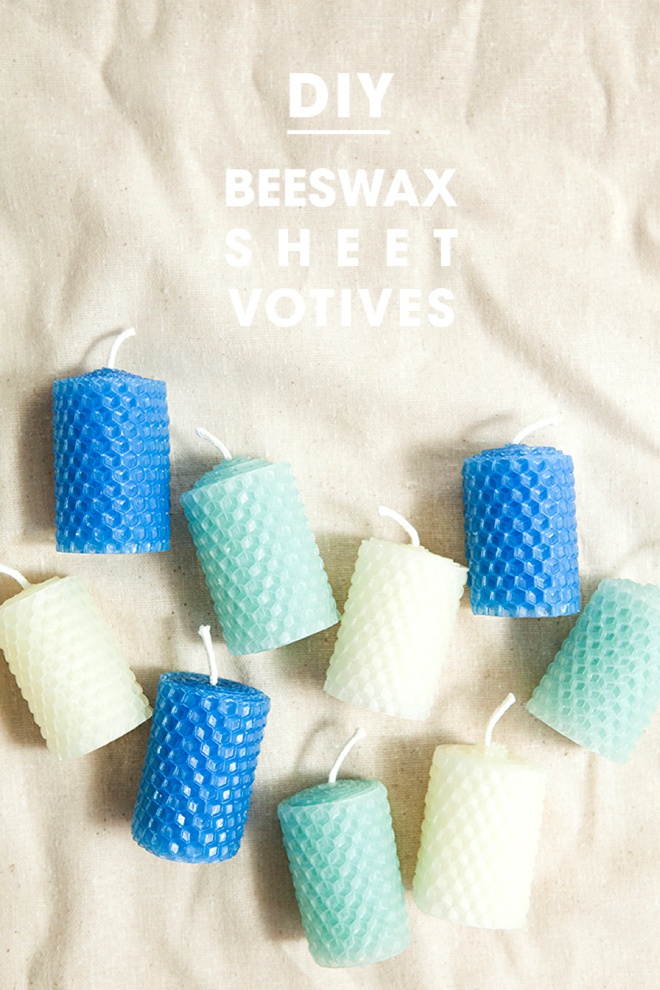
DIY | Beeswax Sheet Votive Candle Favors
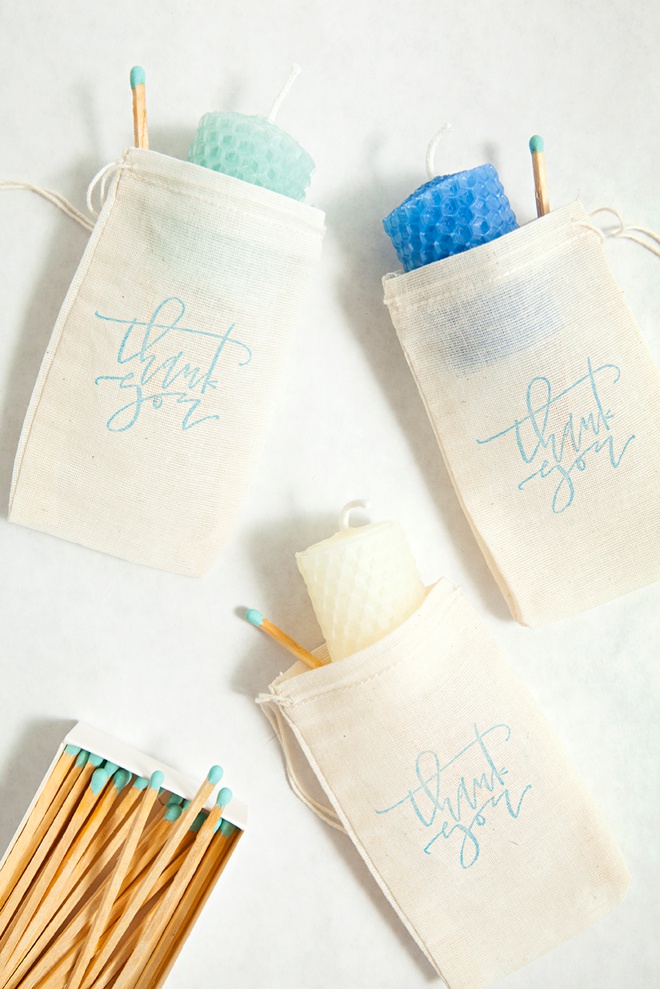
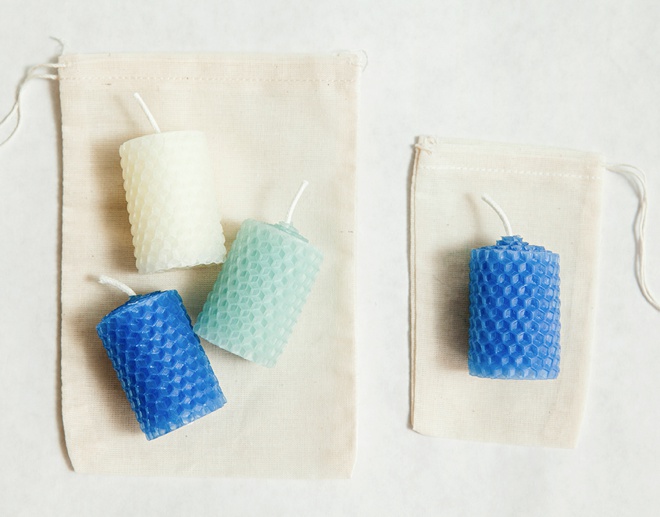
I am all kinds of crazy about this project. First, I love making candles. Second, they are beyond adorable. Third, they are so easy it literally takes less than 2 minutes to make each one… and fourth, they cost $0.75 each. I actually had so much fun making these Beeswax Sheet Votive Candles that I will be making 150+ for my handmade christmas gifts this year! Imagine red replacing the blue in this picture below (insert 10 heart-eye emojis)… I’ll share a picture here when they are finished. So, if you are looking for an awesome, handmade favor or gift – that is simple, cost effective and fun to make – these are it! If you have small children in your life, this is a wonderful project for them as well. Check out the end of the post for burn times!
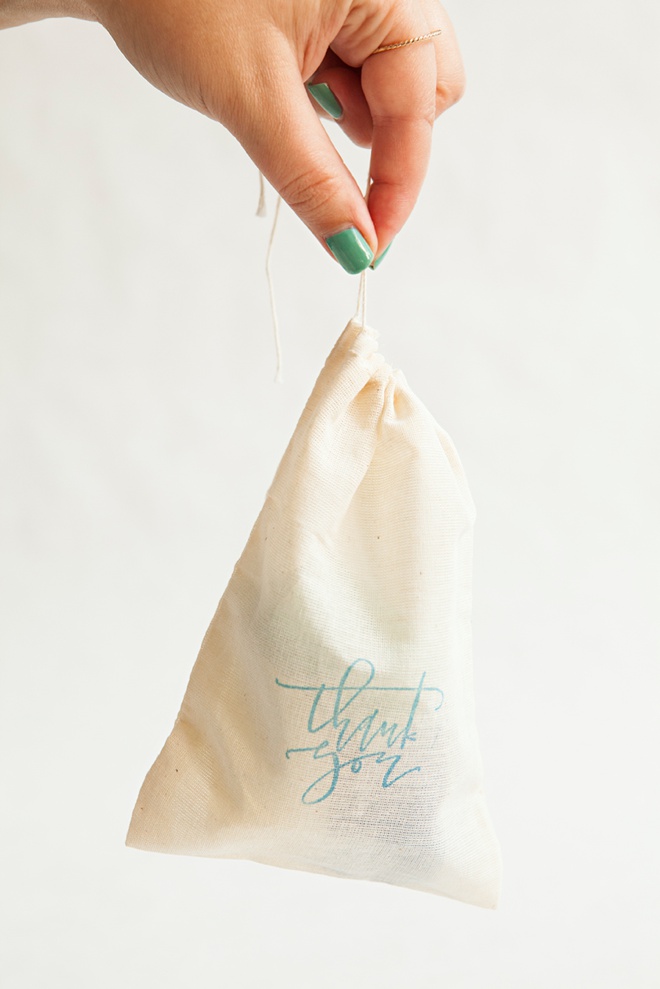
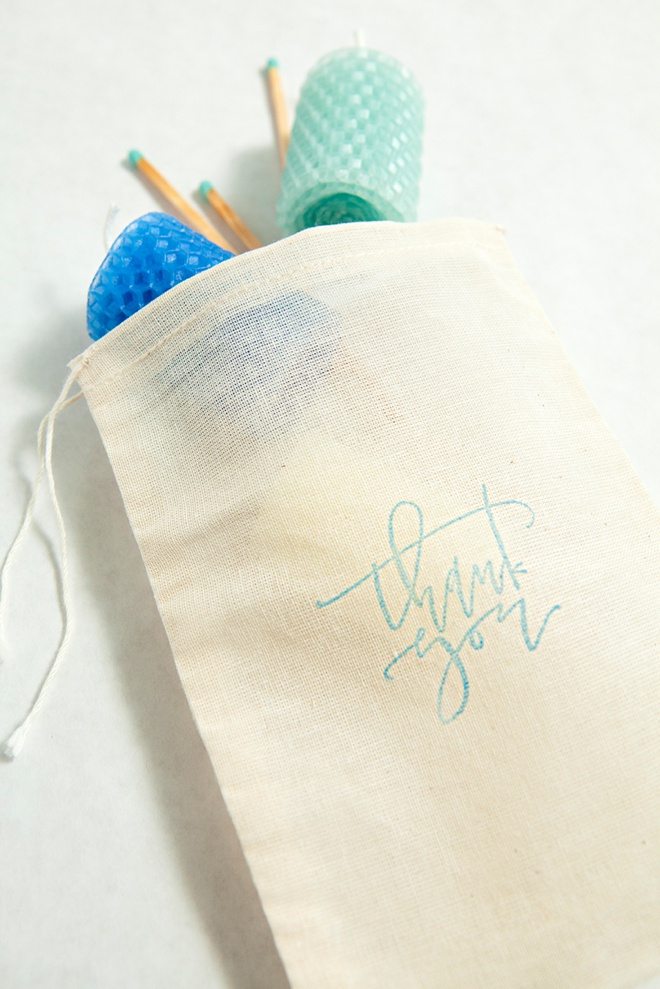
In LOVE with this gorgeous “thank you” rubber stamp from A Fabulous Fete!
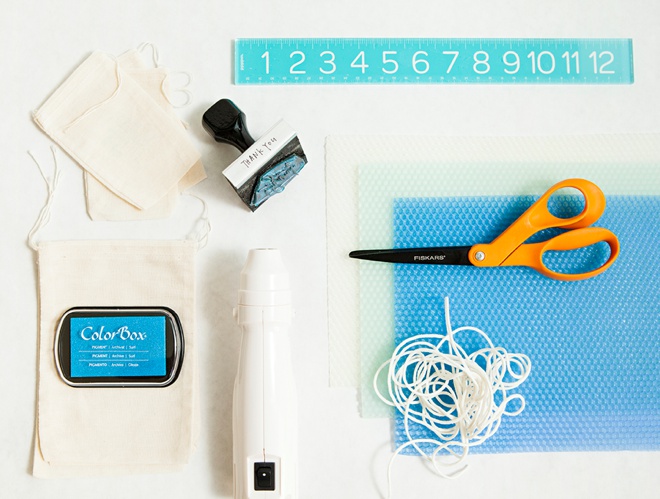
SUPPLIES:
- 8″ x 16.5″ Beeswax Sheets
- Cotton Wicking
- Fiskars 8″ Non-Stick Titanium Softgrip Scissors
- Ruler
- *Hair Dryer or Embossing Gun (for colder temperatures)
Optional Supplies:
- Colored-tip Matches
- Muslin Favor Bags
- Rubber Stamp
- Stamp Pad
These beeswax sheets and wicking are from Toadily Handmade and can be purchased on Amazon and Etsy.
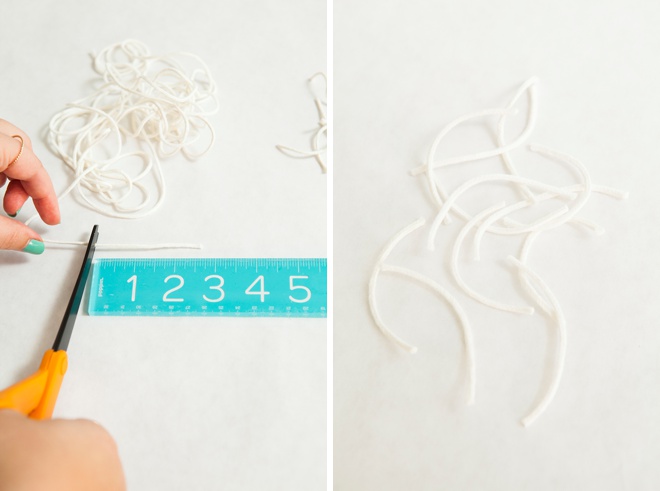
Cut Your Wicks
Cut a 2.5″ piece of wicking for each of your votives. This cotton wicking came with my purchase of beeswax sheets.
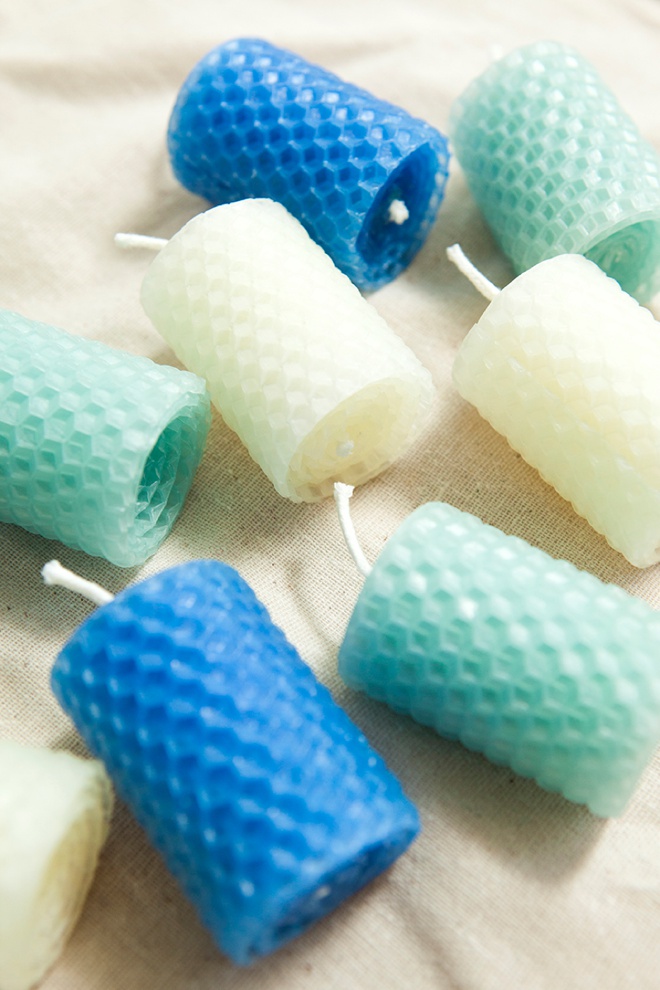
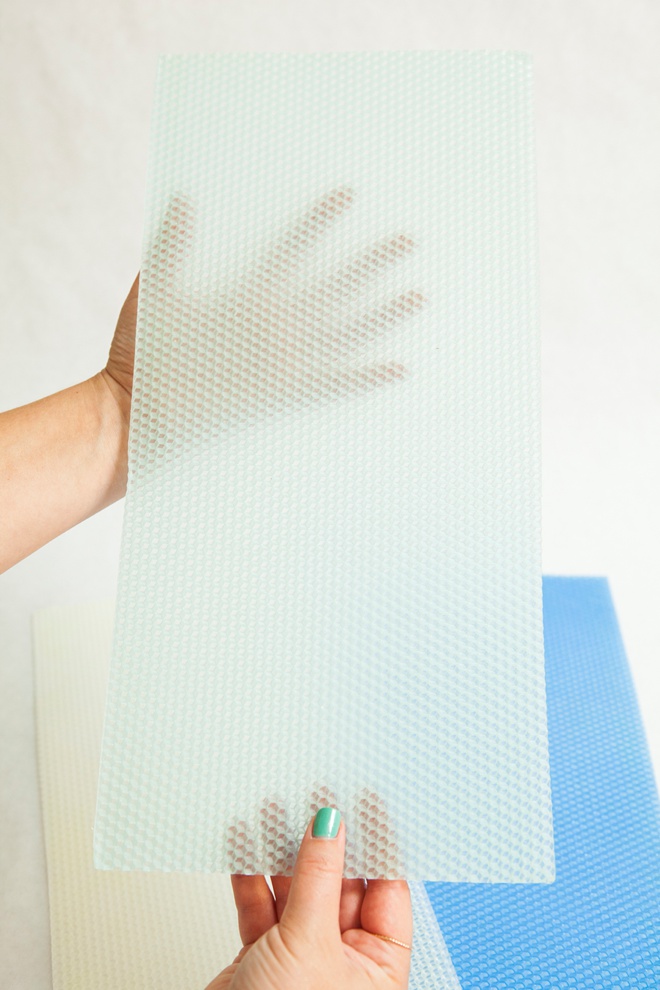
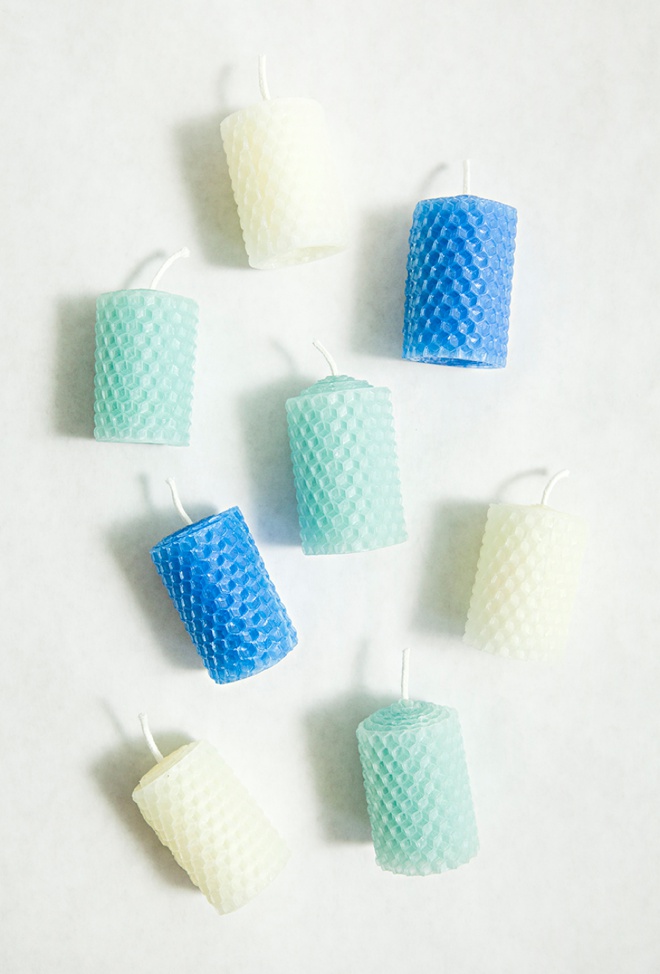
Beeswax Sheet Colors
These beeswax sheets are available in 24 colors; I’m using Aqua, Royal Blue and Ivory.
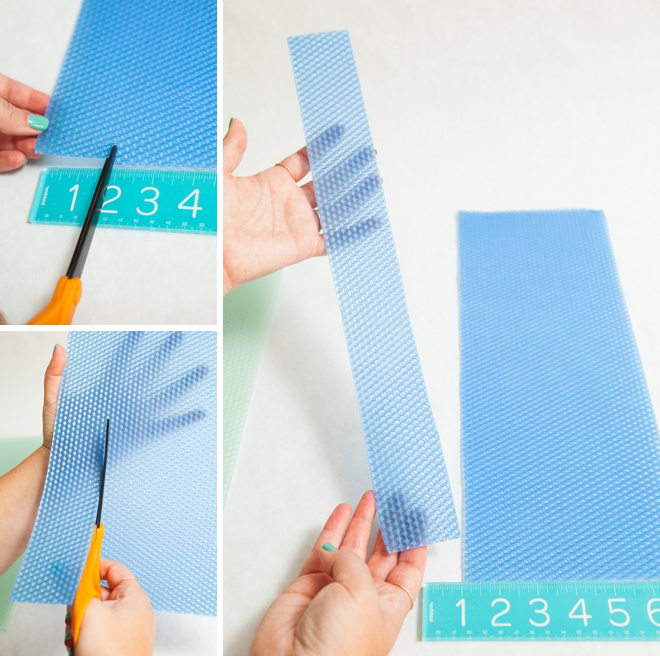
Cut Your Beeswax
Each strip needs to measure 2″ x 16.5″. Since these beeswax sheets are 8″ x 16.5″, you can get 4 votives from each sheet. Cutting them is easy by following the honeycomb pattern on the sheet. I prefer to use my Fiskars non-stick scissors because they have a protective coating that glides through all tacky materials.

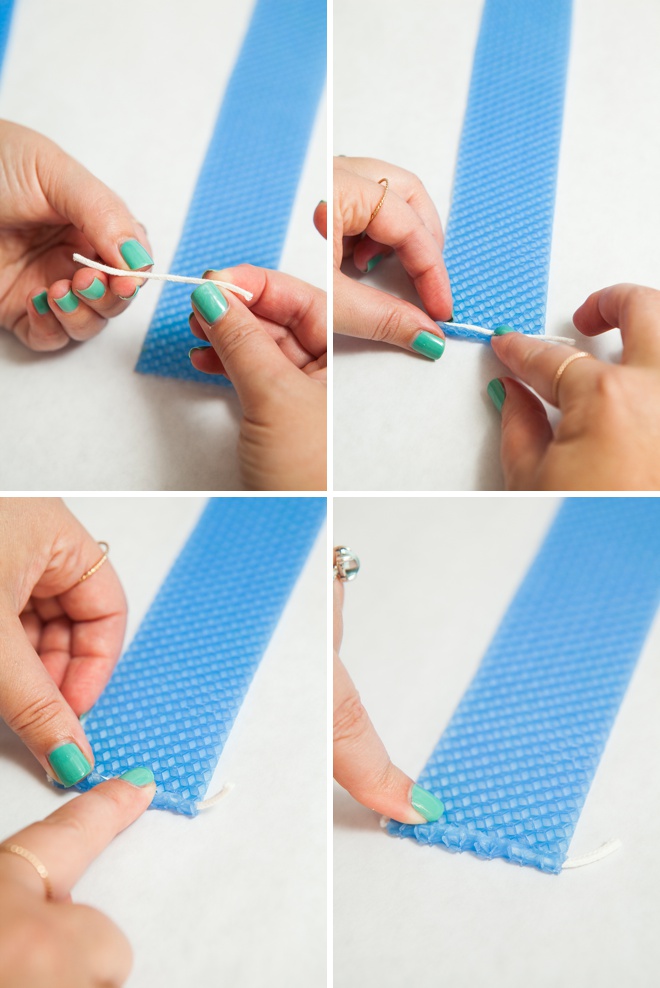
Secure Your Wick
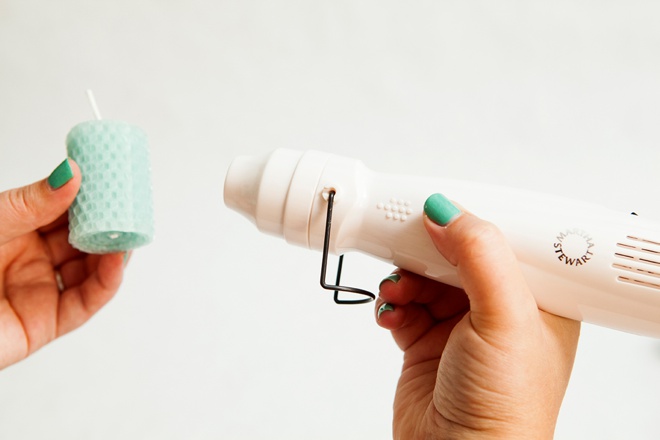
Take your 2.5″ piece of wick and place it about 1/4″ from the end of the beeswax strip. Gently fold the beeswax over the wick and press firmly to secure. **If it is a warm day – the wax will be soft and easy to manipulate; if it’s a cold day you might need to gently warm the beeswax with a hair dryer or embossing gun.
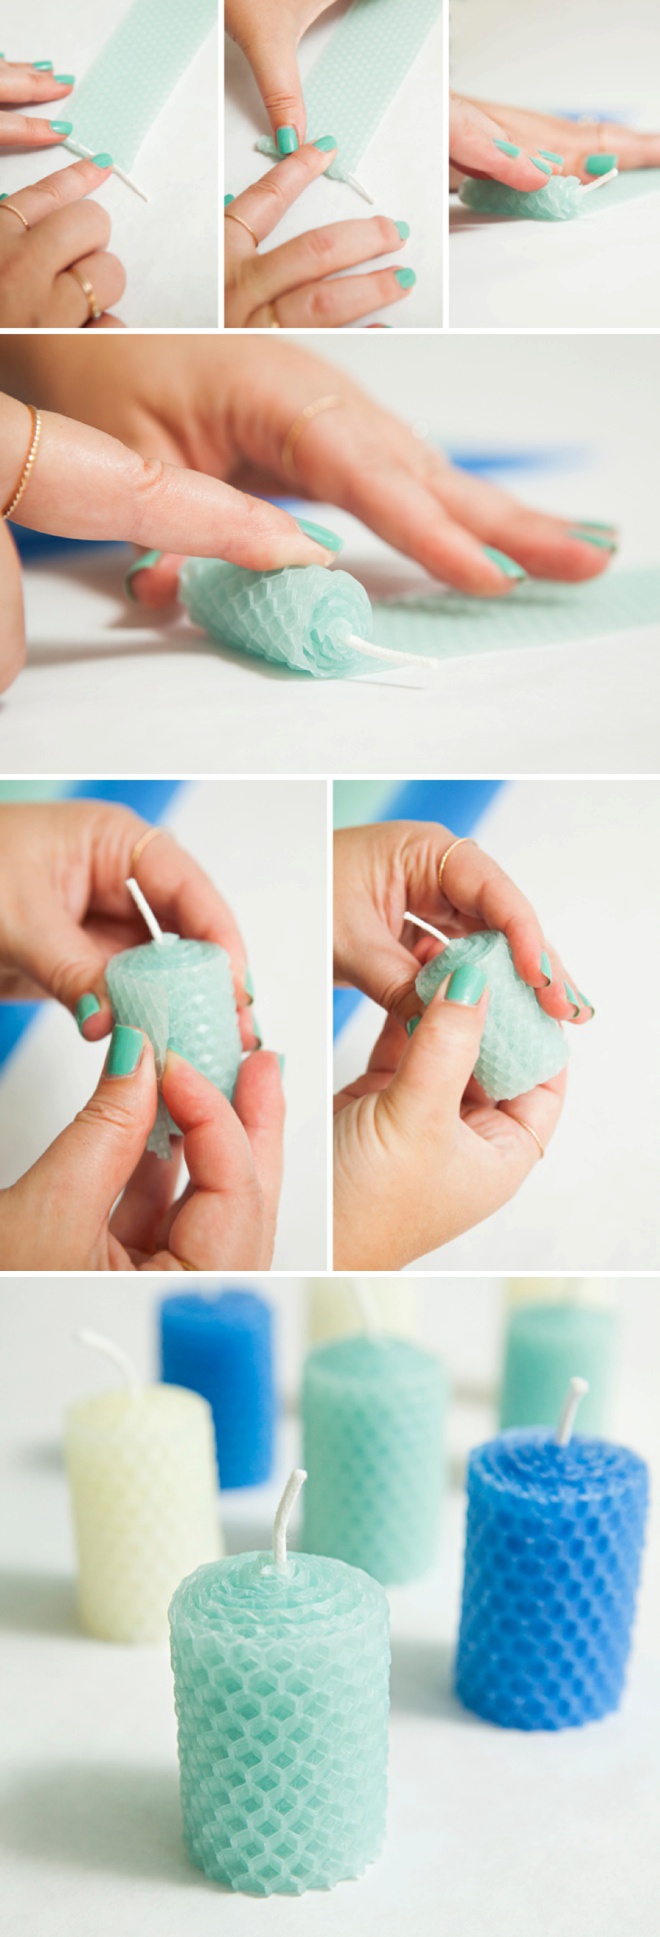
Roll Your Candle
Starting with the wick end, carefully and evenly roll your candle into existence. Press the free end into the candle and you are done! There is no heating necessary. The beeswax is tacky and will stick to itself.
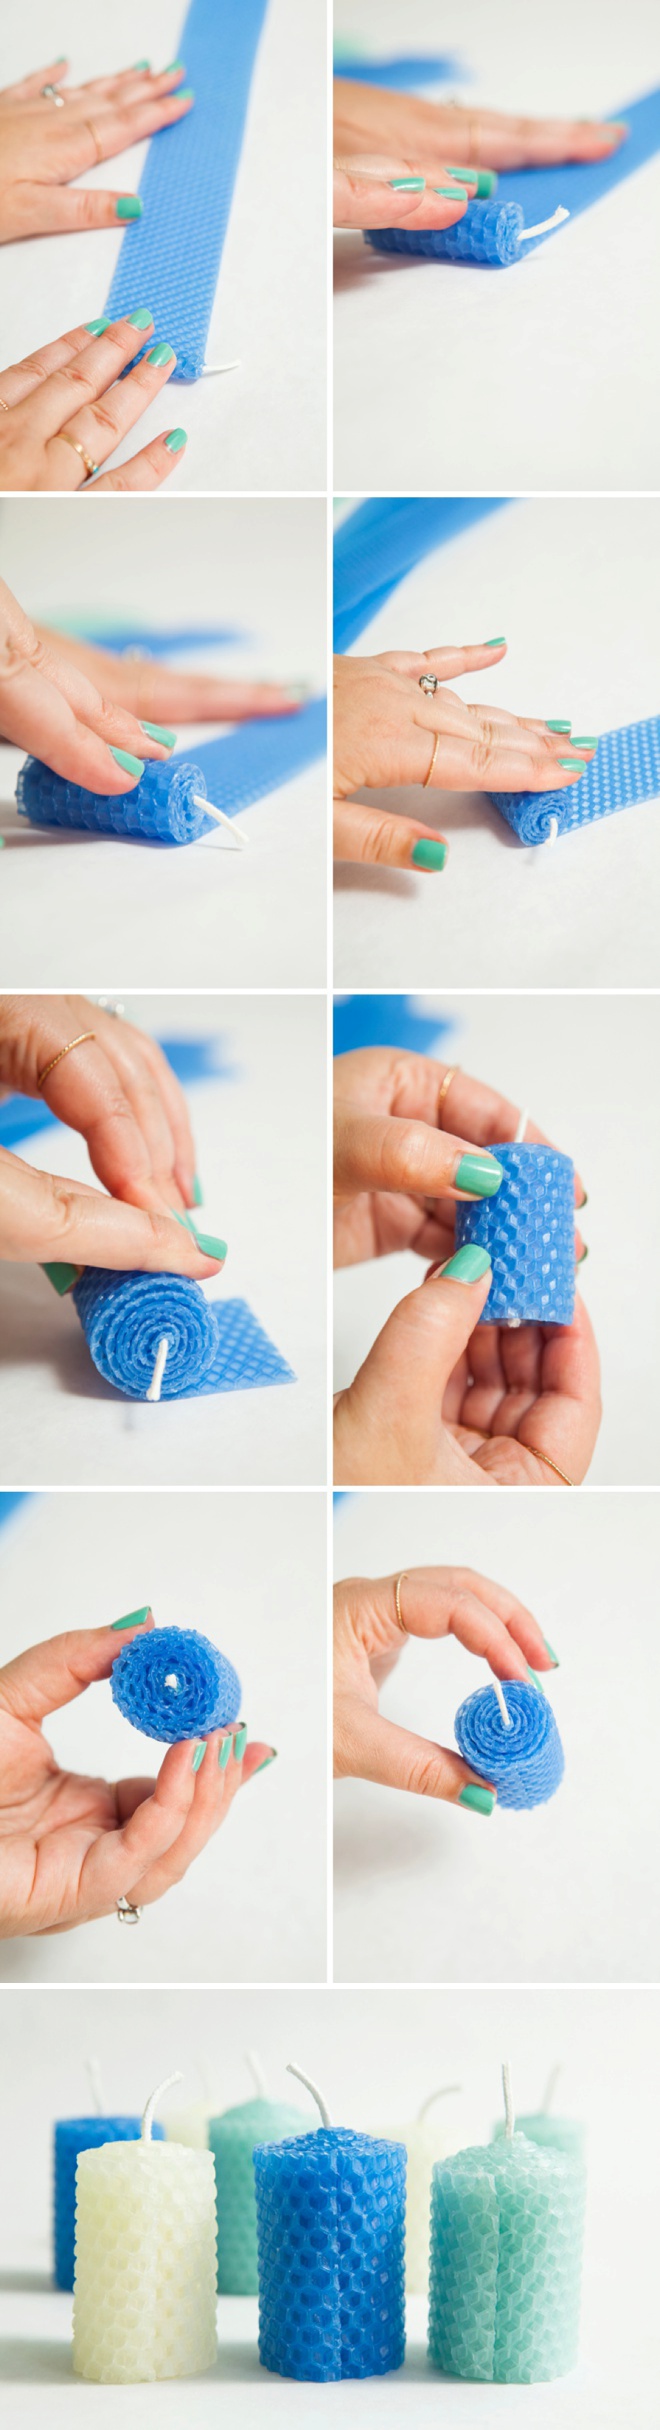
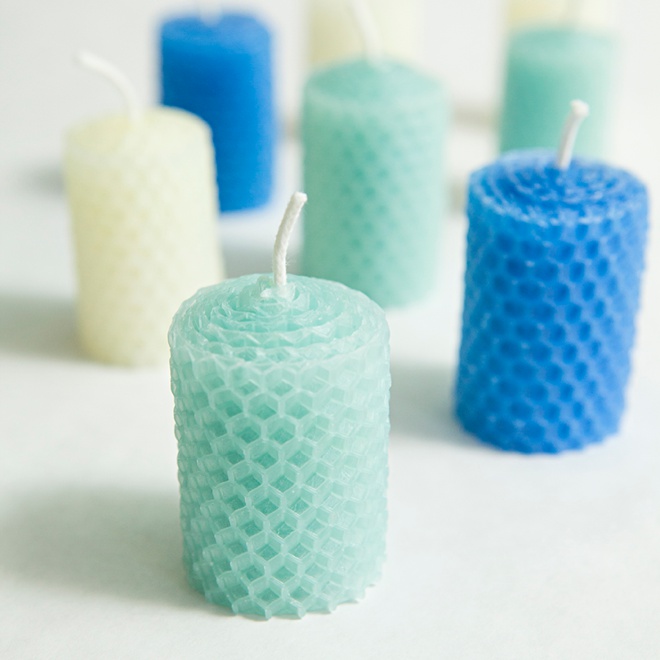
Secure the wick and roll your candle. Quick, simple and they come out exactly the same every time. Isn’t this aqua color gorgeous?
Cold Day?
I live in Southern California where it’s always warm, but I know that’s not the case for everyone. If you are making these candles and it’s below 68* outside, you might need to warm up the wax to make it easier to work with by using a hair dryer or an embossing gun. Not enough to melt it, not even close – just enough so that it doesn’t crack while you are trying to roll it.
In person, these beauties look so carefully crafted that no one will believe you made them in 2 minutes!
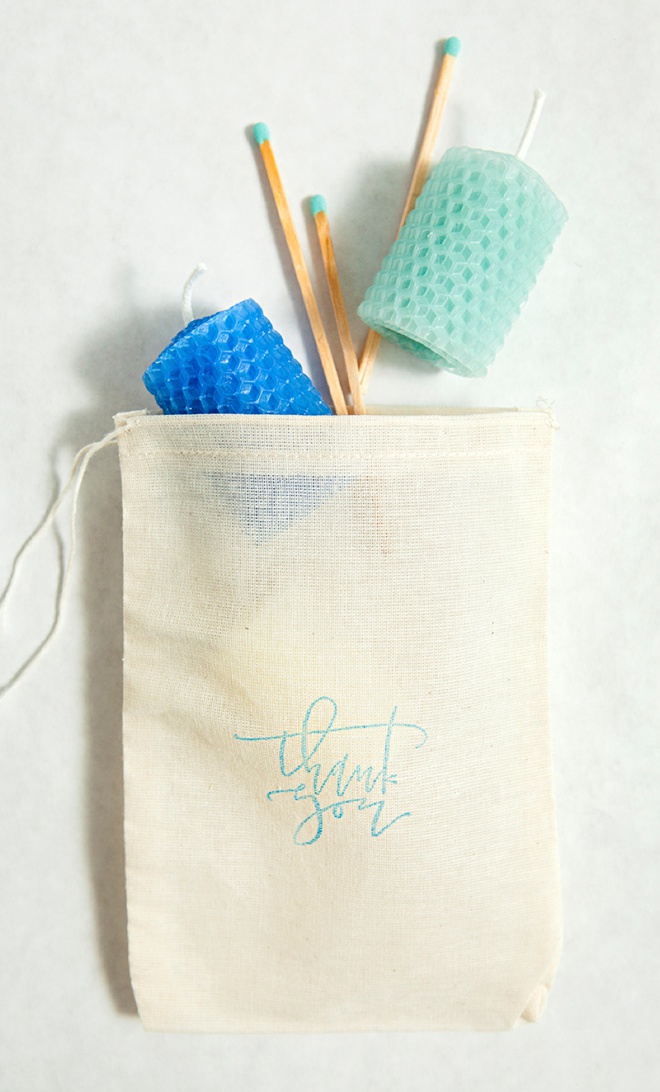
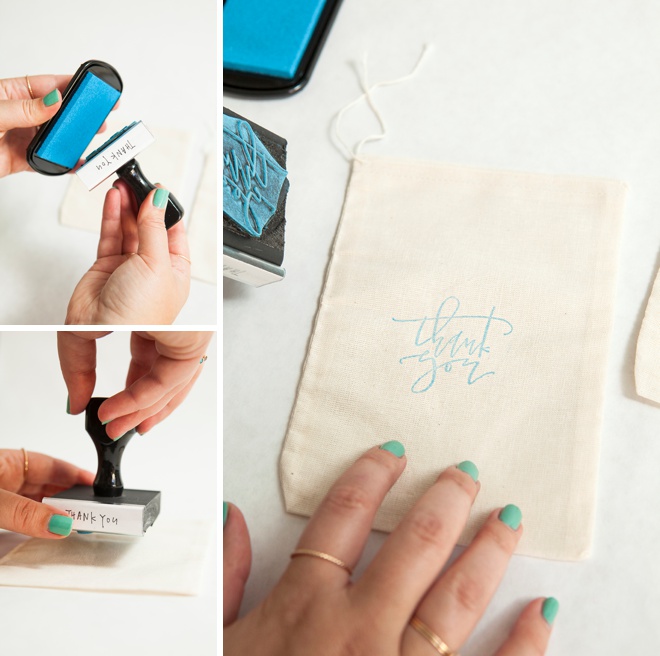
Stamp A Gift Bag
Using a rubber stamp, personalize muslin bags to hold your beeswax votives. This beauty is from A Fabulous Fete.
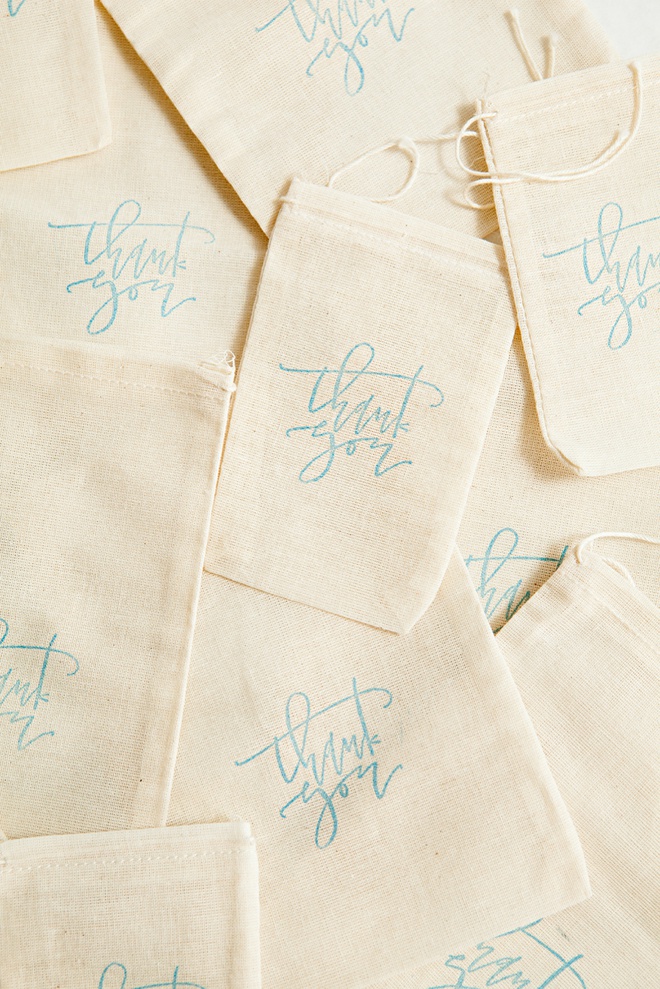
What Size Bags?
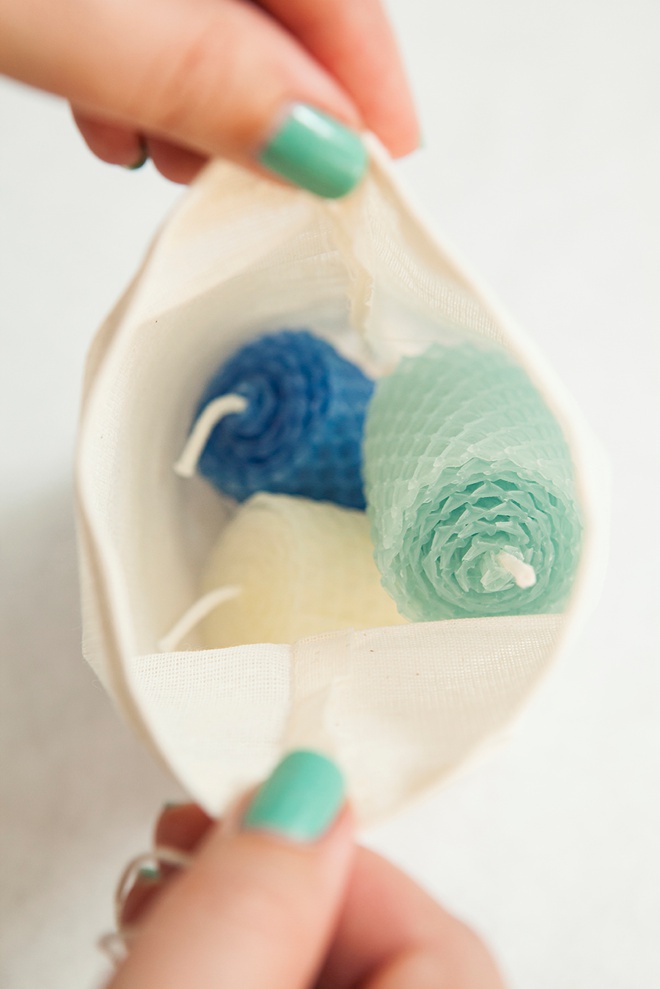
- 5″ x 7″ muslin bags will fit 3 votives
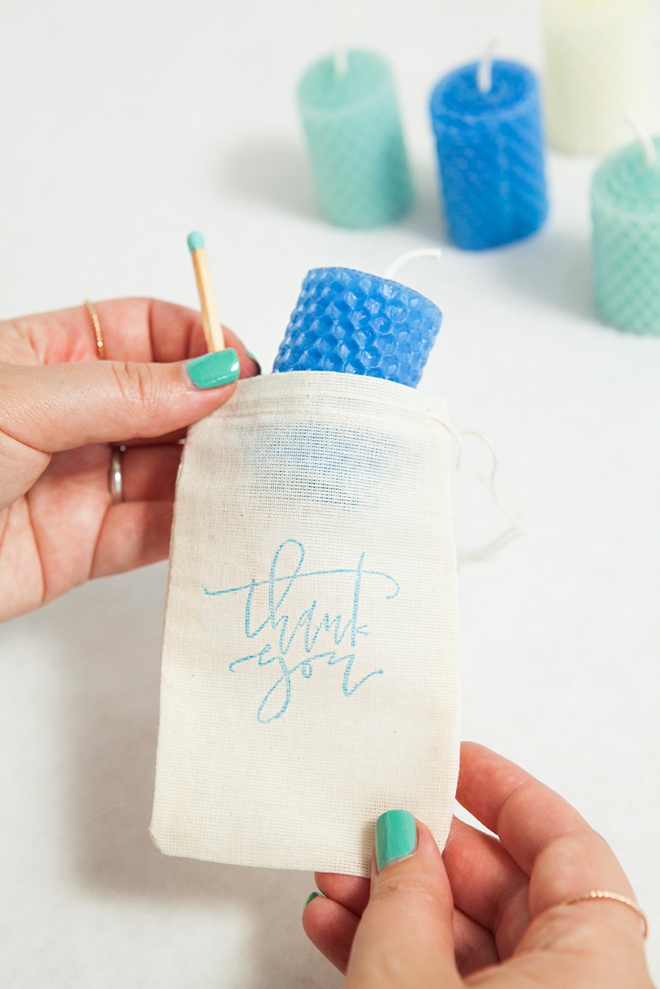
- 3″ x 5″ muslin bags will fit 1 votive
To embellish your gift, add a pretty colored tip match like these from HomArt. These turquoise tipped matches are from the Mermaid & Neptune box.
Everyone loves to receive a candle as a gift!

Colored Beeswax
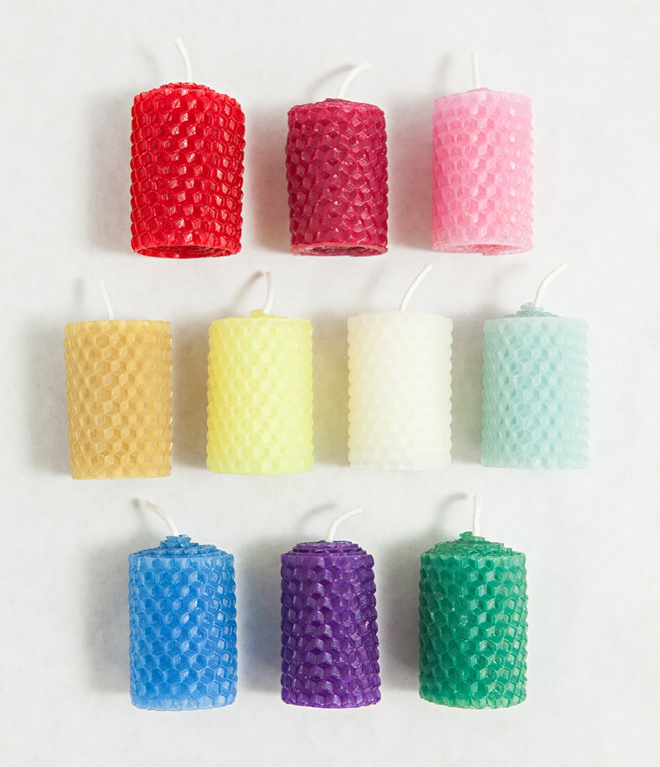
Toadily Handmade offers 24 different colors of beeswax – which means there is sure to be one (or maybe two) that will fit your event color scheme perfectly! These are:
- Red, Burgundy, Pink
- Natural, Yellow, Ivory, Aqua
- Royal Blue, Purple, Green
They also sell: Buttercup, Gold, Terra Cotta, Rust, Rose, Lilac, Light Blue, French Blue, Navy Blue, Chartreuse, Forest Green, Avocado, Brown and Black!
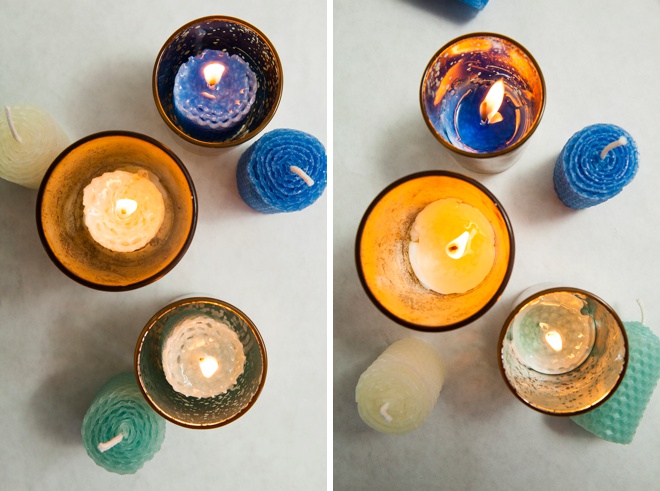
Burn Time
Burn time on these votives is similar to a normal votive. The picture on the left shows them burning for 10 minutes, while the picture on the right shows them burning for 45; total burn time is 2 hours. They must be burned in a votive holder.
As with all our DIY tutorials, if you create one of our projects please send us a picture – We Love Seeing Your Creativity! If you use Instagram or Twitter please use the hashtag #SomethingTurquoiseDIY and it will show up on our Get Social page. Happy Crafting!
DIY Tutorial Credits
Photography + DIY Tutorial: Jen Carreiro of Something Turquoise // 8″ x 16.5″ Beeswax Sheets + Wicking: Totally Handmade Beeswax Candles (they do custom orders!) // Thank You Stamp: A Fabulous Fete // Fiskars 8″ Non-stick Titanium Softgrip Scissors: Amazon // Both sizes of muslin bags: Lizzy Lane Farm // HomArt Colored-Tip Matches: Amazon // ColorBox Stamp Pad in Surf: Amazon // nail polish: OPI – Withstands the Test of Thyme
Shop The Supplies:
Find the supplies you’ll need for this project from our affiliate links below:

Comments