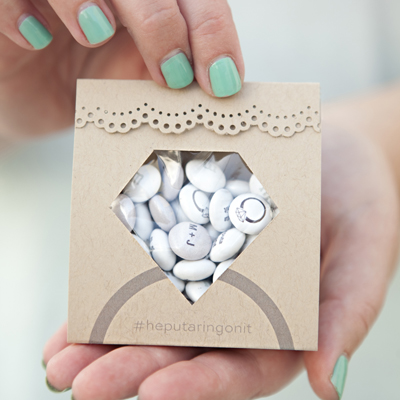

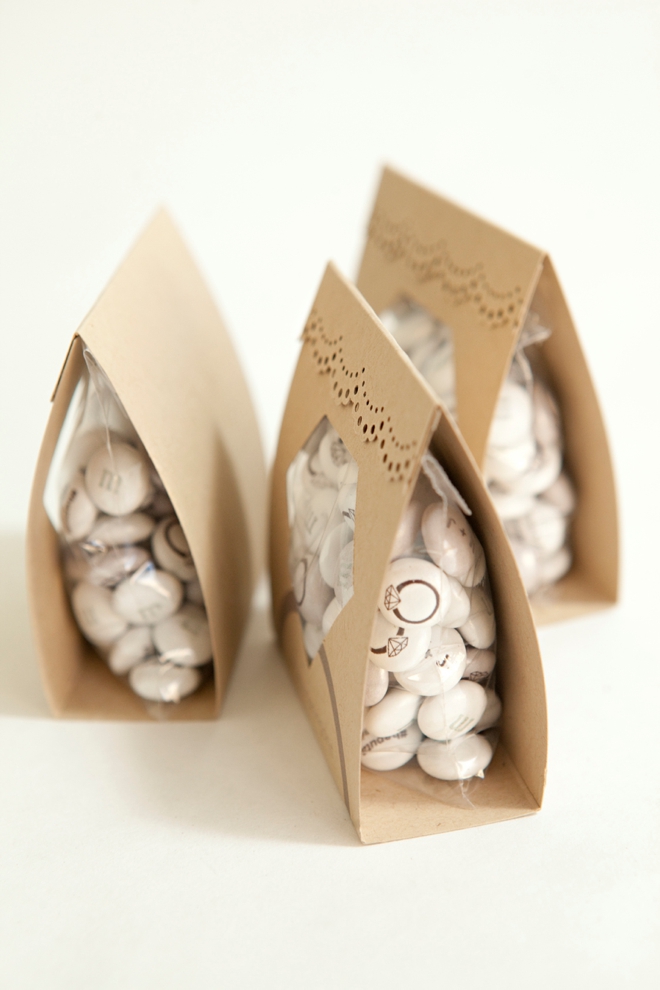
DIY Diamond Ring Candy Pouch Favors
-Sponsored Post-
I love making favors because I love giving gifts! Being able to make darling mini-presents to say “thank you” for spending the day with us, no matter what the bridal event, is not only rewarding for you but it’s a total treat for your guests. Giving candy as favors is a major trend and has been for a long time, because everyone loves to get something sweet. I haven’t actually shared a candy favor in a really long time so when My M&M’s asked me to design a special DIY favor using their awesome, customizable candies I got really excited about the possibilities. After personalizing my own chocolates, I dreamed up this adorable Diamond Ring Candy Pouch that would be the perfect addition to any engagement party, bridal shower… or maybe even your bachelorette party!

When tackling a large DIY wedding project like favors I always recommend enlisting some help by throwing an assembly party with your favorite gals. Your favors will come together quicker with more hands, you’ll laugh and enjoy each others company and then you’ll be able to look back on that fun time for years to come.
Order Your Custom M&M’s
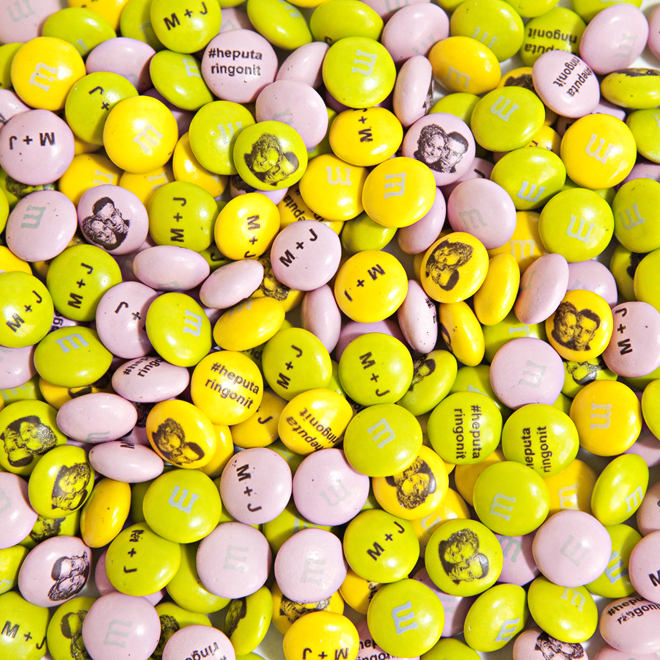
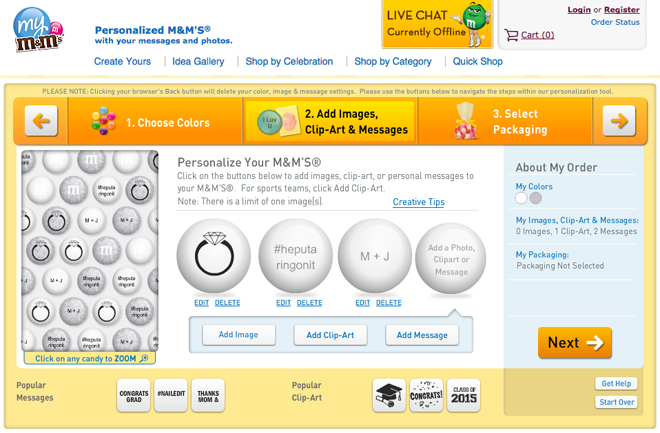
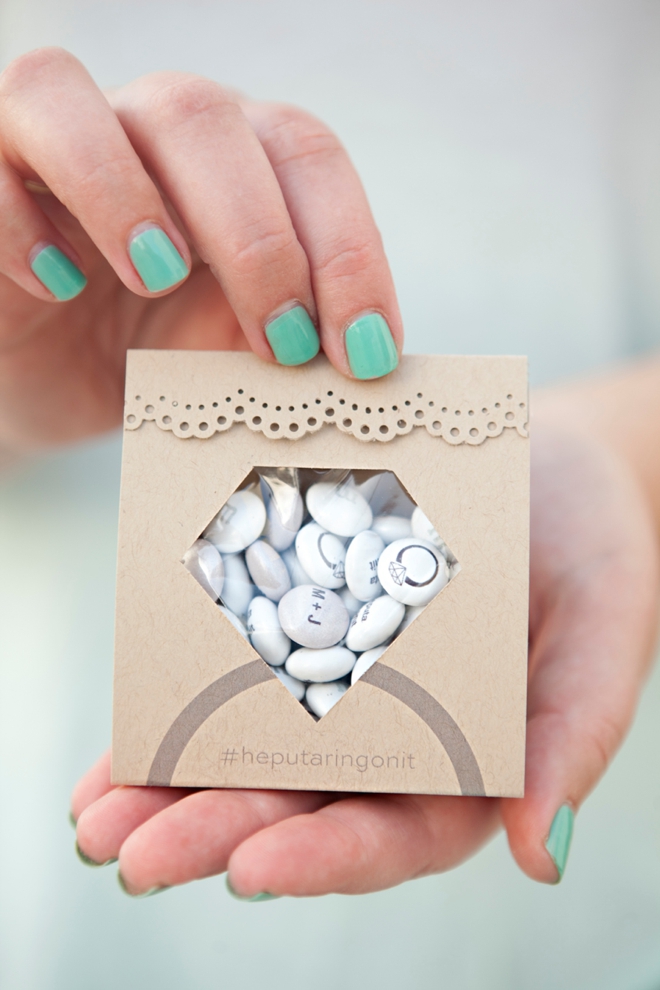
First things first, you’ll need to stop by MyMMs.com and customize some darling candies for your favors! The process is super easy, you get to pick the candy colors, add your choice of text, and pictures or icons. I did them all and the picture of me and the hubs turned out SO good! I was actually surprised at how much it really looks like the picture I uploaded. Shipping was quick and they arrive with ice packs to protect the chocolate and they even include cute scoops to help with packaging.
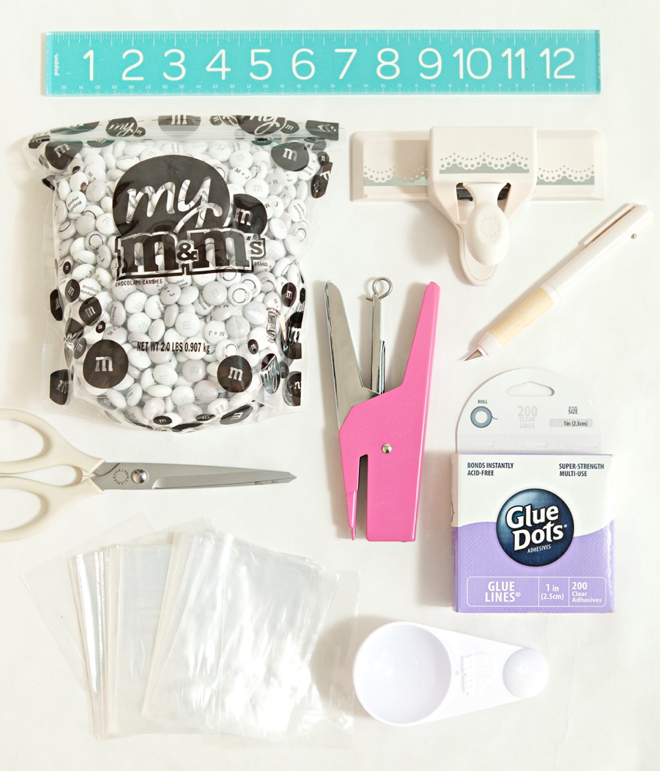
SUPPLIES:
- Personalized M&M’s in Bulk (2lb bag pictured $35)
- 3″ x 4″ Treat Bags
- 8.5″ x 11″ cardstock in your choice of color
- Glue Dots 1″ Lines
- Edge Punch or Decorative Scissors
- Scoring Board
- Paper Trimmer
- Craft Knife
- Stapler
- Scissors
- Ruler
- Our FREE download design at the bottom of the post!
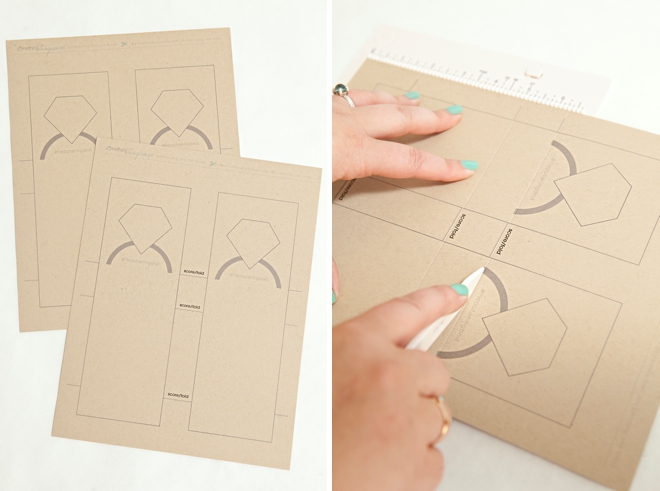
Download our printable design at the bottom of the post and print it onto 8.5″ x 11″ cardstock in the color of your choice, lighter colors work best.
The first step is to score or fold your printable on the 3 lines provided. Here I’m using a scoring board, because it gives you a super clean line – but you can just as easily fold the paper on the lines.
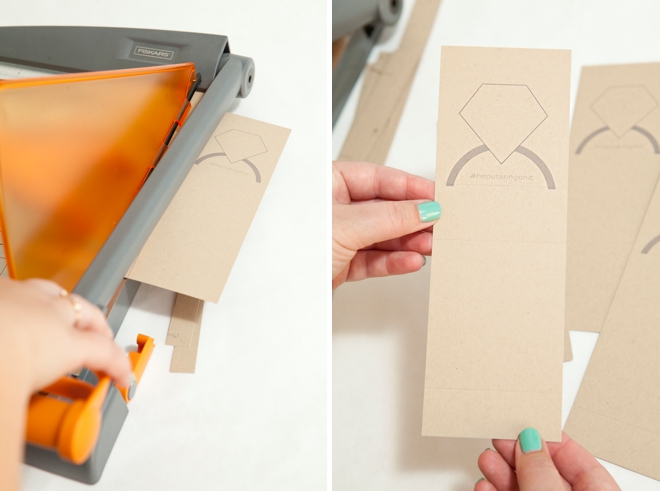
Next, cut out each card on the lines provided – there are 2 cards per sheet.
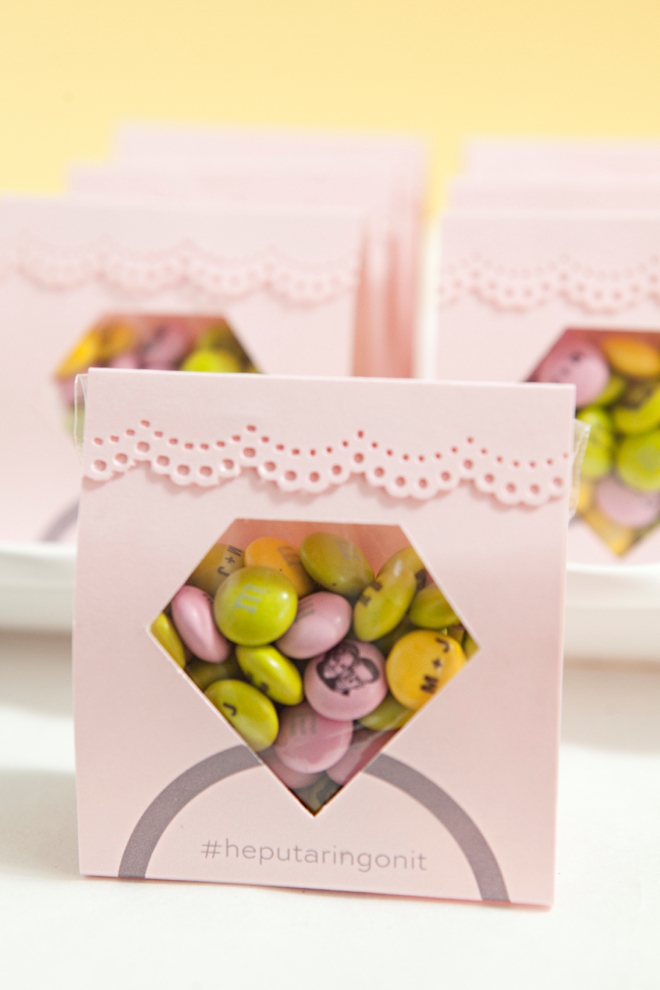
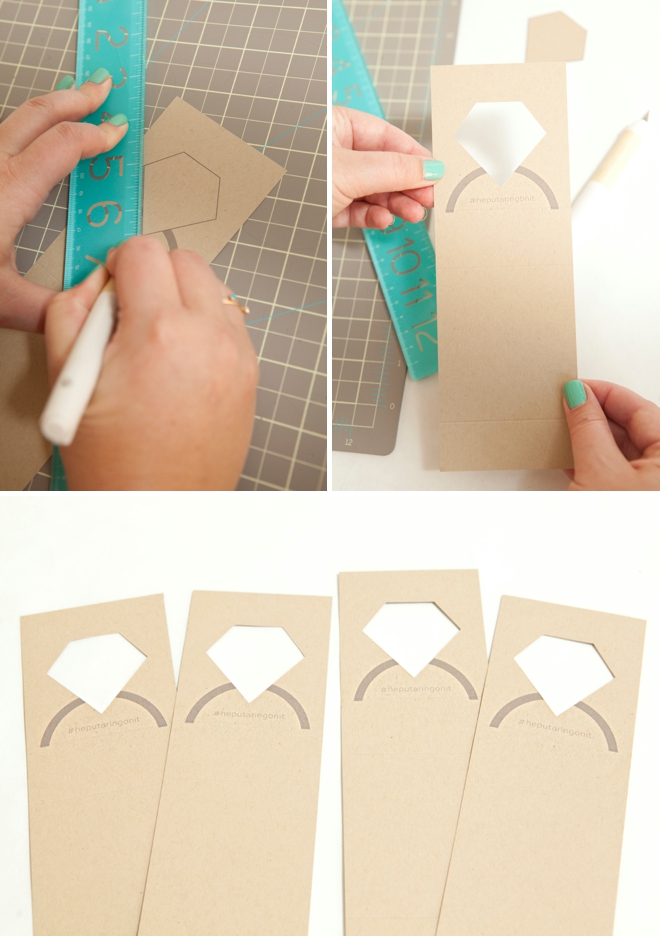
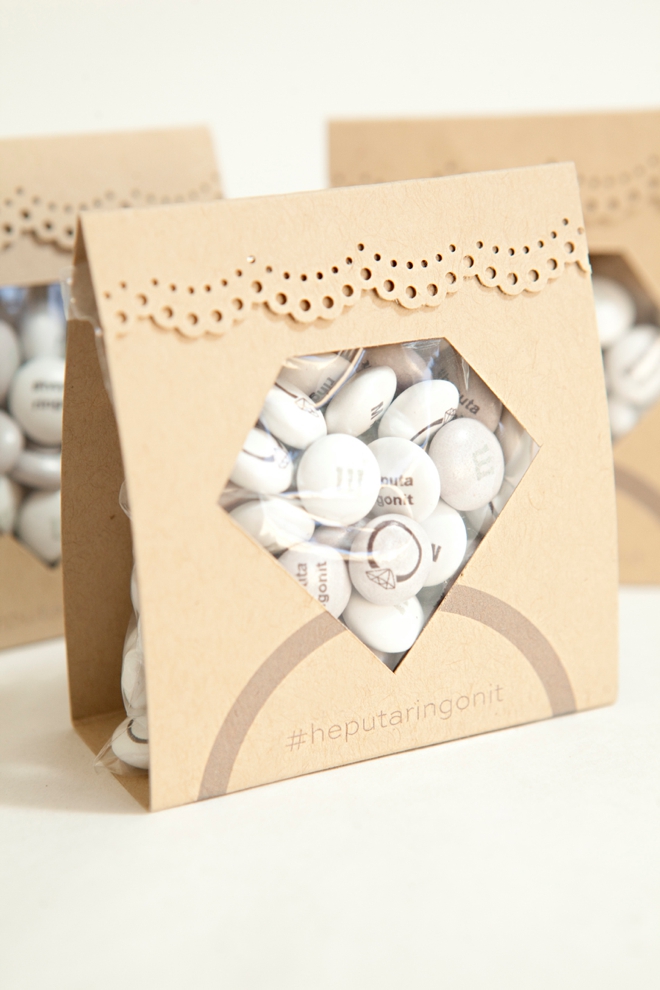
Using a ruler and a craft knife, carefully cut the “diamond” shape out of the card – so your candy can show through!
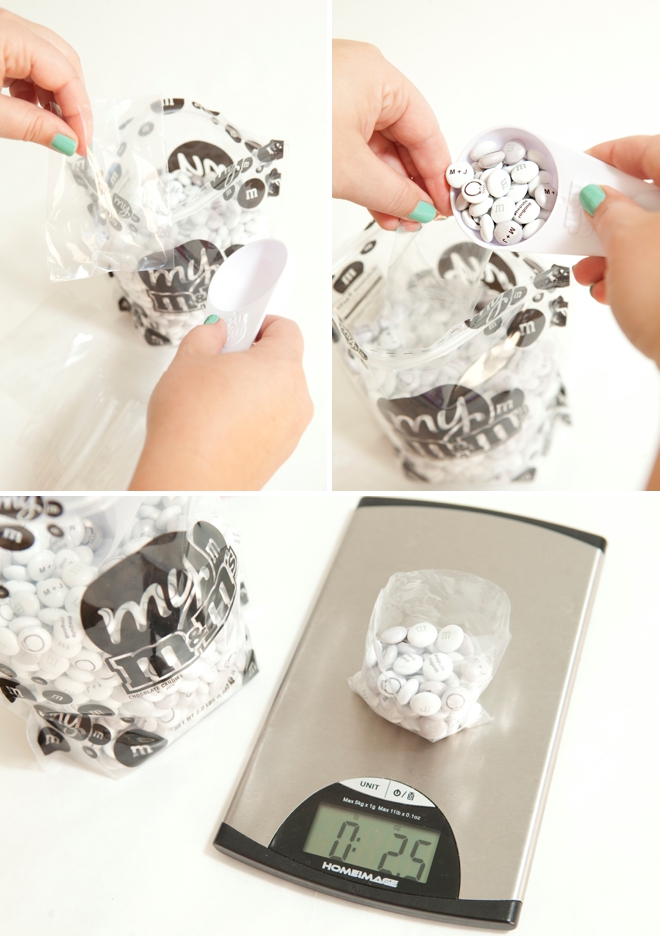
Fill Your Treat Bags
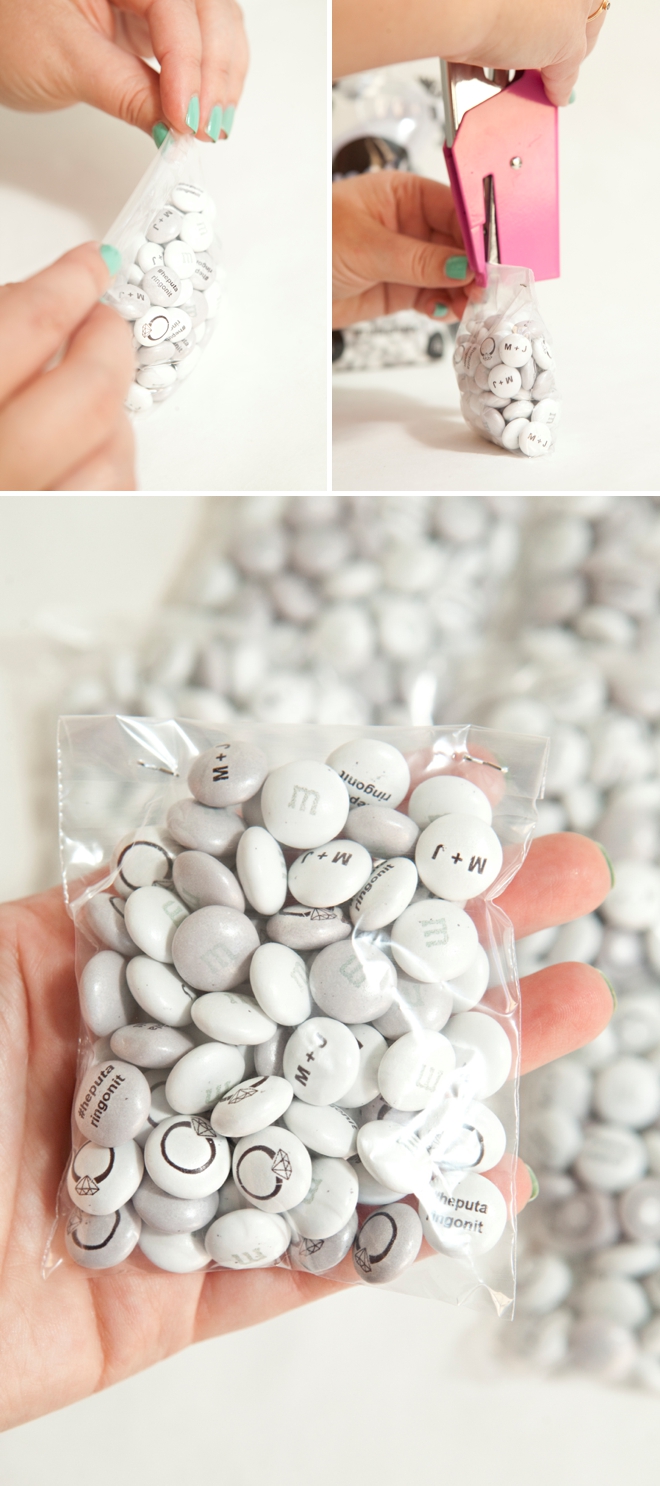
I used 3″ x 4″ treat bags for this project and filled each bag with roughly 2.5 ounces of M&M’s, although 2-3oz will work just fine. If you don’t have a scale, 80 M&M’s = 2.5oz, not that you want to count every piece of candy, but at least you know.
You will be able to get 13, 2.5oz favors from the 2lb bulk bag – or 32, 2.5 oz favors from the 5lb bulk bag.
Simply fold the top of the treat baggie over about a 1/3″ and staple it closed, just two staples will suffice. I’m using my favorite mini-stapler from American Crafts, but you can use any stapler you’d like.
Using either an edge punch like this one from Martha Stewart or decorative scissors, punch across the bottom of the card – this ends up being the top flap.
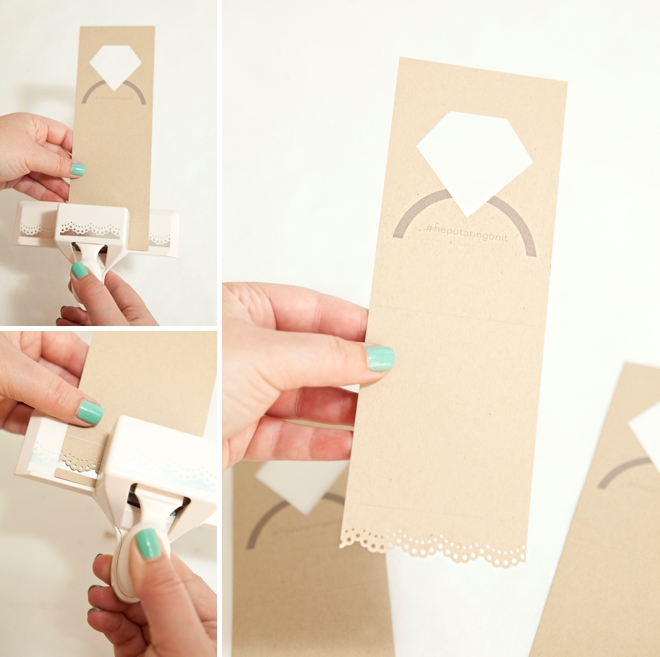
Now using your fold/score lines, fold the card into the pouch shape.

Now we are going to staple the candy bag inside of the pouch…
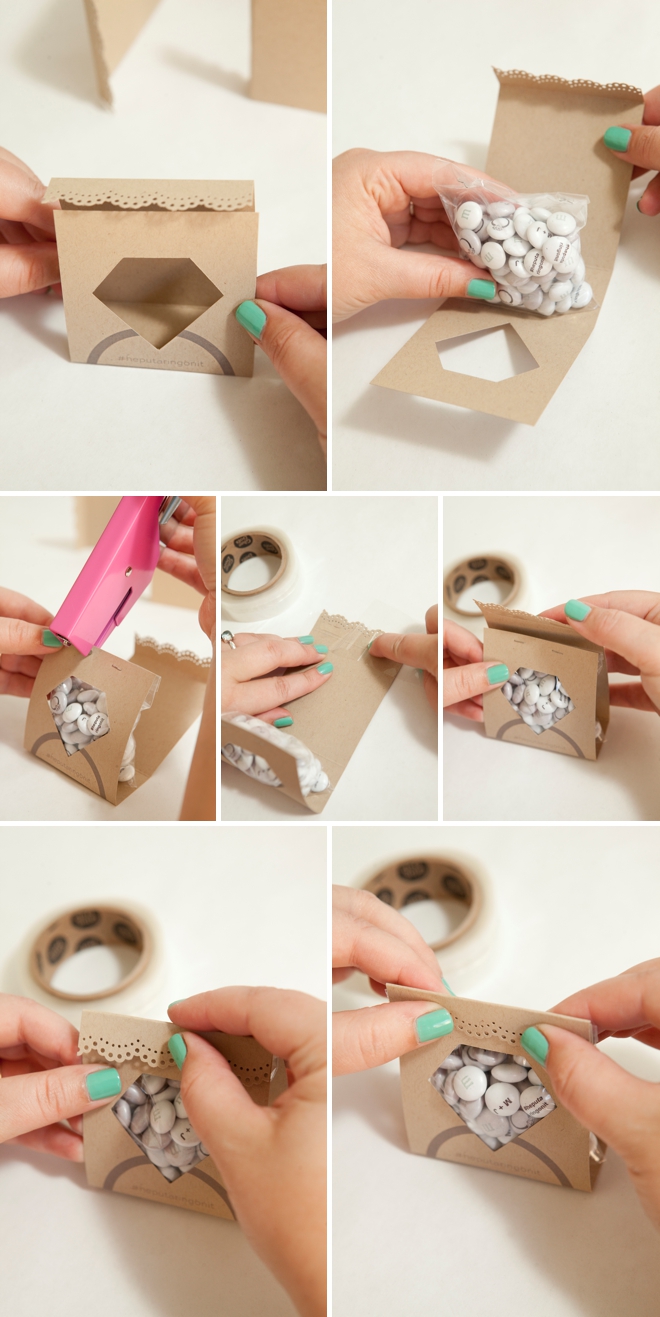
- Set the candy bag right the middle of the folded card.
- Fold the diamond cut-out side up to the bag and staple.
- Add 2 Glue Dots lines right underneath the punched border.
- Fold the back side up and around.
- Fold the flap with the Glue Dots to cover the staples.
- Press firmly to seal!
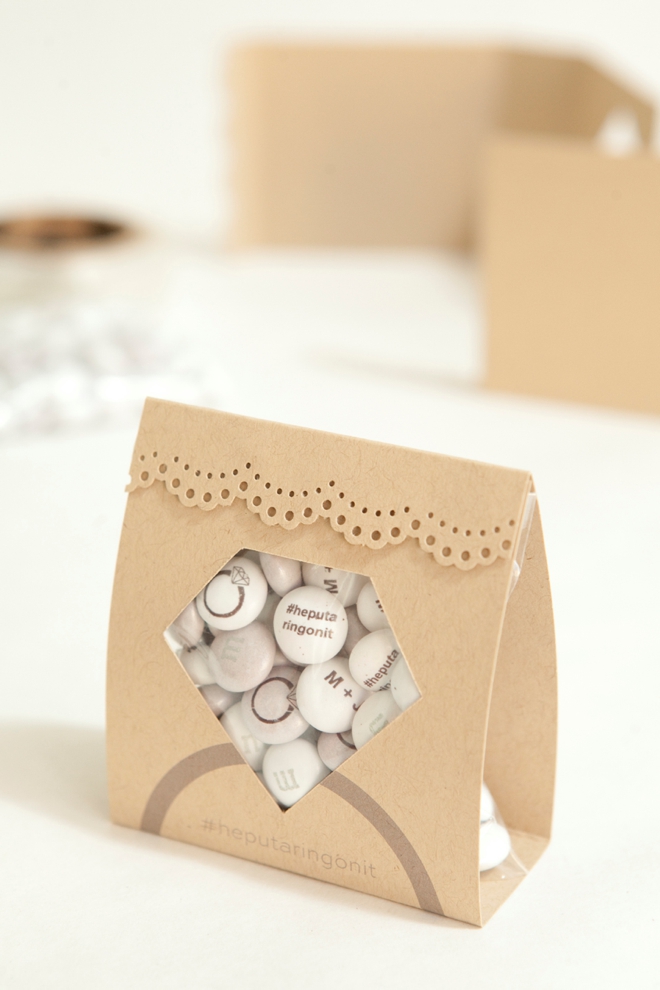
There you have it… a darling DIY favor completely customized to your special bridal event. These are a bit involved and so I recommend enlisting some help when putting them together, like your mom and bridesmaids. Make sure to order a little extra candy so that you can snack while you assemble :-)
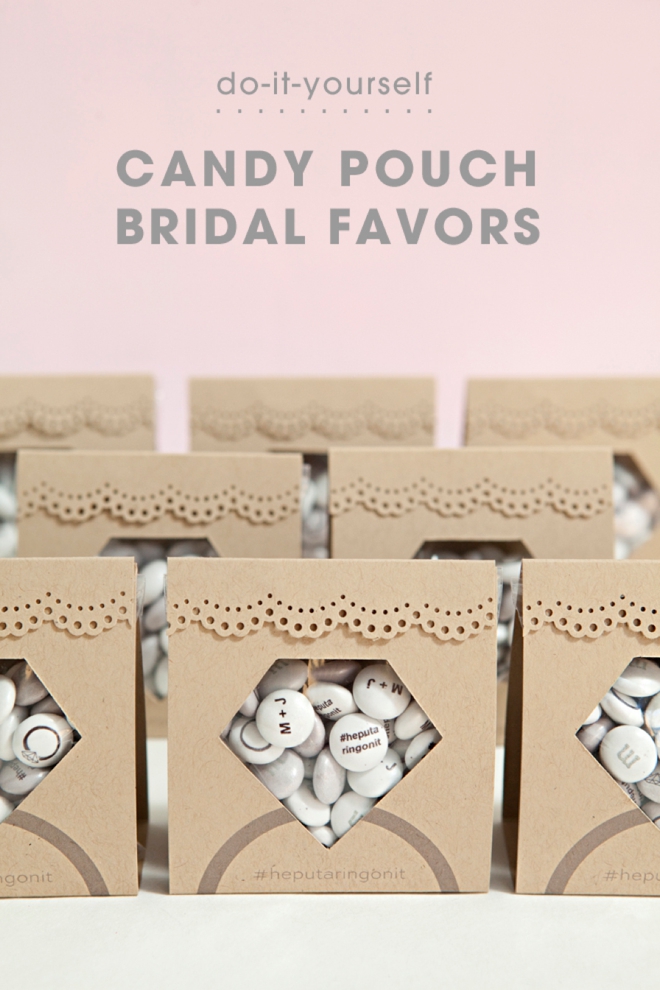
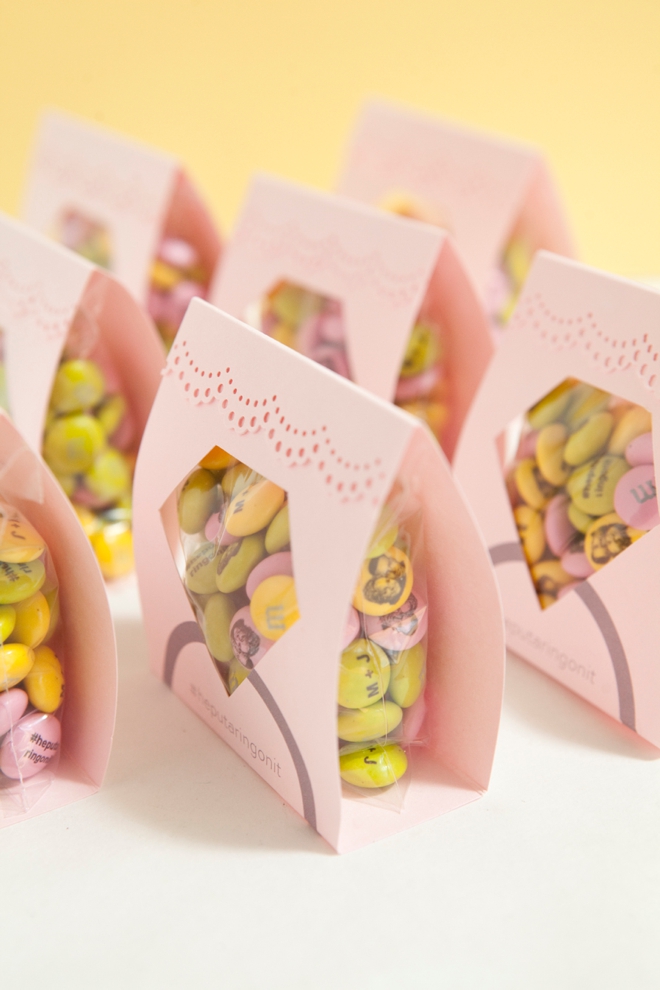
These adorable and girly favors would be the perfect addition to your bridal shower or bachelorette party!
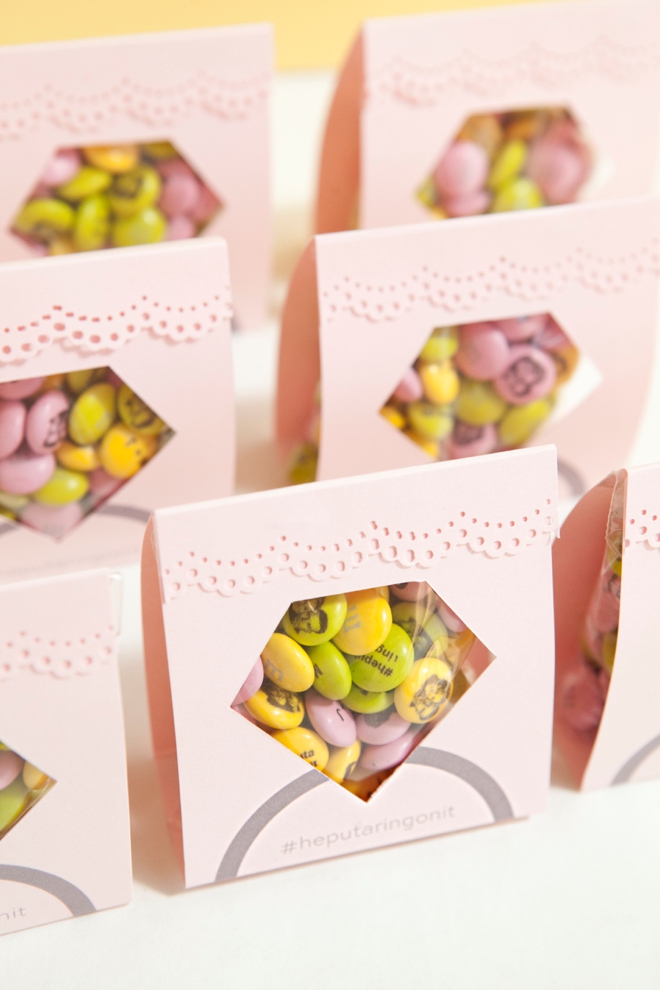
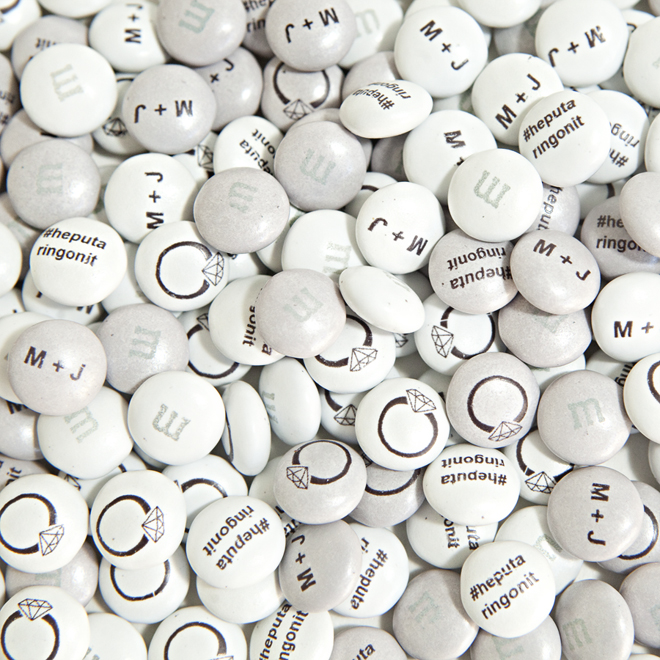
I have two printables for you, one that reads #heputaringonit (hilarious and perfect for this design) or a blank one with no wording and just the ring. I can’t wait to see what color combos you creative gals come up with!!


As with all our DIY tutorials, if you create one of our projects please send us a picture – We Love Seeing Your Creativity! If you use Instagram or Twitter please use the hashtag #SomethingTurquoiseDIY and it will show up on our Get Social page. If you’d like to share your project with My M&M’s you can use the hashtag: #mymms. Happy Crafting!
DIY Tutorial Credits
Photography + DIY Tutorial + Free Downloads: Jen Causey of Something Turquoise Custom M&M’s + scoop: courtesy of MyMMs.com Weddings // Martha Stewart Crafts Doily Lace Punch, scoring board, scissors and craft knife: Amazon // pink mini-stapler: American Crafts // 1″ Glue Dots Lines: Amazon // cardstock in Paper Bag + Blossom: Paper Source // ruler: Poppin // paper trimmer: Fiskars // nail polish: OPI – Withstands the Test of Thyme
Shop The Supplies:
Find the supplies you’ll need for this project from our affiliate links below:
You can view more M&M wedding ideas at the MyMMs.com Wedding Idea Gallery!
This fun DIY project was sponsored by My M&M’s in partnership with BrideClick. All opinions expressed within this feature are those of the author.


Comments