

DIY | Glitter Bride, Feyoncé + Wifey Shirts
I have a super fab treat for all my stylish DIY brides out there today!! We are making easy iron-on shirts (or tote bag, or sweatpants, or hoodie, or anything really!) with our Cricut Explore and these darling, FREE download designs by one of our talented Etsy Wedding Artists! That’s right, all 3 of the designs that you see here are 100% free to download below, thanks to the amazing Tara from Diva Gone Domestic! Grab yours today or pin for later because you know you’ll want to show off your bridal DIY style! Already married? I didn’t leave you out, we’ve got one for you too. I cannot wait to see what you gals create with these designs, don’t forget to share your versions of our projects on Twitter or Instagram using the hashtag #somethingturquoisediy as it will show up on our Get Social page!

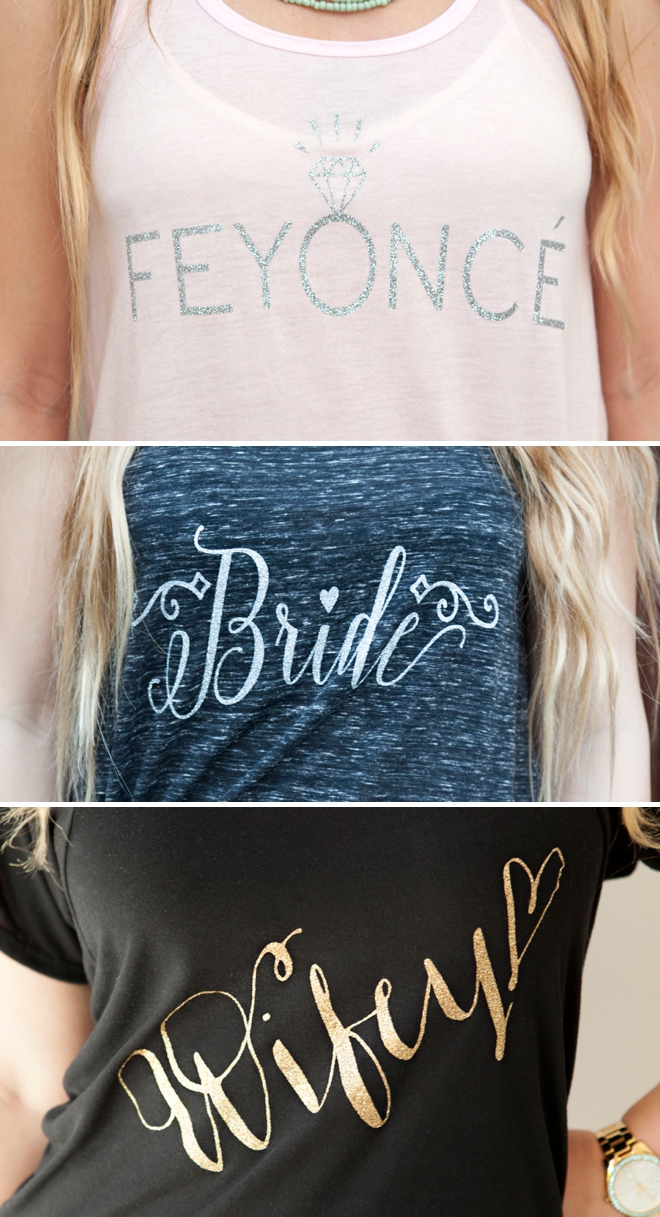
Graphic design is not my strong suit, so I asked Tara from Diva Gone Domestic if she could create 3 designs that we could share with you for FREE and she happily said yes! We have Feyonce, Bride and Wifey just for you! Grab them below or pin for later!
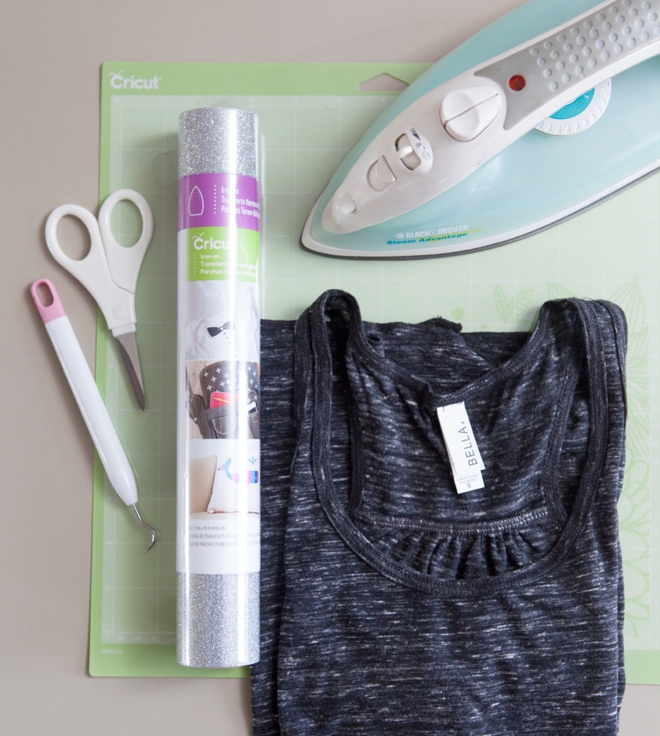
SUPPLIES:
- cute tank top (or the like) the exact ones I used are linked below
- Cricut Explore
- Cricut Iron-on Glitter in your favorite color
- Cricut weeding tool and scissors
- Iron and ironing board
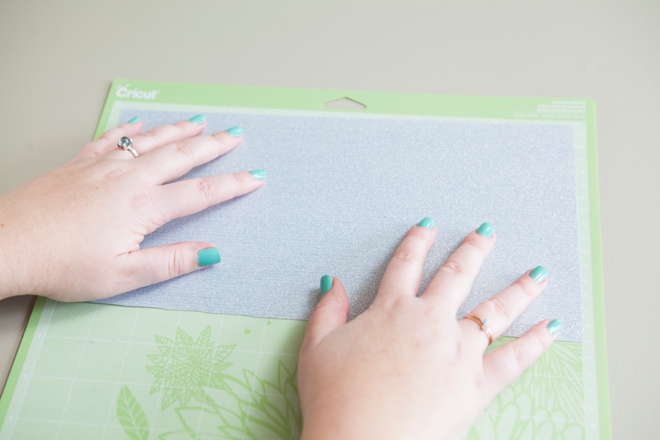
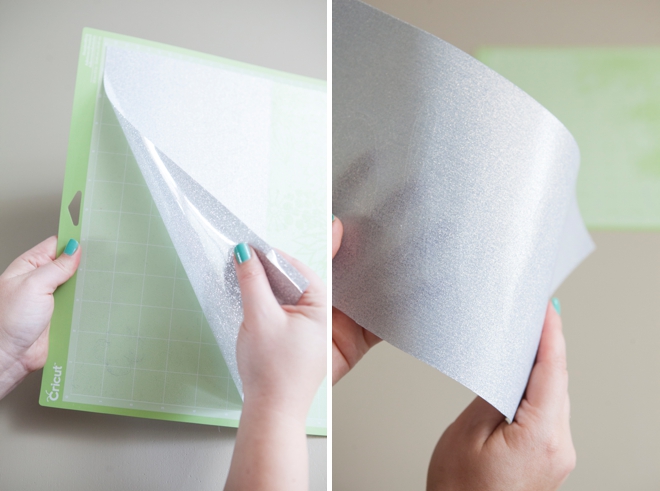
Very important: place the iron-on glitter – glitter side down on your cutting mat. The matte side needs to be facing you.
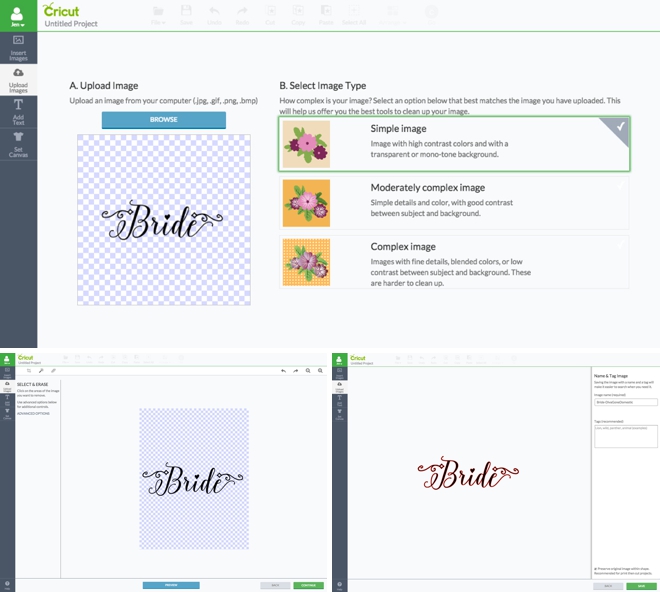
How to upload the file with Cricut Design Space:
- Download your choice of design below
- Use the ‘basic uploader’ option
- Browse to find the image to be cut
- Choose ‘Simple image’
- Don’t ‘select to remove’ anything; just click continue
- Hit save.
Now you are ready for the next step.
- Unlock and drag your file as large or small as you’d like
- Click ‘unflatten’ from your tool bar
- Choose the ‘cut’ option, not print
- Click ‘go’
- Check the box to make it a ‘mirror-image’ — if you don’t do this your words will be backwards!
TIP Step 2-3 // At first, Cricut wants to use this file for their print and cut option, so you have to change it from print to cut.

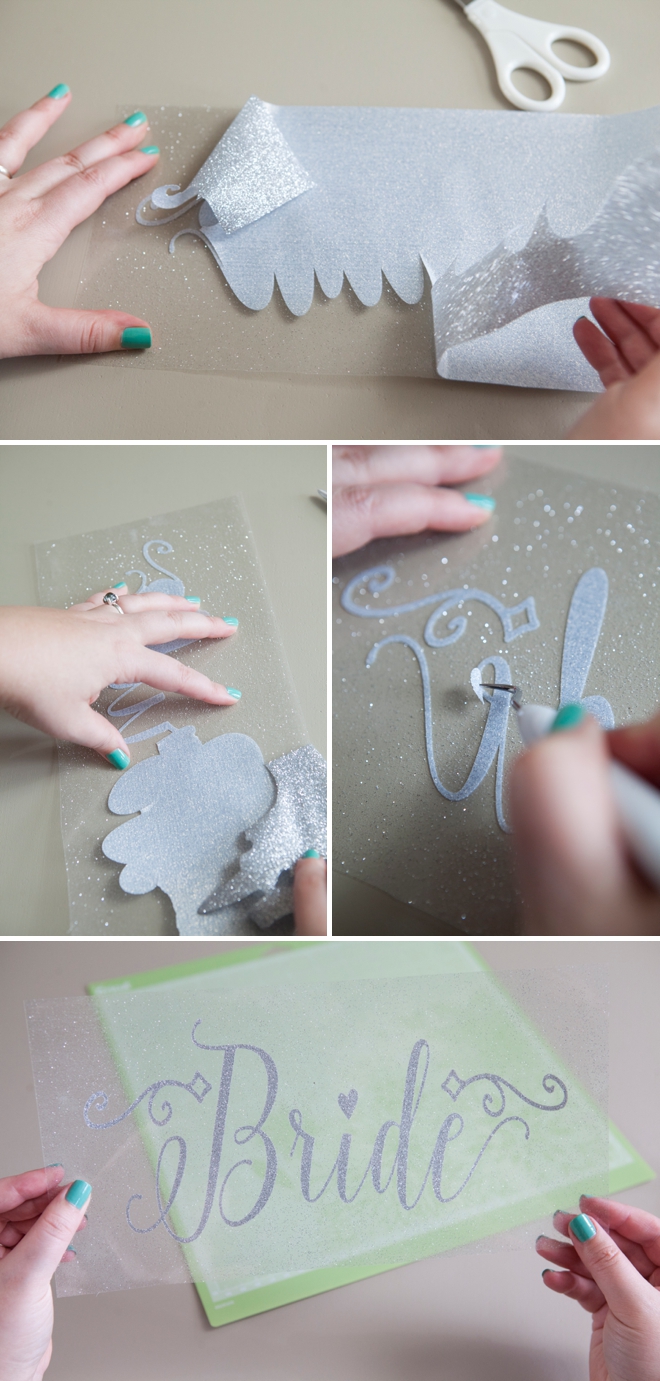
Remove your cut image from the cutting mat… I know you can hardly see the cut lines here, but they are there!
Weeding:
Next is a process called weeding. Carefully remove all extra bits and pieces that aren’t part of the cut design. Refer to the image of the file if need be.
Iron your new cut design onto your special item following the directions on the package for the material you are using. ***You should use a pressing cloth in between the plastic and your iron, but if I did that it would make no sense in the photo – lol.

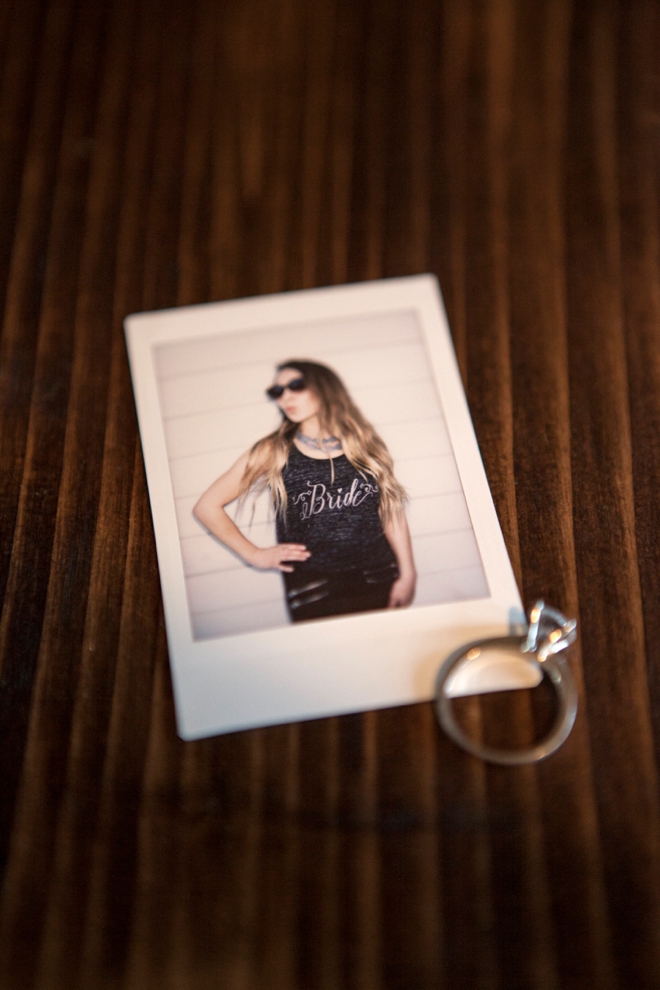
That’s it — you are done! In way less than one hour, you will have a lovely, machine washable DIY shirt that you can be proud of!
Remember, you can make these designs ANY size you want and can iron them on almost anything. So will you make a tote bag, hoodie, sweatpants, tank, t-shirt or maybe even pillow case??? You can also use these designs with vinyl to embellish a to-go coffee mug, a planning notebook, a sign… yep, lots of stuff.

For those who are swooning over the “Feyoncé” trend, here’s one you’ll love!

Calling all Mrs!!! I made one for us too… isn’t it adorbs?!?

To download these files, click on the one you want and either drag to your desktop or right click and save!


Huge thanks to my darling cousin Lauren for being our gorgeous model!
As with all our DIY tutorials, if you create one of our projects please send us a picture – We Love Seeing Your Creativity! If you use Instagram or Twitter please use the hashtag #SomethingTurquoiseDIY and it will show up on our Get Social page. Happy Crafting!
DIY Tutorial Credits
Photography: Something Turquoise Photography for SomethingTurquoise.com // DIY tutorial: Jen | Something Turquoise // FREE iron-on designs: Diva Gone Domestic // Cricut iron-on and all shirts (individually linked below): Amazon // Cricut Explore and tools: courtesy of Cricut // model: Lauren Magdaleno // nail polish: OPI – Withstands the Test of Thyme
Shop The Supplies:
Find the supplies you’ll need for this project from our affiliate links below:

Comments