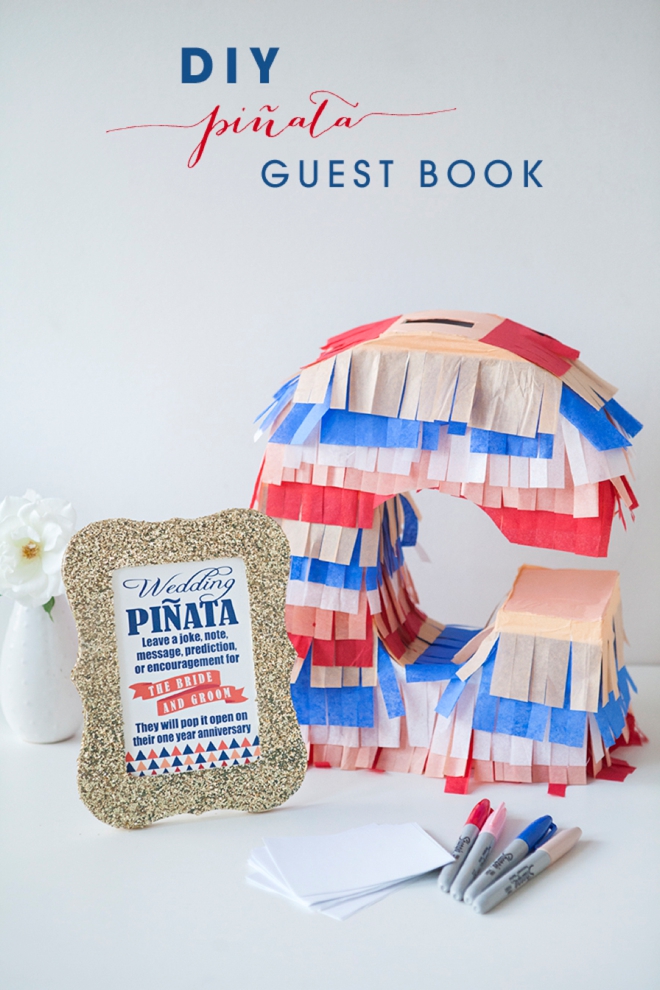
Unique guest book ideas are my absolute fav. I’m always trying to dream up creative ways to turn this boring tradition into a special keepsake and today’s project doesn’t disappoint. Here you will learn how easy it is to make a fun piñata guest book that can easily fit any theme by using the correct colors of tissue paper! It turned out that they are much easier to make then I imagined in my head, I don’t have kids so I’ve never tried to make a piñata before, lol. It shouldn’t take you more than one evening or a few hours. The crazy fun new fringe cutter from Martha Stewart Crafts definitely helped! One of our talented Etsy Wedding Artists created 4 special and FREE sign printables for you so make sure to grab one below!
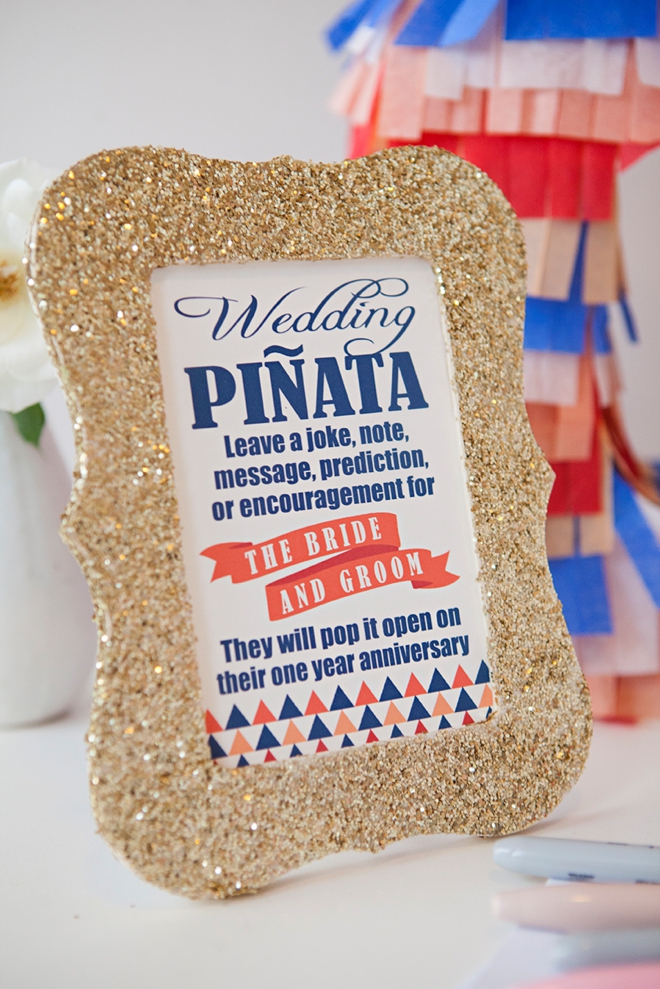
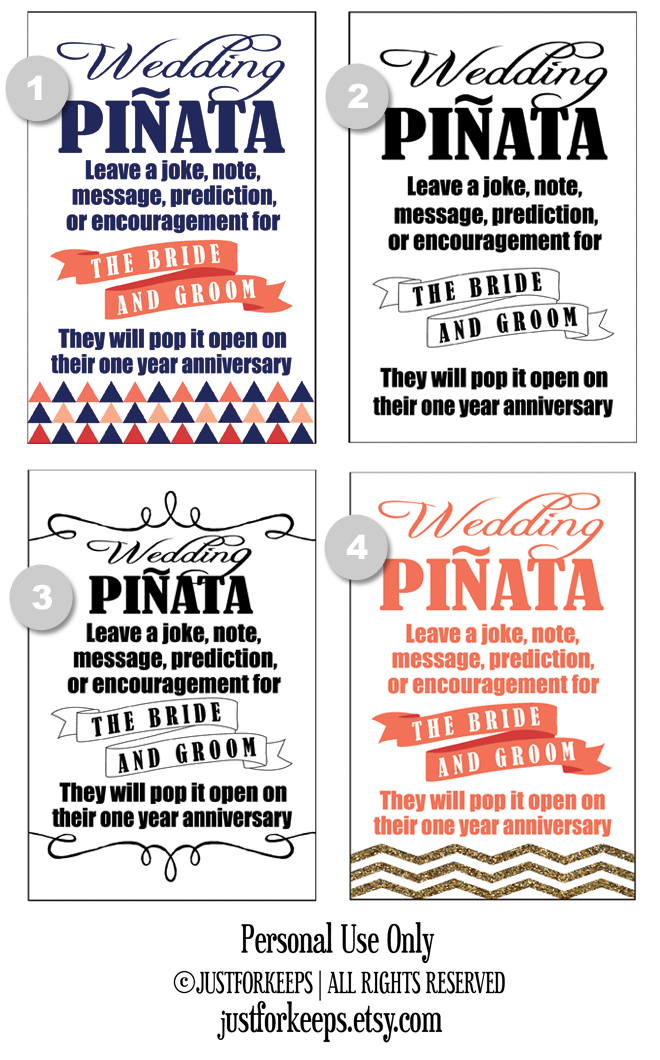
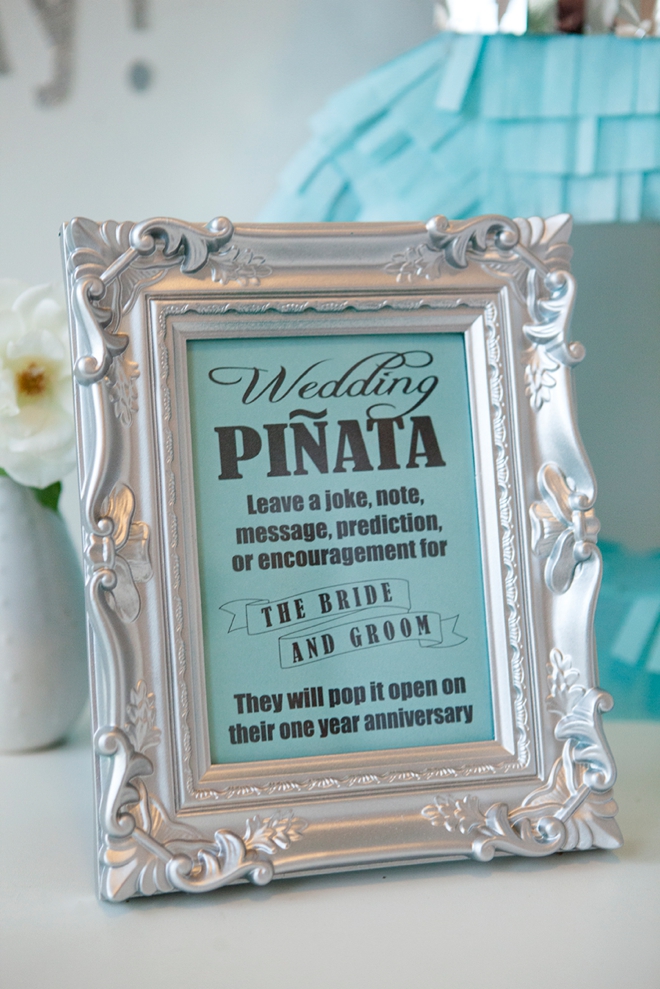
I am SUPER excited to announce that we teamed up with one of our amazing Etsy Wedding Artists to bring you these 4 FREE printables! Katelyn from justforkeeps made these just for you and there are four to choose from below that are all sized for 4″ x 6″ frames. If these don’t fit your theme perfectly, she’d be happy to design something specifically for you!
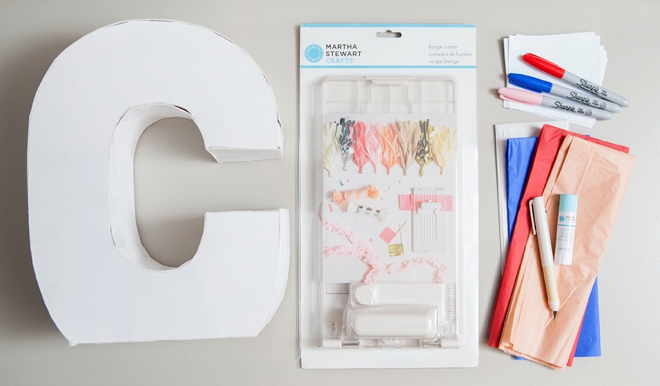
SUPPLIES:
- Cardboard
- Tape
- Martha Stewart Crafts Fringe Cutter (New!)
- Craft knife
- Tissue paper
- Glue stick
- Scissors
- Sharpies or pens
- Paper for guests to write on
- Our free sign printable and a 4″ x 6″ frame
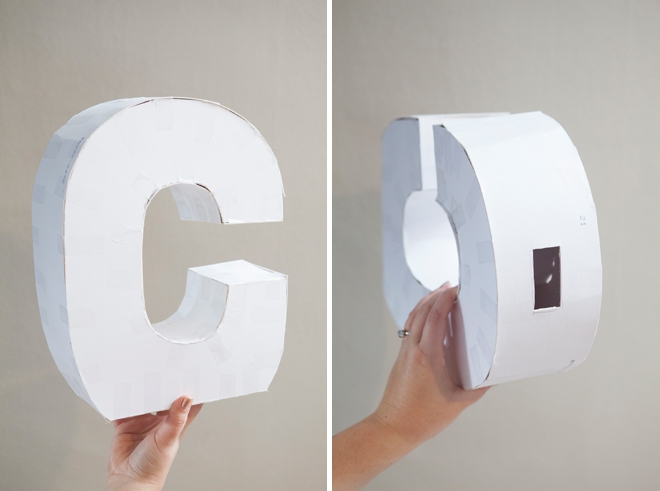
I’m not going to share “how” to construct your own piñata since Oh Happy Day has done such a fabulous job of it. We followed their tutorial to a “t” and you should too. The only addition was the small cut in the top for your guest book “messages”.
CRAFTERS TIP // make sure the bottom of your piñata is flat so that it will stand up.
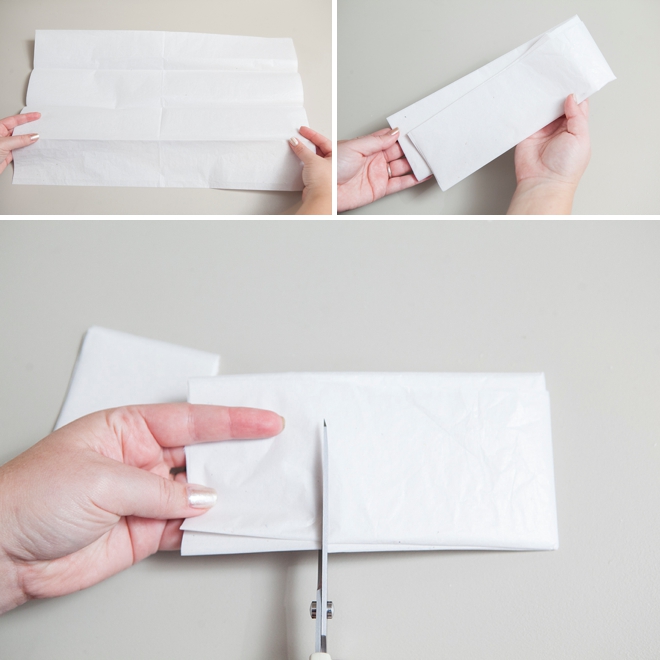
Fold your tissue paper into a 4″ strip and cut 2″ panels. Some tissue paper comes folded just like this, leave it and cut from there.
Ok, so I am totally obsessing on this new fringe cutter from Martha Stewart Crafts. There are SO many possibilities, it’s ingenious and you’ll love it.
It does really well cutting 6-12 sheets of paper at one time, sometimes the more the better it just depends on the quality of paper. The thinner your tissue the more you will want to cut at one time and vice versa. Place your tissue packet inside the cutter, hold steady and pull down, perfectly cutting multiple fringe strands in seconds.
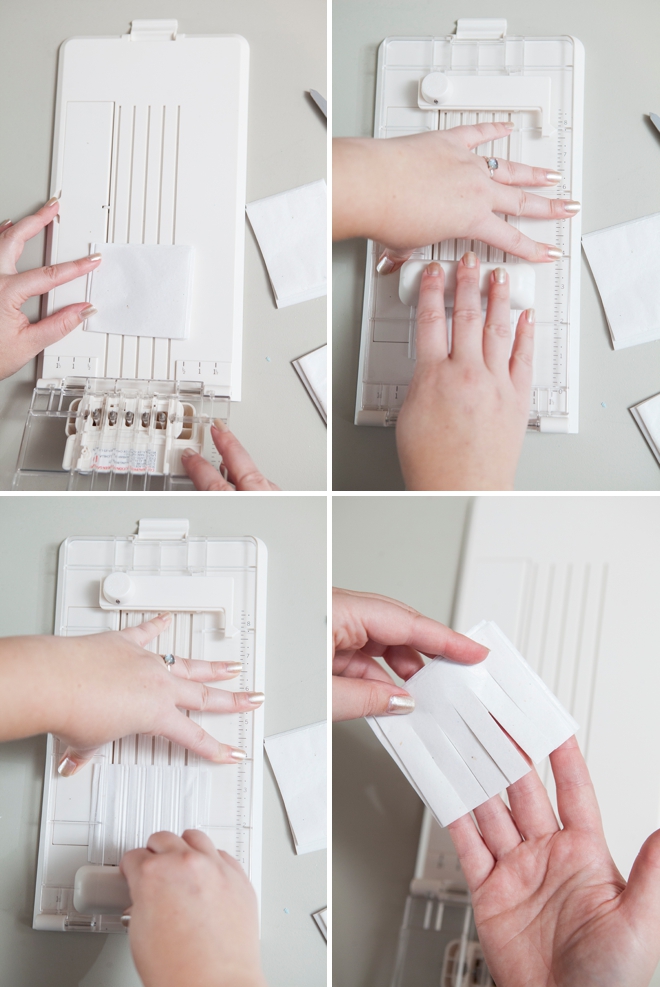
Cut all your tissue packets.
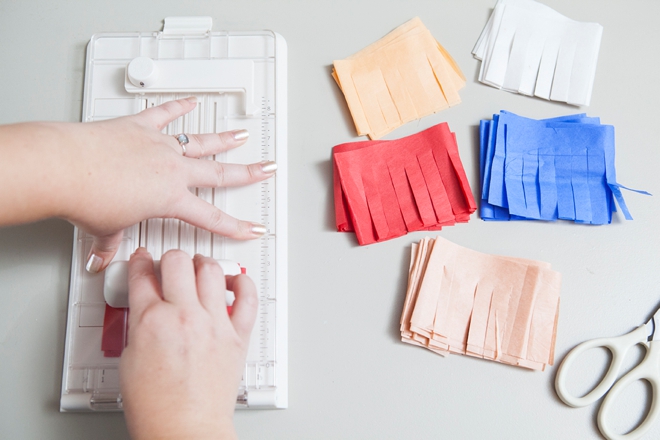
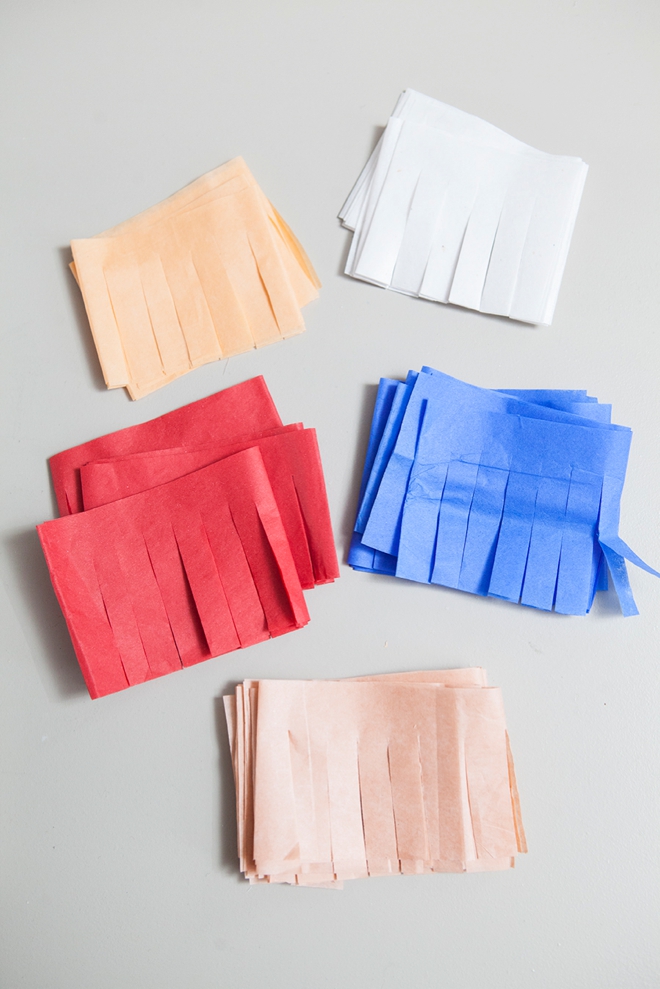
Depending on how you folded your paper you might have to do one or two cuts on each side to finish the fringe.
Certain parts of your piñata will be awkward to cover and might show through, so you can cover those parts with plain tissue paper before you start adding the fringe – do this with a glue stick.
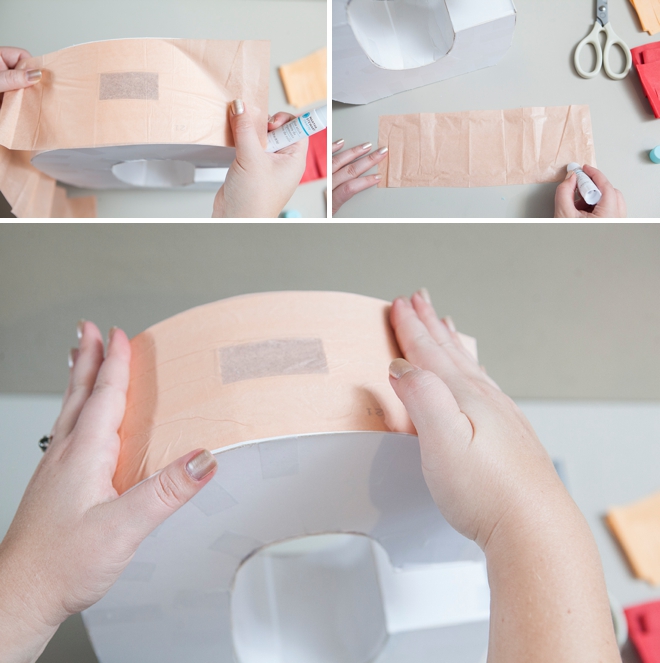
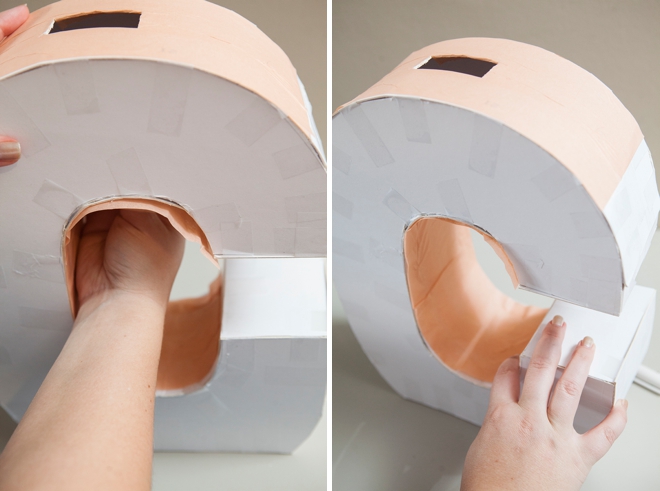
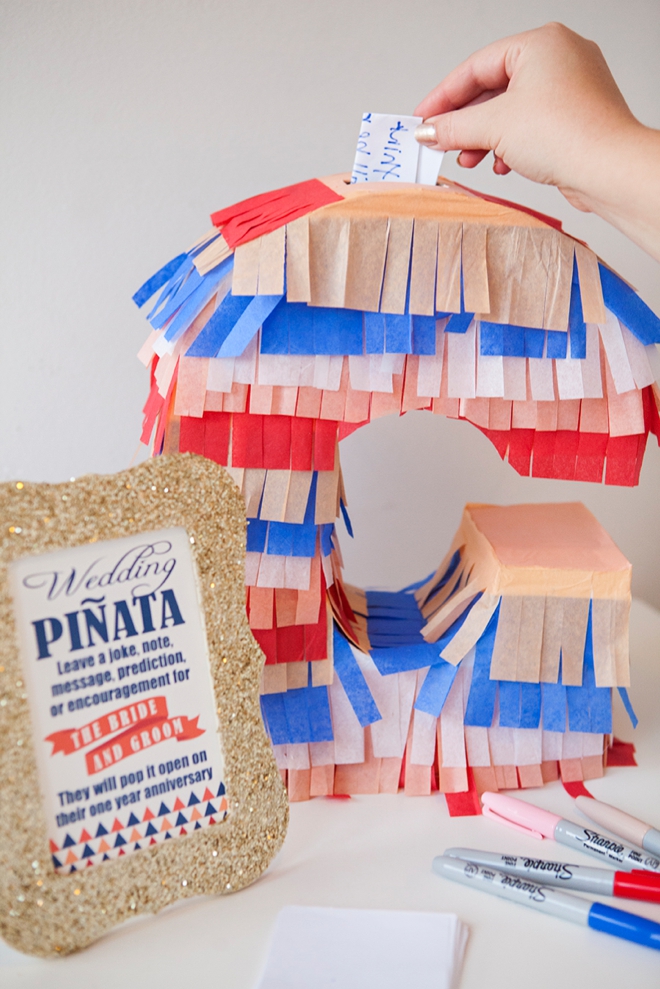
We cut a hole in the top for the guest book “messages” so make sure to free it from tissue.

Inside areas, the bottom and top are places on your piñata that should be covered with regular tissue first.
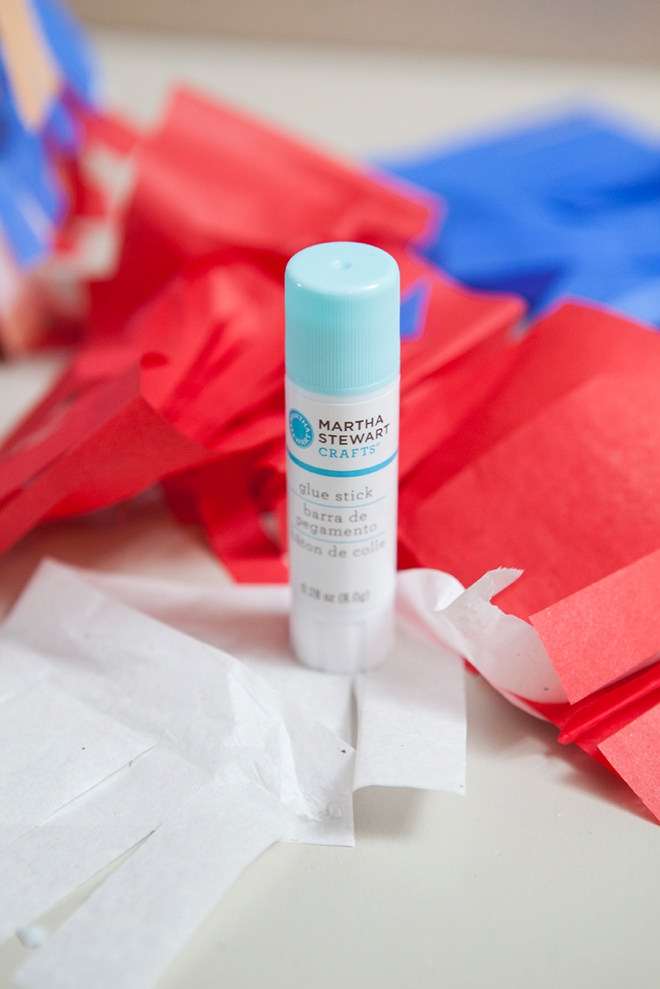
I (double heart) this Martha Stewart Crafts glue stick. A glue stick is the perfect adhesive for the fringe.
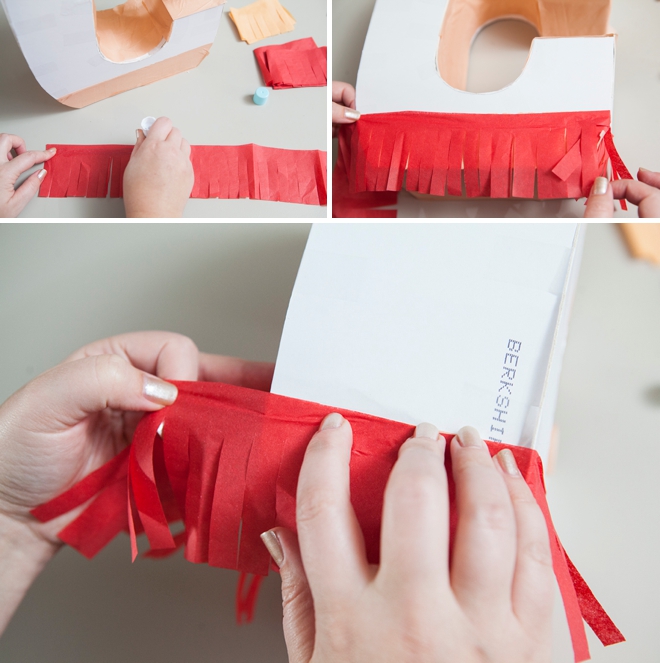
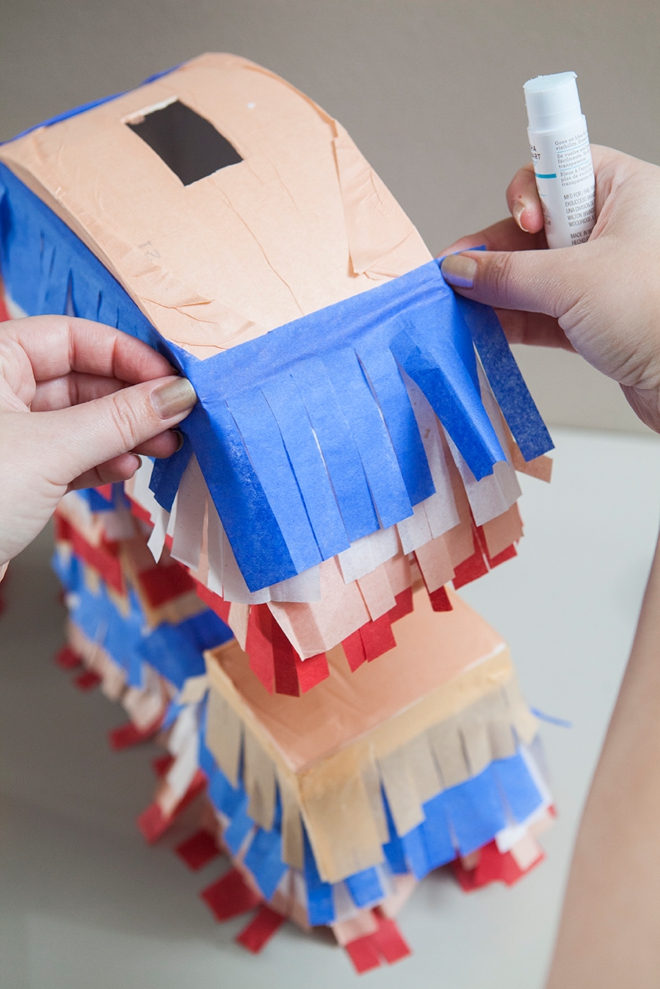
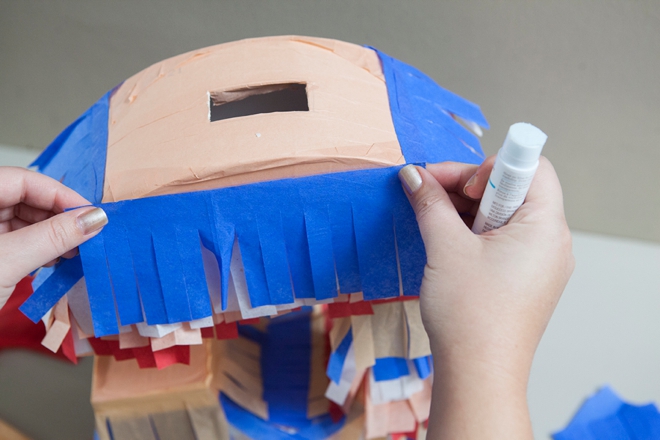
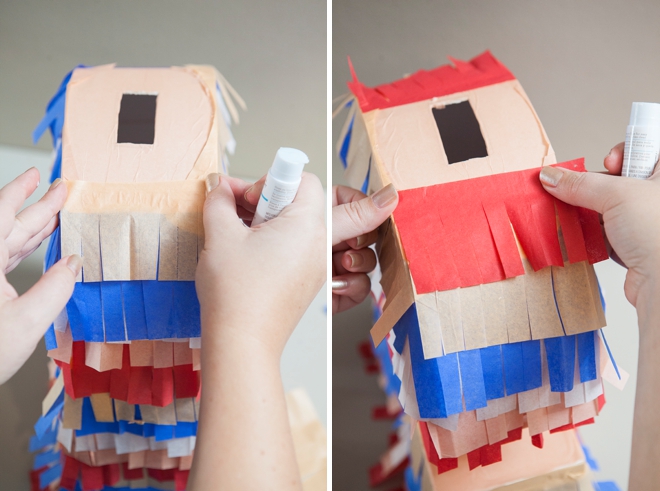
Add glue across the top of the fringe strip and then wrap around your piñata STARTING AT THE BOTTOM. This is very important, if you start at the top your fringe won’t lay properly.
The glue stick dries quickly and is easy to work with so you can keep adding layers of fringe with no “dry time” needed.
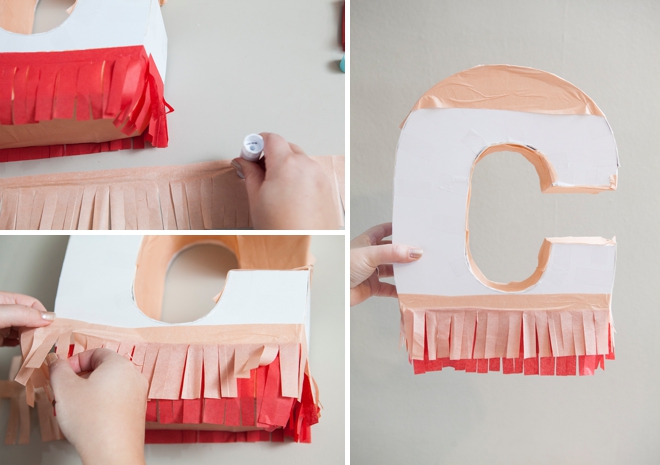
Keep each fringe layer about 1/2″ apart.
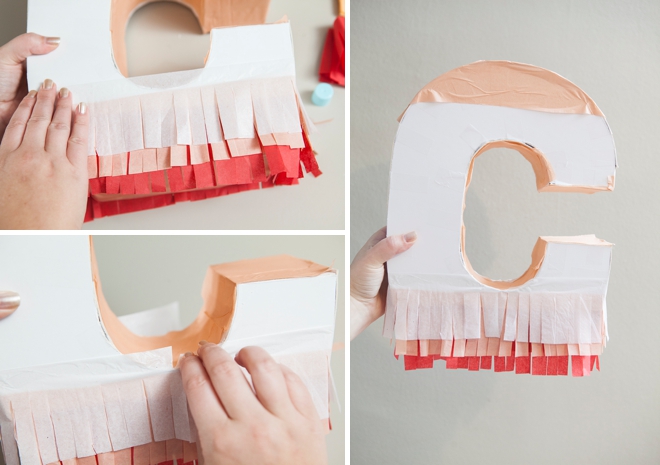
Keep adding and wrapping your fringe until you get to the top, then use smaller sections.
For certain letters you might have to give your fringe a little trim so the outline of the letter stands out like I did here for the “C”.
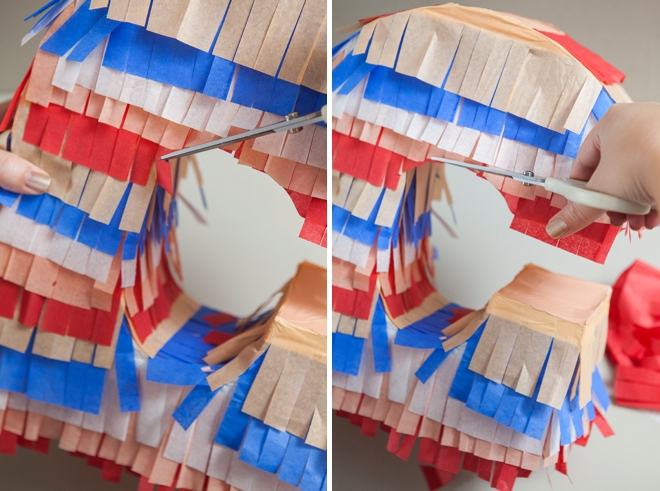
SO FUN right???
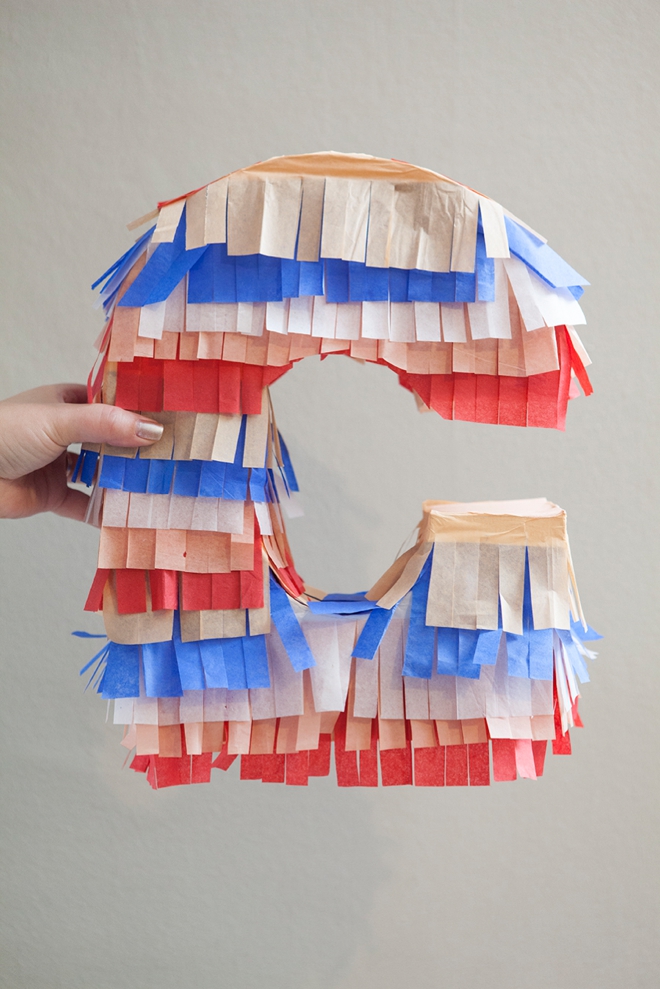
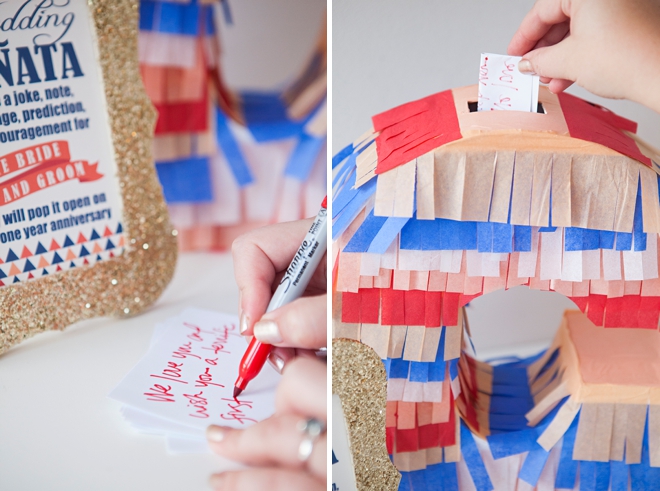
Leave out at your reception with little strips of paper for your guests to sign.
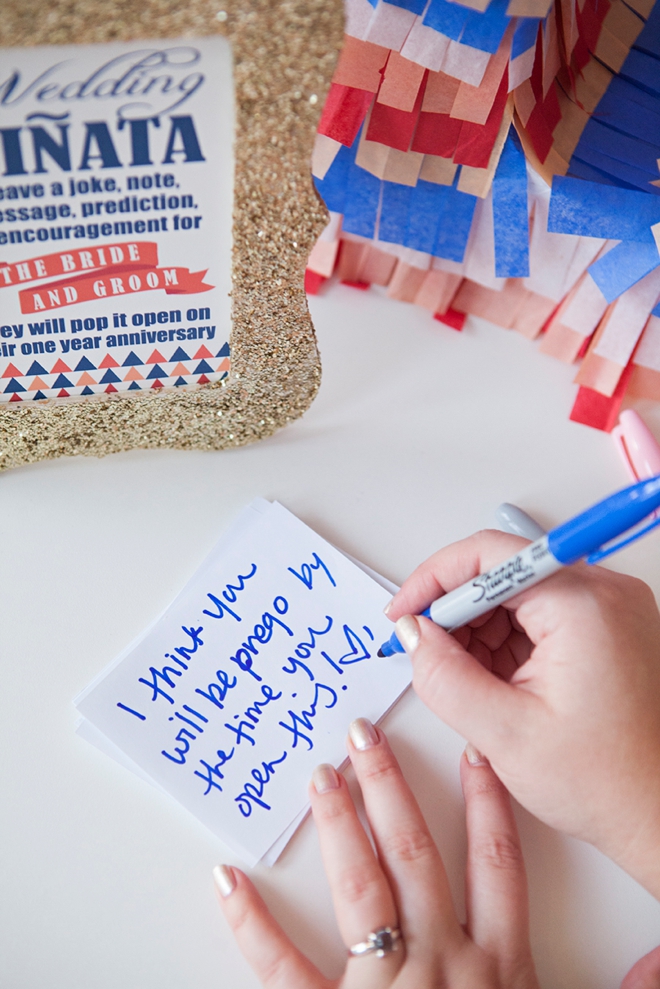
Since you can’t bust this piñata open until your 1st year anniversary you’ll have something extra to look forward to.
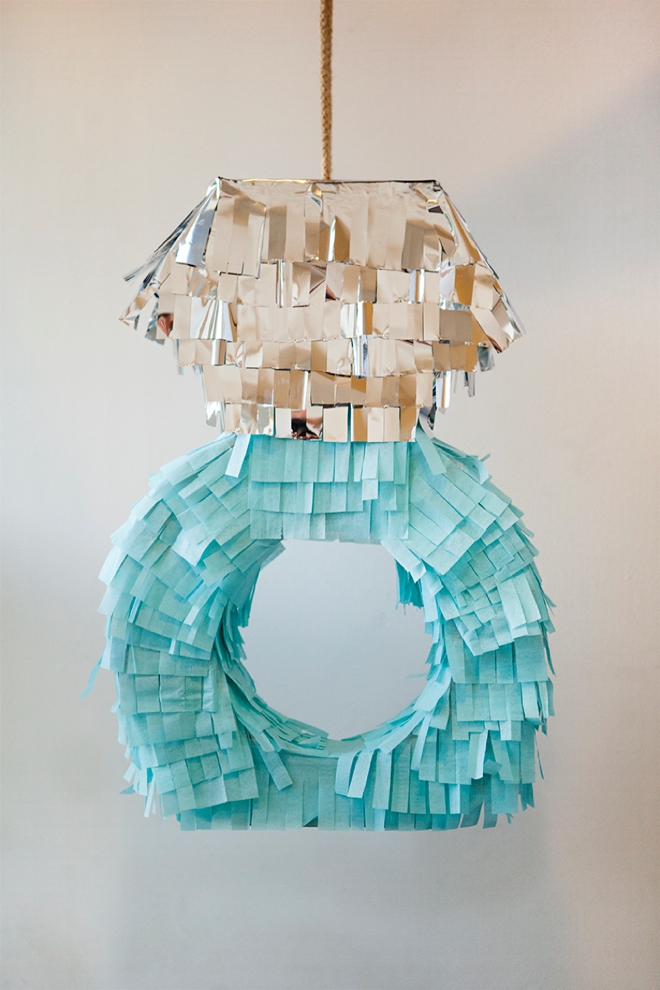
Did you really think I wasn’t going to make one that was turquoise? What’s even better than turquoise? A giant engagement ring of course! Yay!
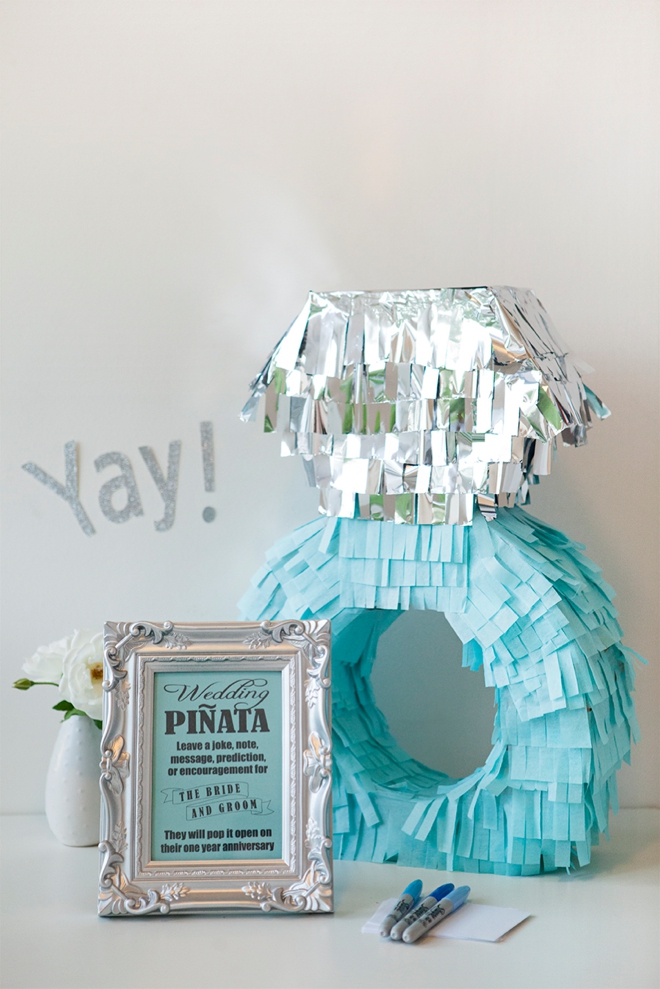
Didn’t Katelyn do an awesome job on these fun signs? Print the simple black designs on colored cardstock to make them pop!

As with all our DIY tutorials, if you create one of our projects please send us a picture – We Love Seeing Your Creativity! If you use Instagram or Twitter please use the hashtag #SomethingTurquoiseDIY and it will show up on our Get Social page. Happy Crafting!
DIY Tutorial Credits
Photography: Something Turquoise Photography // DIY tutorial: Jen | Something Turquoise // Martha Stewart Crafts Fringe Cutter, glue stick, scissors
, and craft knife
: courtesy of the Editors at Martha Stewart Living // tissue paper: Michaels and Alin Party Co. // frames: Target and hand glittered // Sharpies: Staples // nail polish: OPI – Designer De Better


Comments